
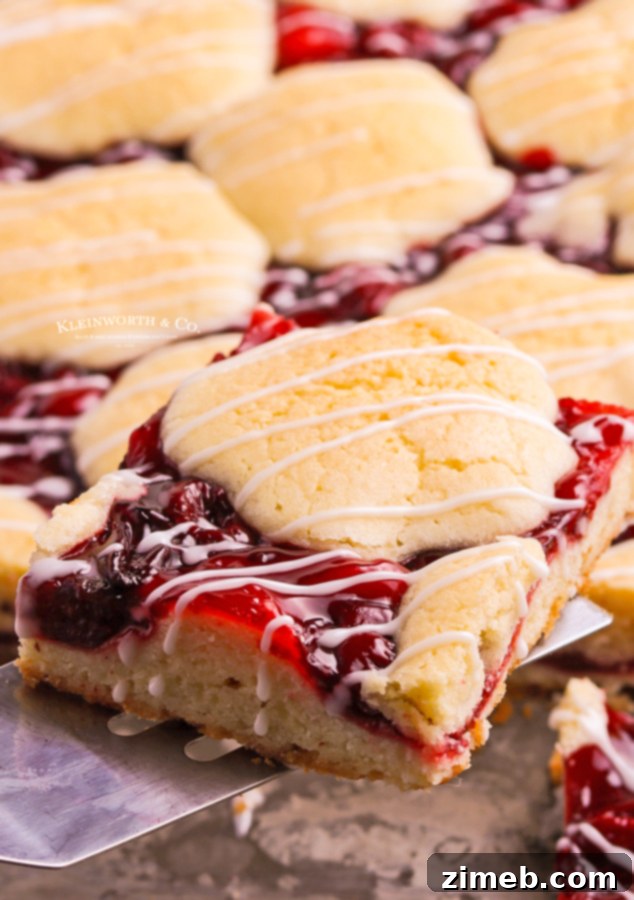
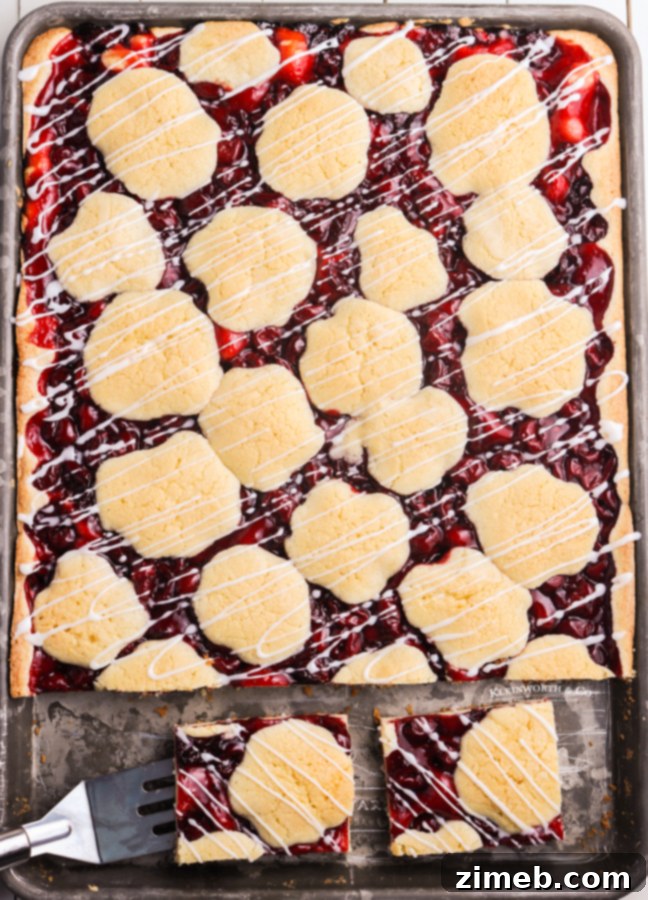
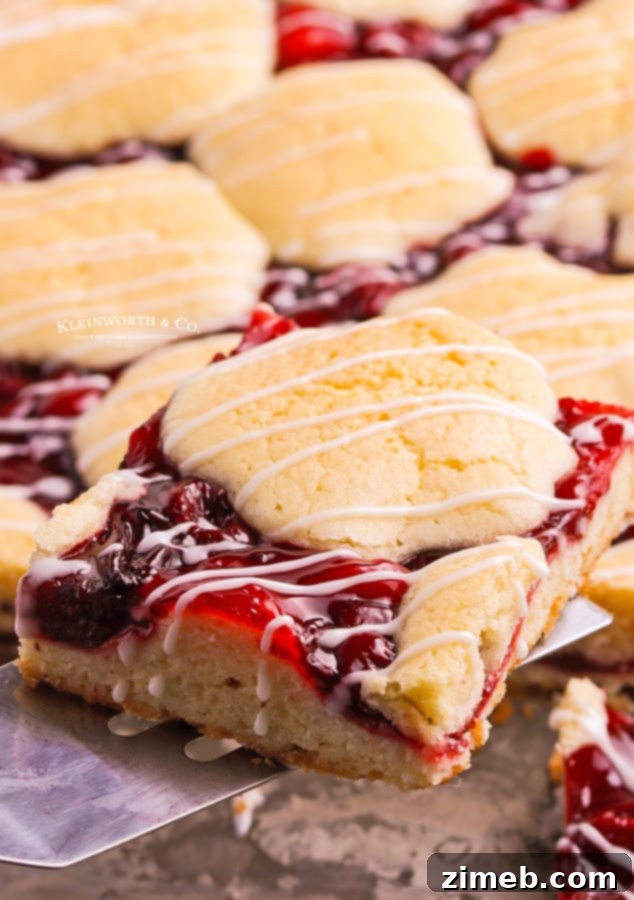
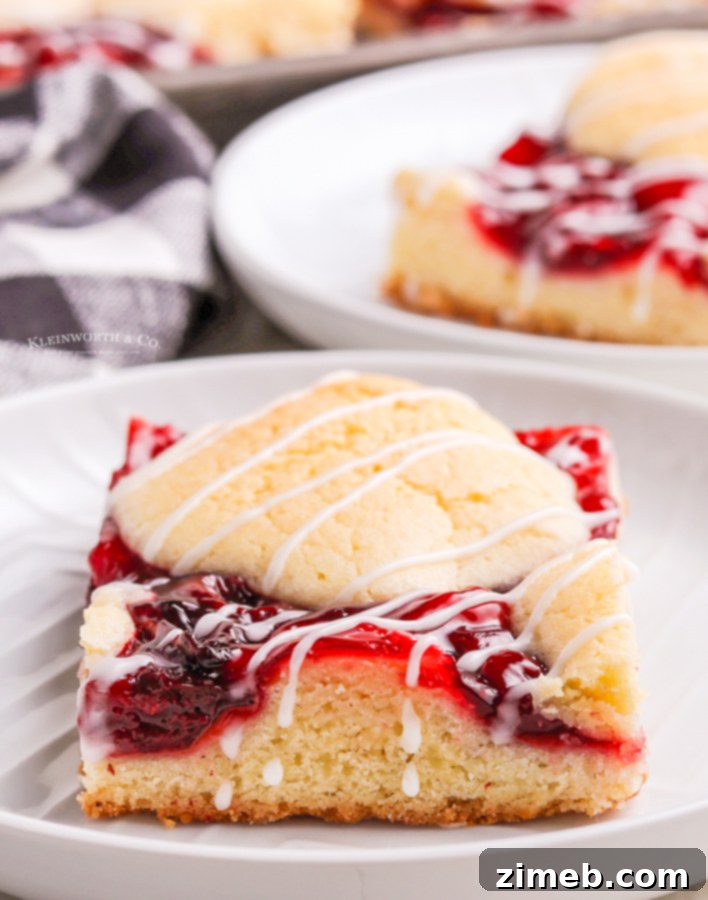
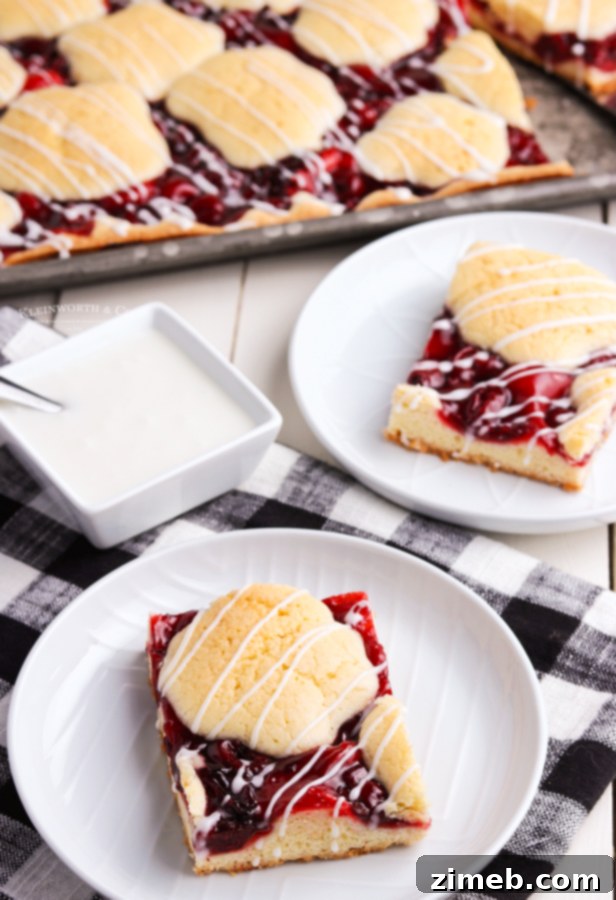
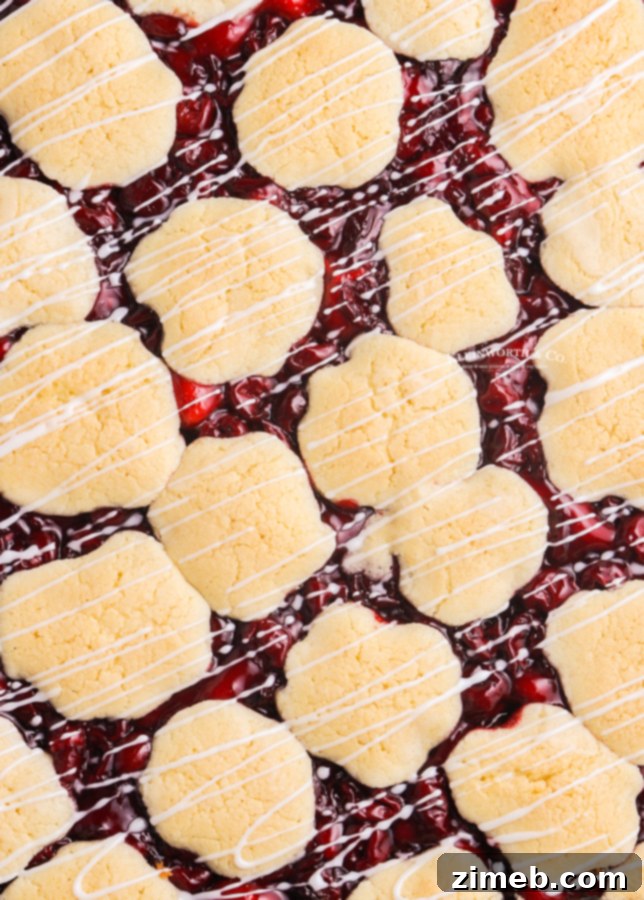
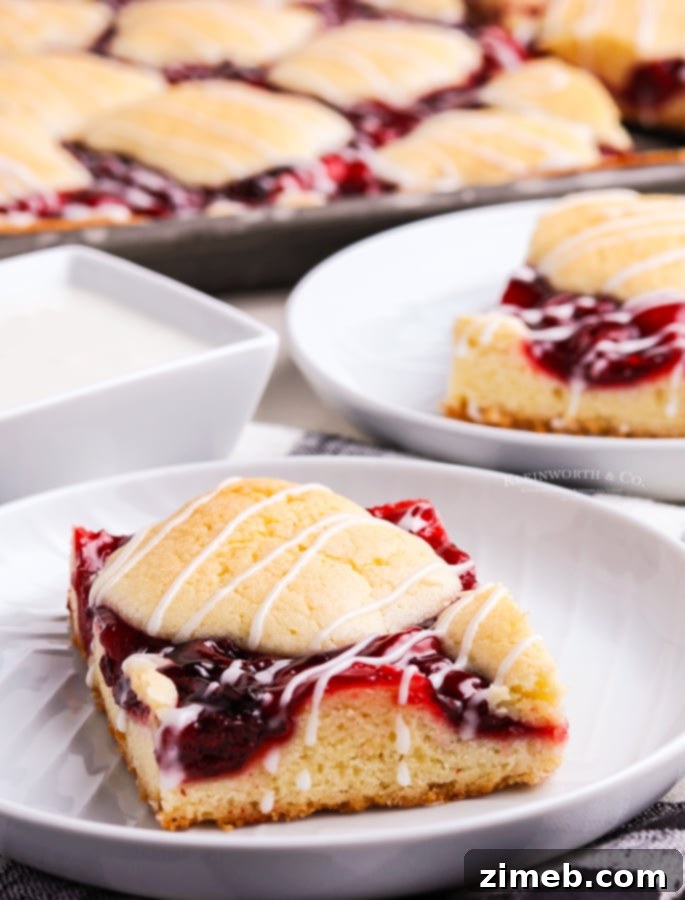
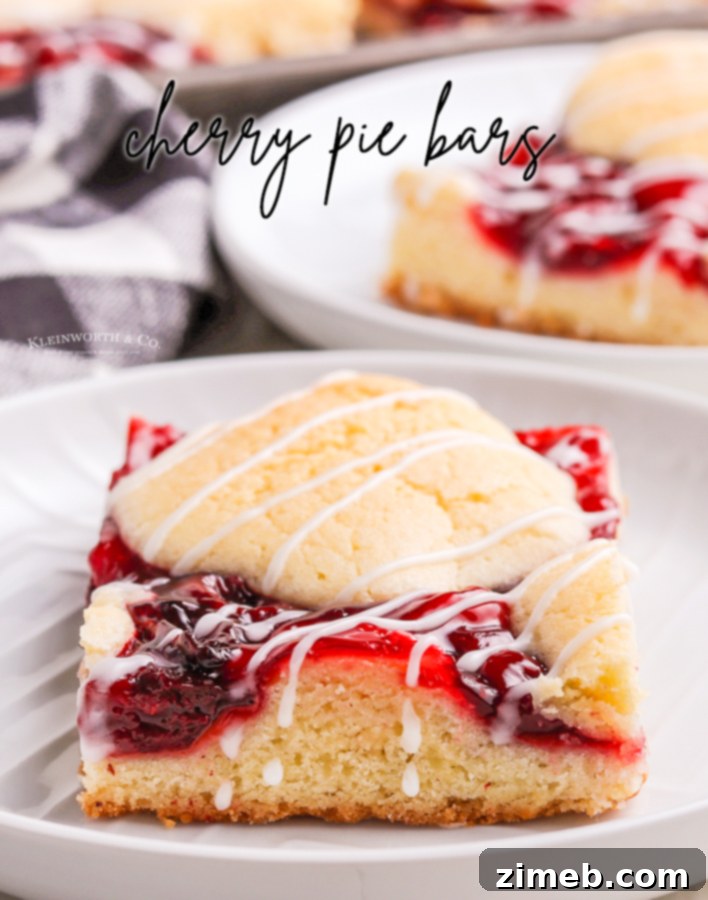
Cherry Pie Bars, also affectionately known as Kuchen Bars, offer a delightful twist on a classic dessert. They feature a wonderfully moist and chewy cake-like base, generously topped with luscious cherry pie filling, interspersed with tender pockets of crumble, and finished with a sweet, delicate sugar glaze. These bars are undeniably a superior choice to traditional pie, not just in flavor but also in their incredible ease of preparation, making them a perfect treat for any occasion.
Who doesn’t love the irresistible taste of cherry pie? In our household, it’s a perennial favorite, and I often find myself asked to whip one up. However, when it comes to baking a truly exceptional dessert, I confess I would choose these easy cherry pie bars over a conventional pie any day of the week. Their simplicity and sheer deliciousness are unmatched, making them a go-to for busy bakers and dessert enthusiasts alike.
These dessert bars are remarkably simple to create, yet yield a positively scrumptious result. Some people affectionately call them “Kuchen Bars,” a name derived from the German word for cake, “Kuchen.” This moniker perfectly describes the delightful cake-like flavor and texture of the bottom layer. Imagine: a tender, buttery cake base, crowned with a vibrant cherry pie filling, and then adorned with charming little dollops of the same cake-like crust, creating an exquisite crumble topping. The combination is truly sensational – a symphony of textures and flavors that will have everyone asking for more!
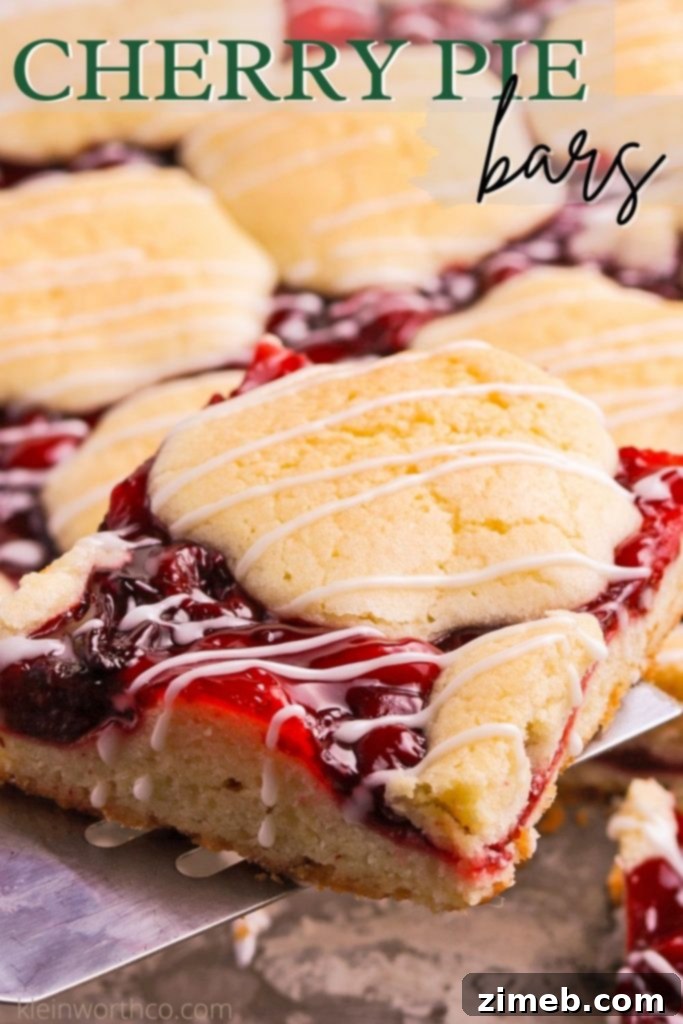
The Irresistible Appeal of Cherry Pie Bars: A Dessert for Every Season
Cherry Pie Bars are incredibly versatile, making them a fantastic choice for various gatherings throughout the year. They shine as a standout dessert at summer potlucks, bringing a burst of seasonal flavor and vibrant color. They are particularly popular for 4th of July celebrations, with their beautiful red cherry filling complementing patriotic themes. But don’t relegate them solely to summer; these delicious bars seamlessly transition into a wonderful dessert for autumn holidays or even cozy winter evenings. Their comforting cake-like texture and sweet-tart filling are universally appealing, making them a year-round crowd-pleaser and a perfect alternative to traditional cherry pie.
One of the biggest advantages of these cherry bars is how much easier they are to prepare compared to a traditional double-crust pie. Say goodbye to rolling out delicate pie crusts, intricate crimping, and worrying about soggy bottoms. With this simple recipe, you get all the beloved flavors of cherry pie in a convenient, fuss-free bar form. This simplicity is a true blessing, especially during the hectic holiday season, allowing you to enjoy more time with loved ones and less time stressing in the kitchen. Preparing a delicious, homemade dessert has never been this straightforward or rewarding.
Why This Easy Cherry Bar Recipe Will Become Your New Favorite
This cherry bar recipe isn’t just easy; it’s a guaranteed hit every single time. The thoughtful combination of a soft, tender, and buttery cake-like base, crowned with a vibrant, juicy cherry filling, and finished with a delicate, sweet sugar drizzle makes for an unforgettable treat. It’s perfect for novice bakers looking for a rewarding project and seasoned pros seeking a reliable crowd-pleaser alike, promising a delightful dessert that requires minimal effort but delivers maximum flavor and satisfaction. Whether you’re making them for a special occasion, a casual get-together, or simply to satisfy a sweet craving, these sheet pan cherry bars are sure to become a cherished staple in your recipe collection. Their inherent portability also makes them an ideal dessert for sharing at parties, picnics, school events, or office potlucks, ensuring they’ll disappear quickly wherever they’re served.
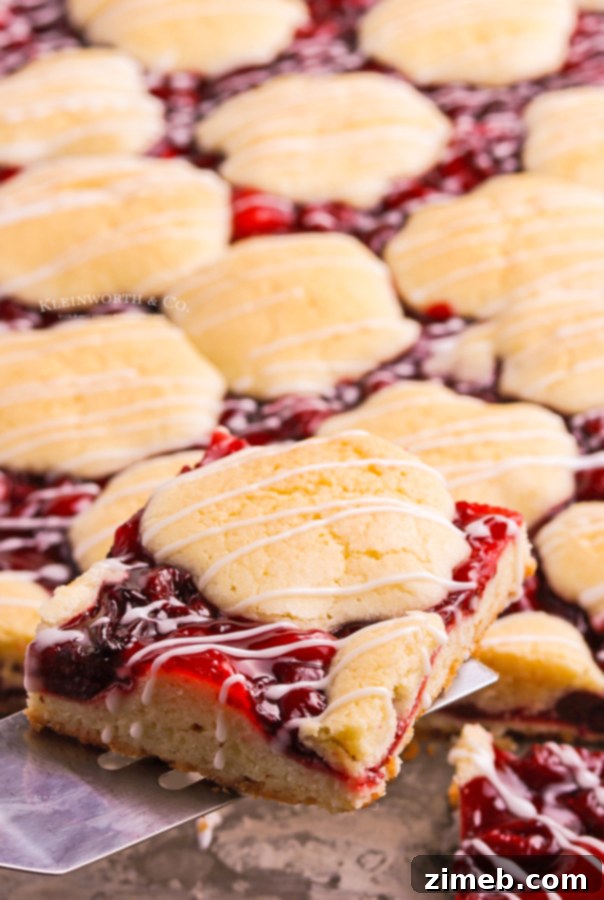
Frequently Asked Questions About Our Delicious Cherry Pie Bars
Can These Cherry Bars Be Made with Any Pie Filling?
Absolutely, yes! This is hands down one of the most exciting and adaptable aspects of this versatile cherry bar recipe. You can effortlessly customize these bars by swapping out the classic cherry pie filling for virtually any of your favorite fruit flavors. As autumn gracefully approaches, we frequently make these with a comforting apple pie filling, creating a warm, spiced, and deeply satisfying treat that evokes all the best of the fall season. My daughters, in particular, are huge enthusiasts of blueberries, so we often dedicate a batch to a vibrant blueberry filling, which they eagerly anticipate. Other wildly popular choices include sweet peach, bright strawberry, or even a delightful mixed berry filling for a burst of varied fruit notes. Just imagine the endless possibilities – each variation offers a unique and equally delicious experience, making this a truly versatile base recipe for all your fruit bar cravings, suitable for any time of year!
How to Store Cherry Pie Bars for Optimal Freshness?
Proper storage is key to ensuring your homemade cherry pie bars remain wonderfully fresh and irresistibly delicious for as long as possible. These delightful bars will keep beautifully in an airtight container at room temperature for up to 2-3 days. If you reside in an area with average to high humidity, a smart little trick is to line the bottom of your storage container with a paper towel. This acts as a moisture absorber, preventing any excess moisture from making your bars soggy. However, if you’re lucky enough to live in a drier climate with single-digit humidity, you can comfortably skip this step without issue.
For extended freshness and convenience, these bars can also be refrigerated for up to 1 week. Simply place them in an airtight container once they have cooled completely. And for an even longer storage solution, they freeze exceptionally well for up to an impressive 6 months! To freeze, I highly recommend individually wrapping each bar tightly in plastic wrap. Then, arrange the wrapped bars on a plate or baking sheet in a single layer to freeze completely until firm. Once frozen solid, transfer them to a freezer-safe zip-top bag or container. This method not only maximizes freezer space but also allows you to effortlessly grab a single bar whenever a sudden craving strikes, making them a fantastic, ready-to-enjoy make-ahead dessert option.
Indulgent Cherry Dessert Bars for Any Occasion
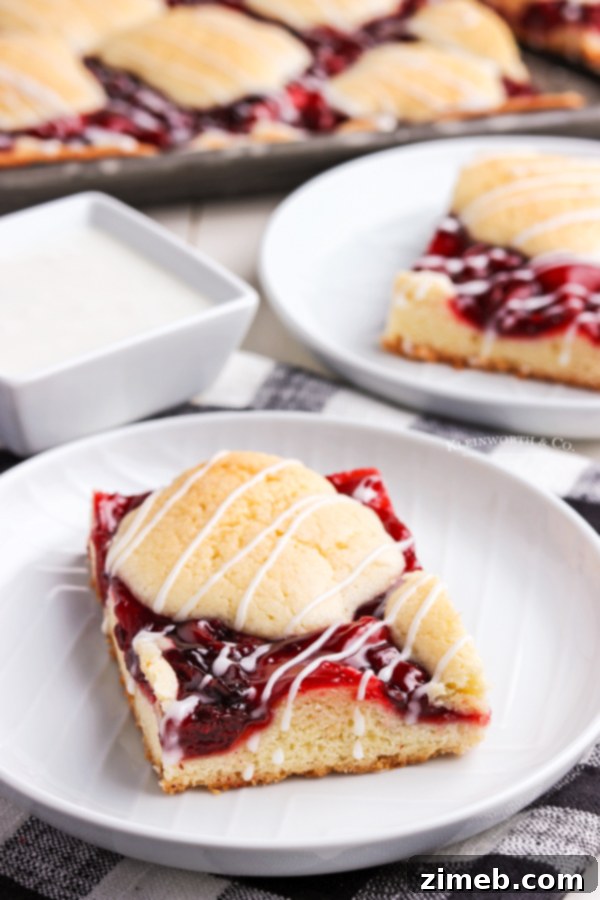
What Type of Baking Pan Should I Use for Cherry Pie Bars?
For this specific cherry pie bar recipe, it is absolutely crucial to use a standard 10x15x1-inch baking pan, which is most commonly referred to as a jelly roll pan. This precise size is absolutely perfect for achieving the ideal thickness and ensuring an even bake for these delightful bars. Using a pan that is too small, such as a 9×13-inch brownie pan, will result in overly thick bars that may not cook through properly in the center, potentially leading to a doughy or underbaked texture. Conversely, if you opt for a pan that is too large, the batter will spread too thinly, causing the bars to bake too quickly and risk becoming dry or even burning before they are adequately set. Adhering to the recommended jelly roll pan size ensures an even bake, a beautiful golden-brown finish on both the base and crumble, and the wonderfully moist, chewy texture we all cherish in these easy cherry pie bars. You can often find suitable jelly roll pans at most kitchen supply stores, online retailers, or even in larger supermarkets (a specific product link might be provided below for your convenience).
Can These Cherry Pie Bars Be Made with Fresh Cherries?
Absolutely, these bars are indeed fantastic when made with fresh cherries, offering an even brighter, more natural, and intense flavor profile! To adapt the recipe for using fresh fruit, you’ll need approximately 2 cups of pitted and finely diced fresh cherries. In a medium-sized bowl, combine your prepared cherries with 2 tablespoons of freshly squeezed lemon juice and 1 tablespoon of cornstarch. Toss the ingredients gently but thoroughly to ensure every piece of cherry is evenly coated with the cornstarch mixture. Then, allow the mixture to macerate for about 30 minutes to an hour. This maceration process is a crucial step; it helps draw out the natural, delicious juices from the cherries and combines them beautifully with the cornstarch and lemon juice, creating a perfectly thickened, flavorful filling that truly rivals any canned option. This simple yet effective step ensures your fresh cherry filling will have the ideal consistency and outstanding taste when baked into your utterly delicious and homemade cherry pie bars.
More Creative Recipes Featuring Canned Cherry Pie Filling
Canned cherry pie filling is an undeniable pantry staple, offering unparalleled convenience and an explosion of incredible flavor for a multitude of dessert creations. We absolutely adore cherry pie filling in our home, so it’s no surprise that we boast an extensive collection of recipes prominently featuring this incredibly versatile ingredient. Beyond these universally loved cherry pie bars, you can easily transform canned cherry filling into a wide array of delectable treats, perfect for any craving or occasion. Explore some of our top-rated favorites below, and for an extra special, deeply satisfying touch, don’t forget to try your hand at making our very own homemade cherry pie filling from scratch – it’s easier than you think and tastes divine!
- Easy Air Fryer Cherry Pie: A quick, convenient, and incredibly simple way to enjoy individual cherry pies with minimal fuss.
- Cherry Pie Parfait: A delightful layered indulgence featuring creamy goodness and sweet, vibrant cherry filling for an elegant, no-bake treat.
- No-Bake Cherry Cheesecake: A luxuriously cool, creamy, and effortlessly prepared cheesecake, making it the perfect dessert for warm summer days or any time you need a simple showstopper.
- Cherry Pie Ice Box Cake: Layers of crisp cookies, rich cream, and luscious cherry filling come together for a refreshingly easy, no-bake delight that’s always a crowd-pleaser.
Discover More Irresistible Cookie Bar Recipes
If you’re a devoted fan of the sheer convenience, incredible versatility, and undeniable deliciousness of dessert bars, then you’re truly in for a treat! Beyond our much-loved cherry pie bars, there’s an entire universe of fantastic cookie bar recipes just waiting to be explored and enjoyed. These easy-to-make, bake-in-a-sheet-pan desserts are absolutely perfect for feeding a hungry crowd, bringing to potlucks, preparing for bake sales, or simply enjoying as a comforting homemade treat with your family. They brilliantly offer all the wonderful, familiar flavors of your favorite cookies or pies, but in a much simpler, highly convenient, and easily sliceable bar format. Dive into some of our other fantastic and highly rated bar creations – your taste buds will thank you!
- M&M Sugar Cookie Bars: Incredibly colorful, wonderfully chewy, and always a hit with both kids and adults alike.
- Cinnamon Roll Sugar Cookie Bars: All the comforting, spiced flavors of classic cinnamon rolls, baked into a soft, delectable cookie bar.
- Birthday Frosted Sugar Cookie Bars: Celebrate any joyful occasion with these festive, generously sprinkle-topped, and utterly delicious bars.
- St. Patrick’s Day Cake Mix Cookie Bars: A super easy, fun, and themed dessert that cleverly uses a cake mix shortcut for quick preparation.
- Chocolate Chip Cookie Bars: The ultimate classic, perfectly chewy, and generously packed with abundant chocolatey goodness – a timeless favorite.
- M&M Christmas Cookie Bars: Delightfully festive and incredibly delicious, these bars are absolutely perfect for all your holiday baking and entertaining needs.
- Sugar Cookie Bars: Simple, perfectly sweet, and endlessly customizable with an array of different frostings and creative toppings.
- Patriotic Cookie Bars: Loaded with festive red, white, and blue M&M’s, these bars are tailor-made for national holidays and celebrations.
Mastering the Perfect Cherry Bar: Expert Tips and Essential Tricks
Creating perfect, bakery-quality cherry bars right in your own kitchen is much easier than you might initially think, especially when you arm yourself with a few helpful tips and insider tricks. The key to achieving that wonderfully moist, tender, and cake-like base, along with the delightful, crumbly topping and vibrant fruit filling, truly lies in the quality of your ingredients and a mindful approach to preparation. These particular bars are designed to be quite forgiving, making them ideal for bakers of all skill levels. However, paying close attention to certain specific details can undoubtedly elevate your homemade dessert from merely “good” to absolutely phenomenal, ensuring a consistently delicious outcome every time. Here are some invaluable insights to help you achieve professional-level results and truly impress everyone who tastes your amazing cherry pie bars.
Ingredients for Irresistible Cherry Pie Bars
Gathering the right ingredients, meticulously measured and prepared, is the crucial first step to creating these utterly delectable cherry pie bars. We’ve carefully selected a balanced combination that ensures a rich, deeply flavorful cookie base, a vibrant, juicy fruit filling, and a perfectly sweet, pourable glaze. Each individual component plays a vital role in achieving that sought-after moist, chewy texture and the irresistible, harmonious taste that makes these bars so popular. Here’s a comprehensive list of everything you’ll need to make this crowd-pleasing dessert a resounding success:
Cookie Base Ingredients
- Unsalted Butter: One cup (two sticks), softened to room temperature, ensuring a smooth, creamy mixture and tender crumb.
- Granulated Sugar: One and three-quarter cups, providing the perfect level of sweetness and contributing to the golden-brown crust.
- Large Eggs: Four large eggs, at room temperature for better emulsification and a consistently tender crumb.
- Vanilla Extract: One teaspoon, a foundational flavor that enhances and harmonizes all the other ingredients in the base.
- Almond Extract: A quarter teaspoon, a secret ingredient that beautifully complements and intensifies the natural cherry flavor.
- All-Purpose Flour: Three cups, forming the essential structure for both our cake-like base and the delicious crumble topping.
- Salt: Half a teaspoon, crucial for balancing the sweetness and highlighting the other delicate flavors.
- Cherry Pie Filling: Two cans (21 oz each), the star of the show, providing juicy, sweet-tart fruit and vibrant color.
Glaze Ingredients
- Confectioner’s Sugar: One cup, also known as powdered sugar, for a smooth, pourable, and easily drizzled glaze.
- Clear Vanilla Extract: Half a teaspoon, essential for achieving a pure, bright white glaze. (Please see the notes section below for an alternative).
- Almond Extract: A quarter teaspoon, a touch of almond in the glaze echoes the base for a cohesive and enhanced overall flavor profile.
- Milk: Two to three tablespoons, used to achieve the perfect drizzling consistency for your glaze.
Simple Steps to Make Perfect Cherry Squares (Cherry Pie Bars)
Making these delightful cherry pie bars is an incredibly straightforward process, meticulously designed for ease of execution and maximum enjoyment. Follow these simple, clear, and concise steps, and you’ll soon be indulging in a batch of warm, wonderfully sweet, and perfectly chewy dessert bars that are truly hard to resist. Each step is clearly outlined to ensure a successful and enjoyable baking experience, even for those who might be new to making bar desserts. Let’s gather our ingredients and get baking!
How to Make Cherry Pie Bars: A Detailed Step-by-Step Guide
Prep time: Approximately 10 minutes
Cook time: Approximately 35-40 minutes
- Begin by preheating your oven to 350 degrees Fahrenheit (175 degrees Celsius). This ensures an evenly heated baking environment from the moment your pan enters the oven.
- Prepare a 15x10x1-inch baking pan (a standard jelly roll pan) by generously spraying it with non-stick cooking spray, or greasing it thoroughly with a thin layer of oil or shortening. This crucial step guarantees easy removal of your beautifully baked bars.
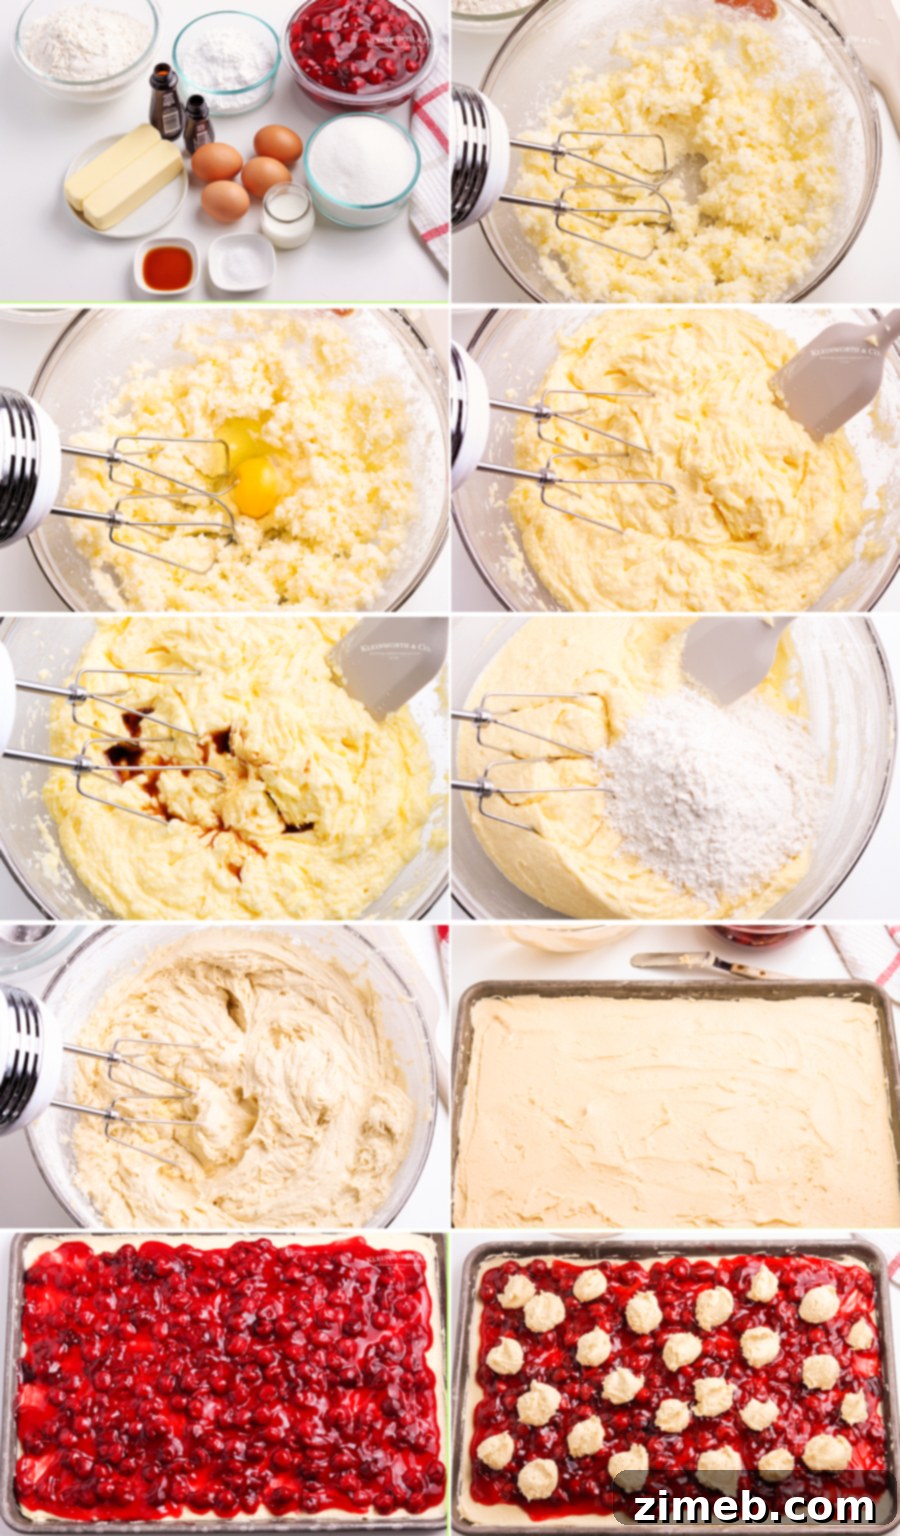
- In a large mixing bowl, preferably using an electric mixer, cream together the softened unsalted butter and granulated sugar until the mixture is visibly light and fluffy. This aeration creates the foundational tender texture of your cookie base.
- Add the large eggs one at a time, beating exceptionally well after each addition to ensure full incorporation. Remember to scrape down the sides of the bowl as needed to thoroughly combine all ingredients.
- Beat in the vanilla extract and almond extract until they are just combined into the mixture. Be careful not to overmix at this stage, as it can affect the bar’s tenderness.
- In a separate medium bowl, whisk together the all-purpose flour and salt lightly until they are well combined. This distributes the salt evenly throughout the dry ingredients.
- Gradually add the prepared dry flour mixture to the wet batter, beating on a low speed only until just combined. Mix only until no visible streaks of flour remain to avoid overdeveloping the gluten, which can lead to tough bars.
- Take about 3 cups of the prepared batter and spread it as evenly as possible into the bottom of your greased baking pan. This portion will form the wonderfully moist and chewy, cake-like base of your bars.
- Carefully and gently spread both cans of cherry pie filling evenly over the batter layer in the pan. Distribute the filling to reach all edges for consistent flavor in every bite.
- Using a regular tablespoon, drop the remaining batter in small, random dollops over the top of the cherries. Do not attempt to spread this top layer out; these dollops will wonderfully expand and create delightful pockets of tender, crumbly crust as the bars bake.
- Bake the bars for 35-40 minutes, or until the top is beautifully golden brown and a clean toothpick inserted into the cake portion (avoiding the cherry filling) comes out clean. Keep a close eye on it during the last few minutes to prevent over-browning.
- Once baked to perfection, remove the pan from the oven and carefully place it on a wire rack to cool completely. Allowing the bars to cool thoroughly before glazing is paramount to prevent the glaze from melting and becoming runny.
Instructions for Making the Sweet Glaze
- In a small bowl, combine the confectioner’s sugar, clear vanilla extract, almond extract, and initially, 2 tablespoons of milk. Whisk thoroughly until the mixture is completely smooth and reaches a perfect drizzling consistency. If the glaze is too thick, add the remaining tablespoon of milk gradually, a tiny bit at a time, until desired consistency is achieved. If too thin, add a bit more confectioner’s sugar.
- Once the cherry pie bars have cooled completely and are firm, generously drizzle the prepared sweet glaze evenly over the entire top surface.
- Allow the glaze to set for a few minutes (about 15-20 minutes) before carefully cutting the bars into neat squares or rectangles and serving.
- To maintain optimal freshness, store any leftover cherry pie bars in an airtight container in the refrigerator.
Chef’s Notes for Best Results
Essential Tools and Ingredients for Making Perfect Cherry Pie Bars
This cherry pie bar recipe is incredibly easy to follow and consistently yields a truly delicious, satisfying dessert. If you’re an experienced baker like me, you might already have most of these essential items conveniently on hand in your pantry and kitchen. Or, perhaps you’ve never quite ventured into the delightful world of making homemade pie bars before and might feel a little nervous about starting – rest assured, I promise you are going to absolutely love them and find the process very rewarding! I’ve meticulously compiled a list below of the specific kitchen essentials and high-quality ingredients that I simply can’t do without when creating this fantastic and foolproof bar recipe. These carefully chosen tools and ingredients are key to ensuring a smooth, stress-free baking process and achieving the best possible outcome for your utterly delicious cherry bars.
- All-Purpose Flour: The indispensable foundation for your wonderfully delicious and tender cookie base.
- Light Brown Sugar: Adds a delightful depth of flavor and a subtle, rich caramel note to the base, enhancing its complexity.
- Pure Vanilla Extract: A timeless ingredient that exquisitely enhances the overall flavor profile; always opt for a good quality one.
- Granulated Sugar: Provides the essential sweetness in the cookie base and contributes to a delightful, slightly crisp texture.
- Almond Extract: A secret weapon and a must-have ingredient for elevating the cherry flavor profile to new, exquisite heights.
- Salt: A small pinch of salt perfectly balances the sweetness and brilliantly enhances all the other wonderful flavors.
- Cherry Pie Filling: High-quality canned filling ensures both ease of preparation and a consistently delicious, vibrant fruit flavor.
- Confectioner’s Sugar: Absolutely essential for crafting a silky-smooth, effortlessly pourable, and beautifully sweet glaze.
- Clear Vanilla Extract: Specifically recommended for achieving that pristine, bright white glaze – a fantastic aesthetic choice.
- 15x10x1 Baking Pan: The quintessential jelly roll pan, critical for ensuring perfect bar thickness and an even bake every time.
- Mixing Bowls: A versatile set of various sizes for effortless preparation, organization, and efficiency in your baking process.
If you adored this incredibly easy and delicious Cherry Pie Bars recipe, you’re bound to fall head over heels in love with these other delightful treats too! Each link below leads directly to an easy, printable recipe that promises delicious results, ensuring your baking adventures are always successful and rewarding. Explore new favorites, broaden your baking repertoire, and discover your next go-to dessert with these fantastic bar creations!
Samoa Cookie Bars are lovingly inspired by the adored Girl Scout Samoa cookies, featuring irresistible layers of rich brown sugar shortbread, luscious caramel, toasted coconut, and decadent chocolate drizzle. An indulgent and nostalgic treat!
Check out this recipe
Blueberry Cobbler Bars are a simple yet profoundly satisfying summer treat, boasting a rich, buttery texture and a delightful burst of sweet-tart blueberry flavor in every single bite. Absolutely perfect for showcasing all those fresh summer berries!
Check out this recipe
Easy Lemon Bars are the quintessential bright and zesty spring dessert, straight from grandma’s cherished recipe box. They are truly great for brunches, popular at bake sales, charming for bridal showers, and so much more.
Check out this recipe
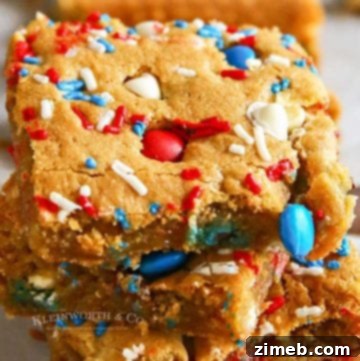
Patriotic M&M’s Cookie Bars are the ideal quick, easy, and incredibly festive treat to serve at all your Memorial Day, 4th of July, or any other patriotic holiday celebration. They’re a delicious way to show your spirit!
Check out this recipe
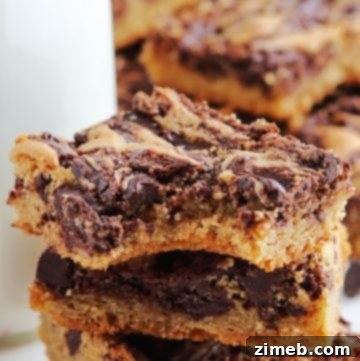
Chocolate Chip Peanut Butter Cookie Bars are wonderfully soft and chewy peanut butter cookie bars, generously swirled with decadent melted chocolate chips. They offer the perfect easy dessert combination of two beloved flavors!
Check out this recipe
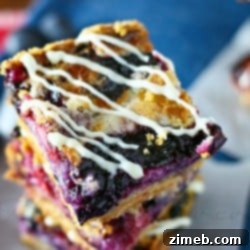
Red White & Blueberry Pie Bars are generously loaded with sweet blueberries, tart raspberries, and creamy white chocolate, making them the perfect patriotic treat for all your holiday gatherings. You’ll definitely want these at your 4th of July, Memorial Day, and Labor Day celebrations!
Check out this recipe
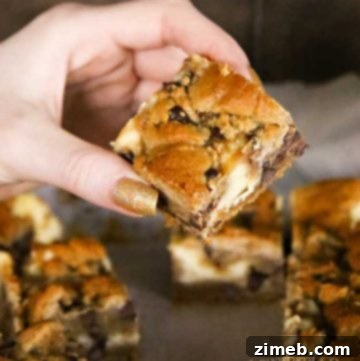
Chocolate Chip Cookie Cheesecake Bars are remarkably made with just 4 simple ingredients and are ready in less than 1 hour. They offer the perfect harmonious pairing of creamy cheesecake and classic chocolate chip cookies in one irresistible bar!
Check out this recipe
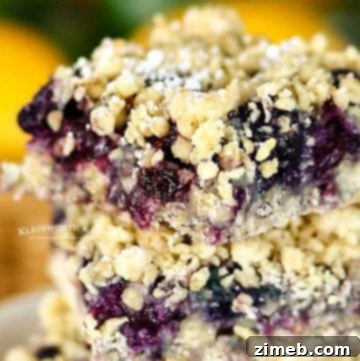
Blueberry Crumble Bars are the quintessential dessert to prepare and enjoy with an abundance of fresh, ripe summer blueberries. A buttery, tender crust topped with succulent fresh berries and a hearty oat crumble topping is simply delicious and satisfying.
Check out this recipe
If you’ve loved making and enjoying this fantastic recipe for Cherry Pie Bars as much as I do, please take a delightful moment to write a five-star review below. Your valuable feedback not only helps other passionate bakers discover and enjoy this truly delicious dessert, but also supports our community! And be sure to help me spread the word by generously sharing this mouthwatering recipe on Facebook and Pinterest with all your friends, family, and fellow dessert enthusiasts!
Nutritional information for this recipe is provided as a courtesy and is approximate. Please double-check with your own dietary calculator for the best accuracy tailored to your specific ingredients. We cannot guarantee the accuracy of the nutritional information given for any recipe on this site.