
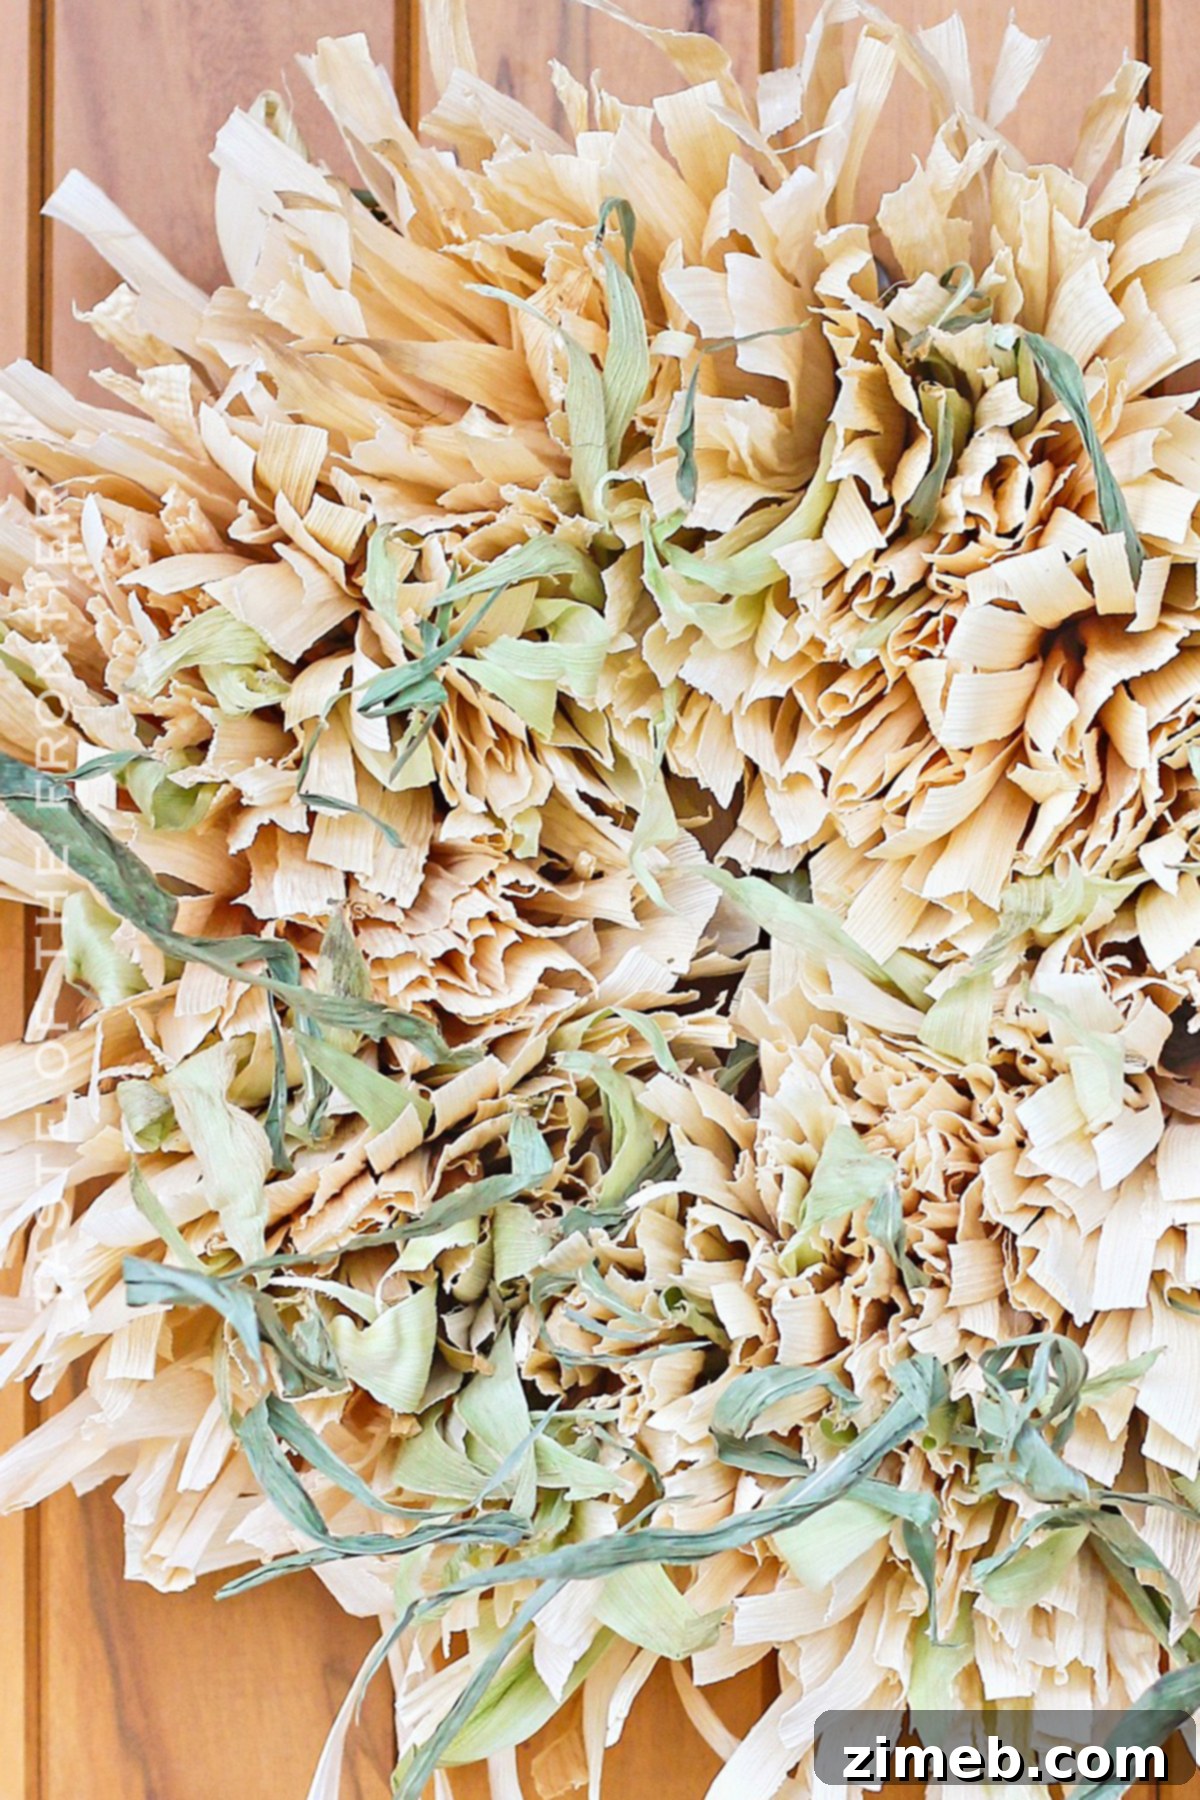
Celebrate the vibrant hues and bountiful spirit of the autumn harvest with our exquisite, natural Raw Husk Corn Husk Wreath. Thoughtfully designed to adorn your front door, this handcrafted wreath serves as a beautiful reminder of the organic splendor surrounding us during this special season.
Fall is an enchanting time of year, inviting us to infuse our homes with warmth, comfort, and decorative charm. A raw corn husk wreath stands out as an exceptional choice to embrace this seasonal transformation. This DIY project is remarkably straightforward, requiring just a few hours to complete, making it ideal for anyone seeking a quick yet profoundly stylish way to enhance their porch or entryway for autumn. Furthermore, it offers a wonderful, sustainable opportunity to utilize any leftover corn husks you might have after enjoying fresh corn. Let’s embark on this creative journey together and craft a stunning piece of harvest decor!
PIN THIS TUTORIAL FOR YOUR FALL CRAFTING INSPIRATION
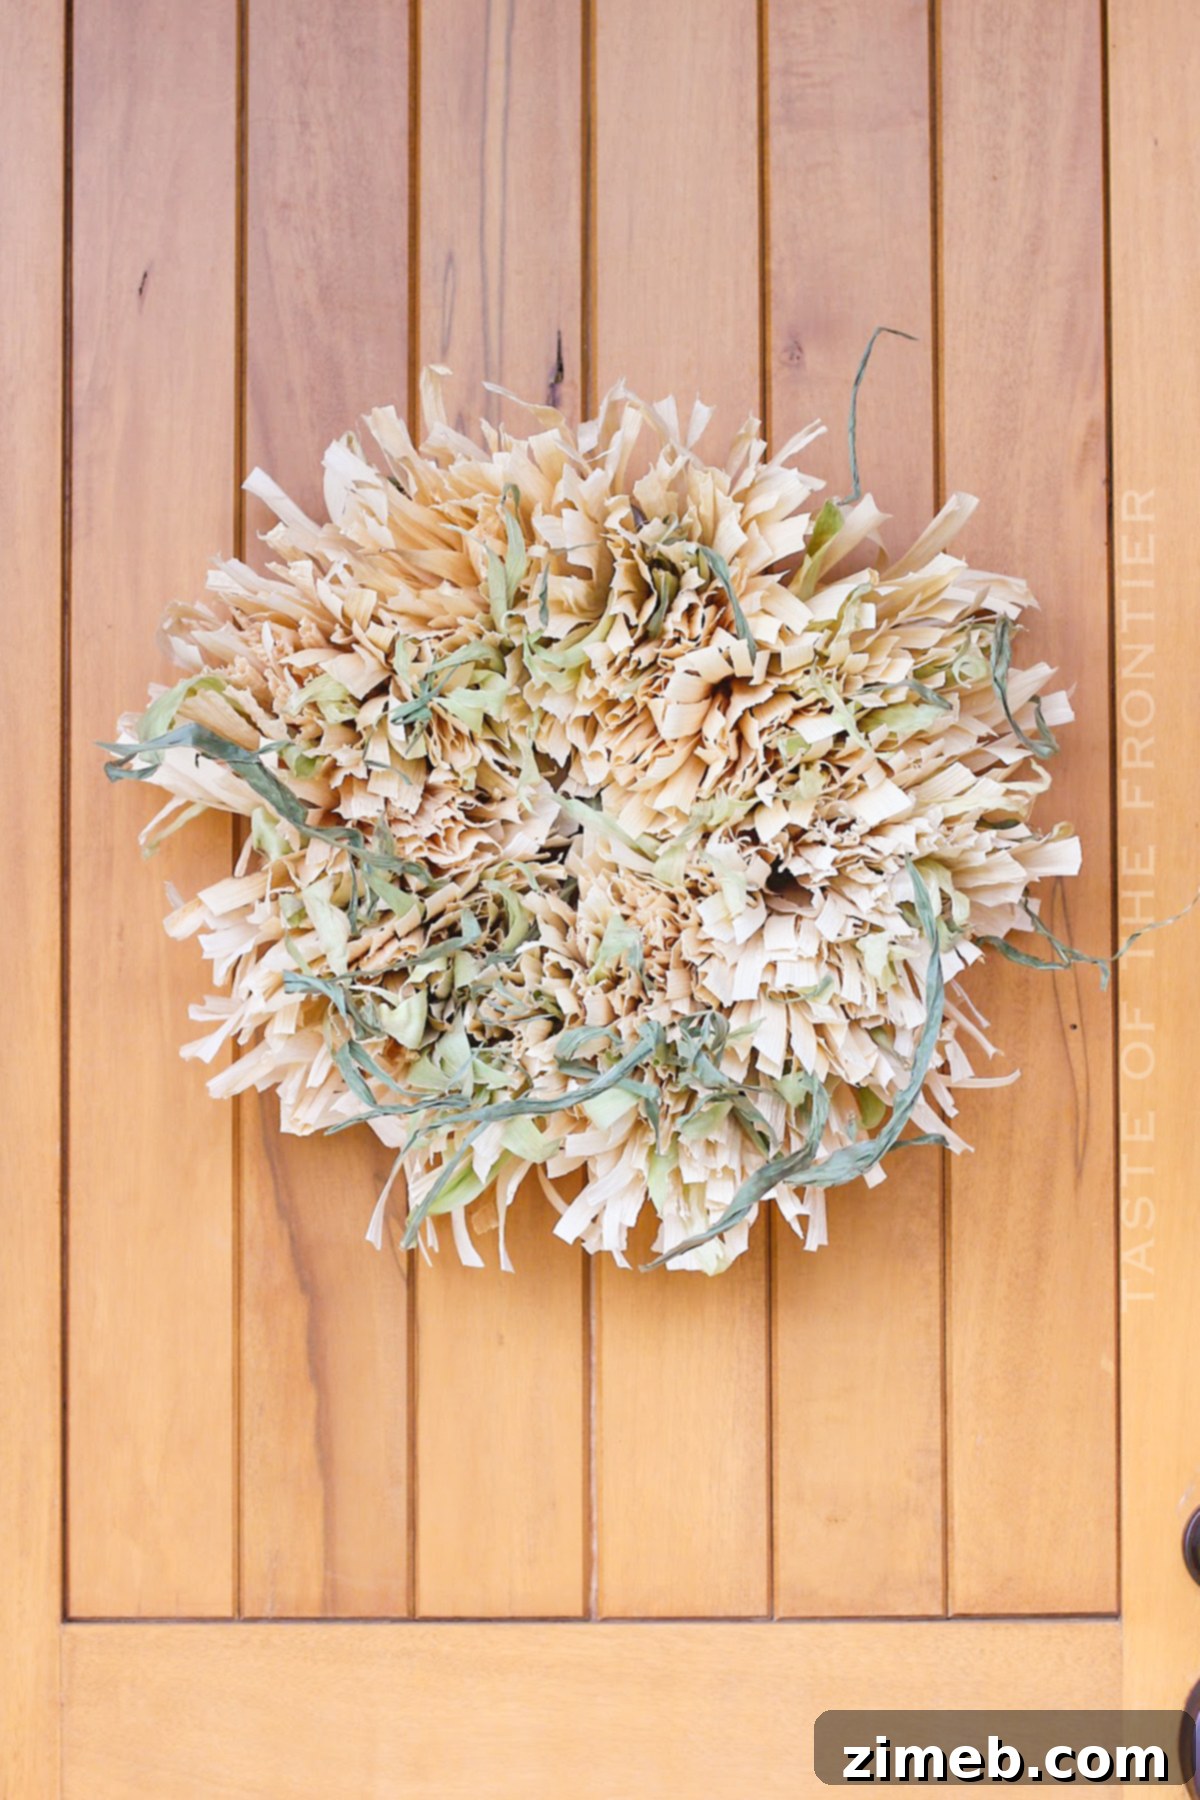
Crafting with Corn Husks: A Sustainable Approach to Fall Decor
Just a short while ago, I delighted in sharing the creation of my Frayed Corn Husk Wreath. At the time, I envisioned that particular wreath gracing a mantlepiece rather than a bustling front door. True to that vision, we’ve since completed our mantle decor, and the frayed corn husk wreath has found its perfect home above the fireplace, adding a cozy, rustic touch to our living space. I’m excited to share the full mantle reveal with you all very soon, so stay tuned for that!
With the mantle wreath in place, the quest for a new front door wreath began. I had already stocked up on several bags of dried corn husks from the store, ready for a new project. However, inspiration struck unexpectedly one evening as I was shucking fresh corn for dinner. The vibrant green husks, often discarded without a second thought, caught my eye with their inherent beauty and unique texture. It was a revelation – why not incorporate these fresh, raw husks into a new design?
Embracing Nature’s Palette: The Beauty of Raw Corn Husk Crafts
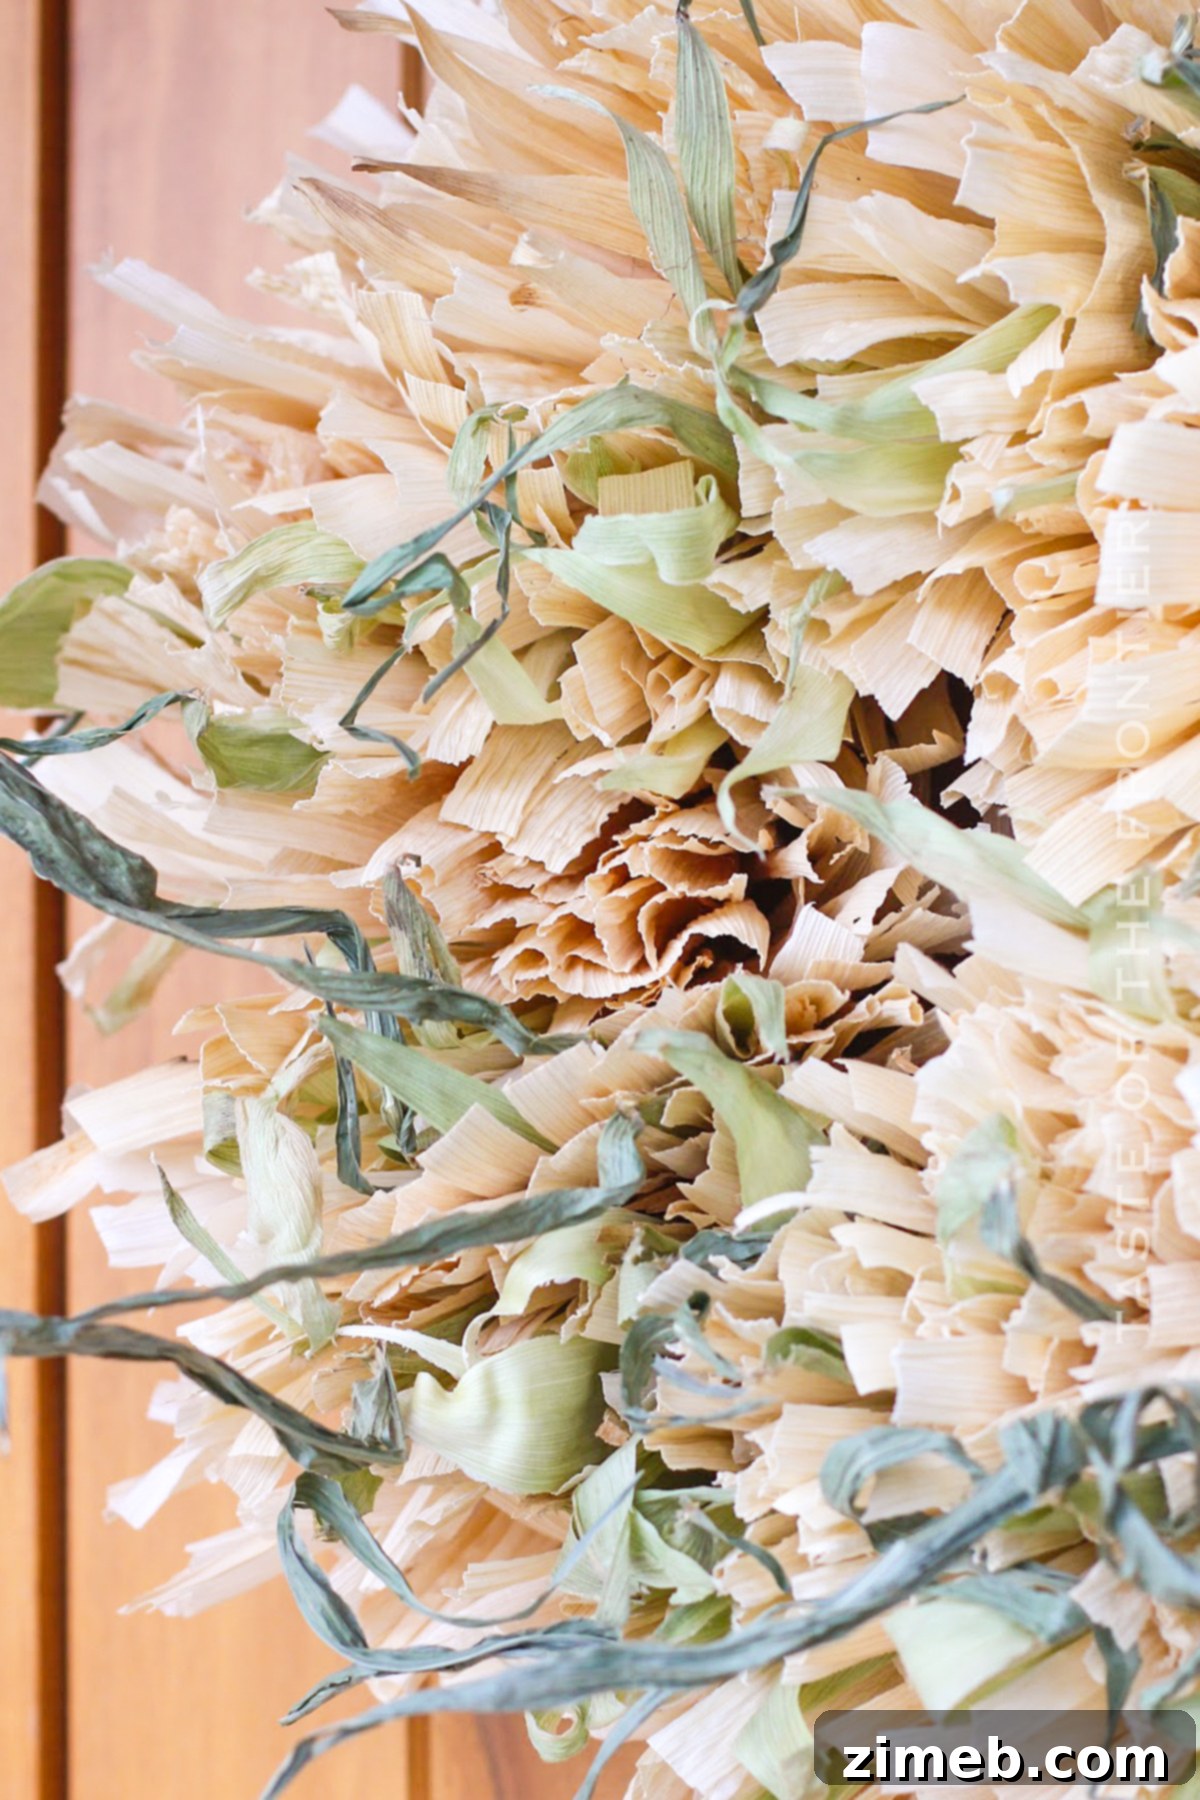
Instead of relegating these gorgeous green husks to the compost bin, I carefully separated them from the corn silks and laid them out on the counter to dry overnight. The next morning, a delightful transformation had occurred: the ends of the husks had gently curled, adding an exquisite organic detail. I immediately knew these would be the perfect natural elements for a distinctive front door wreath. Dedicating some time to this creative endeavor resulted in the stunning piece you see today, a true celebration of nature’s simple elegance.
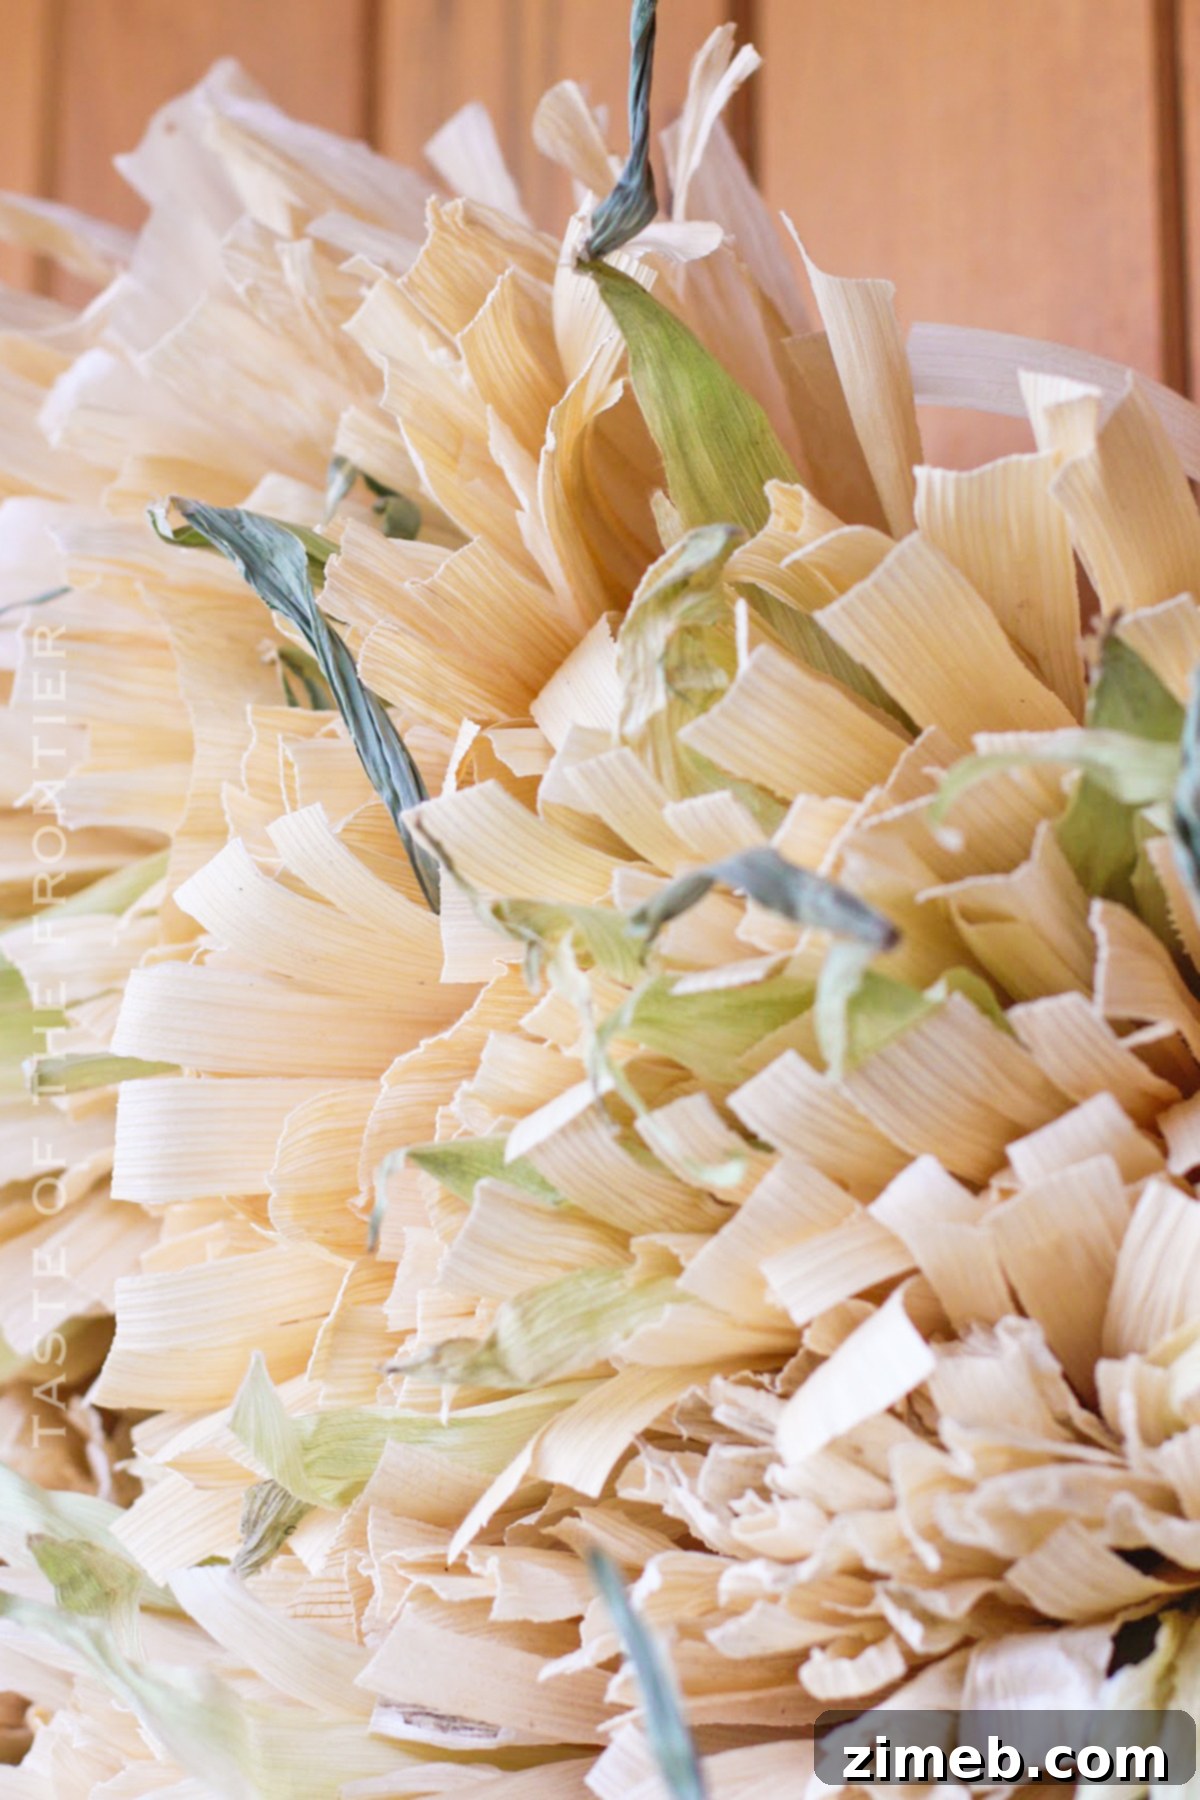
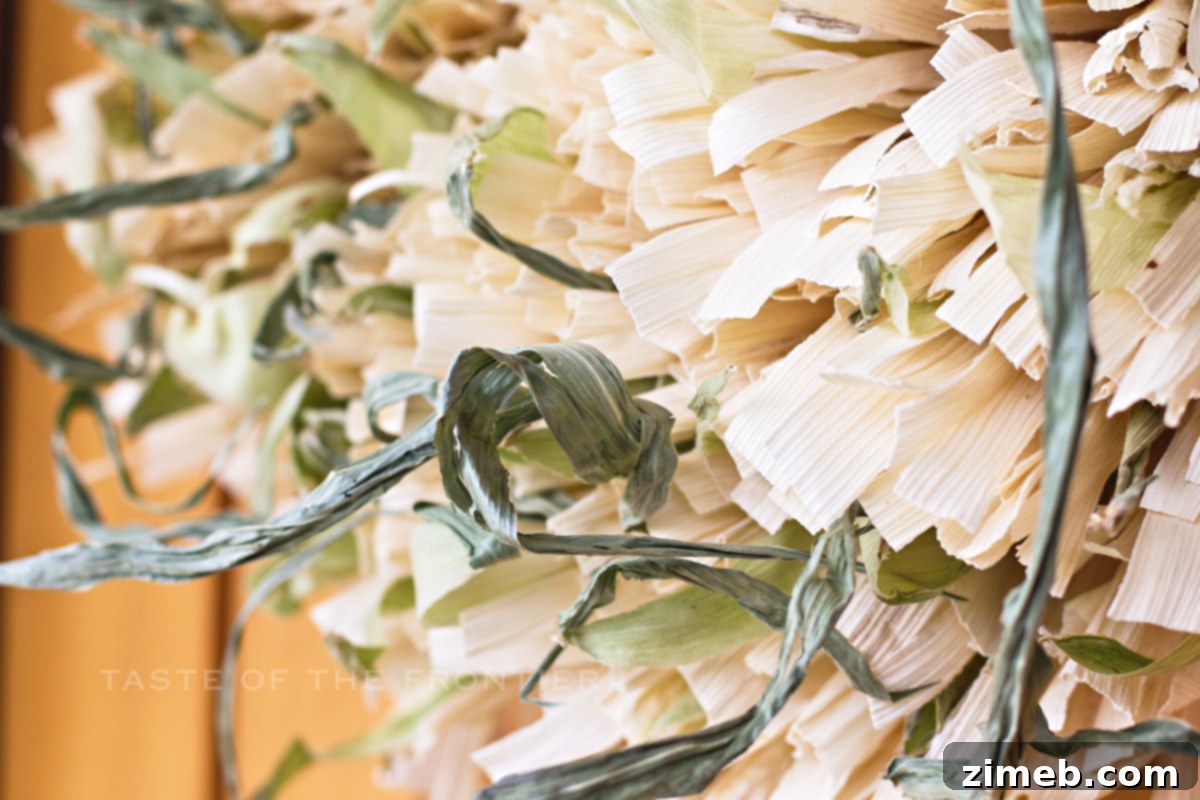
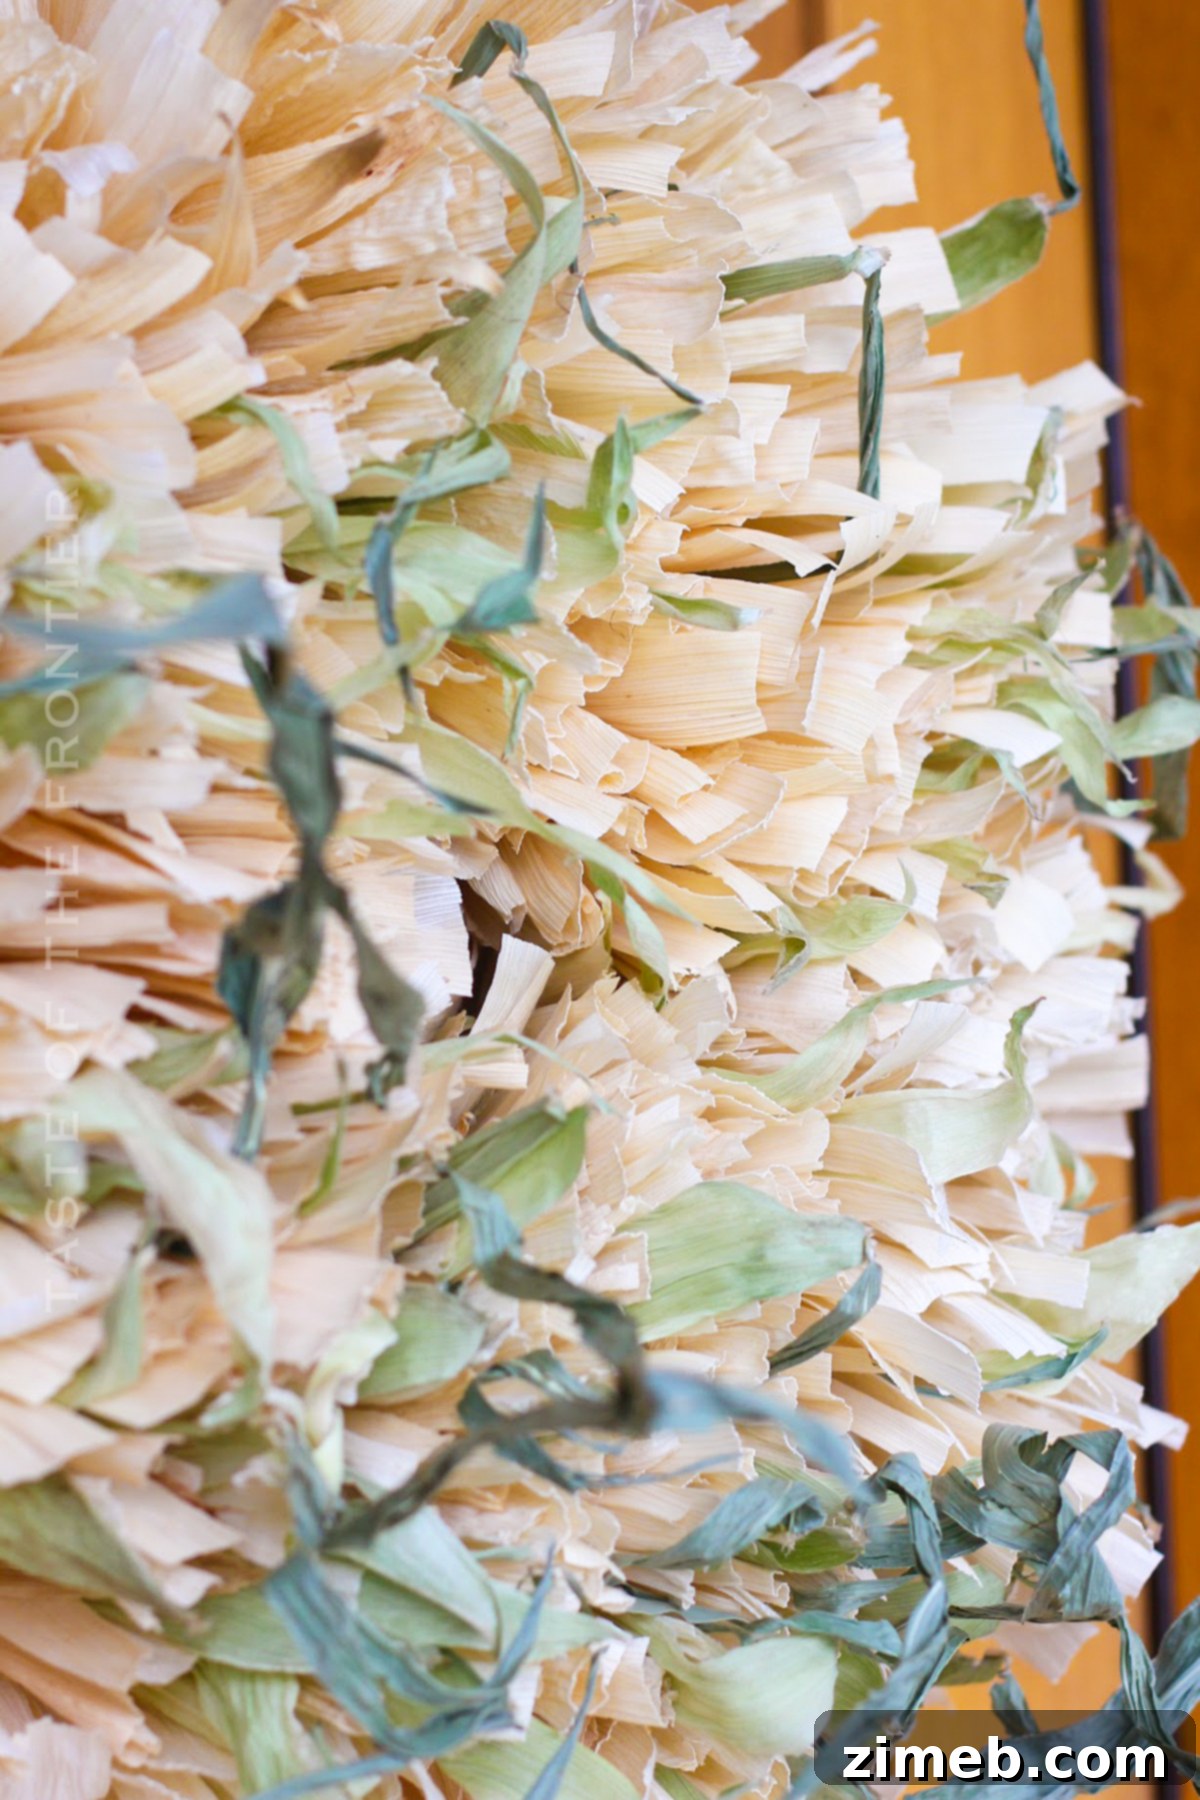
This Raw Husk Corn Husk Wreath offers a wonderfully authentic and understated aesthetic, distinct from the more uniform appearance of wreaths made solely from dried husks. The subtle variations in color, from pale beige to soft green, along with the natural curls and textures, create a dynamic and inviting display. It’s a testament to how humble, often overlooked materials can be transformed into captivating pieces of art, bringing a touch of the harvest season’s richness right to your doorstep.
Frequently Asked Questions About Crafting Corn Husk Wreaths
Embarking on a new DIY project often comes with questions, especially when working with natural materials like corn husks. Here, we address some of the most common inquiries to ensure your wreath-making experience is smooth and enjoyable, helping you create a beautiful and durable piece of fall decor.
Where can I source corn husks for my wreath project?
Corn husks are surprisingly accessible! The most common place to find dried, packaged corn husks is in the international food section of your local grocery store, often near Mexican or Latin American ingredients, as they are a staple for tamales. While prices can fluctuate, I used to find generously sized bags for a very reasonable $2-5. Currently, they might retail for around $8 a bag, but it’s always worth checking dollar stores or discount retailers, where you might score an even better deal. For this particular wreath, depending on how lush and full you desire the final product to be, you will typically need at least 2 to 3 bags of these dried husks to ensure ample material.
IMPORTANT NOTE FOR ASSEMBLY: TIE THE HUSKS AS TIGHTLY AS POSSIBLE TO THE WREATH FORM – THEY WILL INEVITABLY SHRINK AS THEY DRY. Insufficiently tight ties will lead to husks becoming loose and potentially falling out of the twine, compromising the wreath’s integrity and appearance over time.
Can I create this wreath using only dried, packaged corn husks?
Absolutely, you can! If you prefer to make this wreath exclusively with the dried corn husks found in bags at the grocery store, that will work perfectly. The raw, green husks are not strictly essential for the wreath’s construction or overall success; they simply add a distinct touch of fresh green color and unique texture. Your wreath will be equally beautiful and charming, just without the vibrant green accents that fresh husks provide. It’s entirely a matter of personal aesthetic preference and material availability.
Where can I find fresh, raw corn husks for this project?
The best place to find raw, green corn husks is directly from fresh corn on the cob! During late summer and early fall, when corn is in season and abundant, simply purchase some fresh corn on the cob. When you get home, meticulously shuck the corn, separating the tender silks from the sturdy outer husks. These beautiful green husks are then ready to be prepared and incorporated into your wreath craft. It’s a wonderful way to utilize every part of the corn, turning a kitchen chore into a crafting opportunity.
Essential Supply List for Your Corn Husk Wreath
Gathering your materials before you begin ensures a smooth and enjoyable crafting process. Here’s everything you’ll need to create your natural raw corn husk wreath:
- Flat Wood Wreath Form: A sturdy base is crucial for your wreath. A 12-14 inch flat wood or wire wreath form is ideal, providing a stable foundation for the husks.
- 2-3 Bags of Dried Corn Husks: These provide the bulk of your wreath’s volume and texture. Ensure they are clean and free from any damage.
- Raw Green Corn Husks: Sourced fresh from corn on the cob, these add a beautiful, natural green contrast and unique character.
- Twine: Natural jute or cotton twine is perfect for securing the husks to the wreath form. Choose a durable option that blends well with the natural aesthetic.
- Scissors: For cutting twine and trimming husks as needed.
- Large Bowl or Basin: Essential for soaking the dried husks to make them pliable.
- Paper Towels or Clean Cloth: For patting dry the husks after soaking.
Expert Tips for Hanging Your Beautiful Corn Husk Wreath
Once your natural corn husk wreath is complete and thoroughly dried, the next step is proudly displaying it. How you hang your wreath can impact its presentation and stability. If you’ve opted for a wire wreath form similar to the one linked in our supply list, hanging is incredibly simple: it should slide directly onto a standard door hook or a sturdy nail. The design often allows for a seamless fit.
However, if your chosen wreath form lacks this convenient hanging mechanism – perhaps it’s a solid wood base or a different style of wire frame – there’s an easy solution. Take a piece of your durable twine, create a secure loop, and tie it firmly to the back of the wreath form. This custom loop will provide a robust and discreet hanging point, making it effortless to display your handmade autumn masterpiece on any hook or nail. Ensure the loop is centered for even hanging.
Preserving Your Creation: Cleaning and Maintaining a Corn Husk Wreath
Like any outdoor decoration, your beautiful corn husk wreath will inevitably collect environmental dust, pollen, and possibly even cobwebs over time. To keep it looking fresh and vibrant throughout the fall season and for years to come, regular gentle cleaning is recommended. The best method for cleaning is a dry one.
You can effectively remove accumulated dust and debris by using canned air (often used for cleaning electronics), a small air compressor on a low setting, or even a leaf blower held at a distance. Direct the gentle stream of air over the wreath to dislodge and blow away the dirt. This technique is highly effective without risking damage to the delicate husks.
Crucially, avoid washing the wreath with water. Do not use a hose, rinse it under a faucet, or submerge it. Re-wetting the dried husks will cause them to soften, potentially unraveling your carefully tied bundles and making the entire wreath fall apart. Once dried and set, husks are delicate when wet, so always opt for dry cleaning methods to extend the life of your creation.
ESSENTIAL CARE NOTE: TO ENSURE THE LONGEVITY OF YOUR WREATH, IT IS IMPERATIVE TO KEEP IT OUT OF DIRECT WEATHER EXPOSURE. PROLONGED CONTACT WITH RAIN OR SNOW WILL SATURATE THE HUSKS AND LIKELY LEAD TO THE WREATH’S DISINTEGRATION. CONSIDER HANGING IT UNDER A COVERED PORCH OR OVERHANG.
Preparing Your Corn Husks for Crafting: A Crucial First Step
Proper preparation of your corn husks is key to ensuring they are pliable and easy to work with, resulting in a beautifully formed wreath. This step applies primarily to the dried, packaged husks. The raw, green husks are already naturally moist and flexible.
- Soak the Dried Husks: Begin by placing all the dried, natural husks from your bags into a large bowl or basin filled with fresh, clean water. Ensure there’s enough water to fully submerge them.
- Submerge and Soften: Corn husks tend to float, so place another heavy bowl, jar, or plate on top of them to keep them fully immersed in the water. Allow them to soak for several hours, ideally 2-4 hours, or until they become completely soft and pliable. This softening process is vital as it prevents them from cracking and makes them much easier to manipulate and tie.
- Gently Dry: Once thoroughly softened, remove the husks from the water. Gently pat off any excess moisture using paper towels or a clean cloth. They should be damp and flexible, not dripping wet. Now your husks are perfectly conditioned and ready for crafting!
Step-by-Step Guide: How to Craft Your Beautiful Corn Husk Wreath
With your husks prepared and all supplies at hand, it’s time to bring your vision to life. This process is repetitive yet meditative, allowing you to gradually build a rich, textured wreath that celebrates the harvest season.
- Assemble Your Bundles: Take three corn husks at a time. For this “raw husk” version, arrange them with one vibrant green raw husk nestled between two natural, dried husks. Bunch them together firmly at one end, creating a small fan-like bundle. The mix of textures and colors will add depth.
- Secure to the Wreath Form: Take a piece of durable twine and tightly tie each husk bundle onto your chosen wreath form. Position the bundles so that the tied ends are facing inwards, towards the center of the wreath form, and the flared ends are pointing outwards. Ensure each bundle is securely fastened; remember the note about shrinkage!
- Continue Adding and Overlapping: Proceed around the entire wreath form, continuously adding new bundles of husks. The key to a lush wreath is to overlap each new bundle generously over the tied end of the previous one. This creates a seamless, full appearance, hiding the twine and the form itself. You have complete creative control here – adjust the density of your bundles to achieve your desired fullness, whether you prefer a thinner, more delicate look or a robust, abundant display.
- The Crucial Drying Process: Once all your bundles are attached and the wreath is complete, it’s essential to dry it correctly. Hang the entire wreath upside down in a warm, dry place. This unusual hanging method is critical because it encourages all the husks to dry straight out, maintaining their shape and volume. If hung right-side up, gravity might cause the still-pliable husks to sag towards the bottom, distorting the wreath’s form. I suggest attaching it to a wire hanger with sturdy paper clips and hanging it in a warm garage or a room with good air circulation for a couple of days until completely dry and stiff.
If you loved creating this easy-to-make, natural corn husk wreath, you’re in for a treat with these other inspiring craft projects. Dive into more fun and creative ideas below to keep your home beautifully decorated throughout the seasons!
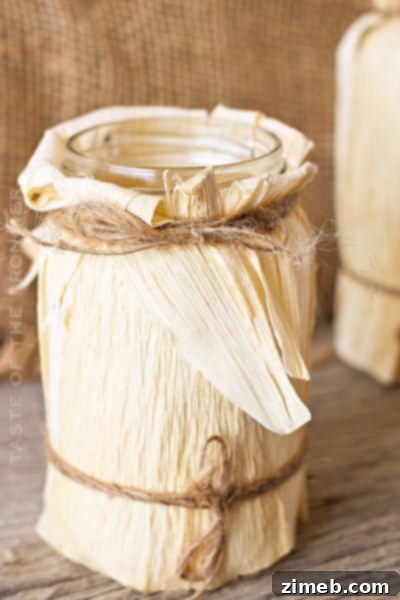
Corn Husk Luminaries
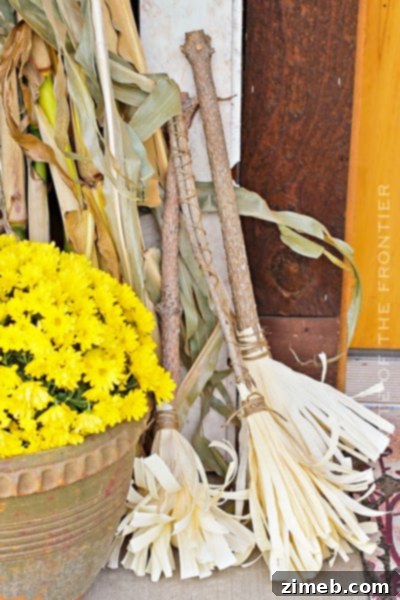
Corn Husk Brooms
Sugar Skull Wreath
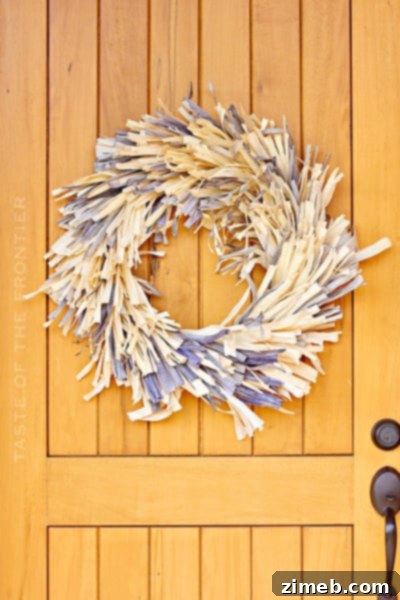
Frayed Corn Husk Wreath

Paper Flower Wreath
Driftwood Wreath
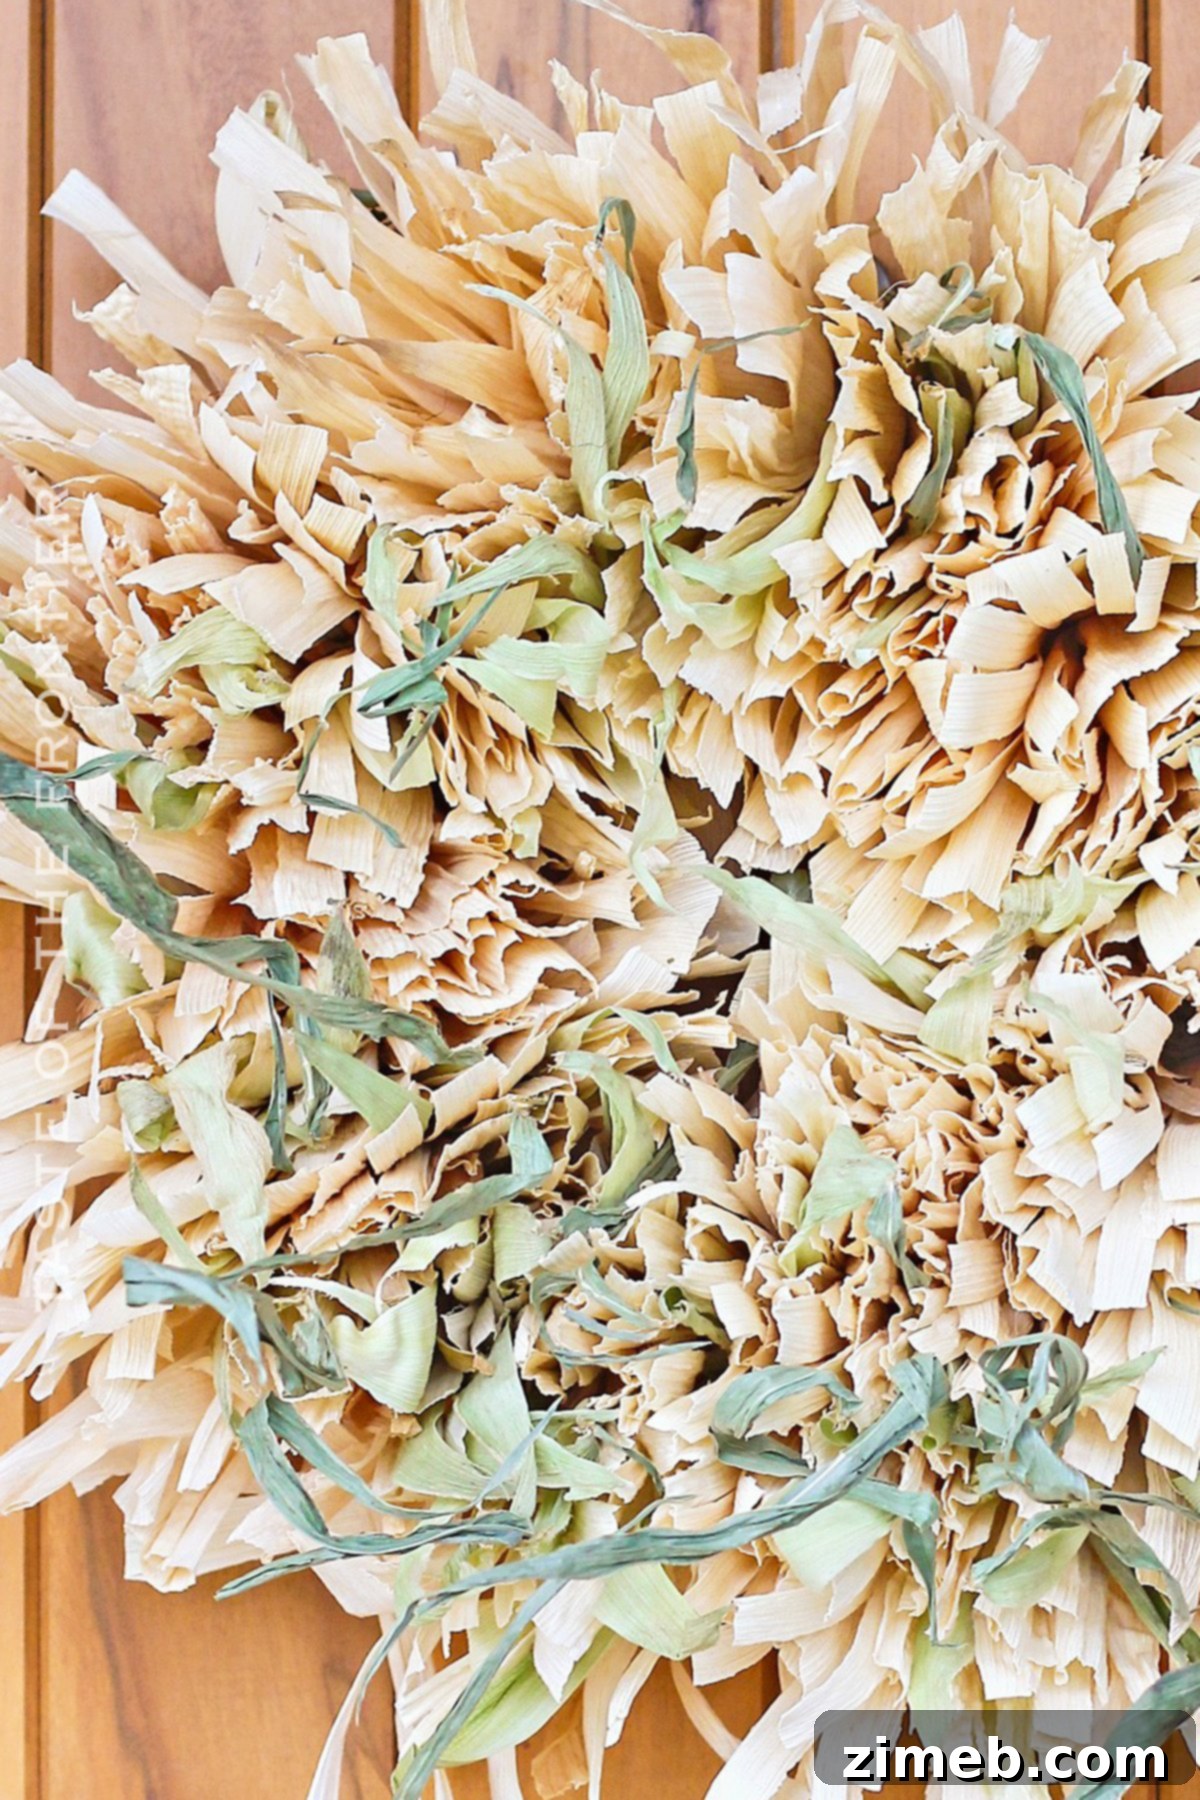
If you’re searching for a uniquely rustic, chic, and environmentally conscious way to adorn your home for the autumn season, this Raw Husk Corn Husk Wreath is truly a perfect choice. It’s not only a gratifying DIY project that’s surprisingly easy to undertake, but it also infuses any space with an authentic touch of autumnal charm and natural elegance. The blend of dried and fresh husks creates a dynamic texture and color palette that beautifully complements fall landscapes. Give this wonderful craft a try, and I am confident that you will adore the beautiful, handmade statement it makes on your front door or within your home!
If you cherish the natural beauty and rustic appeal of this Raw Husk Corn Husk Wreath as much as I do, please consider lending a hand by sharing this tutorial with your friends and fellow crafters! Your support on Facebook and Pinterest helps spread the joy of DIY and inspires others to embrace seasonal crafting. Thank you for being a part of our creative community!
CONNECT WITH YUMMI HAUS FOR MORE INSPIRATION!
Be sure to follow me on my social media channels to stay updated and never miss out on new recipes, crafts, and home decor ideas!
Substack, Facebook, Pinterest, Instagram, Email Subscription