
This shop is part of a social shopper marketing insight campaign with Pollinate Media Group® and Sharpie, but all my opinions are my own. #pmedia #PaintYourWay
Unlock Your Inner Artist: Creating Whimsical Coastal Abstract Art with Sharpie Paint Markers
There’s a unique joy that comes from bringing a blank canvas to life with a splash of color and a stroke of creativity. Lately, my home has become a sanctuary for such artistic explorations. Beyond the usual updates to furniture and crafting various decor pieces, I’ve rediscovered my profound love for painting. Every time I pick up a brush, I’m transported to a place of peace, a gentle reminder of cherished moments spent with my mom, who patiently taught me techniques that now feel like a second language. This artistic journey is more than just creating; it’s a connection to memory, a therapeutic escape, and a wonderful way to personalize our living space.
As we prepare for a big move and settle into our new home, I’m committed to carving out more time for this passion. This current project, in particular, is close to my heart. My two daughters both fell in love with a beach theme for their new rooms, presenting me with the delightful challenge of creating two distinct yet harmonious coastal retreats. To achieve this, I decided to venture into the world of abstract art – a style that allows for freedom, whimsy, and a touch of modern elegance. The goal was to craft unique, captivating pieces that would serve as vibrant focal points in their rooms, and the secret weapon to making this process incredibly easy and enjoyable? Sharpie Paint Markers.
Gathering Your Creative Arsenal: Materials for Your Abstract Masterpiece
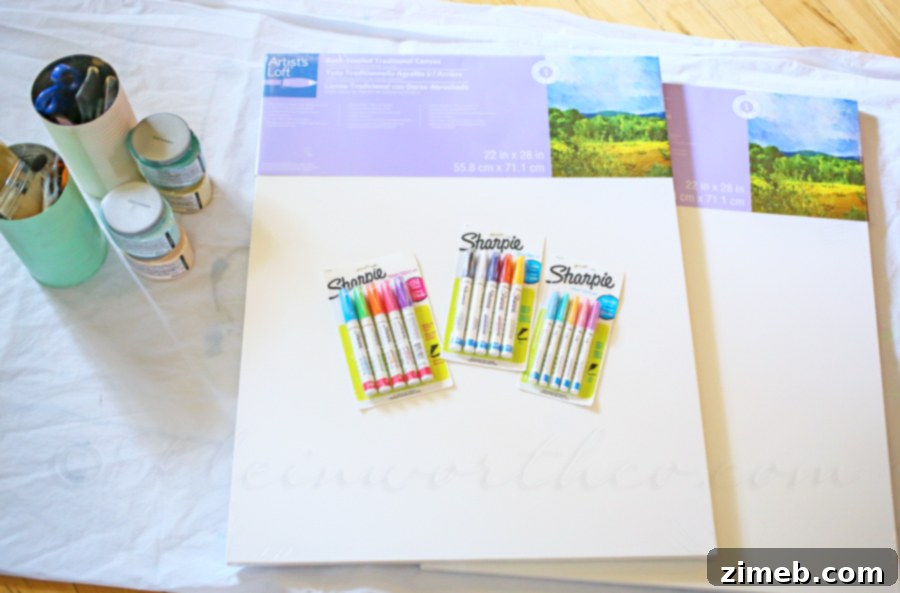
Embarking on any artistic endeavor begins with selecting the right tools and materials. For these whimsical coastal abstract art pieces, I kept it simple, focusing on quality and ease of use. You don’t need an entire art studio to produce stunning results; sometimes, less truly is more. Here’s what I gathered to kickstart this fun project:
- Large Canvas: The foundation of our artwork. I chose a size that would make a statement in each girl’s room, allowing ample space for abstract expression.
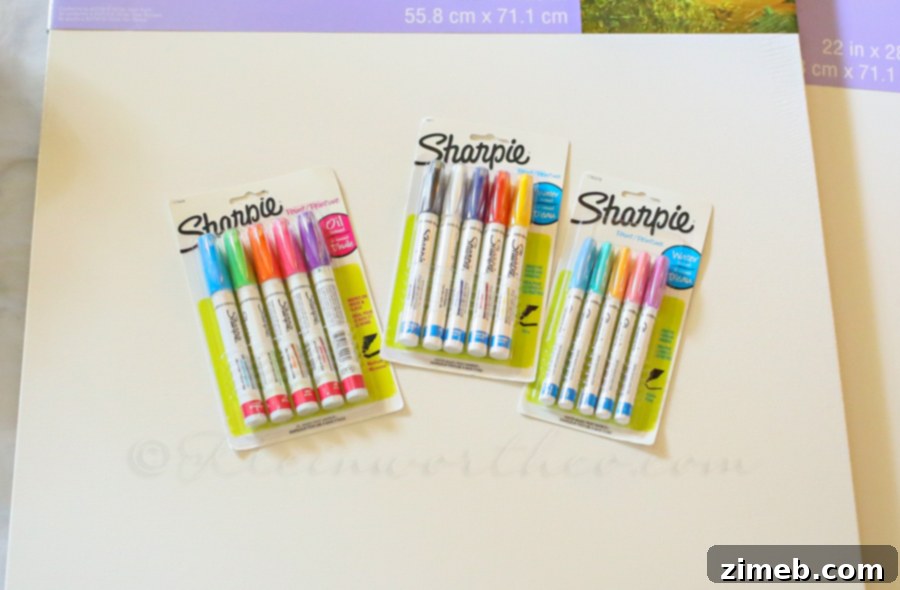
- Sharpie Paint Markers: These were the stars of the show! Their precision and vibrant colors are unmatched, making detailing a breeze.
- Four Different Paint Colors: To capture the essence of the coast, I selected a palette of serene blues, refreshing greens, and a creamy off-white. You can adapt your colors to match your specific vision for a beach theme or any other concept.
- Paintbrushes: A variety of sizes for applying the base layers of paint and blending.
A quick note on the Sharpie Paint Markers: they are available in both water-based and oil-based versions. For this particular project, I opted for the water-based markers. They offer a smoother application, are easier to clean up, and layer beautifully over the acrylic paints I used for the base. This choice allowed for seamless integration and vibrant details, proving to be the perfect companion for our coastal theme.
Building the Coastal Canvas: Step-by-Step Abstract Painting
The beauty of abstract art lies in its freedom. There’s no strict blueprint, just an intuitive dance between color and canvas. My approach for these coastal pieces was to evoke the serene, fluid movement of the ocean without rendering it literally. This technique allows for a highly personalized and uniquely captivating result that feels both modern and timeless.
Phase 1: Laying Down the Tranquil Base
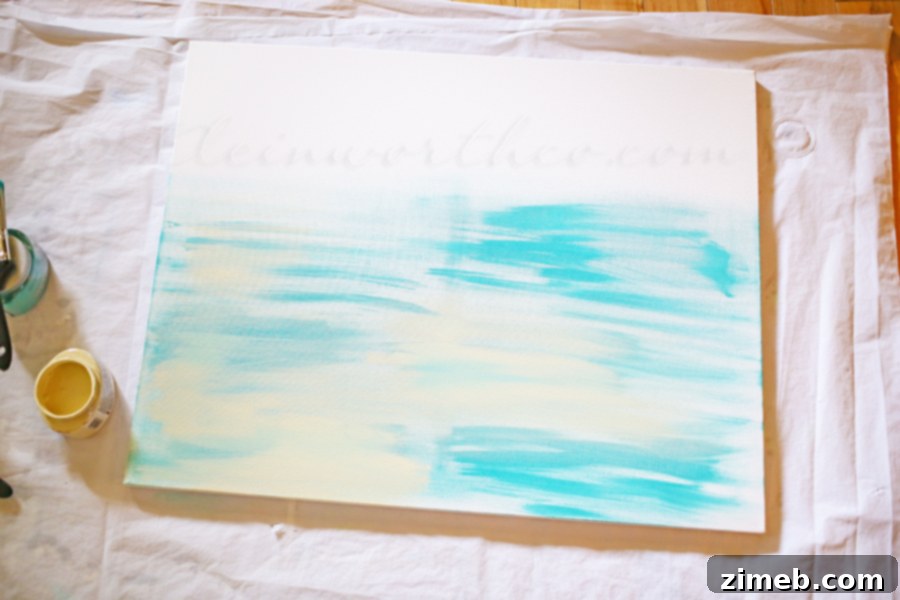
I began by dipping my paintbrush ever so lightly into one of the darker paint colors – a deep, ocean-inspired blue. The key here was not to saturate the brush but to pick up just enough pigment to create soft, ethereal streaks. I then brushed it gently across the canvas, ensuring the placement was entirely random. The goal wasn’t to cover the canvas uniformly but to create an organic distribution of color, mimicking the shifting depths of the sea. I repeated this with a subtle green, allowing the colors to interact and blend subtly on the canvas.
Next, I introduced the creamy off-white color. Starting from the top edge of the canvas, I worked my way downwards, gradually blending it with the blues and greens. This layering technique was crucial for achieving that “tranquil water feel.” The creamy white suggested sea foam or sunlight dappling on the water’s surface, creating a beautiful contrast and depth. The random, unforced application of paint meant each canvas would be unique, even though the technique was similar. It’s about letting the colors flow and merge, creating a soft, dreamlike foundation that whispers of the ocean.
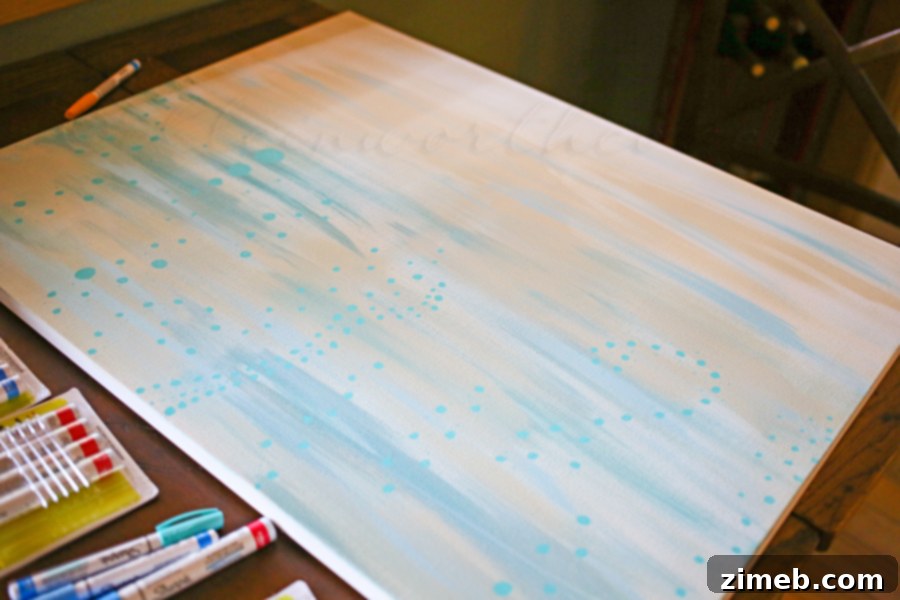
Phase 2: Adding Intricate Details with Sharpie Paint Markers
Once the base layers of paint were completely dry – patience is a virtue in art, especially when layering – it was time for the truly fun part: adding intricate details with the water-based Sharpie Paint Markers. This is where the abstract pieces truly came to life, evolving from tranquil backgrounds to dynamic coastal scenes. The precision of these markers is truly a game-changer for DIY artists.
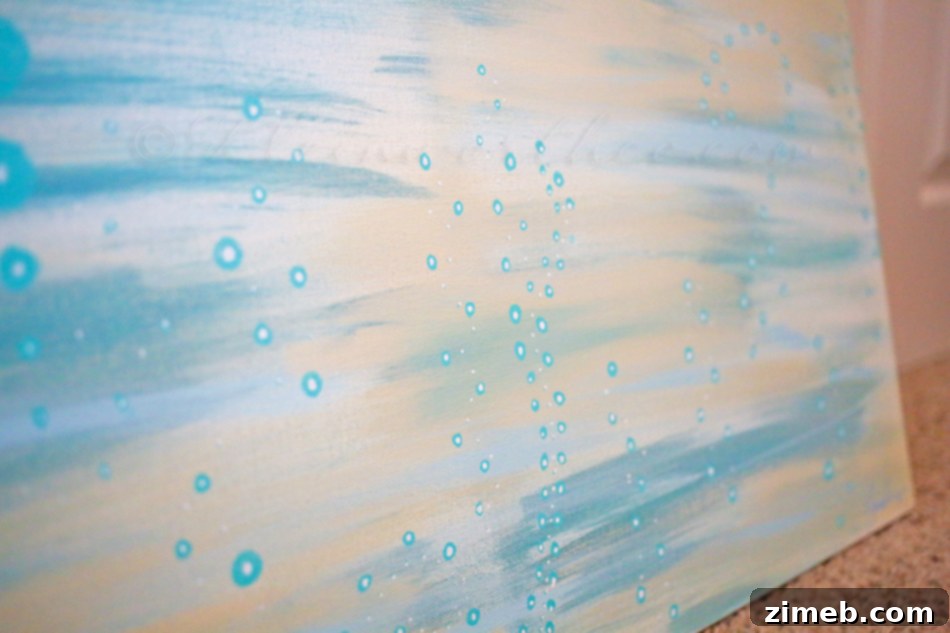
For one canvas, I chose a vibrant blue Sharpie Paint Marker and began doodling delicate bubbles, scattered across the “water” base. These weren’t perfectly round; some were elongated, some clustered, giving a playful, organic feel. For the other canvas, I opted for a light green marker to create a whimsical wave pattern, drawing flowing lines that suggested movement and energy. The beauty of using these paint markers for such detailing cannot be overstated. Traditionally, achieving such clean, fine lines would require a very fine-tip paintbrush and constant re-dipping into paint, which often leads to inconsistent lines and a much longer process. With Sharpie Paint Markers, the color flow is continuous and consistent, allowing for effortless control and crisp, defined details. This efficiency significantly cut down the time spent on the project while elevating the quality of the finish, making the entire experience enjoyable and stress-free.
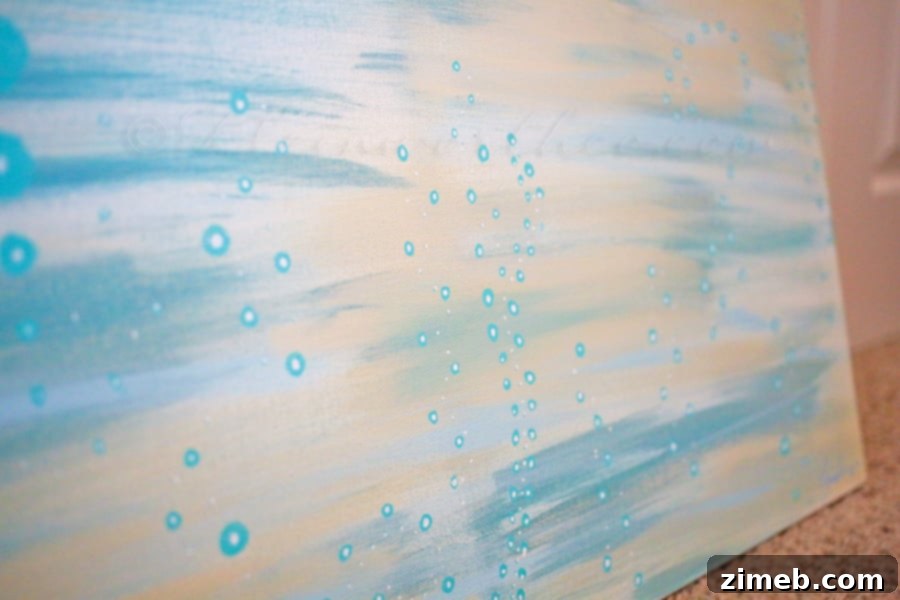
Phase 3: Bringing Dimension with Highlights
To give the abstract pieces even more depth and visual interest, I introduced highlights. This step is crucial for making the artwork pop and appear more three-dimensional. Using a white Sharpie Paint Marker, I carefully added small touches and accents to various spots on the canvas. I focused on highlighting the edges of the bubbles and waves, as well as adding subtle bright spots to the blue, green, and even the faint yellows and pinks I had previously layered towards the top of the canvas (suggesting a sunrise or sunset glow over the water). These strategic highlights caught the light, adding a luminous quality and truly bringing the coastal scenes to life. The contrast created by the white marker against the underlying colors was magical, transforming a flat image into a vibrant, dynamic piece of art.
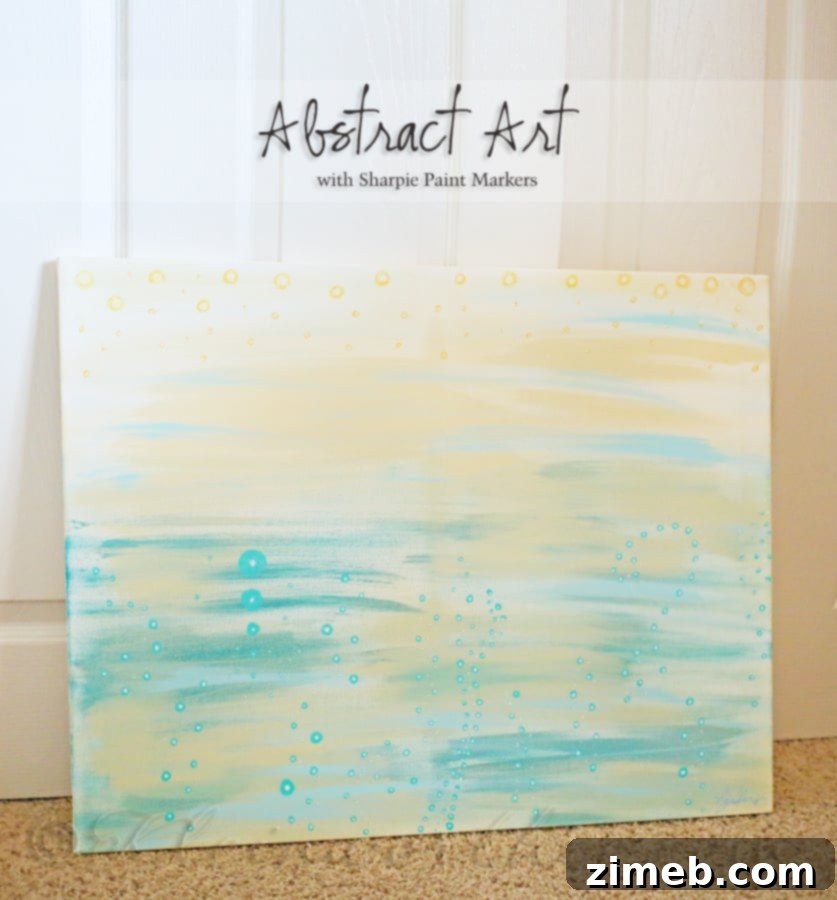
The Delightful Outcome: Art for a New Home
The completed abstract coastal art pieces turned out even better than I had envisioned. They are fun, whimsical, and perfectly capture the lighthearted beach theme my girls adore, while still maintaining an artistic sophistication that will grow with them. Each piece is unique, reflecting the spontaneous nature of abstract creation and the personal touch of handmade decor.
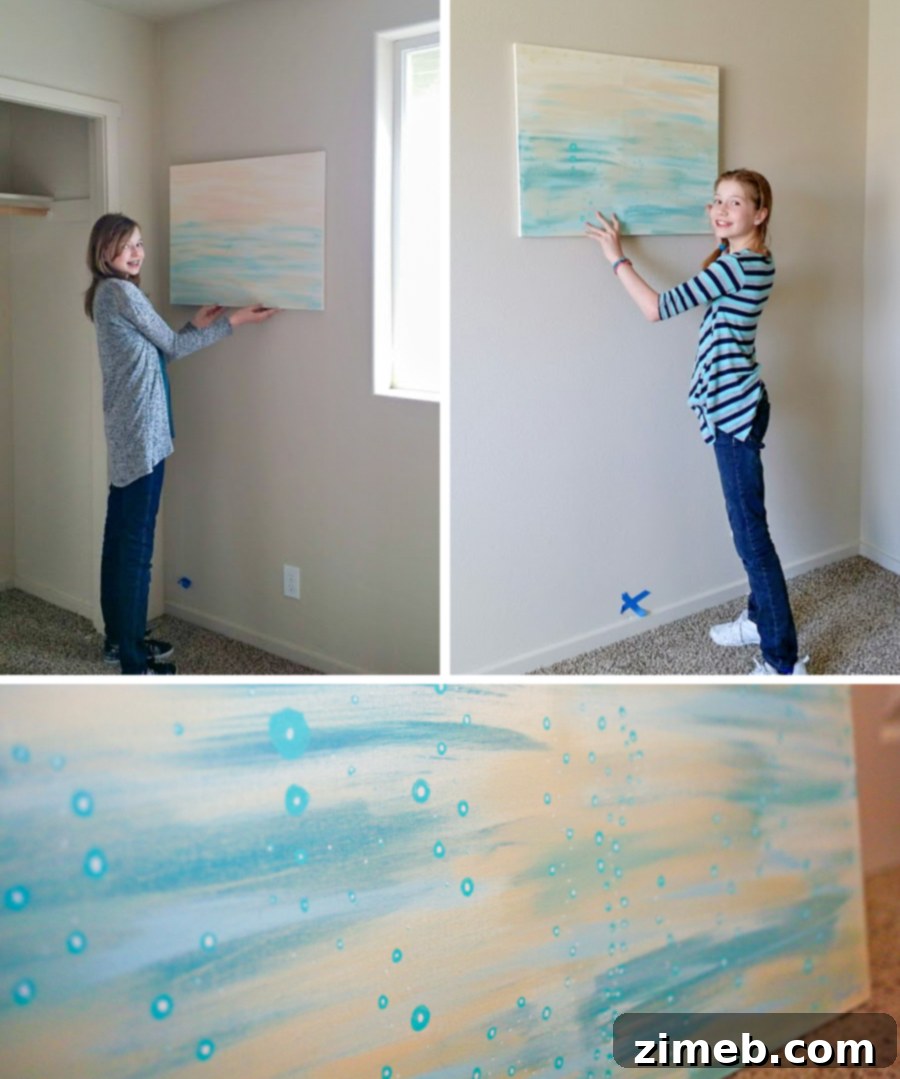
One evening, during one of our routine visits to check on the progress of our new house, we brought the canvases along. It was incredibly heartwarming to see the girls hold them up, envisioning exactly where their new abstract art would hang. They plan to display them proudly above their desks, adding a splash of personalized color and inspiration to their creative spaces. Our new house is currently in the exciting “blue tape” stage – that critical phase where detail crews meticulously mark every minor imperfection for correction before the final walkthrough. (Confession: I may or may not have added a few of my own blue tape markers to spots they missed. It’s an occupational hazard when four out of five family members have a touch of OCD – every detail counts!). These artworks represent more than just decor; they symbolize the personal touches that will transform a house into our family’s home.
Where to Find Your Sharpie Paint Markers & More Inspiration
Ready to embark on your own creative journey? You can easily find the versatile Sharpie Paint Markers that made this project so enjoyable. I picked up mine at Michaels, which offers a fantastic selection of art supplies for every kind of project. Their range ensures you’ll find the perfect colors and tips for your next masterpiece.
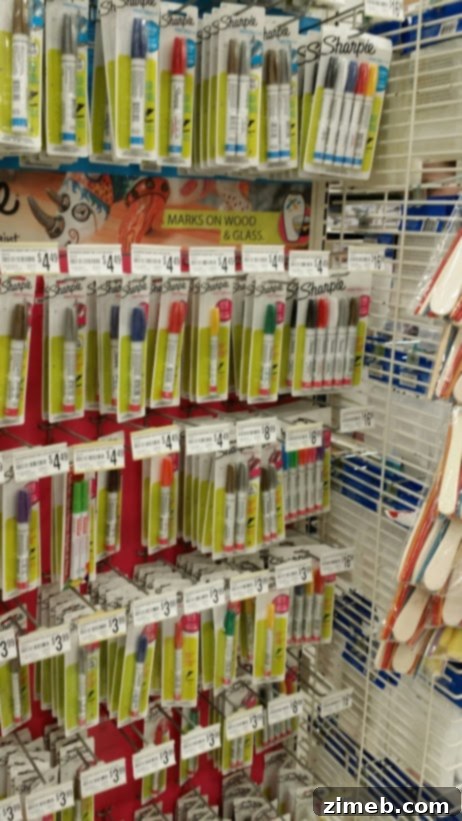
Head over to Michaels.com to explore their selection and pick up your own Sharpie Paint Markers today. Unleash your creativity and see what amazing art you can create!
Stay connected with Sharpie for endless inspiration and new product updates:
Connect with Sharpie on Twitter and Facebook.
Visit and Follow on Pinterest for more Sharpie Inspiration.
Explore More Fun DIY Projects!
If you enjoyed this project and are looking for more ways to add a touch of handmade charm to your home, here are a few other delightful DIY ideas that celebrate creativity and personalization:
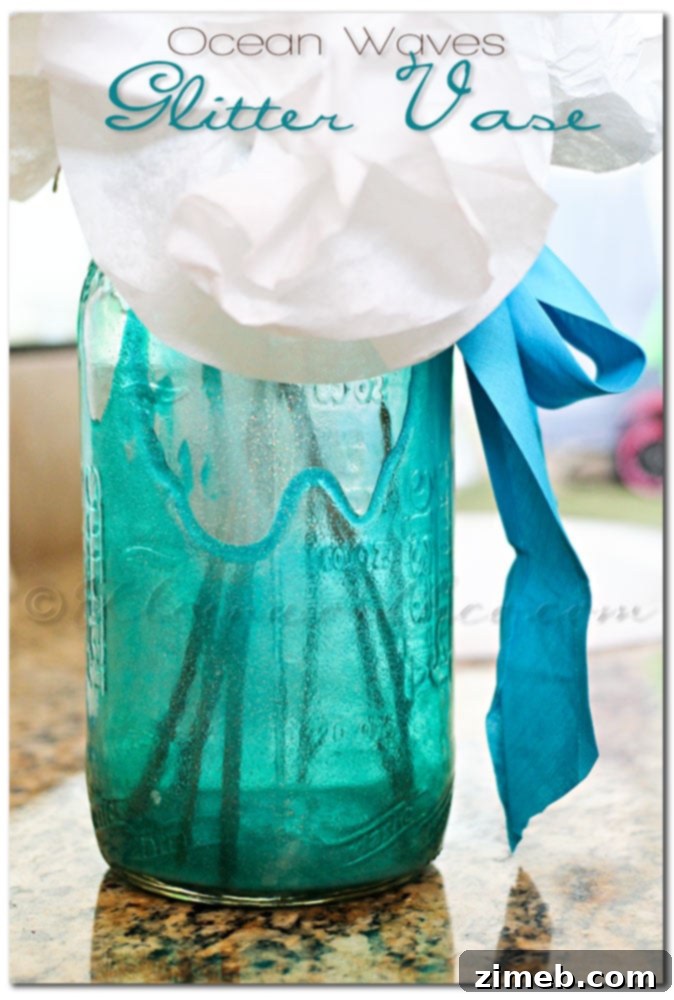
Ocean Waves Glitter Vase: Bring a piece of the ocean indoors with this sparkling, wave-inspired vase.

Glitter Jars: Add a touch of sparkle and enchantment to any room with these simple yet stunning glitter jars.
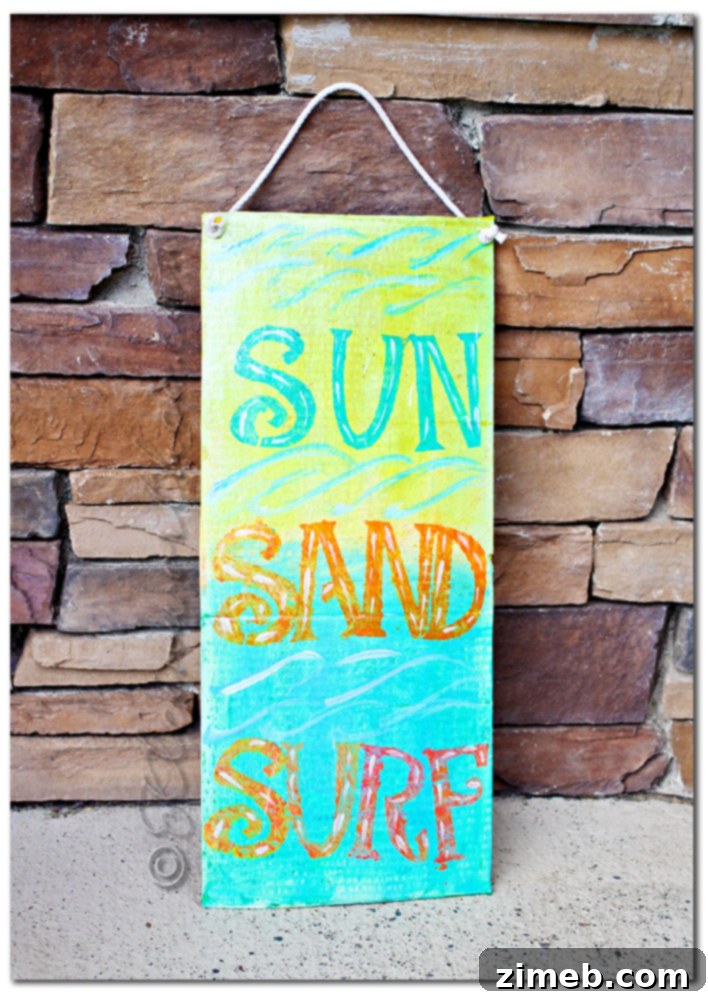
Beachy Painted Board: Another fantastic project for creating charming, beach-themed decor, perfect for little artists.
Creating art for your home, especially for your loved ones, is a deeply rewarding experience. It infuses your space with personality, warmth, and a story that mass-produced decor simply cannot replicate. With tools as versatile and easy to use as Sharpie Paint Markers, the possibilities are endless. So, grab your supplies, let your imagination take flight, and paint your way to a more vibrant and personalized home!