
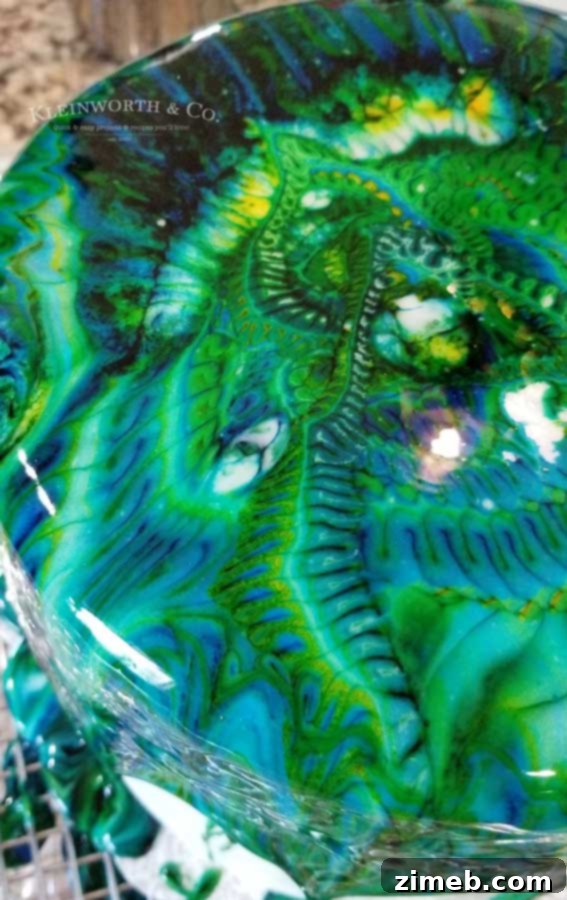
Unleash your inner cake artist with Easy Marble Drip Icing! This simple yet stunning cake decorating technique promises to transform your bakes into show-stopping masterpieces. Forget complicated designs; with just a few ingredients and a simple whisk, drop, and pour method, you can achieve amazing cakes that truly “WOW” everyone!
Imagine crafting a gorgeous, marbled birthday cake icing that looks professionally made, yet takes mere minutes to prepare. What if I told you this dream is entirely achievable with just a handful of everyday ingredients? Prepare to be amazed, because mastering the art of marble drip icing is easier than you think, and the results are consistently spectacular.
August is often a whirlwind of celebrations in our household, especially with significant birthdays for both the youngest and oldest family members falling within the same week. This year, the pressure was on to create truly memorable cakes, particularly with milestone ages involved. It was the perfect opportunity to experiment with a decorating technique that would leave a lasting impression.
Growing up, I was fortunate to observe my mother, a professional cake decorator who later honed her craft on elaborate cakes for friends and family. This gave me a foundational understanding of cake artistry. However, let me assure you, this marble drip icing technique requires none of those specialized, intricate skills. It’s designed for ease and accessibility, allowing even novice bakers to achieve stunning results without prior experience.
Each year, I dutifully ask my family members what kind of cake they envision for their special day. I sometimes feel they expect me to replicate my mother’s extravagant creations, which, while inspiring, are beyond my current capabilities. My mother possessed a remarkable level of patience and talent in cake design that I simply don’t. Nevertheless, I always strive to do my best and create something beautiful and delicious.
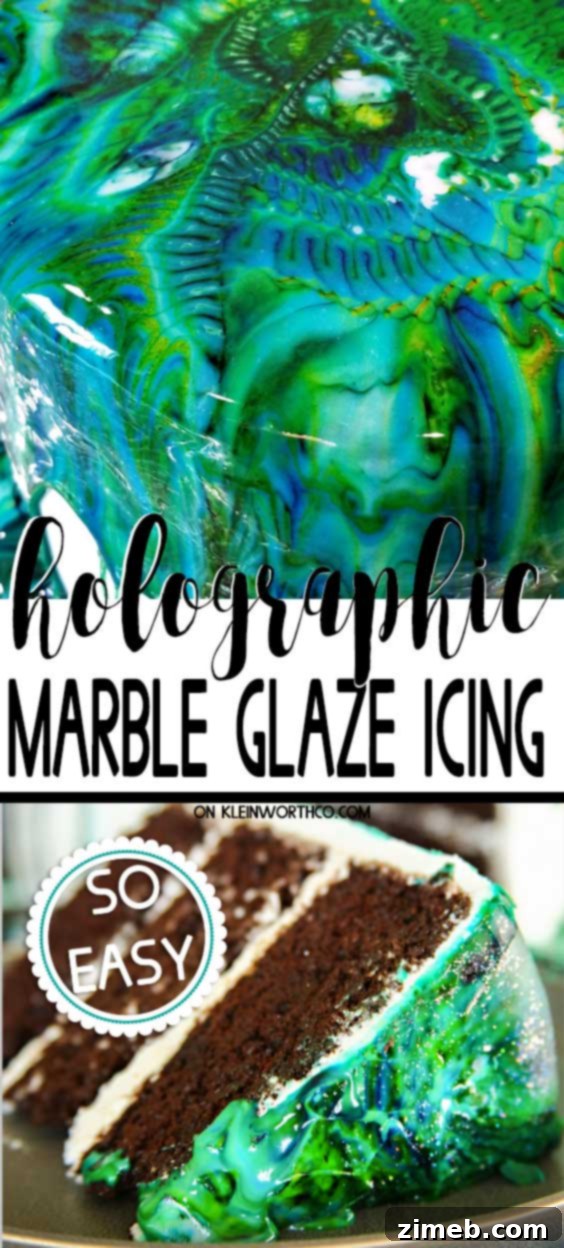
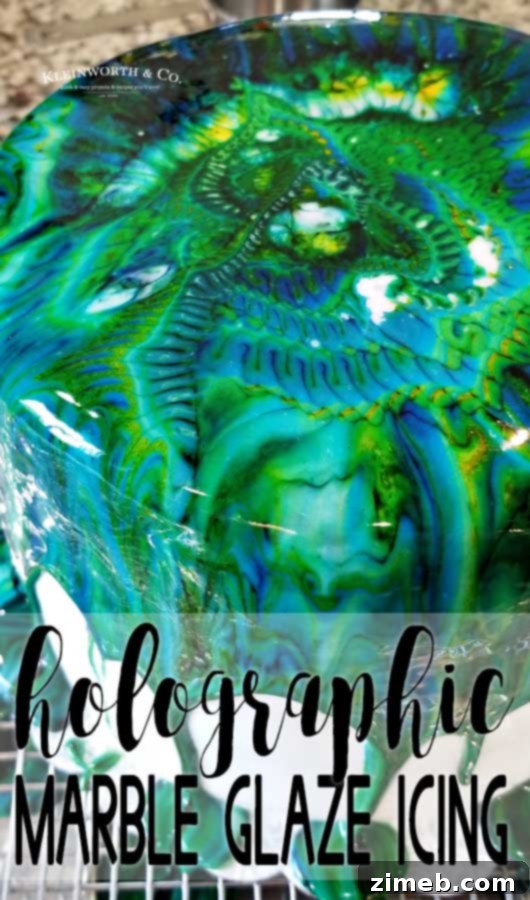
When my daughter requested a peacock cake, my first thought was to explore Pinterest for inspiration. Initially, I considered traditional peacock feather decorations. However, as I scrolled, I stumbled upon these breathtaking marbled cakes. Their elegance and vibrant patterns immediately captivated me, and I knew this was the direction I wanted to take. The flowing colors perfectly mimicked the natural beauty of peacock feathers, offering a unique and striking aesthetic.
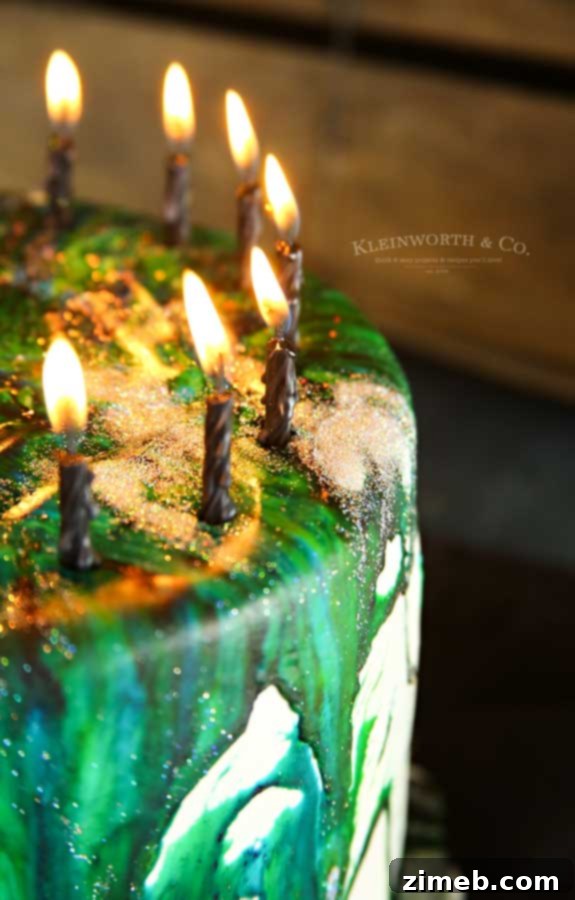
My daughter also has an incredible obsession with all things holographic. This added an extra layer of creativity to the project. Incorporating edible disco dust into the cake design became an absolute must. The combination of the rich, marbled peacock colors and the sparkling holographic accents created a truly magical and unforgettable birthday cake. She absolutely adored it, and her joy made every moment of preparation worthwhile.
Mastering Easy Marble Drip Icing: Your Guide to Stunning Cakes
This post contains some affiliate links. Click here to read my full disclosure policy.
While the original video demonstrating this technique was captured for personal memories with an unsteady camera, its usefulness in showcasing the icing’s consistency before pouring and its overall performance became clear. Visualizing the process can greatly assist in understanding how the glaze will behave and how to achieve the best marble effect on your cake.
Many other marble icing methods I encountered online suggested applying the drip over a base of fondant. To minimize the risk of error, especially when decorating a meticulously baked three-layer birthday cake, I decided to follow this recommendation. Re-baking a multi-tiered cake is a task no one wants to undertake!
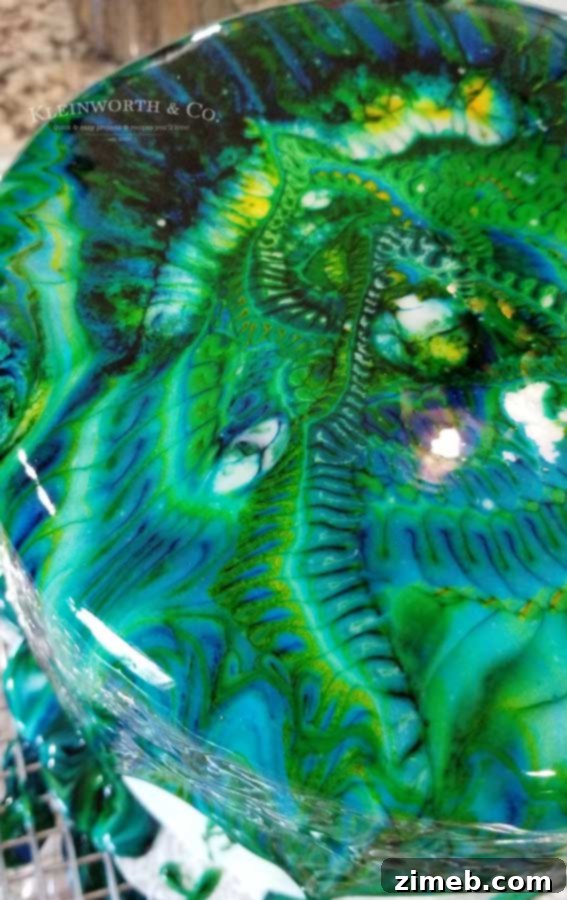
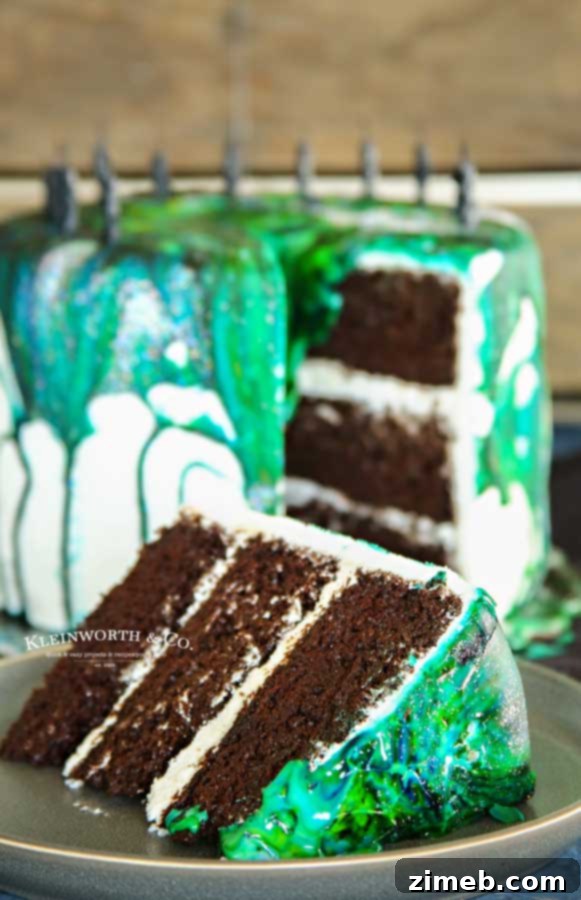
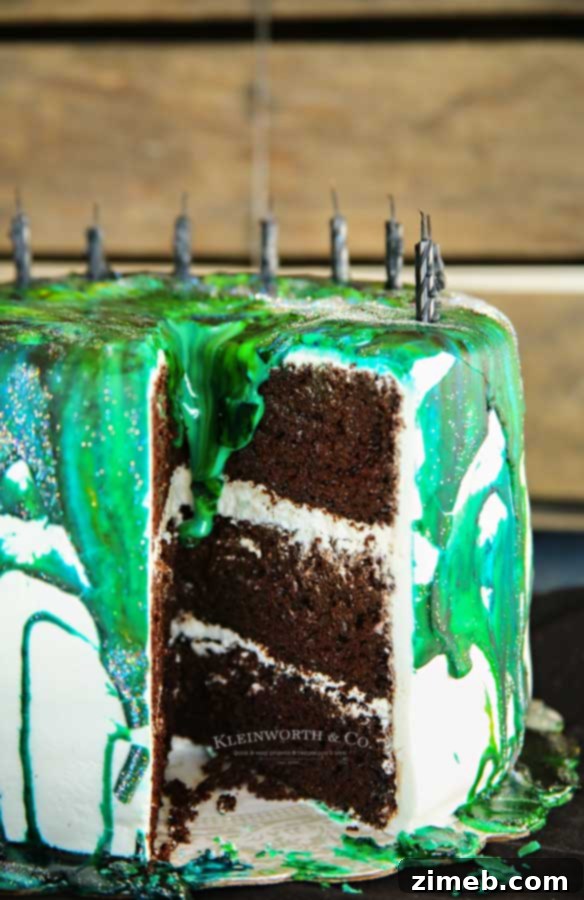
This project marked my first independent foray into working with fondant. While I had assisted my mom on numerous occasions and had a general grasp of the technique, doing it solo proved to be a learning experience. My fondant application wasn’t entirely flawless or perfectly smooth, but the marble glaze, true to its nature, effortlessly concealed any minor imperfections and ultimately stole the show. In person, the finished cake was even more stunning than in photographs, with the marble effect glistening beautifully.
Frequently Asked Questions About Marble Drip Icing
As you embark on your marble drip icing journey, you might have a few questions. Here are answers to some of the most common inquiries to help you achieve perfect results every time.
Do I have to use this over fondant?
For optimal results and until further testing is complete, I currently recommend applying this marble drip icing over a smooth layer of fondant. Fondant provides a consistently even, non-porous surface that allows the glaze to flow beautifully and set with a stunning sheen, maximizing the marble effect. While I haven’t yet experimented with a super-smooth buttercream frosting as a base, I plan to do so soon and will provide an update on its performance. The key is a truly smooth and firm base for the icing to drip flawlessly.
It’s worth noting that even with my less-than-perfect fondant application, the glaze still looked incredible. This leads me to believe that a flawless fondant base might not be strictly necessary, and a perfectly chilled, super-smooth buttercream could potentially work. However, for guaranteed success and the most vibrant marble finish, fondant remains my initial recommendation. Stay tuned for updates on alternative bases!
What kind of food coloring is best for marble drip icing?
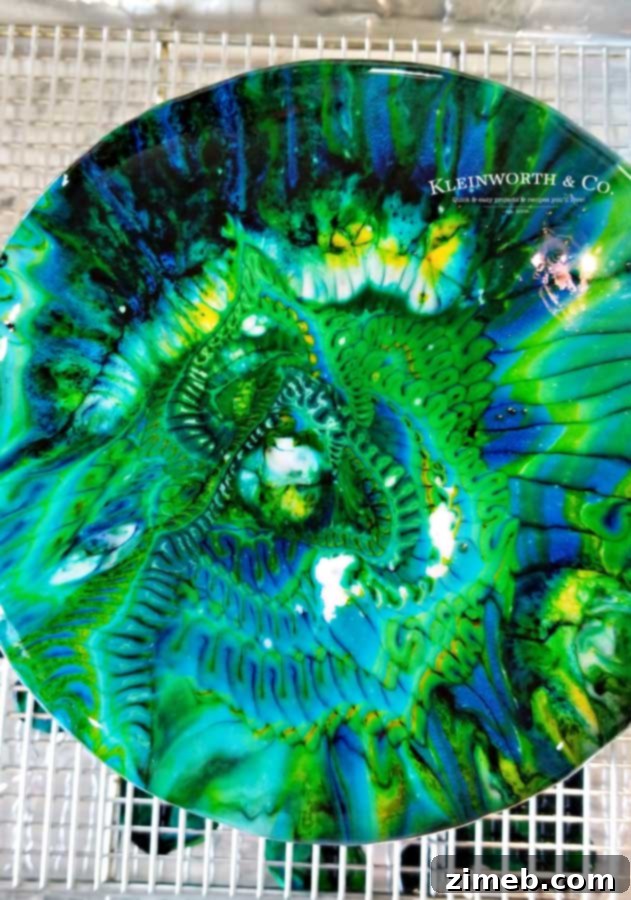
When working with traditional frosting, I generally prefer gel food colorings due to their high pigment concentration. However, for this specific marble glaze, soft gel paste or liquid food coloring yields far superior results. The unique nature of this drip icing means you cannot pre-mix the colors; they need to disperse and marble organically as you pour. Liquid or soft gel colors have a thinner consistency, allowing them to spread and blend more naturally within the glaze, creating those beautiful, flowing marbled patterns without clumping. You’ll achieve vibrant, distinct color swirls that truly stand out.
What is the best way to avoid a messy cleanup?
Efficiency and minimal cleanup are always a priority in my kitchen. To tackle the potential mess from dripping icing, I highly recommend preparing a simple setup. Line a large jelly roll pan or baking sheet with foil. Then, place a wire cooling rack directly on top of the lined pan. Position your cake on this elevated cooling rack. This ingenious method allows any excess icing to drip neatly onto the foil-lined pan below, keeping your workspace clean and containing the overflow. Once the icing has set, simply discard the foil, and your cleanup is virtually done!
Can this marble drip cake recipe be frozen?
Freezing a cake decorated with this particular marble drip icing is not recommended. I’ve discovered that exposure to cold temperatures causes the icing to contract and lose its beautiful glossy finish, becoming noticeably more matte. On one occasion, I made the mistake of refrigerating the entire cake to speed up the setting process and to keep it hidden from the birthday girl. The consequence was that the gorgeous smooth glaze developed subtle crinkles, especially in thicker areas where it hadn’t fully firmed up beneath the top layer. To preserve the stunning visual appeal, it’s best to avoid chilling the decorated cake before serving. However, once the cake has been cut, refrigeration becomes necessary to maintain freshness.
Can I store any extra icing for later use?
This marble drip icing recipe is truly designed for a single-use application. Due to the nature of its spontaneous color blending, you’ll need to pour all of the prepared icing onto your cake at once. Unfortunately, any icing that drips off cannot be saved or reused. Once the distinct colors begin to blend in the bowl or on the pan, they will inevitably merge into a muddy, unappealing mix, making it impossible to achieve the vibrant marbled effect again. Therefore, it’s a “use it all the first time” kind of recipe.
During my initial attempt, I found myself concentrating heavily on the center of the cake, which resulted in a thicker layer of icing there. Moving forward, I plan to start pouring from the center and then intentionally guide more icing along the sides to ensure more even coverage and a more pronounced drip effect. This is largely a matter of personal preference and desired aesthetic, but a more balanced pour can enhance the overall visual appeal.
HOW DO YOU MAKE MARBLE DRIP ICING? Step-by-Step Guide
-
- **Prepare Your Cake:** Start by baking your cake layers and allowing them to cool completely. This is crucial for successful frosting and fondant application.
- **Crumb Coat & Chill:** Layer and frost your cooled cake with a thin crumb coat of buttercream frosting. Place the cake in the freezer for about 15-20 minutes to firm up the crumb coat, preventing crumbs from getting into your final layers.
- **Apply Fondant:** Carefully add a smooth layer of fondant to your frozen, crumb-coated cake. Ensure it’s as smooth as possible for the best drip effect.
- **Bring to Room Temperature:** Allow the fondant-covered cake to come back to room temperature before proceeding with the glaze application. This prevents condensation and helps the glaze adhere properly.
- **Set Up Drip Station:** Prepare your work area by lining a baking sheet with foil. Place a wire cooling rack on top of the lined pan. This setup will catch any excess icing, making cleanup a breeze.
GLAZE PREPARATION & APPLICATION
- **Whisk Glaze Ingredients:** In a medium bowl, combine confectioners sugar, corn syrup, warm water, and vanilla extract. Whisk thoroughly until the mixture is completely smooth and free of lumps. The consistency should be fluid but not too watery.
- **Add Food Coloring (Do Not Mix!):** This is the key to marbling. Add drops of your chosen food coloring(s) in a sporadic, random pattern directly into the glaze mixture. DO NOT MIX OR STIR THE COLORS. The goal is for them to swirl naturally when poured.
- **Position Cake:** Carefully place your fondant-covered cake onto the prepared wire cooling rack on the baking sheet.
- **Pour & Decorate:** Gently pour the unmixed, colored icing over the top center of the cake. Allow it to flow naturally, creating beautiful drips down the sides. If desired, immediately sprinkle with edible disco dust for a holographic effect. Once poured, leave the cake undisturbed in a cool, dry place to dry and set overnight before serving.
Can this recipe be halved for smaller cakes?
Absolutely, this recipe is quite flexible! While I haven’t personally tried halving it, I see no reason why it wouldn’t work perfectly for a smaller cake. When reducing the ingredients, remember that 1 tablespoon of corn syrup is equivalent to 3 teaspoons, so to halve it, you would use 1 1/2 teaspoons. Adjusting the other measurements proportionally should yield excellent results for a more modest-sized confection.
Does the number of colors used impact the marble effect?
Not significantly. The beauty of marble drip icing lies in the natural flow and blending of colors. For my peacock-inspired cake, I opted for a rich palette including navy blue, electric blue, turquoise, a couple of different greens, and a touch of yellow. Using multiple colors can create a more complex and vibrant marble pattern, but even two or three contrasting colors can produce stunning results. The crucial part is to ensure you add at least 6-10 drops of each desired color for ample pigment, ensuring your colors are vibrant and distinct against each other without mixing them beforehand.
Can this recipe be doubled for larger cakes or more coverage?
YES! You can absolutely double this glaze recipe! If you’re working on a significantly larger cake, a multi-tiered creation, or simply desire a thicker, more generous cascade of icing for an even more dramatic impact, doubling the recipe is an excellent option. Just ensure you have a large enough bowl to whisk all the ingredients and accommodate the additional food coloring drops. This will give you plenty of glaze to achieve a truly luxurious drip effect.
How do you properly store a marble iced cake?
To maintain the pristine condition of your beautifully decorated marble drip cake, store it at room temperature, away from direct sunlight and heat, for up to 24 hours before serving. This allows the glaze to remain glossy and prevents any condensation issues. Once the cake has been cut, its shelf life changes. The easiest and most effective way to store a cut cake is to add a layer of plastic wrap directly over the exposed cake surfaces, followed by a layer of aluminum foil covering the entire cake. This dual protection helps seal in moisture and prevents the cake from drying out. Continue to store the wrapped cake at room temperature, and it should remain fresh and delicious for 2-3 days. For longer storage, you may consider refrigerating after wrapping, but be aware of the potential for the glaze to dull as mentioned previously.
Essential Ingredients for Your Marble Drip Icing
- A pre-baked, frosted, and fondant-covered cake (your canvas!)
- Confectioners sugar (the base of your smooth glaze)
- Corn syrup (for that professional sheen and elasticity)
- Warm water (to achieve the perfect pouring consistency)
- Vanilla extract (for a delightful flavor hint)
- Assorted food coloring (your chosen palette for marbling)
- Edible disco dust (optional, for a sparkling, holographic finish)
My Favorite Products for Crafting This Marble Cake Frosting…
Creating this homemade peacock-decorated cake is surprisingly straightforward and incredibly rewarding. You might already have many of these essential items in your pantry. However, if you’re new to the world of marble drip icing, the process can seem a little daunting at first. Don’t worry, the “wow” factor this technique adds to your cakes is truly unmatched, and you’re going to love how effortlessly cool your creations look. To ensure your success and make the process as enjoyable as possible, I’ve compiled a list of my absolute must-have products for making this stunning cake.
- Confectioners Sugar
- Vanilla Extract
- Turquoise Food Color
- Sky Blue Food Color
- Electric Blue Food Color
- Navy Blue Food Color
- Electric Yellow Food Color
- Electric Green Food Color
- Leaf Green Food Color
- Hand Mixer or Stand Mixer
- Spatulas (Offset and Angled for smooth frosting)
- Large Sheet Pans (e.g., 3/4 sheet pans for catching drips)
- Aluminum Foil
- Whisk
- Mixing Bowl
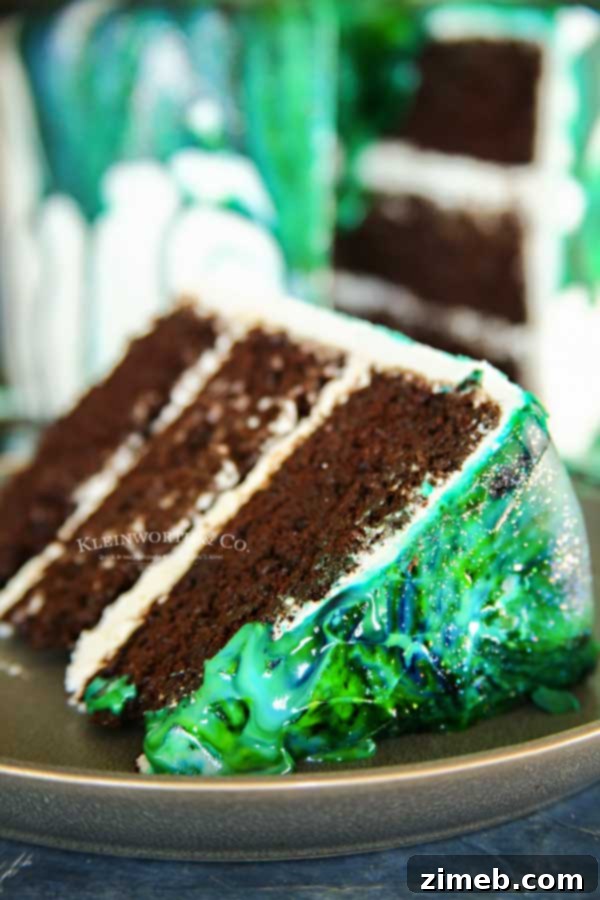
This truly is such an easy and delicious recipe that promises impressive results every time!
Discover More Cake Inspiration: EASY PEACOCK CAKE and Beyond
If you’ve fallen in love with this Easy Marble Drip Icing recipe and the gorgeous peacock cake it helped create, you’re in for a treat! We have a collection of other fantastic cake recipes that are just as delightful to bake and enjoy. Click on each link below to find the easy, printable recipe and expand your baking repertoire!
The Best Classic Yellow Cake Recipe
Irresistible Cookie Dough Frosting – Perfect for Brownie Cookie Dough Freak Cake
The Ultimate Best White Cake Recipe
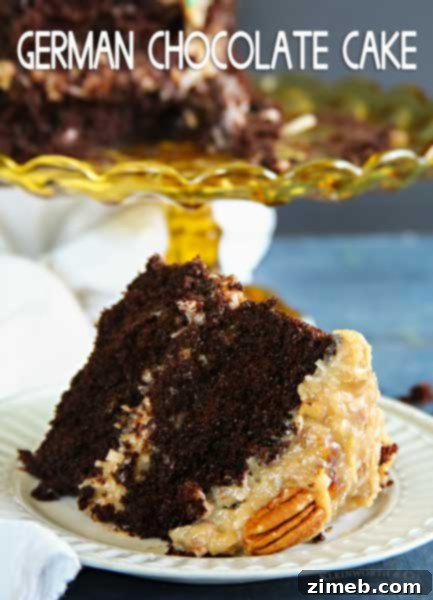
Authentic Best German Chocolate Cake
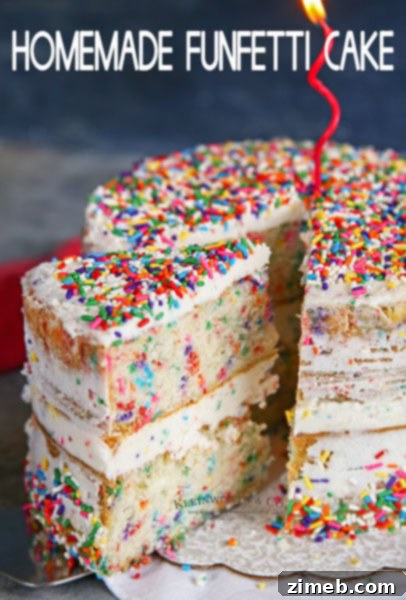
Joyful Homemade Funfetti Cake
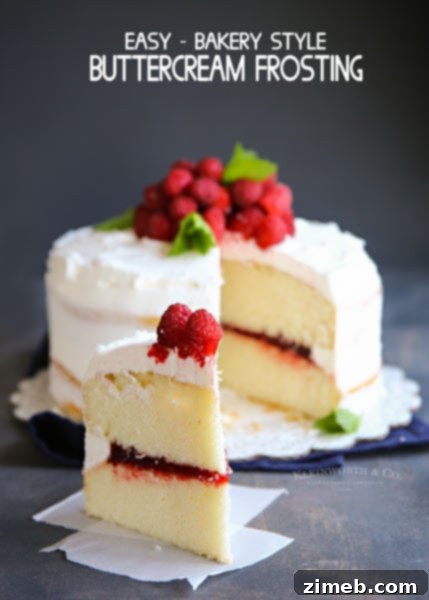
Silky Smooth Best Bakery Buttercream Frosting
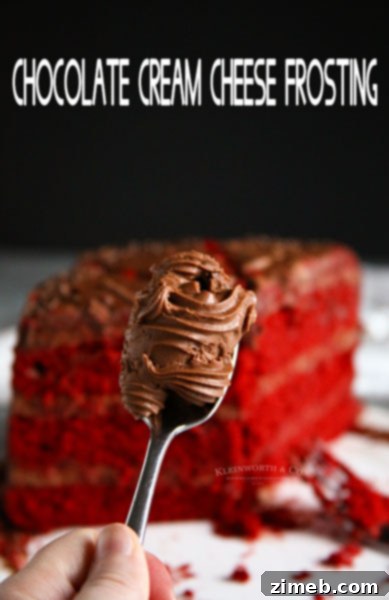
Decadent Chocolate Cream Cheese Frosting
Achieve a Stunning Marble Icing Glaze for Any Celebration
If you’ve enjoyed creating this vibrant **peacock birthday cake idea** and found our guide for the marble icing glaze helpful, please take a moment to rate this recipe with a five-star review. Your feedback is invaluable! Don’t forget to share your amazing creations and this recipe with your friends on Facebook and Pinterest to spread the joy of easy, beautiful cake decorating!
CONNECT WITH KLEINWORTH & CO!
Be sure to follow me on my social media channels so you never miss a post, new recipe, or creative idea!
Facebook, Pinterest, Instagram, Email Subscription
Creating the Ultimate Holographic Cake with Marble Drip Icing
Rate this Recipe: ★★★★★
Easy Marble Drip Icing
Pin Recipe
Save Recipe
Ingredients
- 1 prepared/baked, frosted & fondant covered cake
- 3 cups confectioners sugar
- 1 tbsp corn syrup
- 1/4 cup warm water
- 1/2 tsp vanilla extract
- 6-10 drops food coloring for EACH color desired
- 1/2 tsp edible disco dust – optional
Instructions
PREP
-
Bake cake layers & then allow to cool completely.
-
Layer & frost the cake with a crumb coat of buttercream frosting & freeze briefly until firm.
-
Apply the fondant layer smoothly to the frozen, crumb-coated cake.
-
Allow the cake to come to room temperature before proceeding with the glaze step of the decorating process.
-
Line a baking sheet with foil & then place a wire cooling rack on top of the lined pan to catch drips.
GLAZE
-
Combine confectioners sugar, corn syrup, warm water & vanilla extract in a medium bowl & whisk well until completely smooth.
-
Add in drops of food coloring in a sporadic pattern – DO NOT MIX THE COLORS.
-
Carefully place the fondant covered cake on top of the prepared cooling rack.
-
Pour the icing over the top of the cake, allowing it to drip naturally down the sides. Sprinkle with edible disco dust (optional) & set it in a place where it can be undisturbed to dry overnight before serving.
Nutritional information for the recipe is provided as a courtesy and is approximate. Please double-check with your own dietary calculator for the best accuracy. We at Yummi Haus cannot guarantee the accuracy of the nutritional information given for any recipe on this site.