
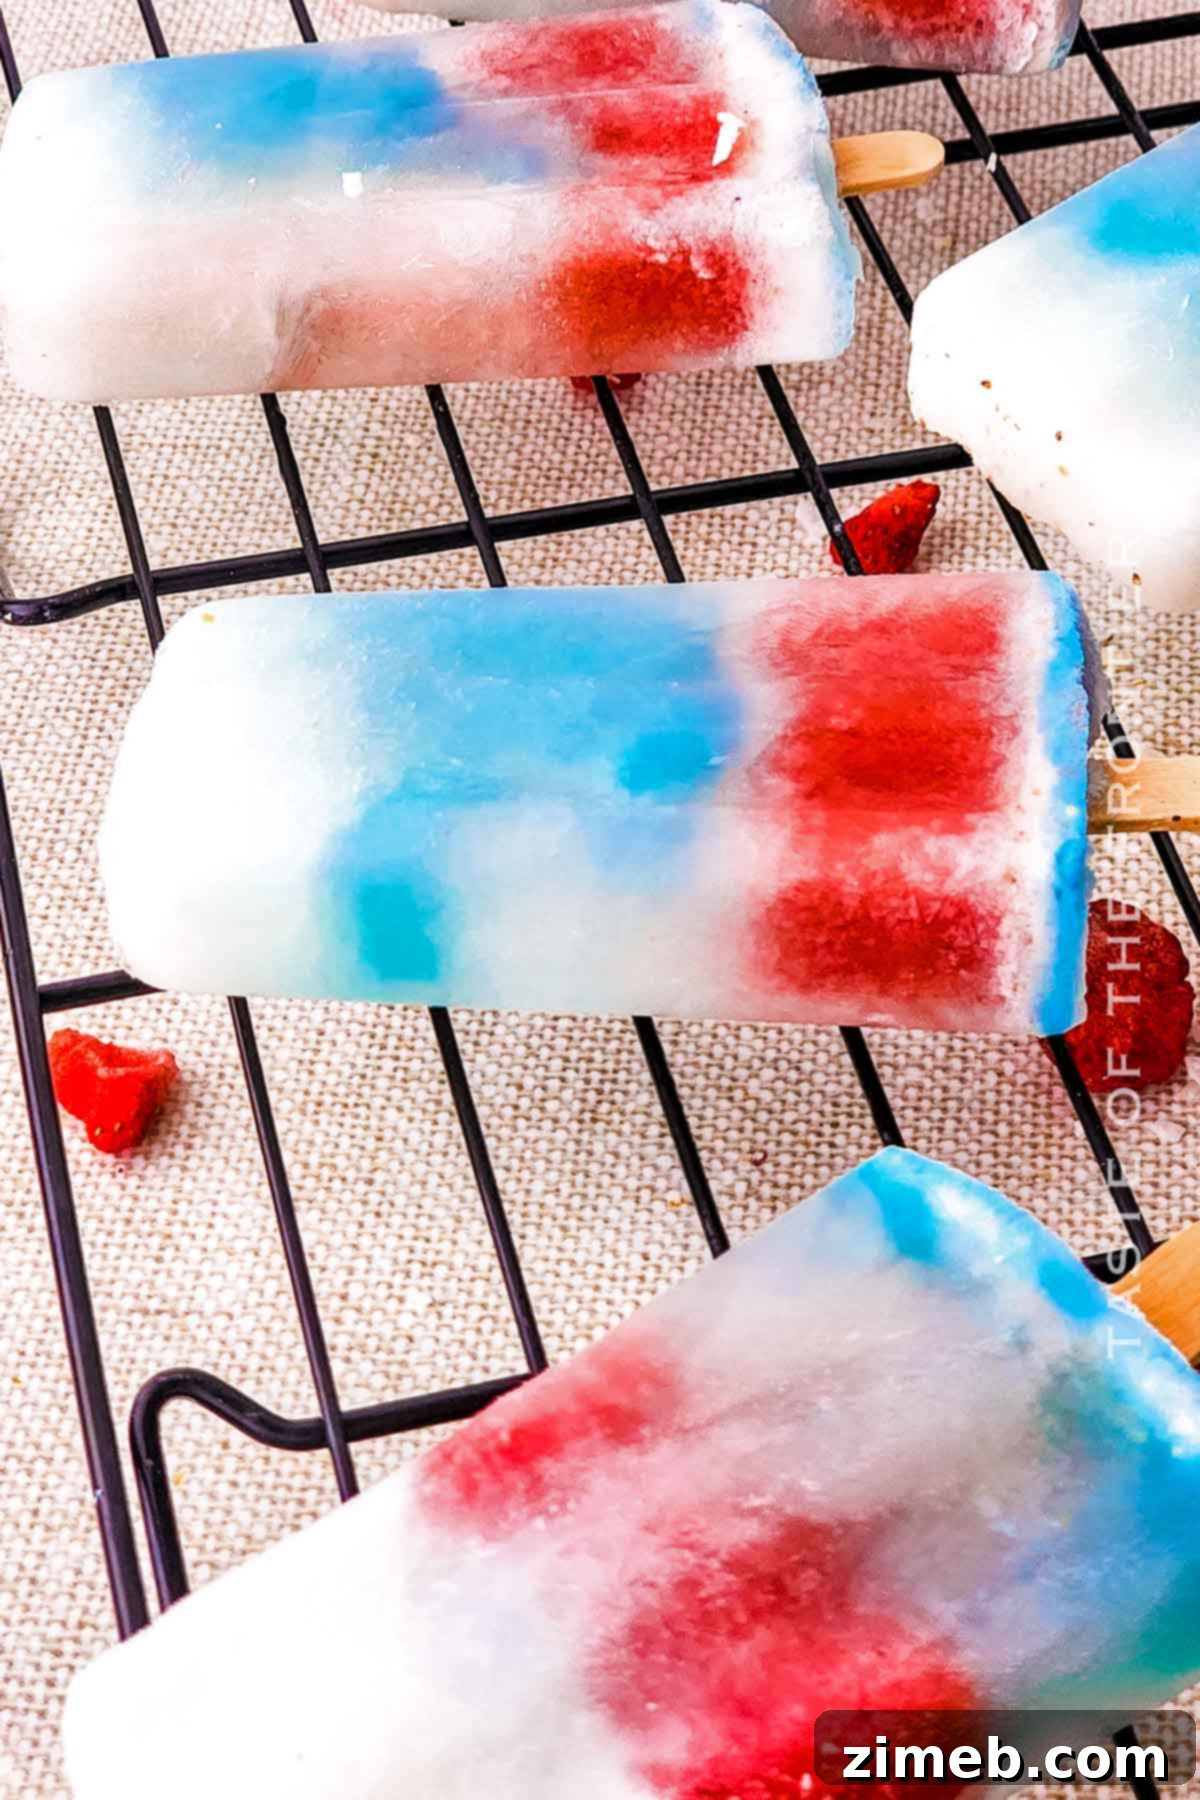
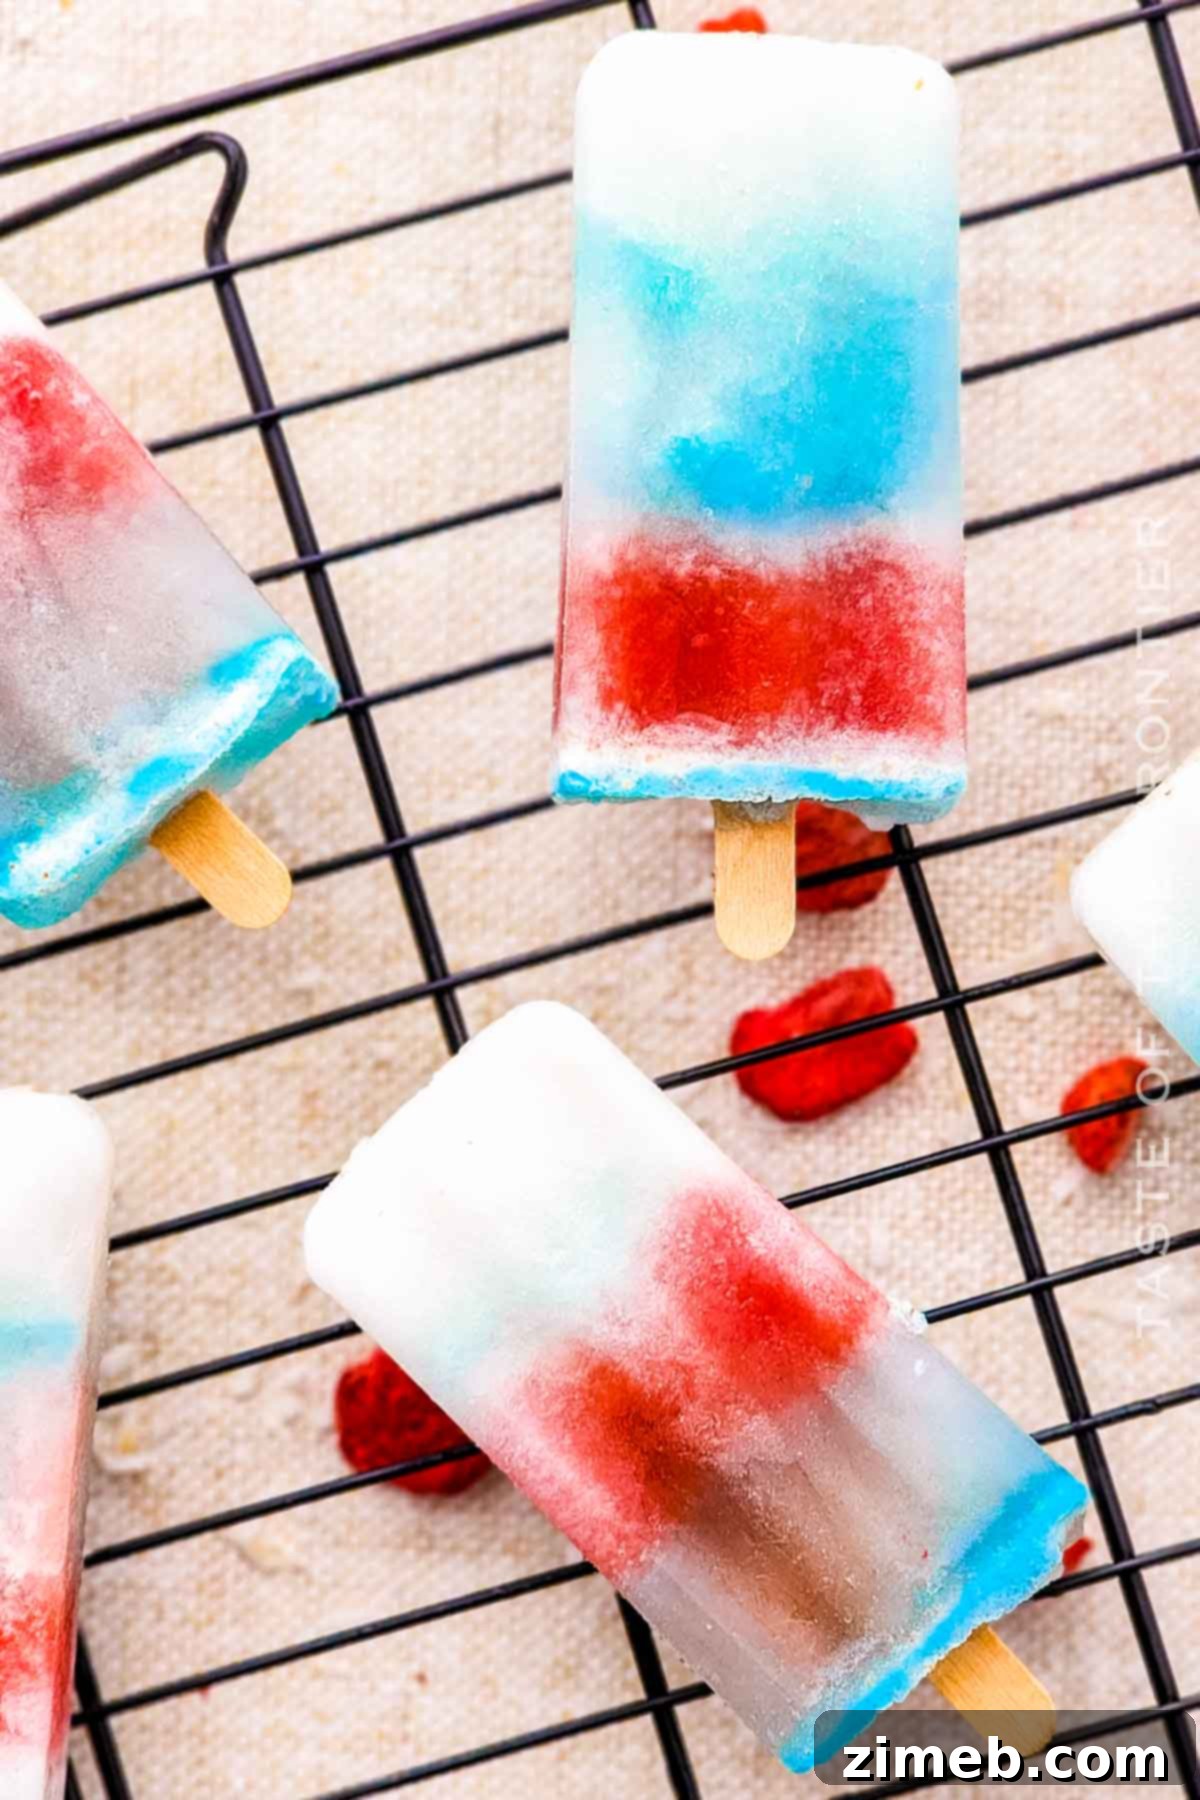
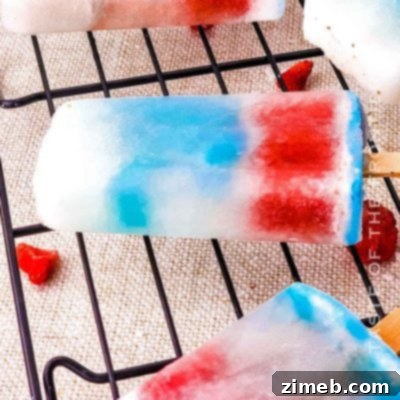
Embrace the vibrant spirit of summer and American patriotism with our truly delightful **Red White and Blue Popsicles**. These homemade icy treats are the quintessential refreshment for any sweltering summer day, and their striking, festive appearance ensures they will be the undisputed star of your next **Fourth of July party** or **Memorial Day celebration**. Imagine layers of sweet, tangy, and creamy goodness, perfectly blended into a visually stunning dessert that captures the essence of national pride. Crafted with wholesome, simple ingredients, these patriotic popsicles are a guaranteed hit, adored by children and adults alike, making them a must-try recipe for the summer season.
There’s something uniquely special about homemade treats, and these **patriotic popsicles** elevate that sentiment. They offer a refreshing escape from the heat while providing a fun activity for the entire family. Forget store-bought options filled with artificial flavors and preservatives; our recipe focuses on fresh ingredients, allowing you to control the sweetness and tailor it to your preferences. Whether you’re planning an elaborate barbecue, a casual backyard gathering, or simply seeking a healthy and delicious way to cool down, these **layered popsicles** promise to impress with both their flavor and their eye-catching design. Get ready to kick off the summer holidays with these easy-to-make, invigorating frozen delights!
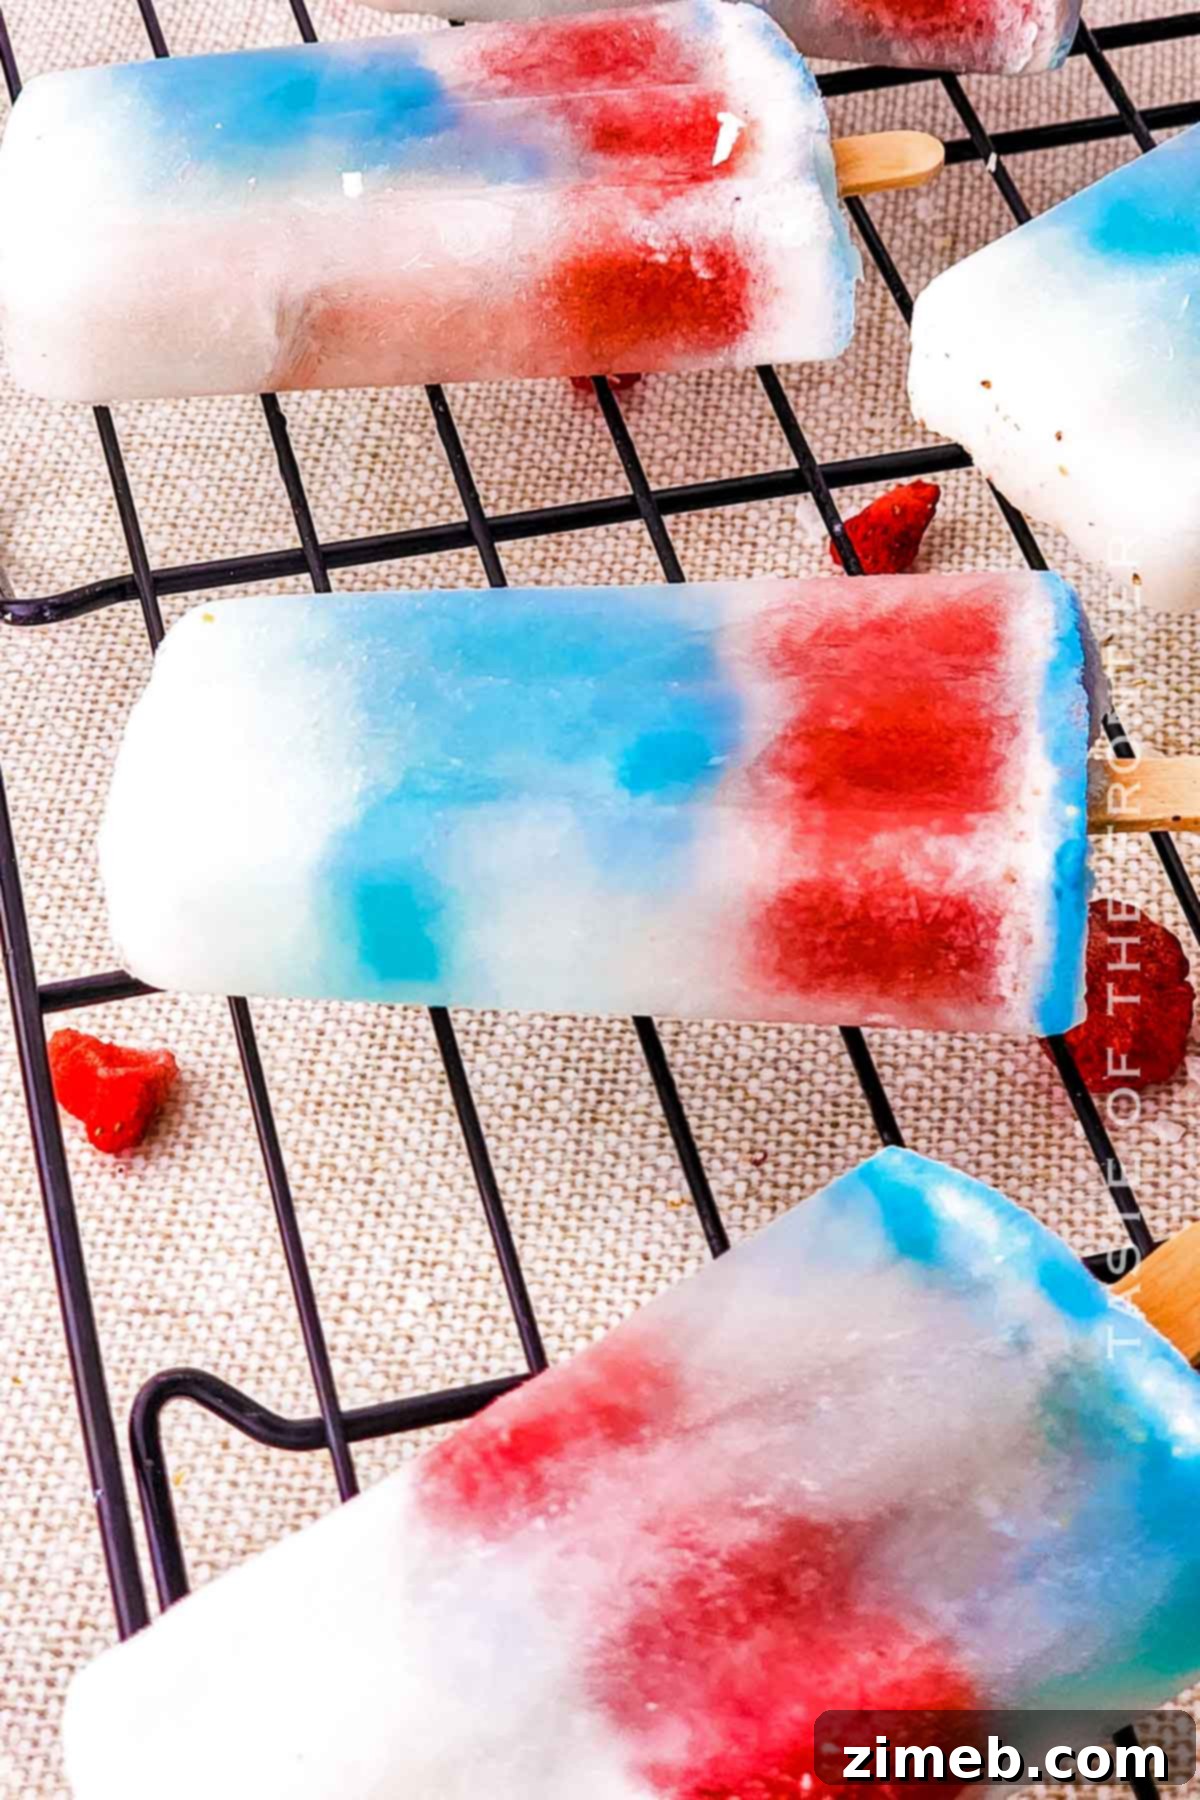
Our **Red White and Blue Popsicles** are truly a culinary highlight you won’t want to miss this summer. They expertly combine a medley of sweet, tart, and wonderfully creamy flavors, all artfully arranged in vibrant, patriotic layers. The natural sweetness of fresh fruit, balanced with a subtle tang and the smooth richness of coconut, creates a harmonious taste profile that is both invigorating and satisfying. From the moment you take your first bite, you’ll experience a burst of summery delight that cools you from the inside out.
These versatile **frozen treats** are perfect for a multitude of occasions. Hosting a lively Fourth of July party? These popsicles will serve as a show-stopping dessert that perfectly complements your patriotic theme. Planning a Memorial Day barbecue and looking for something light and refreshing to follow your grilled favorites? Look no further. Or perhaps you’re simply seeking a delightful, sweet treat to enjoy on a scorching afternoon. Regardless of the reason, these **summer popsicles** are sure to be a crowd-pleaser. What’s more, they are incredibly fun and straightforward to prepare, making them an excellent activity to involve your children in. Kids love the process of layering the different colors and watching their edible works of art come to life. Start your summer holiday festivities right with these wonderfully refreshing, homemade patriotic pops!
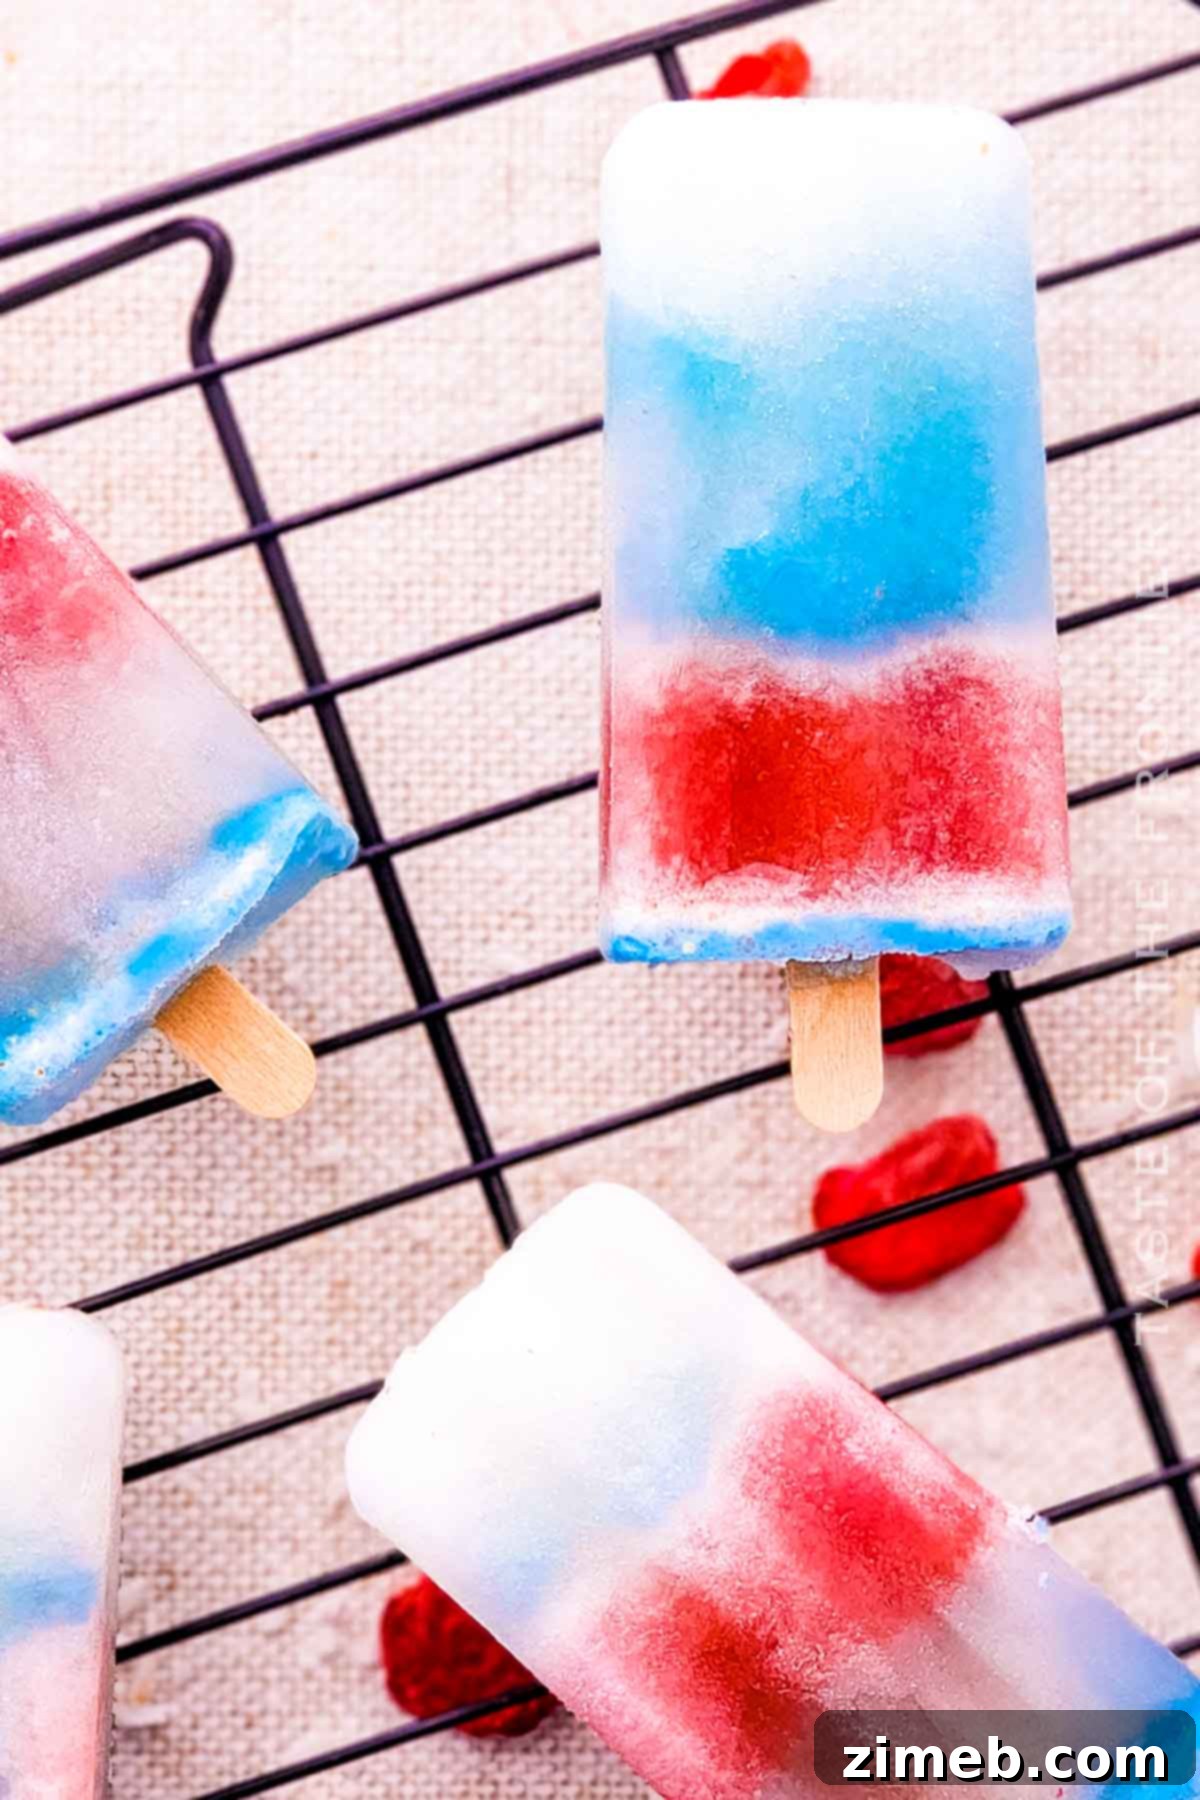
Frequently Asked Questions About Red White and Blue Popsicles
Are these popsicles a healthy dessert option?
Absolutely! These **Red White and Blue Popsicles** are a wonderful, healthier alternative to many store-bought varieties. They are consciously crafted with fresh, wholesome ingredients like fresh strawberries (or other berries) and creamy coconut milk. You have complete control over the sugar content, allowing you to reduce it if preferred or swap granulated sugar for natural alternatives like maple syrup, honey, or agave nectar. By making them at home, you avoid artificial flavors, colors, and preservatives often found in commercial frozen treats, making them a guilt-free pleasure for the whole family to enjoy.
Can I substitute other fruits for the red layer?
You certainly can! While this recipe beautifully showcases the classic flavor of strawberries for the vibrant red layer, feel free to get creative with other red fruits. Raspberries make an excellent alternative, offering a slightly tarter profile that complements the sweetness of the other layers. You could also experiment with pitted cherries, cranberries (especially if you enjoy a more tart flavor), or even a blend of red berries. Just ensure the fruit is blended smoothly to achieve that consistent, rich red color and texture.
What if I don’t have a popsicle mold?
No dedicated popsicle mold? No problem! You can easily improvise with common kitchen items. Small paper cups, plastic cups, or even an ice cube tray can work perfectly for creating mini popsicles. Simply pour your layered mixtures into your chosen containers, cover the top with aluminum foil, and then carefully poke your wooden popsicle sticks through the foil. The foil helps to keep the sticks upright and centered as the popsicles freeze. This method is especially great for creating bite-sized treats that are perfect for younger children or for serving a larger crowd.
Storage Guidelines for Your Patriotic Popsicles
Keeping these healthier popsicles cool and delicious throughout the summer is simple. Proper storage is key to maintaining their beautiful layers and refreshing consistency, ensuring you avoid the chemicals often found in commercially produced icy treats.
Refrigerator Storage
While the individual popsicle mixtures can be stored in the refrigerator between layering steps to prevent them from warming too much, the finished product requires freezing. Once the layers are combined, the popsicles must be kept in the freezer to solidify and retain their iconic shape and delightful texture.
Freezer Storage
Once your **Red White and Blue Popsicles** are completely frozen solid (which typically takes at least 6-8 hours, or overnight for best results), they can be stored in the freezer for up to 2 weeks. To prevent freezer burn and keep them tasting fresh, it’s best to wrap each individual popsicle in wax paper or parchment paper. Then, place the wrapped popsicles into an airtight plastic freezer bag or a rigid freezer-safe container. This method not only preserves their flavor and texture but also makes them easy to grab and enjoy whenever a craving strikes.
Expert Tips for Perfect Red White and Blue Popsicles
From the moment summer officially begins, my kids are incessantly asking for popsicles and a variety of other cold treats. This recipe is designed to satisfy everyone’s cravings with ease and fantastic results. Follow these tips to ensure your patriotic popsicles turn out perfectly:
- Achieve Distinct Layers: The secret to perfectly separated red, white, and blue stripes is patience. Ensure each layer is completely frozen and firm before carefully adding the next one. Rushing this step will result in blurred or mixed colors, losing that striking visual appeal.
- Enhance Strawberry Sweetness: If you’re using fresh strawberries, which can vary in sweetness, consider adding a little extra granulated sugar to the red layer blend. This will bring out their natural flavors and ensure a consistently delicious taste. Taste as you go and adjust to your preference.
- Adjust Blue Layer Sweetness: The sweetness of the blue layer, particularly if using Kool-Aid, can be quite potent. Start by adding a smaller amount of sugar than specified and taste the mixture. You can always add more sugar gradually until you reach your desired level of sweetness.
- Creamy Texture Secrets: For an exceptionally creamy white layer, always opt for full-fat coconut milk or Greek yogurt. The higher fat content contributes significantly to a smoother, richer mouthfeel, making the popsicles feel more luxurious and satisfying.
- Easy Unmolding: To easily release your frozen popsicles from their molds, run the outside of the mold under warm water for about 10-15 seconds. This slight warming will loosen the popsicle, allowing it to slide out effortlessly without breaking.
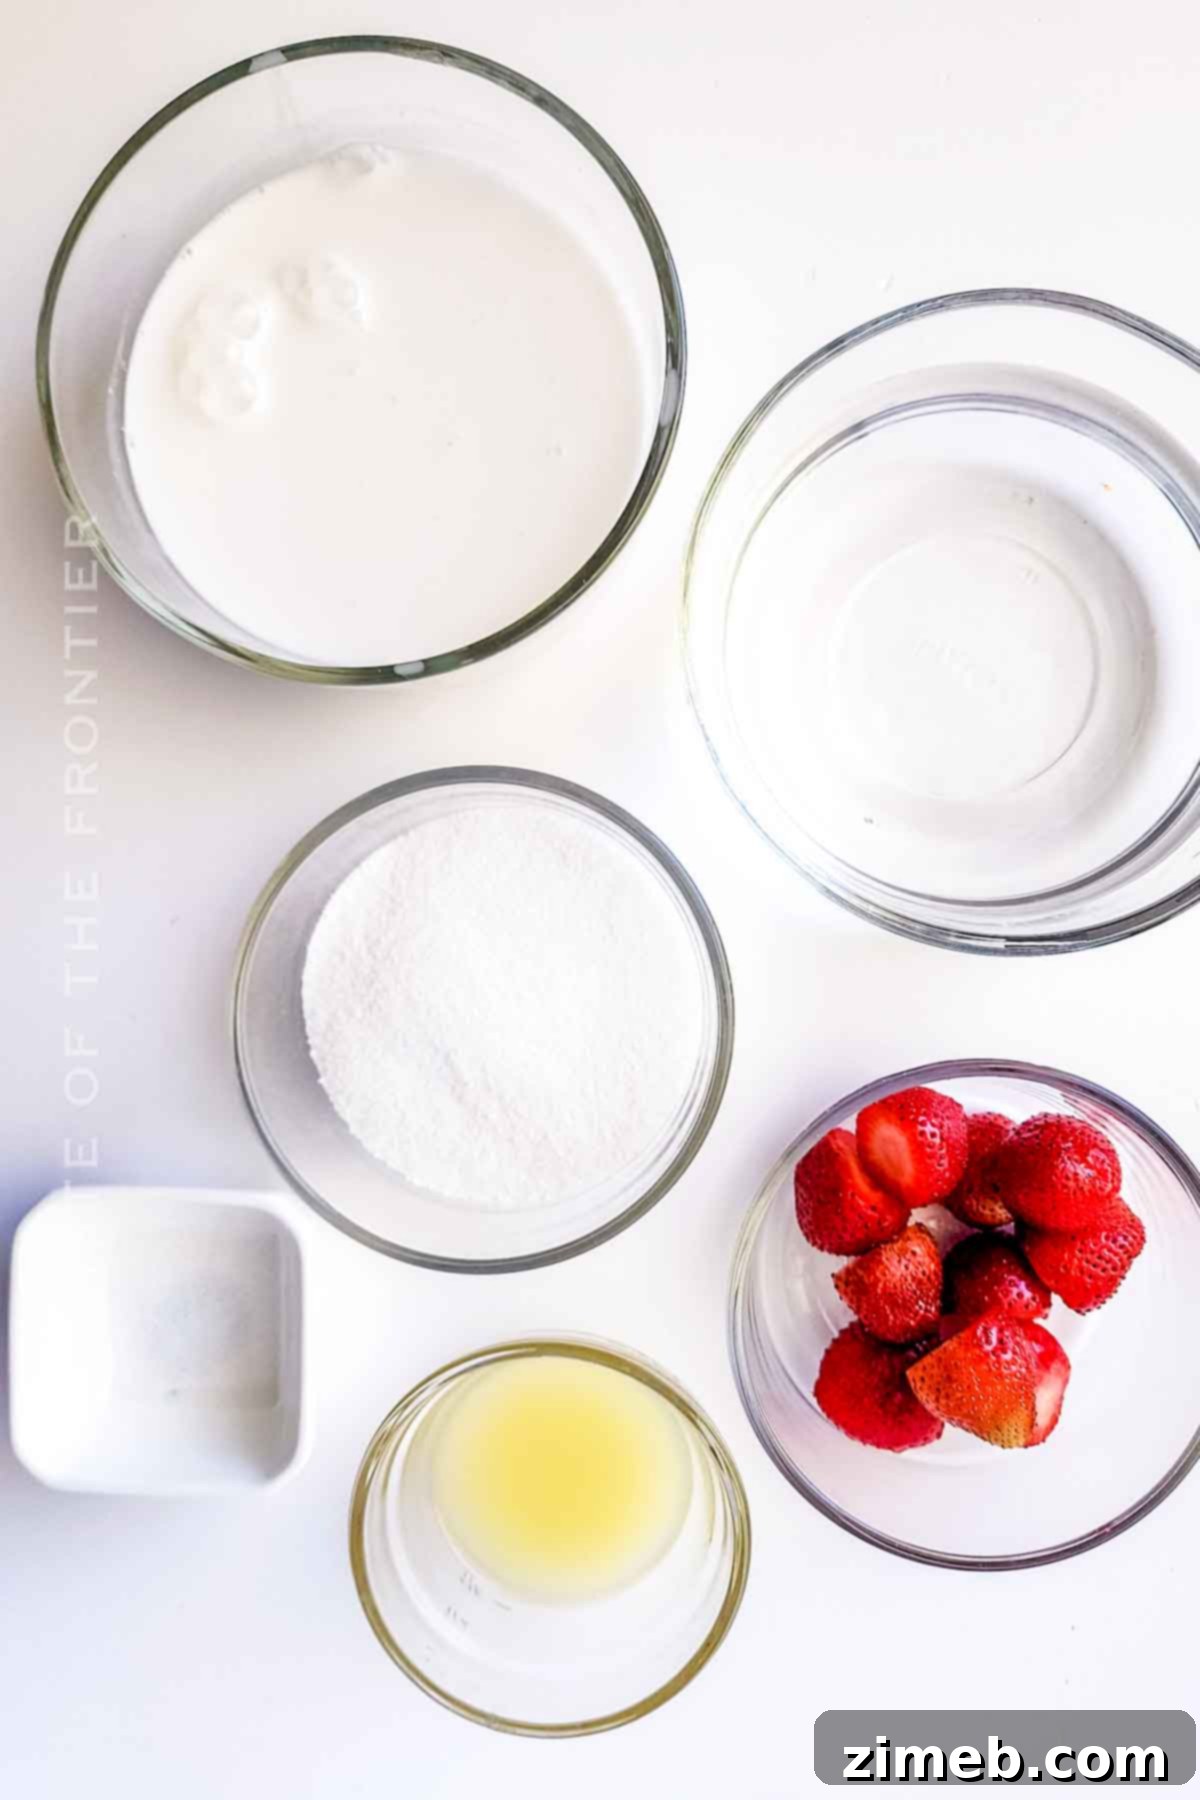
Essential Ingredients for Your Patriotic Popsicles
These vibrant, patriotic treats will be a huge hit at your next July 4th party! Gather these simple ingredients to create your stunning layered popsicles:
- For the Red Layer:
- Frozen Strawberries
- Water
- Granulated Sugar
- For the White Layer:
- Coconut Milk (full-fat recommended)
- Granulated Sugar
- Lemon Juice
- For the Blue Layer:
- Warm Water
- Granulated Sugar
- Blue Raspberry Kool-Aid powder
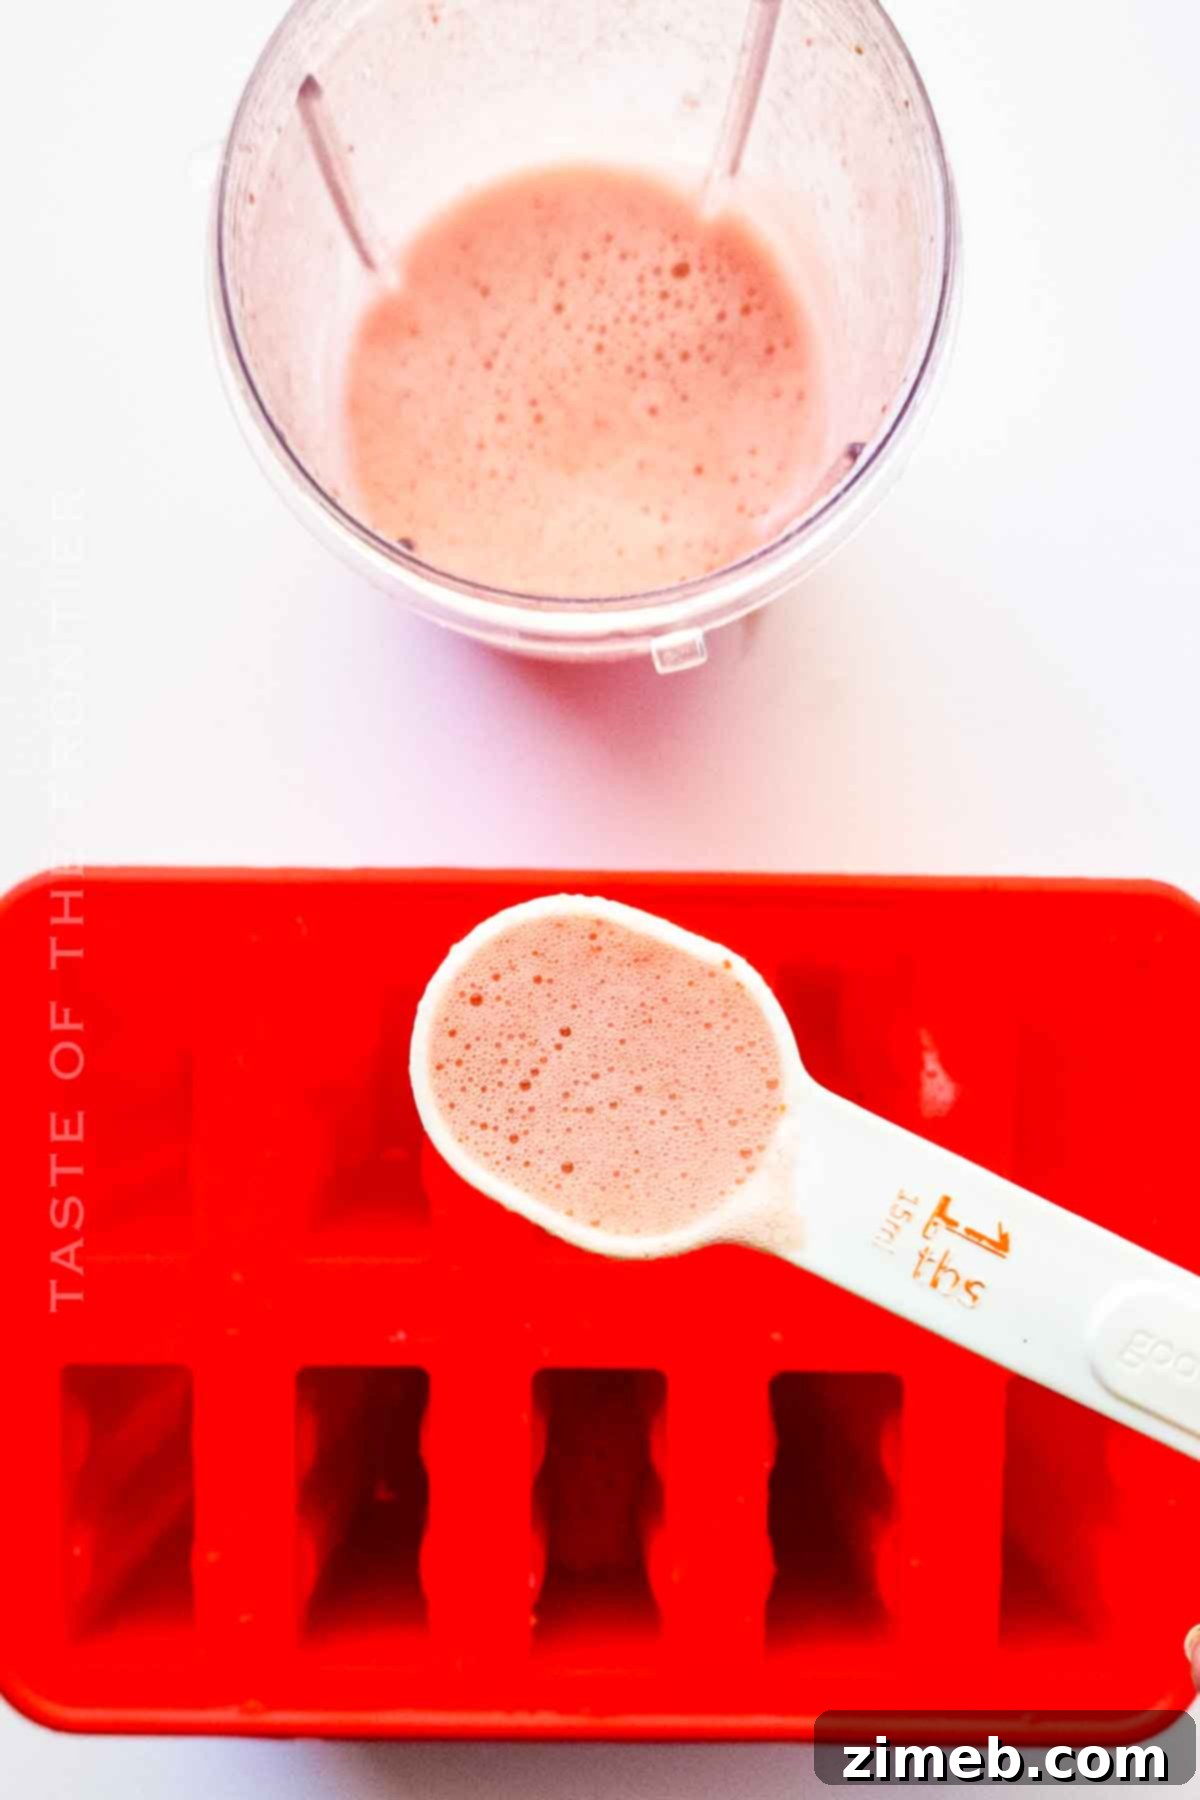
Step-by-Step Guide: How to Make Red White and Blue Popsicles
These popsicles are perfect for making in advance of any party or gathering. Involving the kids in the process makes it even more enjoyable – mine always love the excitement of freezing the different layers and watching the colors take shape!
- Prepare the Red Layer: In a high-speed blender, combine the frozen strawberries, water, and granulated sugar. Blend until the mixture is completely smooth and free of lumps.
- Freeze the First Layer: Carefully pour the strawberry mixture into your popsicle molds, filling each one approximately one-third of the way full. Place the molds into the freezer and allow them to freeze for at least 2 hours, or until thoroughly solid. This crucial step ensures crisp color separation.
- Create the White Layer: While the red layer is freezing, prepare the white layer. In a clean blender, combine the full-fat coconut milk, granulated sugar, and fresh lemon juice. Blend until the ingredients are well combined and smooth.
- Freeze the Second Layer: Once the red layer is firm, pour the white coconut milk mixture directly on top, filling each mold to about two-thirds full. Return the molds to the freezer for another 2 hours, allowing this layer to completely solidify.
- Prepare and Freeze the Blue Layer: For the final blue layer, mix the warm water, granulated sugar, and blue raspberry Kool-Aid powder in a bowl or pitcher until the sugar is fully dissolved and the color is uniform. Pour this blue mixture carefully over the frozen white layer, filling the molds to the top. Insert popsicle sticks into the center of each mold. Freeze for a minimum of 4 more hours, or ideally overnight, to ensure all layers are rock-solid and the popsicles are perfectly set.
Recipe Notes & Expert Substitutions:
Feel free to customize this recipe to suit your taste and dietary needs:
- You can easily substitute the strawberries for raspberries in the red layer if you prefer a slightly tarter berry flavor or want to explore different seasonal fruits.
- For the creamy white layer, plain or vanilla **Greek yogurt** can be a fantastic substitute for coconut milk, offering a similar rich texture with a tangy twist. Just be sure to use full-fat yogurt for the best consistency.
Essential Kitchen Supplies for Homemade Popsicles
Making these delightful popsicles is incredibly simple and requires only a few basic kitchen tools. I’ve even made them using a star-shaped ice cube tray to add an extra touch of patriotism to mini versions!
- Popsicle Molds: Essential for shaping your popsicles. Various types are available, from silicone to plastic.
- Popsicle Sticks: Necessary for holding your frozen treats. Wooden sticks are common, or re-usable plastic sticks that often come with molds.
- Blender: Crucial for achieving smooth, consistent fruit and coconut milk layers.
- Large Measuring Cup or Pitcher: Helpful for easily pouring the mixtures into the narrow popsicle molds without spills.
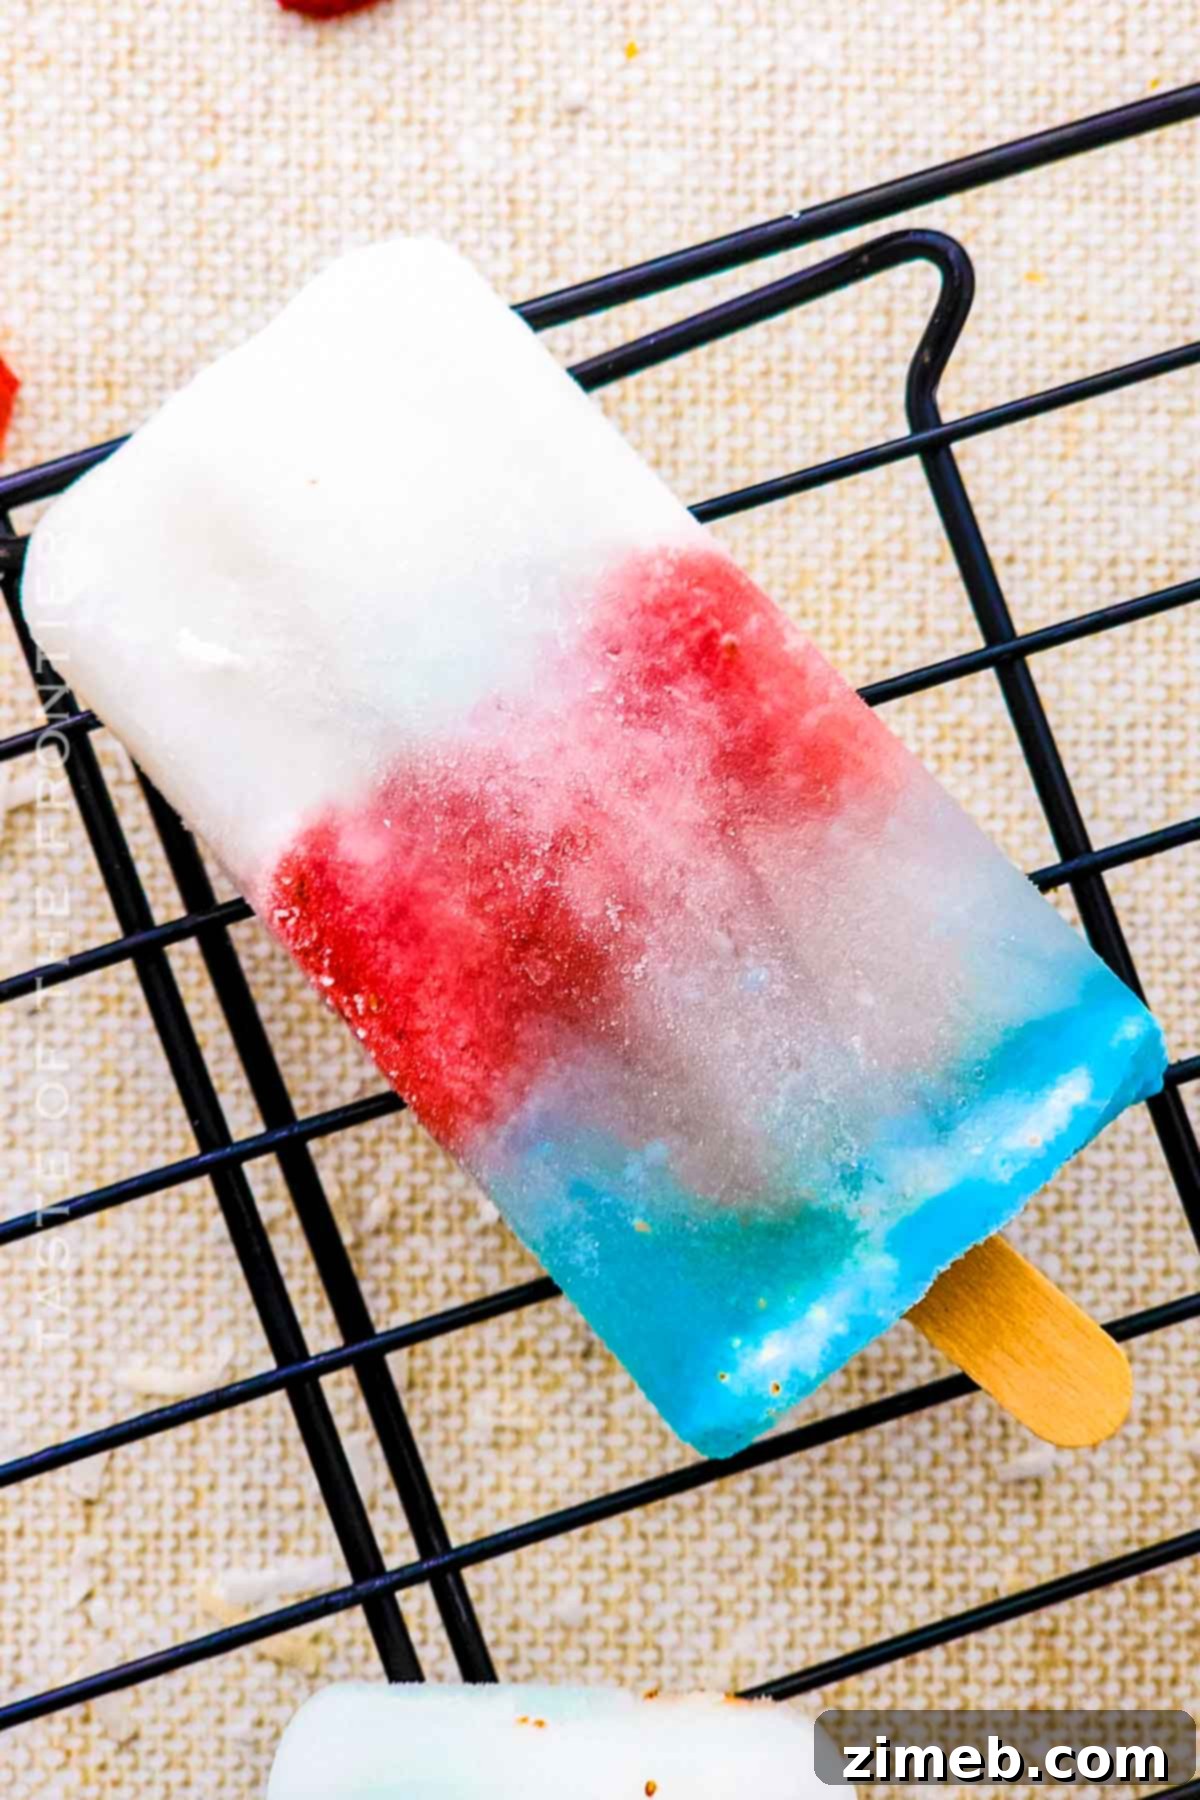
Delicious Pairings: What to Serve With Red White and Blue Popsicles
These vibrant **Red White and Blue Popsicles** are a refreshing and satisfying dessert all on their own. However, they also pair beautifully with other classic summer treats, enhancing any warm-weather gathering. Consider serving them alongside juicy **watermelon slices** for an extra burst of fresh fruit, or with a generous scoop of creamy **vanilla ice cream** for a truly indulgent dessert experience. A dollop of whipped cream on the side can also add a delightful touch of richness, making these patriotic pops a versatile addition to any summer menu.
Why You Absolutely Must Make These Red White and Blue Popsicles
Beyond being incredibly delicious, making these **layered color pops** offers several wonderful benefits. As you craft each colorful layer, you can even turn it into a valuable learning opportunity for kids, teaching them about the meaning behind each color in our flag – red for valor, white for purity, and blue for justice. It’s a sweet lesson in patriotism!
- They are the perfect, festive dessert to celebrate **Independence Day** or **Memorial Day**, adding a patriotic flair to your holiday spread.
- This recipe provides a fun, engaging, and creative way to **get kids involved** in the kitchen, fostering a love for cooking and healthy eating from a young age.
- They serve as a significantly **healthier alternative** to many store-bought popsicles, containing no artificial flavors, colors, or unwanted preservatives.
- It’s an **easy recipe** utilizing common, readily available ingredients, requiring minimal prep time and straightforward steps that anyone can follow.
- These popsicles are an ultimate refreshing treat to **beat the heat** on a hot summer day, offering a cooling and satisfying experience.
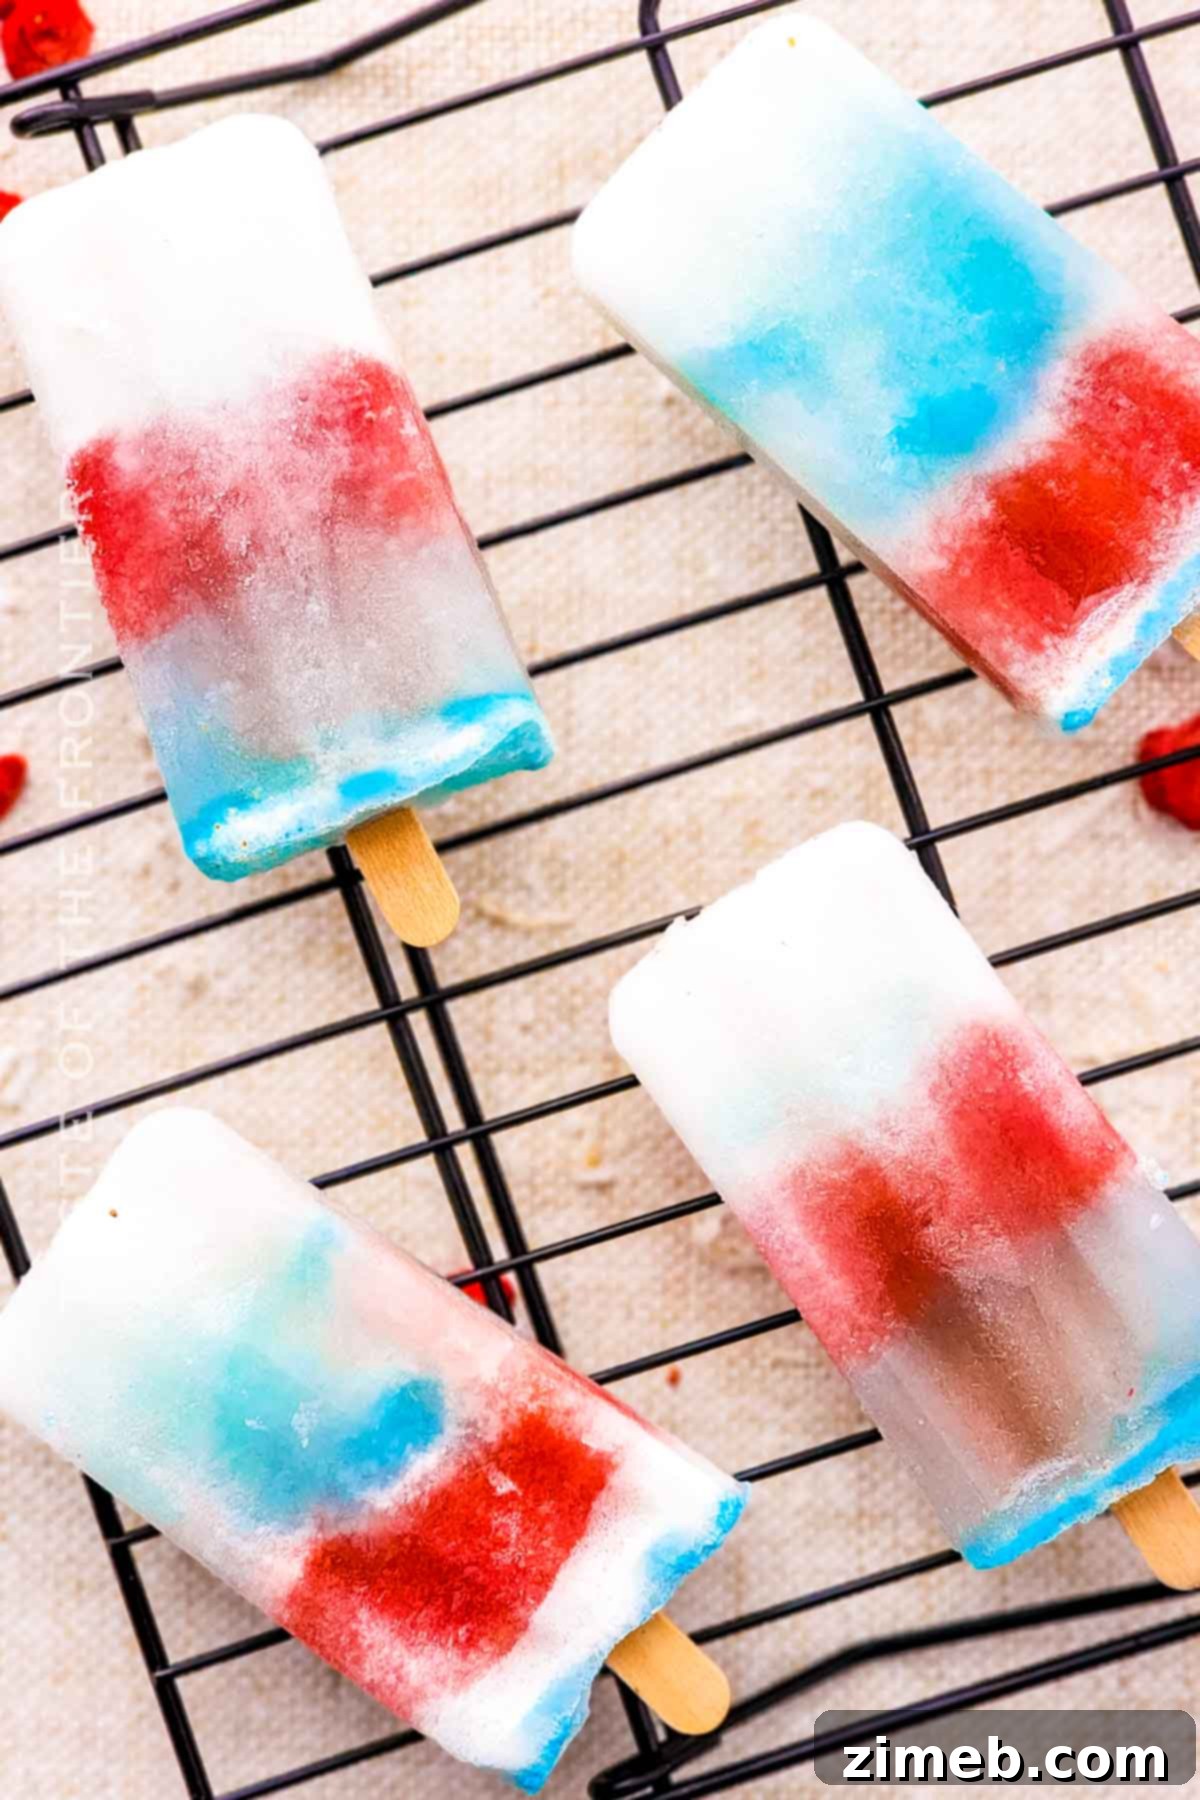
Creative Variations and Delicious Add-Ins for Red White and Blue Popsicles
While the classic recipe is undeniably fantastic, don’t hesitate to experiment with different flavors and textures. You can even try incorporating various flavor extracts into the different layers to introduce new dimensions of taste. Let your imagination guide you and try whatever comes to mind!
- For an even **creamier texture** in the white layer, swap out coconut milk for thick, full-fat **Greek yogurt**. This will add a delightful tang and extra richness.
- To create a more natural blue layer, consider using **blueberry puree** instead of blue raspberry Kool-Aid. Simply blend fresh or frozen blueberries with a little water and sugar until smooth.
- If you desire a more intensely vibrant red layer, a few drops of **red food coloring** added to the strawberry puree will enhance its hue without altering the taste.
- Add a whimsical and truly festive twist by inserting small **white stars** cut from solidified **coconut cream** or white chocolate between the layers. This requires a little extra effort but makes for a stunning presentation.
- For those seeking entirely natural coloring options, use a pinch of **beetroot powder** for a rich, natural red layer and **blue spirulina** powder for a captivating, natural blue. Ensure to blend thoroughly to avoid any powdery residue.
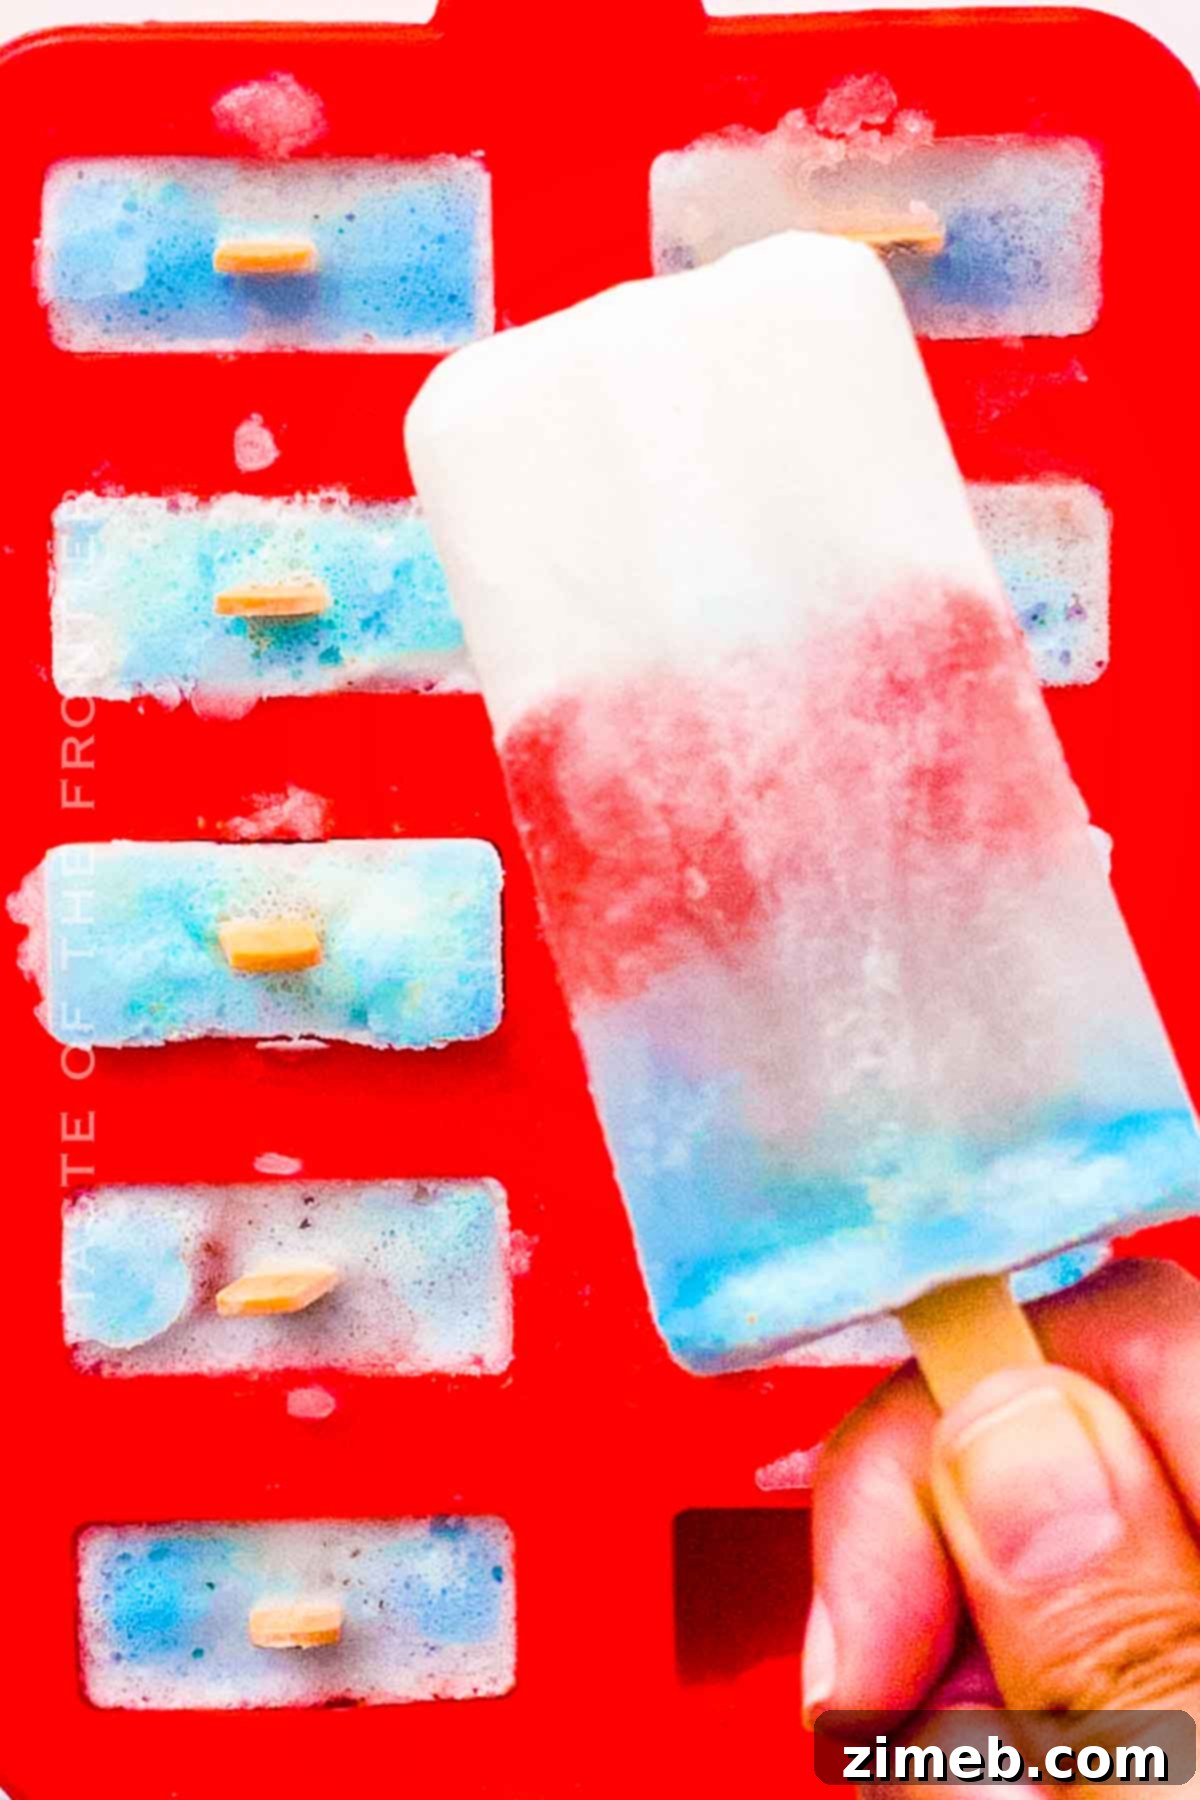
If you loved this easy popsicle recipe, you’re going to adore these other fantastic frozen treats too. Click each link below to discover the simple, printable recipe!
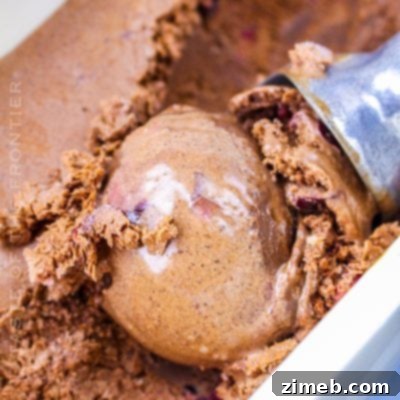
Black Forest Ice Cream
Homemade Black Forest Ice Cream packed full of sweet cherries and hot fudge. This decadent favorite is an easy-to-make summer treat.
Check out this recipe
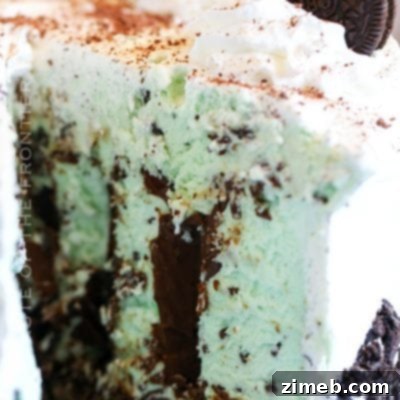
Mint Chocolate Chip Ice Cream Cake
Mint Chocolate Chip Ice Cream Cake is made for an epic celebration. Created with chocolate-covered ice cream bars, Oreos, and hot fudge!
Check out this recipe
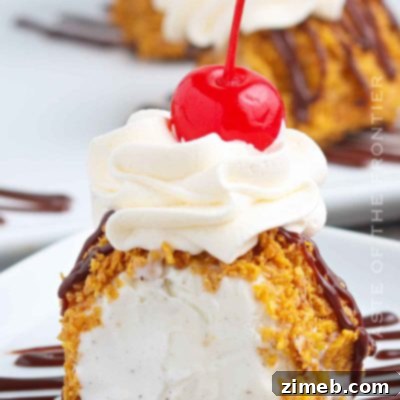
Easy Fried Ice Cream
Easy Fried Ice Cream Recipe has a sweet and crunchy cereal coating, a creamy ice cream center, and your favorite toppings to create a taste experience that’s sure to be a hit with the whole family.
Check out this recipe
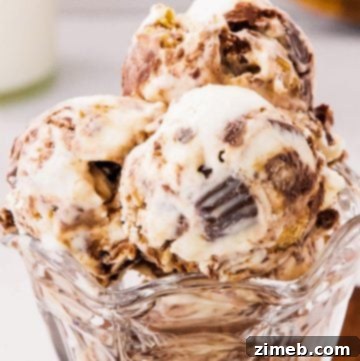
Moose Tracks Ice Cream
Super easy, no-churn Moose Tracks Ice Cream is loaded with peanut butter cups and ribbons of chocolate fudge. No ice cream maker required!
Check out this recipe
Coffee Ice Cream – No Churn
This recipe for no-churn coffee ice cream is so easy and delicious. Bold and rich coffee flavor and no ice cream maker required!
Check out this recipe
More Great Pop Recipes to Explore
If you enjoy frozen treats, be sure to check out these other fantastic pop recipes for more summer delight:
- Frozen Bananas
- Dirty Pineapple Whip Pops Recipe
- Dairy-Free Fudge Pops
- White Chocolate Custard Frozen Pops
If you loved this recipe for **layered color pops** as much as I do, please take a moment to write a five-star review below, and be sure to help me share the joy with your friends and family on Facebook and Pinterest! Your feedback helps us create more delicious recipes for you.
CONNECT WITH YUMMI HAUS!
Be sure to follow me on my social media, so you never miss a post!
Substack,
FB,
Pinterest,
IG,
Email Subscription
Rate this Recipe
Red White and Blue Popsicles
Ingredients
Red Layer:
- 8 strawberries frozen
- ½ cup water
- 2 tablespoons granulated sugar
White Layer:
- 12 ounces coconut milk
- ½ cup granulated sugar
- ¼ cup lemon juice
Blue Layer:
- 1 ½ cup warm water
- 3 tablespoons granulated sugar
- ½ teaspoon kool-aid blue raspberry
Instructions
Red Layer
-
In a blender, blend the strawberries, water, and sugar together.
-
Pour into the popsicle molds, filling each ⅓ full. Freeze for 2 hours.
White Layer
-
Combine the coconut milk, sugar, and lemon juice in a blender and blend together.
-
Pour this mixture on top of the frozen red layer filling each mold ⅔ of the way full. Freeze for another 2 hours.
Blue Layer
-
Mix the water, sugar, and blue raspberry kool-aid. Add this layer to the top of the popsicles and freeze for 4 more hours.
Notes
● Yogurt can be a substitute for coconut milk.
Equipment
-
Popsicle Molds
-
Popsicle Sticks
-
blender
Nutrition
Calories: 140kcal |
Carbohydrates: 20g |
Protein: 1g |
Fat: 7g |
Saturated Fat: 6g |
Sodium: 6mg |
Potassium: 96mg |
Fiber: 0.2g |
Sugar: 18g |
Vitamin C: 8mg |
Calcium: 9mg |
Iron: 1mg |
Net Carbohydrates: 18g
Nutritional information for the recipe is provided as a courtesy and is approximate. Please double-check with your own dietary calculator for the best accuracy. We at Yummi Haus cannot guarantee the accuracy of the nutritional information given for any recipe on this site.