
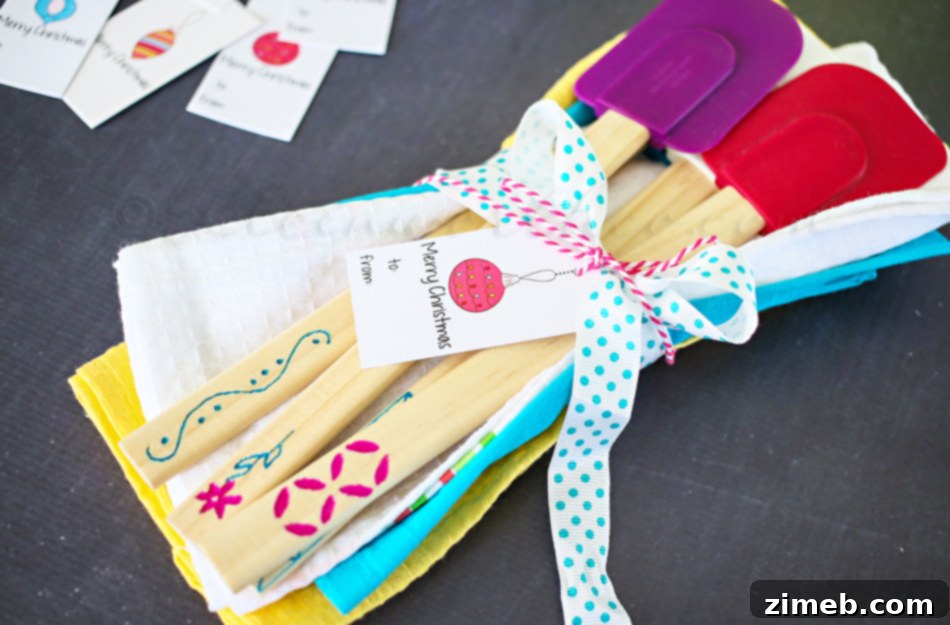
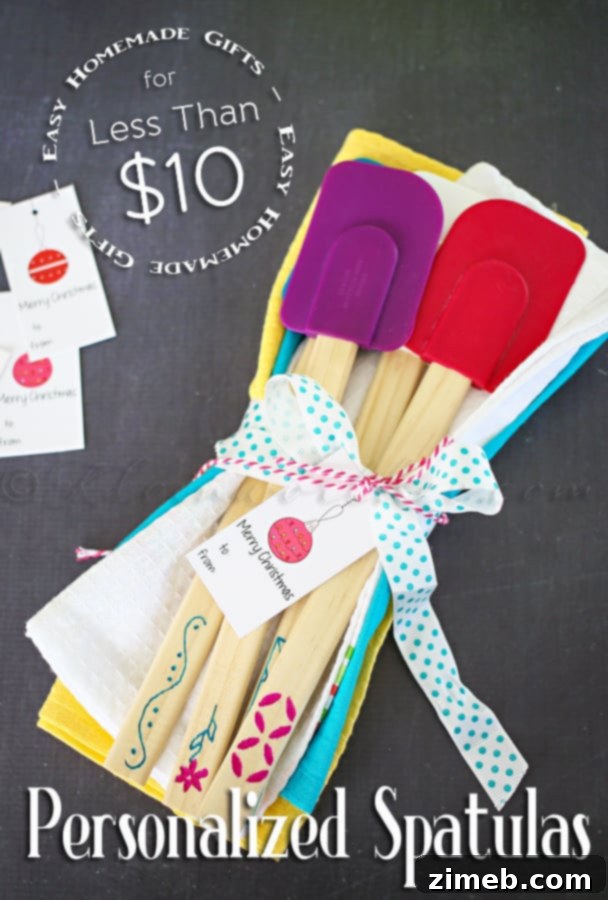
Are you searching for truly memorable gift ideas that go beyond the usual store-bought items? While a delicious plate of homemade cookies is always appreciated, there’s something uniquely special about a handmade gift that offers lasting joy. Imagine creating something beautiful and functional that your loved ones can use again and again, thinking of you each time. This concept deeply resonates with me, especially when it comes to kitchen essentials. As someone who absolutely adores kitchen spatulas – I confess, I have quite a collection! – I decided to transform them into the ultimate personalized present. These **Personalized Spatulas** are not only incredibly thoughtful but also stand out as a fantastic **Homemade Gift for less than $10**!
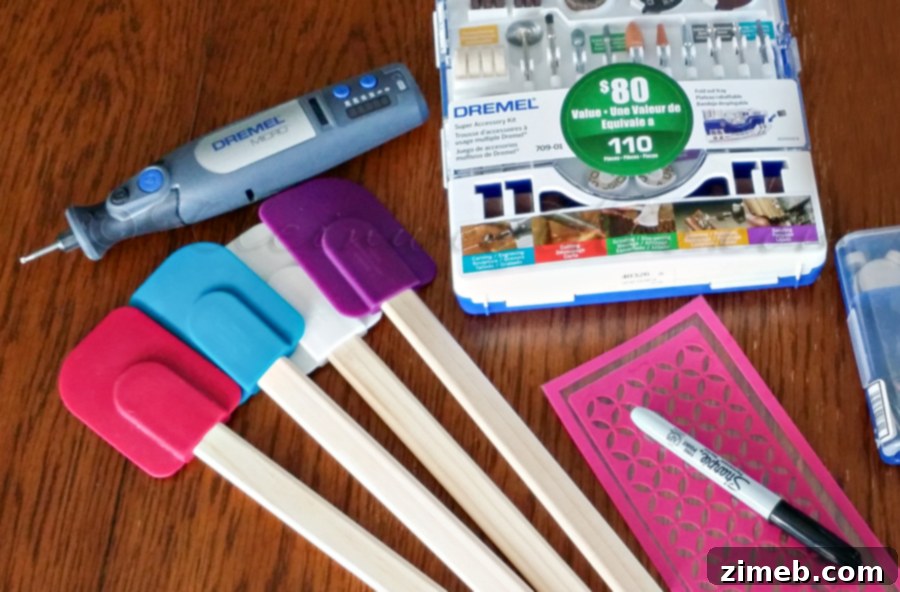
Crafting a truly unique gift doesn’t have to break the bank or require advanced skills. This DIY project is designed to be both affordable and accessible, making it perfect for anyone looking to add a personal touch to their gift-giving. The beauty of these custom spatulas lies in their simplicity and the boundless creative possibilities they offer. Whether you’re making them for a seasoned chef, a new homeowner, or a baking enthusiast, these personalized kitchen tools are sure to be cherished. Let’s dive into how you can create these charming and practical gifts, proving that a little creativity can go a long way.
Gather Your Simple Supplies: Crafting on a Budget
One of the best aspects of this project is how budget-friendly it is. I started by selecting several wooden spatulas from the dollar bin at a local store. You can often find sets of wooden utensils for a very low cost, making them ideal for this kind of personalization. Beyond the spatulas themselves, you’ll need just a few key tools to bring your designs to life. For this particular method, I utilized my trusted Dremel tool, specifically with an ultra-fine high-speed cutter tip, along with a selection of ultra-fine tip Sharpie markers. A stencil can be a helpful guide, especially if you’re new to freehand drawing or want a specific font or shape, but as I discovered, it’s entirely optional. For most of my spatulas, I found joy in simply drawing my designs freehand, allowing for a more organic and truly unique result. If you don’t own a Dremel, consider alternative methods like a wood-burning tool for etched designs or even specialized paint markers for a hand-painted look, though the Dremel method offers a distinct engraved finish.
Step-by-Step Guide to Personalizing Your Spatulas
1. Design Your Vision with a Pencil
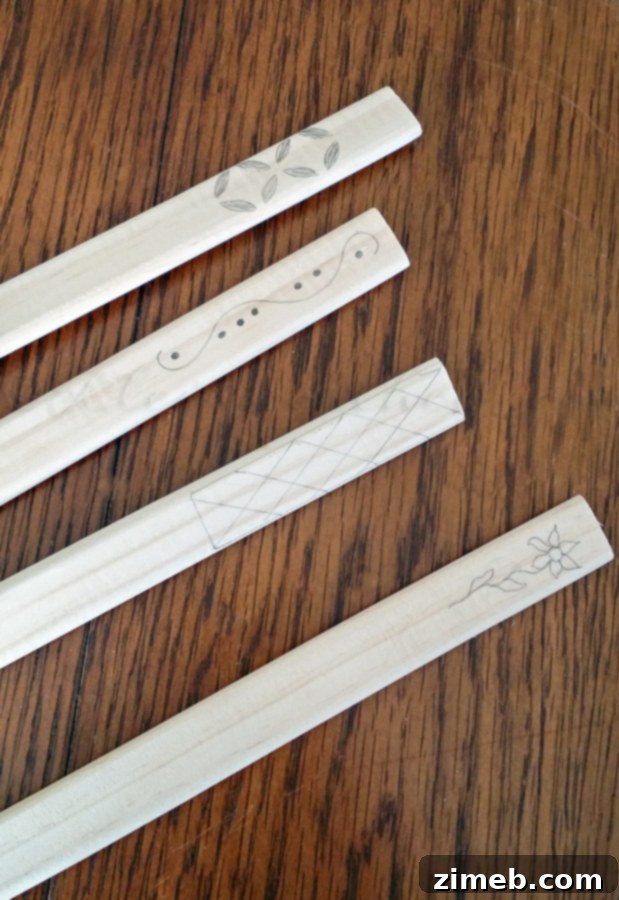
Start by using a pencil to draw your designs directly onto the wooden spatulas.
This is where the magic begins! Before you pick up any power tools or markers, take a moment to conceptualize your design. What message do you want to convey? A favorite quote, a monogram, a whimsical pattern, or perhaps something specific to the recipient’s hobbies? Use a standard pencil to lightly sketch your chosen design onto the wooden surface of the spatula. The beauty of starting with a pencil is that mistakes can be easily erased, allowing you to refine your design until it’s perfect. If you’re using a stencil, carefully trace its outline. For freehand designs, take your time to ensure symmetry and clarity. Consider different areas of the spatula – the handle offers a long, narrow canvas, while the paddle provides a broader space for more intricate designs. Practicing your design on a piece of scrap wood or paper first can also be incredibly helpful to get a feel for the flow and scale.
2. Engrave Your Designs with a Dremel Tool
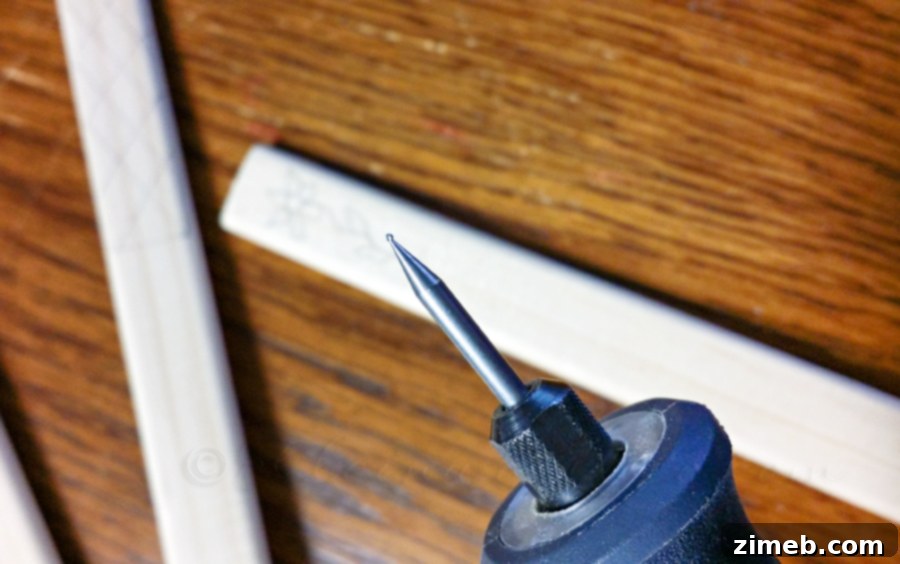
Next, I used my Dremel ultra-fine high-speed cutter tip and carefully cut out all the areas I had drawn. Then I brushed out all the particles and sawdust and made sure my lines were clean.
With your pencil design in place, it’s time to bring out the Dremel tool. Attach an ultra-fine high-speed cutter tip – this specific tip is crucial for achieving precise, delicate lines and details on wood. Before you start on your actual spatula, it’s highly recommended to practice on a piece of scrap wood to get comfortable with the tool’s speed and pressure. Hold the Dremel firmly but gently, guiding the cutter tip along your pencil lines. The goal is to create shallow engravings that provide texture and depth. Work slowly and steadily, following your design with a light touch. Remember, you can always go over a line to deepen it, but it’s much harder to correct an overly deep cut. After engraving, use a small brush or a dry cloth to gently remove all the wood particles and sawdust. This step is essential for revealing your clean, crisp lines and ensuring there’s no debris that could interfere with the next stage of coloring. Inspect your work closely to ensure all lines are well-defined and free from stray marks.
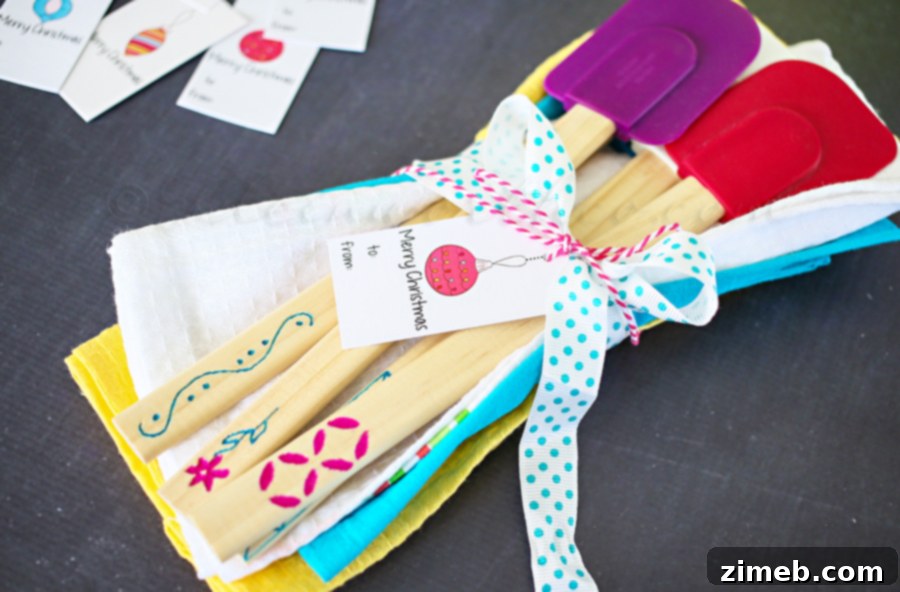
3. Add a Pop of Color with Sharpie Markers
Then I took my ultra-fine tip Sharpie markers, in coordinating colors, and just filled in all the cut areas to make them show up more. That’s it.
Once your engravings are clean and clear, it’s time to add a vibrant splash of color. Grab your ultra-fine tip Sharpie markers in colors that complement your design and intended recipient. The fine tip allows for precise coloring within the engraved grooves, making your designs truly pop. Carefully fill in all the cut areas, ensuring the ink saturates the wood for a lasting effect. You can choose a single color for a minimalist look, or use multiple coordinating colors to create a more dynamic and intricate design. Consider the overall aesthetic – bright, cheerful colors for a playful design, or more muted tones for an elegant touch. The Sharpie ink, being permanent, will adhere well to the wood, enhancing the visual appeal of your personalized spatula. This step brings the entire design to life, transforming simple engravings into striking works of art. Allow the ink to dry completely before handling extensively to prevent smudging.
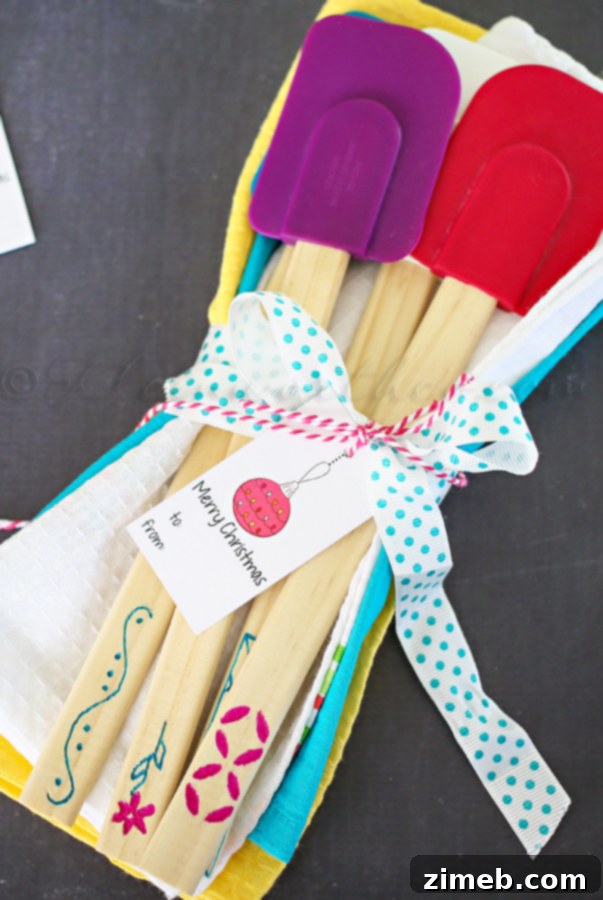
The Perfect Presentation: Completing Your Thoughtful Gift
Your beautifully personalized spatulas are almost ready to be gifted! To elevate this charming homemade present, consider pairing them with complementary items. I picked up some matching kitchen towels, which instantly create a cohesive and attractive gift set. The added touch of a cute ribbon tied around the spatulas and towels, along with a personalized gift tag, completes the package. This simple step transforms a practical item into a truly delightful and ready-to-give present. And the best part? The entire project, including the extra touches, can easily be kept under that remarkable $10 budget. This time of year, or any time really, finding such a thoughtful and budget-friendly gift is an absolute win!
Why Personalized Spatulas Make the Ultimate Gift
These personalized spatulas aren’t just another kitchen tool; they represent thoughtfulness, creativity, and a genuine effort to create something special. Here’s why they make an exceptional gift:
- **Thoughtful & Unique:** Unlike mass-produced items, a handmade, personalized spatula shows that you put time and consideration into selecting and customizing a gift specifically for the recipient.
- **Practical & Long-Lasting:** Spatulas are kitchen staples. By gifting a high-quality, personalized wooden spatula, you’re giving a useful item that will be incorporated into daily cooking and baking routines for years to come. Each time they reach for it, they’ll be reminded of you.
- **Budget-Friendly:** As demonstrated, this entire project can be completed for less than $10, making it an ideal option for multiple gifts, party favors, or when you need a meaningful present without a hefty price tag.
- **Highly Customizable:** The design possibilities are endless. From monograms and names to intricate patterns, inside jokes, or festive themes, you can tailor each spatula to the recipient’s personality, interests, or the occasion.
- **Versatile Appeal:** Perfect for home cooks, avid bakers, newlyweds setting up their first kitchen, college students, housewarming gifts, Mother’s Day, Father’s Day, holidays, or simply as a token of appreciation for a friend.
- **Eco-Friendly Choice:** Opting for wooden spatulas is also a nod to sustainability, making your gift both beautiful and environmentally conscious.
This project truly embodies the spirit of DIY gifting – combining practicality with heartfelt personalization. It’s a wonderful way to express your affection and creativity, resulting in a present that is both functional and deeply sentimental.
Beyond Spatulas: Exploring Other Customization Ideas
While personalized spatulas are fantastic, the techniques learned here can be applied to a variety of other items, extending your DIY gifting possibilities. Consider customizing other wooden kitchen utensils like spoons, tongs, or cutting boards for a coordinated set. You could also engrave names or special dates onto wooden coasters or small decorative signs. For a different aesthetic, instead of coloring with Sharpies, try wood stain in the engraved areas for a more rustic look, or use acrylic paints sealed with a food-safe top coat if the item won’t come into direct contact with food. Exploring different Dremel bits can also open up new textures and depths in your engravings. If you’re feeling adventurous, combining engraving with wood burning can create stunning, intricate designs with varying shades and depths. The key is to think about the recipient’s style and needs, and then let your creativity guide you to create something truly extraordinary and cherished.
Want more great gifts?
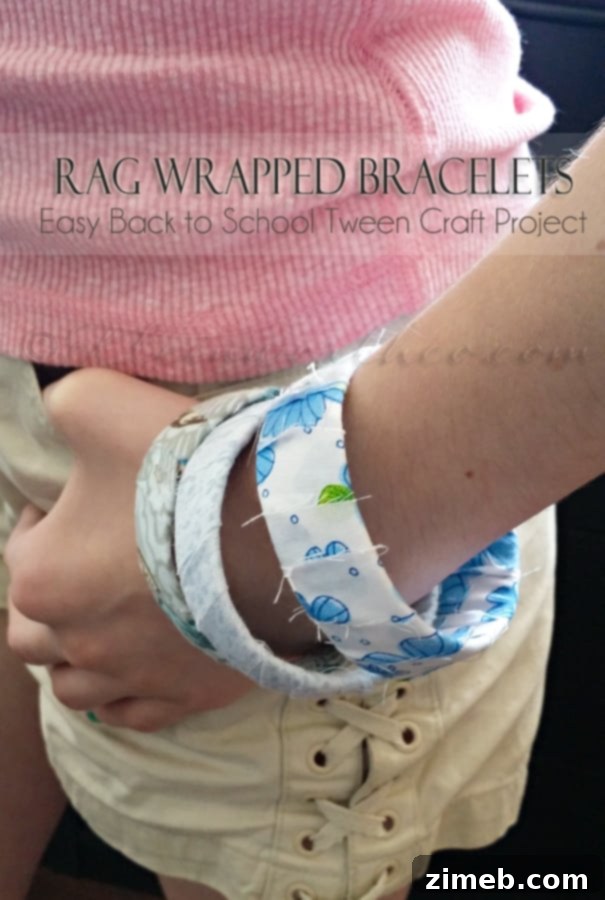
Rag Wrapped Bracelets
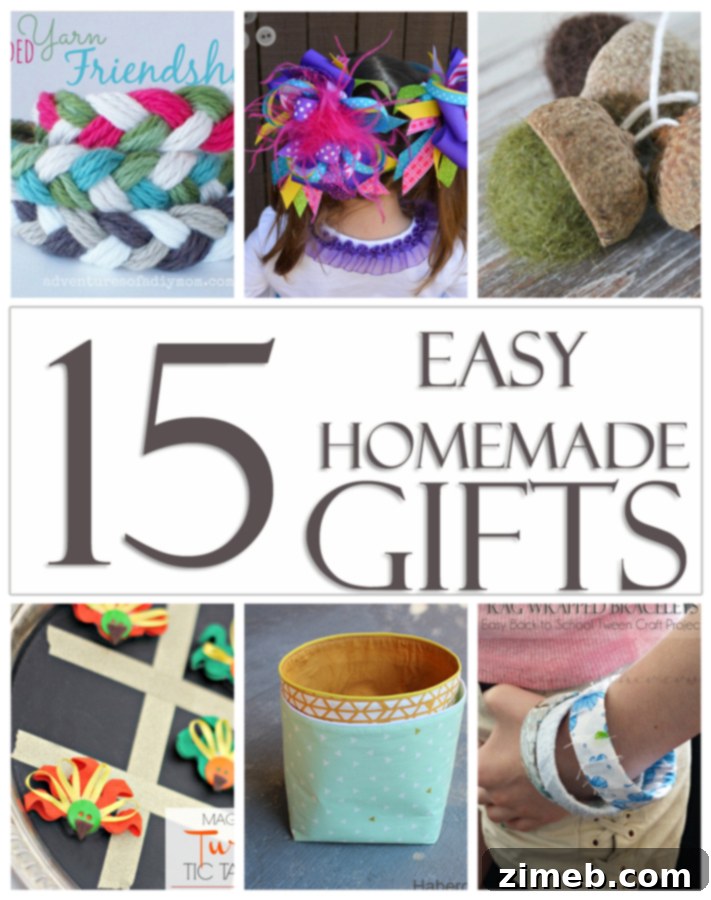
15 Easy Homemade Gifts
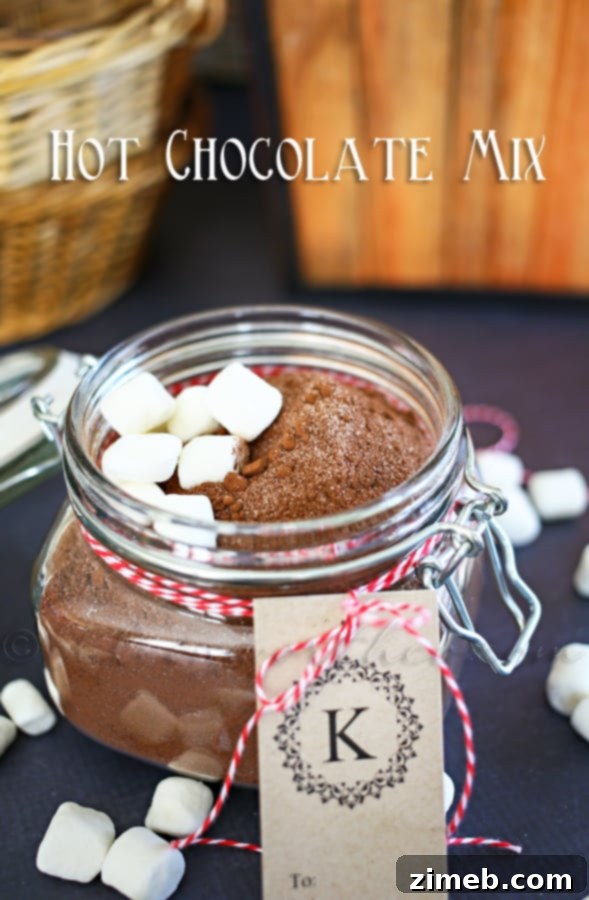
Hot Chocolate Mix
To see where I am linking today- visit HERE