
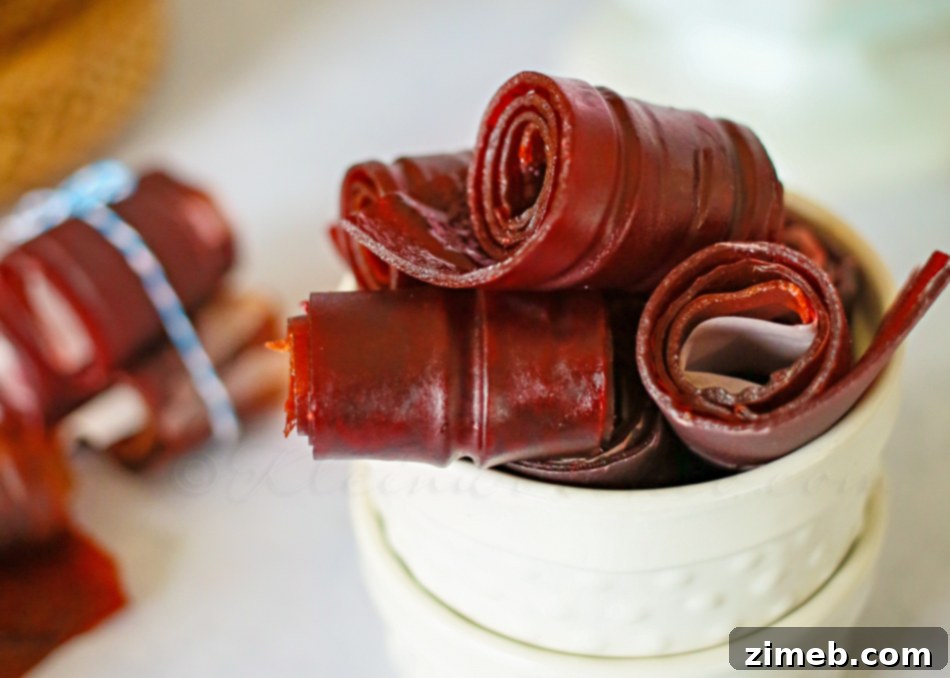
Delicious Homemade Plum Fruit Leather: Your Go-To Healthy Snack
As the vibrant days of summer gently transition into the cozy embrace of autumn, the bounty of fresh produce often leaves us with an abundance of delicious fruits. Plums, with their rich sweetness and vibrant hue, are a quintessential late-summer and early-fall delight. If you find yourself with more plums than you can possibly eat fresh, or simply crave a wholesome, easy-to-make snack, then homemade plum fruit leather is your perfect solution. This delightful treat is not only incredibly simple to prepare but also a fantastic way to preserve the intense flavor of ripe plums, transforming them into a chewy, naturally sweet, and immensely satisfying snack that everyone in the family will adore.
Forget the store-bought versions laden with artificial ingredients and added sugars. Crafting your own fruit leather gives you complete control over the quality and purity of what you consume. It’s a wonderfully portable snack, ideal for lunchboxes, gym bags, or simply a quick pick-me-up during a busy day. The process itself is surprisingly straightforward, turning a mountain of fruit into a compact, long-lasting delicacy. Let’s dive into how you can easily make this nutritious and flavorful plum fruit leather right in your own kitchen!
Why Make Your Own Plum Fruit Leather? The Benefits of This Healthy Snack
There are numerous compelling reasons to embrace the art of homemade fruit leather, especially when it comes to plums:
- Healthy and Nutritious: Unlike many commercial snacks, homemade fruit leather retains much of the plums’ natural vitamins, minerals, and fiber. It’s a fantastic way to enjoy fruit in a concentrated form, free from high-fructose corn syrup, artificial colors, or preservatives. Plums, in particular, are rich in antioxidants, vitamin C, and dietary fiber, contributing to digestive health and overall well-being.
- Reduces Food Waste: If you’ve ever found yourself with an overflowing basket of ripe plums nearing their peak, fruit leather is an excellent preservation method. It prevents perfectly good fruit from going to waste, giving it a new, delicious purpose.
- Kid-Friendly Favorite: Children often gravitate towards sweet and chewy snacks. Fruit leather is a brilliant alternative to sugary candies, offering natural sweetness and a fun texture. You can feel good about packing this wholesome treat in their lunchboxes.
- Customizable Flavor: You control the ingredients! Adjust the sweetness level to your preference, or even add a hint of spice like cinnamon or nutmeg for an extra layer of flavor.
- Convenient and Portable: Once dried and cut into strips, plum fruit leather is incredibly easy to store and take on the go. It’s a mess-free snack that travels well, making it perfect for hiking, camping, school, work, or post-workout fuel.
- Economical: Buying fresh plums in season can be very cost-effective, especially when purchasing in bulk. Turning them into fruit leather can be significantly cheaper than buying specialty health food snacks.
Selecting the Perfect Plums for Your Fruit Leather
The quality of your plums directly impacts the flavor and texture of your fruit leather. For the best results, choose ripe, juicy plums. They should feel slightly soft to the touch and have a fragrant aroma. Avoid plums that are overly hard, bruised, or have signs of mold. While you can use a variety of plum types, common choices like Santa Rosa, Black Amber, or even Italian Prune plums work beautifully. Each variety will lend its own unique sweet-tart profile to the finished product. Don’t be afraid to use plums that are a little past their prime for fresh eating but not spoiled – they’re often intensely flavorful, making them perfect for pureeing and drying.
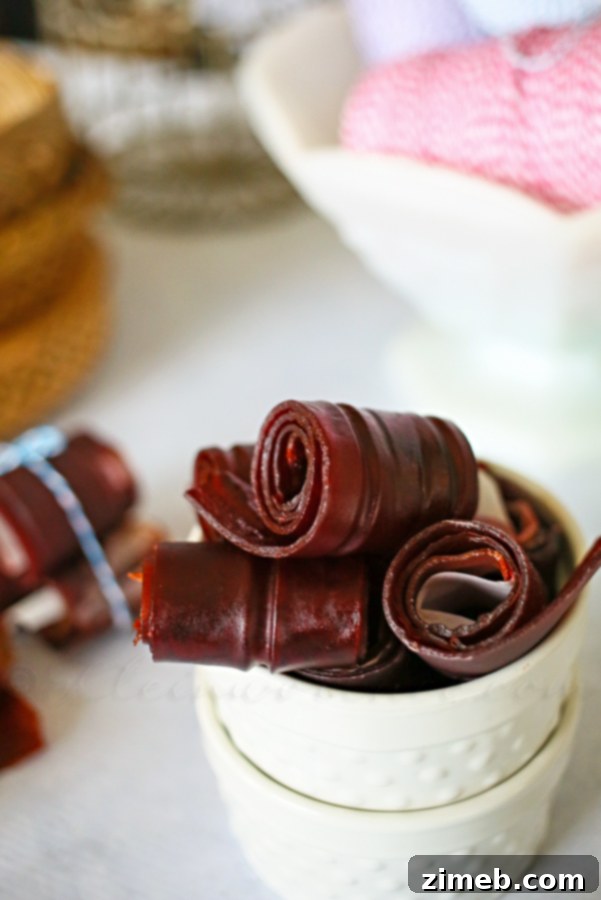
Step-by-Step Guide to Crafting Plum Fruit Leather
Making plum fruit leather involves a few simple steps. The most important part is patience during the drying process, but the hands-on time is minimal.
Preparation: Washing and Pitting Your Plums
Start by thoroughly washing all your plums under cool running water to remove any dirt or residue. Then, carefully cut each plum in half and remove the pit. Depending on the plum variety, some pits may cling more tightly than others, requiring a gentle twist or scoop with a spoon. Discard the pits and any bruised sections.
Roasting for Enhanced Flavor
Preheat your oven to 400 degrees Fahrenheit (200 degrees Celsius). Arrange the halved, pitted plums on a large baking sheet with their cut sides facing up. Roasting the plums serves a dual purpose: it softens the fruit, making it easier to puree, and more importantly, it caramelizes their natural sugars, intensifying their flavor and sweetness. Roast them for approximately 20 minutes, or until they are tender and slightly shriveled.
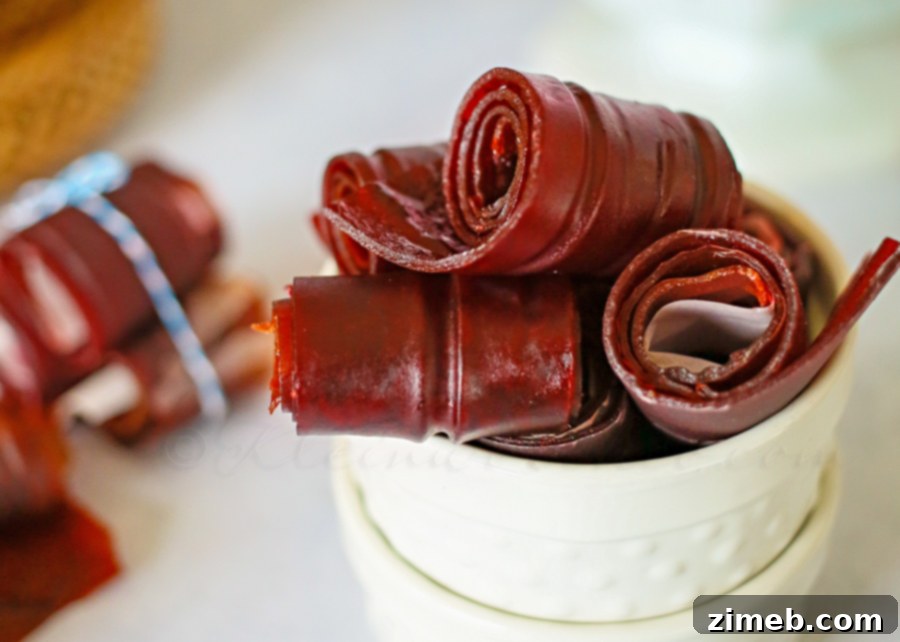
Once roasted, carefully remove the baking sheet from the oven. Be mindful that there will be hot plum juice accumulated on the tray – handle with caution to avoid spills. Transfer the softened plums and any collected juices to a food processor or a high-speed blender.
Achieving the Perfect Puree
Process the roasted plums until they form a completely smooth puree. You want a consistent, lump-free mixture, as any chunks will result in an unevenly dried fruit leather. This step typically takes a few minutes, pausing to scrape down the sides of the food processor bowl as needed.
Sweetening to Your Taste
Transfer the smooth plum puree to a large mixing bowl. Now is the time to add your sugar. The amount of sugar can be adjusted based on the sweetness of your plums and your personal preference. Generally, ½ cup of sugar for 4 pounds of plums provides a good balance. Mix thoroughly until all the sugar has completely dissolved into the puree. Taste and adjust if necessary, remembering that the flavors will concentrate as the leather dries.
Spreading Evenly for Optimal Drying
Line a large baking sheet (or multiple sheets, depending on the volume of puree) with parchment paper. It’s crucial that the parchment paper extends beyond the edges of your baking sheet to contain the liquid puree effectively during the drying process. Pour the plum puree onto the lined baking sheet. Using an offset spatula or the back of a spoon, spread the puree into an even layer, about ⅛ to ¼ inch thick. Consistency in thickness is key for uniform drying. Thicker areas will take longer to dry, while thinner spots might become overly brittle.
The Art of Slow Drying in Your Oven
Allow your oven to cool significantly after roasting the plums. The ideal drying temperature for fruit leather is low, typically between 170-200 degrees Fahrenheit (77-93 degrees Celsius). Once your oven has reached this cooler temperature, place the baking sheet with the plum puree back inside. The drying process will take approximately 6-8 hours, but this can vary greatly depending on your oven model, the thickness of your puree, and even the humidity in your kitchen.
If you have a convection oven, utilizing the convection setting can significantly speed up the drying time by circulating air more efficiently. Keep a close eye on your fruit leather, especially during the latter half of the drying period. It is done when it is no longer sticky to the touch and has a smooth, pliable surface, similar to thick plastic wrap. The edges might dry faster and shrink slightly, pulling the parchment paper inwards; this is perfectly normal. If the edges become too dry and brittle before the center is ready, simply trim them off before cutting the fruit leather into strips.
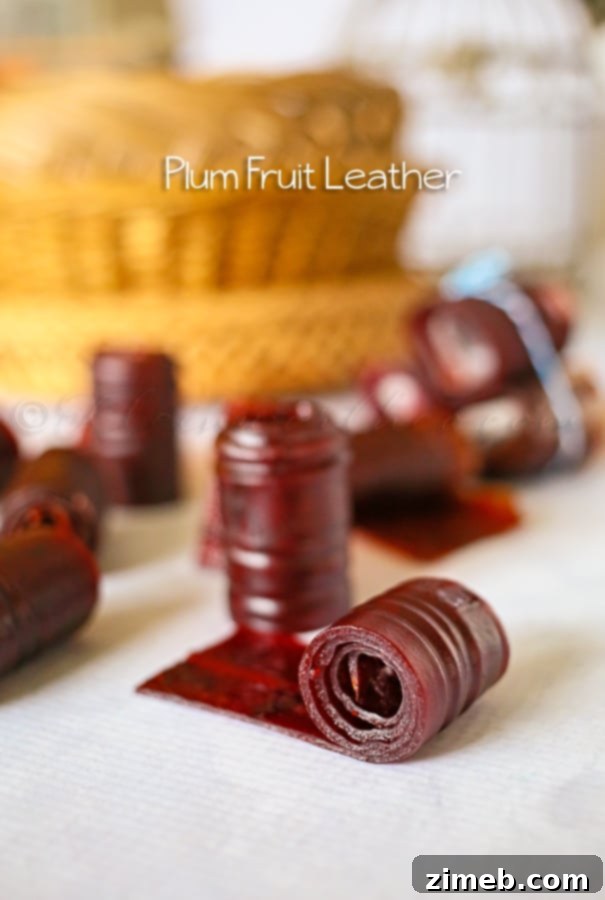
Storing Your Homemade Fruit Leather
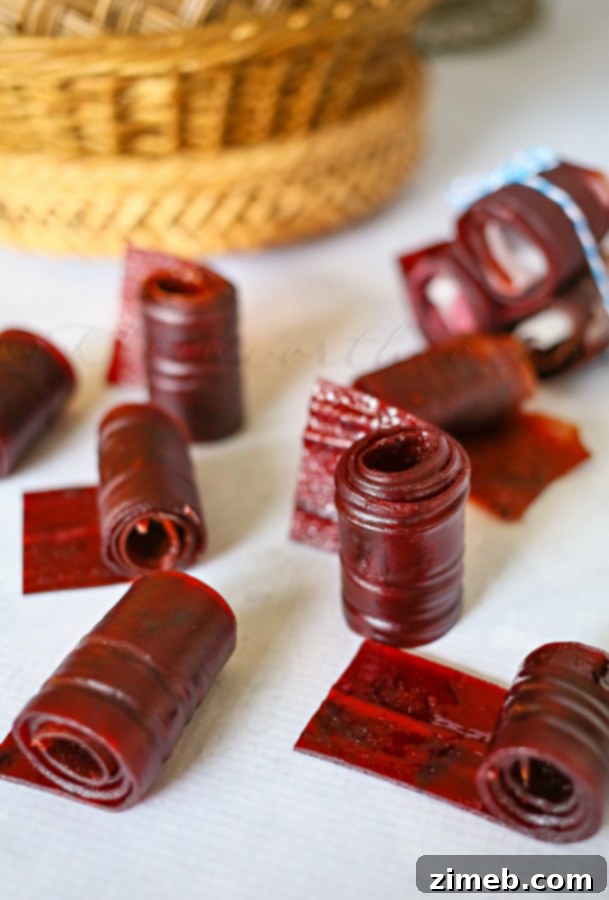
Once your plum fruit leather is completely cool, peel it gently from the parchment paper. You can then cut it into strips, roll them up, or use cookie cutters for fun shapes. To ensure maximum freshness and prevent sticking, you can roll individual strips with a fresh piece of parchment paper before storing. Store your homemade fruit leather in an airtight container at room temperature for up to two weeks, or in the refrigerator for up to a month. For longer storage, it can even be frozen for several months, though its texture might change slightly upon thawing.
Customizing Your Plum Fruit Leather: Variations to Try
The beauty of homemade fruit leather lies in its versatility. While plain plum is delicious, don’t hesitate to experiment with variations:
- Spices: Add a pinch of cinnamon, nutmeg, ginger, or even a tiny bit of cardamom to the plum puree for a warm, autumnal flavor.
- Other Fruits: Combine plums with other complementary fruits before pureeing. Apples, berries (strawberries, raspberries), or peaches can add new dimensions of flavor and a different sweetness profile.
- Citrus Zest: A little lemon or orange zest can brighten the plum flavor.
- Sugar Alternatives: If you prefer less added sugar, you can reduce the amount or substitute with a touch of honey, maple syrup, or a natural sweetener like stevia, adjusting to taste. For truly sugar-free, simply omit the added sugar entirely and rely on the plums’ natural sweetness.
A Wholesome Snack for Every Occasion
Homemade plum fruit leather is more than just a recipe; it’s a delightful experience that connects you with the seasonality of food and the satisfaction of creating something truly wholesome and delicious from scratch. It’s a perfect way to capture the essence of fall in a convenient, healthy package. Whether you’re heading to the gym, packing a school lunch, or simply need a mid-morning pick-me-up, these chewy, fruity strips are sure to hit the spot. We’re confident you’ll find yourself making batch after batch. Happy snacking!
Plum Fruit Leather Recipe
Ingredients
- 4 pounds fresh plums
- 1/2 cup granulated sugar (adjust to taste)
Instructions
- Preheat your oven to 400 degrees Fahrenheit (200 degrees Celsius).
- Wash your plums thoroughly, then cut them in half and carefully remove the pits.
- Place the halved plums, cut-side up, on a large baking sheet.
- Roast the plums in the preheated oven for about 20 minutes, or until tender and slightly caramelized.
- Remove the baking sheet from the oven. Carefully transfer the roasted plums and any accumulated juices to a food processor.
- Allow your oven to cool down to a low drying temperature, between 170-200 degrees Fahrenheit (77-93 degrees Celsius).
- Process the roasted plums in the food processor until a completely smooth puree is formed.
- Transfer the plum puree to a large bowl and add the sugar. Mix well until the sugar is fully dissolved.
- Line another large baking sheet with parchment paper, ensuring the parchment extends beyond the edges of the sheet to contain the liquid.
- Pour the plum puree onto the lined baking sheet and spread it evenly, about ⅛ to ¼ inch thick.
- Once your oven has cooled to the right temperature, place the baking sheet back in the oven and bake/dry for 6-8 hours. Drying time may vary by oven and thickness; use a convection setting if available for faster drying.
- The fruit leather is done when it is no longer sticky and has a smooth, pliable surface.
- Allow to cool completely, then peel from the parchment paper and cut into desired strips or shapes.
- Store the finished plum fruit leather in an airtight container.
Nutritional information for the recipe is provided as a courtesy and is approximate. Please double-check with your own dietary calculator for the best accuracy. We cannot guarantee the accuracy of the nutritional information given for any recipe on this site.
Love this recipe? Follow @KleinworthCo for even more tasty recipes!
Want More Delicious Fall Recipes?
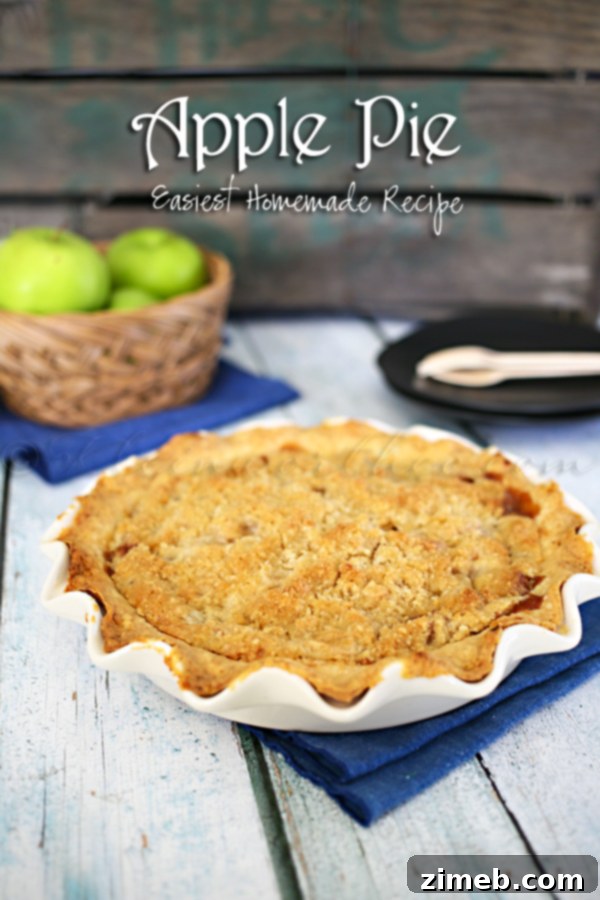
Apple Pie ~ Easiest Homemade Recipe
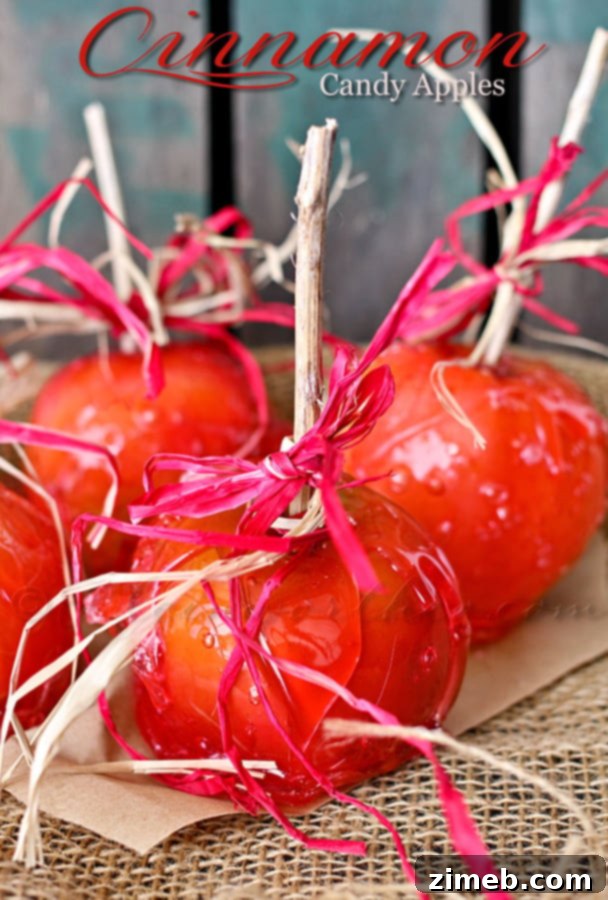
Cinnamon Candy Apples
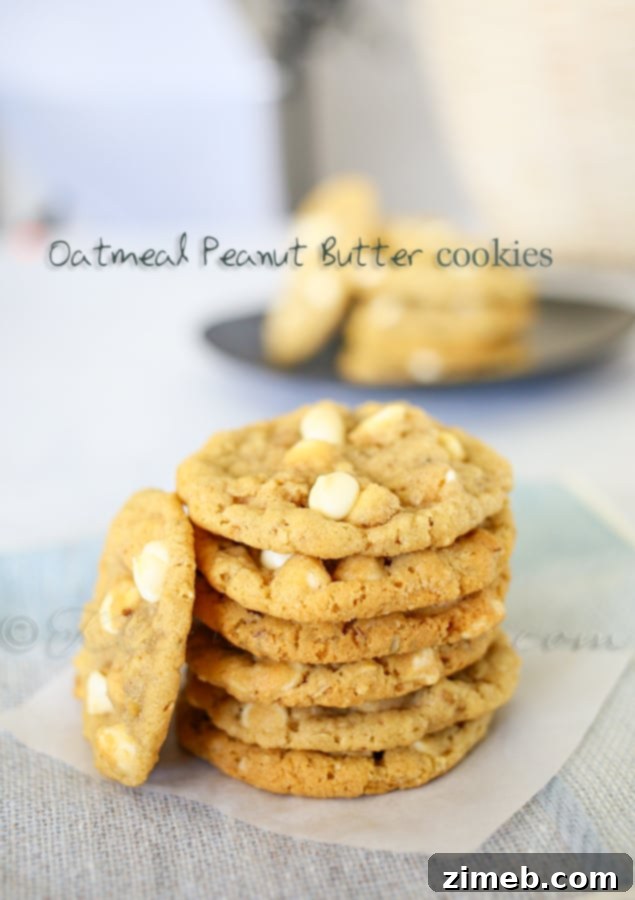
Oatmeal Peanut Butter Cookies
For more culinary inspiration, visit our other recipes!