
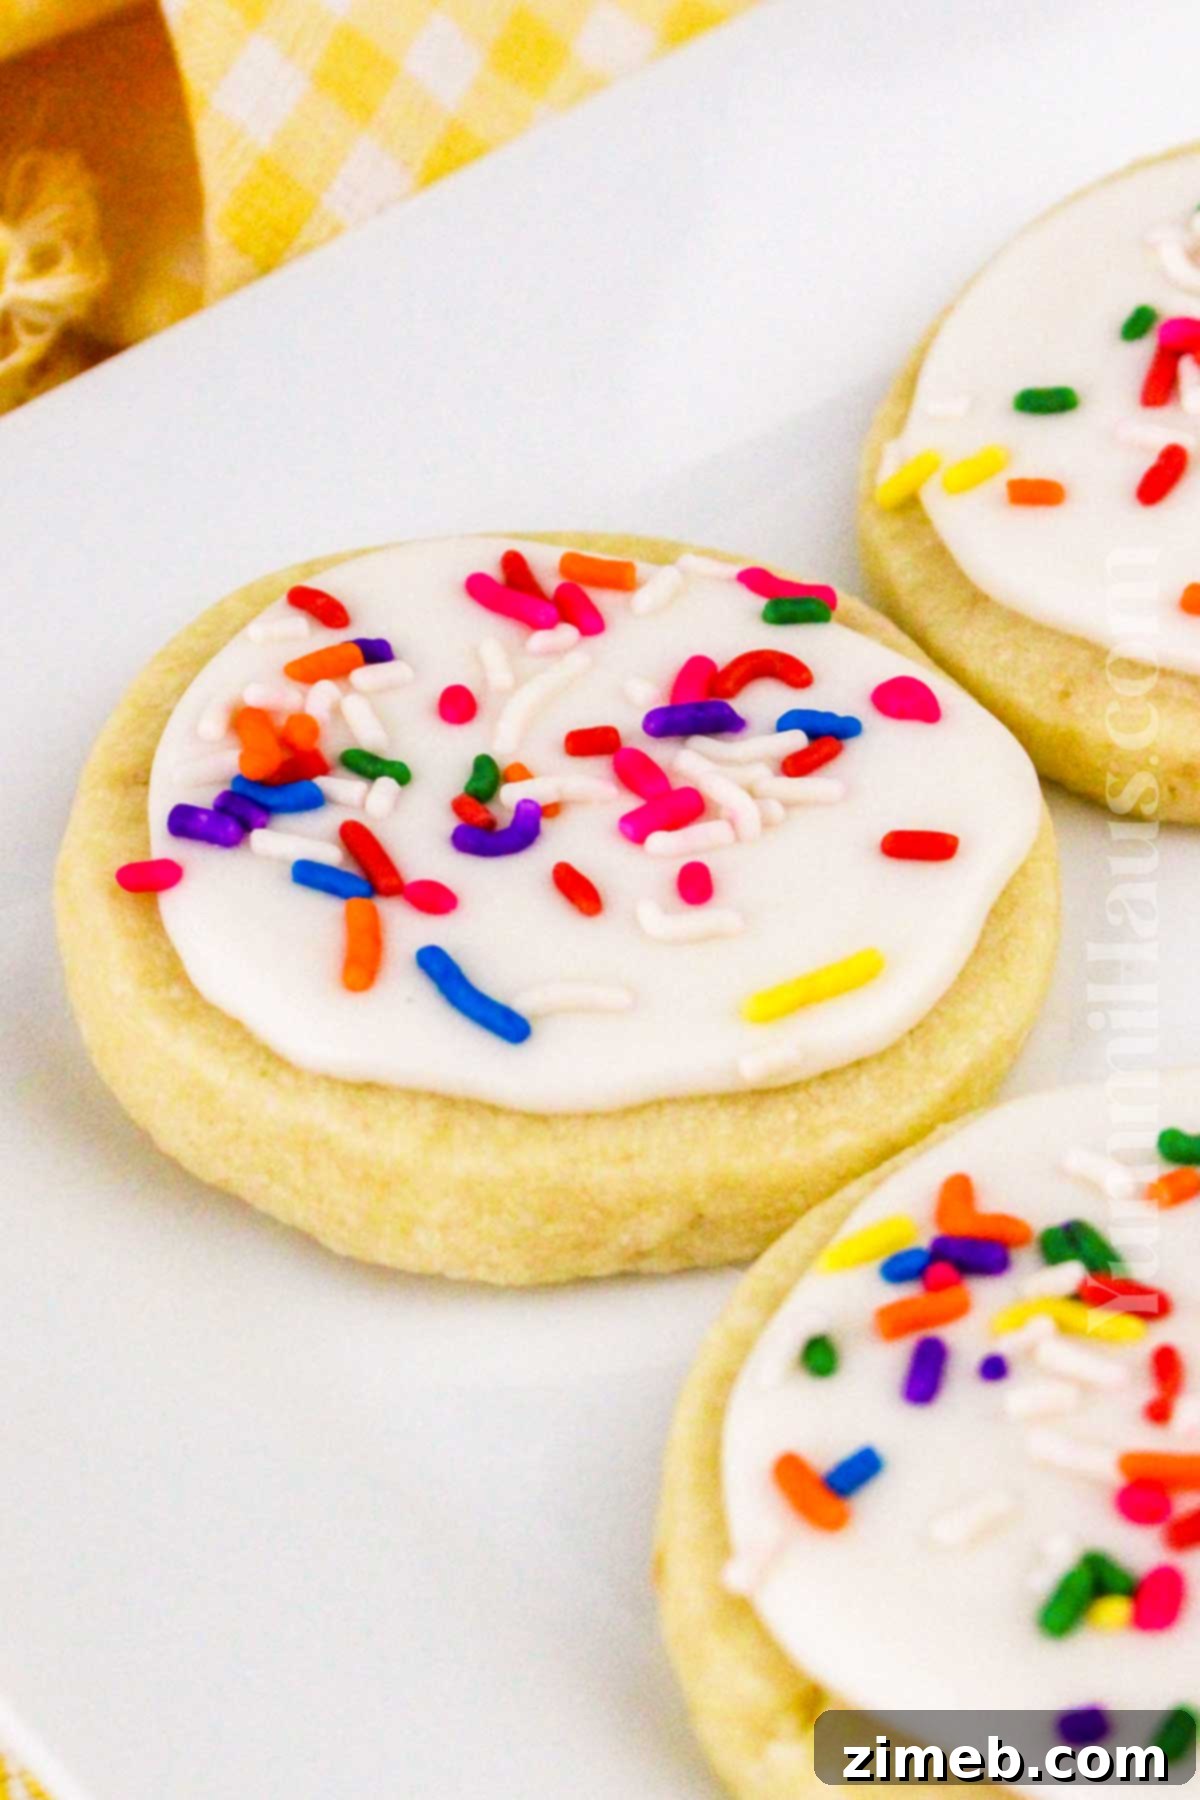
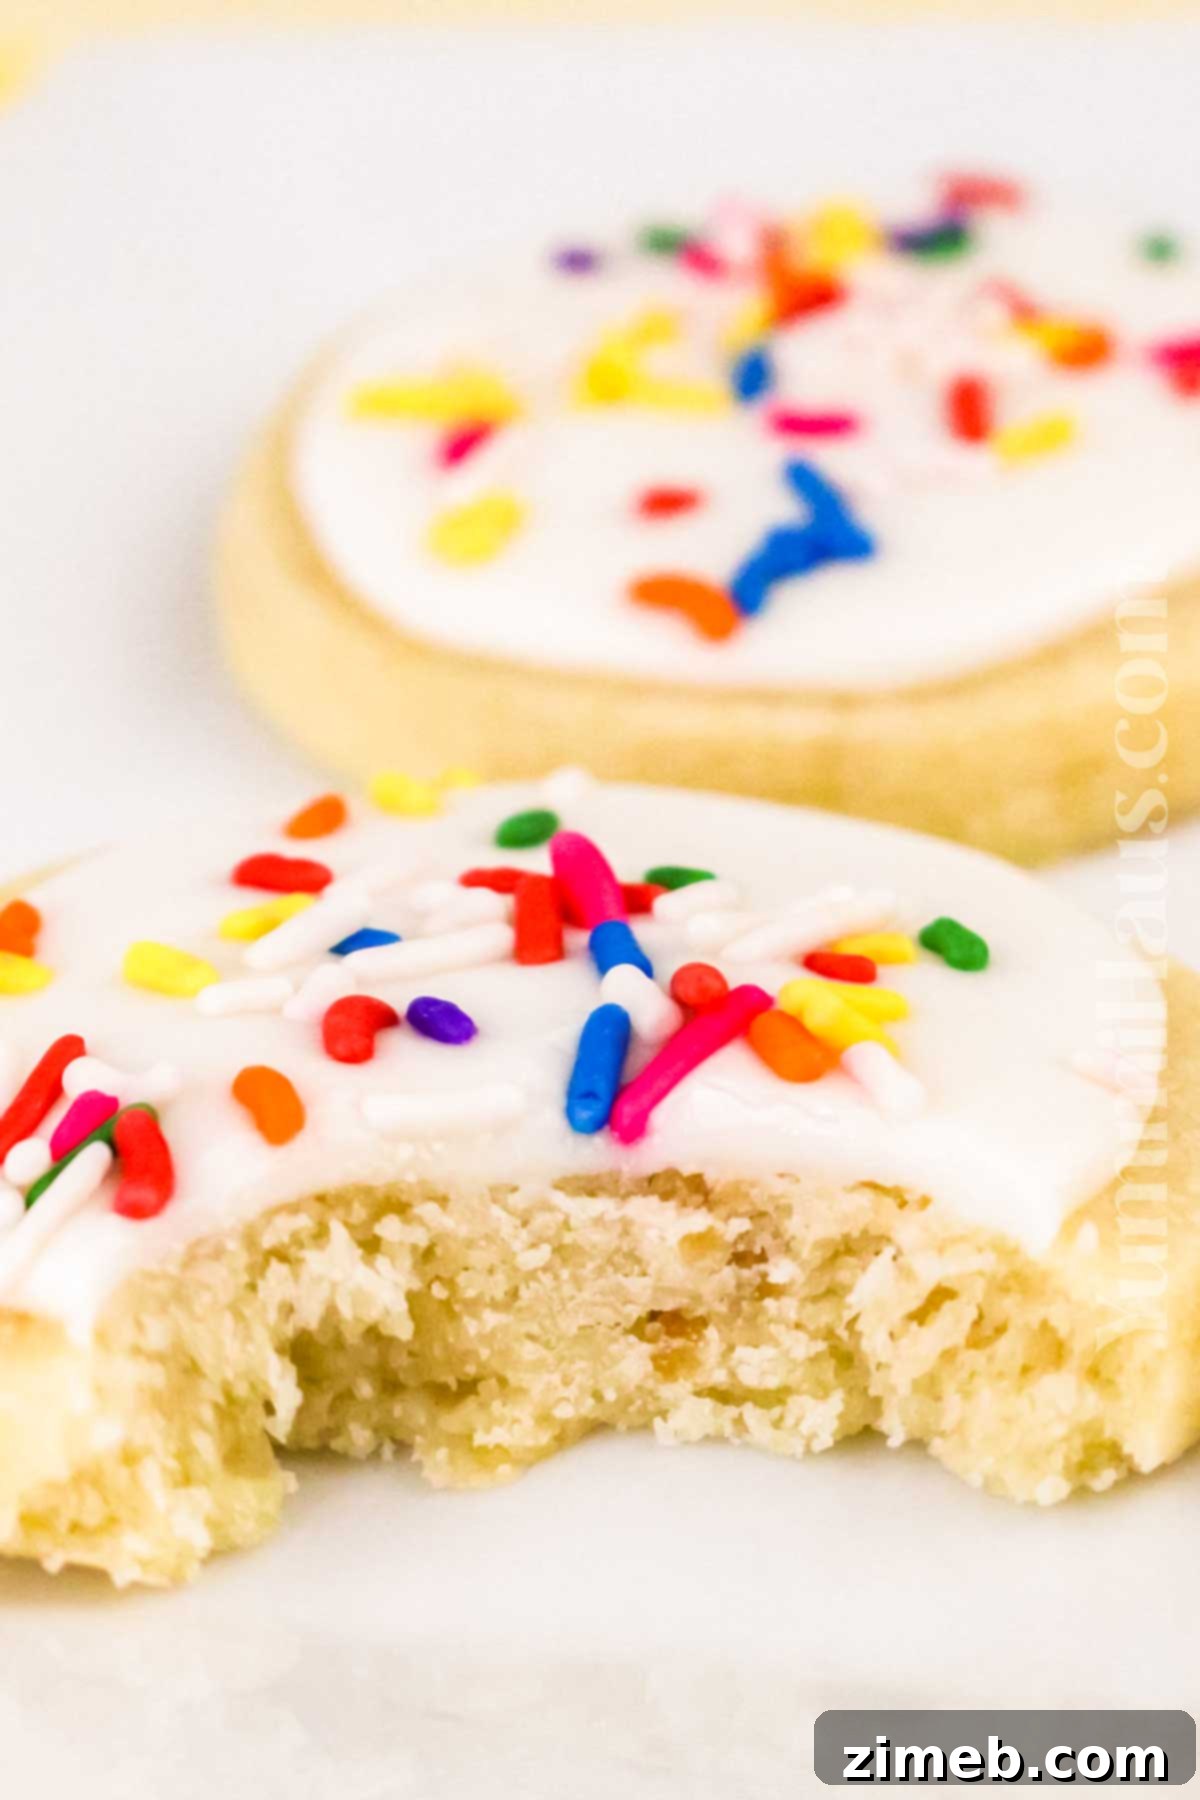
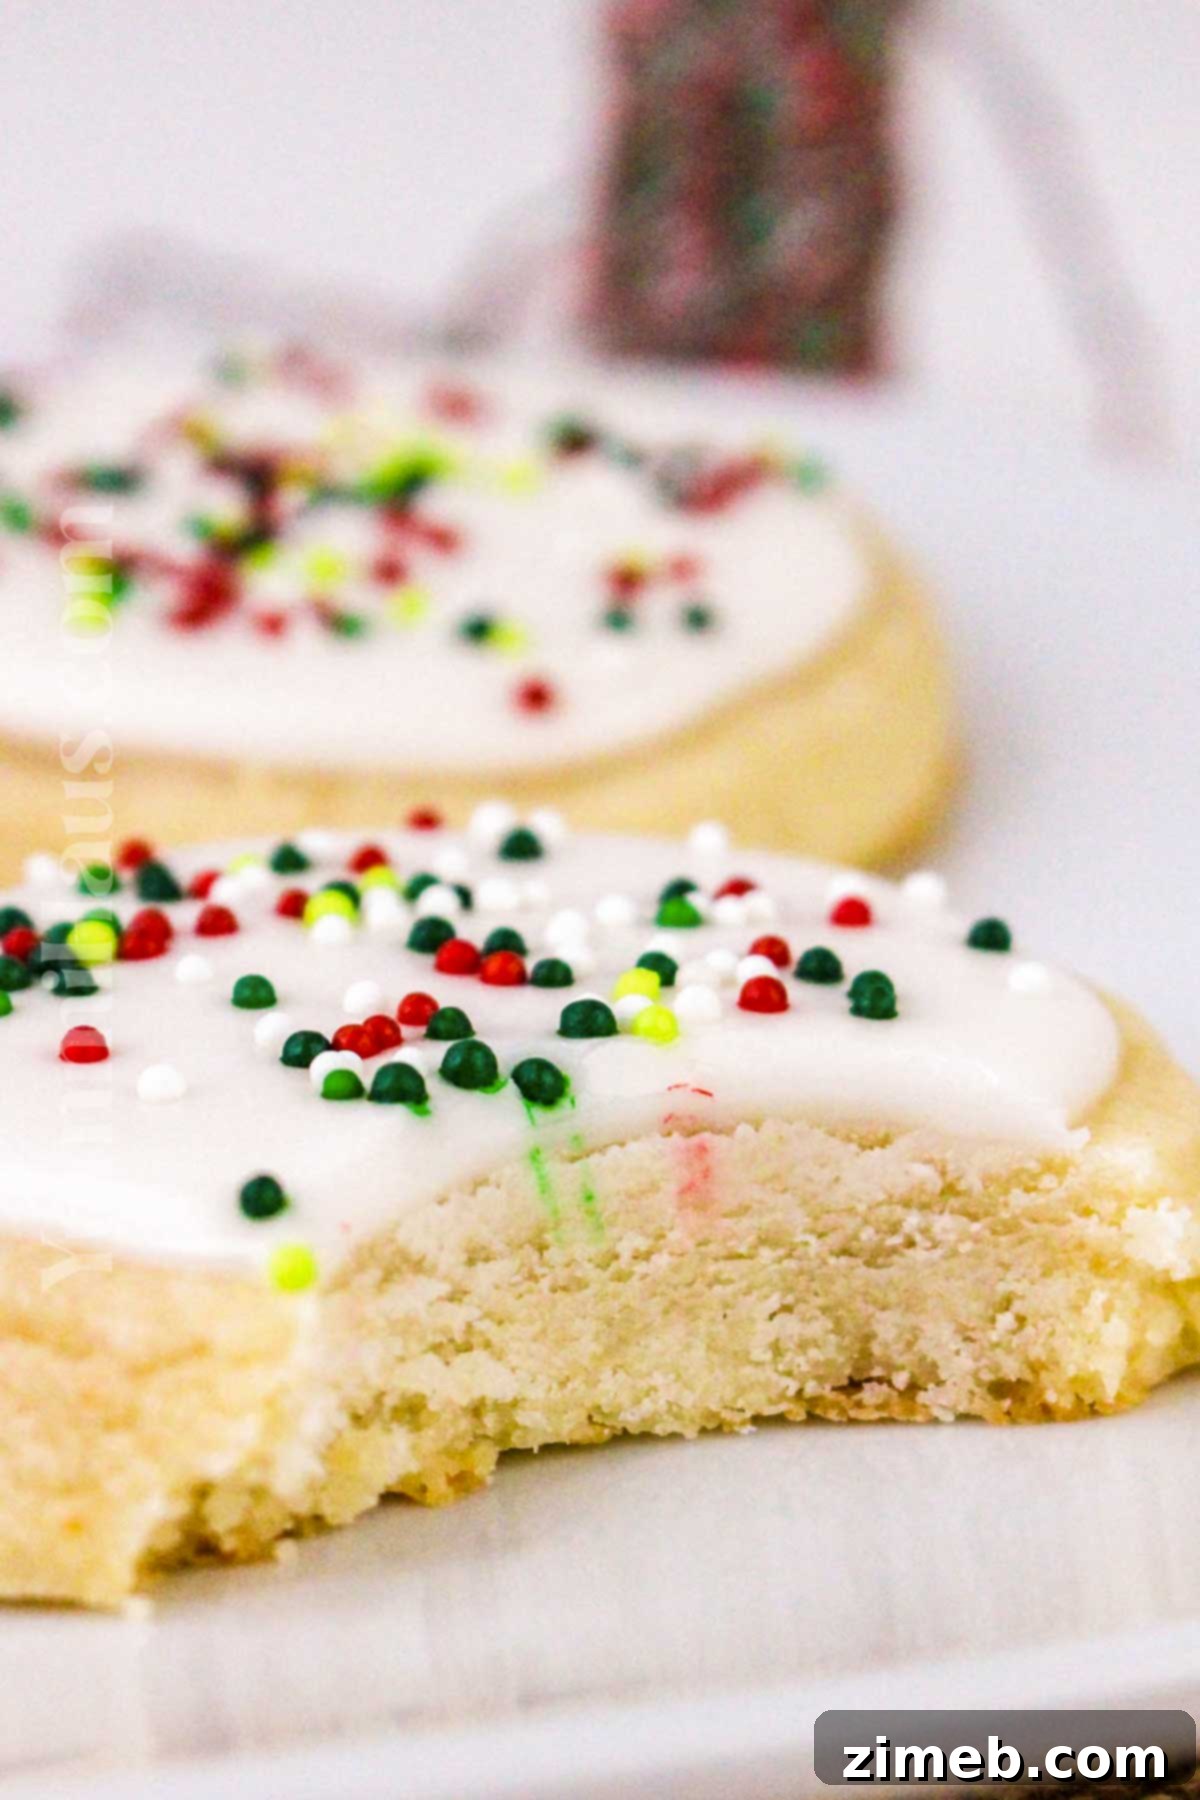
Welcome to the enchanting world of homemade frosted shortbread cookies, a beloved classic that perfectly captures the spirit of the holidays. These delightful treats, with their rich buttery flavor and delicate melt-in-your-mouth texture, are elevated by a sweet, simple holiday icing and festive decorations. They are not just cookies; they are edible symbols of warmth, joy, and tradition, making them an indispensable addition to any Christmas celebration or seasonal gathering.
Imagine the aroma of freshly baked shortbread filling your kitchen, a scent that instantly conjures memories of festive seasons past and present. Our easy-to-follow recipe brings together the timeless simplicity of classic shortbread with the elegant sweetness of royal icing, offering a truly magical baking experience. Whether you’re a seasoned baker or just starting, these festive sugar cookies are straightforward to make, quick to prepare, and guaranteed to be a huge hit with your family and guests. Get ready to create beautiful, delicious cookies that will brighten any cookie platter and bring smiles to every face.
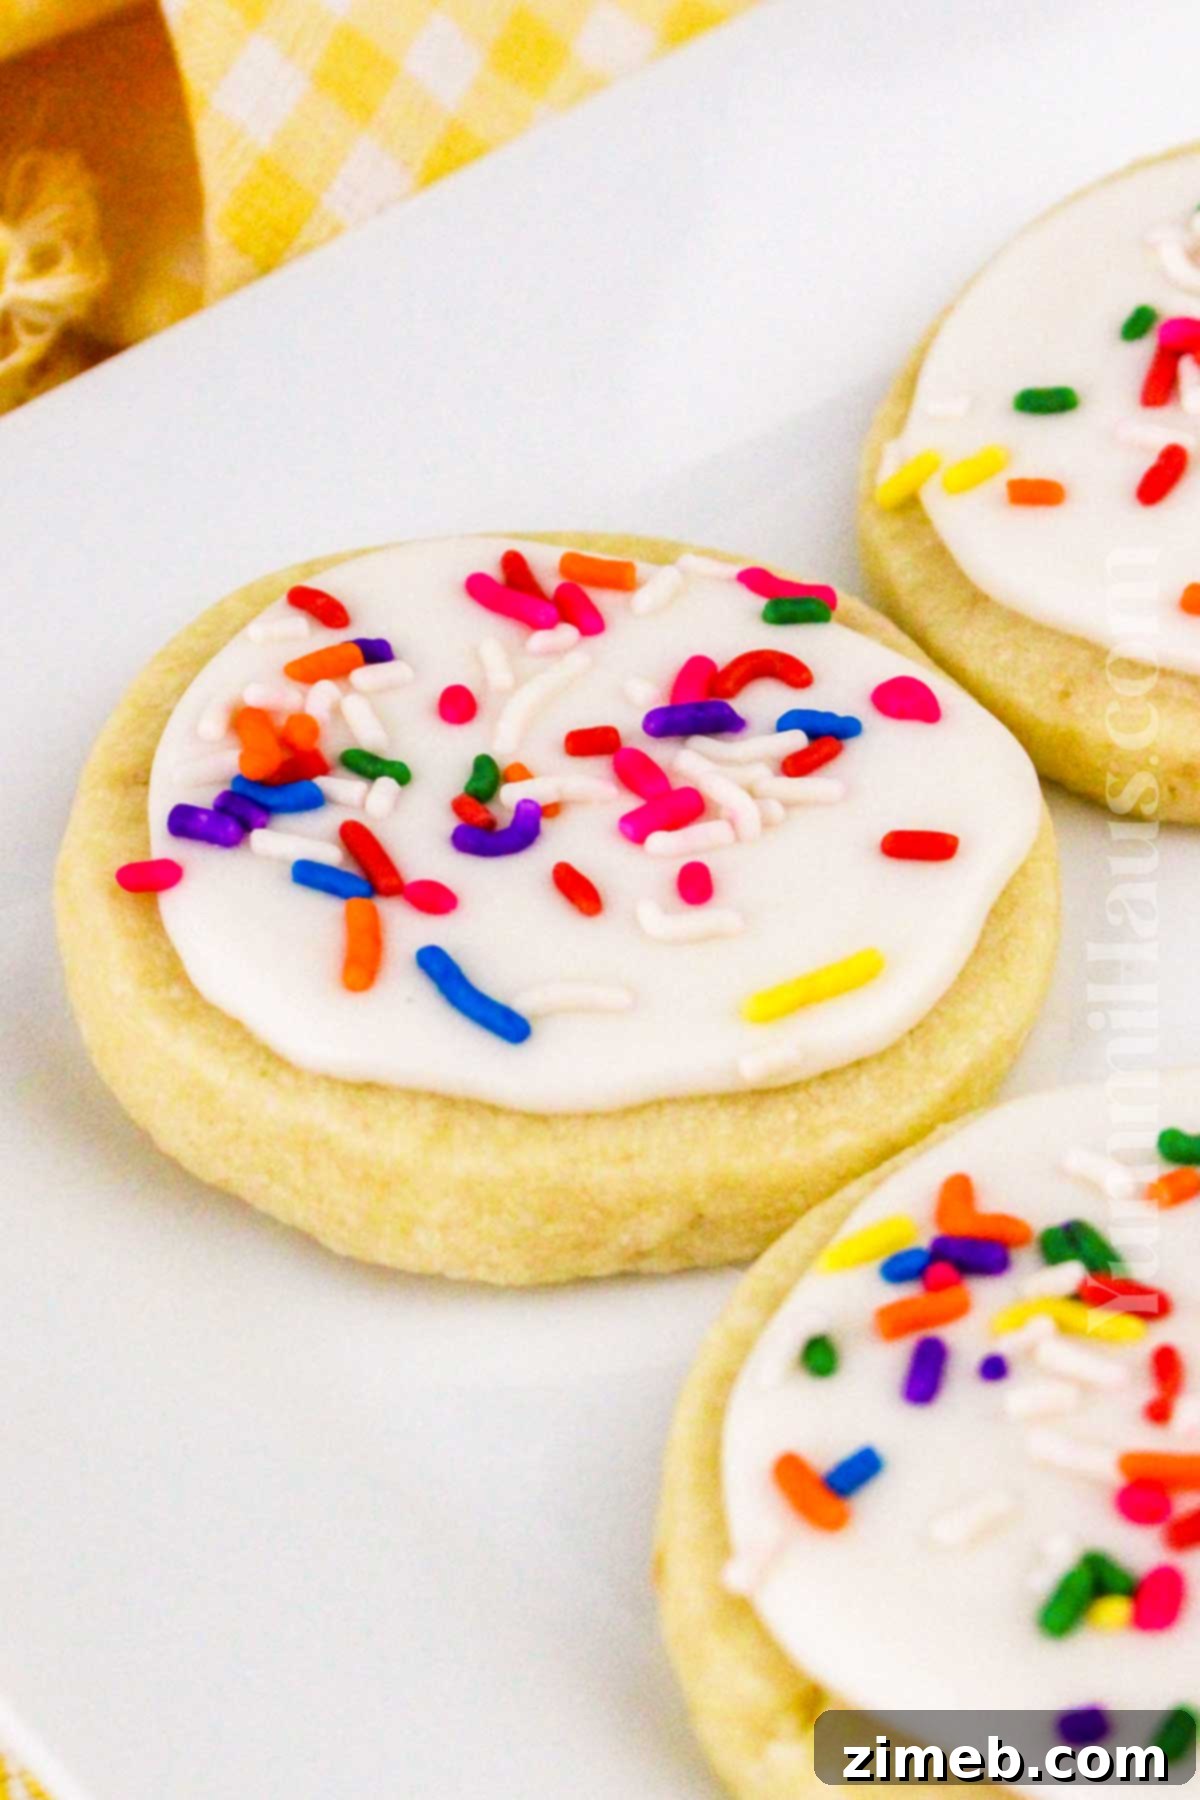
Why These Frosted Shortbread Cookies Will Become Your New Favorite
There are countless reasons why these frosted shortbread cookies are destined to become a staple in your baking repertoire, especially during the festive season. They combine irresistible flavor with delightful ease, offering something truly special for every baker and eater.
- Unforgettable Melt-in-Your-Mouth Texture: These aren’t just any cookies; they are truly melt-in-your-mouth sensations. The secret lies in the generous use of butter and precise mixing, creating a tender, crumbly texture that dissolves delicately on your tongue. Each bite offers a rich, buttery flavor that is both comforting and incredibly satisfying, making them utterly addictive.
- Perfect for Any Crowd: This recipe yields a generous batch of approximately 24 festive buttery cookies, making it ideal for holiday parties, family gatherings, or simply stocking up your cookie jar. You’ll have plenty to share, gift, or simply enjoy yourself throughout the season. Their consistent popularity means you’ll never have leftovers for long!
- Simple Ingredients, Incredible Results: Crafted from scratch with basic, budget-friendly pantry staples, these cookies prove that extraordinary flavor doesn’t require complex ingredients. With just a few high-quality components, you can create a truly gourmet-tasting treat in your own kitchen, all without breaking the bank or needing a trip to a specialty store.
- The Ultimate Edible Gift: Beautifully decorated cookies make an amazing food gift for holidays and special occasions. Package them in decorative tins or festive boxes, and you have a thoughtful, homemade present that shows you care. They’re perfect for neighbors, teachers, colleagues, or as a host gift, guaranteed to be appreciated and devoured.
- Endless Customization Possibilities: While perfect for Christmas, the beauty of these shortbread cookies lies in their versatility. With a change of icing color, sprinkles, or cookie cutter shapes, they can be adapted for any celebration—from birthdays and baby showers to Valentine’s Day and Easter.
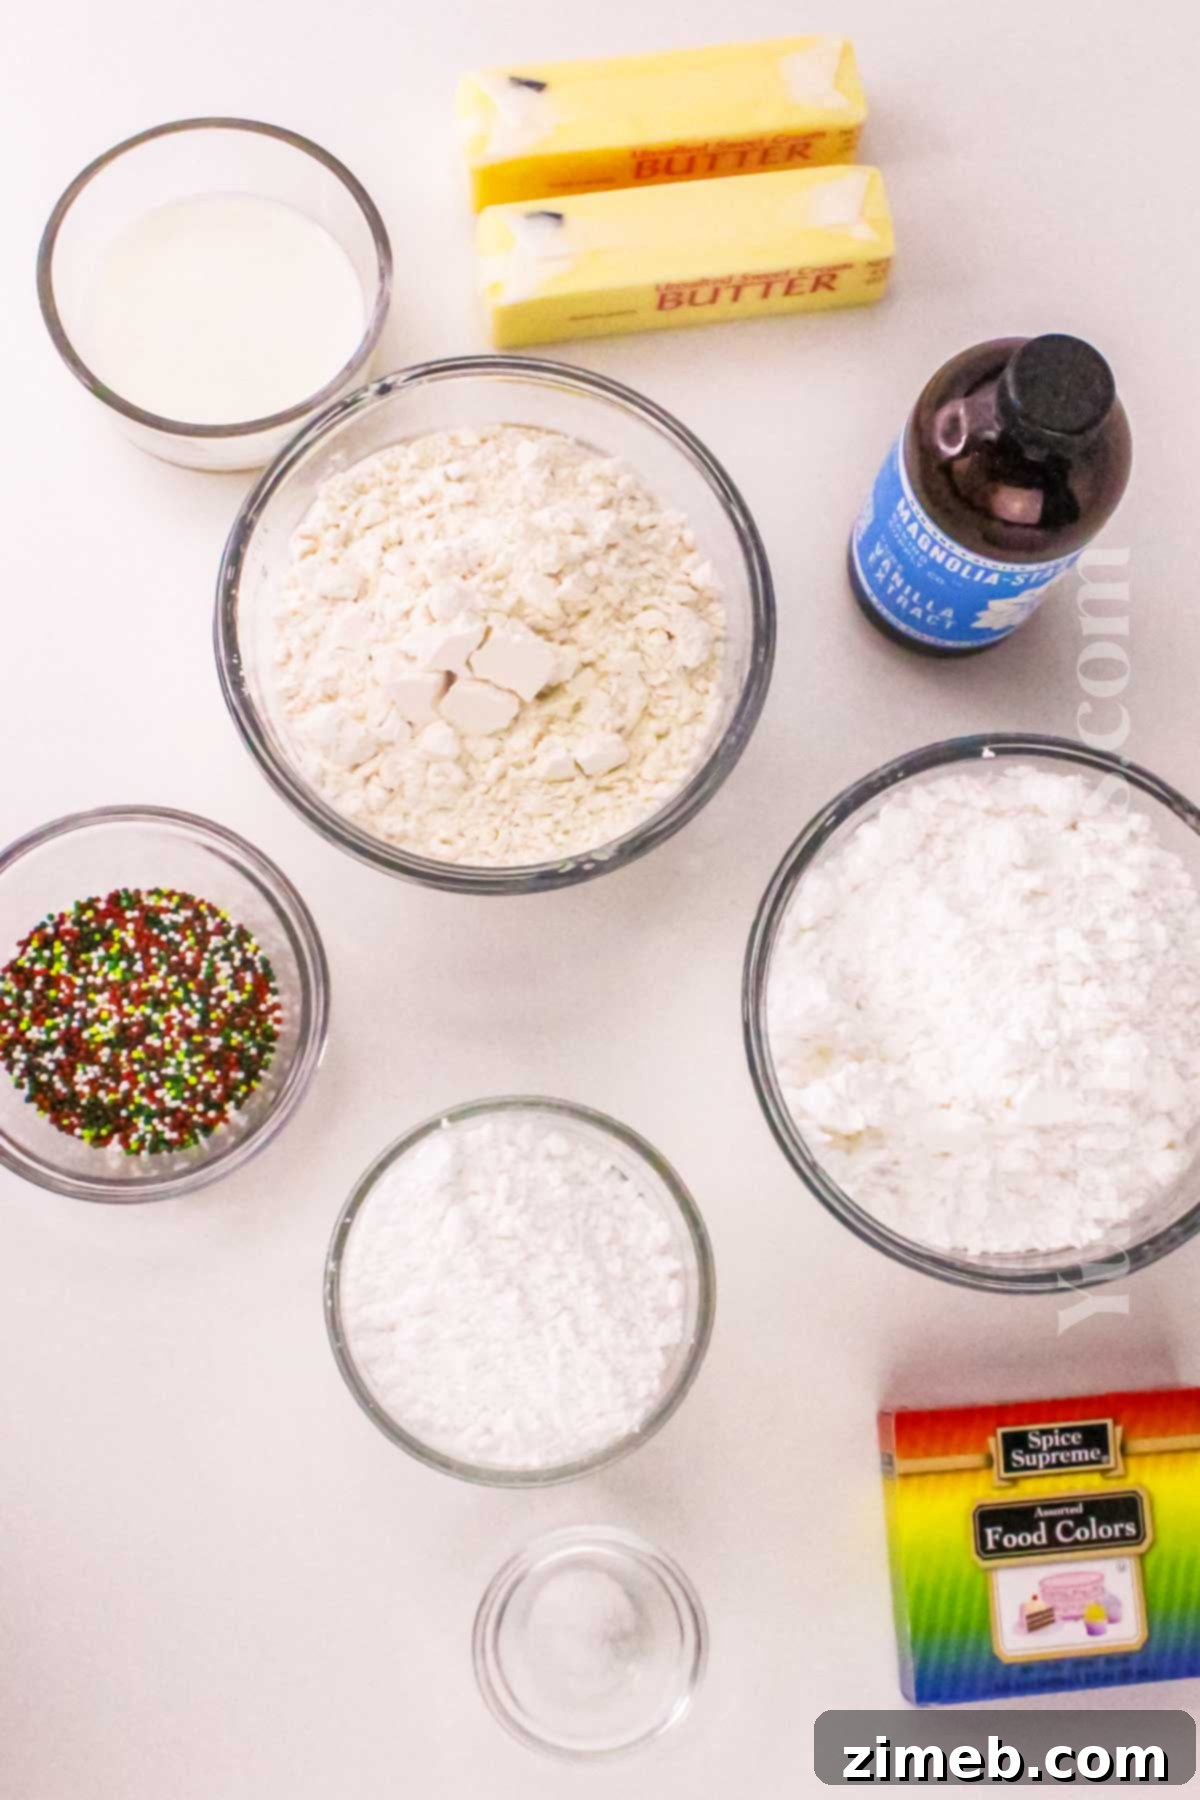
Essential Ingredients for Perfect Shortbread and Icing
Crafting truly exceptional frosted shortbread cookies begins with understanding the role of each ingredient. Quality matters, especially when the recipe is as simple as this one, allowing each flavor to shine.
For the Buttery Shortbread Cookies
- Unsalted Butter, Softened (2 sticks): This is the star of your shortbread, so choose wisely! Good quality unsalted butter, ideally European-style with a higher fat content, will make a noticeable difference in the flavor and texture. Ensure it’s softened to room temperature for smooth creaming, but not melted, to avoid greasy cookies. Unsalted butter allows you to control the exact amount of salt in your recipe.
- Confectioner’s Sugar (Powdered Sugar): We opt for confectioner’s sugar over granulated sugar because its fine texture creates a more tender, melt-in-your-mouth cookie. Granulated sugar can sometimes result in a coarser texture. It also incorporates more smoothly into the butter, contributing to that delicate crumb.
- Pure Vanilla Extract: A touch of pure vanilla extract provides a lovely, light flavoring that complements the rich butteriness. For an even more profound vanilla aroma and taste, consider using vanilla bean paste. You could also experiment with other extracts, as discussed in the variations section.
- All-Purpose Flour: Standard all-purpose flour works perfectly for these cookies. It provides the necessary structure without making the cookies tough. Always measure flour correctly, preferably by weight, or by spooning it into a measuring cup and leveling it off, to avoid adding too much.
- Kosher Salt: A pinch of salt is crucial for balancing the sweetness and enhancing the overall flavor of the butter. If you prefer to use salted butter, you can omit the added salt, but be sure to taste your dough before baking to ensure it’s not overly salty. The best practice is to stick with unsalted butter and control the salt yourself.
For the Sweet Holiday Icing
- Confectioner’s Sugar (Powdered Sugar): Just like in the cookies, confectioner’s sugar is essential for a smooth, lump-free icing. It dissolves beautifully, creating a silky texture that sets nicely.
- Milk (or Cream): This is used to adjust the icing’s consistency. Start with the recommended amount and add more, a tiny bit at a time, until you reach your desired thickness—whether it’s thin enough for drizzling or thick enough for piping intricate designs. For a richer, thicker icing, especially if you want it to hold its shape well for piping, heavy cream can be used instead of milk.
- Vanilla Extract: Again, pure vanilla extract adds a classic, warm flavor to the icing. Don’t hesitate to replace it with other extracts like almond, peppermint (for a minty Christmas twist), or even coconut for different flavor profiles. Vanilla bean paste also works wonderfully here.
- Food Coloring (Optional): For vibrant holiday cookies, food coloring is your best friend. Gel food colorings are recommended as they provide intense color without thinning the icing too much. Separate the icing into different bowls to create a variety of festive shades.
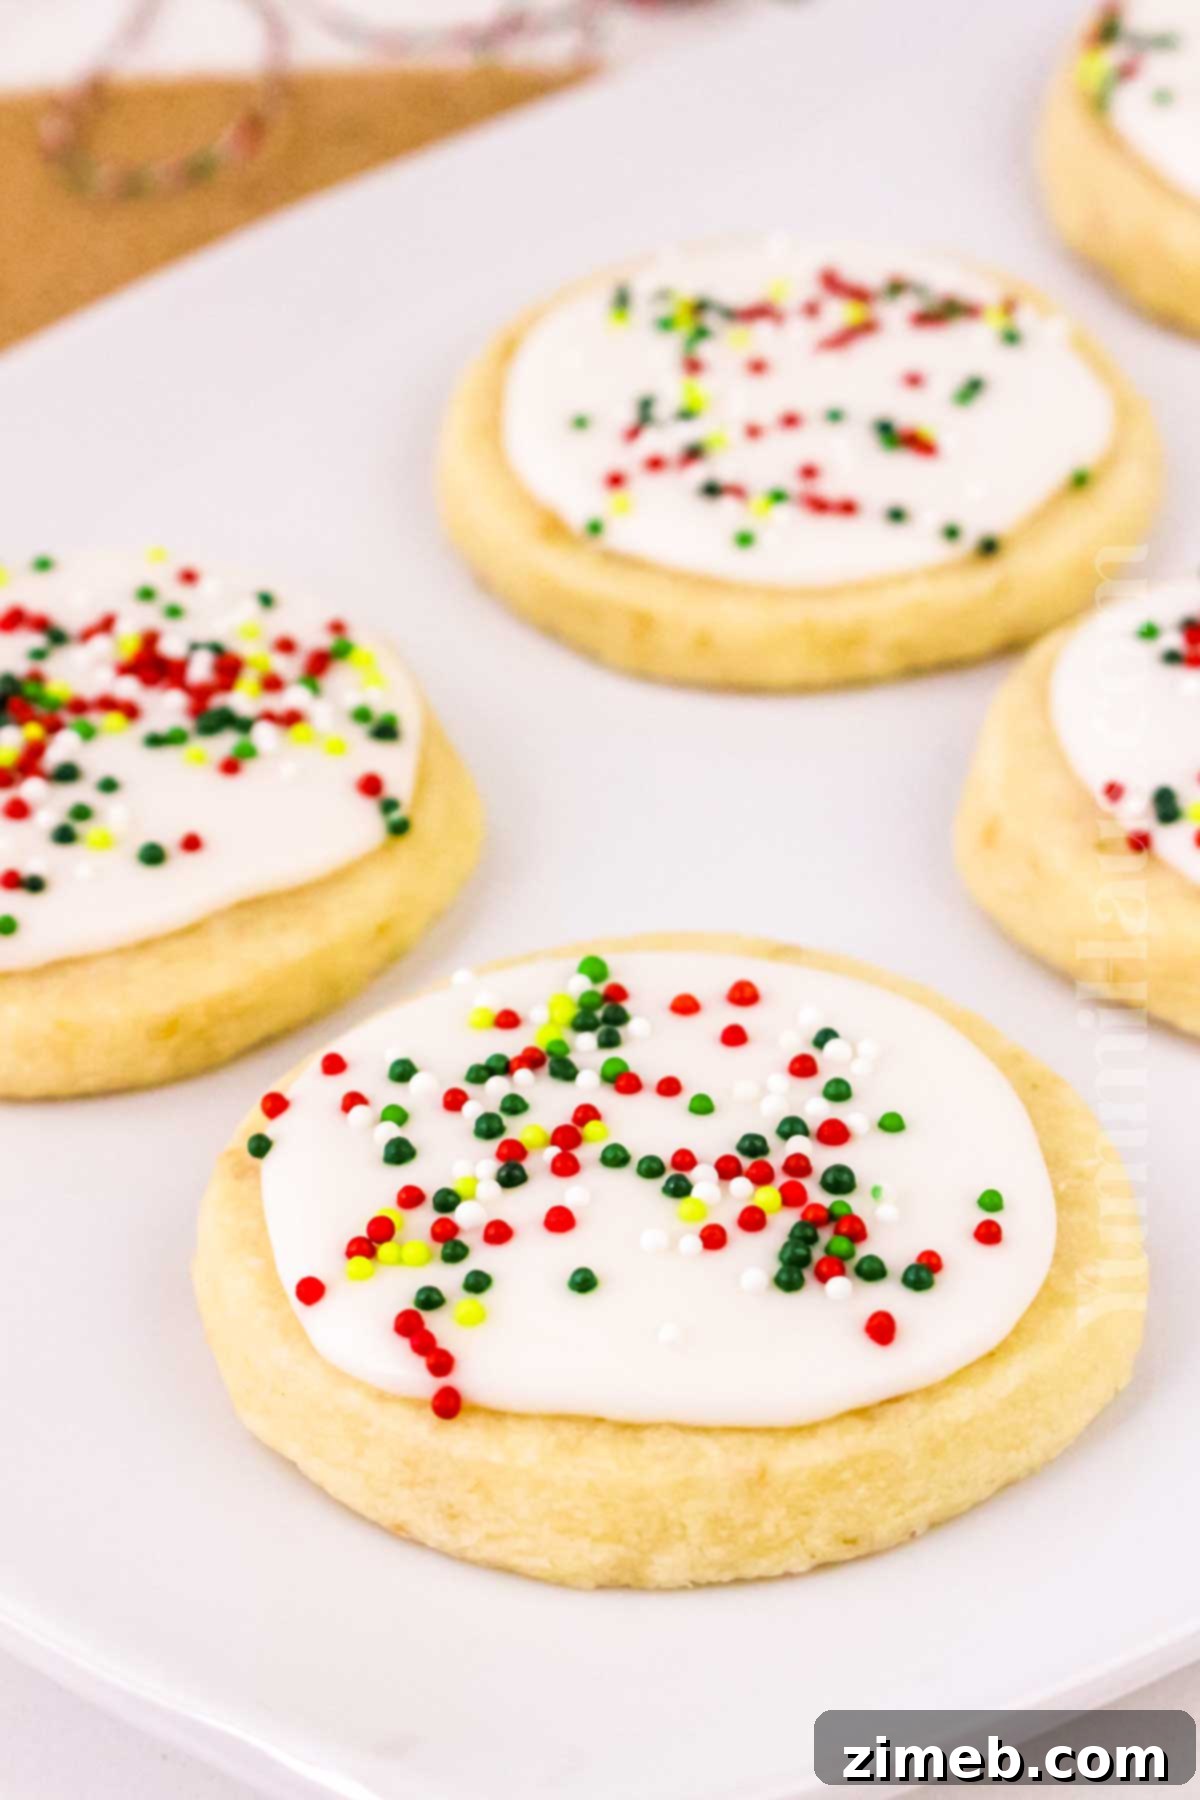
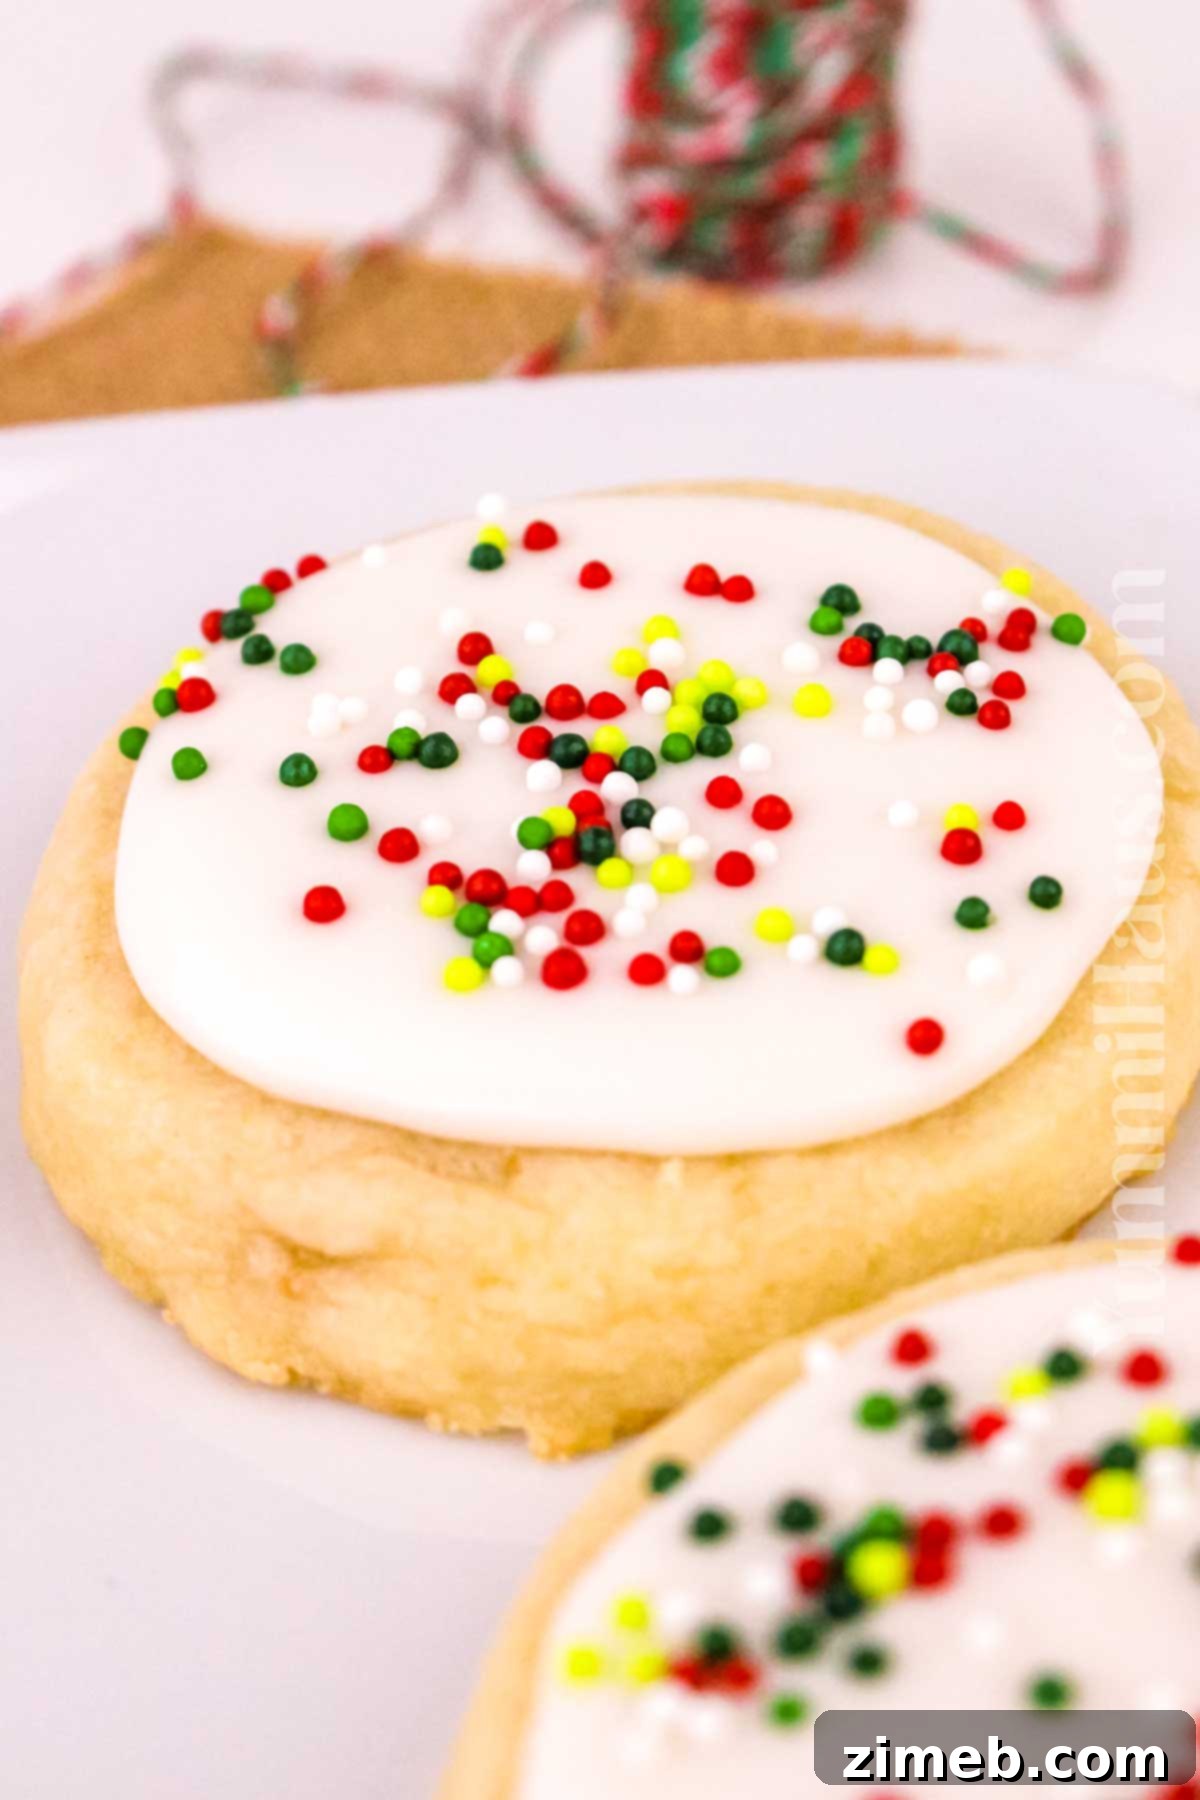
- Sprinkles & Decorations (Optional): The fun part! Christmas sprinkles, edible glitter, mini chocolate chips, crushed candy canes, or finely chopped nuts can be added on top of the wet icing for extra visual appeal and texture.
Essential Kitchen Equipment for Baking Shortbread
Having the right tools can make your baking process much smoother and more enjoyable. Here’s a list of the key equipment you’ll need to create these beautiful frosted shortbread cookies:
- Parchment-lined Baking Sheet(s): Essential for preventing sticking and ensuring even baking. Parchment paper also makes cleanup a breeze. Having multiple sheets allows you to bake in batches efficiently.
- Cookie Cutters: Unleash your creativity! For Christmas, popular shapes include classic rounds (like ornaments), festive Christmas trees, elegant stars, charming mittens, or even gingerbread men. For other occasions, explore hearts, flowers, or any shapes that fit your theme.
- Rolling Pin: A good rolling pin is crucial for achieving an even dough thickness, which ensures all your cookies bake uniformly. Consider one with adjustable rings for perfect consistency every time.
- Mixing Bowls: You’ll need at least two medium to large mixing bowls for combining wet and dry ingredients separately, and another for preparing the icing.
- Electric Mixer (Handheld or Stand): While you can cream butter and sugar by hand, an electric mixer makes the process much quicker and more efficient, ensuring a light and airy mixture.
- Wire Cooling Rack: Absolutely necessary for allowing your baked cookies to cool completely and evenly, preventing them from becoming soggy on the bottom.
- Spatula or Offset Spatula: Useful for transferring delicate cookie dough to baking sheets and, later, for spreading icing smoothly onto cooled cookies. An offset spatula is particularly helpful for spreading icing evenly.
- Measuring Cups and Spoons: Accurate measurements are key in baking, so make sure you have a reliable set.
Step-by-Step: How to Make Irresistible Frosted Shortbread Cookies
Making these delightful frosted shortbread cookies is a straightforward process, broken down into three simple stages: preparing the dough, baking the cookies, and finally, icing and decorating them. Follow these steps for perfect results every time.
1: Prepare The Silky Shortbread Cookie Dough
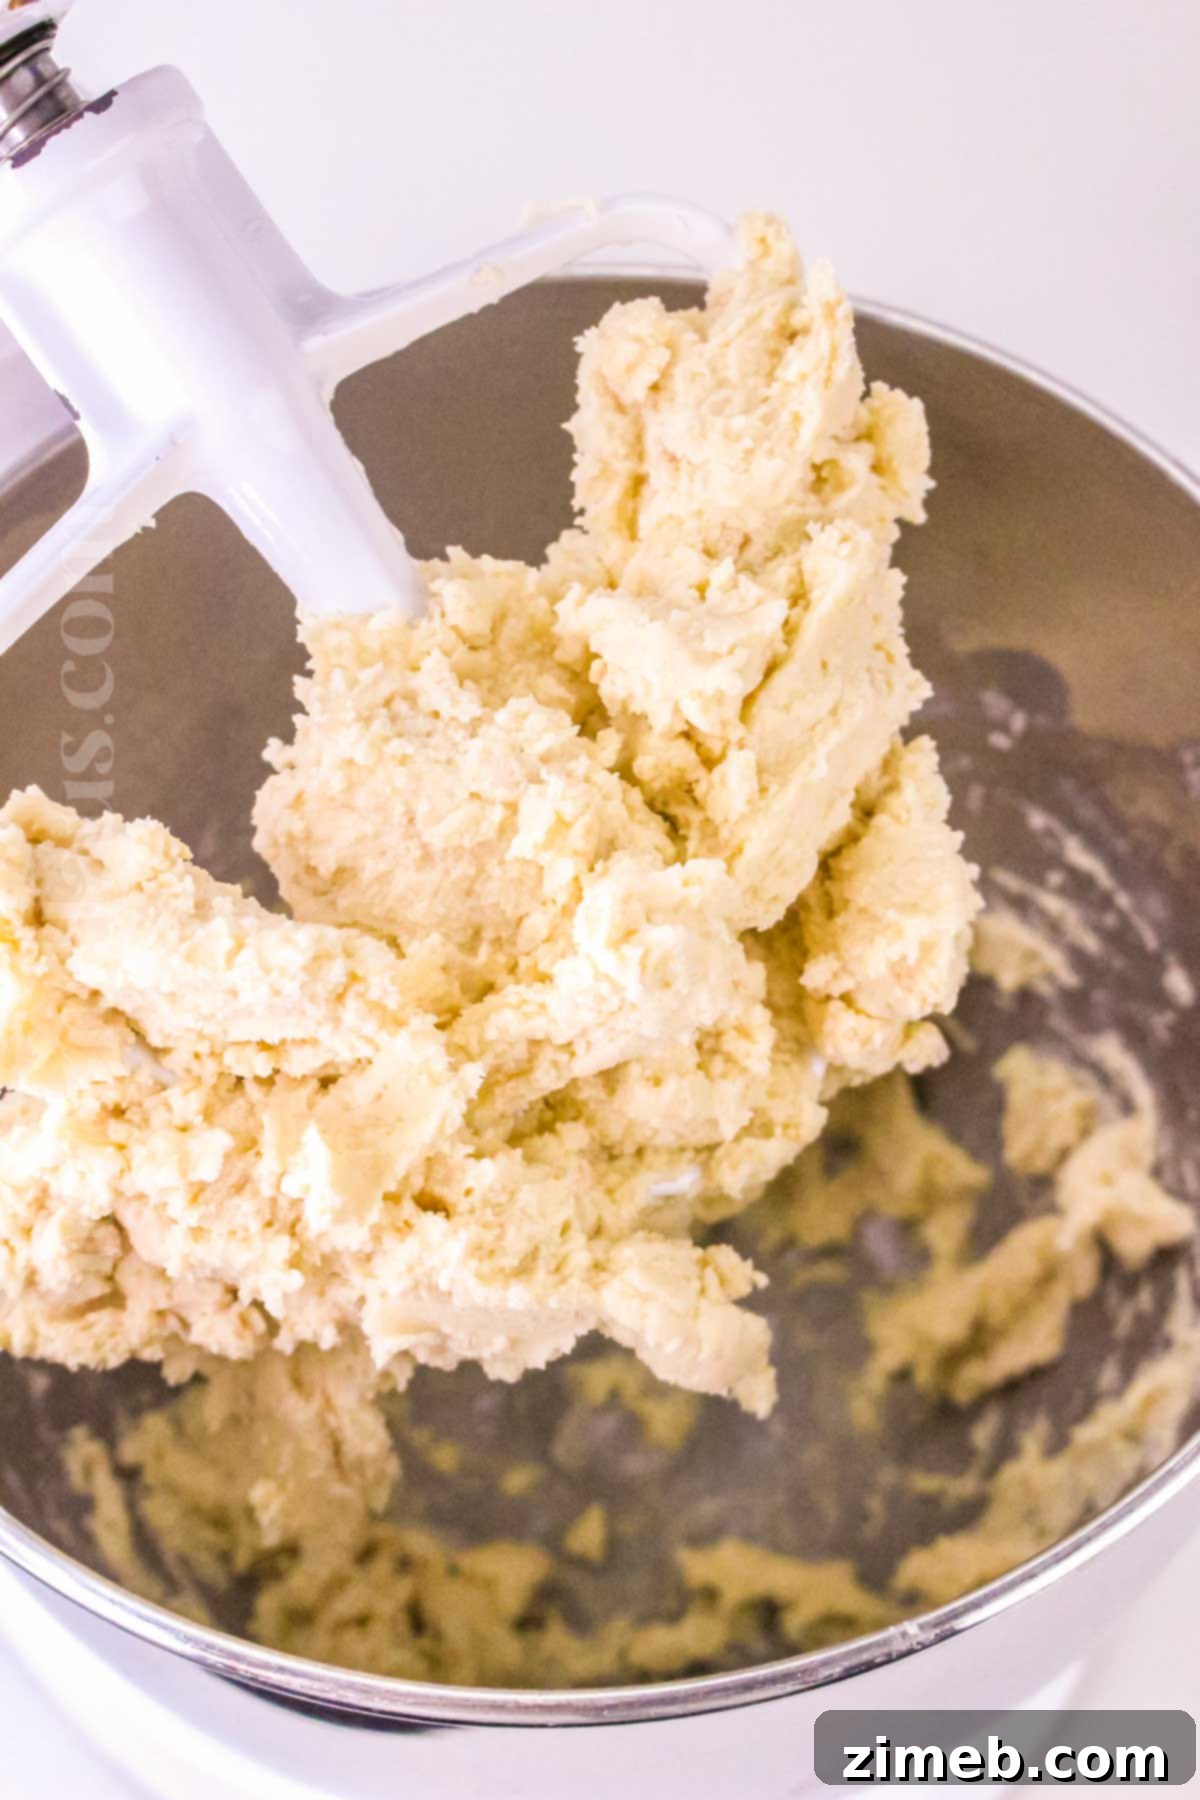
- Cream the Wet Ingredients: In a large mixing bowl, combine your softened unsalted butter, confectioner’s sugar, and vanilla extract. Begin mixing slowly with an electric mixer until the sugar is fully moistened and incorporated into the butter. Then, increase the speed to medium and whip for an additional 30 seconds until the mixture is light, fluffy, and well combined. This creaming process incorporates air, contributing to the cookies’ tender texture.
- Incorporate Dry Ingredients: In a separate, medium-sized bowl, whisk together the all-purpose flour and kosher salt. Gradually add this flour mixture to the butter mixture, stirring slowly until just combined. It’s crucial not to overmix the dough, as this can develop the gluten in the flour, leading to tough rather than tender shortbread cookies. Stop mixing as soon as no dry streaks of flour remain.
- Chill the Dough: Gently gather the shortbread dough and form it into a flattened disk. Wrap the disk tightly in plastic wrap to prevent it from drying out. Refrigerate the dough for at least 30 minutes. This chilling step is essential: it allows the butter to firm up, preventing the cookies from spreading too much during baking and helping them maintain their crisp, defined shapes.
2: Shape & Bake The Perfect Shortbread Cookies
- Preheat Oven and Prepare Baking Sheets: Before you start shaping, preheat your oven to 350°F (175°C). Line one or two baking sheets (or cookie sheets) with parchment paper. This prevents sticking and ensures easy removal of the baked cookies.
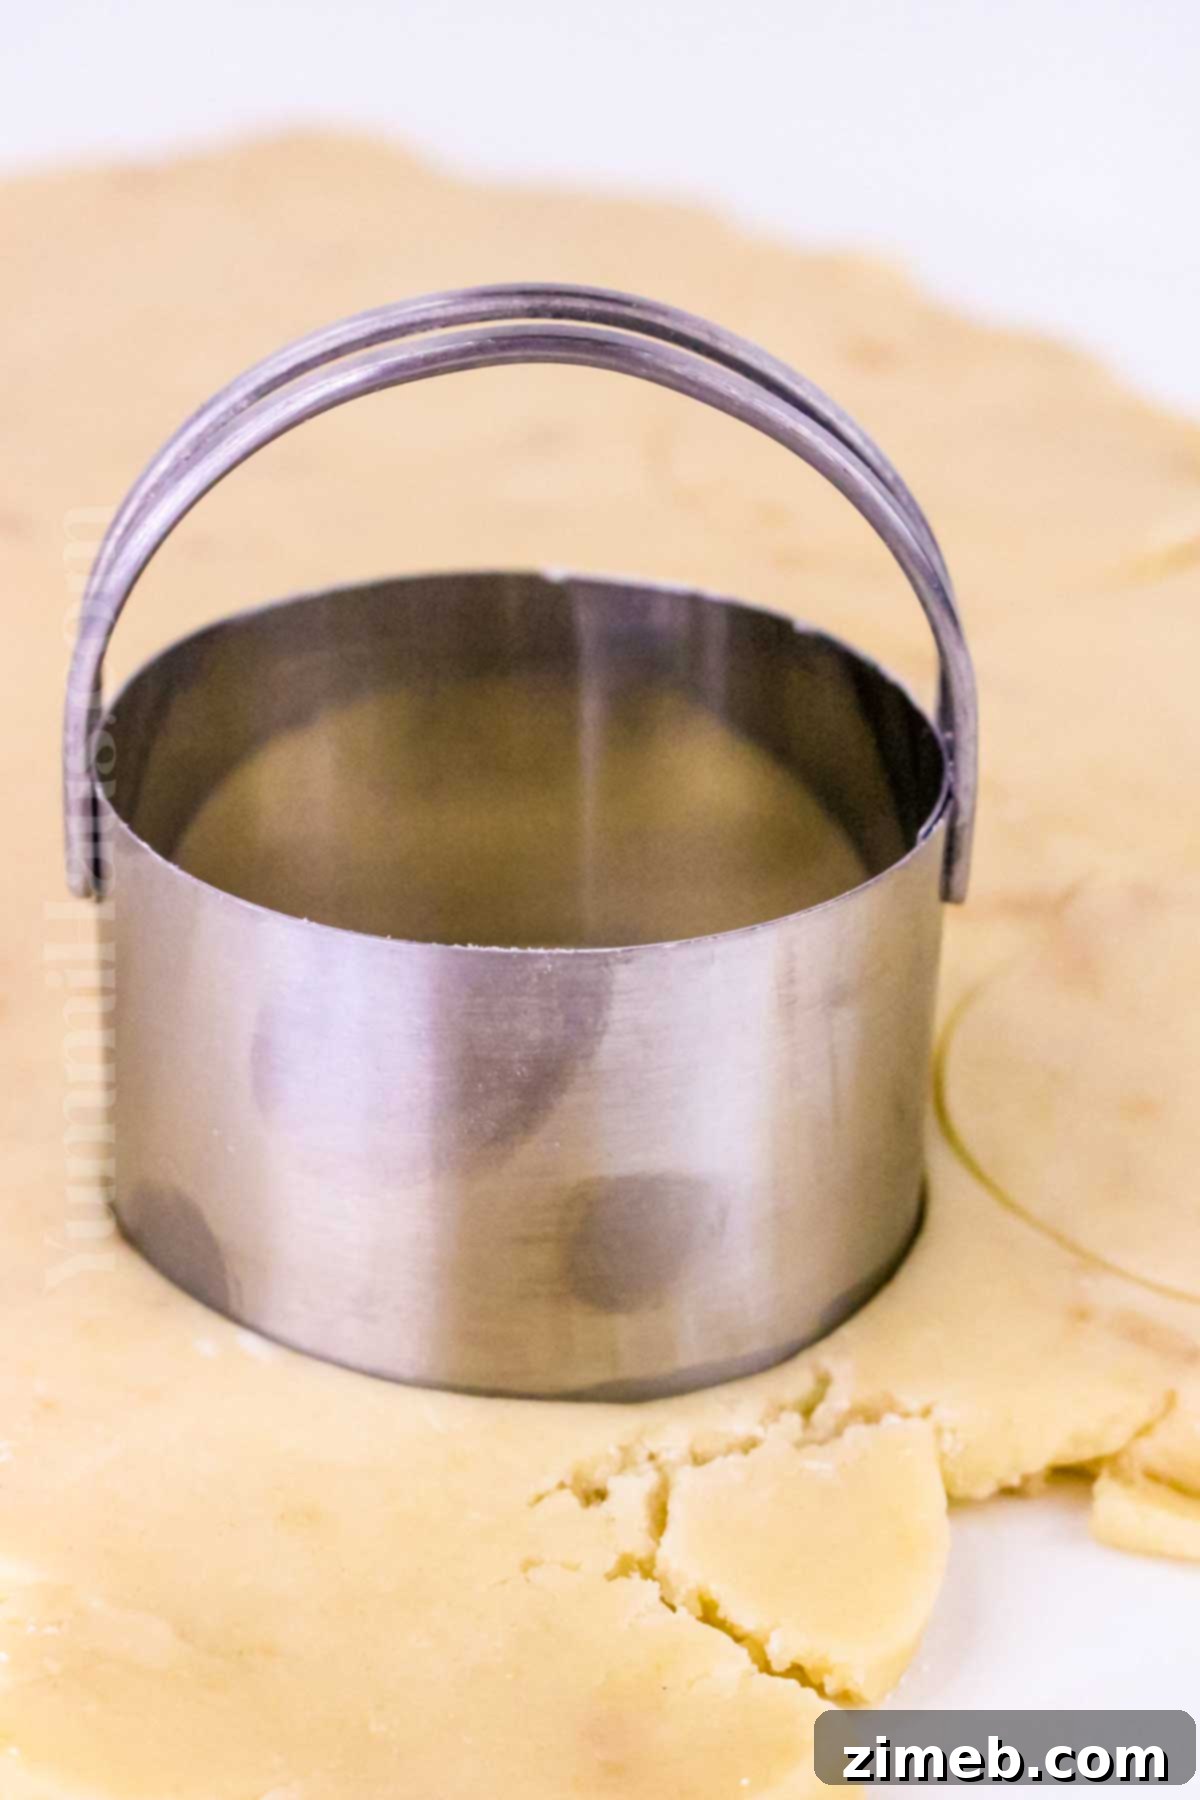
- Roll Out the Dough: Lightly flour your work surface or a silicone mat. Remove the chilled dough from the refrigerator and unwrap it. Use a rolling pin to roll the dough evenly to approximately ¼ inch thickness. Aim for consistent thickness across the entire sheet of dough for uniform baking results.
- Cut Out Shapes: Dip your chosen cookie cutters into a little flour before each use to prevent sticking. Press firmly into the rolled dough to cut out your desired shapes. Gently transfer the cut-out dough pieces to your prepared baking sheets, leaving about an inch of space between each cookie to allow for slight expansion.
- Bake to Golden Perfection: Place the baking sheets in the preheated oven and bake for 12-15 minutes. Keep a close eye on them; the cookies are done when their edges are lightly golden brown. Shortbread should not be deeply colored; a pale golden edge indicates they are perfectly baked, maintaining their tender texture.
- Cool Completely: Remove the baking sheets from the oven. Let the cookies cool on the baking sheet for about 5 minutes to allow them to firm up slightly. Then, carefully transfer the warm cookies to a wire rack to cool completely. It’s crucial that the cookies are entirely cool before you proceed to icing, otherwise, your frosting will melt and slide off.
3: Make The Smooth & Festive Icing
- Prepare the Icing Base: In a medium bowl, whisk together the confectioner’s sugar, the initial amount of milk (2-3 tablespoons), and vanilla extract. Continue to whisk, adding more milk a tiny bit at a time (about ½ teaspoon increments), until you achieve your desired consistency. For a thinner, drizzly glaze, you’ll use more milk. For a thicker, spreadable or pipable icing, you’ll use less.
- Add Color (Optional): If you wish to tint your icing, stir in a few drops of food coloring until you reach your preferred shade. For multiple colors, divide the icing into separate bowls before adding different food colorings. Gel food colors are recommended for vibrant hues without adding too much liquid.
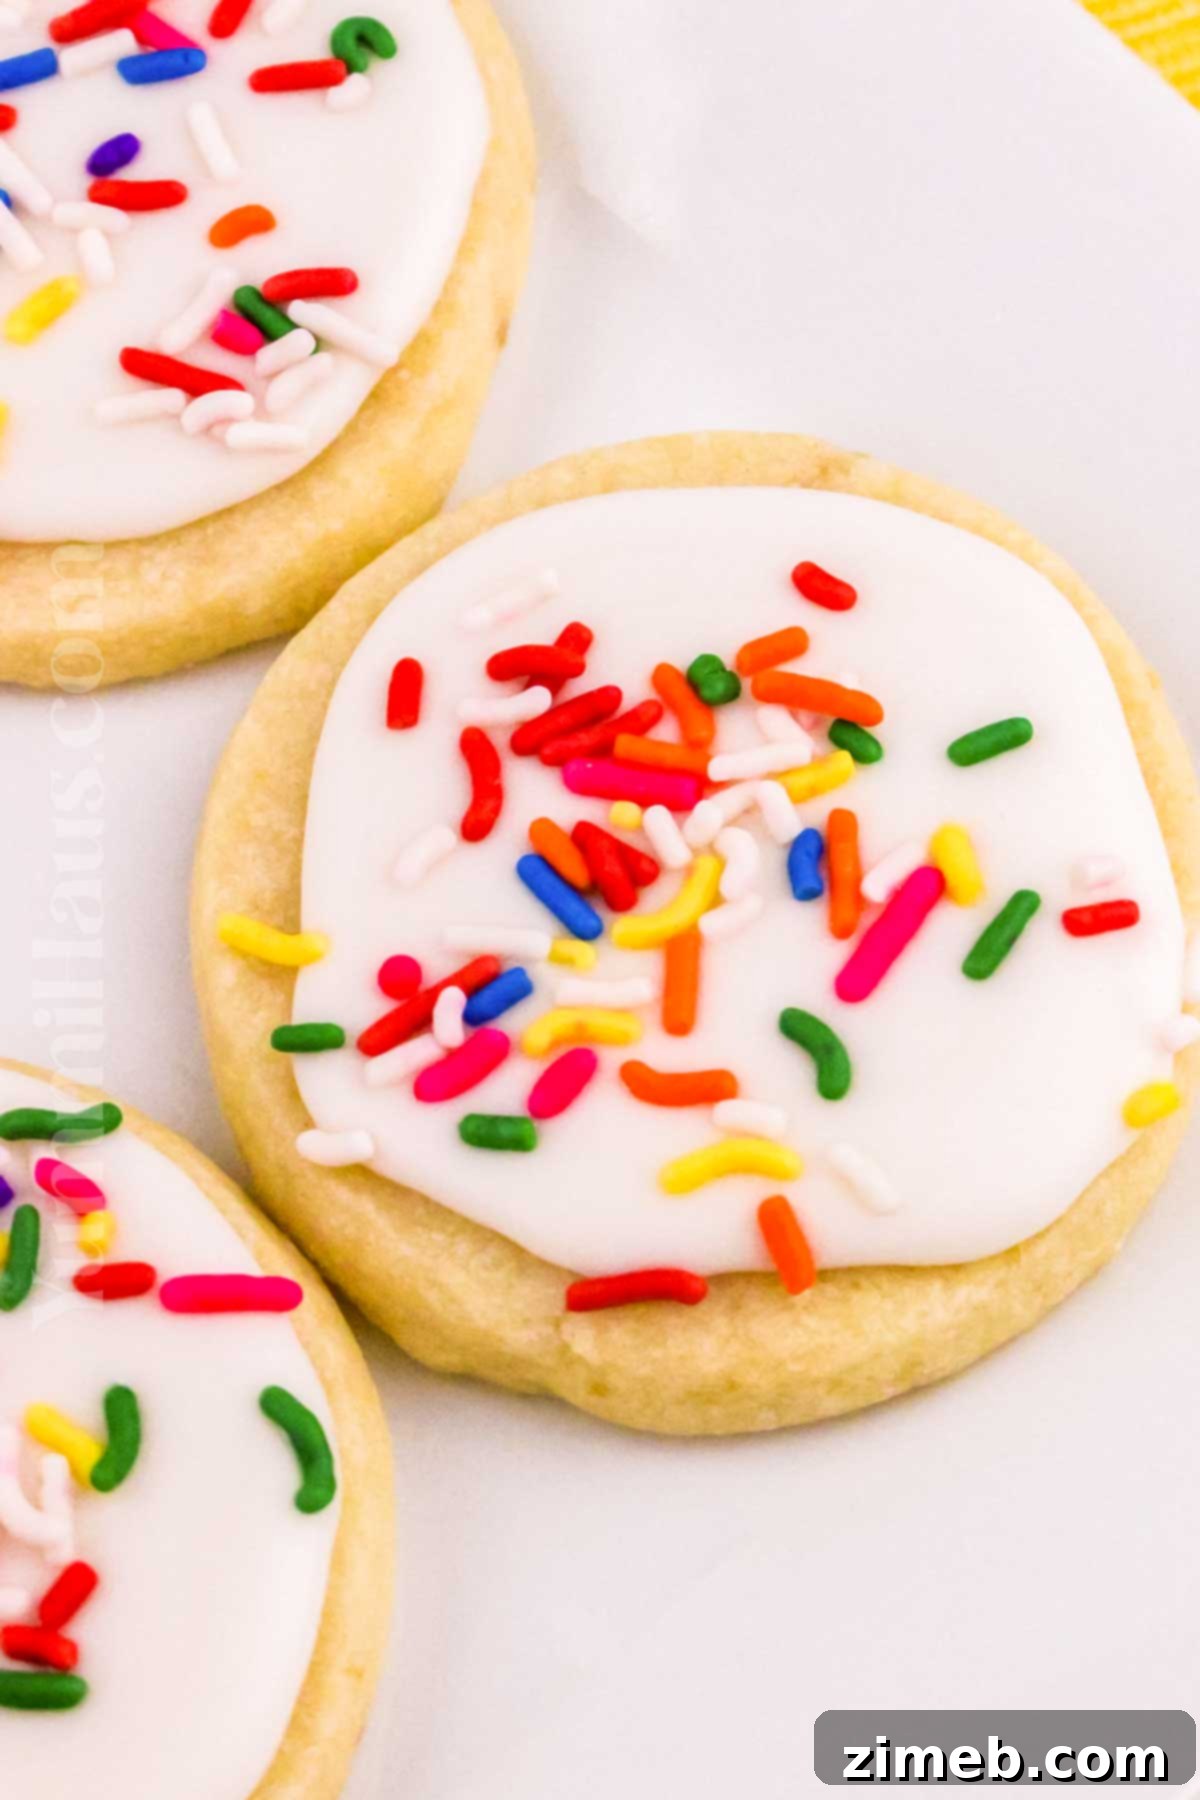
- Decorate the Cooled Cookies: Once the cookies are completely cool, it’s time to decorate! You can spread the icing onto the cookies using a small spoon or an offset spatula for a smooth, even layer. If you prefer more intricate designs, transfer the icing to a piping bag fitted with your desired tip. For extra flair, immediately add any sprinkles or other decorations (such as edible glitter, crushed candy cane, or mini chocolate chips) before the icing begins to set and harden.
- Allow Icing to Set: Let the decorated cookies sit undisturbed, preferably at room temperature, for at least 30-60 minutes, or until the icing has fully set and hardened. This will prevent smudging and make them easier to handle and store.
Storing Your Delicious Frosted Shortbread Cookies
Proper storage is key to keeping your homemade frosted shortbread cookies fresh and delicious for as long as possible. Here’s how to ensure they maintain their delightful texture and flavor:
Frosted Cookies: Store baked and frosted shortbread cookies at room temperature in an airtight container for 5-6 days. Layer them between sheets of parchment paper to prevent the frosting from sticking together or getting damaged. If your kitchen is particularly warm or humid, or if your frosting contains ingredients that require refrigeration (like cream cheese), it’s best to store them in the fridge. Bring them to room temperature for about 15-20 minutes before serving for the best flavor and texture.
Unfrosted Baked Cookies: If you plan to frost them later, unfrosted baked shortbread cookies can be stored in an airtight container at room temperature for up to a week. For longer storage, freeze unfrosted cookies for up to 3 months. Arrange them in a single layer on a baking sheet to freeze solid, then transfer to a freezer-safe bag or container, again with parchment paper between layers. Thaw them at room temperature before frosting.
Shortbread Cookie Dough: You can also prepare the dough ahead of time. Form the dough into a disk, wrap it tightly in plastic wrap, and refrigerate for up to 3 days. Alternatively, frozen shortbread cookie dough (either as a disk or already rolled and cut out) will last for up to 3 months. To freeze cut-out dough, arrange shapes on a parchment-lined baking sheet and freeze until solid, then transfer to a freezer-safe bag or container. Thaw the dough overnight in the fridge before rolling (if needed), shaping, and baking according to the recipe instructions.
Creative Substitutions & Exciting Variations
One of the best things about these shortbread cookies is how easily they can be adapted to suit any taste preference or occasion. Don’t be afraid to get creative!
- Adjust for Any Occasion: The beauty of frosted shortbread cookies lies in their adaptability. You can effortlessly adjust the icing color and decorations to match any occasion or holiday. Think pastel colors and floral sprinkles for a baby shower or spring celebration, vibrant hues and fun shapes for a birthday party, romantic reds and pinks with heart cutters for Valentine’s Day, or even autumnal tones for Thanksgiving.
- Explore Different Flavors for the Cookies:
- Chocolate Shortbread: For a decadent twist, add ¼ to ½ cup of unsweetened cocoa powder to the dry ingredients for chocolate shortbread cookies. You might need to add an extra tablespoon of milk or butter to maintain the right dough consistency.
- Citrus Zest: Infuse your shortbread with bright, refreshing flavors by adding the zest of one lemon, orange, or lime to the butter and sugar mixture. A few drops of corresponding extract (like lemon extract) can further amplify the citrus notes.
- Spices and Warmth: For a comforting aroma and taste, incorporate spices such as ½ teaspoon of ground cinnamon, a pinch of nutmeg, or even a dash of cardamom into your dry ingredients. This adds a subtle warmth without dramatically changing the core flavor.
- Nutty Crunch: Finely chopped toasted nuts (like pecans or walnuts) can be folded into the dough for added texture and a rich, nutty flavor.
- Icing Variations for Every Palate:
- Buttercream Frosting: If you prefer a richer, creamier frosting, classic buttercream is a fantastic alternative to royal icing. It uses similar base ingredients but with a slightly different preparation method, often involving more butter and less liquid.
- Cream Cheese Frosting: For a tangy and creamy contrast, a simple cream cheese frosting (made with cream cheese, butter, confectioner’s sugar, and vanilla) can be delightful. Just ensure it’s firm enough to spread without melting on the cookies.
- Meringue Powder Boost: To achieve a firmer, more stable royal icing that dries harder and is less prone to cracking, you can add a tablespoon or two of meringue powder to your confectioner’s sugar before mixing with liquid. This also gives the icing a slightly glossier finish.
- Decorative Toppings: Beyond standard sprinkles, get creative with your toppings. Consider crushed candy canes for a festive minty crunch, mini chocolate curls, finely chopped caramel bits, or even a dusting of edible gold or silver shimmer dust for an elegant touch.
- Glaze Options: For a simpler approach, a thin lemon glaze (confectioner’s sugar mixed with lemon juice) or a chocolate drizzle can also be delicious.
Expert Tips for Crafting the Best Iced Shortbread Cookies
Achieving bakery-quality frosted shortbread cookies at home is easier than you think with a few insider tricks. These expert tips will help you perfect your technique and troubleshoot common issues:
- Mastering Icing Application: For thicker icing or creamy frosting, an offset spatula is your secret weapon. Its angled blade allows for smooth, even spreading across the cookie surface, making it easier to achieve a professional look than with a regular knife or spoon. For precise detailing or flood icing, a piping bag with a small round tip is indispensable.
- Avoid Overbaking at All Costs: Shortbread cookies are delicate, and overbaking can quickly turn them from tender to tough and dry. Pay close attention to the baking time. Once the edges begin to turn a very light golden brown, they are done. The centers might still look a bit pale, but they will firm up as they cool. Remember, a pale cookie is a perfect shortbread cookie.
- Creating Multiple Icing Colors: To make a festive array of colored icing, simply separate your prepared white icing into several smaller bowls. Add different gel food colorings to each bowl, stirring until the desired hue is achieved. Gel colors are preferred as they are more concentrated and won’t thin your icing as much as liquid food coloring.
- Achieve Uniform Cookie Thickness: Unevenly rolled dough leads to cookies that bake at different rates, resulting in some being underdone and others overbaked. Invest in a rolling pin with adjustable rings on the sides; these ingenious tools allow you to consistently roll dough to your desired thickness (e.g., ¼ inch) across the entire batch, ensuring uniform baking and a professional appearance.
- Adjusting Icing Consistency: If your icing thickens while you are coating the cookies (which can happen, especially if working slowly or in a dry environment), don’t panic. Simply add a very small splash of milk or half-and-half (start with ¼ teaspoon) and stir thoroughly until it returns to your desired consistency. Add gradually to avoid making it too thin.
- Maintain a Clean Icing Surface: As you frost multiple cookies, crumbs from the shortbread can fall into your icing. Periodically remove any crumbs from the icing bowl to keep your frosting pristine and smooth. Also, give the icing a quick stir occasionally to prevent a “skin” or film from forming on the surface, especially if it contains meringue powder.
- Cool Cookies Completely: This tip cannot be stressed enough! Always ensure your cookies are completely cooled to room temperature before you apply any icing. Attempting to frost warm cookies will cause the icing to melt, become runny, and make a messy presentation. Patience here pays off beautifully.
Frequently Asked Questions About Shortbread Cookies
Here are answers to some common questions about making perfect shortbread cookies, offering insights that will help you achieve the best results.
What Is The Secret To Making Good Shortbread?
The secret to making truly exceptional shortbread lies in two critical factors: minimal mixing and precise flour usage. You want to mix the ingredients just until they are combined, without overworking the dough. Overmixing develops the gluten in the flour, which can lead to tough, chewy cookies instead of the desired tender, crumbly texture. Additionally, using just enough flour – and being careful not to add too much, even when dusting your working surface – ensures the shortbread cookies remain moist, light, and wonderfully buttery and sweet. Too much flour will result in a dry, dense, and less enjoyable cookie. The goal is to let the butter’s richness and the delicate crumb shine through.
What Is The Difference Between A Butter Cookie And Shortbread Cookie?
While often confused due to their similar rich, buttery profiles, there’s a key distinction between butter cookies and shortbread cookies, primarily in their ingredient ratios. Traditional shortbread cookies are defined by their simple ingredient list: typically just butter, sugar, and flour, in a specific ratio that yields their characteristic crumbly texture. They famously contain no leavening agents or eggs. Butter cookies, on the other hand, often include eggs and sometimes a small amount of leavening (like baking powder) or dairy beyond butter, such as milk or cream. This results in a slightly crispier texture, and they tend to have a less intense butter flavor compared to classic shortbread, which typically boasts a higher butter-to-flour ratio.
How Do You Stick Icing To Shortbread?
To ensure your icing adheres perfectly to your shortbread cookies, the most important step is to let the cookies cool completely before applying the frosting. Any residual warmth will cause the icing to melt, making it runny and preventing it from setting properly. Once you’ve spread the icing onto the fully cooled cookies, allow adequate time for the icing to set and firm up. Depending on the humidity and the type of icing, this could take anywhere from 30 minutes to a few hours. Allowing the icing to set undisturbed ensures it will stick firmly and won’t smudge when handled or stored.
Why Do You Put Shortbread In The Fridge Before Baking?
Chilling the shortbread cookie dough before baking is a crucial step for several reasons, primarily to maintain the cookie’s shape and prevent excessive spreading. Shortbread dough is rich in butter, and butter softens quickly at room temperature and melts rapidly in a warm oven. Refrigerating the dough firms up the butter, which stabilizes the dough’s structure. This prevents the cookies from spreading flat and losing their defined edges or intricate cut-out shapes during baking. A properly chilled dough ensures your shortbread will hold its form beautifully, resulting in crisp edges and a perfect crumbly texture.
Do Shortbread Cookies Harden When Cooling?
Yes, shortbread cookies do firm up as they cool. The dough itself solidifies during the chilling process, and after baking, the butter in the cookies re-solidifies, causing them to become crisp and firm as they reach room temperature. This is why it’s vital not to overbake them. Pull them out of the oven when the edges and bottom are just lightly golden brown. They might still feel soft in the center when warm, but they will continue to cook slightly and firm up as they cool on the baking sheet and then on a wire rack. To maintain a softer, more tender crumb even on subsequent days, some bakers add a small amount of cornstarch (about 1-2 tablespoons per cup of flour) to the flour mixture, which helps keep them tender.
If you love this easy frosted shortbread cookie recipe, you’re going to adore these other delightful cookie creations too. Each link below leads to a simple, printable recipe that promises more sweet indulgence!
Check out this recipe

Check out this recipe

Check out this recipe

Check out this recipe

Check out this recipe

Discover More Delicious Shortbread Recipes
If you’ve fallen in love with the classic taste of shortbread, there’s a world of variations waiting to be explored. These recipes offer unique twists on the beloved buttery cookie:
- Whipped Shortbread Cookies: Experience an even lighter, more airy texture in these delightful whipped shortbread cookies.
- Keto Shortbread Cookies: For those following a low-carb diet, these keto-friendly shortbread cookies offer all the flavor without the guilt.
- White Cornmeal Shortbread Bars: A unique twist that adds a subtle grittiness and distinct flavor to your shortbread in an easy bar format.
- Buttery Walnut Potato Chip Cookies: An unexpected yet surprisingly delicious combination of sweet and salty, offering a delightful crunch.
CONNECT WITH YUMMI HAUS!
Be sure to follow me on my social media, so you never miss a post!
Substack, FB, Pinterest, IG, Email Subscription

Rate this Recipe
Frosted Shortbread Cookies
Ingredients
Cookies
- 1 cup butter softened – (2 sticks) unsalted
- ¾ cup confectioner’s sugar
- 1 tsp vanilla extract
- 2 cups all-purpose flour
- ¼ tsp salt
Icing
- 2 cups confectioner’s sugar
- 2 tbsp milk 2-3 tbsp + more for desired consistency
- ½ tsp vanilla extract or almond – if desired
Food coloring (optional)
Sprinkles (optional)
Instructions
Cookies
-
Combine the butter, confectioner’s sugar, and vanilla in a large mixing bowl. Slowly mix the two together until the sugar has moistened, then increase the speed and whip for another 30 seconds to combine.
-
Slowly stir in the flour and salt until just combined.
-
Shape the dough into a disk and wrap it tightly in plastic wrap. Refrigerate for 30 minutes.
-
Preheat the oven to 350°F (175°C).
-
Use a rolling pin to roll out the dough on a lightly floured surface or silicone mat. Roll to approx ¼” thickness.
-
Use cookie cutters to cut into the desired shapes.
-
Transfer the dough to a parchment-lined baking sheet.
-
Bake for 12-15 minutes or until the edges are slightly golden.
-
Let cool on the baking sheet for 5 minutes, then transfer the cookies to a wire rack to cool completely.
Icing
-
Whisk the confectioner’s sugar with the milk and vanilla in a medium bowl, adding more milk a little at a time until the desired consistency is achieved.
-
Stir in food coloring to tint the icing – if desired.
-
Spread or pipe onto the cooled cookies and add any sprinkles or decorations if desired before the icing hardens.
-
Let the icing set before serving.
Nutrition
Nutritional information for the recipe is provided as a courtesy and is approximate. Please double-check with your own dietary calculator for the best accuracy. We at Yummi Haus cannot guarantee the accuracy of the nutritional information given for any recipe on this site.