
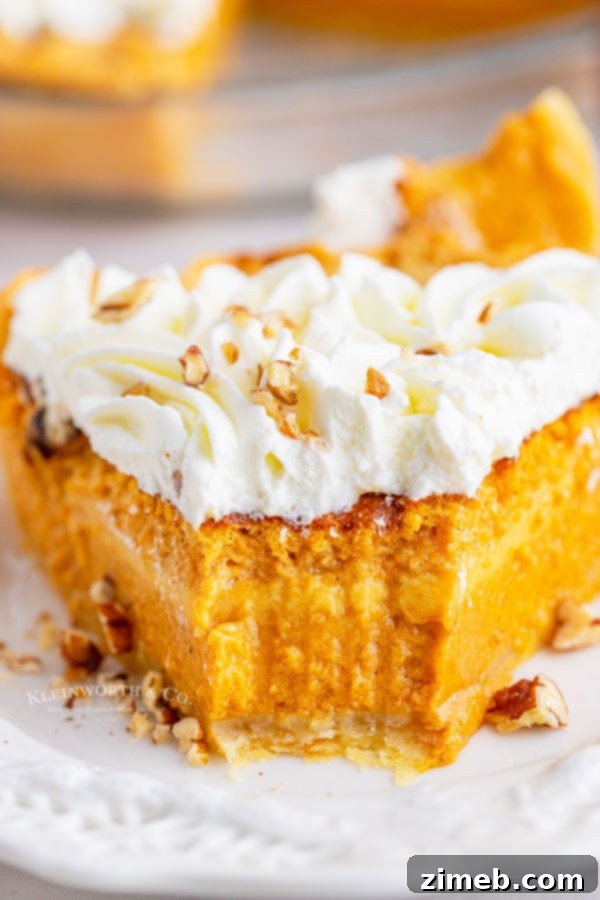
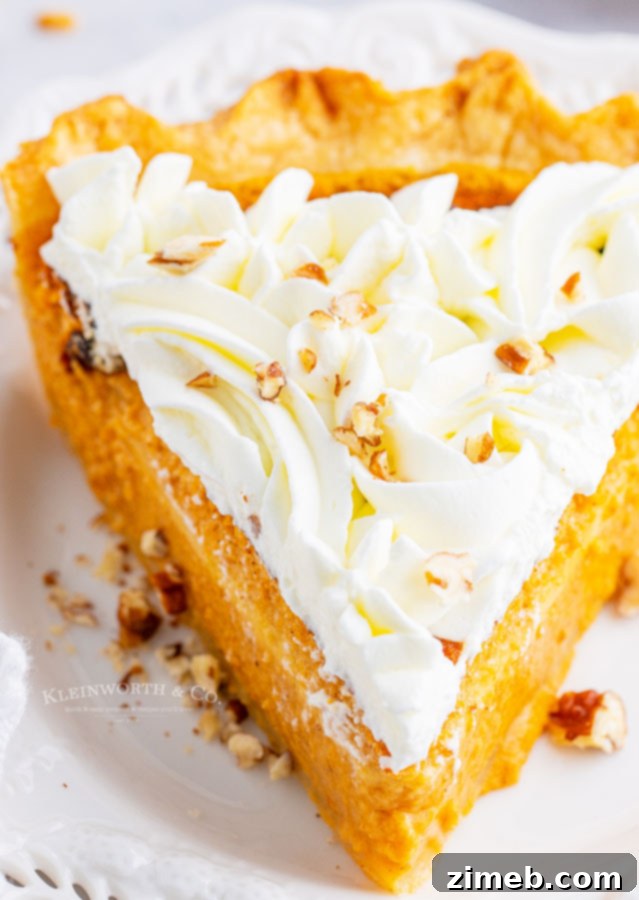
Welcome to the definitive guide for the **Best Pumpkin Pie**, a truly remarkable recipe cherished across generations. This creamy, richly spiced pumpkin pie, elegantly adorned with piped whipped cream and a generous sprinkle of chopped pecans, is more than just a dessert—it’s a tradition, an award-winning delight that will have every guest at your table eagerly requesting the recipe. Prepare to create a masterpiece that tastes like pure nostalgia.
My dearest friends, the air is crisp, the leaves are turning, and it’s that glorious time of year again when thoughts inevitably turn to the comforting warmth of pumpkin pie. But this isn’t just any ordinary pumpkin pie. What I’m about to share with you today is a culinary legacy, a treasured recipe that has been lovingly passed down through the very fabric of my family for decades.
This exquisite pumpkin pie is none other than my great-grandmother’s famous recipe. For years, she would bake these pies in staggering quantities, a testament to their enduring popularity at countless gatherings. Today, after much careful adaptation and preservation, I am finally thrilled to share this beloved family secret with all of you.

You see, my great-grandmother’s original recipe was designed for large-scale baking. Depending on which tattered recipe card you referenced, she was often preparing four or more pies at a time! Her instructions also contained charmingly antiquated terminology for ingredient measurements, a fascinating glimpse into the culinary practices of a bygone era.
It’s truly captivating to observe how recipe writing and cooking methods have transformed over the years. Yet, one fundamental truth remains untouched: the unparalleled deliciousness and timeless appeal of this particular pumpkin pie recipe. It transcends trends and fads, offering a taste of authentic tradition with every bite.
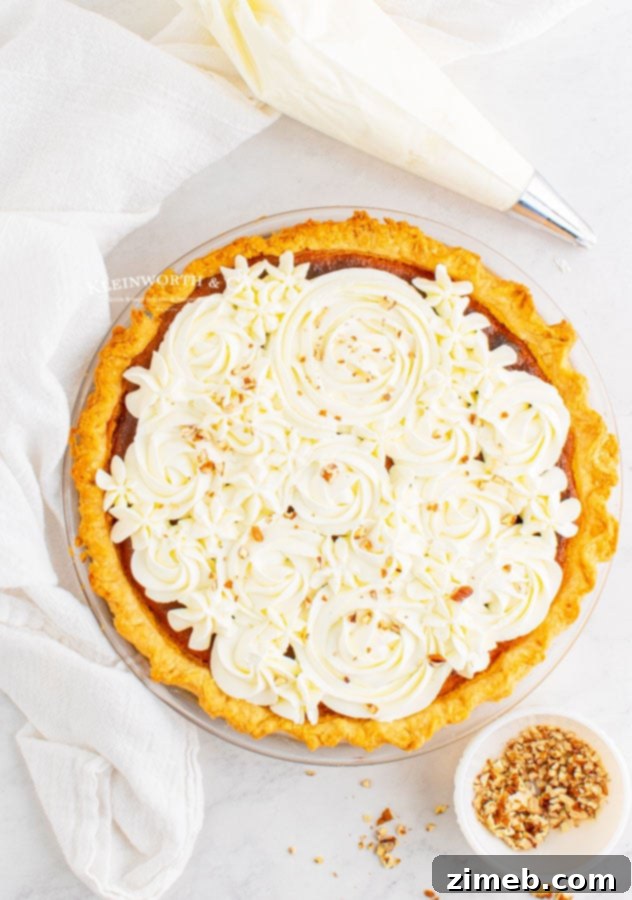
Through diligent effort and a few careful adjustments, I’ve successfully re-engineered her grand recipe to yield two perfect pies, making it much more manageable for the modern home baker. Due to the precise ratios of certain ingredients, scaling it down to a single pie proved challenging without compromising its signature creamy texture and rich flavor. My apologies for that!
However, there’s fantastic news! Crafting two pies means you’ll have an extra to share the joy. You can effortlessly gift one to a beloved neighbor, send one home with grateful guests after a holiday meal, or even tuck it away in the freezer for those moments when an undeniable pumpkin pie craving strikes. It’s a win-win situation!
Baking Authentic Pumpkin Pie from Scratch
This recipe holds a particularly special place in my heart, woven into some of my earliest and fondest memories. I vividly recall sitting in my great-grandmother’s cozy, bustling farmhouse kitchen, captivated as I watched her expertly assemble dozens of pies. The aroma of pumpkin, cinnamon, and ginger filled the air, a scent that still instantly transports me back to those cherished moments.
Both she and my grandmother were renowned for their baking prowess, often preparing these pies for various lodge events and community gatherings. Without fail, these pumpkin pies were among the most heavily requested dishes, especially during the autumn and holiday seasons. My great-grandmother, with her boundless generosity, never refused a request; she simply continued to bake and bake and bake, spreading warmth and deliciousness wherever her pies went.
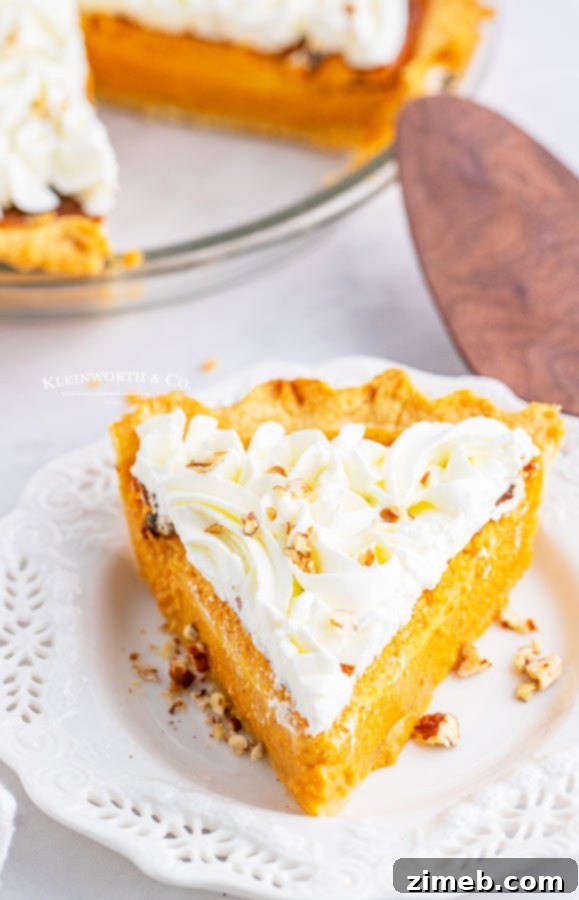
There’s a unique satisfaction that comes from creating a dish entirely from scratch. With this pumpkin pie, you control every element, from the flaky, buttery crust to the velvety smooth, perfectly spiced filling. This hands-on approach not only enhances the flavor but also connects you to the rich culinary traditions of generations past. It’s a truly rewarding experience.
Frequently Asked Questions About Homemade Pumpkin Pie
Should I use salted or unsalted butter for the pie crust?
When it comes to butter, the choice between salted and unsalted often boils down to personal preference and what you’re aiming for in terms of flavor balance. If you appreciate a subtle hint of salt to beautifully counterbalance the sweetness of the pumpkin filling, then using salted butter is an excellent choice. It adds a nuanced depth that many find irresistible.
Honestly, when I’m in the thick of holiday preparations, bustling around the kitchen with a hundred tasks, I often simply reach for whatever butter I have readily available. However, I typically keep salted butter on hand, and I must confess, I adore that tiny bit of extra salt it contributes to the sweet profile of this particular pumpkin pie recipe. It truly elevates the taste experience.
The Secret to an Easy Pumpkin Pie: A Flawless Crust
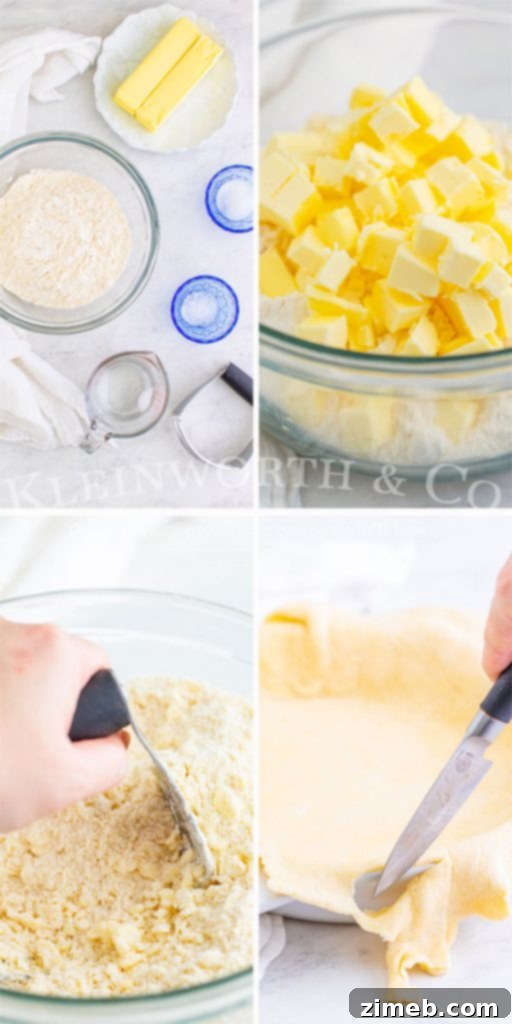
How do you make a perfect homemade pie crust?
Creating a delicious, flaky homemade pie crust might seem daunting, but it’s surprisingly simple with a few key techniques. The secret lies in keeping your ingredients cold and not overworking the dough, which prevents gluten from developing too much and results in a tough crust. Follow these steps for a buttery, tender foundation for your pumpkin pie:
- In a large mixing bowl, combine the all-purpose flour, cold butter (cut into small cubes), granulated sugar, and salt.
- Using a pastry cutter, begin to incorporate the cold butter into the dry ingredients. Work quickly until the mixture resembles coarse crumbles, with some pea-sized pieces of butter still visible. This is crucial for flakiness. (Alternatively, you can use two butter knives, crossing them through the ingredients, or a food processor with short pulses until a crumbly texture is achieved.)
- Once you’ve reached this crumbly consistency, gradually add the ice water, one tablespoon at a time, mixing lightly after each addition.
- Gently work the mixture together with your hands, pressing and lightly kneading just until a moist ball of dough forms and holds together well. Avoid excessive handling.
- Transfer the dough onto a lightly floured surface. Divide the dough in half, creating two equal portions for your two pie crusts. Gently flatten each portion into a disk.
- Lightly flour your rolling pin. Starting from the center of one dough disk, roll outwards in all directions, rotating the dough frequently to ensure an even thickness and prevent sticking. Continue until the dough is large enough to generously fit your pie plate.
- Carefully transfer the rolled-out dough into your pie plate. You can gently fold it in half or quarters for easier handling. Unfold and gently press it into the plate, ensuring there are no air bubbles underneath.
- Repeat the rolling and transferring process for the second pie crust.
- Trim any excess dough that overhangs the edge of the pie plate, leaving about a ½ to ¾ inch overhang.
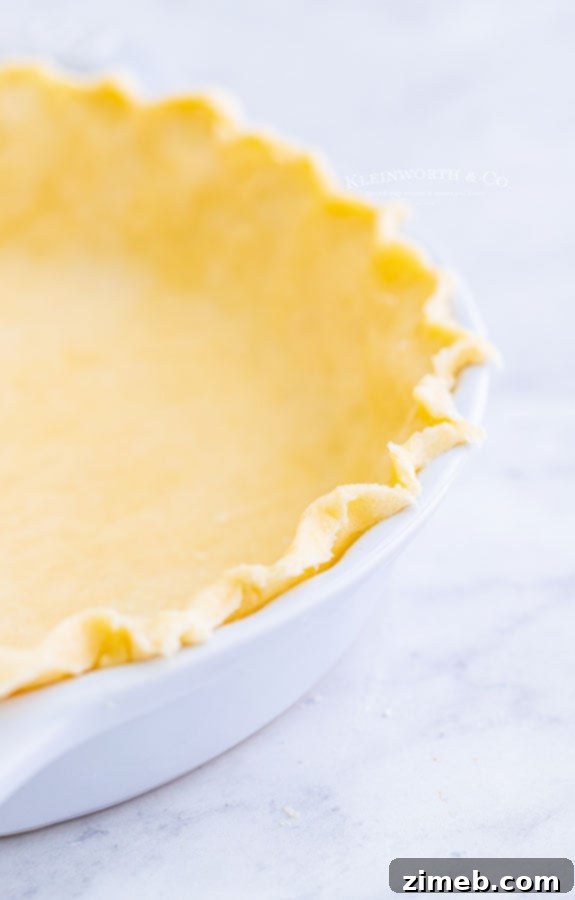
- To create a beautiful fluted edge, crimp the dough between your thumb and forefinger, pinching the dough every ½ inch or so around the entire rim of the pie plate. This not only looks lovely but also helps to contain the filling.
- For best results, chill the prepared pie crusts in the refrigerator for at least 30 minutes before filling to help them hold their shape during baking.
Understanding Your Pie Pumpkin: Puree vs. Filling
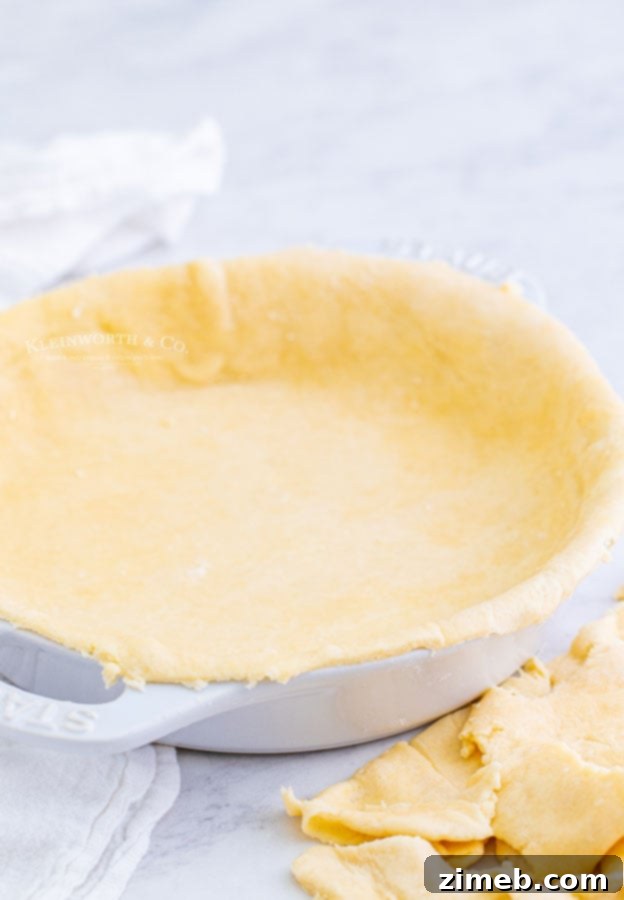
To make this incredible Homemade Pie Crust, you will need…
- All-purpose flour
- Cold butter – cut into small cubes (essential for flakiness!)
- Granulated sugar – for a touch of sweetness and browning
- Salt – enhances flavor
- Ice water – crucial for binding without developing too much gluten
What is the best way to store leftover pumpkin pie?
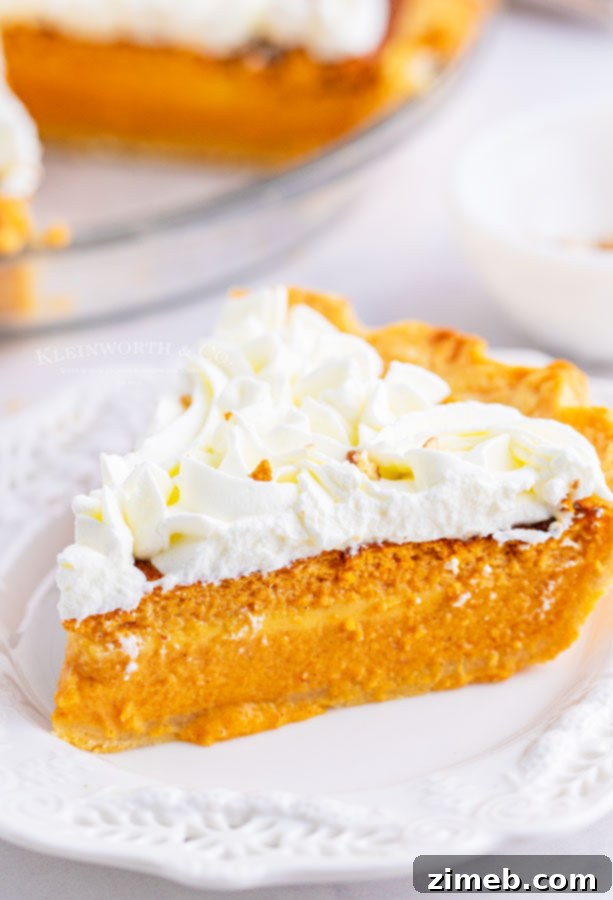
Proper storage is key to enjoying your delicious pumpkin pie for days to come. I always recommend transferring any leftover pie slices to an airtight container or covering the entire pie tightly with plastic wrap or aluminum foil. Once secured, place it in the refrigerator, where it will remain fresh and delightful for up to three days.
However, it’s worth noting a common characteristic of homemade whipped cream: unless you’ve added a stabilizer like cream of tartar during its preparation, the whipped cream tends to lose its beautiful piped shape and may deflate or become watery when stored overnight. While it will still taste wonderful, its appearance won’t be as pristine the following day.
For this reason, I often suggest gently scraping off any deflated whipped cream from refrigerated leftovers and adding a fresh dollop of homemade or store-bought whipped cream just before serving. This ensures every slice looks as inviting as it tastes.
Crafting the Perfect Homemade Pumpkin Pie Filling
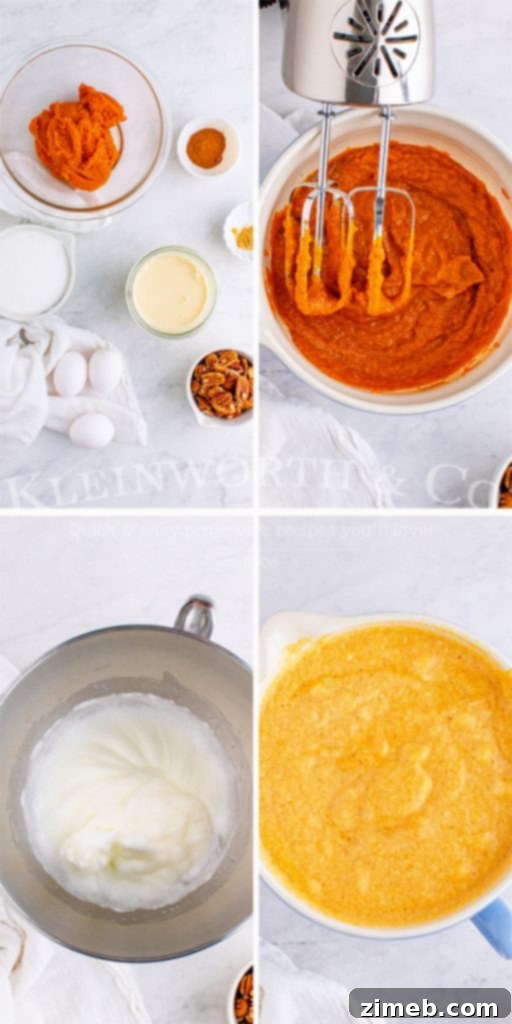
How do you make Homemade Pumpkin Pie Filling?
This rich and creamy pumpkin pie filling is the heart of our award-winning recipe. Achieving its signature texture and balanced spice profile is straightforward with these detailed instructions:
- Begin by preheating your oven to a robust 425 degrees Fahrenheit (220 degrees Celsius). This initial high heat helps to set the crust and filling beautifully.
- In a large mixing bowl, beat the egg yolks until they are light yellow and slightly thickened. This provides a crucial base for the filling’s texture.
- Add half of the granulated sugar, along with the pumpkin puree, a generous measure of cinnamon, and the ginger to the beaten egg yolks. Mix these ingredients thoroughly until everything is well combined and smooth.
- In a separate saucepan or microwave-safe bowl, combine the remaining sugar with the evaporated milk. Gently heat this mixture until it is lukewarm. My great-grandmother always did this on the stovetop over medium heat, stirring constantly, but a microwave in 30-second increments works perfectly well for convenience. The goal is to dissolve the sugar and warm the milk without boiling.
- Slowly pour the warm milk mixture into the egg yolk and pumpkin mixture, stirring continuously. This step is essential for tempering the eggs, preventing them from scrambling and ensuring a silky-smooth filling.
- In a clean bowl, beat the egg whites until they are fluffy and hold soft peaks. Gently fold these beaten egg whites into the pumpkin mixture until they are fully incorporated. The egg whites add a subtle lightness and delicate texture to the final pie.
- Divide the prepared filling evenly between your two chilled pie crusts. To prevent the edges of the crust from over-browning, carefully tent the pies with aluminum foil.
- Bake the pies in the preheated oven for 5 minutes at 425 degrees Fahrenheit (220 degrees Celsius) with the foil tent in place. After 5 minutes, carefully remove the foil, reduce the oven temperature to 350 degrees Fahrenheit (175 degrees Celsius), and continue baking for an additional 55-60 minutes, or until the center of the pie no longer jiggles when gently shaken.
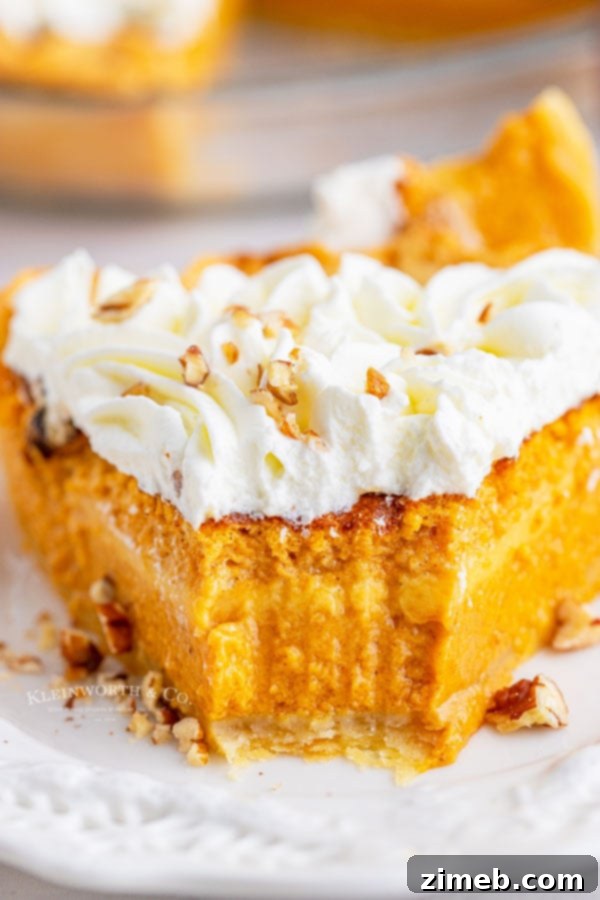
- Once baked, remove the pies from the oven and let them cool on a wire rack for about 5 minutes. If you are not planning to add whipped cream, you can sprinkle the tops of the pies with chopped nuts at this stage.
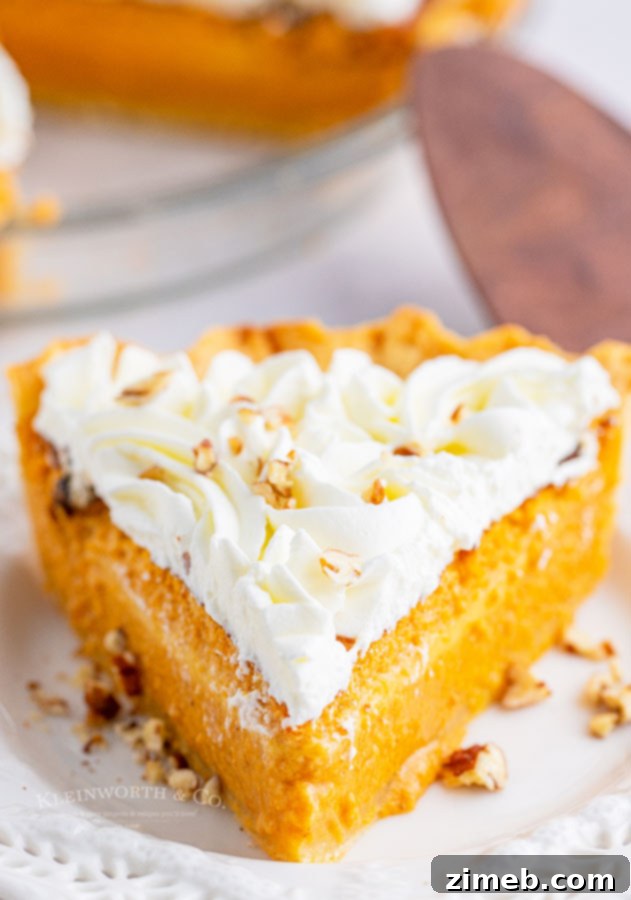
- Allow the pies to cool completely to room temperature before slicing and serving. This cooling period is vital for the filling to fully set. Once cooled, generously top with fresh whipped cream and an extra sprinkle of nuts, then serve and enjoy!
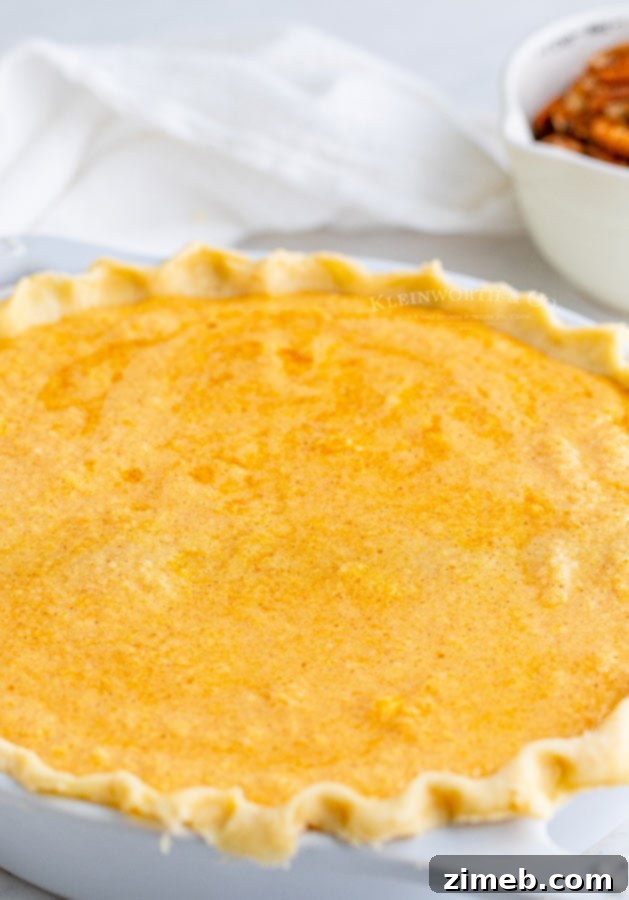
To make the Pumpkin Pie Filling you will need…
- Eggs – with yolks separated for specific steps
- Granulated sugar – for sweetness and balance
- Pumpkin puree – pure pumpkin, not pie filling (a critical distinction!)
- Cinnamon – a generous, heaping amount for warmth
- Ginger – for that classic pumpkin pie spice kick
- Evaporated milk – contributes to the rich, creamy texture
- Chopped Nuts – for an optional, delightful topping
- Whipped Cream – the perfect accompaniment (see recipe below for homemade)
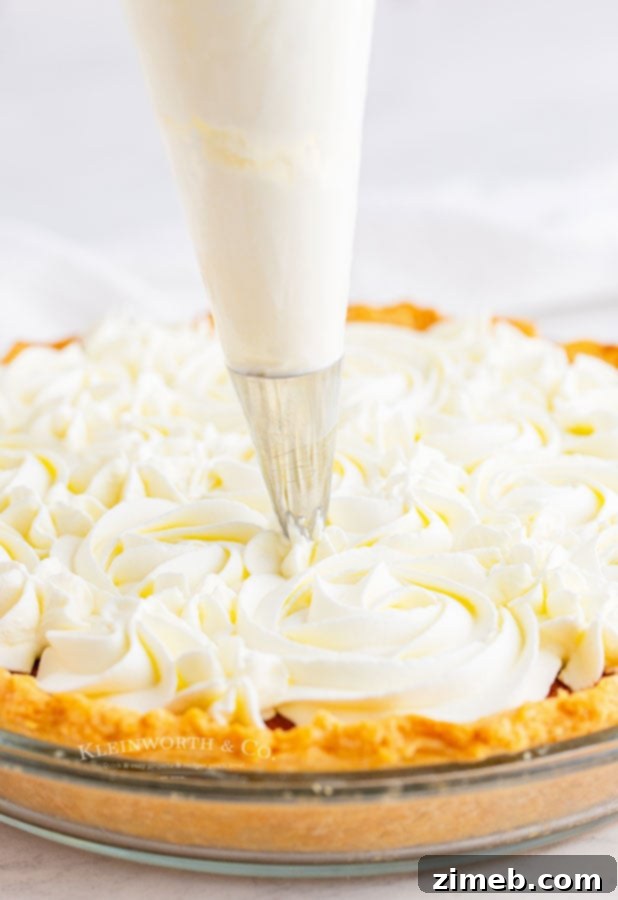
How do you make fantastic Homemade Whipped Cream?
The crowning glory of any pumpkin pie is a cloud of perfectly whipped cream. Making it from scratch is incredibly simple and yields a far superior taste and texture compared to store-bought varieties. Here’s how to achieve stiff, delicious peaks:
- For the best results, start with a thoroughly chilled mixing bowl and whisk attachment (if using a stand mixer). Place them in the freezer for a minimum of 30 minutes before you begin making the whipped cream. This cold environment helps the cream whip up faster and hold its volume better.
- Once your bowl is sufficiently chilled, remove it from the freezer. Pour in the cold heavy cream, confectioner’s sugar, and vanilla extract.
- Using an electric mixer, whisk on high speed for approximately 1 minute, or until stiff peaks begin to form. Watch carefully, as over-mixing can quickly turn whipped cream into butter! You want peaks that stand up firmly when the whisk is lifted.
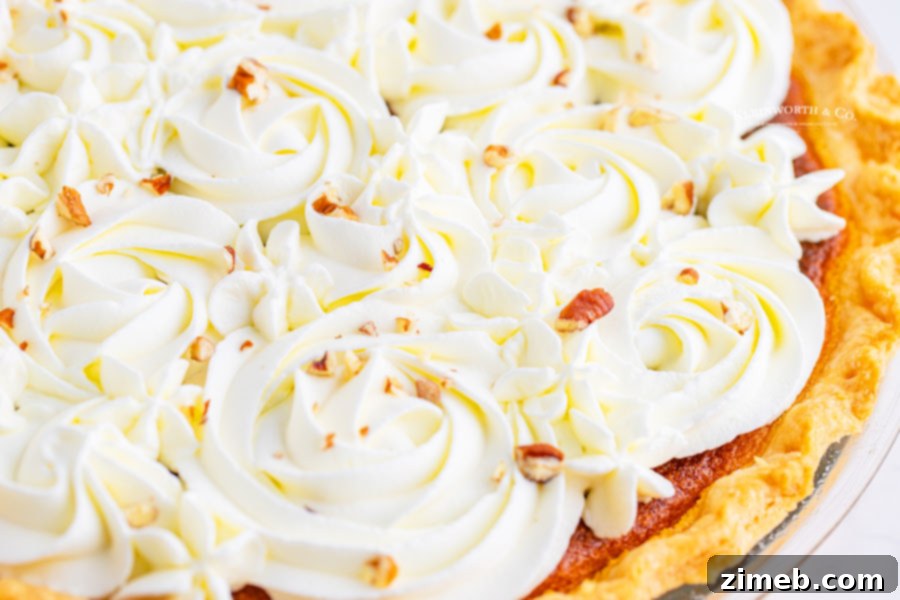
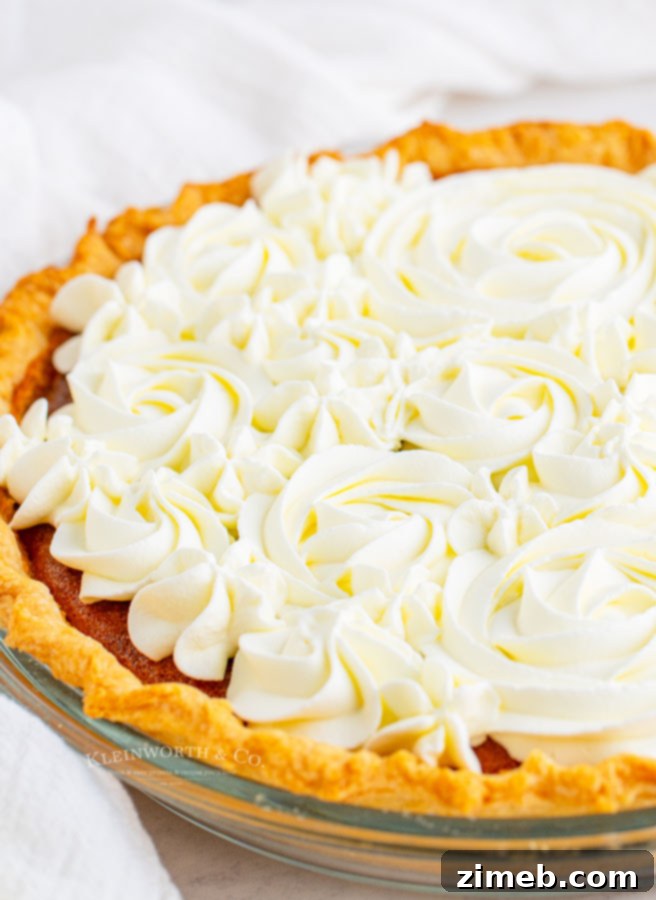
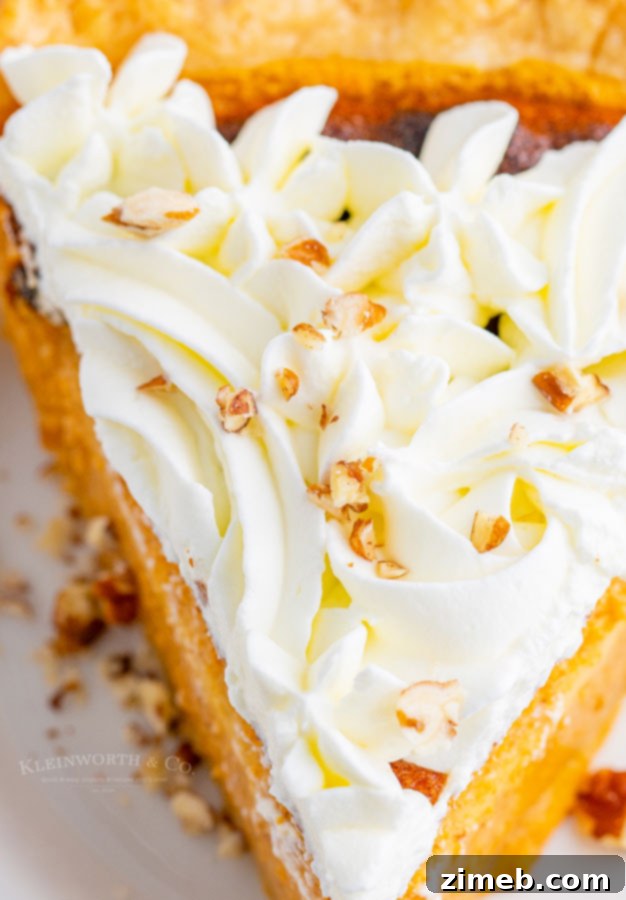
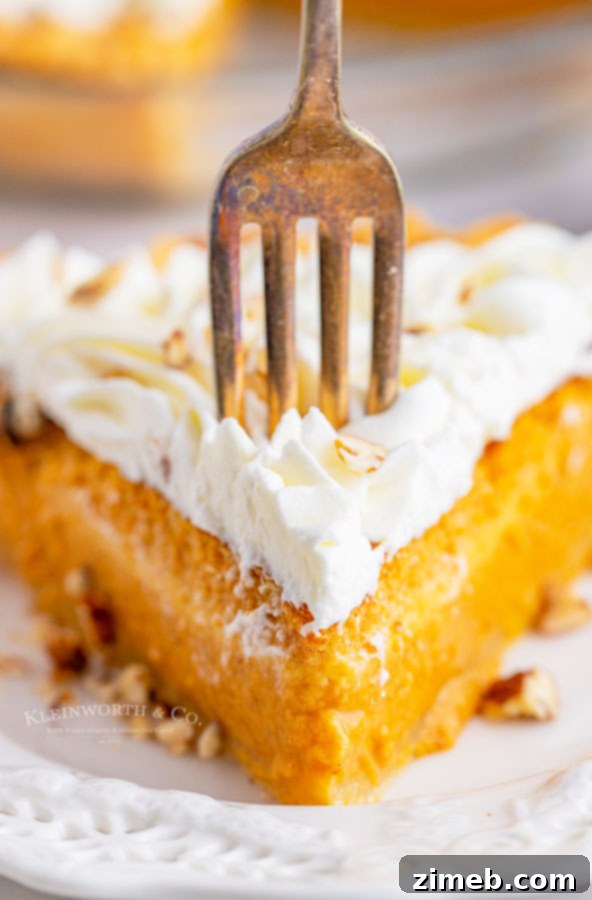
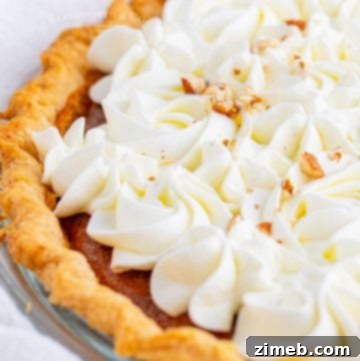
- For elegant presentation, gently transfer the freshly whipped cream to a piping bag fitted with a large open star tip. Pipe the cream into your desired decorative pattern on top of the cooled pumpkin pie.
- Finish by sprinkling the top of your beautifully decorated pie with a scattering of chopped pecans for added crunch and flavor.
- **Note:** If you desire a more stable whipped cream that will hold its shape longer and be less prone to deflating, especially if you plan to store the decorated pie, add 1/4 teaspoon of cream of tartar to the heavy cream along with the confectioner’s sugar and vanilla before whisking. This acts as a natural stabilizer.
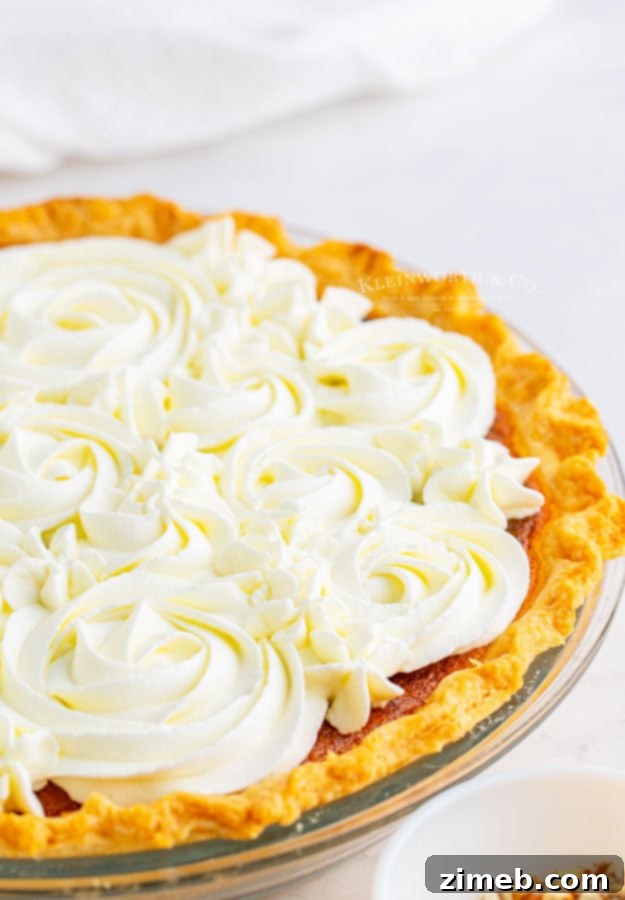
To make Homemade Whipped Cream you will need…
- Cold heavy whipping cream – the colder, the better!
- Confectioner’s sugar – for sweetness and texture
- Vanilla extract – adds essential flavor
Classic Pumpkin Pie: An Enduring Delight
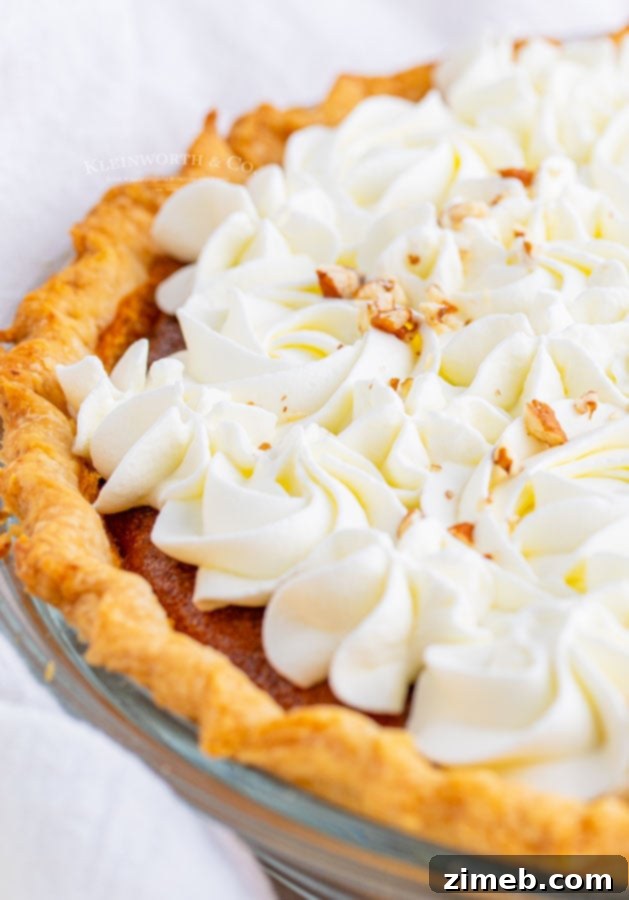
Can I use canned whipped cream instead of homemade?
Absolutely, you can! Using canned whipped cream (the squirt-top variety) is a perfectly acceptable and convenient alternative, especially if you’re short on time or prefer not to make it from scratch. It will certainly work just fine and still provide that lovely creamy contrast to the pumpkin filling.
However, it’s worth noting that canned whipped cream typically lacks the stabilizers found in homemade versions (or homemade with cream of tartar). This means it won’t hold its piped shape or fluffy appearance for an extended period once dispensed. If presentation is key and the pie will sit out for a while, be prepared for it to soften and potentially deflate. For optimal appearance, add canned whipped cream just before serving.
Can this delicious pumpkin pie be frozen?
Yes, absolutely! Freezing pumpkin pie is a fantastic way to prepare ahead for holidays or simply to save an extra pie for later enjoyment. To freeze this pumpkin pie effectively, ensure it is completely cooled to room temperature first. Then, wrap it tightly with several layers of plastic wrap, making sure every surface is covered. If you plan to add whipped cream later, do not add it before freezing, as it will not thaw well.
For added protection against freezer burn, you can then wrap the plastic-covered pie in a layer of aluminum foil. Properly wrapped, this pie can be stored in the freezer for up to 6 months. When you’re ready to enjoy it, simply thaw it overnight in the refrigerator, then add fresh whipped cream and serve.
Can I use whipped topping (like Cool Whip) instead of homemade whipped cream?
You most certainly can, and it’s an incredibly easy option that delivers a consistently good result! Whipped topping, such as Cool Whip, is a fantastic shortcut for decorating your pumpkin pie. Simply thaw the tub of whipped topping in your refrigerator according to package directions, then transfer it to a piping bag if you wish to create a decorative design.
If you prefer a simpler approach, you can also just add a generous dollop directly onto the top of the pie and spread it artfully with a spoon or spatula. This creates a beautiful, rustic “whipped” effect without the need for intricate piping, making your pie both stunning and stress-free.
Why do I need pumpkin puree instead of pie filling? The Key Distinction.
This distinction is absolutely crucial and one of the most vital tips when preparing pumpkin-based recipes, especially this classic pumpkin pie. Always pay very close attention to whether a recipe specifically calls for “pumpkin puree” or “pumpkin pie filling,” as they are not interchangeable and using the wrong one will significantly alter your dish.
**Pumpkin puree** is simply cooked, mashed, and pureed pumpkin. It contains only pumpkin, with no added ingredients, sugars, or spices. It’s the pure, unadulterated essence of pumpkin, allowing you complete control over the flavor profile of your recipe.
Conversely, **pumpkin pie filling** is a pre-mixed product. It already contains pumpkin puree blended with various sweeteners (like sugar or corn syrup) and a medley of spices (such as cinnamon, ginger, nutmeg, and cloves). If you were to use pumpkin pie filling in a recipe that calls for puree, you would be essentially double-dosing on sugar and spices, leading to an overly sweet and intensely spiced result that often disrupts the delicate balance of the original recipe.
Therefore, it’s paramount to use pumpkin puree for this recipe to ensure the classic, balanced flavor and the desired creamy consistency that my great-grandmother perfected. They are truly not interchangeable for most recipes that utilize pumpkin as a base ingredient.
The Ultimate Pumpkin Pie Experience
Essential products I love when making homemade pumpkin pie…
This pumpkin pie recipe is not only incredibly easy to follow but also consistently delivers a delicious result. If you’re like me during this time of year, you probably already have many of these staple ingredients on hand. However, if you’re new to the world of homemade pie baking, or perhaps feeling a tad nervous about embarking on this culinary adventure, rest assured – you are going to absolutely love the process and the outcome! I’ve curated a list below of the indispensable tools and ingredients that I simply cannot live without when crafting this heavenly pumpkin pie.
- All-purpose flour: The foundation of a perfect crust.
- Granulated sugar: For just the right amount of sweetness in the filling and crust.
- Salt: A flavor enhancer that brings out the best in all ingredients.
- Pumpkin puree: Crucial for the authentic pumpkin flavor and creamy texture.
- Cinnamon: The leading spice, bringing warmth and classic autumn aroma.
- Ginger: Adds a subtle spicy kick that complements the pumpkin perfectly.
- Evaporated milk: Essential for the filling’s signature richness and creaminess.
- Chopped nuts: Ideal for topping, adding texture and nutty flavor.
- Confectioner’s sugar: For light and fluffy whipped cream.
- Vanilla extract: A touch of warmth and sweetness for the whipped cream.
- Mixer: Handheld or stand mixer for whipping cream and combining ingredients.
- Rolling pin: Essential for achieving an even, flaky pie crust.
- Large mixing bowl: For combining ingredients without a mess.
- Pastry cutter: The ideal tool for incorporating butter into flour for a perfect crust.
- Pie plates: Two 9-inch pie plates are needed for this recipe.
- Piping bag: For decorative whipped cream topping.
- Open star tip: To create beautiful rosettes or swirls with your whipped cream.
If you adore this **pumpkin pie recipe**, you’re sure to fall in love with these other delightful treats too. Please click each link below to discover easy, printable recipes that are perfect for any occasion!
Check out this recipe
Check out this recipe
Check out this recipe

Check out this recipe

Check out this recipe

Check out this recipe
Check out this recipe
If you adore this recipe for The Best Pumpkin Pie as much as I do, please take a moment to write a five-star review. Your feedback means the world, and don’t forget to help me share this delightful creation on Facebook and Pinterest so more people can experience its magic!
CONNECT WITH YUMMI HAUS!
Be sure to follow me on my social media, so you never miss a post!
Substack, FB, Pinterest, IG, Email Subscription

Rate this Recipe
Best Pumpkin Pie
Ingredients
Crust
- 2 ½ cups all-purpose flour
- 1 cup cold butter 2 sticks – cut into cubes
- 1 tsp granulated sugar
- ½ tsp salt
- ½ cup of ice water
Pie Filling
- 3 eggs – yolks separated
- 1 ½ cups granulated sugar
- 15 ounces pumpkin puree not pie filling
- 1 ½ tsp cinnamon – heaping
- ¼ tsp ginger
- 24 ounces evaporated milk
- Chopped Nuts – topping
- Whipped Cream – topping see recipe below
Homemade Whipped Cream
- 1 cup cold heavy whipping cream
- 2 tbsp confectioner’s sugar
- ½ tsp vanilla
Instructions
Crust
-
Combine flour, butter, sugar, and salt in a large bowl.
-
Using a pastry cutter, start working the butter into the dry ingredients until it looks like crumbles. (You can also use 2 butter knives & cross them through the ingredients to combine OR use a food processor & pulse until the mixture has crumbled.)
-
Once you have reached a crumbly texture add the water.
-
Work it together with your hands pressing & lightly kneading it together until you have a moist ball of dough that holds together well.
-
Place the dough on a well-floured surface. Divide the dough in half for 2 crusts.
-
Flour your rolling pin & start working from the center pushing outward in all directions.
-
Once you have stretched the dough large enough to fill your pie plate carefully transfer it to your plate.
-
Repeat with second crust.
-
Trim any excess dough that hangs over the edge of the pie plate.
-
Flute your edges by crimping between your fingers and pinching the dough every ½ inch or so.
Pie Filling
-
Preheat the oven to 425 degrees.
-
Beat the egg yolks in a large bowl.
-
Add in half of the sugar as well as the pumpkin, cinnamon, and ginger. Mix well.
-
Combine the remaining sugar with the evaporated milk and heat to lukewarm. (Grandma did this on the stovetop over med heat – but you can also do it in the microwave in 30-second increments)
-
Pour into the egg yolk mixture and stir.
-
Beat egg whites until fluffy. Fold gently into the pumpkin mixture until fully incorporated.
-
Divide evenly between the prepared pie crusts. Tent the pies with foil.
-
Bake for 5 minutes at 425 with the pies tented with foil, then remove the foil and reduce the heat to 350 degrees and bake an additional 55-60 minutes, or until the center no longer jiggles.
-
Remove and let cool for 5 minutes, then sprinkle the tops of the pies with the chopped nuts if not adding whipped cream.
-
Once the pies have cooled completely, top with whipped cream, sprinkle with nuts and serve.
Fresh Whipped Cream
-
Place the mixing bowl in the freezer for a minimum of 30 minutes to chill before making the whipped cream.
-
Once the bowl is chilled, remove it and pour in the heavy cream, confectioner’s sugar, and vanilla.
-
Whisk on high speed for about 1 minute or until stiff peaks form – taking care to not over mix.
-
Gently transfer the whipped cream to a piping bag fitted with a large open star top and pipe it into the desired pattern.
-
Sprinkle the top of the decorated pie with chopped pecans.
Notes
Nutritional information for the recipe is provided as a courtesy and is approximate. Please double-check with your own dietary calculator for the best accuracy. We at Yummi Haus cannot guarantee the accuracy of the nutritional information given for any recipe on this site.