
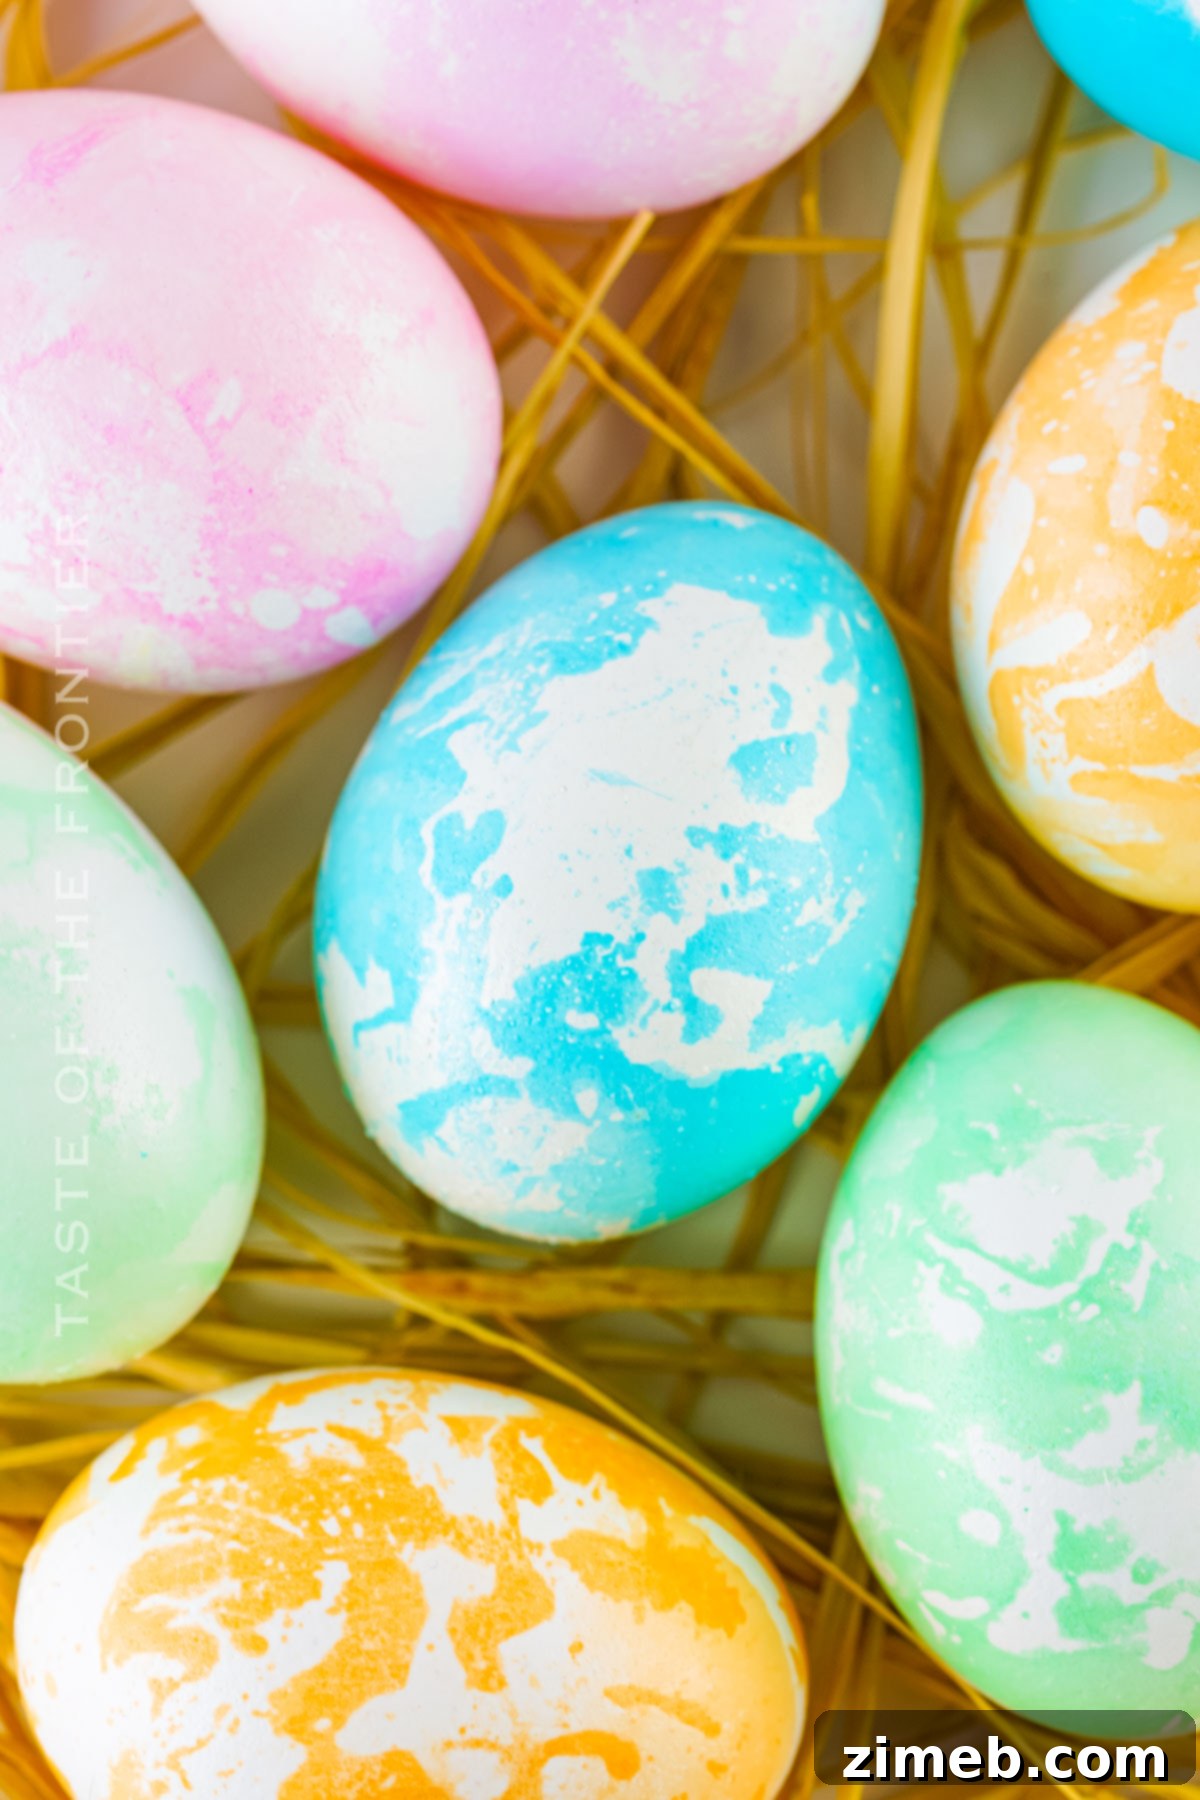
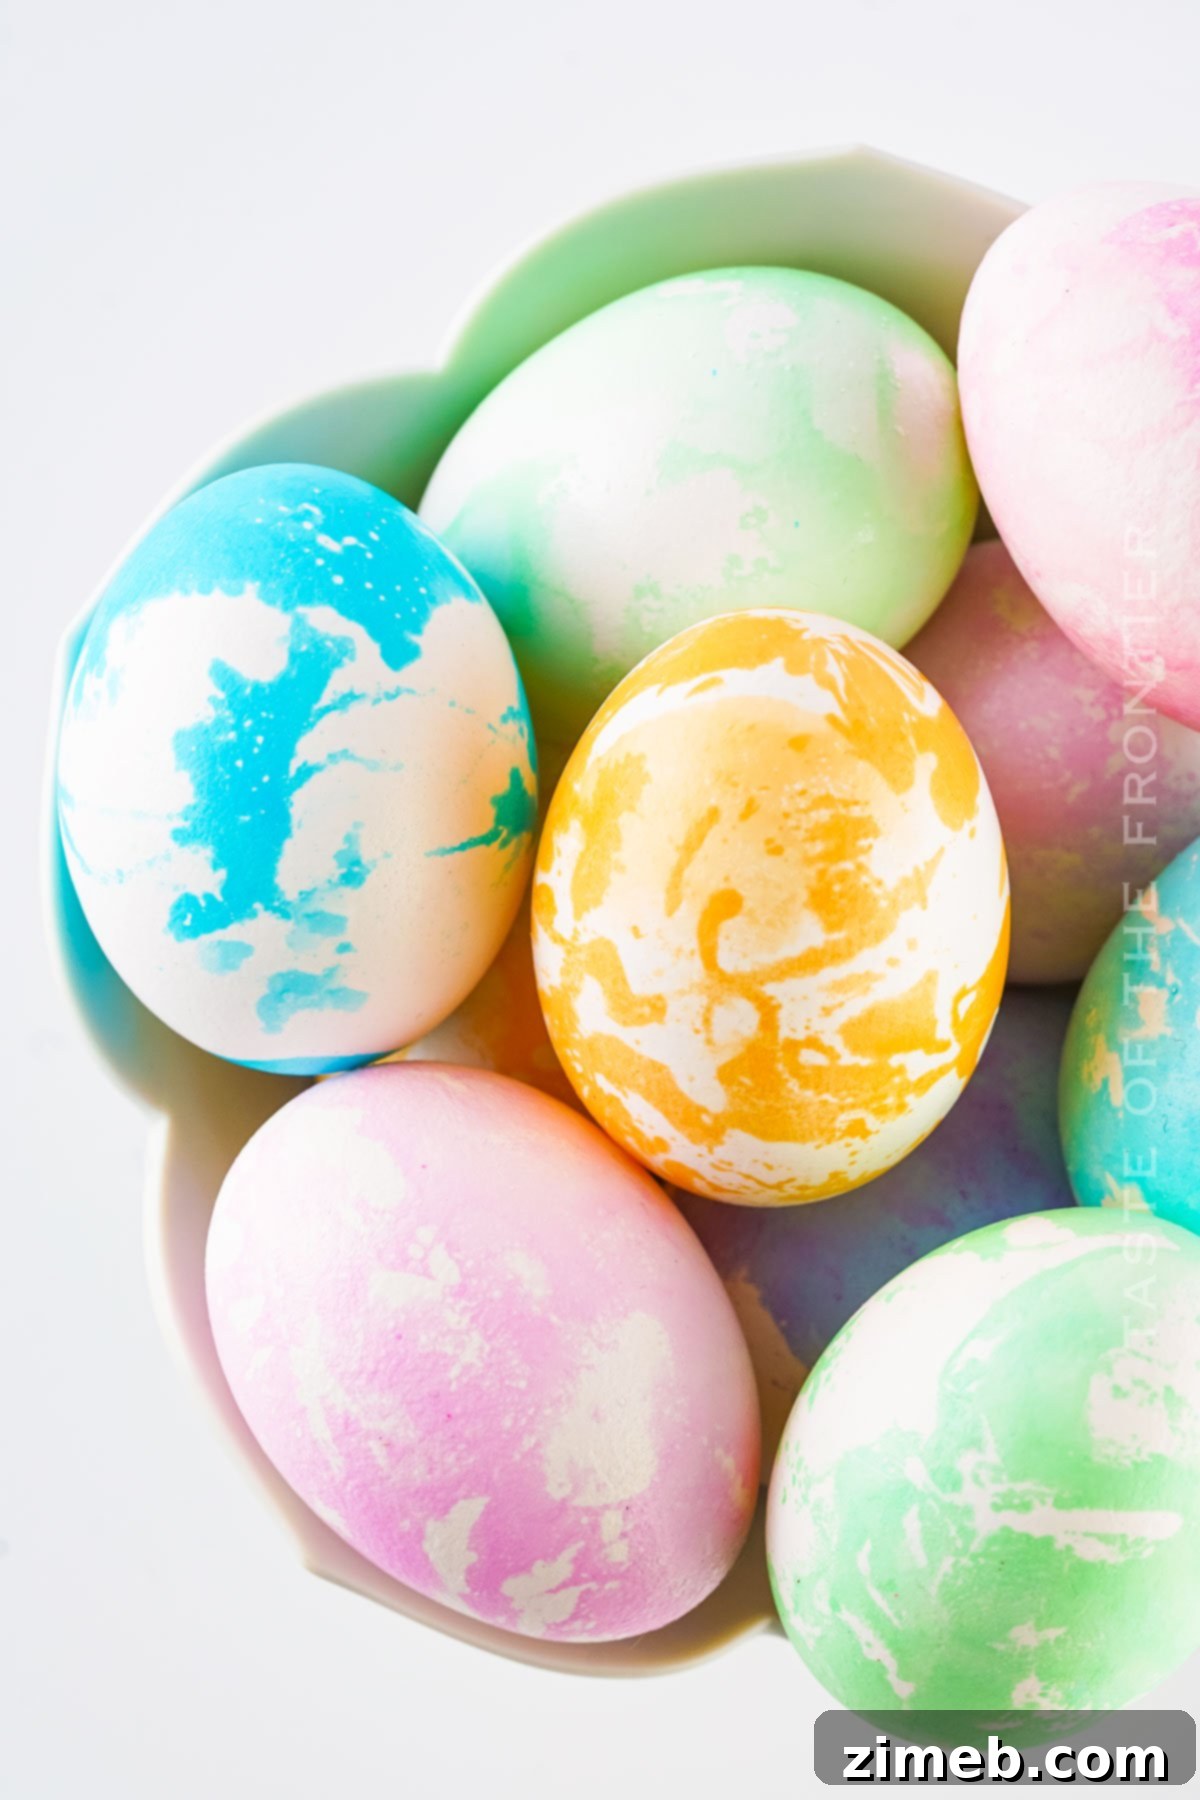
Elevate your Easter egg game with our stunning Marble Eggs, transforming ordinary shells into works of art. These eye-catching creations are perfect as a festive centerpiece or a delightful addition to any Easter egg hunt, bringing a unique flair to your holiday celebrations.
Easter is much more than just the thrill of egg hunts and the sweet delight of chocolate bunnies; it’s a wonderful opportunity to ignite your creativity and unleash your inner artist. This year, why not try crafting magnificent Marble Eggs? Imagine taking simple hard-boiled eggs and turning them into mesmerizing pieces, each one a unique canvas of swirling colors that beautifully mimics the intricate patterns of precious marble. This engaging Easter craft isn’t merely a fun way to celebrate; it’s an activity that weaves lasting memories, sparks smiles, and adds an unforgettable touch of artistic elegance to your holiday gathering.
The beauty of making Marble Eggs lies in its simplicity and accessibility. You don’t need specialized art supplies; just common household items like cooking oil, vibrant food dye, and a dash of vinegar are enough to transform plain eggs into dazzling, marbled wonders. These handcrafted beauties are guaranteed to be a conversation starter at your Easter dinner, captivating guests with their intricate designs and brilliant hues. Whether you’re aiming to revitalize your traditional Easter egg decorating ideas, searching for a special accent for your festive table, or simply looking for an enjoyable, hands-on activity, these marbled masterpieces are sure to impress and create a truly memorable Easter experience for everyone involved.
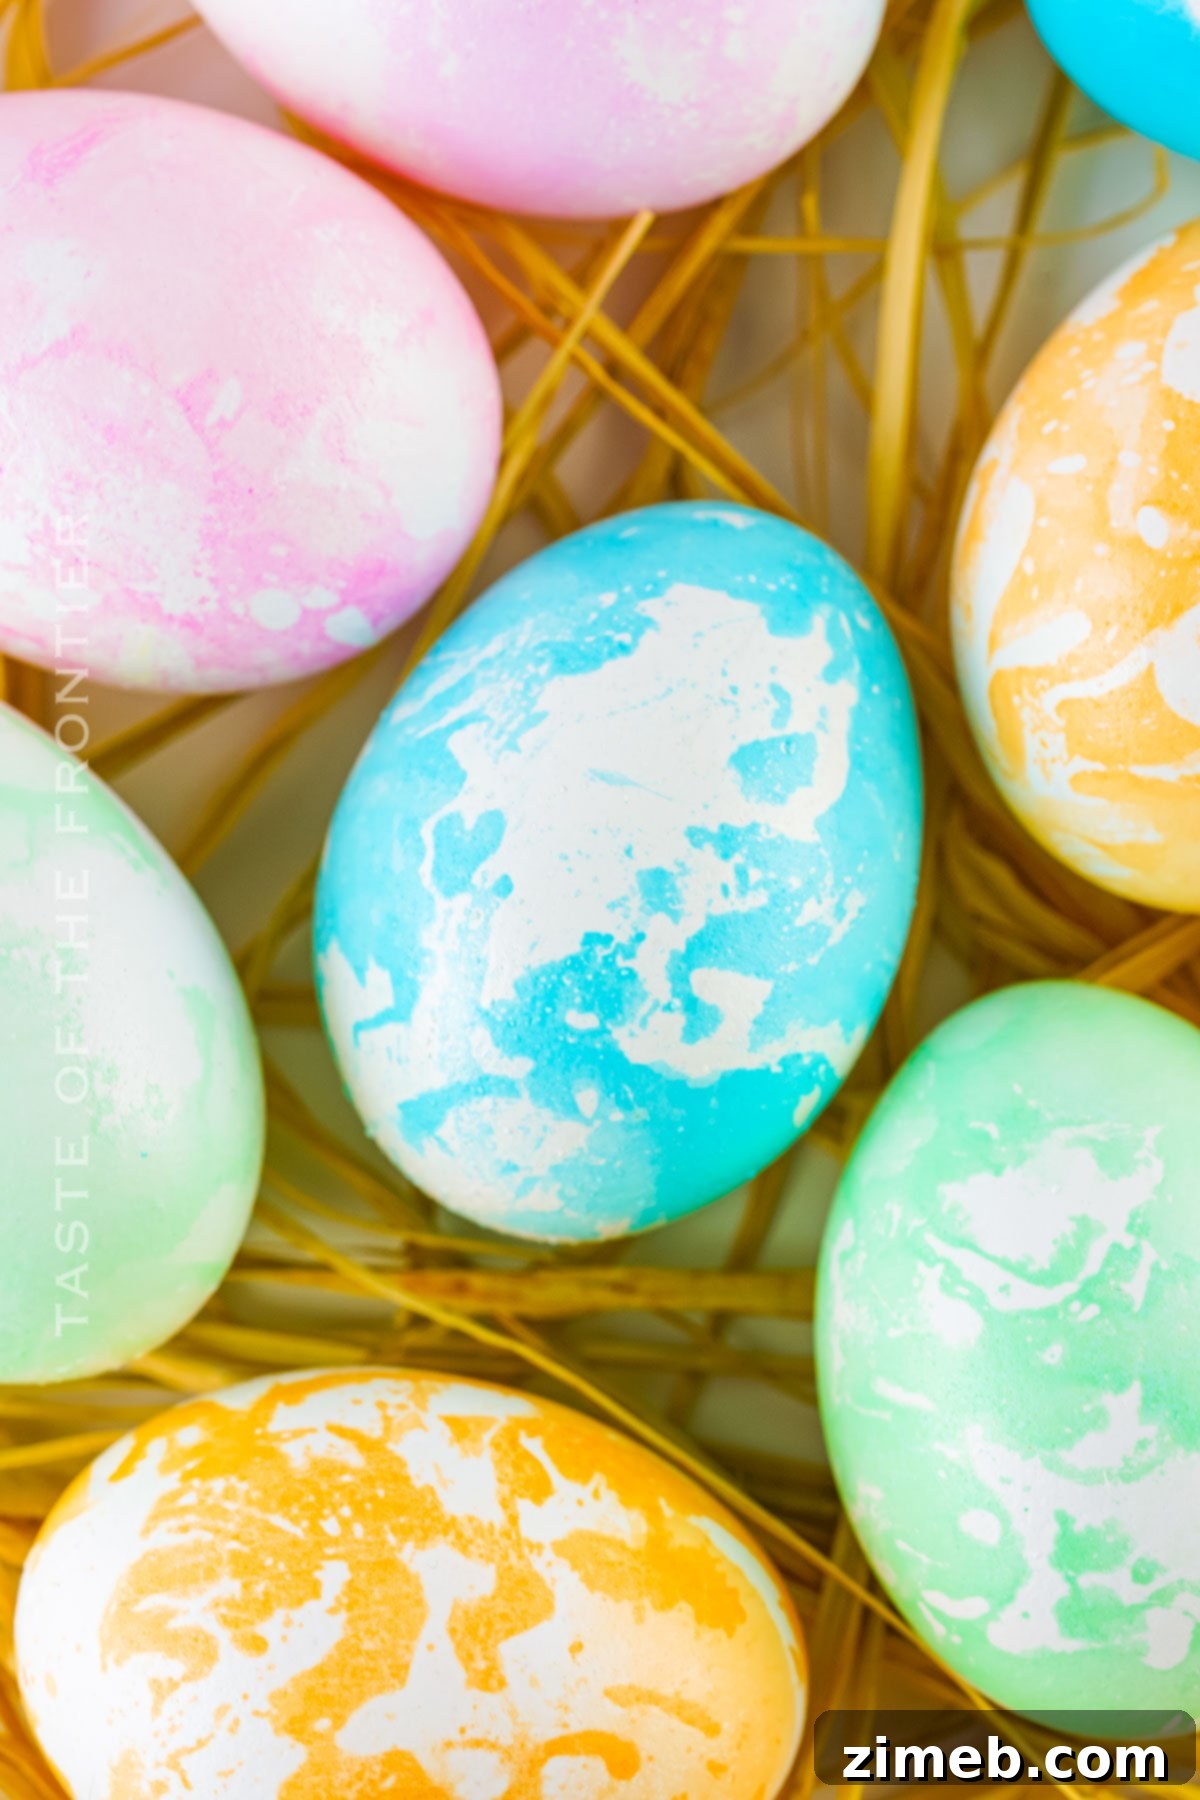
Why You Should Make Marble Easter Eggs This Year
Creating DIY Marble Easter Eggs offers a delightful blend of creativity, simplicity, and family fun, making it an ideal activity for your holiday preparations. Unlike conventional egg dyeing methods, the oil and water technique results in truly unique patterns on every egg, ensuring no two are exactly alike. This innovative approach brings a modern and sophisticated twist to the classic tradition of Easter egg decorating. It’s also incredibly accessible, requiring minimal and inexpensive supplies that you likely already have in your pantry.
Beyond their aesthetic appeal, making marble eggs is a fantastic way to engage all ages. Children will love watching the colors swirl and transform ordinary eggs into magical designs, fostering a sense of wonder and accomplishment. For adults, it’s a relaxing and rewarding craft that allows for artistic expression without the need for extensive skills. These eggs aren’t just for looking at; they can be used in Easter egg hunts, as charming gifts, or as stunning table décor, adding a personalized touch to your celebration. Opting for food-safe dyes means these beautifully decorated eggs are also perfectly edible, making them a dual-purpose delight for both decoration and enjoyment.
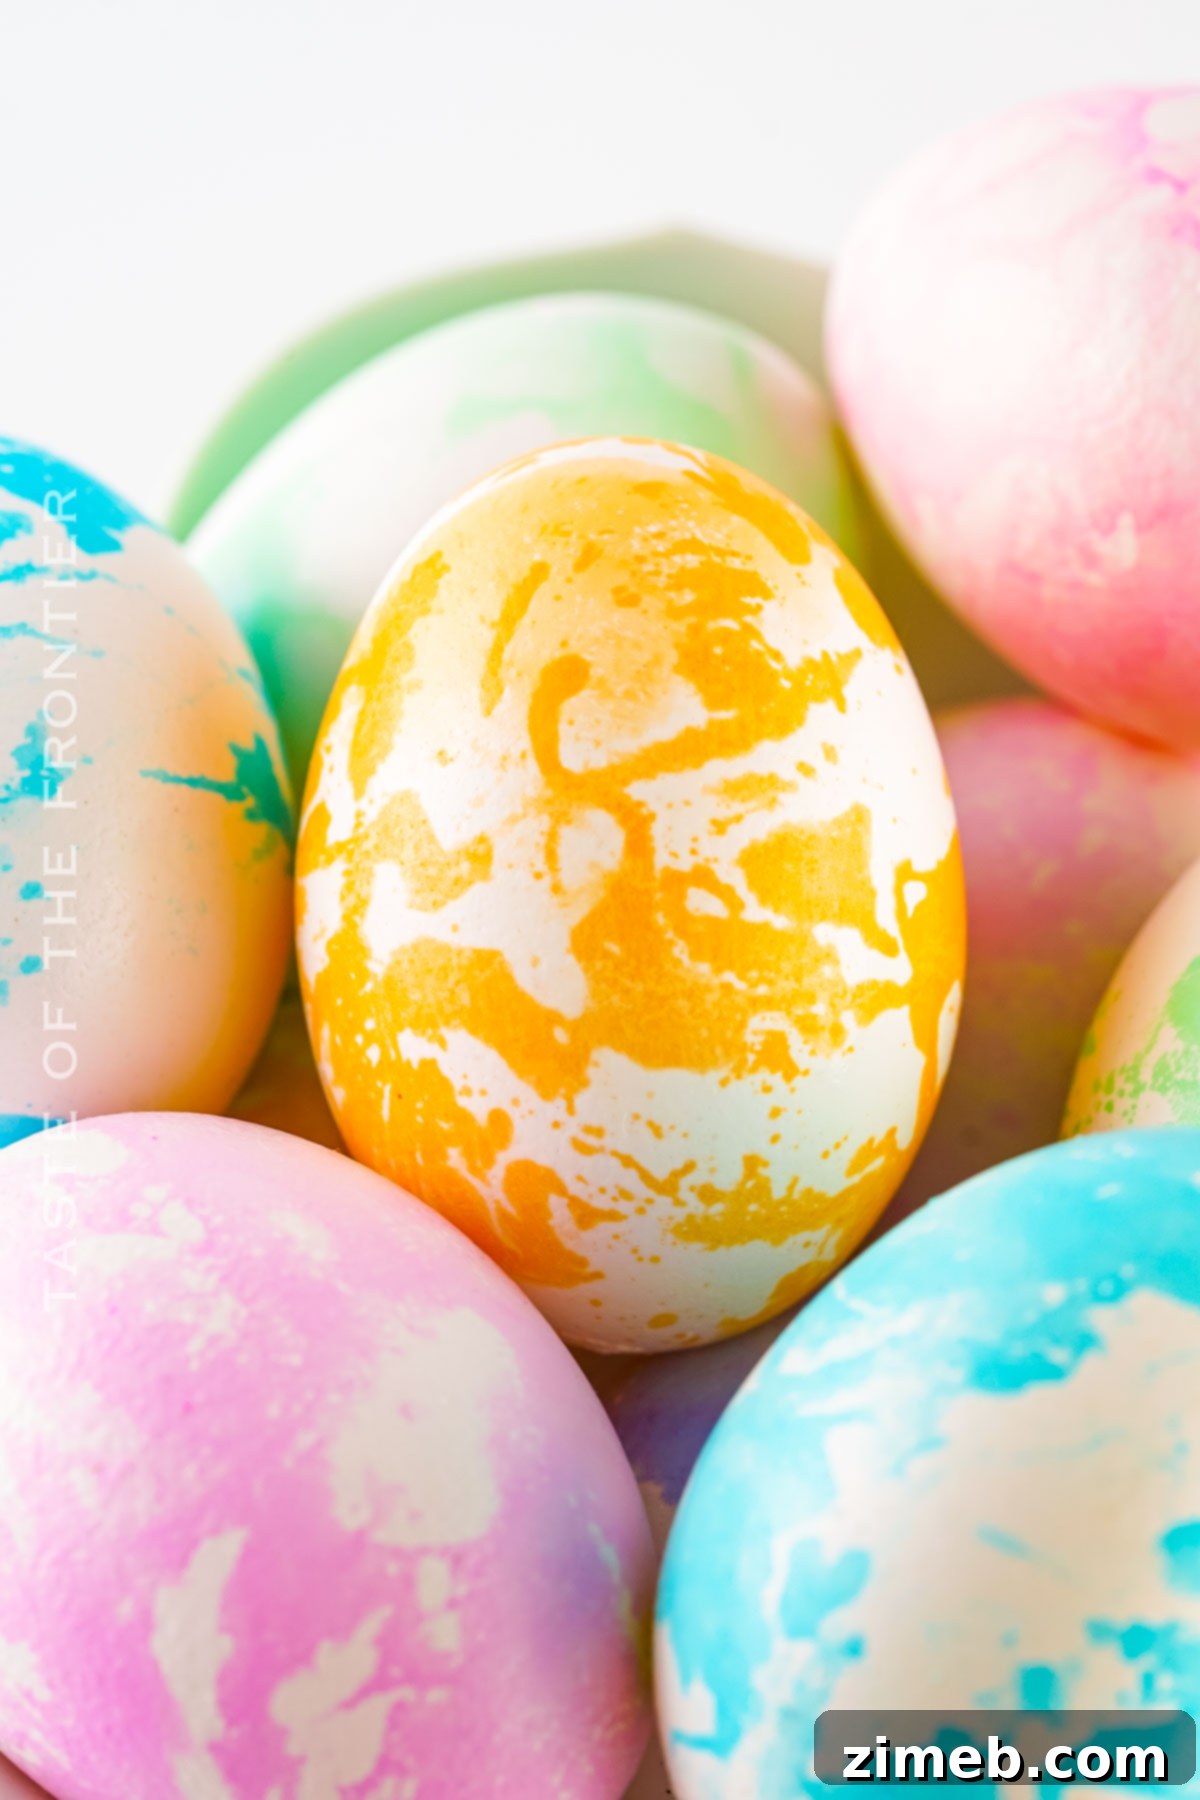
Common Questions About Creating Marble Eggs
Can Marble Eggs be made with white and brown eggs?
Absolutely! Both white and brown eggs, including fresh farm eggs, are excellent candidates for marbling. The shell color simply influences the final outcome. White eggs tend to showcase the vibrant food dye colors with maximum intensity, resulting in a bright and bold marble effect. Brown eggs, on the other hand, produce a more subtle, earthy, and sophisticated marble pattern. The darker background provides a unique canvas, creating a beautiful contrast with the dye. Experiment with both to see which aesthetic you prefer for your dyed eggs!
What’s the best way to dry the eggs without ruining the marble pattern?
Drying is a critical step to preserve the delicate marble patterns you’ve created. After gently removing the egg from the dye bath, avoid rubbing. Instead, carefully pat the eggs dry with a clean paper towel. The goal is to absorb excess moisture and oil without smudging the still-setting dye. Once patted, the best method is to let them air dry completely. Place them on a wire rack, allowing air to circulate around all sides, or return them to an empty egg carton. This prevents any further contact that could distort the intricate designs, ensuring your vibrant Easter eggs maintain their pristine marbled finish.
How long does the dyeing process take?
The actual dyeing of each egg is surprisingly quick, making this a fast and satisfying craft. Each egg only needs a few seconds of immersion in the dye mixture for the oil and color to transfer and create the beautiful marble patterns. The magic truly happens almost instantly! However, it’s essential to factor in drying time after the dyeing. While the initial dye transfer is rapid, allowing your eggs to rest and fully dry ensures the colors set properly and the patterns are preserved. This drying period, typically around 5-10 minutes per batch, is crucial for achieving that perfect, long-lasting condition for your stunning vintage marble eggs.
Are Marble Eggs edible?
Yes, if you use food-safe dyes and the eggs are hard-boiled correctly, your marble eggs are absolutely edible! The ingredients used – food coloring, vinegar, and cooking oil – are all safe for consumption. Just be sure to handle the eggs with clean hands or gloves throughout the decorating process, and store them properly in the refrigerator if you plan to eat them. They make a fun and colorful addition to any Easter brunch or snack.
What kind of oil is best for marbling?
For marbling eggs, almost any neutral-flavored cooking oil will work beautifully. Common choices include vegetable oil, canola oil, avocado oil, or light olive oil. The key is that the oil creates a barrier on the water’s surface, allowing the food dye to sit on top and create those distinct swirling patterns. We’ve found through testing that there’s no significant difference in the marbling effect between these types of oils, so feel free to use whichever you have on hand. Just ensure it’s a liquid oil for the best results.
Storage for Your Marbled Masterpieces
Everyone adores a beautifully colored egg during Easter, whether for decoration or consumption. The good news is, storing your homemade Easter egg decorations is simple, especially if they are hard-boiled.
Refrigerator Storage
To keep your marvelously marbled eggs fresh and safe to eat, store them promptly in the refrigerator. Placed in an egg carton or an airtight container, they will remain delicious for up to one week. This is ideal if you plan to enjoy them as part of your Easter meals or snacks.
Freezer Storage
It’s generally not recommended to freeze hard-boiled eggs, including your Marble Eggs. Freezing can significantly alter the texture of hard-boiled eggs, making the whites rubbery and the yolks crumbly upon thawing. For the best quality and enjoyment, stick to refrigeration for storage.
Expert Tips for Perfect Marble Eggs
Achieving those stunning, intricate marble patterns is easier than you think, especially with a few insider tricks. We’ve honed this process through extensive experimentation to ensure you get fantastic results every time. Rest assured, we’re only using food-safe dyes and common kitchen items – no harmful chemicals here, just pure, creative fun!
- Create Mesmerizing Swirls: Use a fork or spoon to gently stir the oil and dye mixture in your plastic cereal bowls. This action is crucial for creating those beautiful, mesmerizing oil swirls on the surface of the water, which will then transfer to your eggs as unique marble patterns. Avoid over-mixing; you want distinct oil pockets.
- Vinegar for Vibrant Colors: A few drops of vinegar in each dye bath serve a dual purpose. It not only helps the food colors adhere better to the eggshells, resulting in more vibrant and long-lasting hues, but also creates the ideal acidic environment for the dye to set effectively, enhancing the overall effect of your colorful Easter eggs.
- Customize Color Intensity: To achieve a range of shades and intensities, vary the amount of food dye you add to the top of the water. For lighter, pastel colors or more subtle patterns, start with 10 drops. If you desire bolder, more vibrant hues and striking patterns, increase the dye to 20 drops. Experimentation is key to finding your preferred look.
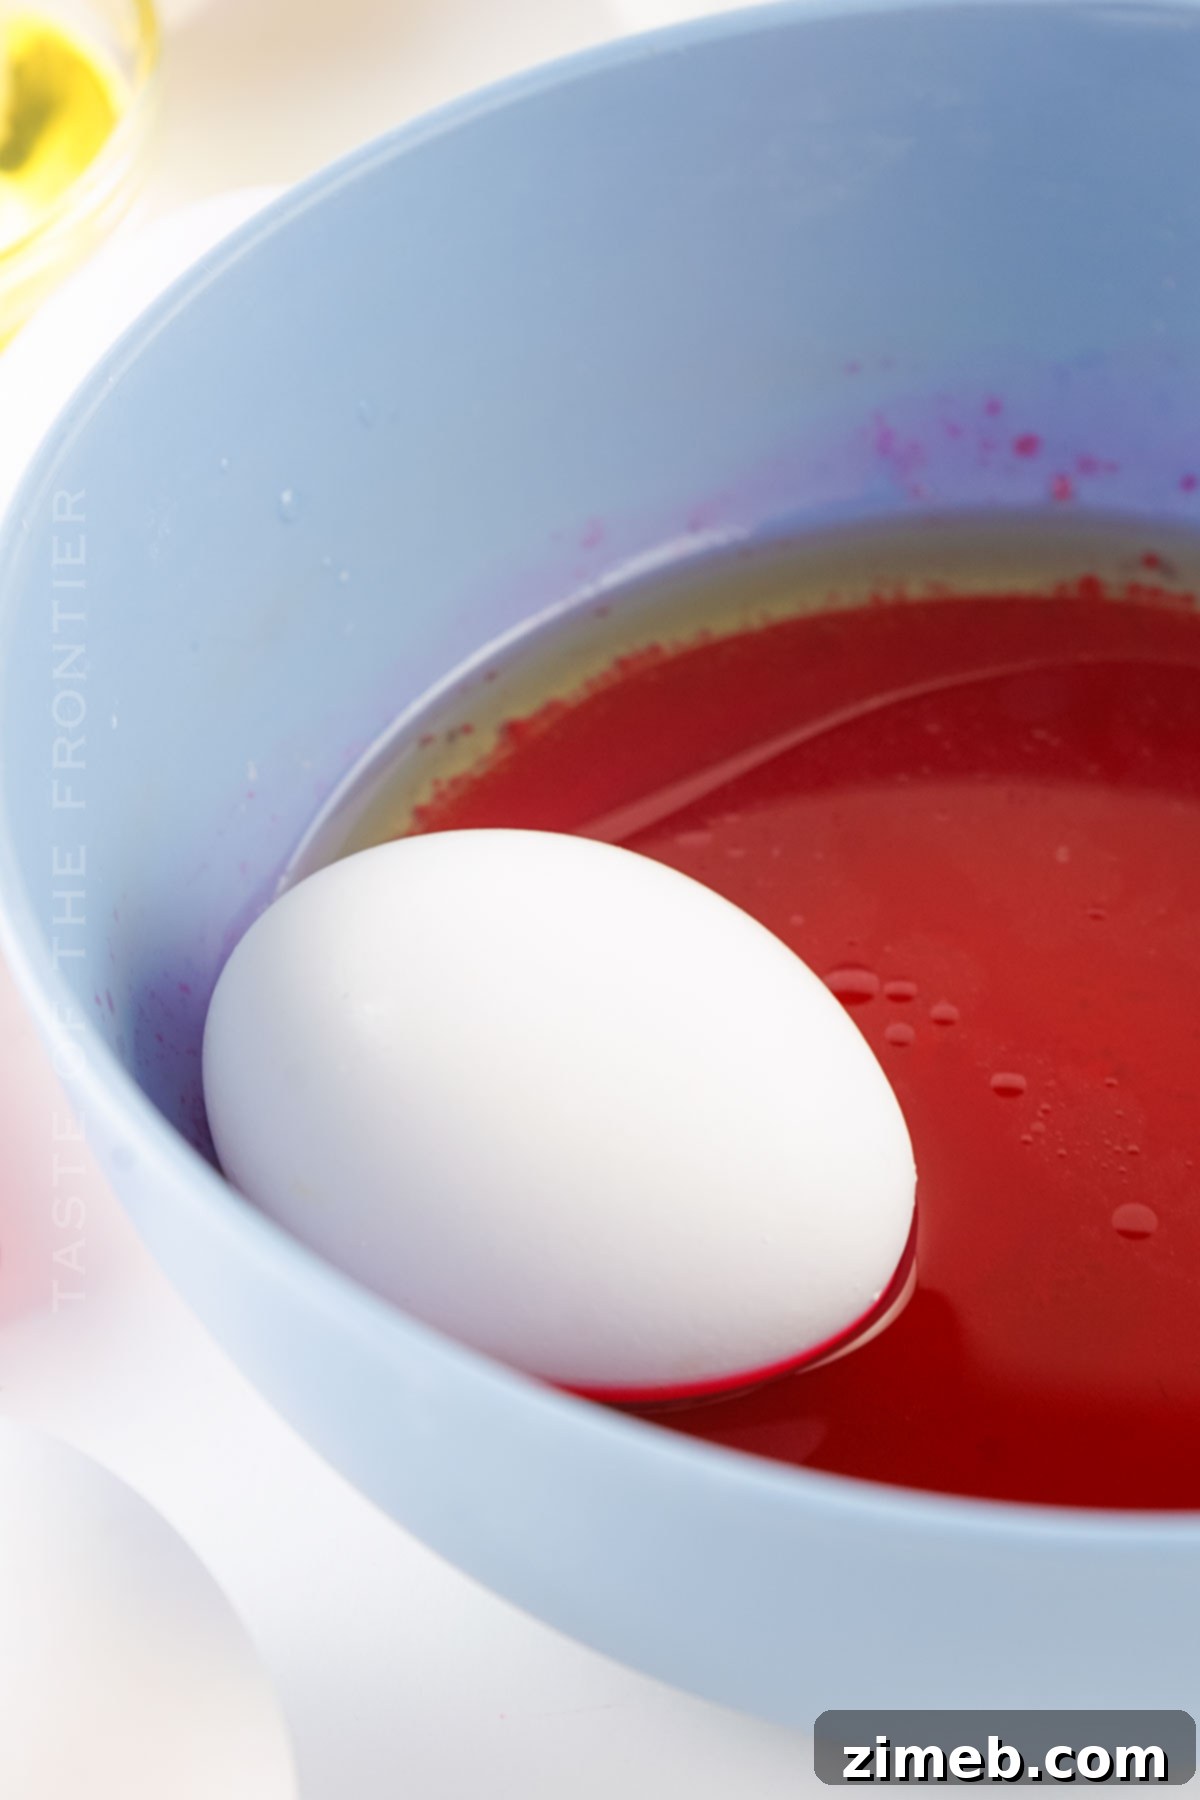
- Partial Immersion for Unique Patterns: Ensure the boiling water in your bowls or egg cups is only deep enough to cover about a third of the egg when it’s placed in the mixture. This partial immersion is essential for achieving that distinct, unique marbled look. Submerging the entire egg will likely result in a uniformly dyed egg rather than one with intricate swirls, defeating the purpose of a tie-dyed effect.
- Perfectly Cooked Eggs are Key: Before you even begin coloring, make sure your eggs are perfectly hard-boiled. Nobody enjoys chalky egg yolks! Cook them just right for a firm but creamy texture. Overcooked eggs can also be more prone to cracking during the dyeing process.
- Handle with Care: Be mindful of cracked eggs. While they are still edible, any cracks will allow the dye to bleed into the egg white, changing its color. For purely aesthetic eggs, choose uncracked ones. For consumption, cracked eggs are fine, but expect colorful whites!
- The Power of the Quick Dip: The marbling effect is created by the oil resisting the dye. The moment the egg touches the swirled oil and dye, it starts to transfer. A super fast roll and immediate removal are vital. Lingering in the dye will lead to solid color, not marble.
- Don’t Forget Gloves: Food dyes can stain skin. Wearing rubber gloves will protect your hands and keep the crafting experience clean and enjoyable.
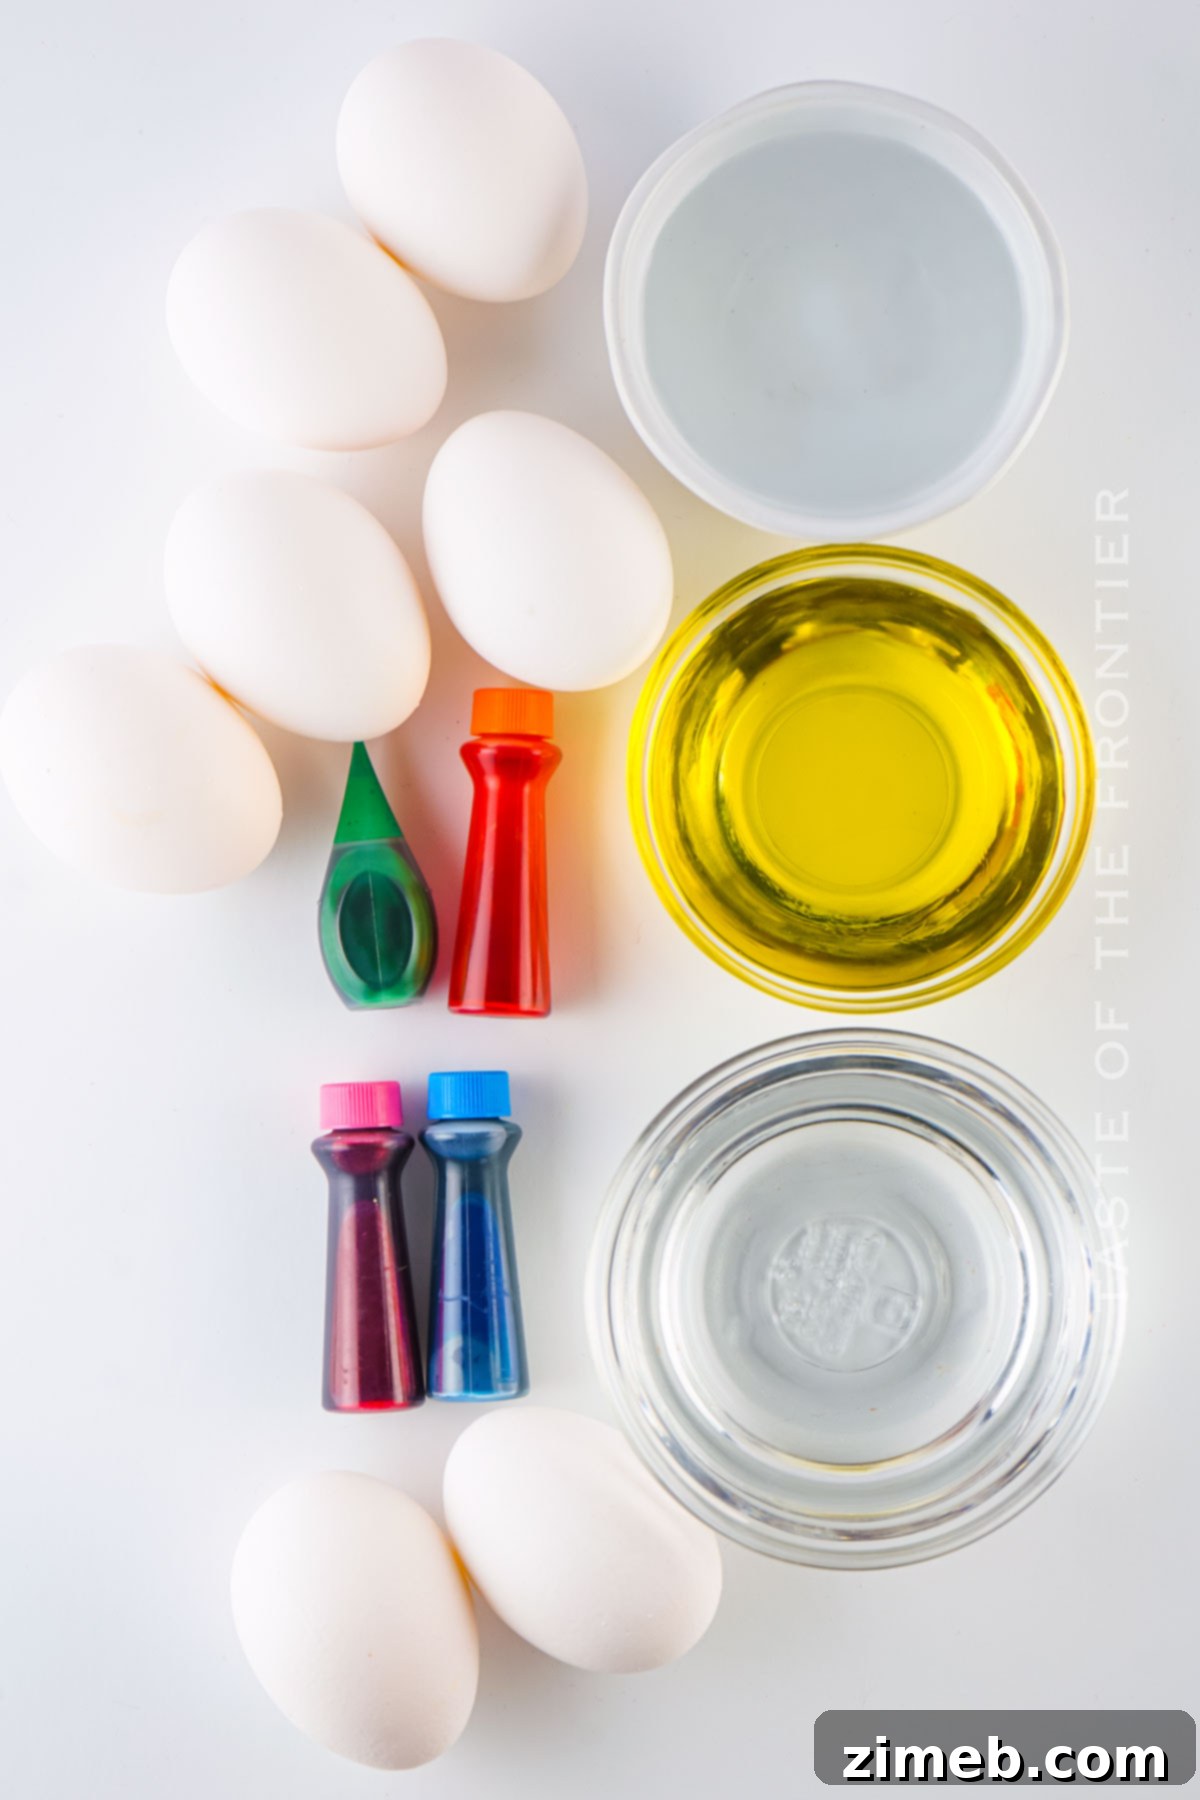
Ingredients You’ll Need for Marbled Eggs
It’s surprisingly easy to achieve that beautiful marble look with just a few common kitchen staples. Through extensive testing, we’ve refined a process that is both simple and effective, ensuring you’ll love the results!
- Hard-boiled eggs: Essential as your canvas. Make sure they are cooled to room temperature and dry for the best dye adhesion.
- Boiling water: Used to create the dye baths.
- Cooking oil: The magical ingredient that creates the marbling effect. Vegetable, canola, or light olive oil works well.
- Vinegar: Helps the food dye adhere better to the eggshells and intensifies colors.
- Food dye: Liquid food coloring is best. Have a variety of colors ready for vibrant creations.
- Paper towels: For drying eggs and protecting surfaces.
- Rubber gloves: To keep your hands clean from dye.
- Plastic cereal bowls: One bowl per color for mixing your dye baths.
How to Make Stunning Marble Eggs: Step-by-Step Guide
Making a marbled egg is a fun and straightforward process. Just follow these step-by-step instructions, and you’ll have a batch of gorgeous oil and water dyed eggs in no time!
- Prepare Your Dye Bowls: You’ll need one separate plastic cereal bowl for each color you intend to use. Inexpensive bowls work perfectly and are typically the ideal size. The crucial detail here is the water depth: fill each bowl with only about half an inch of water. This shallow depth ensures that the egg is not fully submerged when dropped in, which is essential for achieving the unique marbled pattern rather than a solid color.
- Create the Dye Base: To each prepared bowl, carefully add ½ cup of boiling water. Immediately follow this by adding ½ tablespoon of vinegar. The hot water helps dissolve the dye, and the vinegar prepares the eggshell to absorb the color effectively.
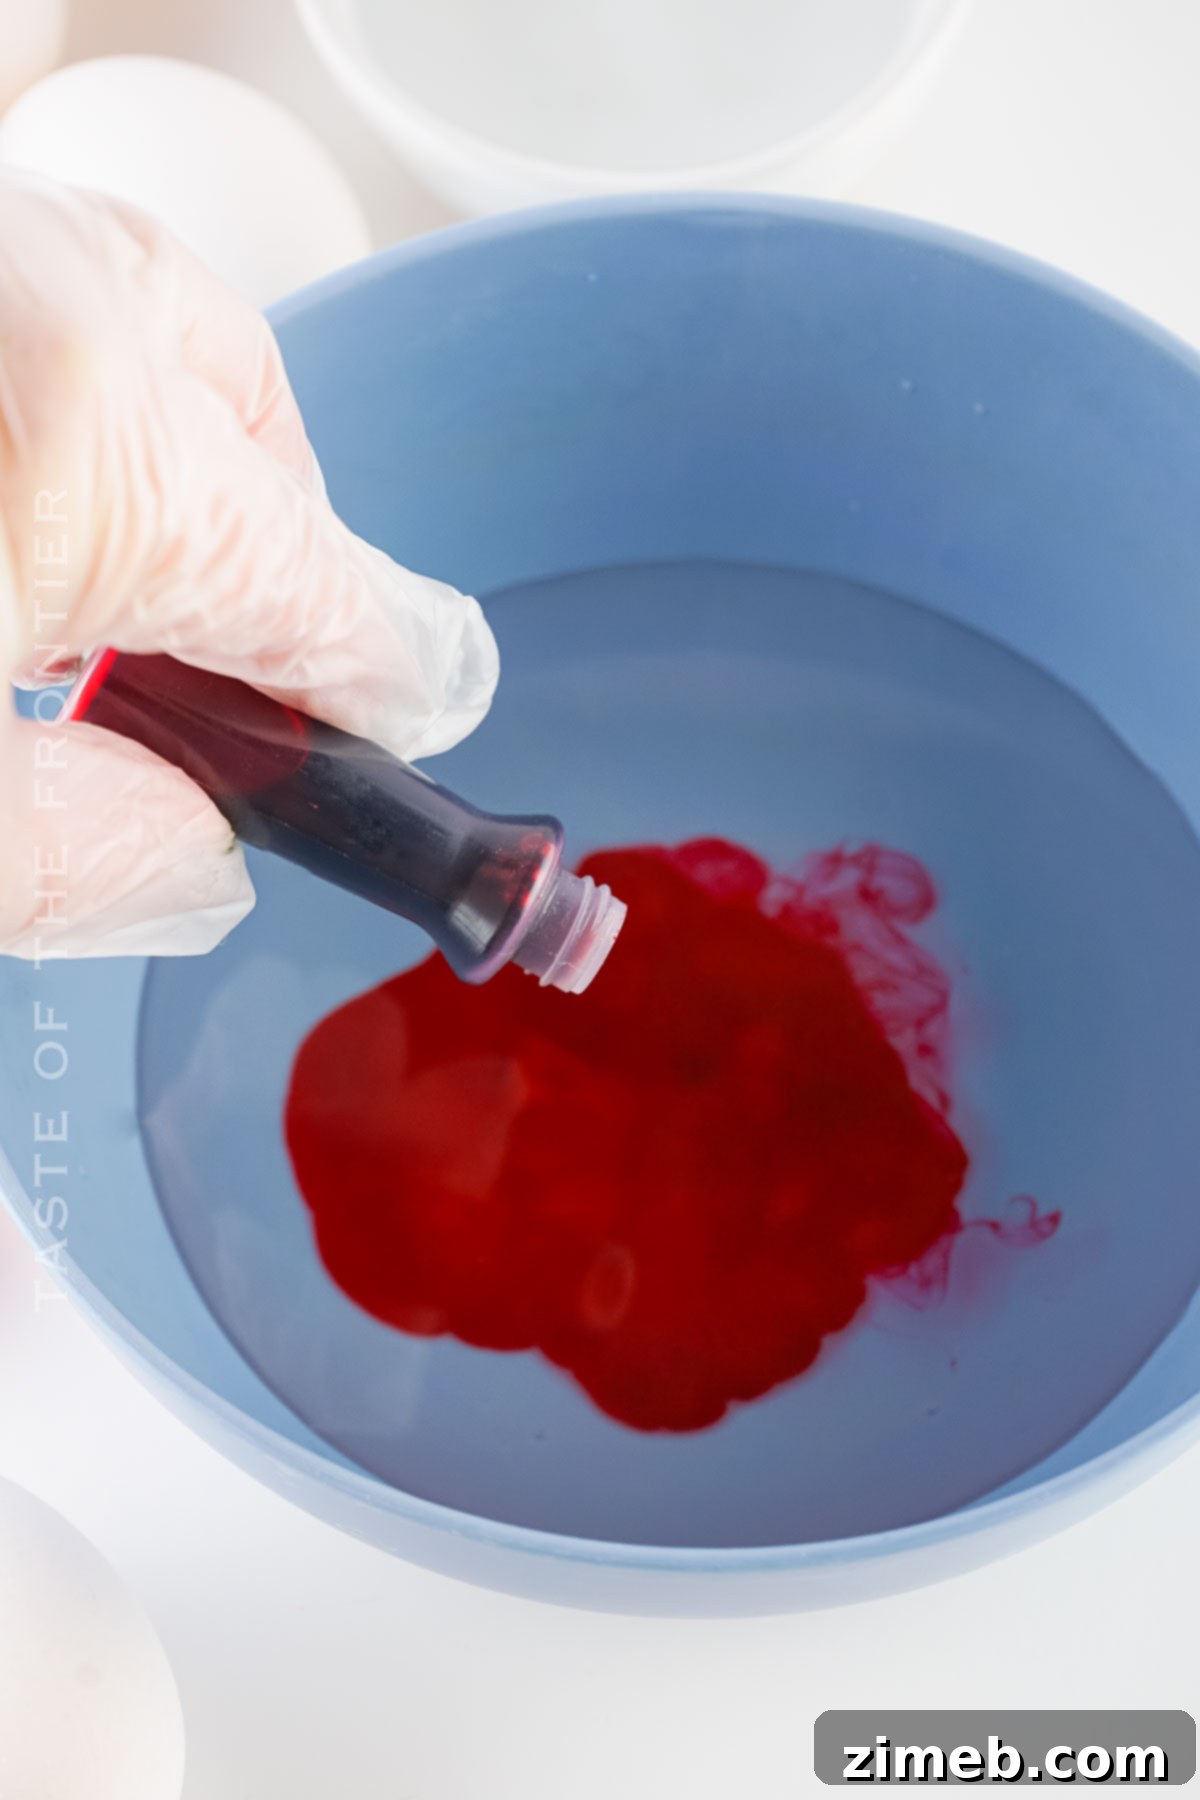
- Add Food Dye: Now it’s time for color! Add 10 to 20 drops of food dye to each bowl, ensuring you use only one color per bowl. For darker, more intense colors like purple or blue, 10 drops are often sufficient. For lighter shades such as pink or yellow, or if you desire a bolder pattern, use closer to 20 drops. Gel dyes can also be used but may require a bit more stirring to fully dissolve.
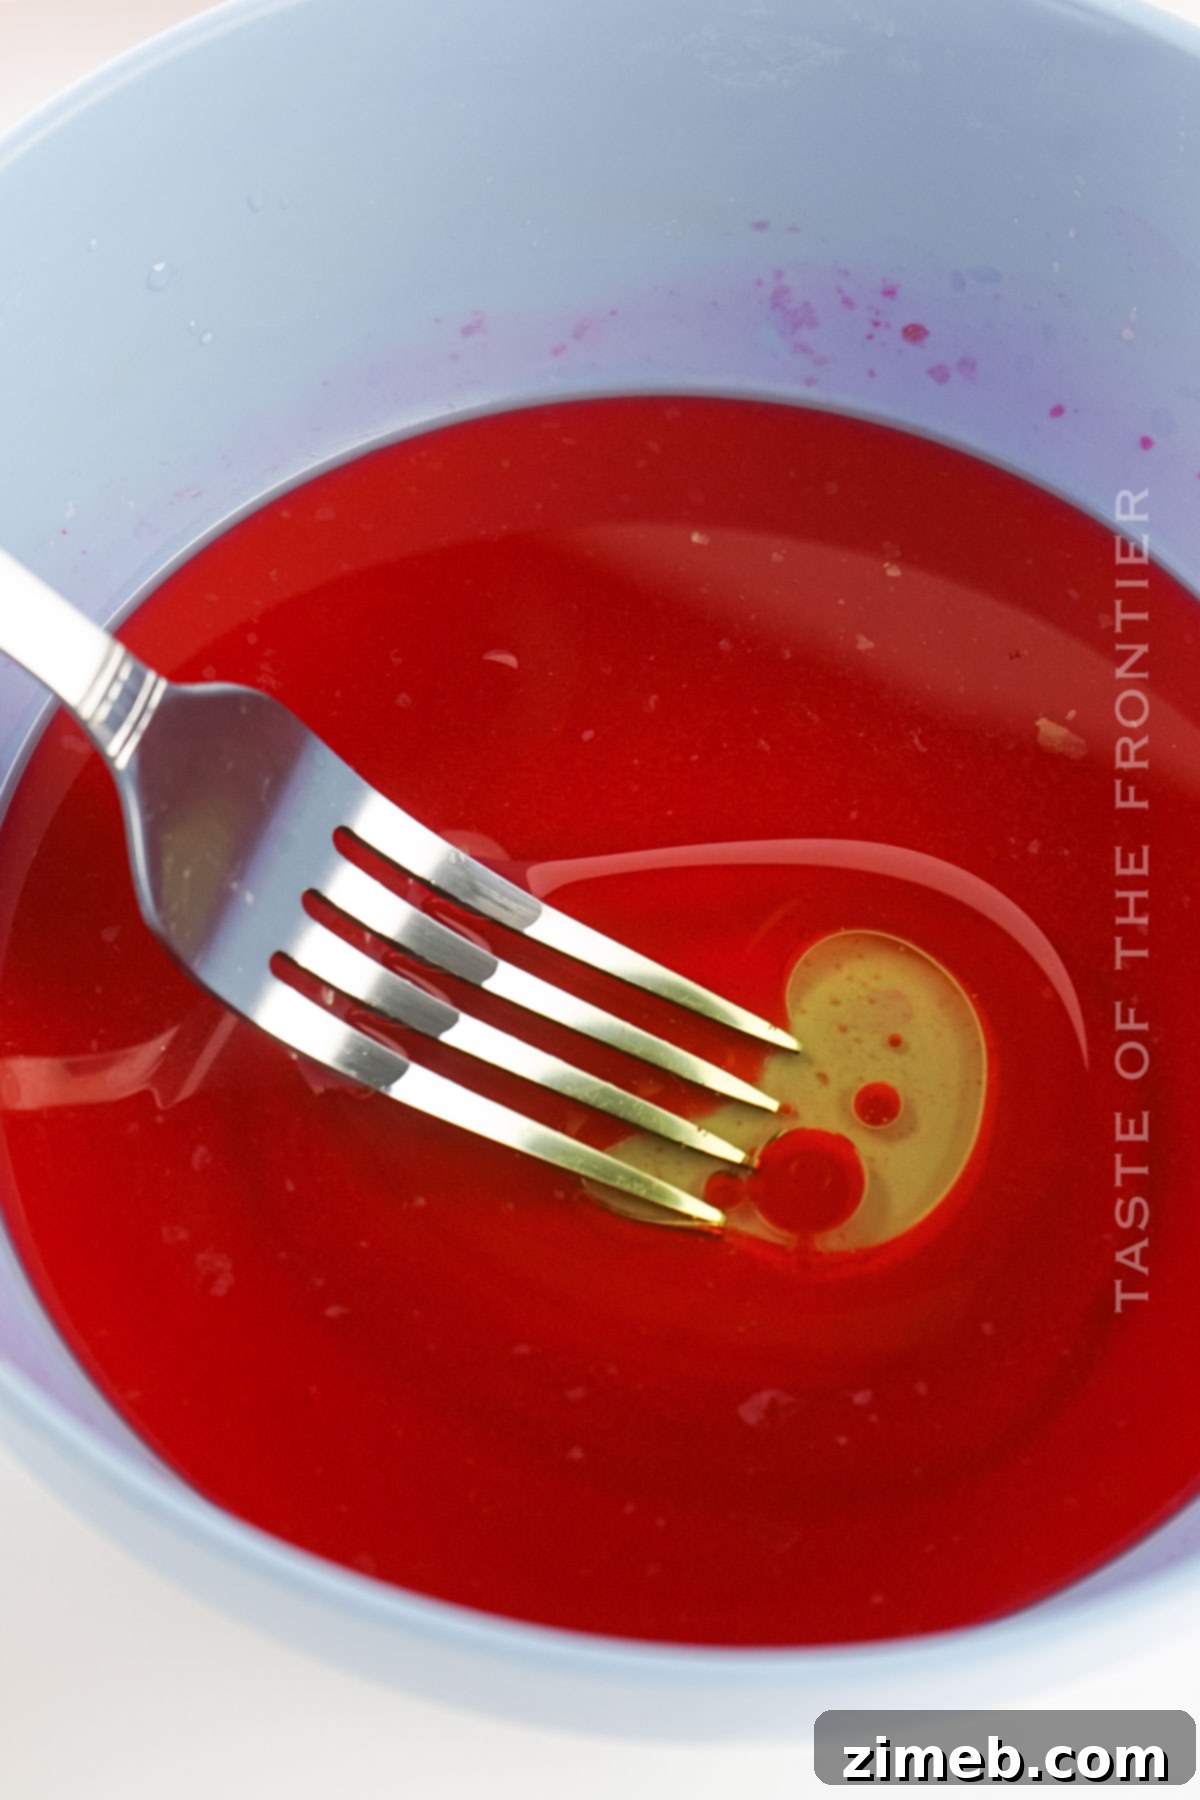
- Introduce the Oil: Stir the dye solution well to mix the color evenly. Then, add 1 tablespoon of cooking oil to each bowl. The oil will float on top of the water and dye, creating the marbling medium. Reserve a small amount of extra oil in a separate small dish; this will be used for a critical step later.
- Prepare Eggs and Hands: Ensure your hard-boiled eggs are at room temperature and thoroughly dry. This helps the dye adhere properly. At this stage, it’s highly recommended to wear rubber gloves to protect your hands from staining.
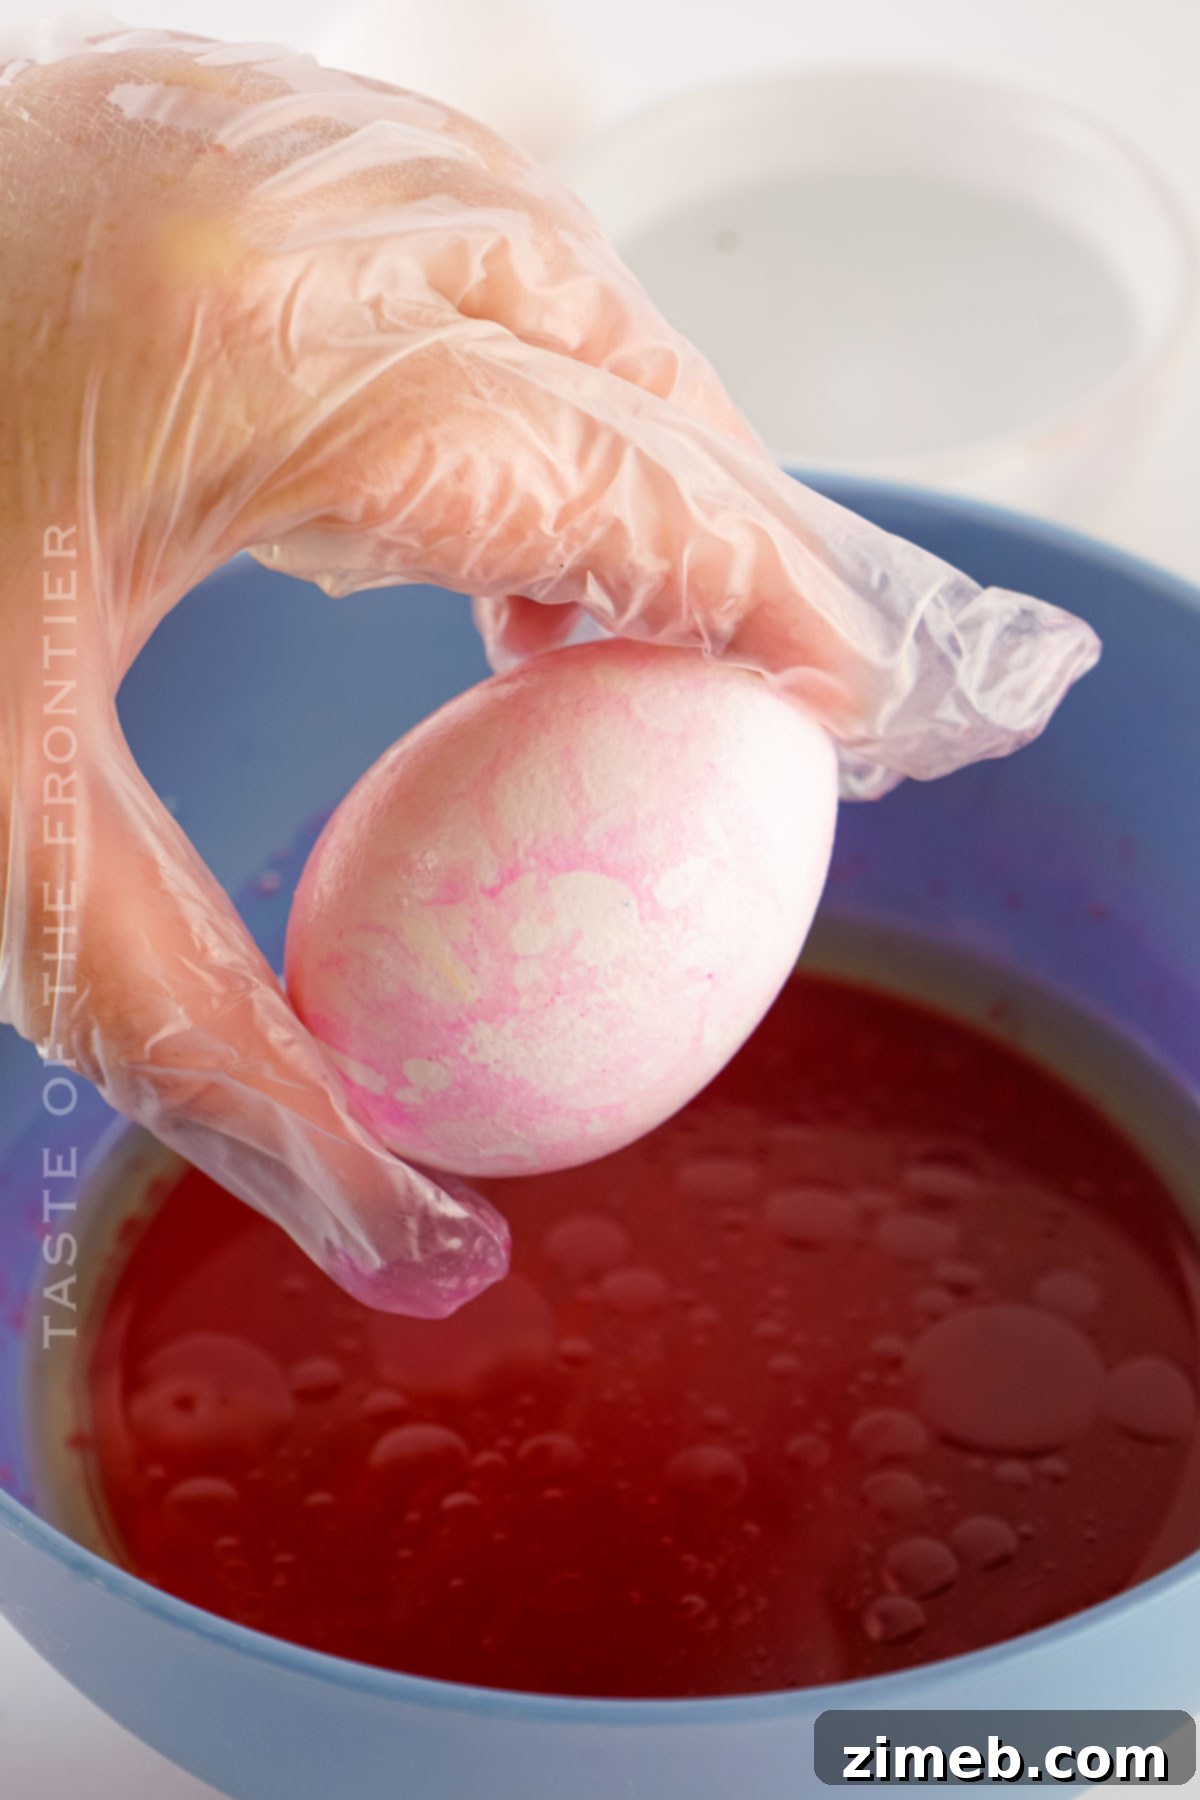
- Pre-Treat Eggs with Oil Streaks: This is a vital step for successful marbling! Dip your finger or an old small paintbrush into the reserved extra oil. Gently make random streaks and spots of oil all over the egg’s surface. Do *not* cover the entire egg in oil; you want random, uneven coverage. These oil streaks will repel the dye in those areas, creating the beautiful white “veins” of your marble pattern. Without this step, your marbling will be inconsistent.
- The Quick Marble Dip: Using a spoon or fork, gently agitate (swirl) the dye and oil mixture in one of your bowls to create beautiful patterns on the surface. Immediately, roll the pre-treated egg in the agitated mixture. Ensure the entire egg surface touches the dye and oil at least once, but this must be done very quickly. The key is speed – a brief, swift roll is all you need! Immediately pull the egg out and gently wipe it dry with a paper towel to remove excess oil and prevent the dye from setting too uniformly.
- Dry and Set: After wiping the egg clean, place it back into an empty egg carton or onto a wire rack. Allow it to sit undisturbed for about 5 minutes to fully dry and for the dye to set completely. This short drying period ensures the patterns are locked in.
- Repeat the Process: Continue these steps for all the eggs you wish to marble, creating a beautiful assortment of unique and vibrant designs.
Essential Kitchen Supplies for Marbling Eggs
Thinking back to Easters past, filled with candy in Easter baskets and eggshells scattered everywhere, it’s clear that some traditions never fade! With a few basic kitchen supplies, you can make this year’s egg decorating both memorable and mess-minimal.
- Plastic Cereal Bowls: A collection of these inexpensive bowls is essential. You’ll need one for each color of dye you plan to use, keeping your colors separate and vibrant.
- Measuring Spoons: For the precise addition of ingredients like vinegar and oil, ensuring your dye baths have the correct ratios for optimal marbling.
- Slotted Spoon or Wooden Skewer: Ideal for gently stirring the dye and oil mixture and for carefully rolling the eggs without direct hand contact with the dye.
- Paper Towels & Drying Rack: Lots of paper towels are needed for blotting and cleaning. Lay them out on a baking sheet or cookie sheet to create a dedicated drying station for your beautifully dyed eggs. A wire rack is also excellent for air circulation.
- Rubber Gloves: Highly recommended to protect your hands from food dye stains, especially when handling multiple colors.
What to Serve With and How to Display Your Marble Eggs
Once you’ve created your magnificent Marble Eggs, the next step is deciding how to showcase and enjoy them! While the kids will undoubtedly be munching on chocolate eggs, these vibrant creations can be integrated into your Easter festivities in numerous delightful ways.
- Easter Basket Delight: Add these exquisite eggs to your Easter basket alongside traditional treats for a truly delightful surprise. Their unique patterns make them stand out.
- Elegant Brunch Spread: Serve your Marble Eggs as a captivating part of your Easter brunch spread. Arrange them on a platter or in a decorative bowl to add a stunning pop of color and elegance to your table. They pair beautifully with other classic brunch items.
- Festive Centerpiece: Use a decorative bowl or tiered stand to create a vibrant centerpiece for your dining table or mantelpiece. The swirling colors will draw attention and celebrate the season.
- Unique Place Settings: Place a single beautifully marbled egg at each guest’s plate as a charming and personalized touch to your Easter dinner.
- Creative Gifts: Package a few of your best marbled eggs in a small, clear bag with a ribbon for a thoughtful, handmade Easter gift.
Variations and Creative Twists for Your Marble Eggs
While the basic marble egg technique yields stunning results, there are countless ways to experiment and personalize your creations. Don’t hesitate to get creative and explore new avenues to make your Easter egg decorating ideas truly unique! Share your amazing marble egg specimens and any additional questions in the comments below – we’d love to see them!
- Natural Dye Exploration: For an organic and eco-friendly approach, experiment with natural food dyes derived from vegetables, fruits, or different black teas. The results might be more subdued but will offer a beautiful, earthy palette.
- Glossy Finish: Mix a little vegetable oil directly into your dye solution for an extra glossy finish on your marbled eggs. This can enhance the depth of color and make your patterns truly shine.
- Alternative Marbling Techniques: While this guide focuses on the oil and water method, you could explore other techniques like wrapping eggs in silk fabric before dyeing for intricate, fabric-patterned designs (ensure fabric is colorfast). For a non-edible decorative egg, nail polish marbling can also create stunning effects, but *always* clearly label these as non-edible.
- Layering Colors: After an egg has dried from its first dip, try re-dipping it into a different color mixture. This can create multi-layered marble effects with even greater depth and complexity.
- Metallic Accents: Once your marbled eggs are completely dry, you can add subtle metallic touches using food-safe edible glitter dust or edible metallic paint applied with a fine brush. This adds a touch of glamor and sophistication.
If you loved this easy egg decorating idea, you’re going to adore these other festive Easter egg inspirations too. Click each link below to discover more fun, printable recipes and craft guides!
How to Dye Eggs
With Easter approaching, don’t miss this simple tutorial for How to Dye Eggs using just vinegar and food color – no expensive kit required. So easy and perfect for beginners!
Check out this recipe

Dye Eggs with Rice
Skip the water and vinegar cups and make beautifully Dyed Eggs using Rice instead. This method is less messy and offers a nice, unique change to the traditional chaos of dyeing eggs.
Check out this recipe
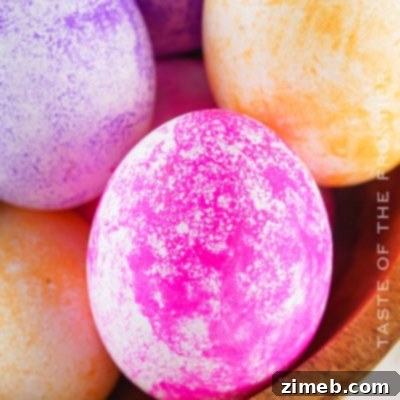
Tie Dyed Easter Eggs
Using a swirl of vibrant food colors and a simple technique, transform your eggs into a groovy experience and make stunning Tie Dyed Easter Eggs!
Check out this recipe
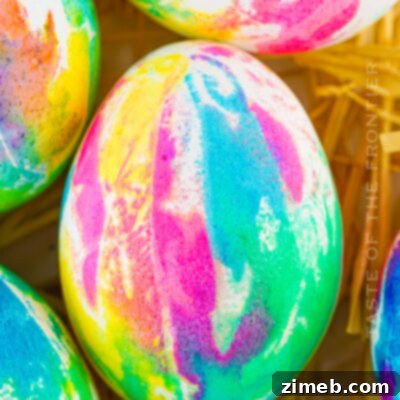
Kool-Aid Dyed Eggs
Add a splash of fruity fun to your Easter egg decorating with our Kool-Aid Dyed Eggs! These are vibrantly colored, incredibly easy to make, and a fantastic activity for kids of all ages.
Check out this recipe
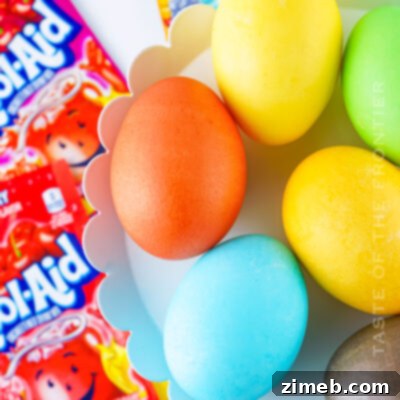
More Great Easter Recipes & Treats
Looking for more delicious ways to celebrate Easter? Explore these other fantastic recipes that are perfect for your holiday table or simply for a sweet treat:
- Spring Roll Cake
- Easter Bark
- Easter Cookie Bars
- Cadbury Egg Cookies
CONNECT WITH YUMMI HAUS!
Be sure to follow me on my social media, so you never miss a post!
Substack, FB, Pinterest, IG, Email Subscription
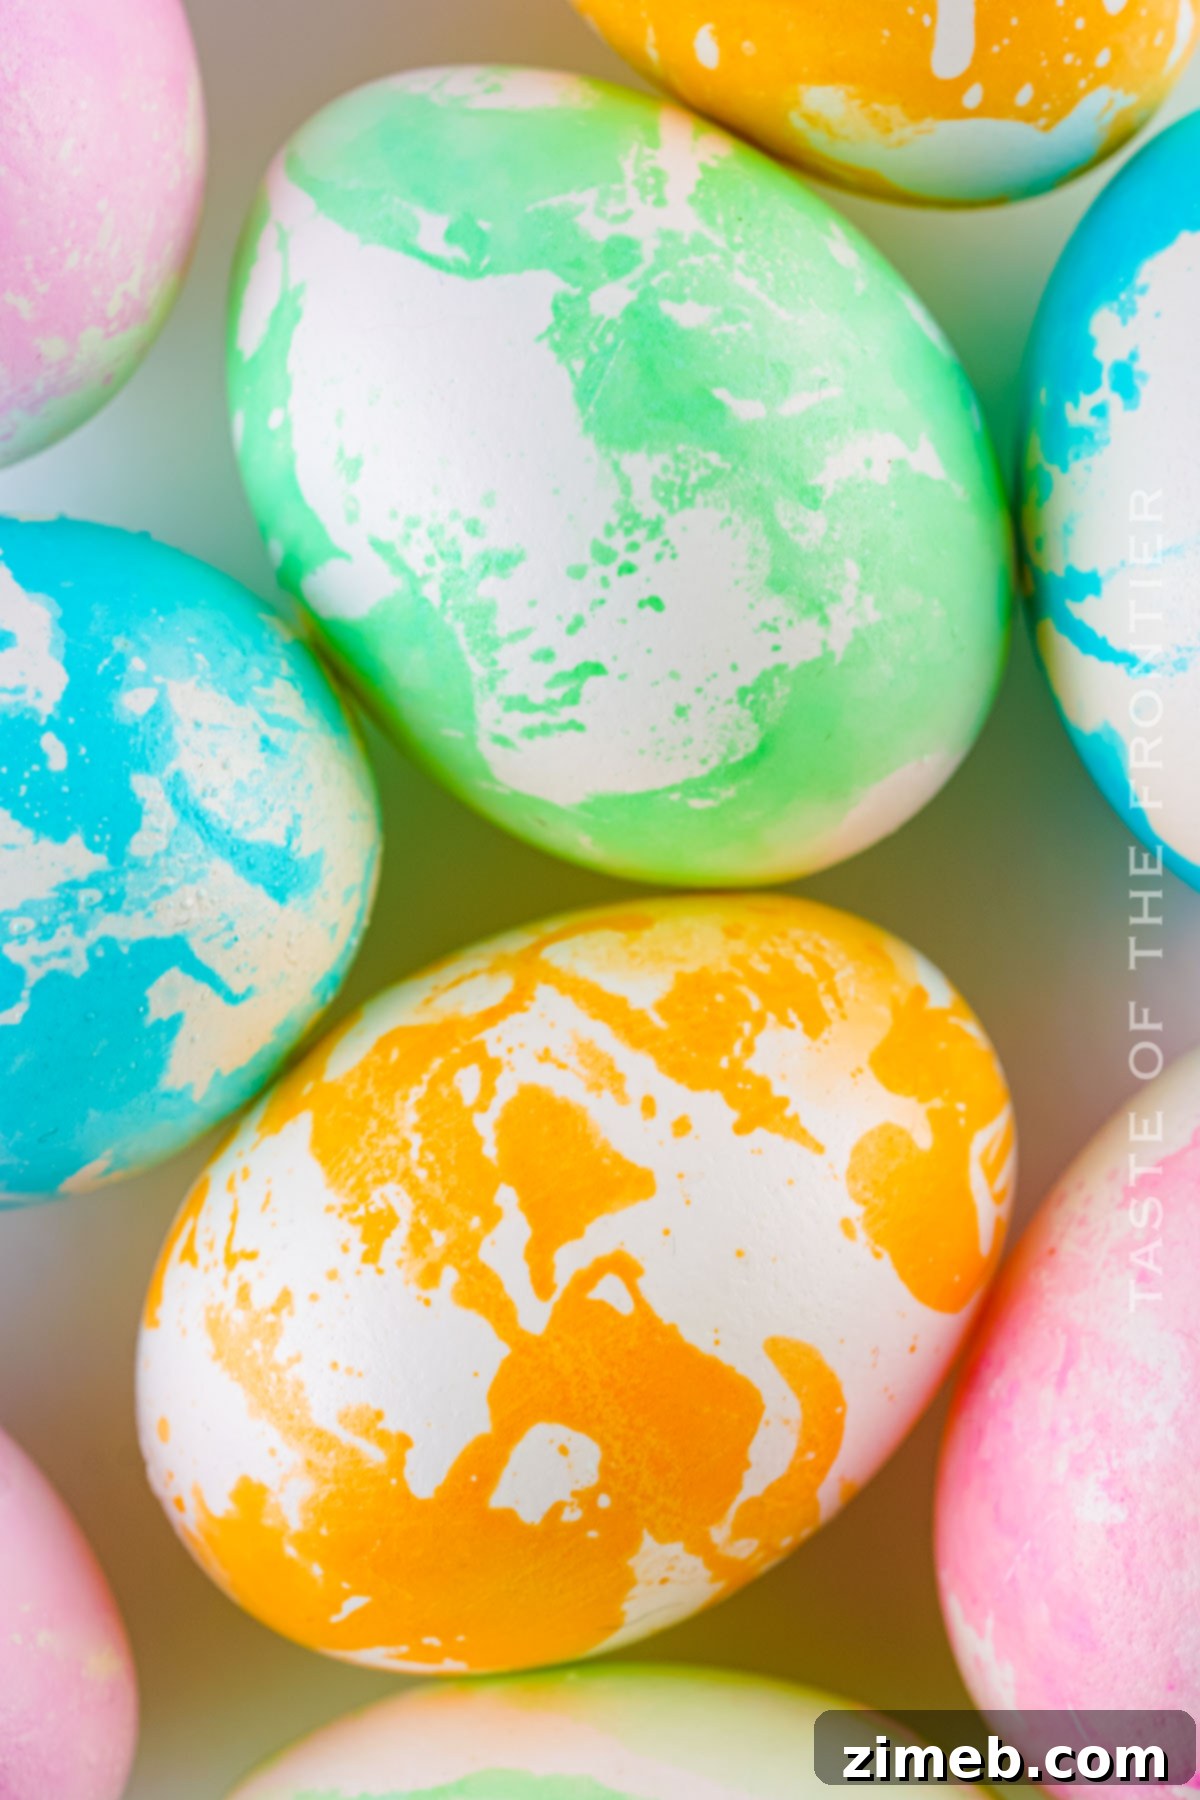
Marble Eggs Recipe
Elevate your Easter egg game with our stunning Marble Eggs for an eye-catching centerpiece or a delightful addition to any Easter egg hunt!
Course: Appetizer, Snack
Servings: 12 servings
Prep Time: 10 mins
Dye Time/Dry Time: 10 mins
Total Time: 20 mins
Ingredients
- Hard-boiled eggs (cooled to room temperature and dry)
- ½ cup boiling water (per color)
- 1 tablespoon cooking oil (per color, plus a dab extra for streaks)
- ½ tablespoon vinegar (per color)
- 10-20 drops of food dye (per color, adjust for intensity)
Instructions
- Prepare one plastic cereal bowl for each color. Fill each with about half an inch of water to avoid full submersion of the egg.
- Add ½ cup boiling water and ½ tablespoon vinegar to each bowl.
- Add 10-20 drops of food dye to each bowl (one color per bowl). Use fewer drops for darker colors, more for lighter colors.
- Stir the dye solution well, then add 1 tablespoon of cooking oil to each bowl. Reserve a small dab of oil in a separate dish.
- Ensure eggs are at room temperature and dry. Wear rubber gloves.
- Using a finger or small paintbrush, make random streaks of the reserved oil over the egg surface; do not cover entirely.
- Gently agitate the dye and oil mixture with a spoon or fork. Immediately roll the pre-treated egg in the mixture, ensuring the whole egg touches the dye at least once. This must be done very quickly.
- Promptly remove the egg and gently wipe it dry with a paper towel.
- Place the wiped egg in an egg carton or on a wire rack to dry for about 5 minutes.
- Repeat this process for all desired eggs.
Notes
- Green dye can be tricky; McCormick water-based green worked best in our tests.
- Gel dye works well but requires more stirring to dissolve.
- Lighter colors (pink, green) may need 20 drops of dye for better vibrancy.
- Do NOT leave the egg in the dye bath; it will result in a solid color, not marble.
- Applying oil streaks to the egg before dipping is crucial for consistent marbling.
- The water in the bowl should only cover about a third of the egg when immersed to achieve the marble look.
- Wipe the dye off the egg immediately after pulling it out for best results. This is a quick process!
- Any neutral cooking oil (vegetable, avocado, olive) works the same.
- This method also works beautifully on farm-fresh or brown eggs, yielding slightly different but equally gorgeous colors.
- This proven method is quick and works every time if all steps are followed correctly, unlike many other online methods tested.
Equipment
- Plastic cereal bowls
- Paper Towels
- Rubber gloves
- Forks or spoons
- Measuring spoons
- Wire rack (optional, for drying)
Nutrition
Serving: 1 serving | Calories: 10kcal | Fat: 1g | Saturated Fat: 0.1g | Sodium: 0.01mg | Potassium: 0.01mg | Calcium: 0.04mg
Nutritional information for the recipe is provided as a courtesy and is approximate. Please double-check with your own dietary calculator for the best accuracy. We at Yummi Haus cannot guarantee the accuracy of the nutritional information given for any recipe on this site.
Love this recipe? Follow @KleinworthCo for even more tasty recipes!