
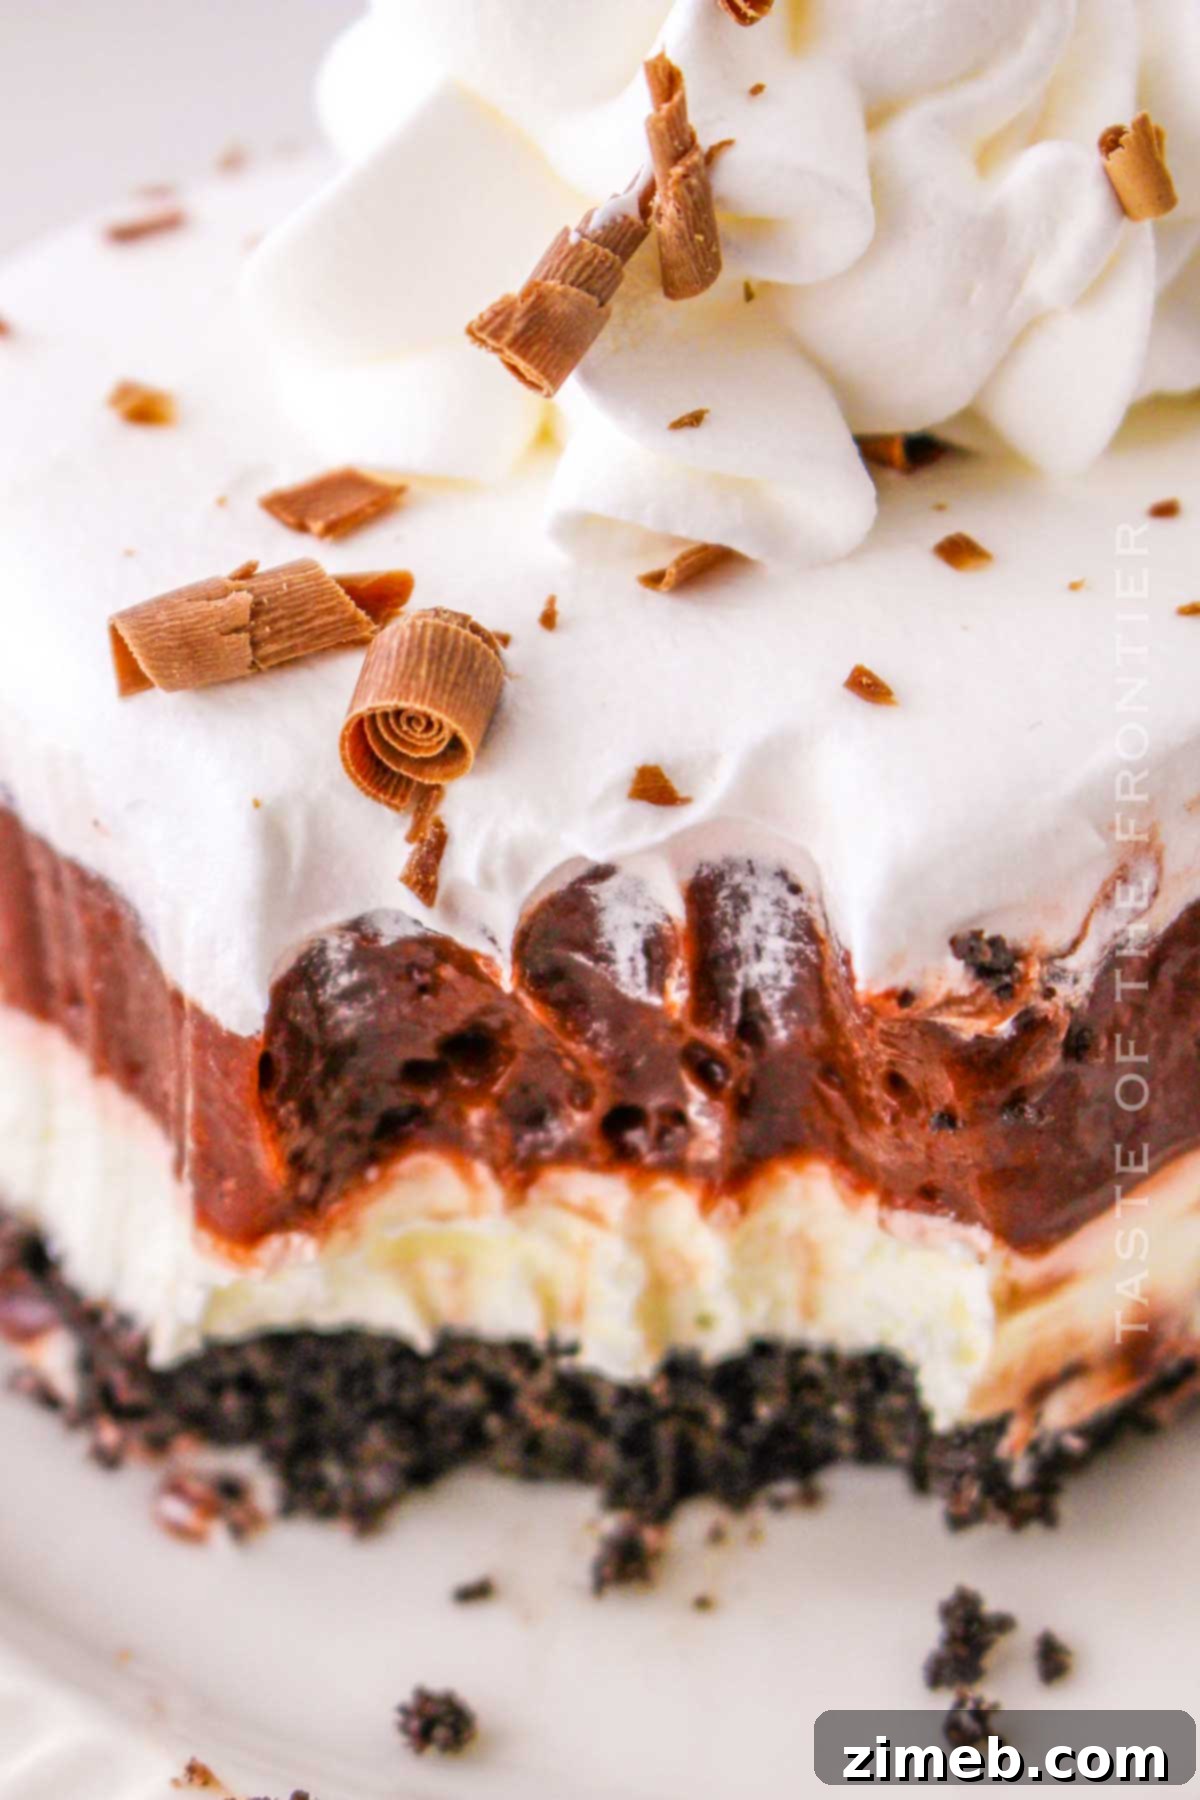
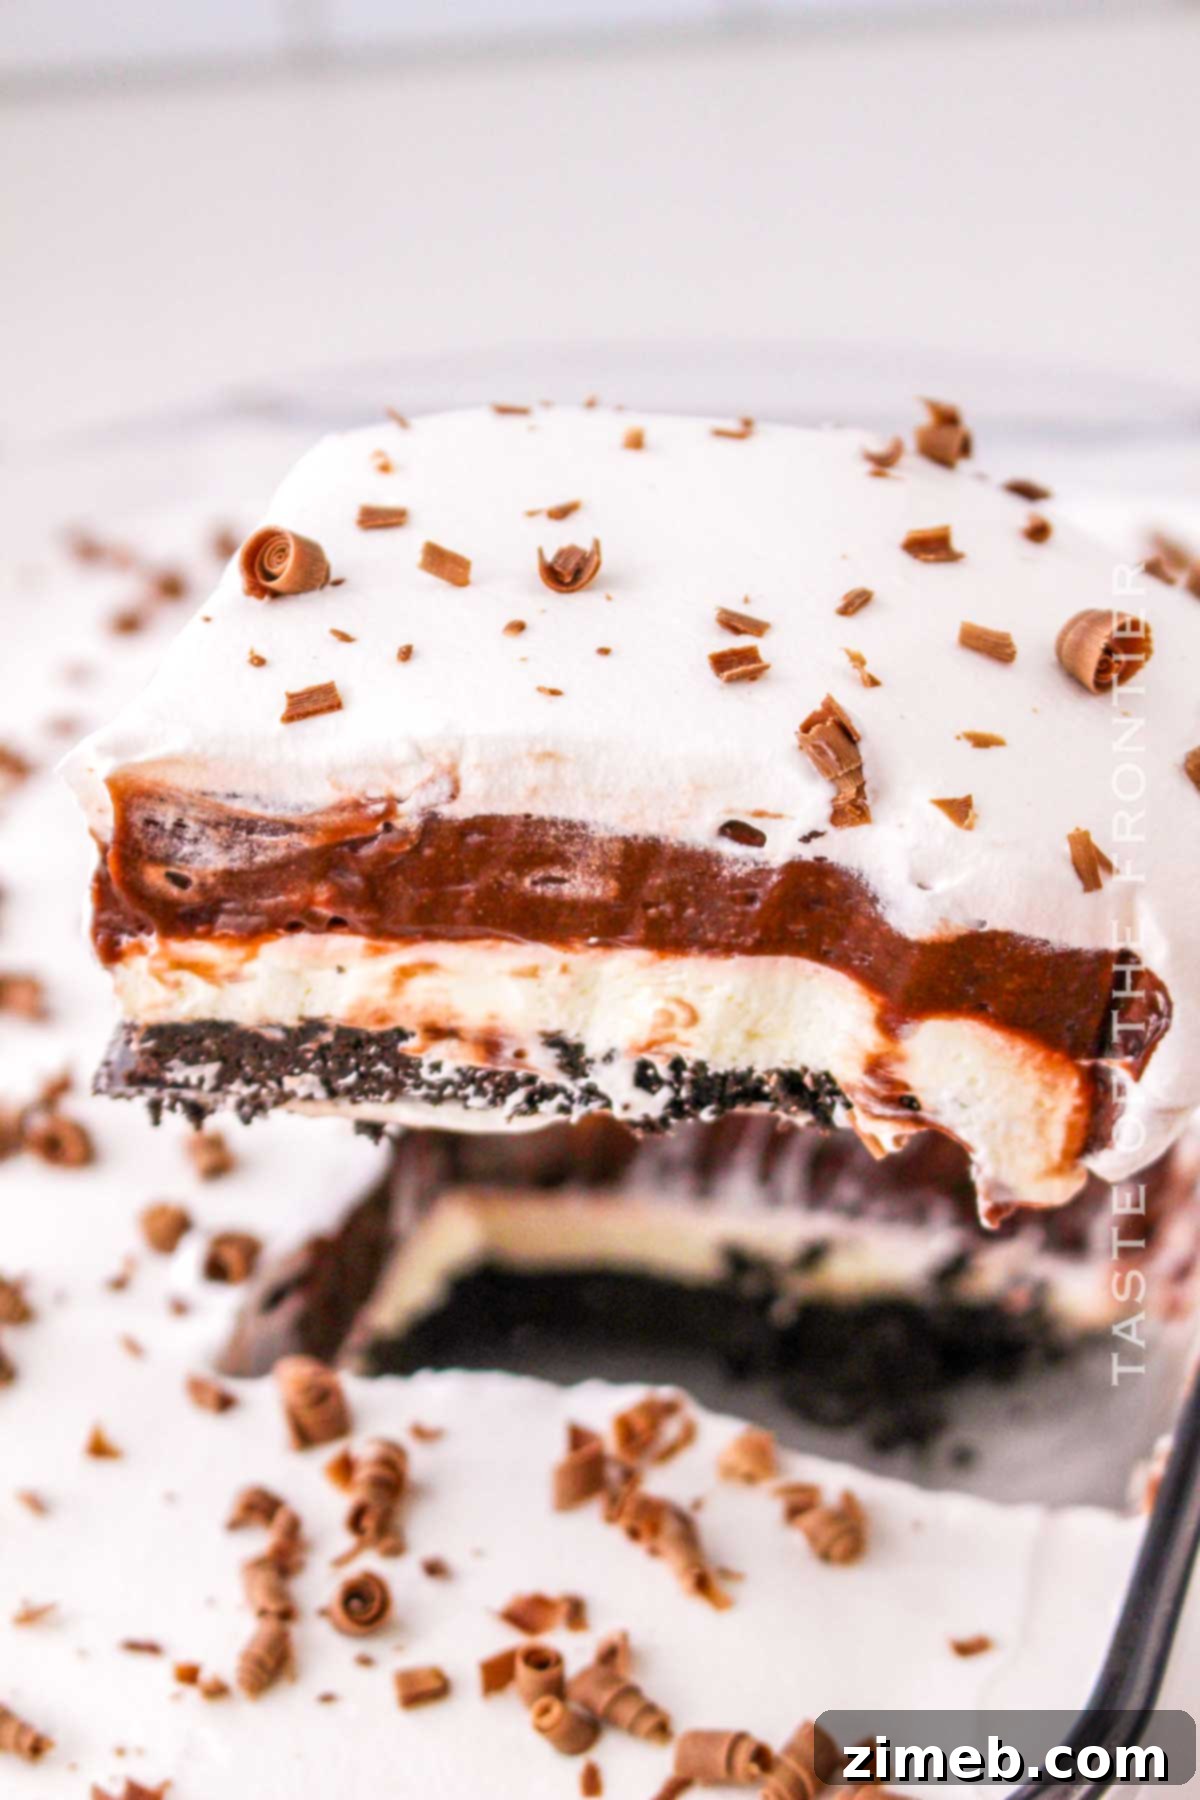
Indulge in the sheer delight of Chocolate Lush, a layered dessert that promises an unforgettable culinary experience. This no-bake masterpiece effortlessly combines a rich, creamy chocolate pudding, a velvety smooth cream cheese layer, and a perfectly crunchy cookie crust, all crowned with a light, airy whipped topping. Each spoon offers a symphony of textures and flavors, making it a truly luscious treat that captivates taste buds with every bite.
Imagine creating a show-stopping dessert that looks incredibly elaborate yet takes only about 30 minutes of active preparation. That’s the magic of Chocolate Lush! Its four distinct layers of sweet goodness make it an ideal centerpiece for any gathering, from casual backyard BBQs to elegant holiday celebrations. This chocolate lover’s dream is not just a dessert; it’s an occasion in itself, ready to become your new go-to recipe for impressing friends and family without breaking a sweat.
What Exactly Is a Lush Dessert?
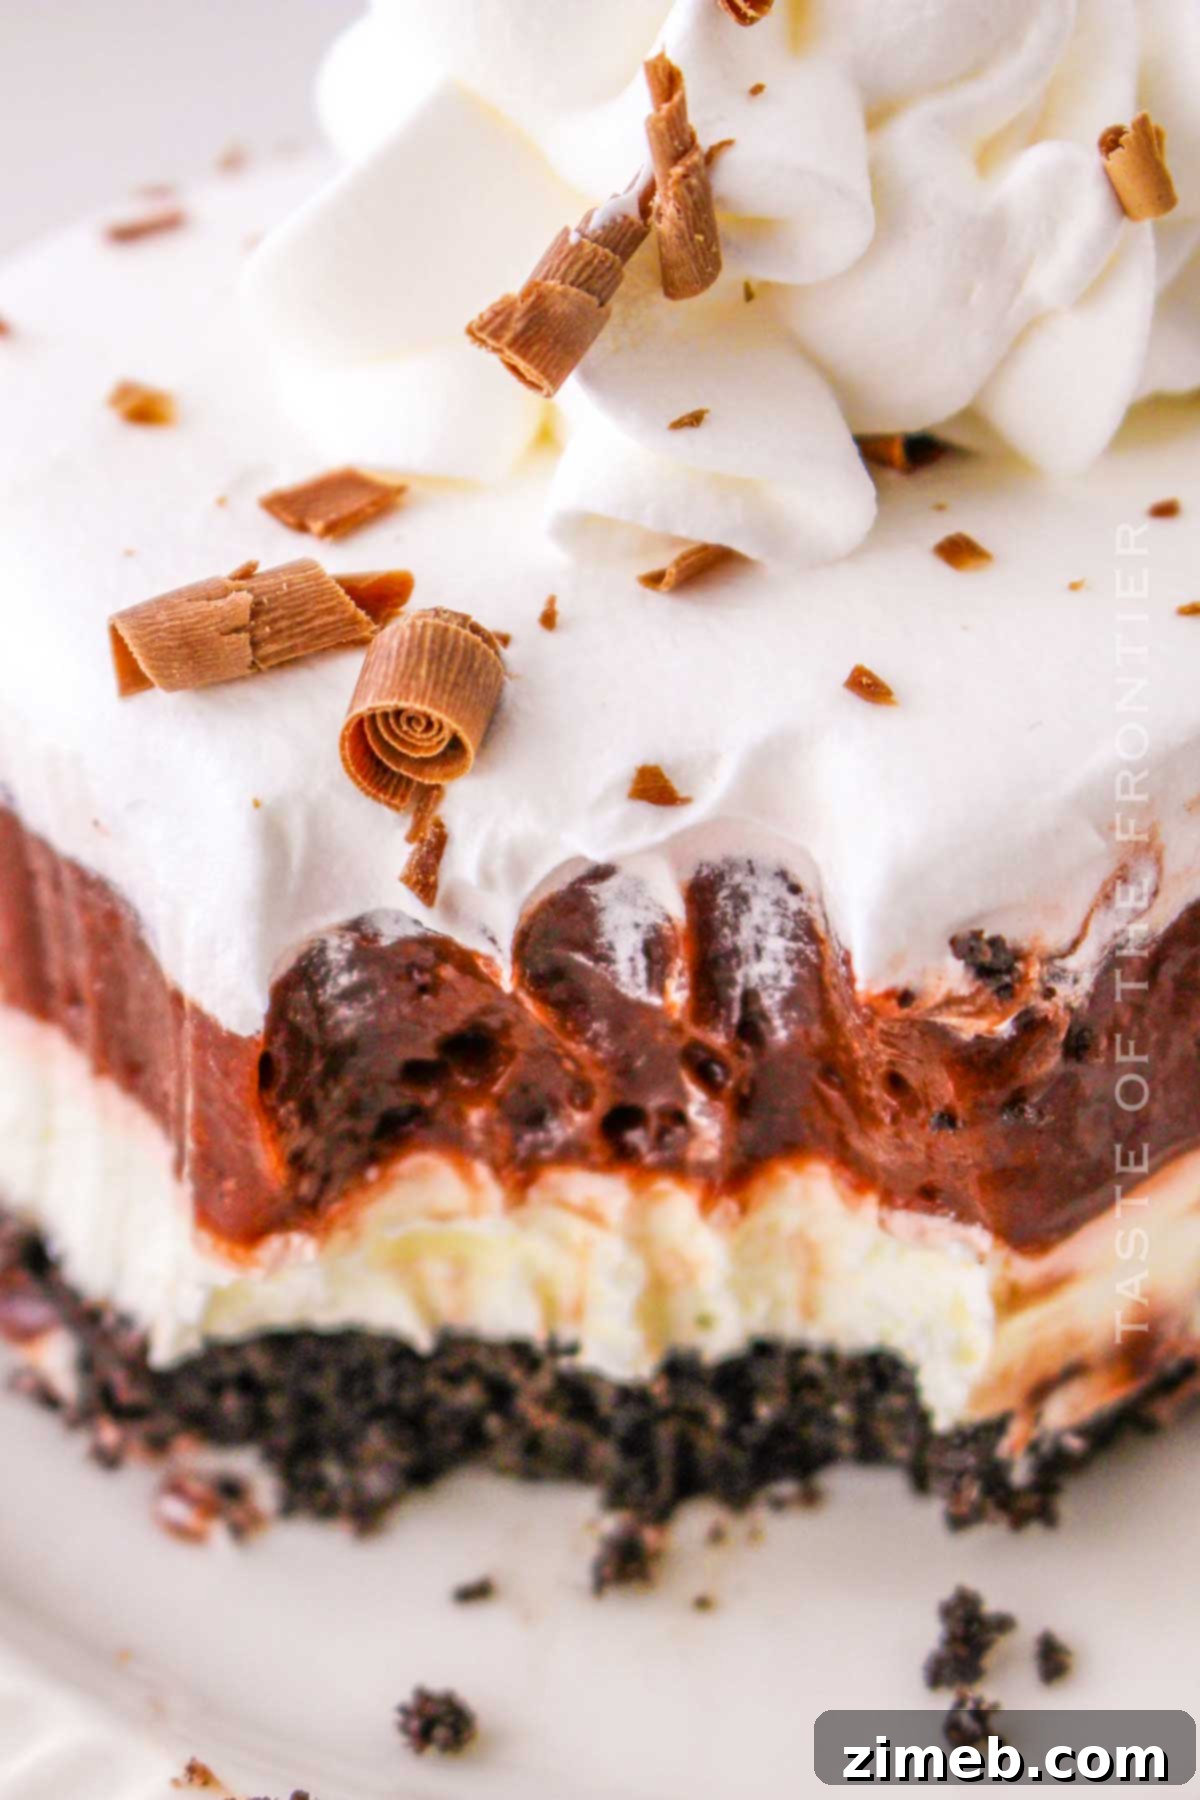
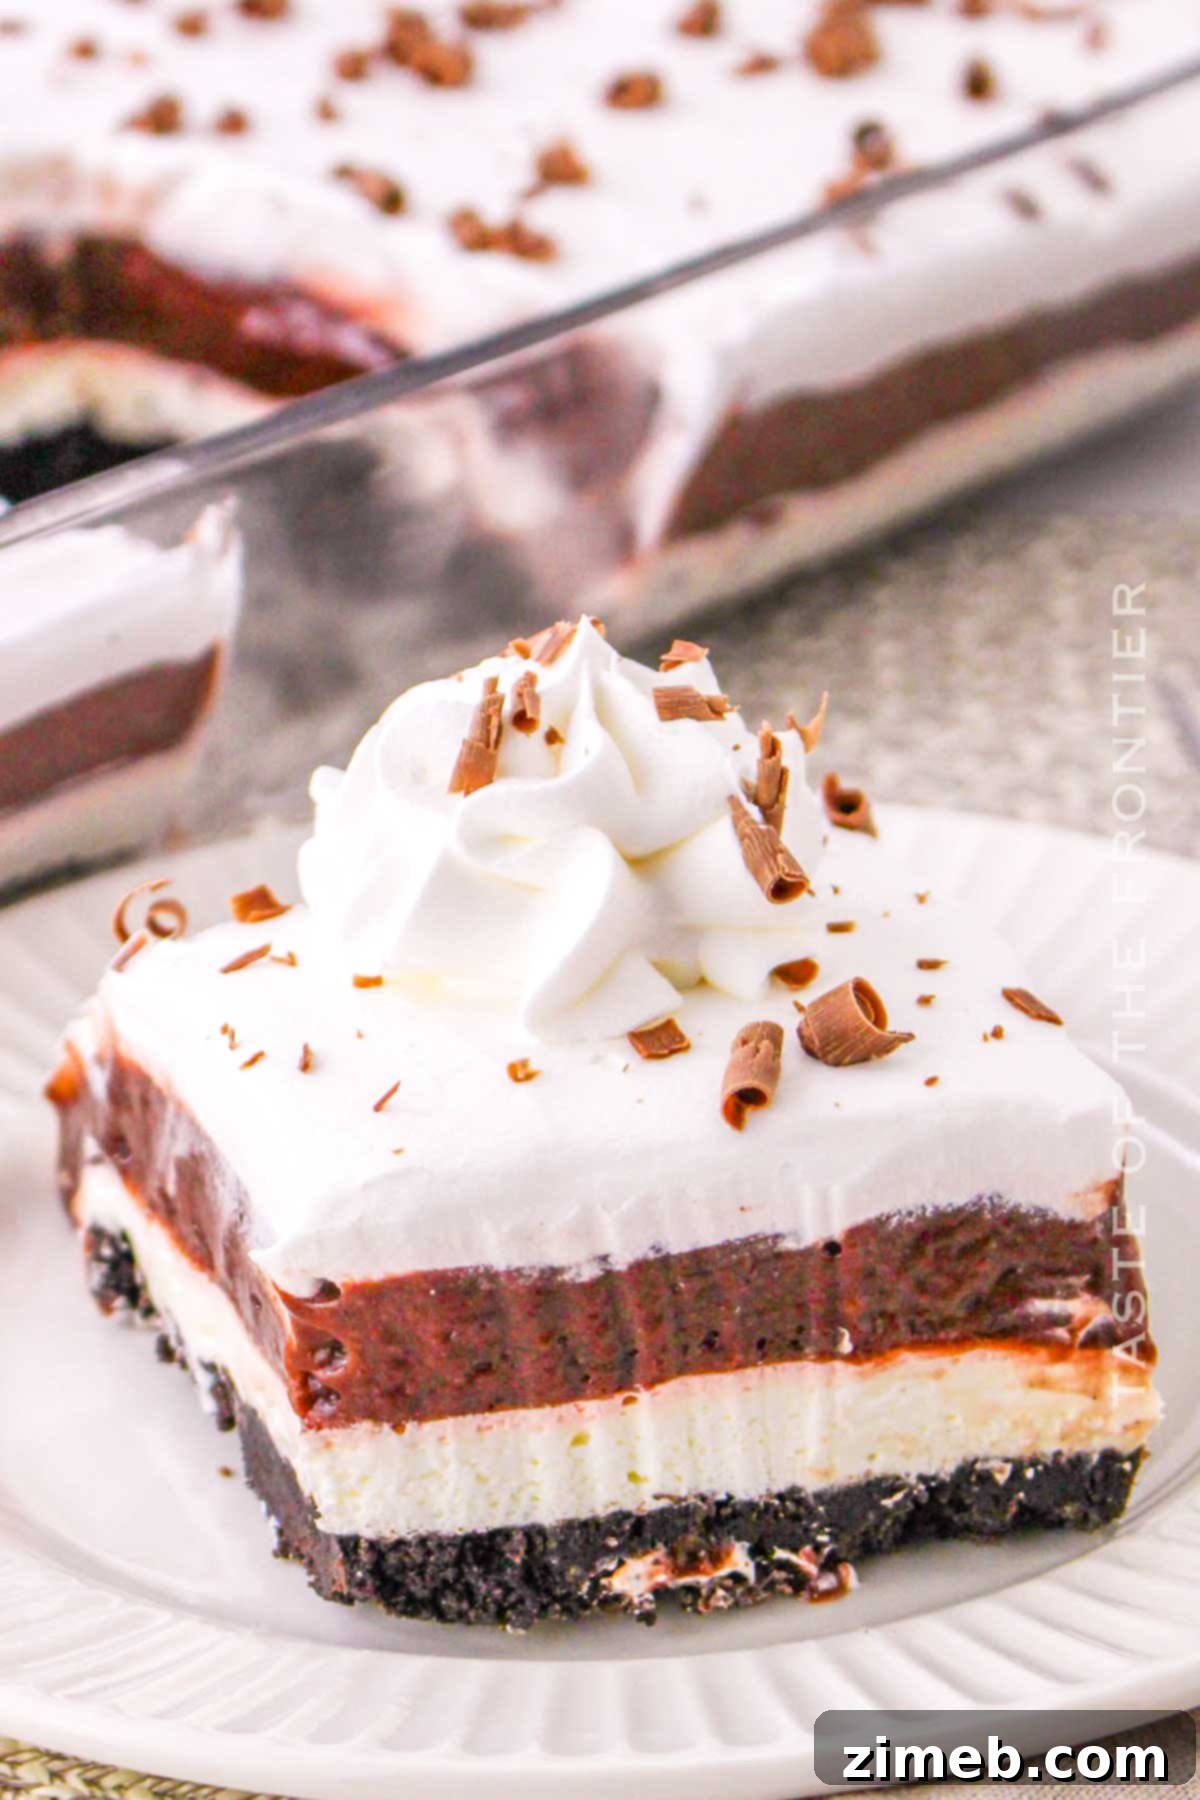
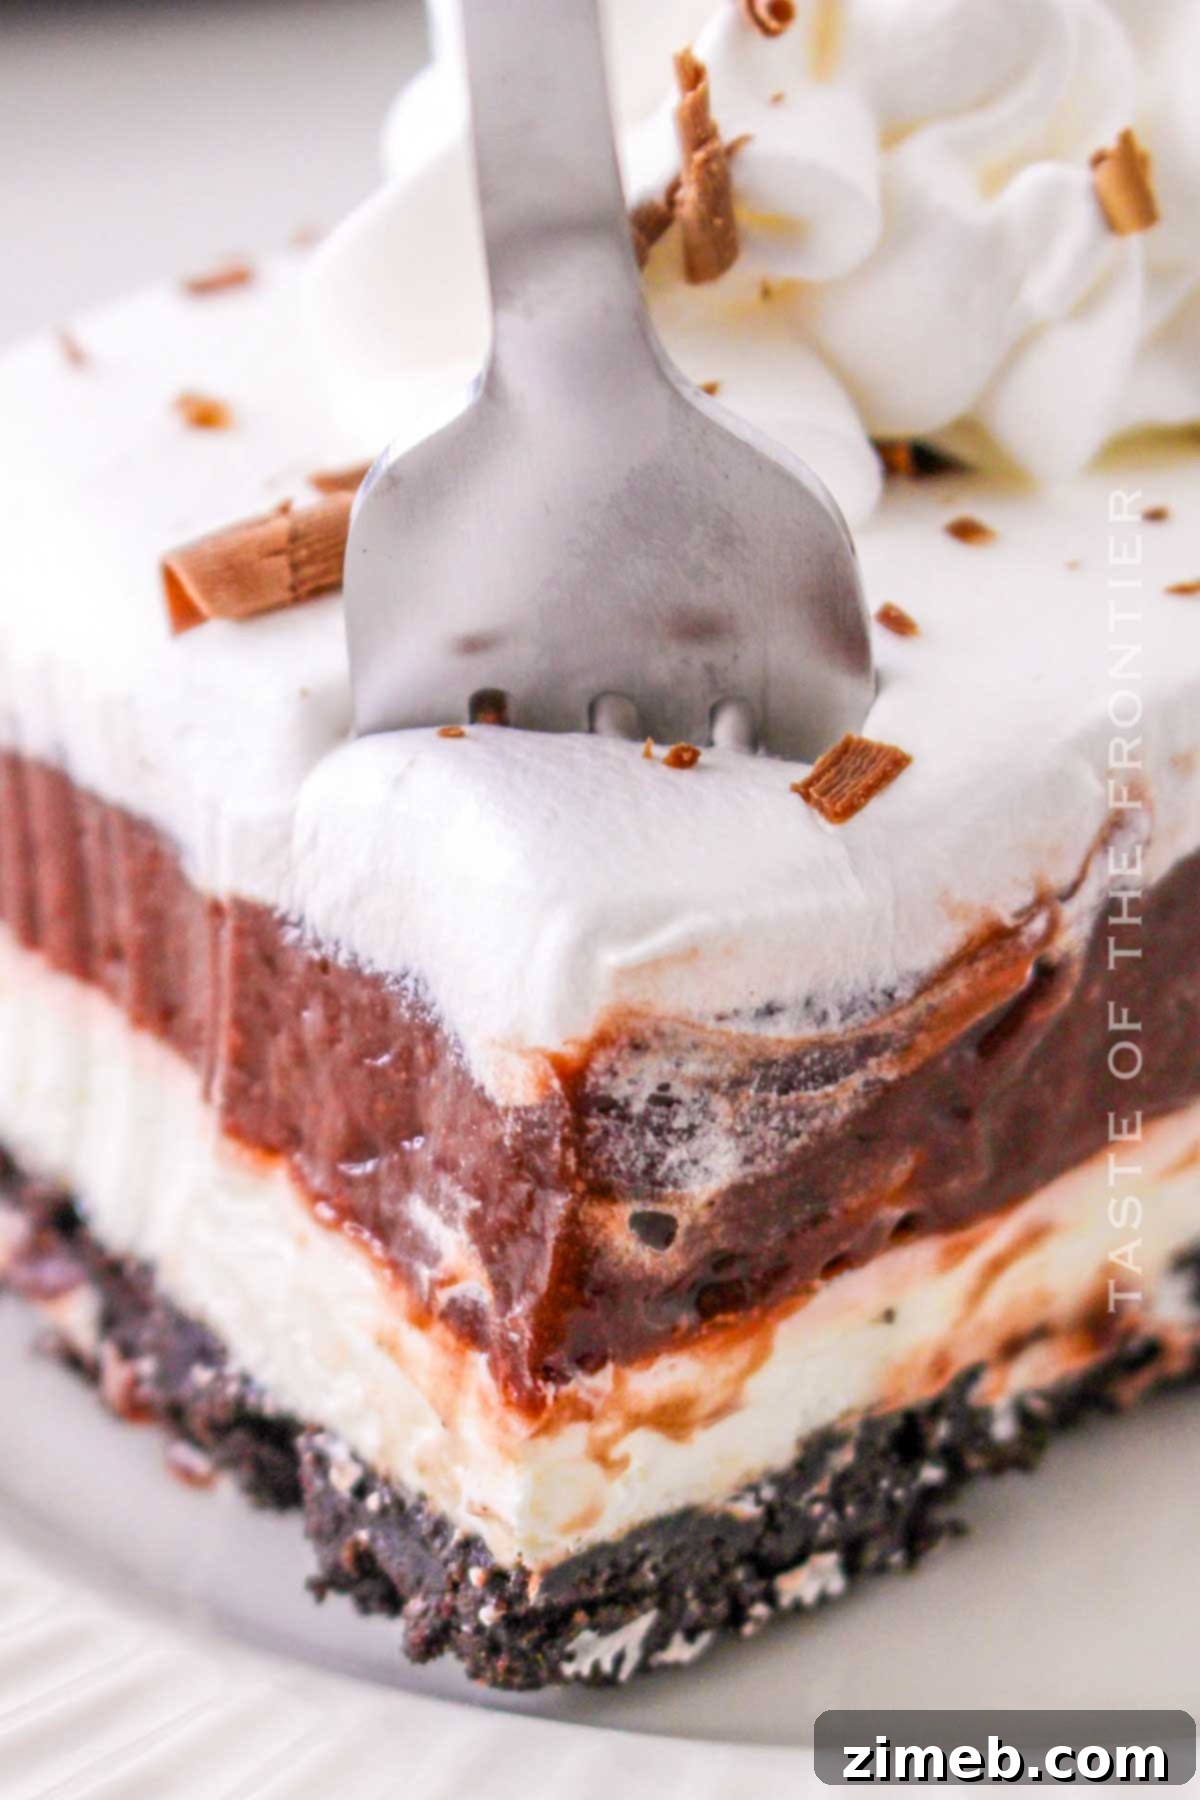
A “Lush dessert” might sound exotic, but it’s far from bath bombs or fancy lip balms! This delightful term refers to an old-fashioned, typically no-bake, layered dessert that combines rich, decadent elements. At its heart, a lush dessert is a symphony of contrasting textures and complementary flavors, usually featuring a cookie crust, a creamy cheesecake or cream cheese layer, a pudding layer, and a fluffy whipped topping. The concept is simple: stack irresistible layers to create a dessert that’s greater than the sum of its parts.
Throughout the years, this iconic dessert has earned many affectionate, and sometimes humorous, nicknames, reflecting its irresistible appeal. You might hear it called “Better Than Robert Redford Dessert,” “Better Than Sex Cake,” “Sex in a Pan,” “Slush Cake,” “Chocolate Lasagna,” or simply “Delight.” These monikers playfully hint at the overwhelmingly positive reaction people have to their first taste. Whoever first conceived or sampled this culinary marvel was undoubtedly left speechless by its deliciousness, and the tradition has continued for generations.
Why You Absolutely Must Make This Chocolate Lush
If you’re looking for a dessert that delivers on all fronts – taste, ease, and visual appeal – Chocolate Lush is your answer. Here’s why this recipe deserves a prime spot in your culinary repertoire:
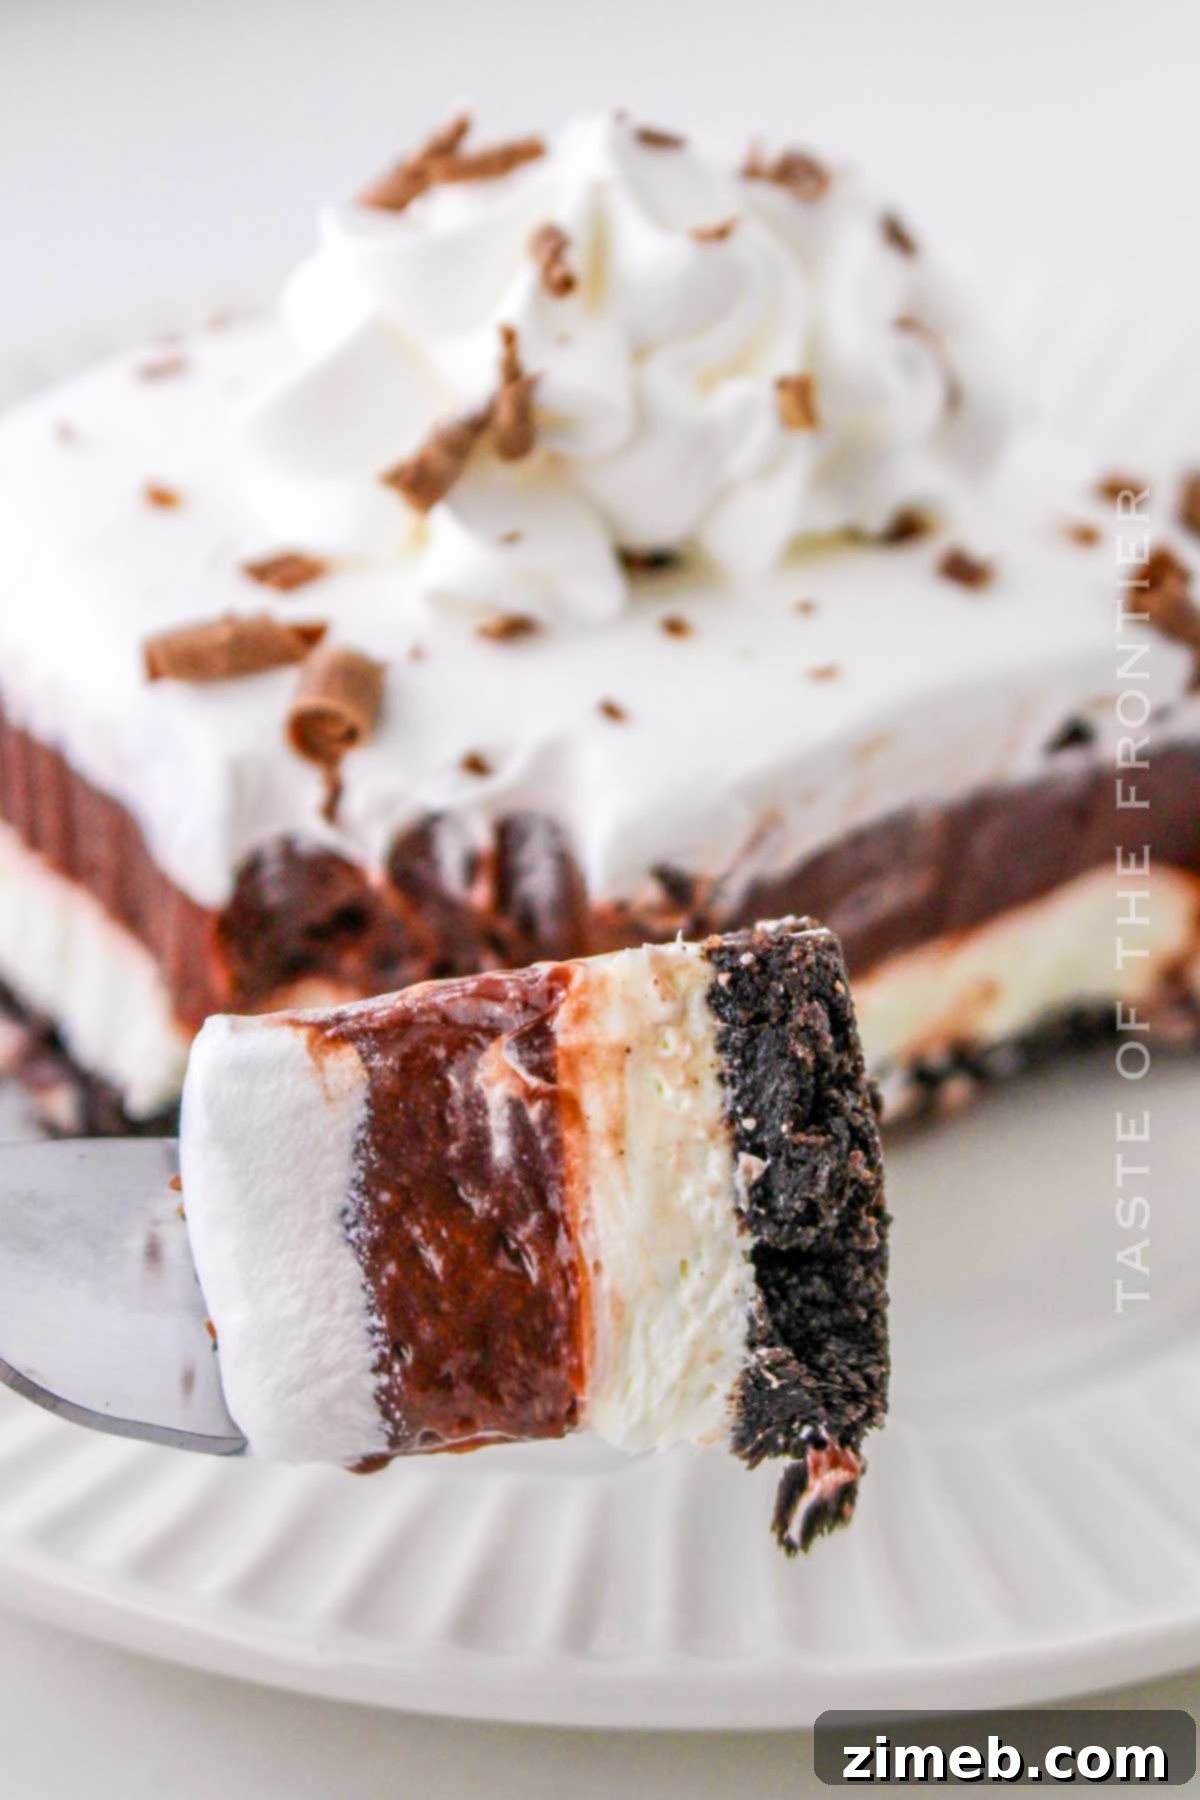
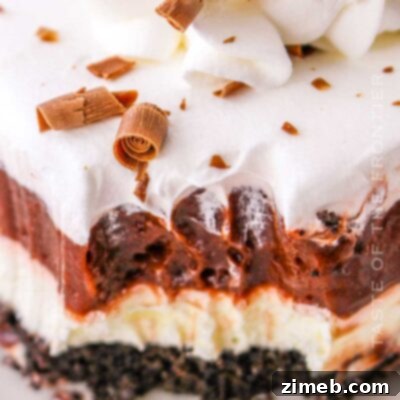
- Visually Stunning & Crowd-Pleasing: With its beautifully defined layers, Chocolate Lush looks incredibly impressive, effortlessly elevating any dessert spread. It’s a guaranteed showstopper that will draw gasps of admiration and leave your guests craving more. Prepare for it to be the star of your next potluck or family dinner!
- Effortless No-Bake Convenience: Forget turning on the oven! This entire dessert comes together without any baking or extensive cooking. It’s a dream for warmer months, busy schedules, or anyone who loves a delicious treat with minimal fuss. This truly is the perfect lazy dessert recipe that tastes like you spent hours in the kitchen.
- A Symphony of Decadence: What’s not to love? This lush dessert features a generous combination of rich chocolate, creamy cream cheese, and a light whipped topping. It’s pure indulgence, a delightful “guilty pleasure” that satisfies every sweet craving. The blend of textures – from crunchy crust to silky pudding – is simply divine.
- Perfect for Any Occasion: Whether it’s a birthday celebration, an impromptu gathering with last-minute guests, Mother’s Day brunch, or simply a weeknight craving, Chocolate Lush fits every bill. Let’s be honest, any occasion that calls for dessert (which is almost all of them!) is the perfect excuse to whip up this irresistible delight.
Essential Ingredients for Chocolate Lush: Notes & Tips
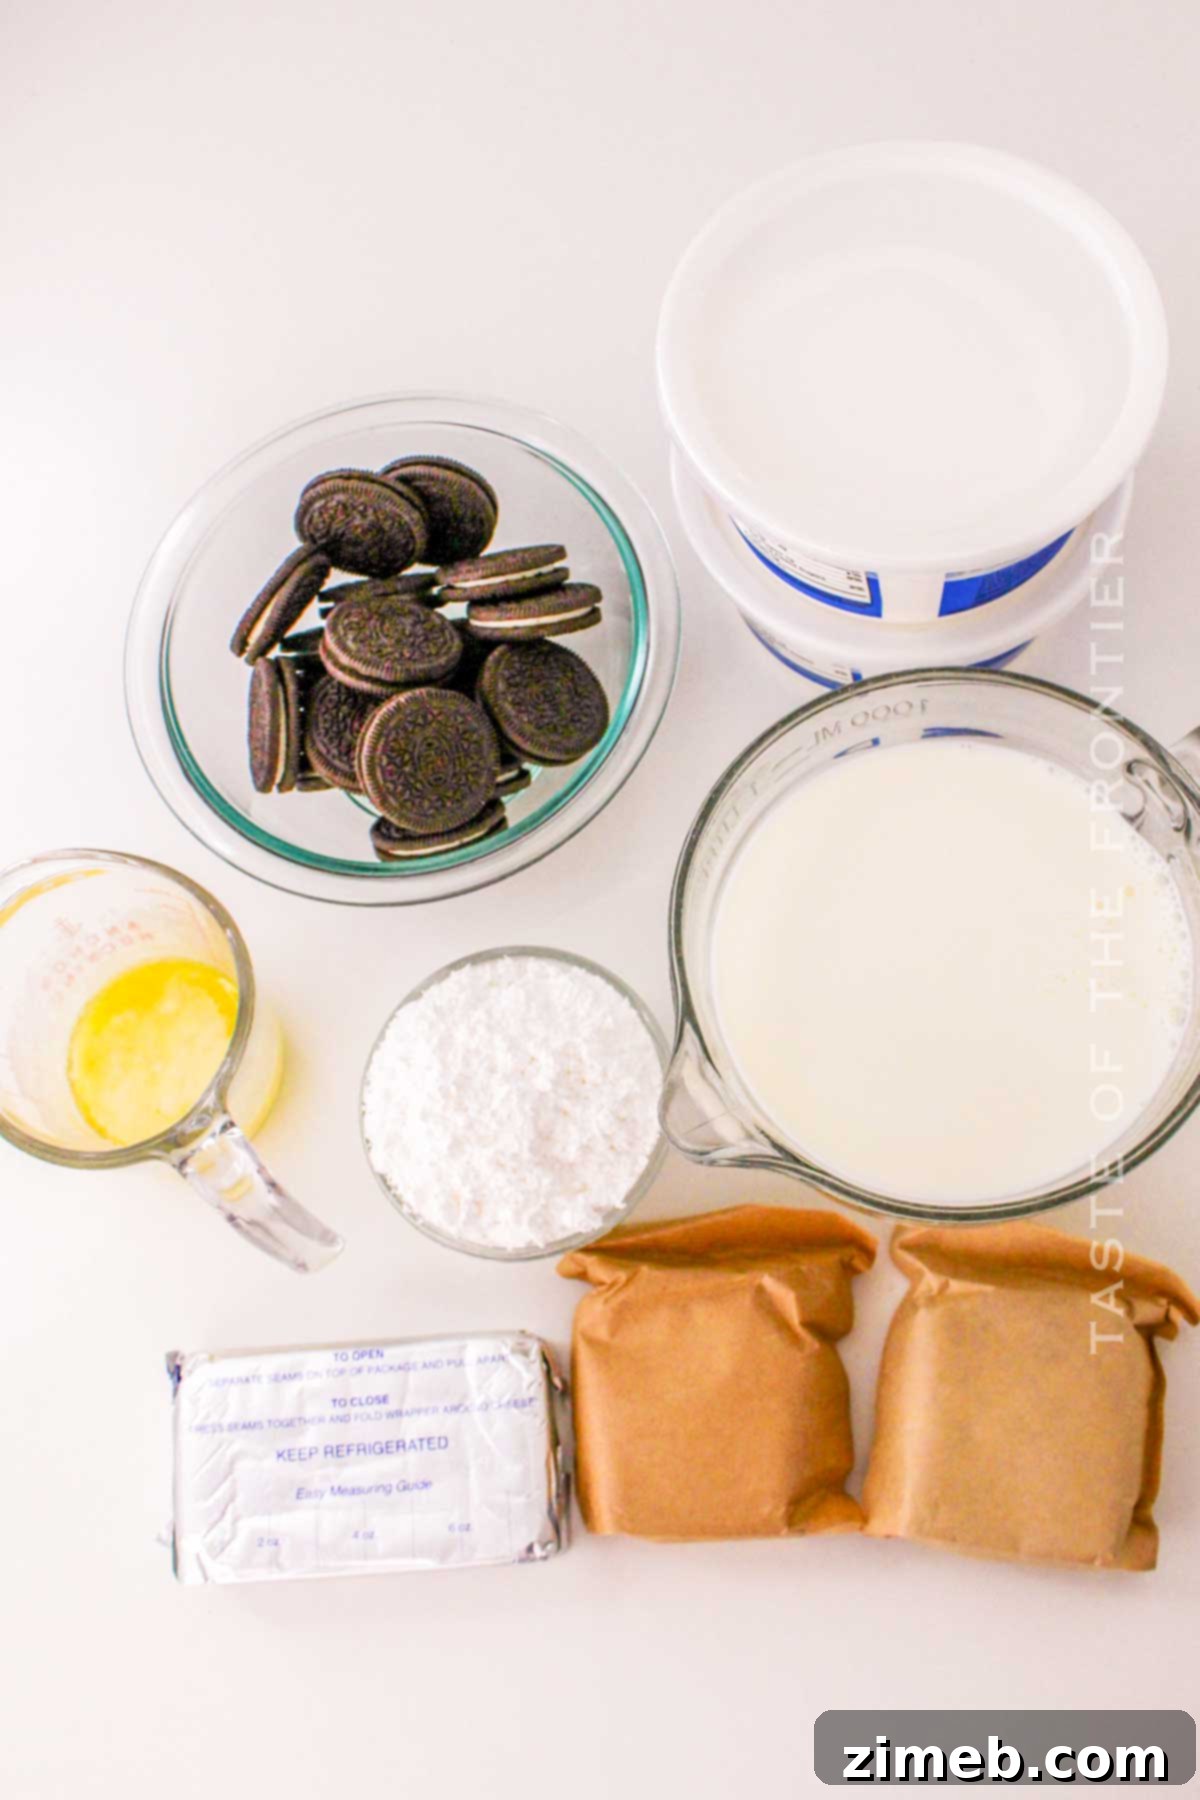
Despite its luxurious appearance and incredible flavor, this easy no-bake dessert relies on just a handful of simple ingredients. It consists of four distinct, no-cook layers: a chocolate cookie crust, a tangy cream cheese layer, a rich chocolate pudding layer, and a generous topping of whipped cream. Four amazing layers, yet only 7 basic ingredients – it truly is that easy! Let’s dive into what you’ll need for each layer:
The Irresistible Oreo Crust
- Chocolate Sandwich Cookies: Oreos are the absolute go-to for this crust. Their deep chocolate flavor and perfect crumb texture make them ideal. You can easily crush them using a rolling pin and a Ziploc bag for a rustic texture, or for finer crumbs, a food processor or blender works wonders. The key is consistent crumbs for an even crust.
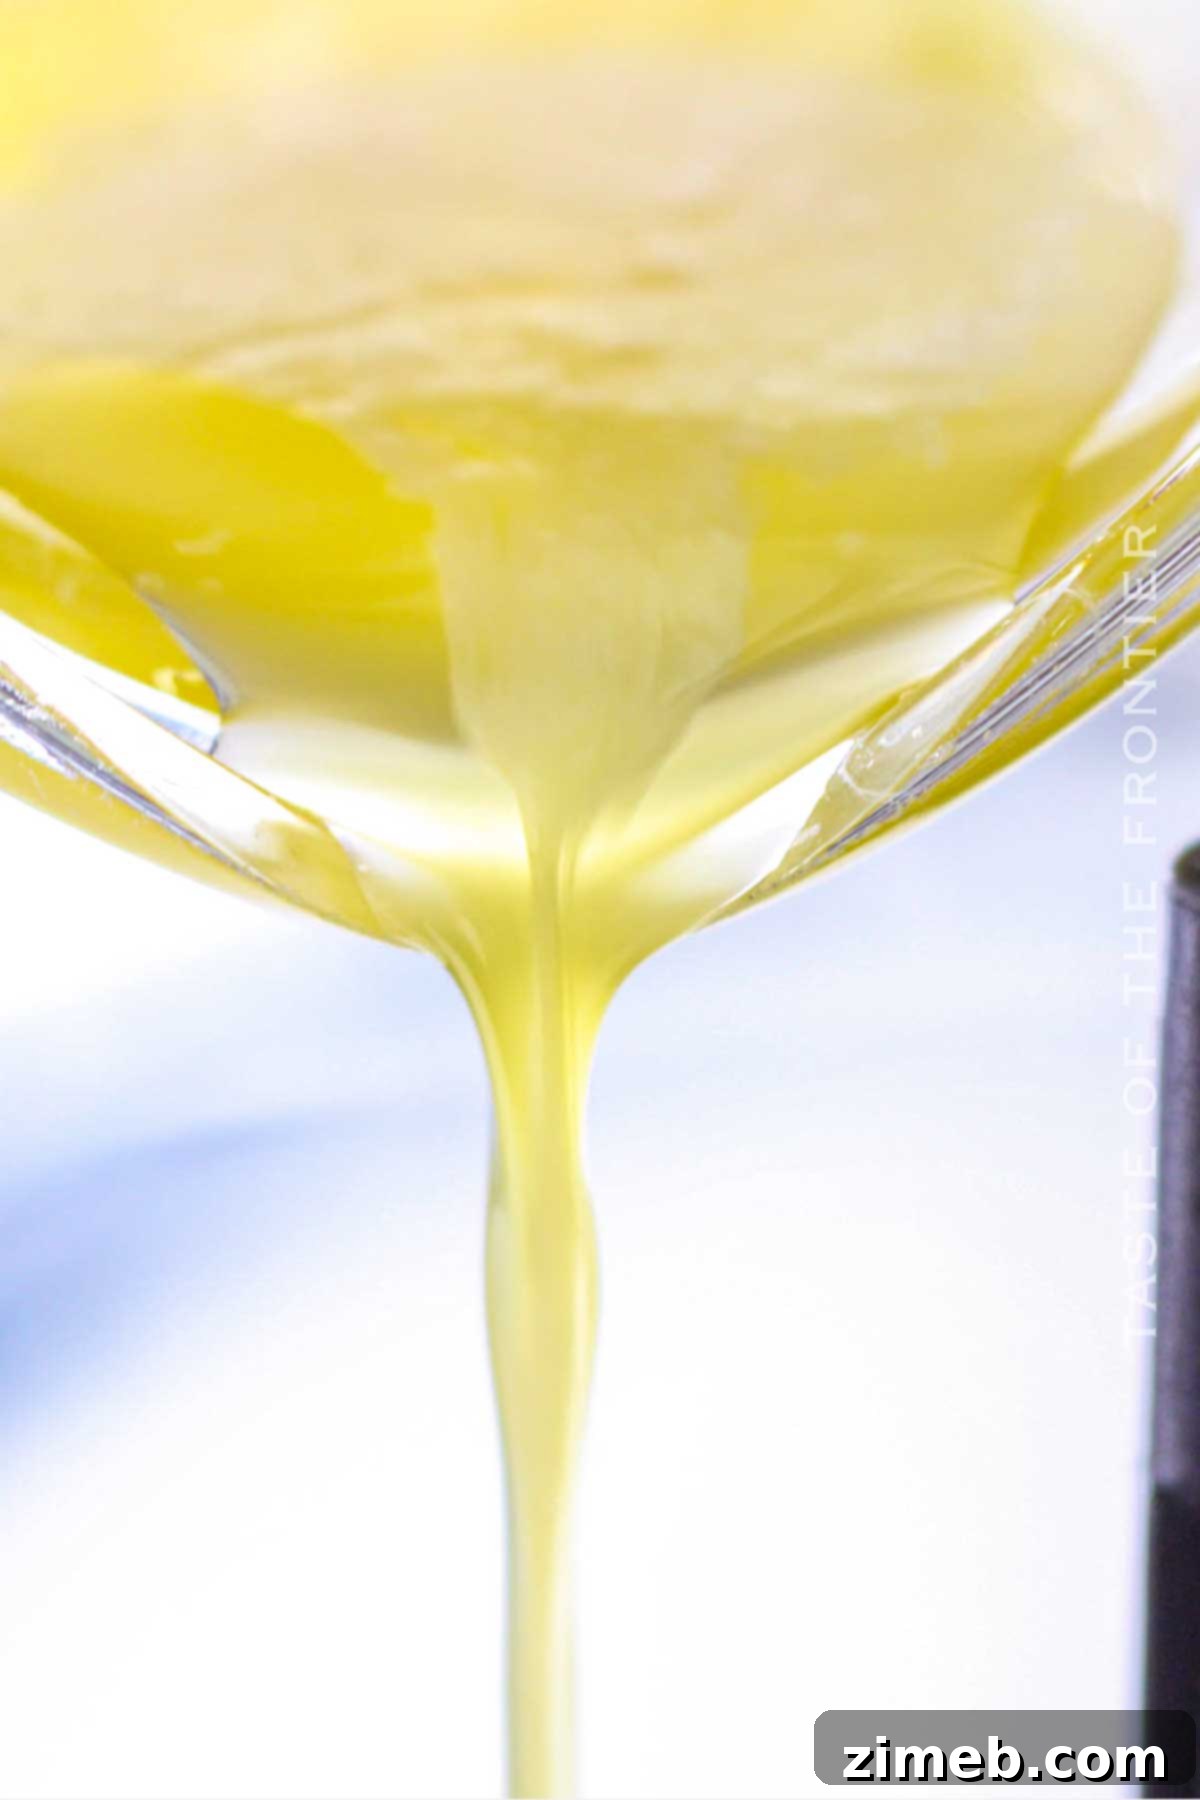
- Melted Butter: This essential ingredient acts as the binder, holding all the crushed cookie crumbs together to form a solid, delectable crust. Unsalted butter is generally preferred in desserts to allow you more control over the overall sweetness and flavor profile.
The Velvety Cream Cheese Layer
- Cream Cheese (Softened): The foundation of our silky-smooth, tangy-sweet layer. Ensure your cream cheese is softened at room temperature for at least 30 minutes to an hour. This step is crucial for achieving a lump-free, perfectly smooth consistency when mixing. For an added touch of aroma and flavor, a dash of vanilla extract can be incorporated.
- Confectioner’s Sugar: Also known as powdered sugar, this fine sugar dissolves beautifully into the cream cheese, creating a smooth and sweet filling without any grainy texture. While confectioner’s sugar is my preferred choice for its superior blendability, regular powdered sugar will yield excellent results as well.
- Whipped Topping (or Homemade Whipped Cream): Brands like Cool Whip are excellent for convenience. If using frozen whipped topping, remember to thaw it overnight in the refrigerator. Alternatively, for a truly fresh and rich flavor, homemade whipped cream is a fantastic option.
The Rich Chocolate Pudding Layer
- Instant Chocolate Pudding Mix: For this recipe, two standard boxes (typically 3.9 oz each, totaling 7.8 oz) of instant chocolate pudding mix are recommended for one whole 12-serving cake. Instant pudding ensures a quick and easy thickening process.
- Cold Milk: This is a critical detail! Always use cold milk to mix instant pudding. Cold temperatures help the pudding set properly and quickly, yielding a firm, creamy texture. For an extra rich and decadent pudding layer, consider using half-and-half instead of regular milk.
The Finishing Touch: Whipped Topping
- Whipped Topping: The final generous layer of fluffy whipped topping completes this magnificent dessert, providing a light contrast to the rich layers below.
- Chocolate Shavings or Grated Chocolate (Optional): For an elegant finish and an extra boost of chocolate flavor, consider garnishing with delicate chocolate shavings or a sprinkle of grated chocolate.
Essential Tools You’ll Need
To assemble your Chocolate Lush with ease and precision, gather these basic kitchen tools:
- 9×13-inch Baking Pan: A standard size for layered desserts. Glass pans are particularly recommended as they beautifully showcase the distinct, colorful layers of your Chocolate Lush, adding to its visual appeal.
- Large Mixing Bowls: You’ll need at least one, possibly two, large mixing bowls for preparing the different layers, ensuring enough space for thorough mixing without spills.
Step-by-Step: Crafting Your Chocolate Lush Dessert
Creating this stunning Chocolate Lush is simpler than you might think. Follow these straightforward steps to assemble your decadent layered dessert:
Layer 1: The Crunchy Cookie Crust
- Begin by crushing your chocolate sandwich cookies in a food processor until they form fine, even crumbs. This consistent texture is key for a uniform crust.
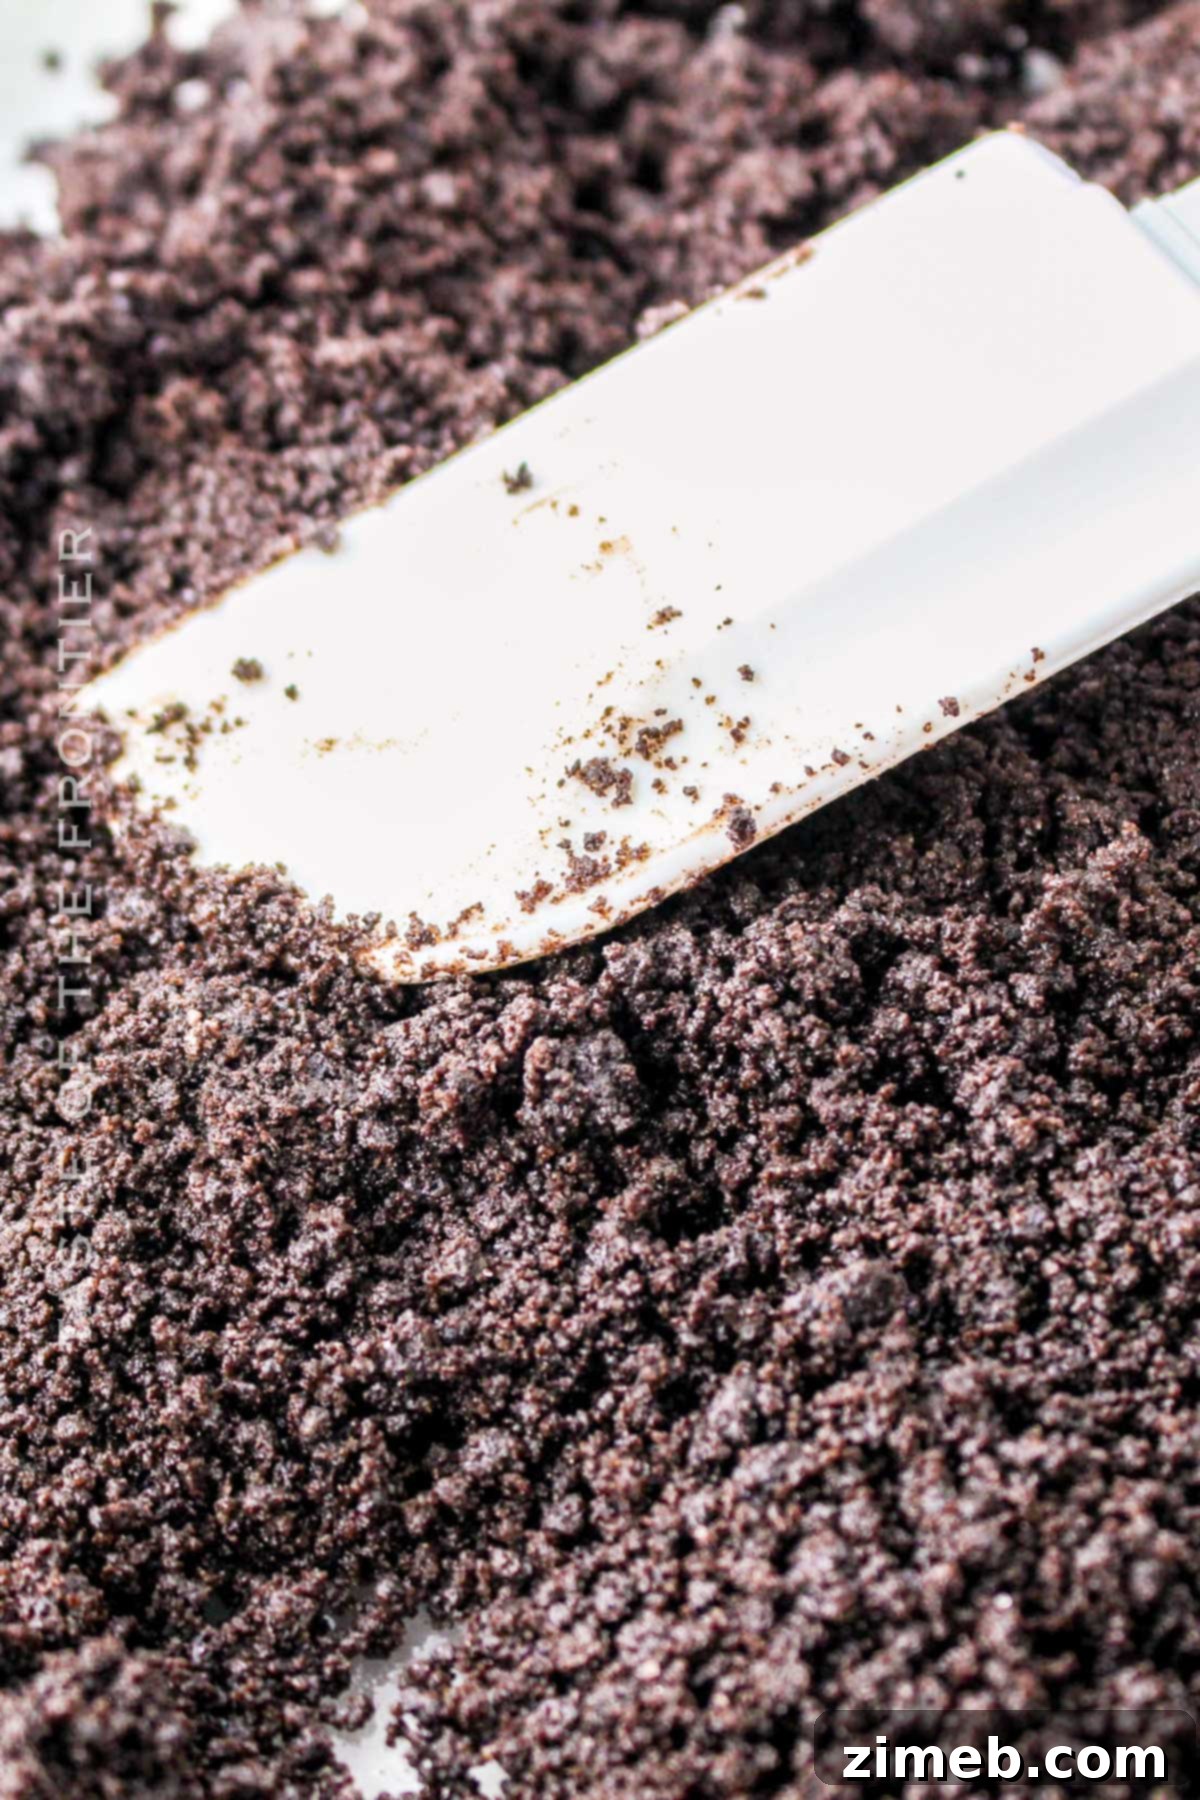
- Pour the melted butter over the cookie crumbs in the food processor. Pulse again briefly until the butter is fully incorporated and the crumbs are moistened and resemble wet sand.
- Transfer this mixture into your 9×13-inch baking dish. Using the bottom of a glass or a flat-bottomed measuring cup, firmly press the cookie mixture into an even, compact layer across the bottom of the pan. This step is crucial; a well-pressed crust will prevent crumbs from mixing with the cream cheese layer, which is dense and “sticky.” Set the crust aside, or even better, chill it in the fridge for 15-30 minutes while you prepare the next layer.
Layer 2: The Creamy Cream Cheese Filling
- In a large mixing bowl, beat the softened cream cheese and confectioner’s sugar together at low speed until the mixture is completely smooth, light, and free of any lumps.
- Gently fold in 1 cup of whipped topping into the cream cheese mixture. Continue folding until it’s fully combined and the mixture is uniformly light and fluffy.
- Carefully spread this rich cream cheese filling evenly over your prepared cookie crust. Take care not to disturb the crust beneath.
Layer 3: The Velvety Chocolate Pudding Layer
- In a separate mixing bowl, whisk together the instant chocolate pudding mix and the cold milk. Whisk continuously for about 2 minutes, or until the mixture begins to thicken considerably.
- Allow the pudding mixture to sit undisturbed for another few minutes (typically no longer than 5 minutes) to fully set and achieve its thick consistency.
- Once thickened, carefully spread the chocolate pudding layer evenly over the cream cheese layer.
Layer 4: The Fluffy Whipped Topping
- Gently spread the remaining 2 cups of whipped topping over the chocolate pudding layer, creating the final, airy top layer of your dessert.
- Cover the dish tightly with plastic wrap. This is essential to prevent the top layer from drying out and absorbing refrigerator odors.
- Refrigerate the Chocolate Lush for a minimum of 4 hours, or ideally overnight, before serving. This chilling time allows all the layers to set firmly and the flavors to meld beautifully.
Creative Garnish Ideas to Elevate Your Chocolate Lush
While delicious on its own, a thoughtful garnish can transform your Chocolate Lush into an even more spectacular dessert. These optional additions provide extra flavor, texture, and visual appeal:
- Chocolate Shavings or Grated Chocolate: For an elegant and intense chocolate boost, sprinkle finely shaved or grated dark, milk, or white chocolate over the top.
- Coconut Shavings or Toasted Coconut: Add a tropical flair with a sprinkle of delicate coconut shavings, or toast them lightly for a nutty, golden crunch.
- Fresh Berries: Brighten the dessert with a pop of color and fresh flavor by arranging sliced strawberries, whole blueberries, or a mix of raspberries on top.
- Chopped Nuts: For added crunch and a rich, earthy flavor, sprinkle chopped pecans, hazelnuts, or walnuts. Lightly toasting them beforehand enhances their aroma and taste.
- Chocolate Drizzle or Mini Chips: Drizzle some decadent chocolate sauce or caramel sauce over the whipped topping. Alternatively, a scattering of mini chocolate chips or even peanut butter pieces can add a playful touch.
- Cocoa Powder Dusting: If you prefer to keep things simple and sophisticated, a light dusting of cocoa powder offers a beautiful, subtle finish.
Storing Your Delicious Chocolate Lush
Proper storage ensures your Chocolate Lush remains fresh and delightful for as long as possible:
- Refrigeration: Store any leftover Chocolate Lush in the refrigerator, tightly covered with plastic wrap, for up to 3 days. The plastic wrap is crucial to maintain freshness and prevent the dessert from absorbing other food odors.
- Freezing: This dessert generally does not freeze exceptionally well due to the dairy-heavy layers, which can alter in texture upon thawing. If you absolutely must freeze it, wrap it very tightly in plastic wrap and then aluminum foil, and store for a maximum of one week. Thaw it completely on the kitchen counter for a few hours before serving. Expect a slight change in texture, particularly in the whipped topping and cream cheese layers.
- Advance Preparation: You can easily make Chocolate Lush 4 hours ahead of time or even prepare it the night before. In fact, longer chilling times often allow the flavors to meld more deeply, enhancing the overall taste. Be aware that the longer it sits in the fridge, the softer the cookie crust may become.
Exciting Substitutions and Creative Variations
One of the best aspects of Chocolate Lush is its versatility. Feel free to customize this dessert to suit your taste preferences or whatever ingredients you have on hand:
- Pudding Flavor Swaps: The simplest way to customize this dessert is by swapping the chocolate pudding for another flavor. Vanilla pudding is a classic and popular choice, offering a milder, comforting profile. For something different, try banana or pistachio pudding. If you’re feeling adventurous, lemon pudding can create a wonderful sweet and tart combination. Imagine a vanilla lemon lush delight with shredded coconut and lemon zest – truly heavenly!
- Crust Alternatives: While Oreos are fantastic, other easy crust options include a classic graham cracker crust, a buttery shortbread crust, or crushed vanilla wafers. For a more sophisticated touch, you could prepare a nut crust by mixing finely chopped nuts, melted butter, and a touch of all-purpose flour, then baking it briefly for about 10 minutes until lightly golden.
- Flavoring the Cream Cheese Layer: Infuse your cream cheese layer with different flavors. Add a few drops of lemon extract for a bright tang, extra vanilla for warmth, or even a spoonful of creamy peanut butter for a delightful chocolate-peanut butter combination.
- Lighter Options: This recipe is naturally quite rich in sugar and calories. However, you can easily lighten it up by opting for light cream cheese, low-calorie whipped cream, and sugar-free instant pudding mixes without sacrificing much flavor.
- Homemade From Scratch: For those who enjoy baking from the ground up, every component of this dessert—from the cookie crust to the pudding and whipped cream—can be made from scratch. This takes more time but allows for complete control over ingredients and flavor depth.
Pro Tips for the Best Chocolate Lush Dessert
Achieve perfection with your Chocolate Lush by incorporating these expert tips:
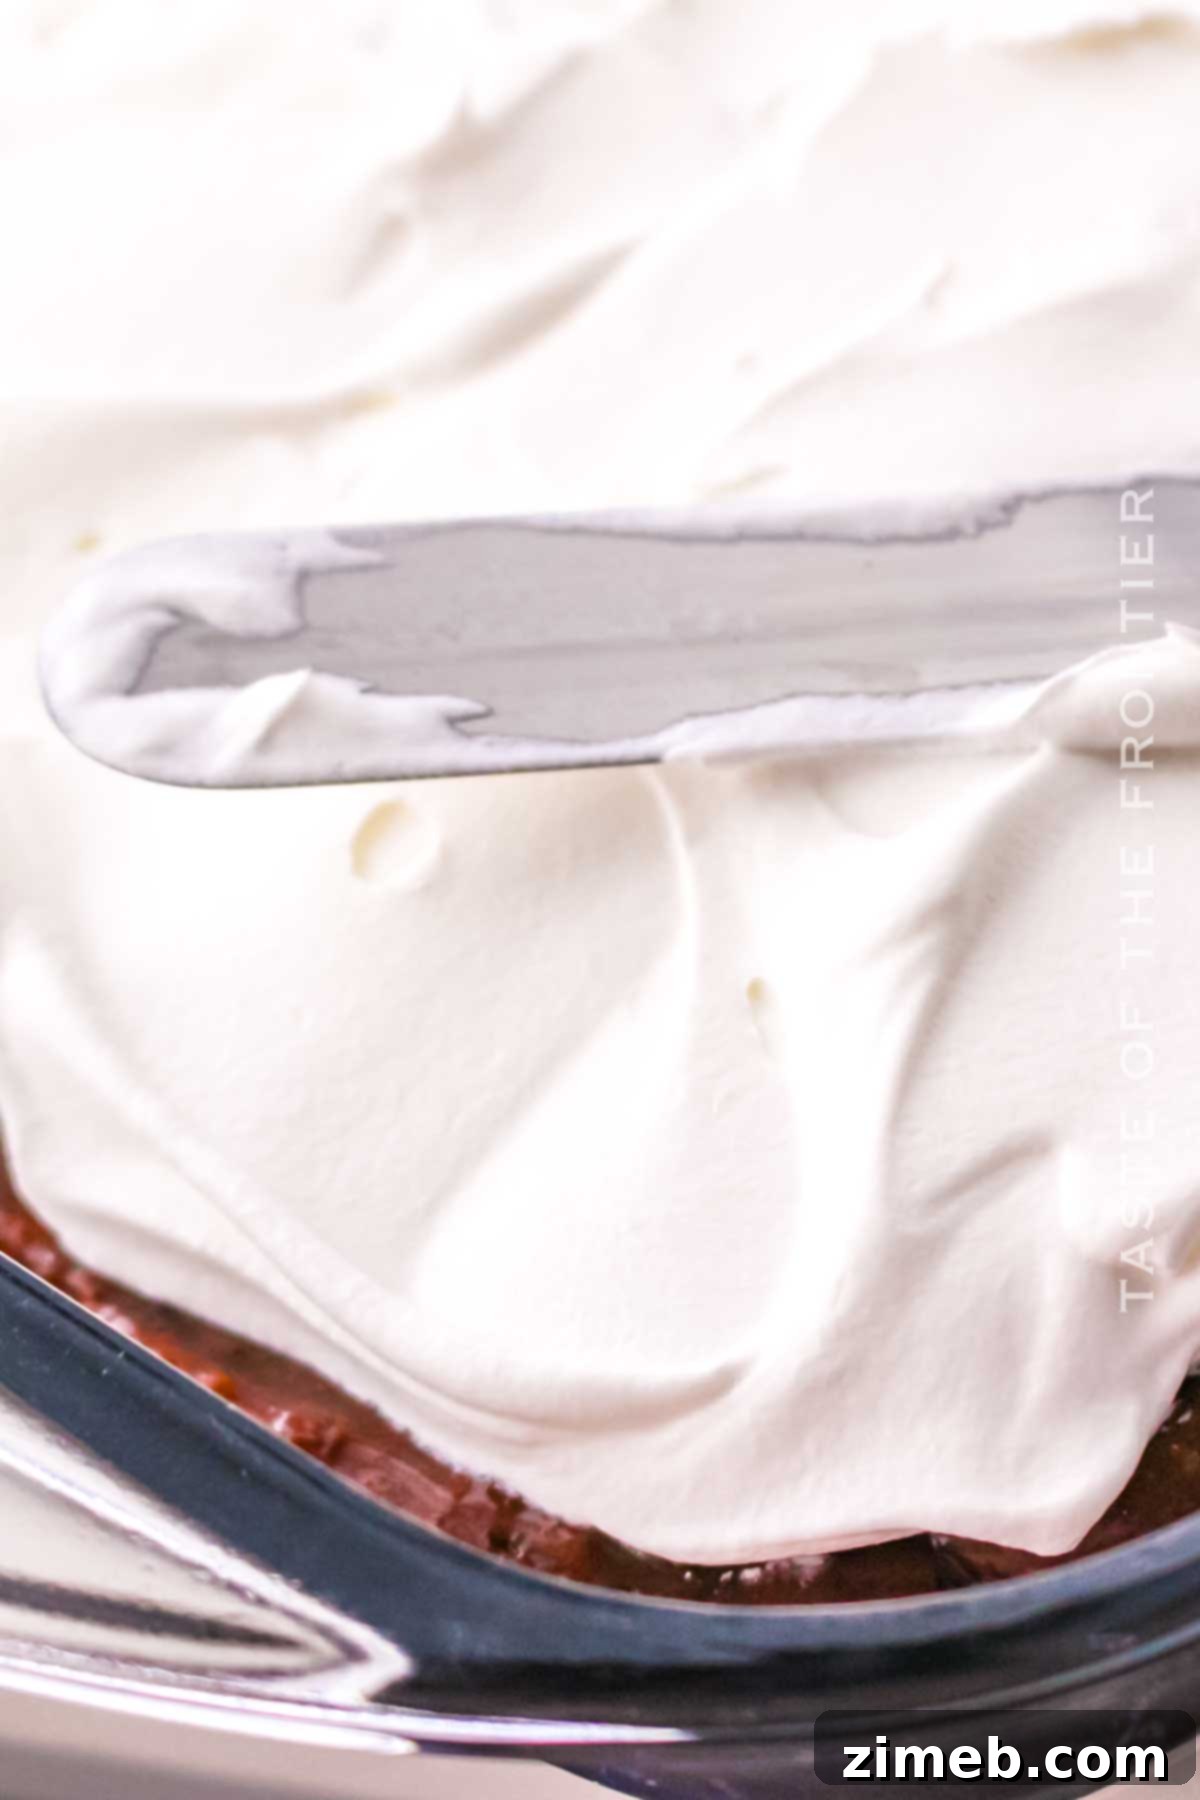
- Offset Spatulas for Smooth Spreading: For a flawlessly even layer, use an offset spatula when spreading the cream cheese and whipped topping. Their angled blade makes it much easier to distribute the creamy mixtures smoothly across the large surface area.
- Choose Regular Oreos: Opt for regular chocolate sandwich cookies, not “double stuffed” or extra-filled varieties, for the crust. The extra cream in double-stuffed Oreos can alter the fat-to-crumb ratio, potentially making the crust less stable and harder to set.
- Toast Your Nuts for Garnish: If you plan to use nuts for garnish, such as pecans, walnuts, or hazelnuts, always toast them first. Toasting brings out their natural oils and intensifies their nutty flavor, adding a richer dimension to your dessert. Simply spread them on a baking sheet and bake at 325-350°F (160-175°C) for 15-20 minutes until lightly browned and fragrant. For topping, finely chopped nuts (pulsed in a food processor) adhere better and provide a more even crunch.
- Extra Creamy Pudding: To make your pudding layer exceptionally creamy and even sweeter, consider mixing in a full can of sweetened condensed milk along with the cold milk when preparing the instant pudding. This creates a richer, more luxurious texture.
- Chill the Crust: After pressing the cookie crust into the pan, chill it in the fridge for at least 15-30 minutes before adding the cream cheese layer. A chilled, firm crust makes it significantly easier to spread the dense cream cheese filling without disturbing the crumbs below.
If you’ve fallen in love with this easy no-bake recipe, you’ll be thrilled to discover these other effortless and delicious desserts. Click each link below to find the full recipe and add more sweet treats to your collection!
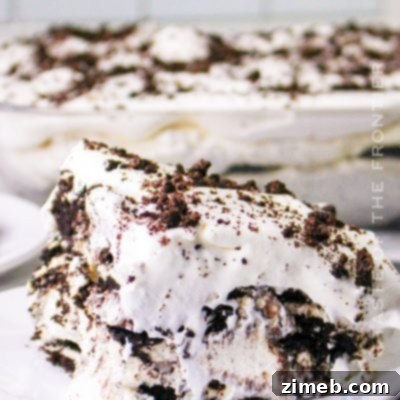
Oreo Icebox Cake
This Oreo Icebox Cake is the perfect no-bake summer treat for all your parties and get-togethers. So creamy and packed full of Oreo-flavor.
Check out this recipe
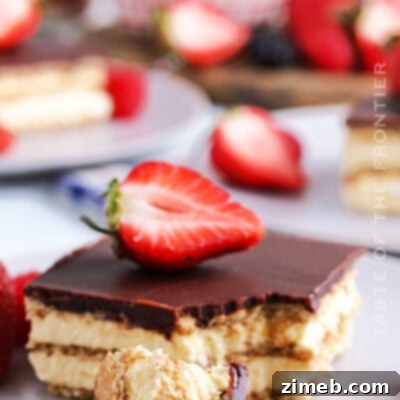
Eclair Cake
This delightful Eclair Cake has layers of creamy vanilla pudding, graham crackers, and is topped with a rich chocolate ganache.
Check out this recipe
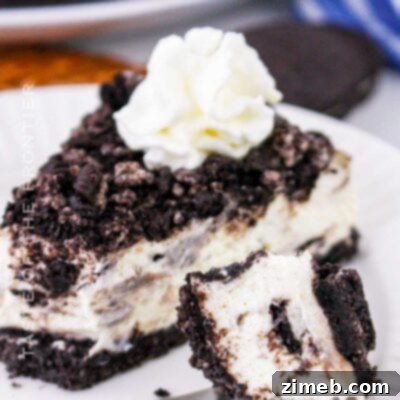
No Bake Oreo Cheesecake
Indulge in this easy and delicious No Bake Oreo Cheesecake! With a creamy filling and a crunchy Oreo crust, this dessert is perfect for any occasion.
Check out this recipe
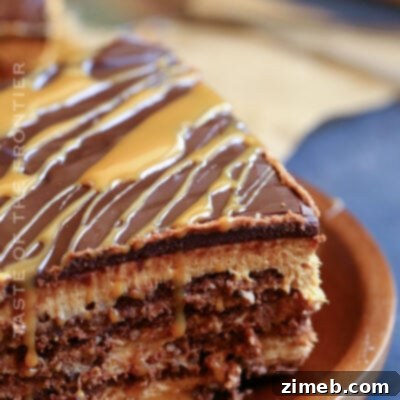
Chocotorta
No-bake Chocotorta dessert has layers of chocolate cookies, whipped dulce de leche, and luscious ganache. It will satisfy any sweet craving.
Check out this recipe
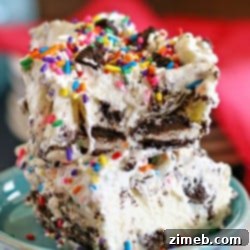
Cake Batter Oreo Cheesecake Dessert
This Cake Batter Oreo Cheesecake Dessert is the perfect no-bake treat to get you through the warm months. Cake batter Oreos & creamy cheesecake flavor is heaven.
Check out this recipe
Discover More Fantastic Lush Dessert Recipes
If you’re now a fan of the “lush” dessert concept, you’ll love exploring these other delightful variations:
Lemon Lush Dessert: A bright, zesty, and refreshing alternative perfect for citrus lovers.
Halloween Lush: A fun, festive, and spooky twist on the classic, ideal for holiday gatherings.
Chocolate Mint Lush Dessert: The invigorating combination of cool mint and rich chocolate in a layered masterpiece.
Strawberry Delight: A sweet, fruity, and vibrant dessert featuring fresh strawberries.
CONNECT WITH YUMMI HAUS!
Be sure to follow me on my social media, so you never miss a post!
Substack, FB, Pinterest, IG, Email Subscription
Rate this Recipe
Chocolate Lush
Servings: 12 servings
Chocolate Lush is an easy no-bake dessert that’s perfect for serving at all your backyard BBQs, potlucks, and every holiday celebration!
Pin Recipe
Chill Time: 4 hrs
Total Time: 4 hrs 30 mins
Ingredients
Crust
- 20 chocolate sandwich cookies
- ¼ cup melted butter
Cream Cheese Layer
- 8 oz cream cheese, softened
- 1 cup confectioner’s sugar
- 1 cup whipped topping (such as Cool Whip)
Chocolate Pudding Layer
- 7.8 ounces instant chocolate pudding mix (TWO 3.9 oz boxes)
- 3 ¼ cups cold milk
Topping
- 2 cups whipped topping
- Chocolate shavings or grated chocolate (optional, for garnish)
Instructions
Crust
- Crush the chocolate cookies in a food processor until evenly crumbled. Add the melted butter and pulse again until well-mixed and moistened.
- Transfer the mixture to a 9×13 dish and press into an even layer to form the crust. Set aside.
Filling
- Beat the softened cream cheese and confectioner’s sugar in a mixing bowl until smooth.
- Fold in 1 cup of whipped topping until fully combined.
- Spread this mixture evenly over the prepared crust.
- Whisk the chocolate pudding mix and cold milk in another mixing bowl for about 2 minutes until it thickens.
- Allow the pudding to set for a few minutes, then spread it over the cream cheese layer.
- Spread the remaining 2 cups of whipped topping over the chocolate pudding to make the top layer.
- Cover the dish with plastic wrap and refrigerate for at least 4 hours, or until set before serving.
Notes
Optional: Garnish with chocolate shavings or grated chocolate for an extra touch of elegance.
Nutrition
Serving: 1 serving | Calories: 373kcal | Carbohydrates: 47g | Protein: 5g | Fat: 19g | Saturated Fat: 9g | Cholesterol: 36mg | Sodium: 923mg | Potassium: 179mg | Fiber: 1g | Sugar: 26g | Calcium: 36mg | Iron: 2mg | Net Carbohydrates: 33g
Nutritional information for the recipe is provided as a courtesy and is approximate. Please double-check with your own dietary calculator for the best accuracy. We at Yummi Haus cannot guarantee the accuracy of the nutritional information given for any recipe on this site.
Love this recipe?
Follow @KleinworthCo for even more tasty recipes!