
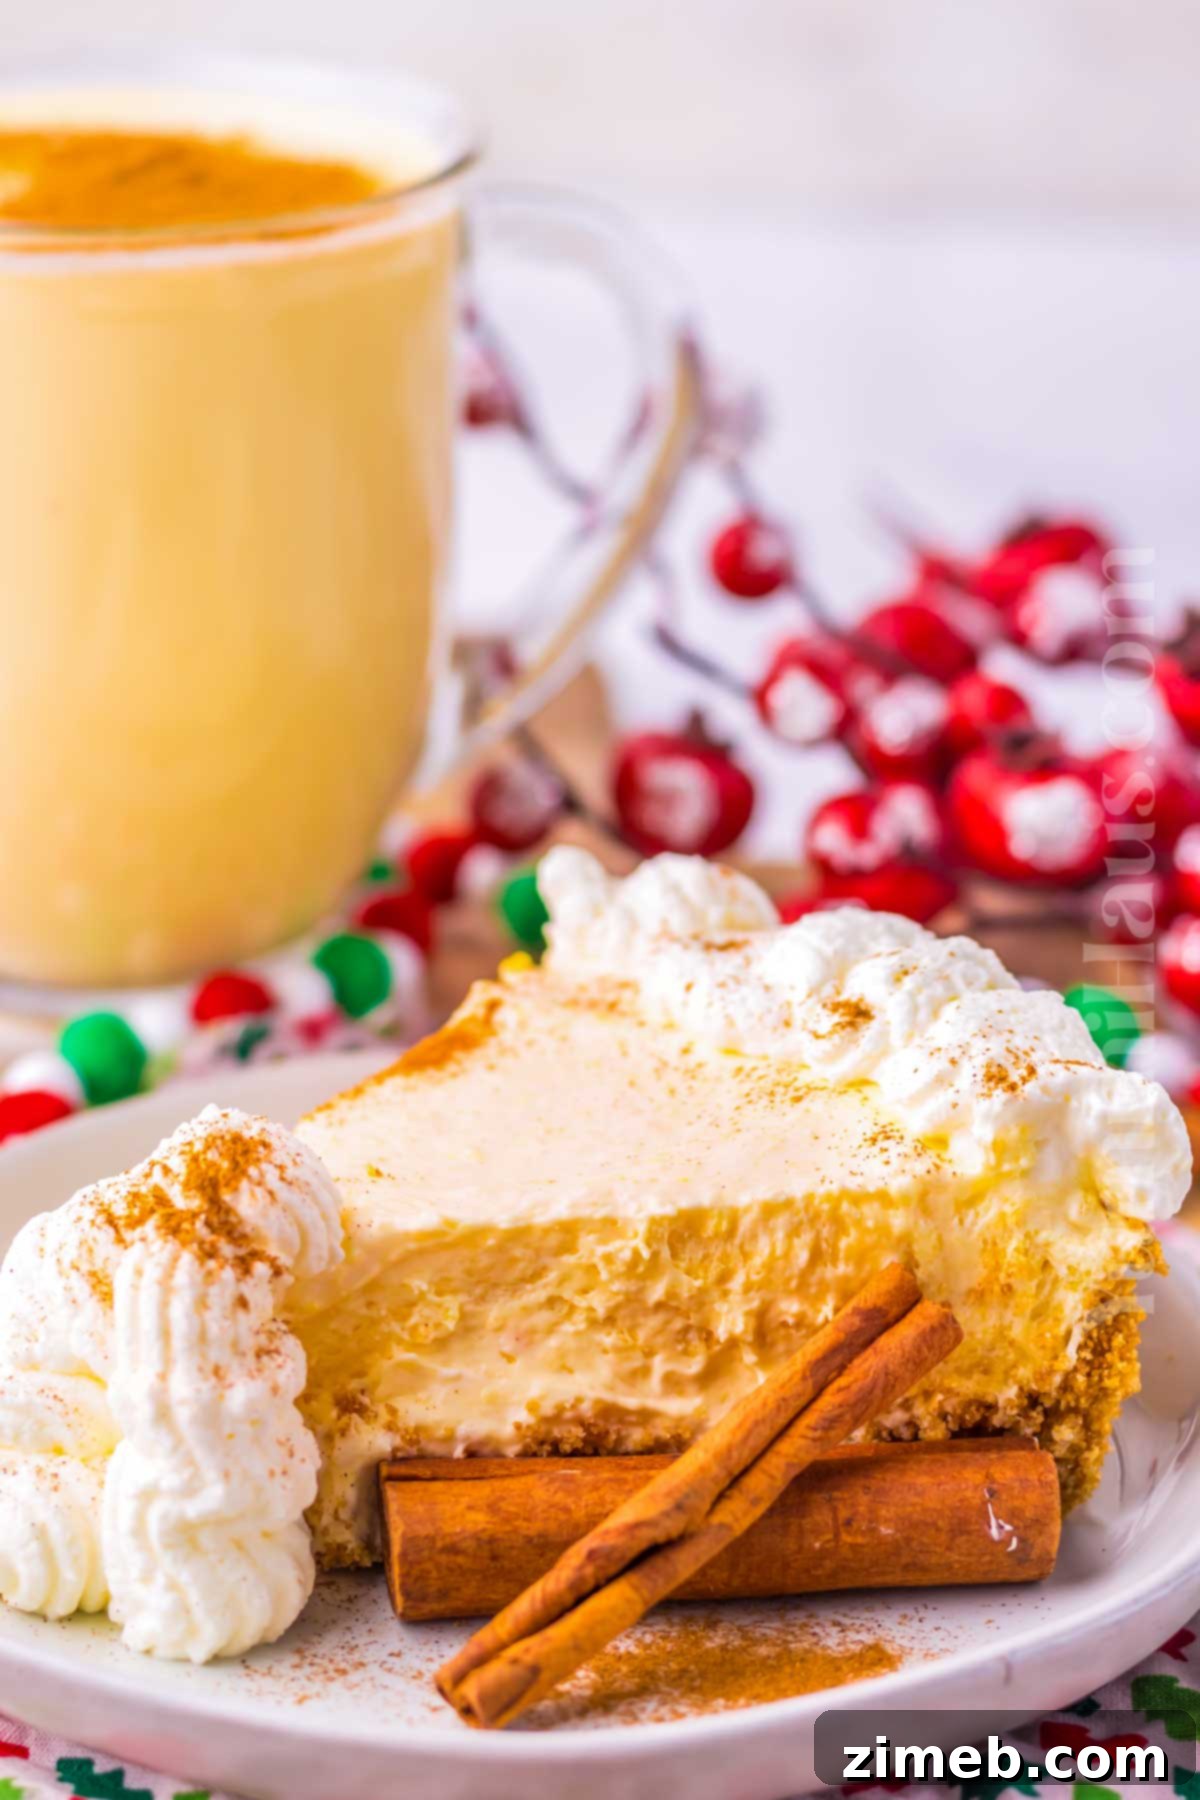
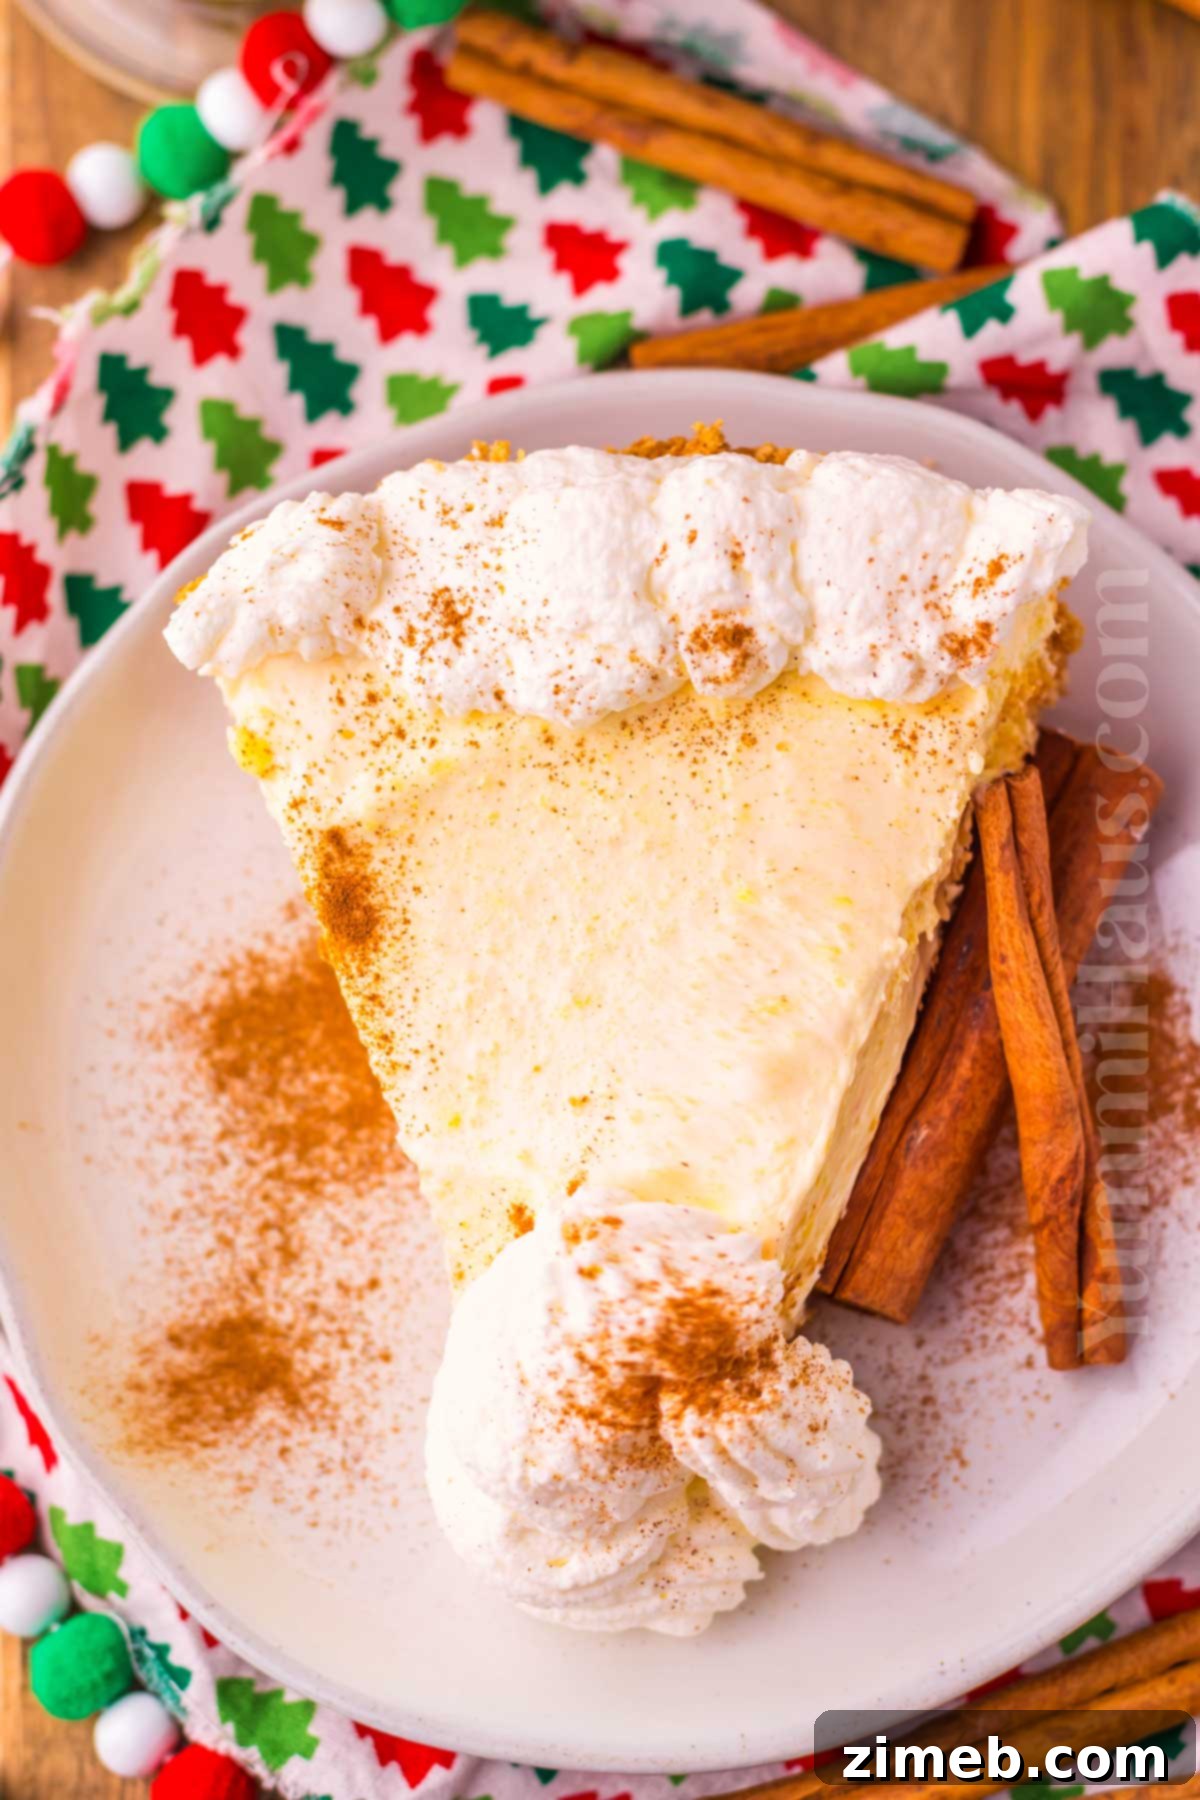
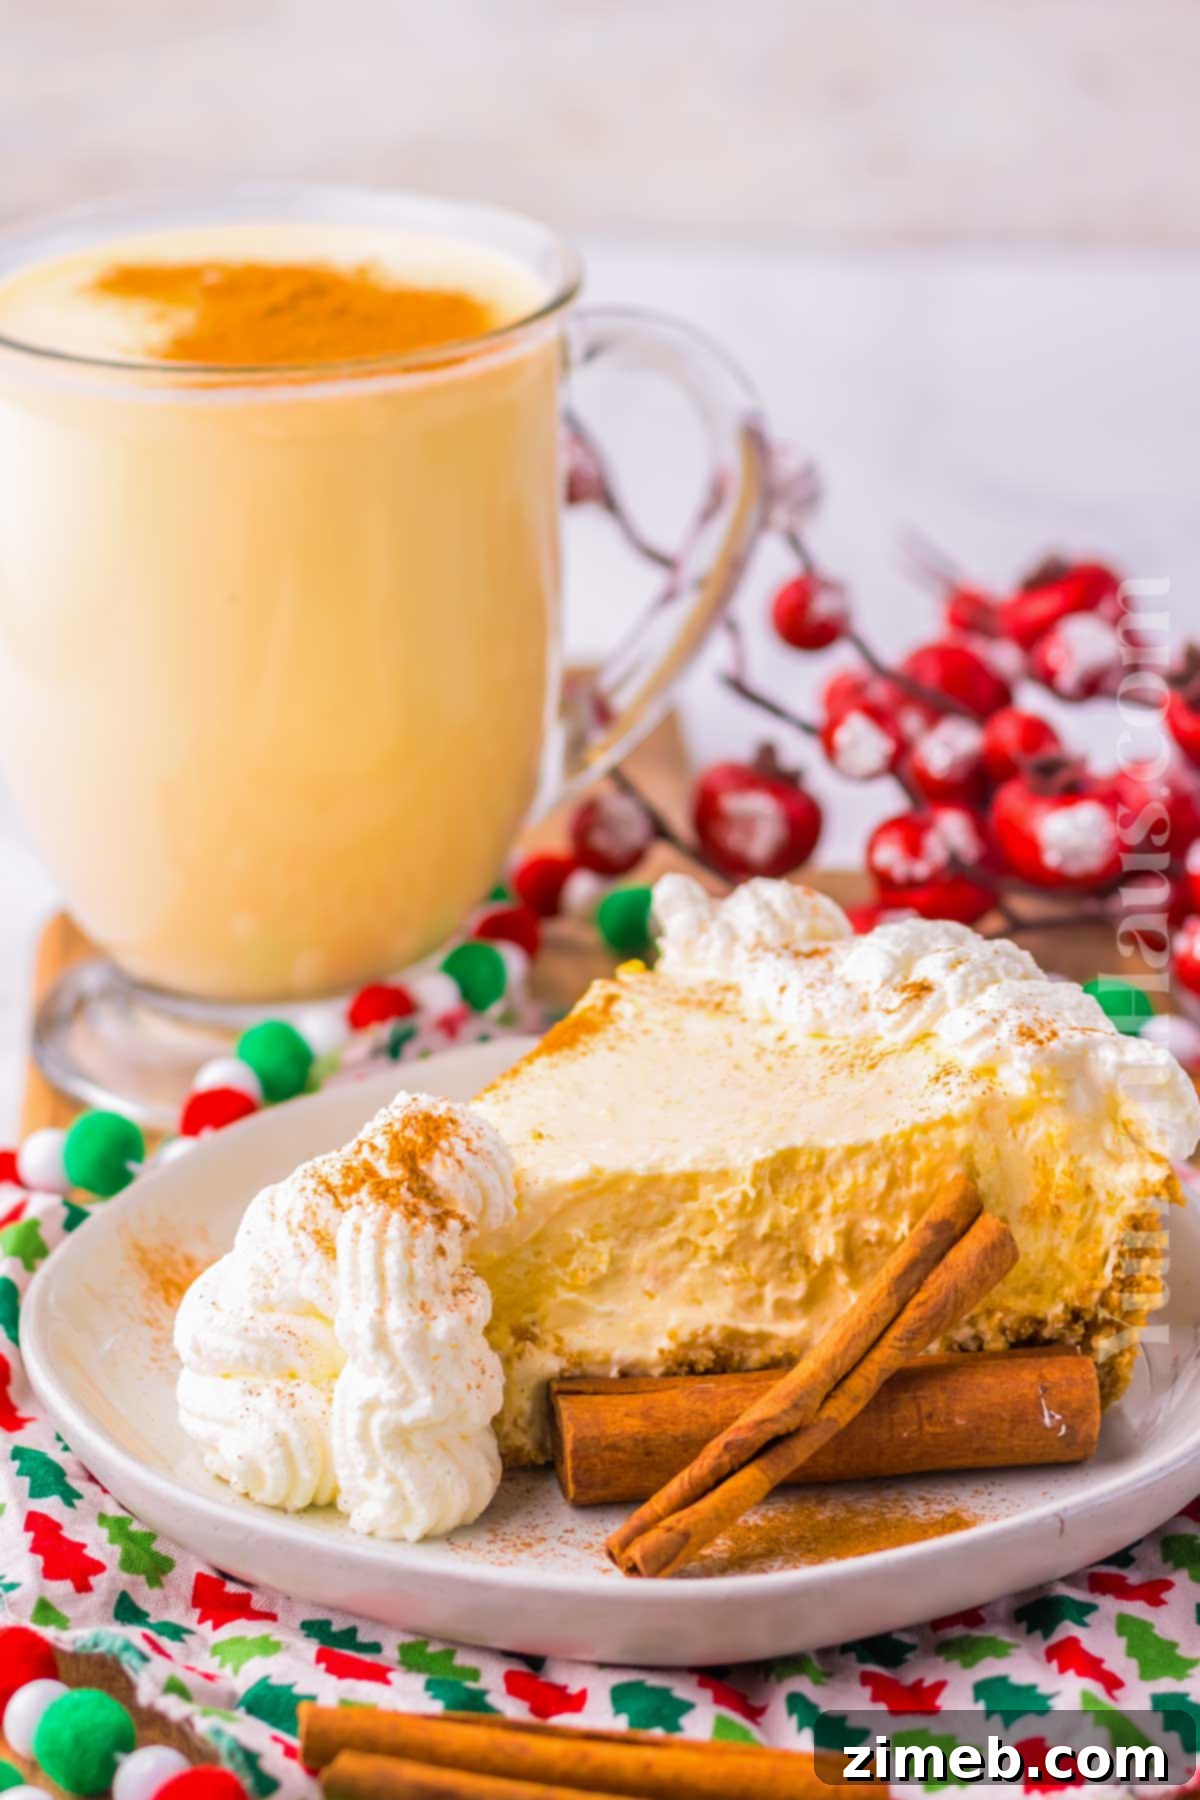
Welcome to the ultimate guide for creating a simply divine dessert that captures the essence of the holiday season without ever needing to turn on your oven. This no-bake eggnog pie is an absolute showstopper, featuring a perfectly light and crisp Graham cracker crust, cradling a rich, velvety filling bursting with the festive flavor of eggnog, creamy pudding, and fluffy whipped cream. Crowned with even more whipped cream and a delicate dusting of cinnamon, it’s a dessert that promises pure joy with every single bite.
If you’re a true eggnog enthusiast, you know this classic holiday beverage isn’t just for sipping. It’s an incredibly versatile ingredient that can elevate a myriad of Christmas treats. Among all the delightful eggnog recipes out there, this no-bake pie stands out as a personal favorite. It’s incredibly quick to prepare, requires minimal effort, and the results are consistently spectacular. Prepare to impress your family and friends with a dessert that tastes like it took hours, but only asks for minutes of your precious holiday time.
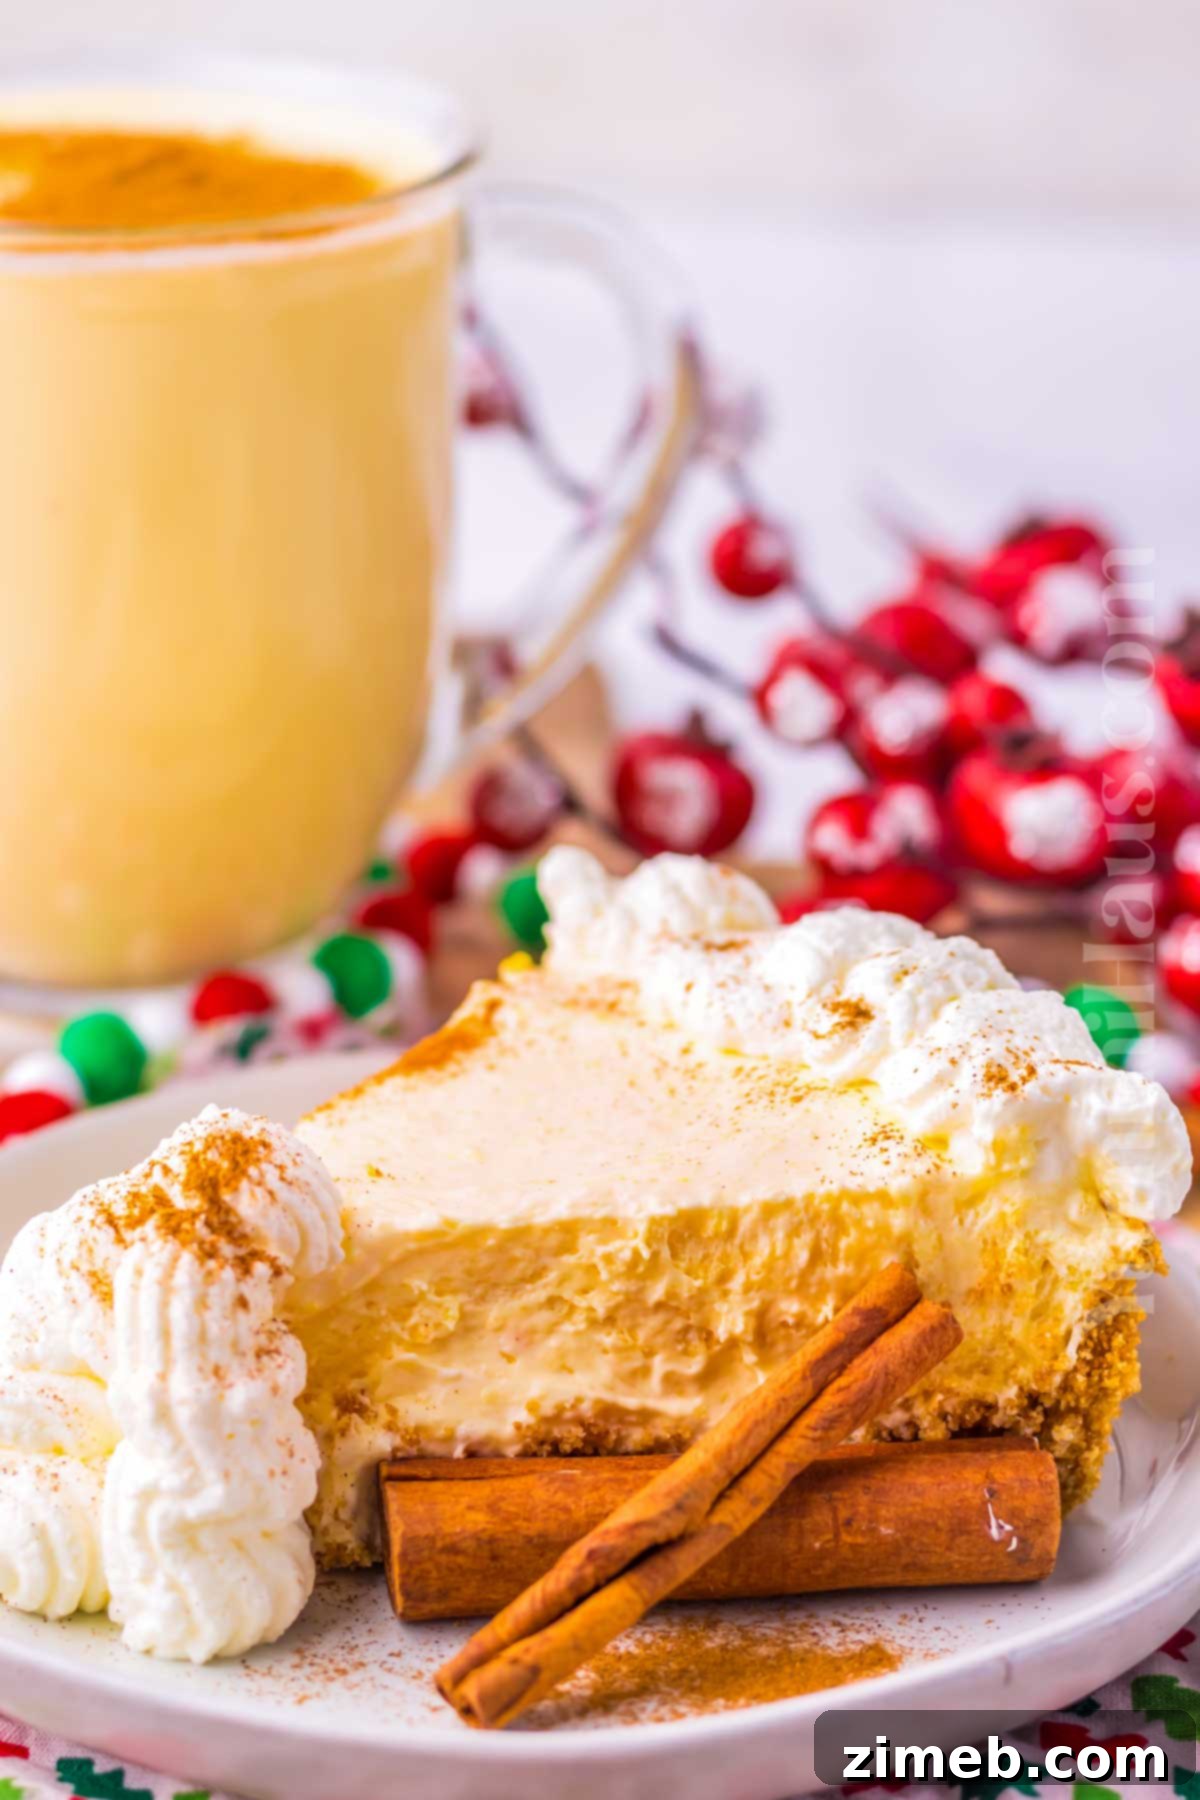
The beauty of this No-Bake Eggnog Pie lies in its incredible convenience. It can be effortlessly made ahead of time, freeing you up to enjoy the festivities without last-minute kitchen stress. Imagine serving this magnificent dessert for your Thanksgiving feast, Christmas Eve celebration, or New Year’s Eve dinner – its elegant presentation and irresistible flavor are guaranteed to be a hit. It’s the perfect sweet ending to any holiday gathering, bringing smiles and festive cheer to everyone at the table.
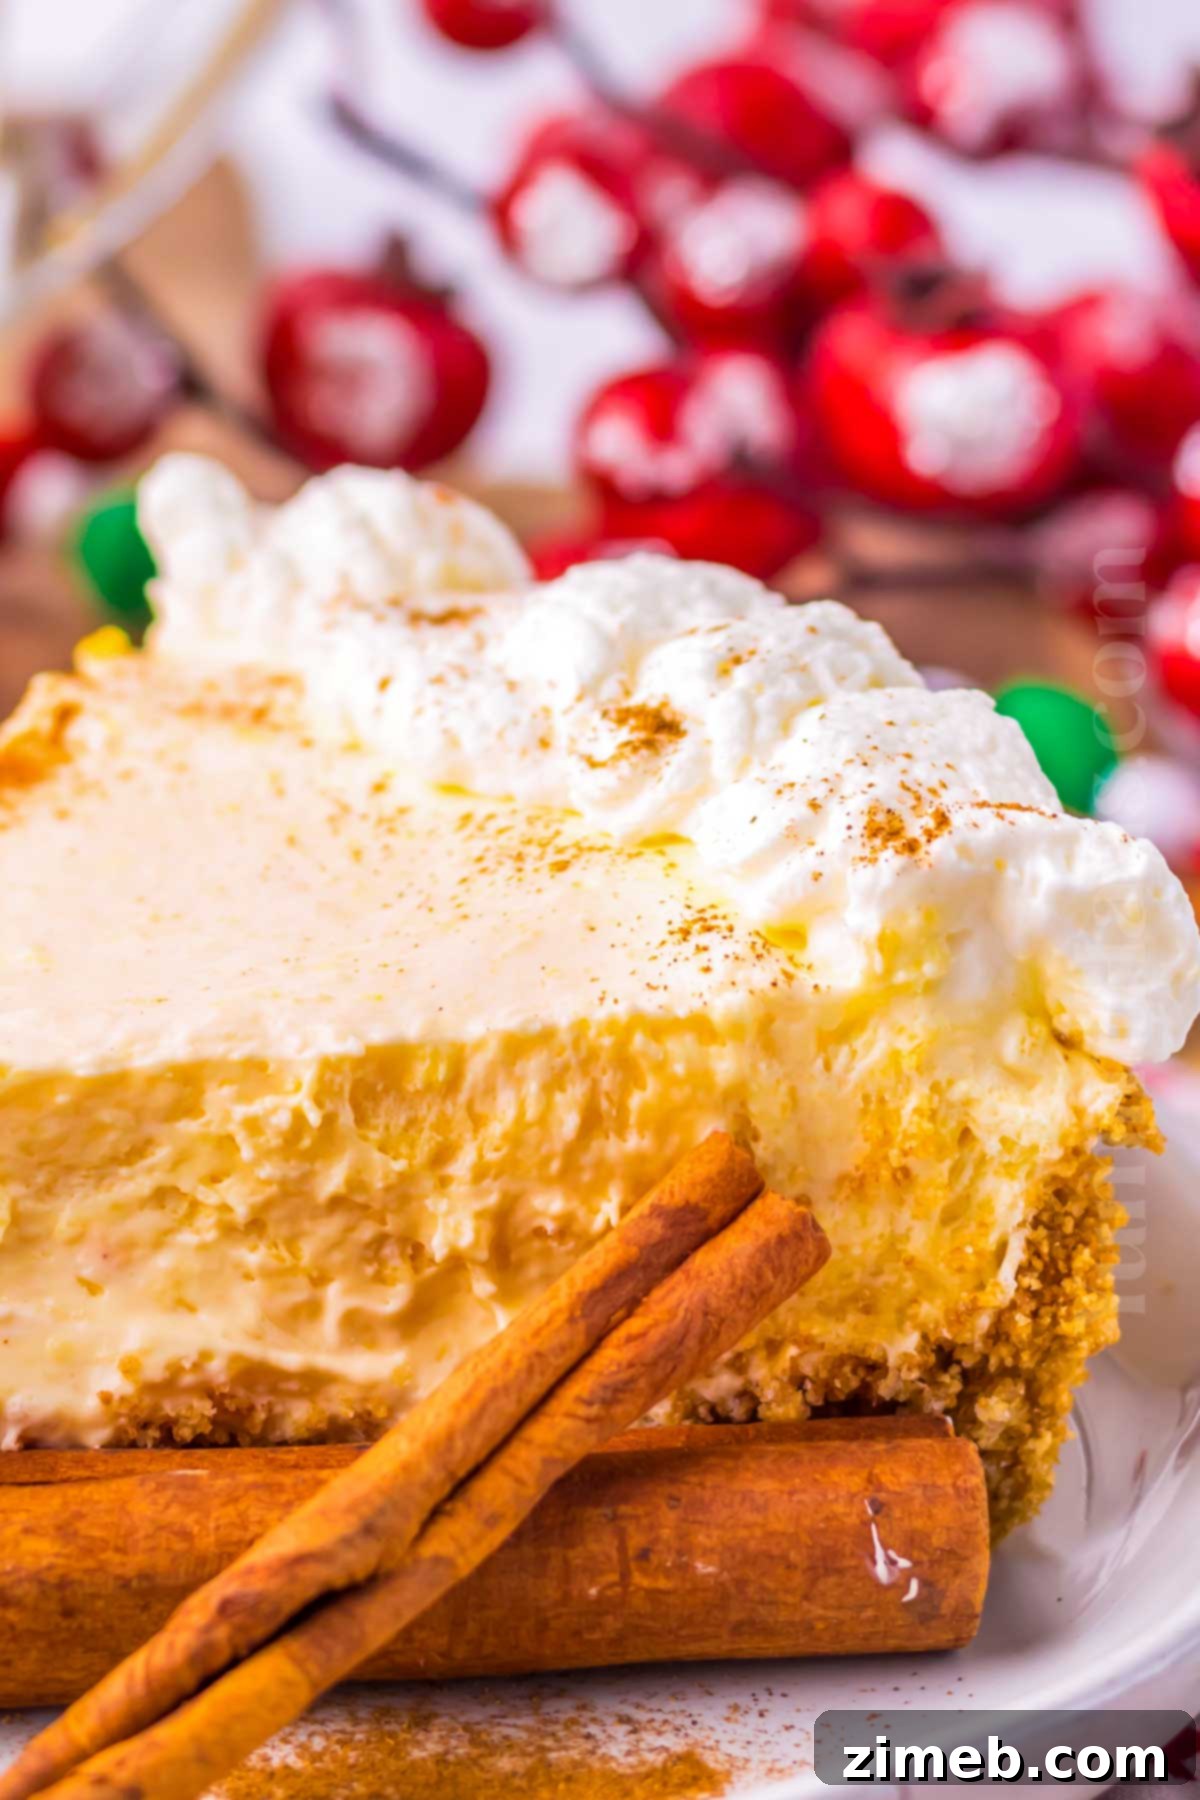
Why You’ll Adore This No-Bake Eggnog Pie Recipe
This No-Bake Eggnog Pie isn’t just another dessert; it’s a holiday tradition waiting to happen. Here’s why this recipe will quickly become a cherished part of your festive season:
- **Effortless Preparation:** Say goodbye to complex baking steps! This pie requires a mere 10 minutes of hands-on prep time. The rest is simply allowing the magic to happen in your refrigerator as it chills to perfection. No oven, no fuss, just delicious results.
- **Perfect for Holiday Crowds:** Designed to generously serve 6-8 people, this easy eggnog pie is an ideal dessert for holiday gatherings, big or small. It’s a guaranteed crowd-pleaser that everyone, from kids to adults, will enjoy.
- **Unforgettable Taste and Texture:** Experience a symphony of textures and flavors. A perfectly crumbly and buttery Graham cracker crust provides the ideal contrast to the light, airy, and velvety smooth eggnog filling. Each slice is a decadent journey into classic holiday taste, making it an absolute dream for serious eggnog lovers.
- **Superb Make-Ahead Option:** Planning for the holidays can be hectic, but this pie offers ultimate convenience. You can easily prepare this no-bake eggnog pie a day or two in advance. For even longer planning, it freezes beautifully, allowing you to have a delicious supply ready for the entire festive season. This flexibility means less stress and more time enjoying your loved ones.
- **Clever Use for Leftover Eggnog:** Don’t let any precious eggnog go to waste! This recipe provides a fantastic and incredibly tasty way to utilize any leftover eggnog you might have after holiday parties or gift-giving. Turn those extra cups into a magnificent dessert.
- **Irresistibly Festive:** With its creamy texture and distinct spiced eggnog flavor, this pie truly embodies the spirit of Christmas and winter celebrations. It’s a visually appealing dessert that will add a touch of elegance to any holiday table.
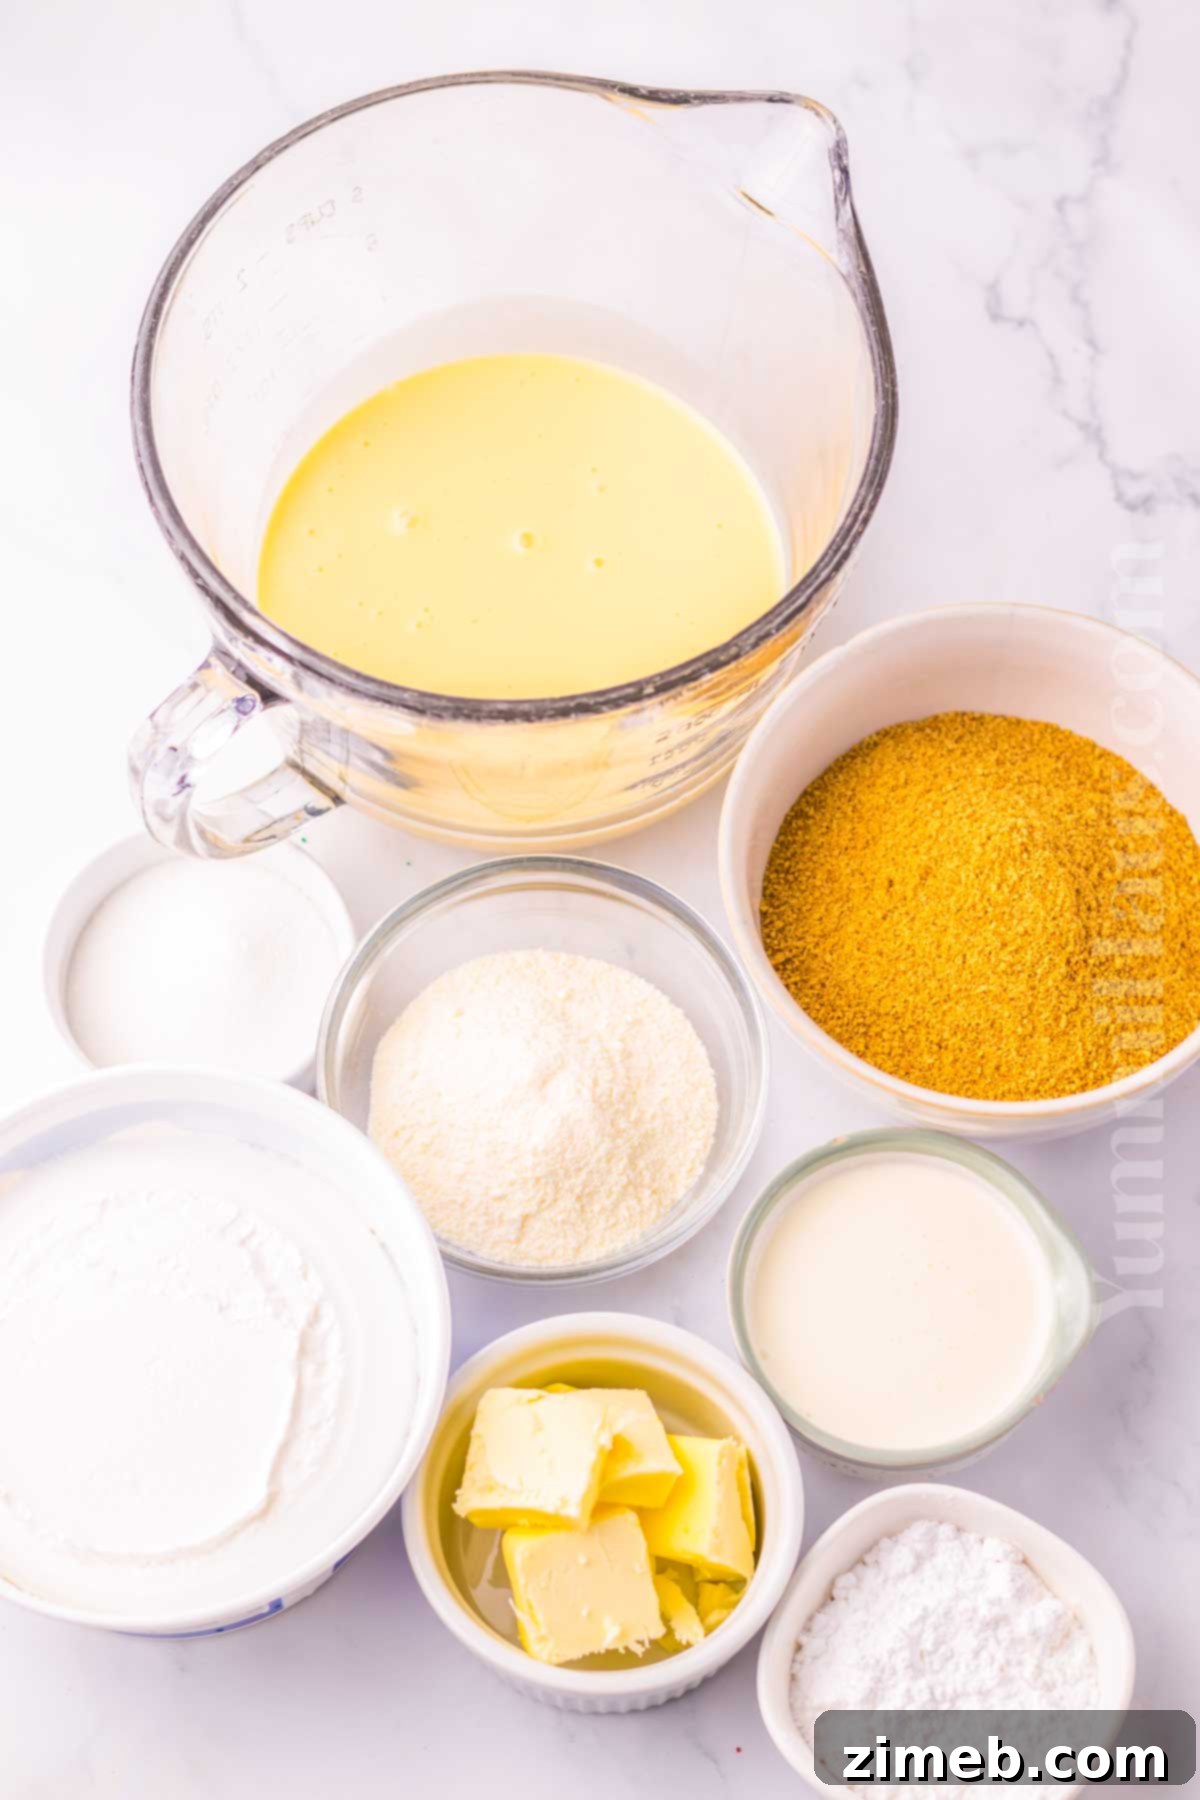
Essential Ingredients for Your Eggnog Pie
One of the many joys of this recipe is its reliance on simple, accessible ingredients. We embrace convenience by utilizing readily available grocery store products, saving you time without compromising on flavor or quality. You won’t need to make anything from scratch unless you prefer to!
Crafting the Perfect Pie Crust
The foundation of any great pie is its crust, and for this no-bake marvel, a Graham cracker crust is simply unbeatable. Its buttery, slightly sweet flavor perfectly complements the rich eggnog filling.
- **Graham Crackers:** You’ll need about 1 ½ cups of finely crushed Graham cracker crumbs. These provide the iconic texture and sweet base for our pie.
- **Granulated Sugar:** A touch of sugar helps to sweeten the crust and enhances its crispness.
- **Butter:** Melted and slightly cooled unsalted butter is crucial. Using unsalted butter allows you to control the overall saltiness of the crust, ensuring a balanced flavor. It also acts as the binder, holding the crumbs together firmly.
- **(Shortcut Tip):** For ultimate convenience, feel free to use a pre-made graham cracker crust from your local store. Just ensure it’s a no-bake variety!
The Star: Creamy Eggnog Filling
This is where the magic happens! The filling is what truly gives this pie its signature holiday flavor and luxurious texture.
- **Instant Vanilla Pudding Mix:** This is your secret weapon for a perfectly set, smooth, and delicious filling. Vanilla pudding offers a classic flavor that harmonizes beautifully with eggnog. You can even experiment with sugar-free pudding for a lighter version. Jell-O brand is a reliable choice. Crucially, make sure you use *instant* pudding mix, not the “cook and serve” type, as we are avoiding any baking! While vanilla is a classic, don’t hesitate to explore other flavors that might complement eggnog, such as white chocolate or cheesecake.
- **Eggnog:** The heart of our pie! Whether you use store-bought or homemade eggnog, this ingredient infuses the pie with its unmistakable holiday spice and creamy richness. For the best, most decadent results, always opt for full-fat eggnog; its higher fat content contributes significantly to the pie’s luxurious texture.
- **Whipped Topping:** A generous amount of whipped topping provides the light, airy texture that makes this pie so delightful. Brands like Cool Whip work perfectly for their stability and ease of use. However, if you prefer, freshly homemade whipped cream can also be used, potentially with a stabilizer for a firmer set.
The Elegant Finishing Touch
A beautiful topping not only adds visual appeal but also enhances the overall flavor and indulgence of the pie.
- **Heavy Whipping Cream:** Essential for making fresh, fluffy whipped cream to adorn your pie.
- **Confectioner’s Sugar:** Also known as powdered sugar, this fine sugar sweetens the whipped cream without adding a grainy texture, ensuring a smooth, melt-in-your-mouth topping.
- **Cinnamon:** A final flourish of ground cinnamon, lightly dusted over the whipped cream, provides a warm, aromatic spice that beautifully complements the eggnog flavor.
Essential Kitchen Equipment
You won’t need a lot of specialized tools to create this delightful no-bake pie, making it even more accessible for home cooks. Here’s what will make the process smooth and easy:
- **9” Pie Plate:** A standard 9-inch pie plate is perfect for this recipe, ensuring a beautiful, evenly sized pie.
- **Ziploc Bag and Rolling Pin:** For effortlessly crushing your Graham crackers into fine crumbs. Alternatively, a food processor makes quick work of this task.
- **Electric Mixer:** While you can certainly mix by hand, an electric mixer (handheld or stand mixer) makes beating the filling ingredients together and whipping the cream for the topping much faster and easier, ensuring a smooth, consistent texture.
- **Medium and Large Mixing Bowls:** You’ll need a couple of bowls for preparing the crust and the filling separately.
How To Make This Irresistible No-Bake Eggnog Pie
This no-bake eggnog pie recipe is incredibly straightforward and designed for foolproof success, even for beginner bakers. The process involves just three simple stages: preparing the homemade Graham cracker crust, combining the luscious eggnog and pudding filling, and finally, allowing this holiday treat to set beautifully in the refrigerator.
Step 1: Prepare the Graham Cracker Pie Crust
A sturdy, flavorful crust is the perfect base for our creamy filling.
- In a medium-sized mixing bowl, combine the finely crushed Graham cracker crumbs, granulated sugar, and the melted, slightly cooled butter. Stir thoroughly until all the crumbs are evenly moistened and resemble wet sand. This ensures the crust will hold together beautifully.
- Carefully transfer the moist crust mixture into your 9-inch pie plate. Using the bottom of a glass or your fingers, press the mixture firmly and evenly across the bottom and up the sides of the pie plate. A well-pressed crust is key to preventing crumbling when sliced. Refrigerate the prepared crust for at least 15-20 minutes while you prepare the filling; this helps it firm up and set.
Step 2: Create the Dreamy Pudding-Eggnog Filling
This is where the festive flavors truly come alive!
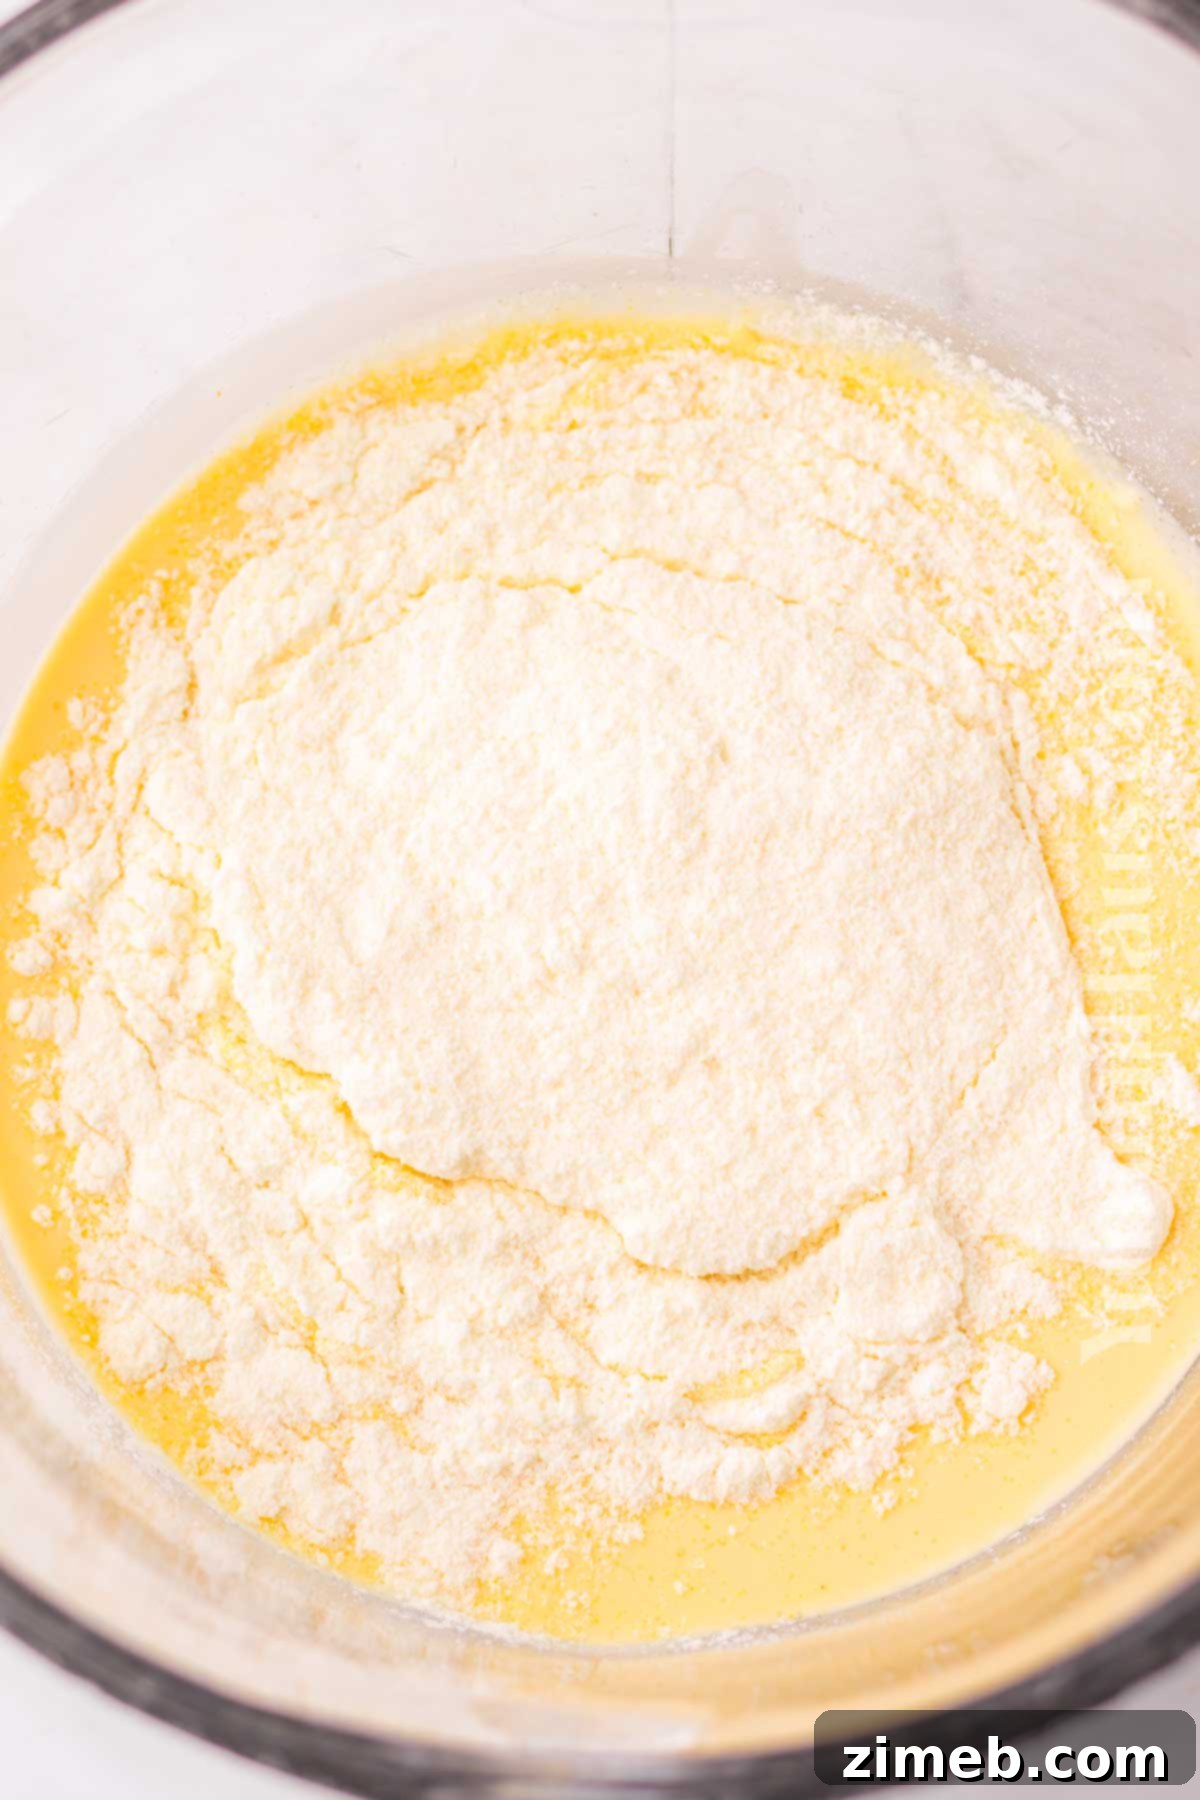
- In a large mixing bowl, combine the instant vanilla pudding mix and the full-fat eggnog. Using an electric mixer, beat on medium speed for 2-3 minutes until the mixture is well combined, smooth, and slightly thickened. Ensure there are no lumps of pudding mix remaining.
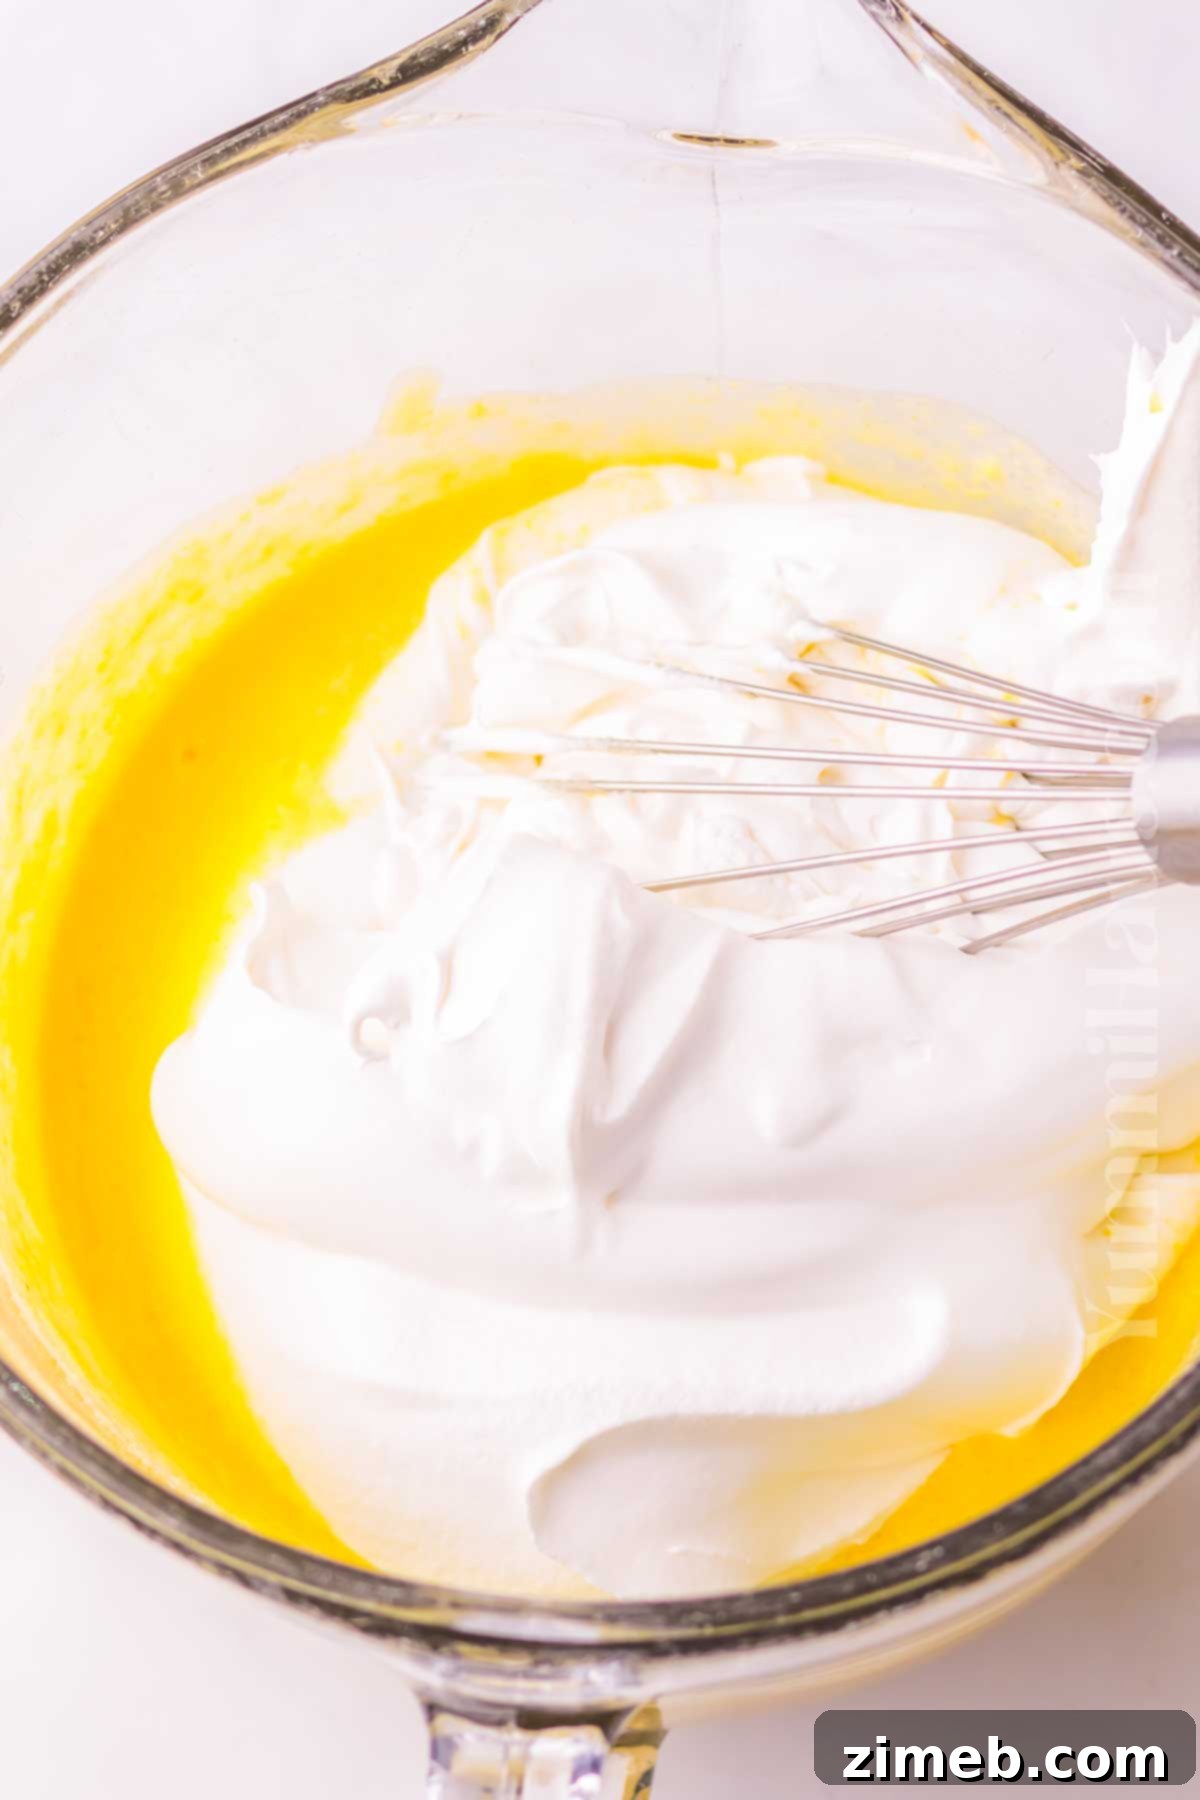
- Gently fold in the whipped topping until no streaks remain and the mixture is light and airy. Be careful not to overmix, as this can deflate the whipped topping and affect the pie’s texture.
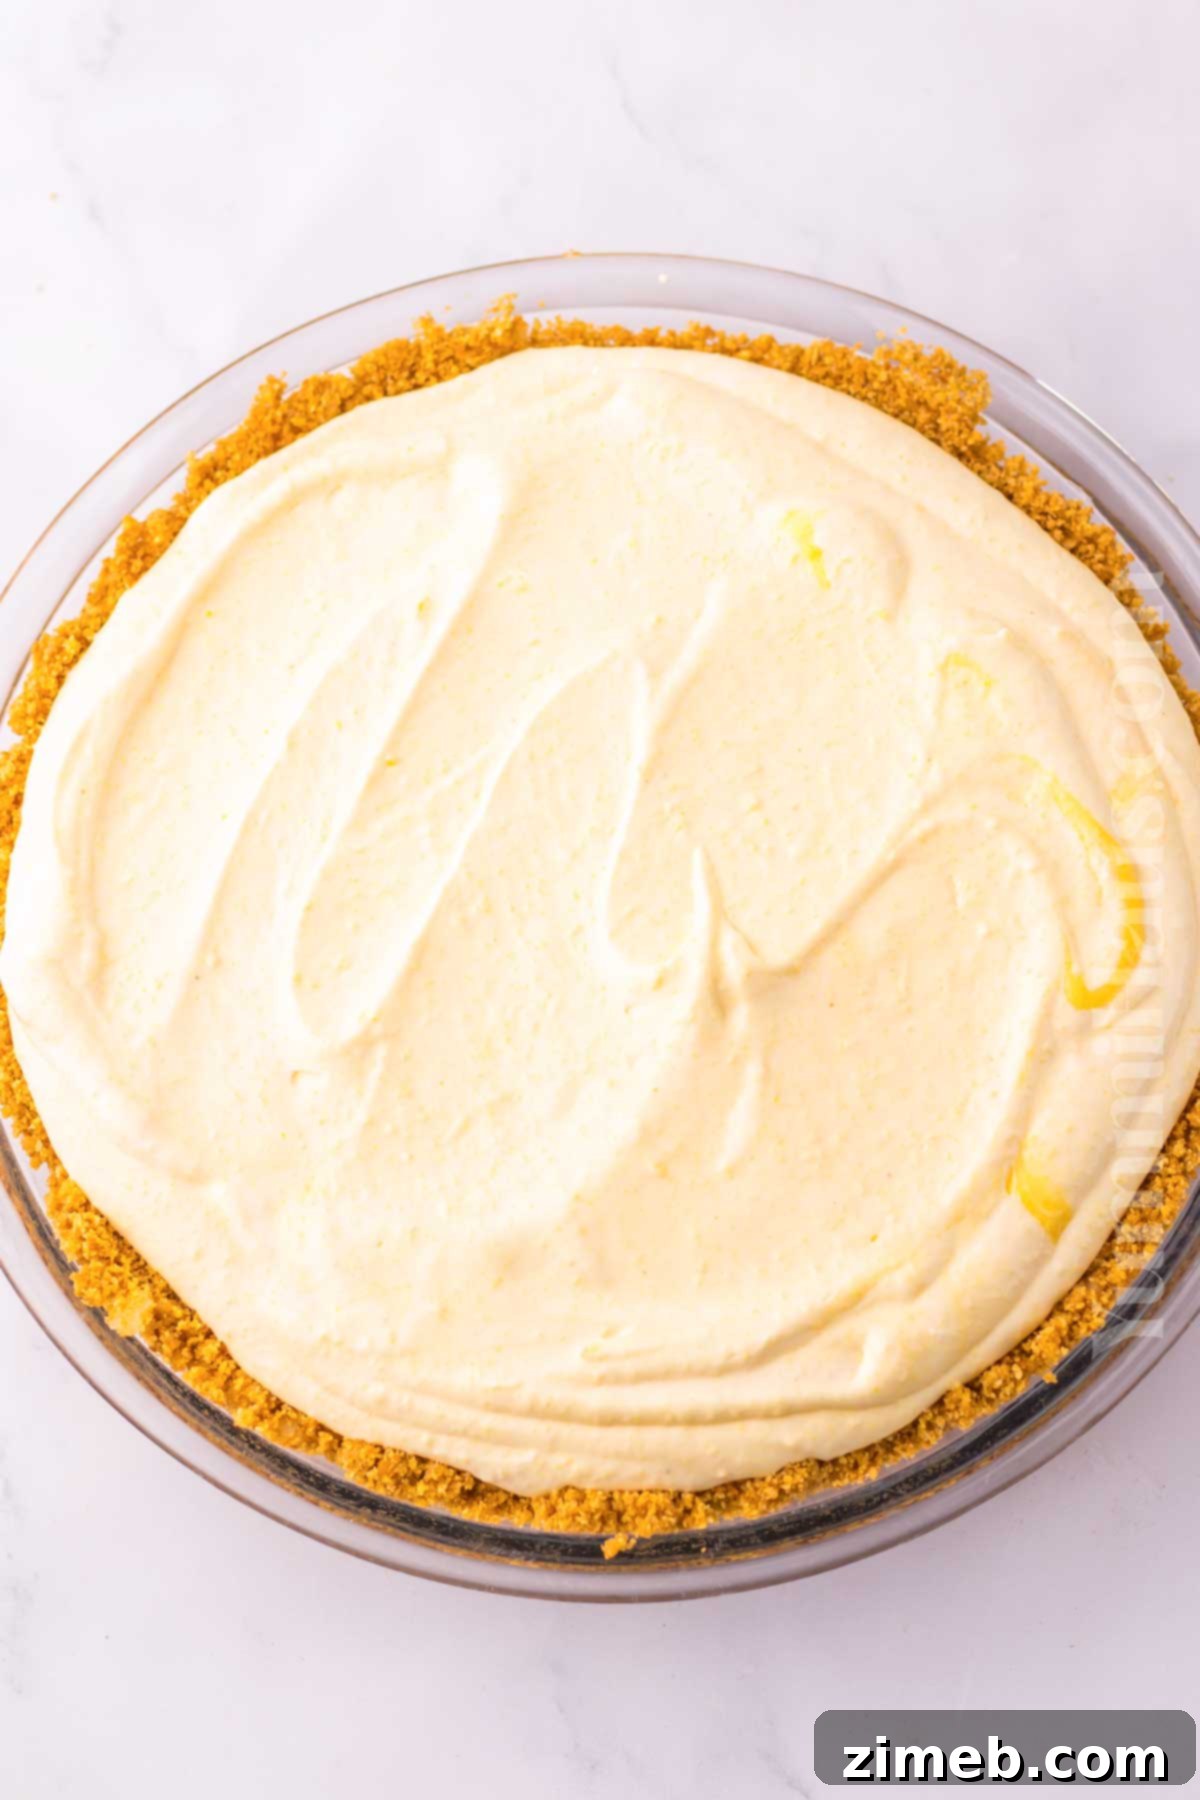
- Pour the creamy eggnog pudding mixture into the chilled Graham cracker crust, using a spatula to spread it into a smooth, even layer.
- Refrigerate the pie for a minimum of 4 hours, or ideally overnight, to allow the filling to fully set. The longer it chills, the firmer and more stable your pie will be.
Step 3: Decorating for a Festive Finish
Add a beautiful final touch to make your pie truly special.
- In a clean, large mixing bowl, combine the cold heavy cream and confectioner’s sugar. Using an electric mixer, beat on high speed for several minutes until stiff peaks form. The whipped cream should hold its shape firmly.
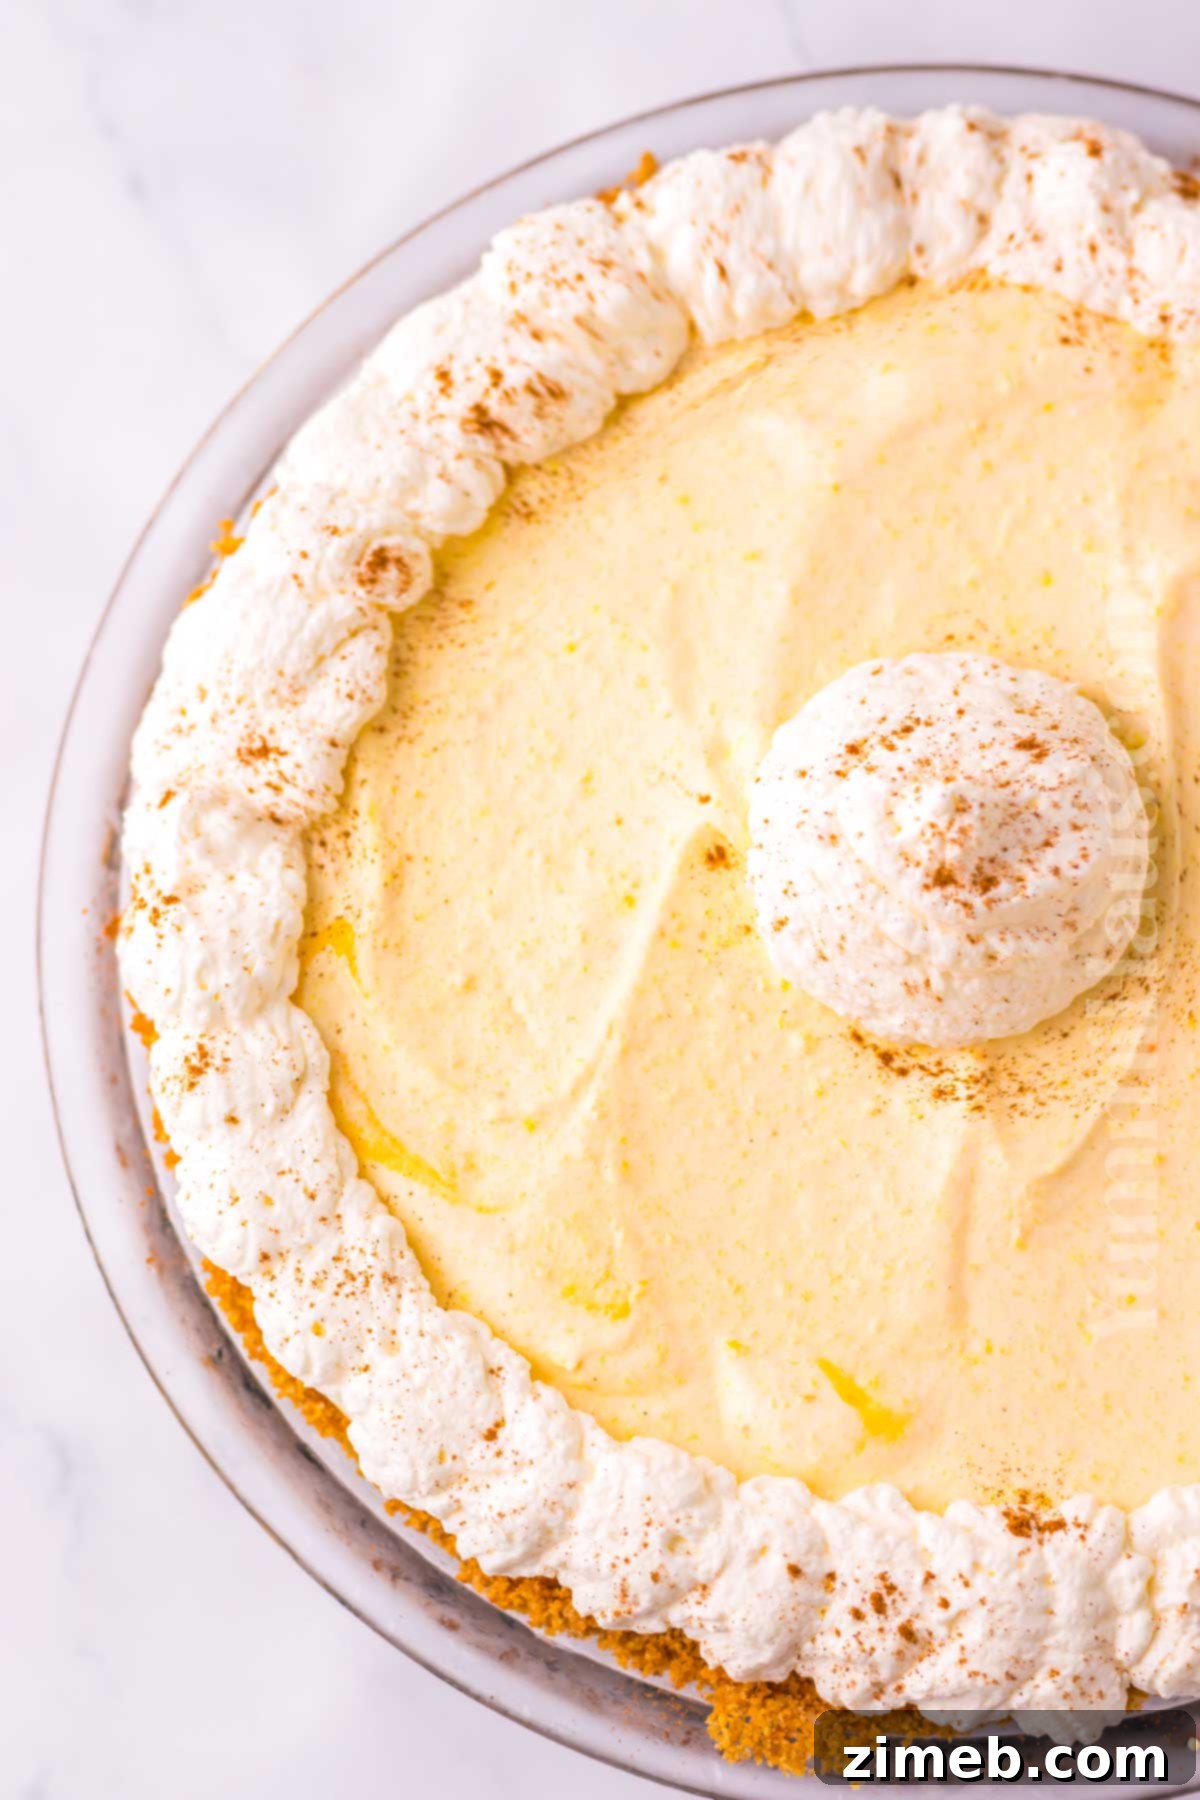
- Transfer the freshly whipped cream to a piping bag fitted with a large star tip (or simply use a spoon or offset spatula for a rustic look). Pipe decorative swirls or dollops of whipped cream around the outside edge of the pie and, if desired, in the center.
- Just before serving, lightly sprinkle the top with ground cinnamon for an inviting aroma and classic holiday flair.
Storage Solutions for Your Holiday Pie
Proper storage ensures your No-Bake Eggnog Pie remains fresh, delicious, and structurally sound for days, allowing you to enjoy every last slice.
For short-term storage, keep any leftover eggnog pie refrigerated in an airtight container. It will maintain its best quality for up to 4 days. It’s a good practice to check on day 3 to ensure the crust isn’t starting to absorb too much moisture from the filling and become soggy.
Looking to extend the life of your holiday treat? This eggnog cream pie freezes exceptionally well for up to 3-4 months. To freeze, first flash freeze the entire pie (or individual slices) on a baking sheet for about 30 minutes until firm. This prevents the whipped topping from sticking to the plastic wrap. Once firm, tightly wrap the pie (or slices) in plastic wrap, followed by a layer of aluminum foil. Freezing individual slices is highly recommended for easy portioning. When you’re ready to enjoy, simply thaw the pie overnight in the refrigerator. Then, serve and savor the delightful festive flavors!
For holiday planning, this no-bake eggnog pie recipe can be easily prepared 1-2 days ahead of your event, making it a stress-free addition to your menu.
Exciting Substitutions & Variations to Try
This No-Bake Eggnog Pie recipe is wonderfully adaptable! Feel free to customize it to your taste or dietary needs with these creative ideas:
- **Spice It Up:** While cinnamon is a classic, you can easily substitute it with **ground nutmeg** for a more traditional eggnog flavor, or even a festive **pumpkin spice** blend. For an enhanced flavor experience, consider folding a small amount of your chosen spice directly into the pie filling during the mixing process, in addition to dusting it on top.
- **Crust Alternatives:** While a Graham cracker crust is our go-to for its simplicity and deliciousness, don’t limit yourself! Experiment with a no-bake **Oreo cookie crust** (Golden Oreos are fantastic for a lighter color), a spicy **gingerbread crust** for extra holiday cheer, or even a store-bought **prepackaged premade crust** like a shortbread or pastry pie crust for ultimate ease. Just ensure it’s a no-bake variety!
- **Adult-Friendly “Spiked” Pie:** For an adults-only holiday gathering, transform this into a **spiked eggnog pie**. Add a teaspoon or two of **rum extract** to the filling, or for a bolder flavor, a splash of **bourbon or rum**. If kids will be enjoying the pie, simply omit the alcohol or replace it with an equal amount of **vanilla extract** for a family-friendly version.
- **Dairy Adjustments:** If you wish to moderate the intensity of the eggnog flavor or simply prefer a different dairy profile, you can substitute a portion of the eggnog with **whole milk**. For an exceptionally sweet, rich, and thick taste and texture, consider incorporating **condensed milk** into the filling. For an extra decadent treat, try serving slices of your pie with a scoop of creamy **eggnog ice cream**!
- **Decadent Cheesecake Layer:** Elevate your pie to a show-stopping dessert by adding a no-bake **cheesecake layer** (using classic cream cheese). This variation creates an incredibly rich and luxurious texture. Be aware, however, that a cheesecake layer can affect the pie’s freezing stability, so this version is best enjoyed fresh or refrigerated.
- **Enhanced Christmas Decoration:** Get creative with your holiday decorations! Beyond simple whipped cream and cinnamon, you can adorn your pie with adorable gingerbread cookies, vibrant **sugared berries** (like cranberries or blueberries), an array of festive **sprinkles**, or even crushed **candy canes** for a burst of minty flavor and color.
Expert Tips for the Best No-Bake Eggnog Pies
Follow these expert tips to ensure your No-Bake Eggnog Pie turns out perfectly every single time, delighting everyone who tries a slice:
- **Check Your Pre-Made Crust:** If you opt for a store-bought crust, always double-check the packaging to confirm it’s a *no-bake* variety. Some pre-made crusts require blind baking (a preliminary short baking with weights), which would defeat the purpose of this easy, no-oven-needed recipe.
- **Thaw Cool Whip Properly:** If you’re using frozen whipped topping like Cool Whip, remember to thaw it completely in the refrigerator ahead of time. Attempting to use it while still frozen or partially frozen will result in a lumpy and uneven filling texture.
- **Boost Flavor with Flavored Eggnog:** Don’t hesitate to experiment with different flavored eggnogs available during the holiday season! Spiced, rum-flavored, or even vanilla bean eggnog can add an extra layer of deliciousness and uniqueness to your pie.
- **Slice When Chilled:** For clean, picture-perfect slices, cut the pie right after removing it from the refrigerator. While it is still thoroughly chilled, the filling will be firm, making it much easier to achieve neat cuts and avoid a messy presentation.
- **Embrace the Chill Time:** This is perhaps the most crucial tip! Do not skip or shorten the chilling time. The longer you allow the pie to chill in the refrigerator (ideally 4 hours or even overnight), the thicker, denser, and more perfectly set the filling will become. Patience truly pays off with this dessert, and you absolutely won’t regret waiting for that ideal texture.
- **Firmly Press the Crust:** To ensure your Graham cracker crust doesn’t fall apart when serving, use the back of a wooden spoon or the flat bottom of a glass to press the crumb mixture firmly and evenly into the pie pan. This compaction helps create a solid base.
- **Avoid Overbeating:** When combining the filling ingredients and especially when whipping the heavy cream for the topping, be careful not to overbeat. Overbeating can cause the filling to become too dense or the whipped cream to turn grainy or even separate, spoiling the delicate, velvety texture we’re aiming for.
DON’T MISS THESE HOLIDAY E-BOOKS!


If you adore this festive holiday treat recipe, you’re absolutely going to love these other holiday desserts too. Each link below will take you to an easy, printable recipe that’s perfect for your seasonal celebrations!
Check out this recipe
Check out this recipe
Check out this recipe

Check out this recipe

Check out this recipe
Discover More Delicious Eggnog Recipes
Can’t get enough of that wonderful eggnog flavor? Here are more fantastic recipes that celebrate this quintessential holiday ingredient:
**Eggnog Pancakes:**** Start your holiday mornings with fluffy pancakes infused with the warm, spicy taste of eggnog.
**Spiced Eggnog Cupcakes with Eggnog Frosting:**** Indulge in moist, tender cupcakes crowned with a rich, creamy eggnog frosting for a truly festive treat.
**Eggnog Hot Chocolate:**** A comforting and luxurious twist on classic hot chocolate, perfect for cozy winter evenings.
**Eggnog Cookies:**** Chewy, soft cookies brimming with that familiar eggnog essence, ideal for cookie exchanges or a simple sweet snack.
CONNECT WITH YUMMI HAUS!
Be sure to follow me on my social media, so you never miss a post!
Substack, FB, Pinterest, IG, Email Subscription
Rate this Recipe
No Bake Eggnog Pie
Ingredients
- 1 ½ cups graham cracker crumbs
- ¼ cup granulated sugar
- 6 tablespoons butter – melted and slightly cooled, unsalted recommended
- 3.4 ounces instant vanilla pudding mix
- 1 ½ cups eggnog – full-fat for best results
- 8 ounces whipped topping – such as Cool Whip, thawed
- 1 cup heavy whipping cream
- 2 tablespoons confectioner’s sugar
Cinnamon for garnish
Instructions
Crust
-
Combine the graham cracker crumbs, sugar, and melted butter in a medium bowl. Stir until the crumbs look like wet sand.
-
Transfer the crust mixture to a 9” pie plate. Press firmly into a smooth, even layer on the bottom and up the sides. Refrigerate to set while you make the filling.
Filling
-
Combine the instant pudding mix and eggnog in a mixing bowl. Beat on medium speed until well combined and smooth.
-
Gently fold in the whipped topping until fully incorporated and light.
-
Transfer the filling to the prepared crust, smoothing it into an even layer with a spatula.
-
Refrigerate for at least 4 hours to set completely, or preferably overnight.
Decorating
-
Combine the cold heavy cream and confectioner’s sugar in a large mixing bowl. Beat on high speed for several minutes until stiff peaks form.
-
Transfer the whipped cream to a piping bag fitted with a large star tip. Pipe the whipped cream around the outside edge of the pie and in the center for decoration.
-
Sprinkle generously with ground cinnamon just prior to serving.
Notes
- **Key Tips:**
- Always chill the pie for at least 4 hours (preferably overnight) for the best set.
- Ensure pre-made crusts are “no-bake” specific.
- Thaw frozen whipped topping completely before use.
- For clean slices, cut the pie while still thoroughly chilled.
- Ground nutmeg or pumpkin spice can be used instead of or in addition to cinnamon.
- Consider folding spices into the filling for deeper flavor integration.
- This pie can be made 1-2 days ahead and stored in the refrigerator.
- Leftovers can be refrigerated for up to 4 days, or frozen for 3-4 months (flash freeze slices first).
Nutrition
Nutritional information for the recipe is provided as a courtesy and is approximate. Please double-check with your own dietary calculator for the best accuracy. We at Yummi Haus cannot guarantee the accuracy of the nutritional information given for any recipe on this site.