
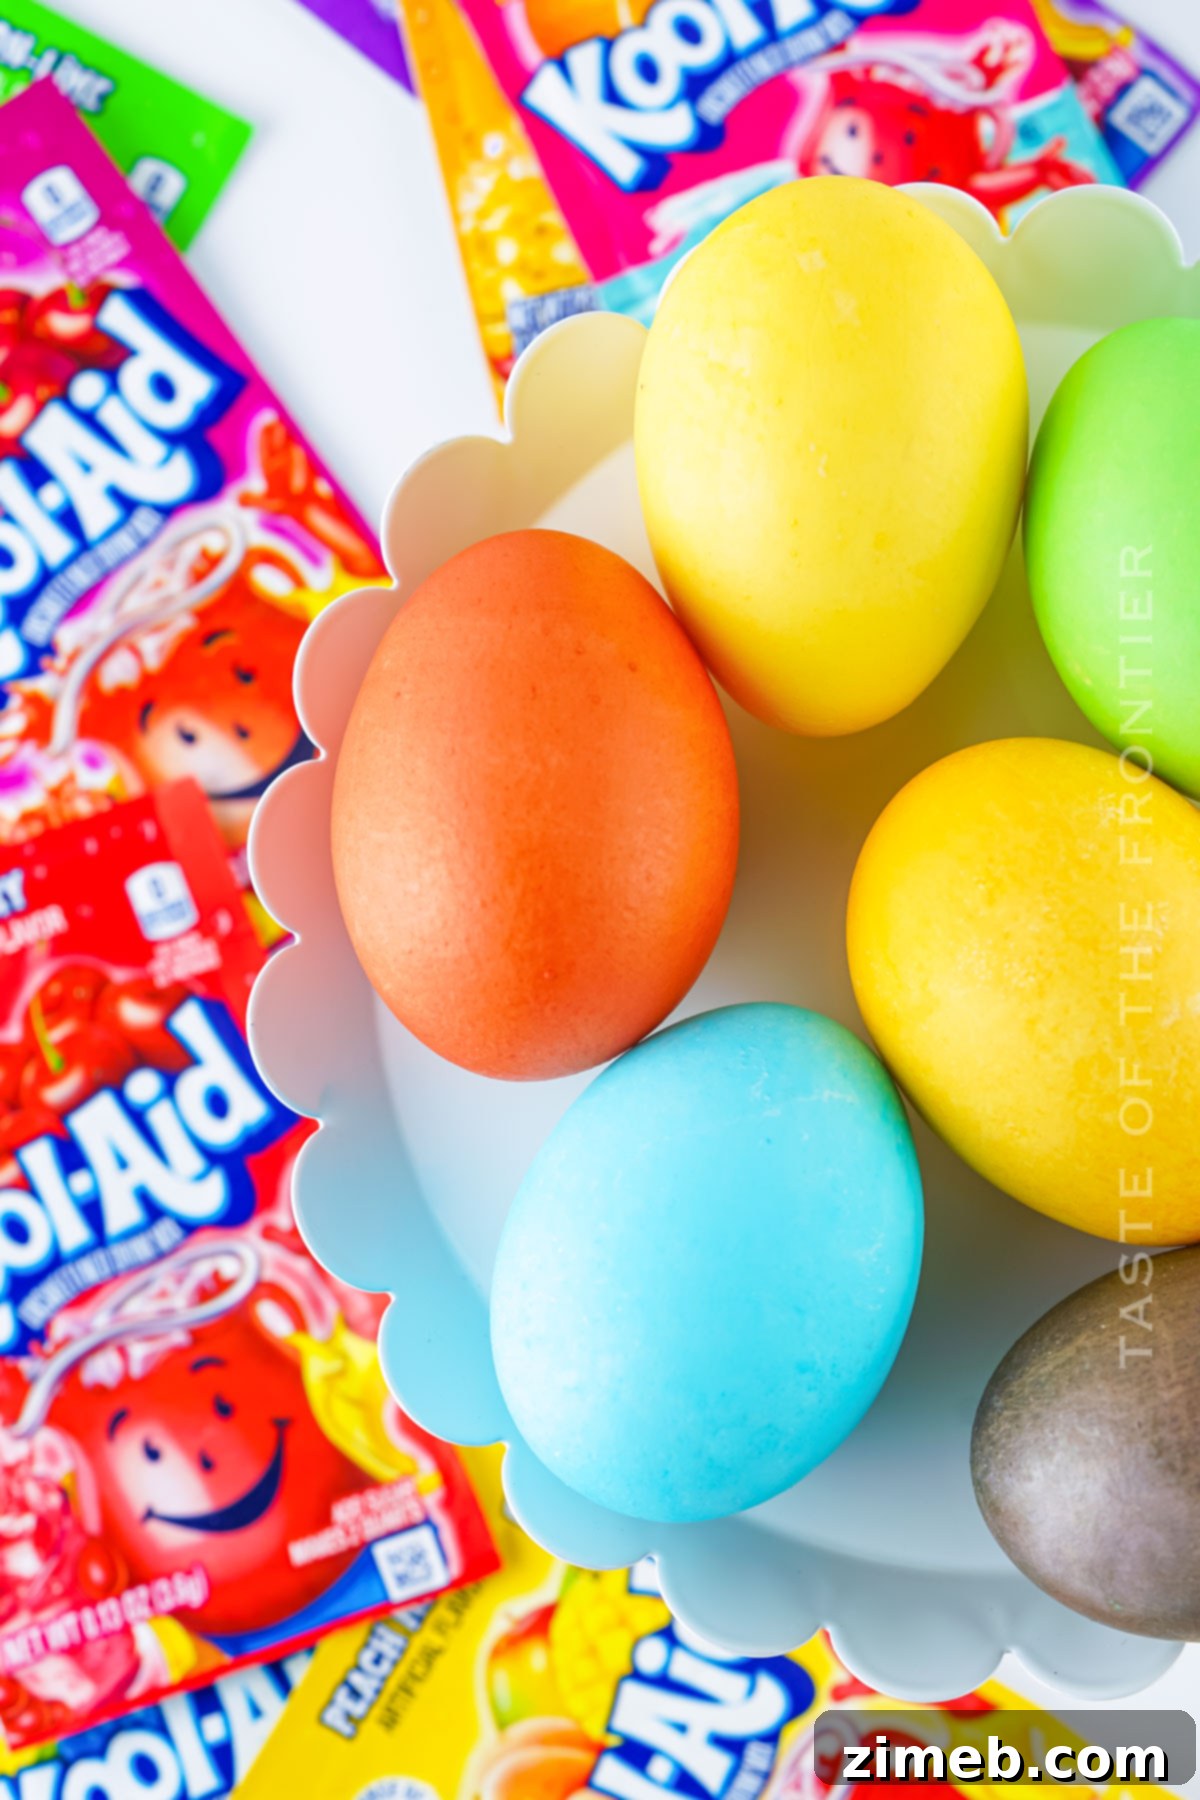
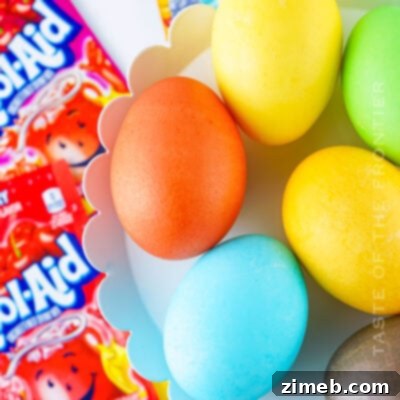
Add a splash of vibrant color and endless fun to your Easter celebrations with our ultimate guide to Kool-Aid Dyed Eggs! This classic, budget-friendly method promises brilliantly hued eggs that are incredibly easy to make, offering a delightful and engaging activity for the entire family.
This Easter, step away from traditional dye tablets and embrace a wonderfully creative and surprisingly simple method for coloring your eggs: Kool-Aid! Transform ordinary hard-boiled eggs into a dazzling array of vibrant masterpieces with just a few packets of your favorite drink mix. This isn’t just an egg-dyeing activity; it’s an opportunity to create cherished memories and add a spectacular splash of color to your holiday festivities.
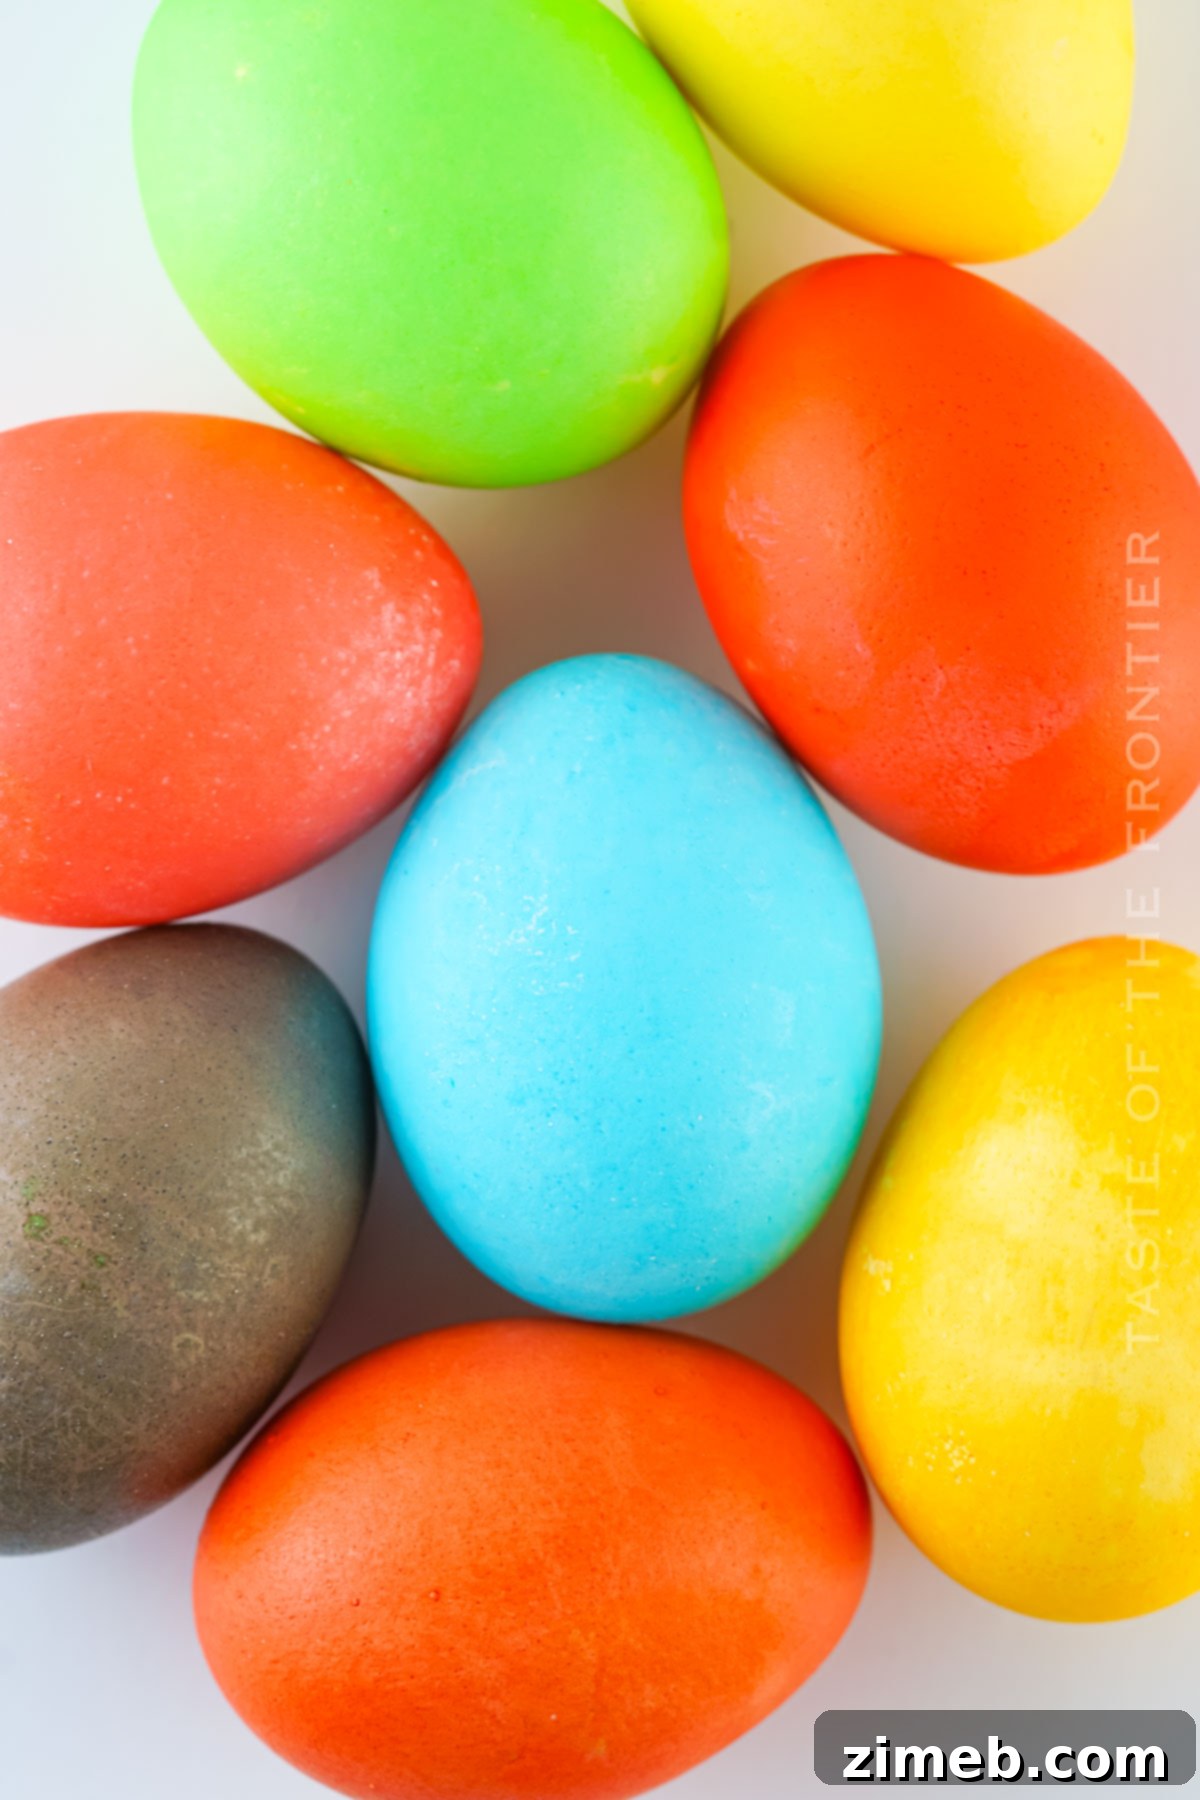
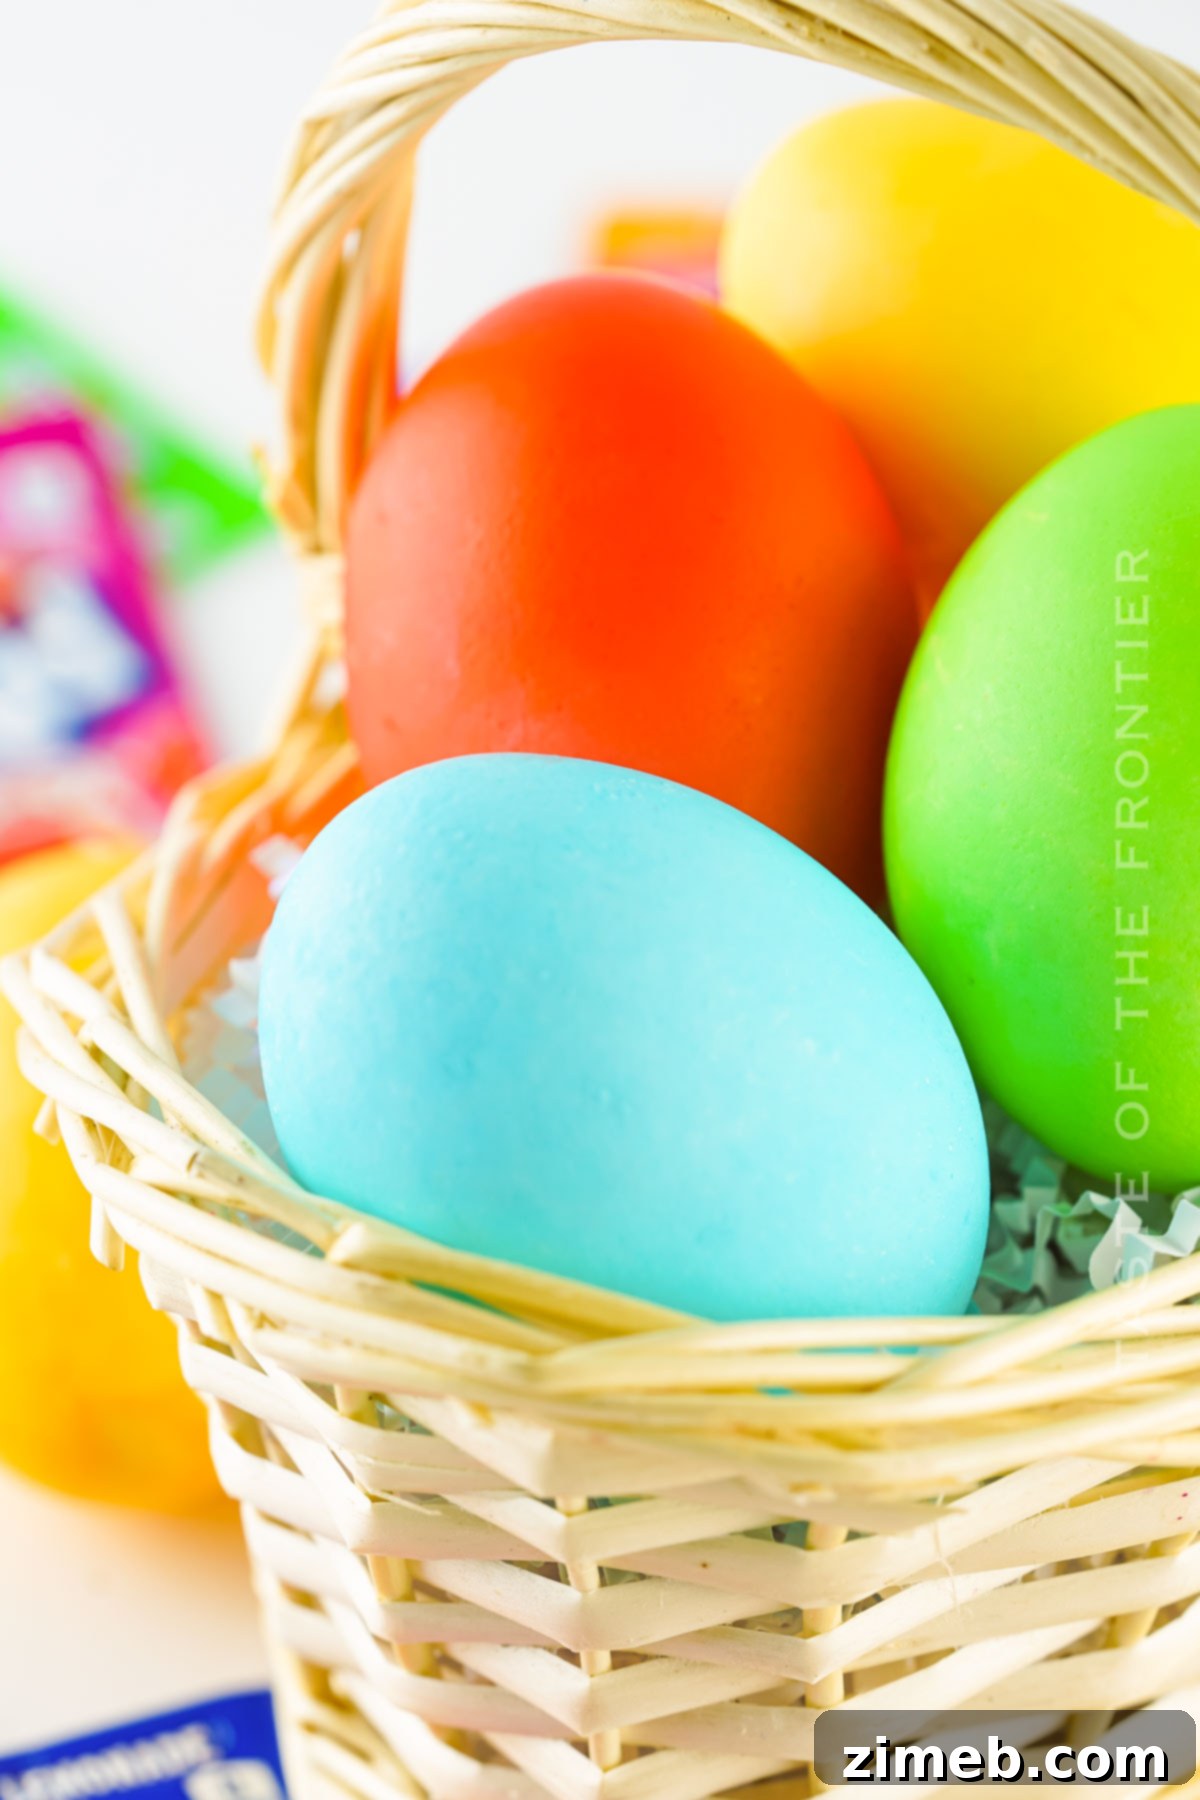
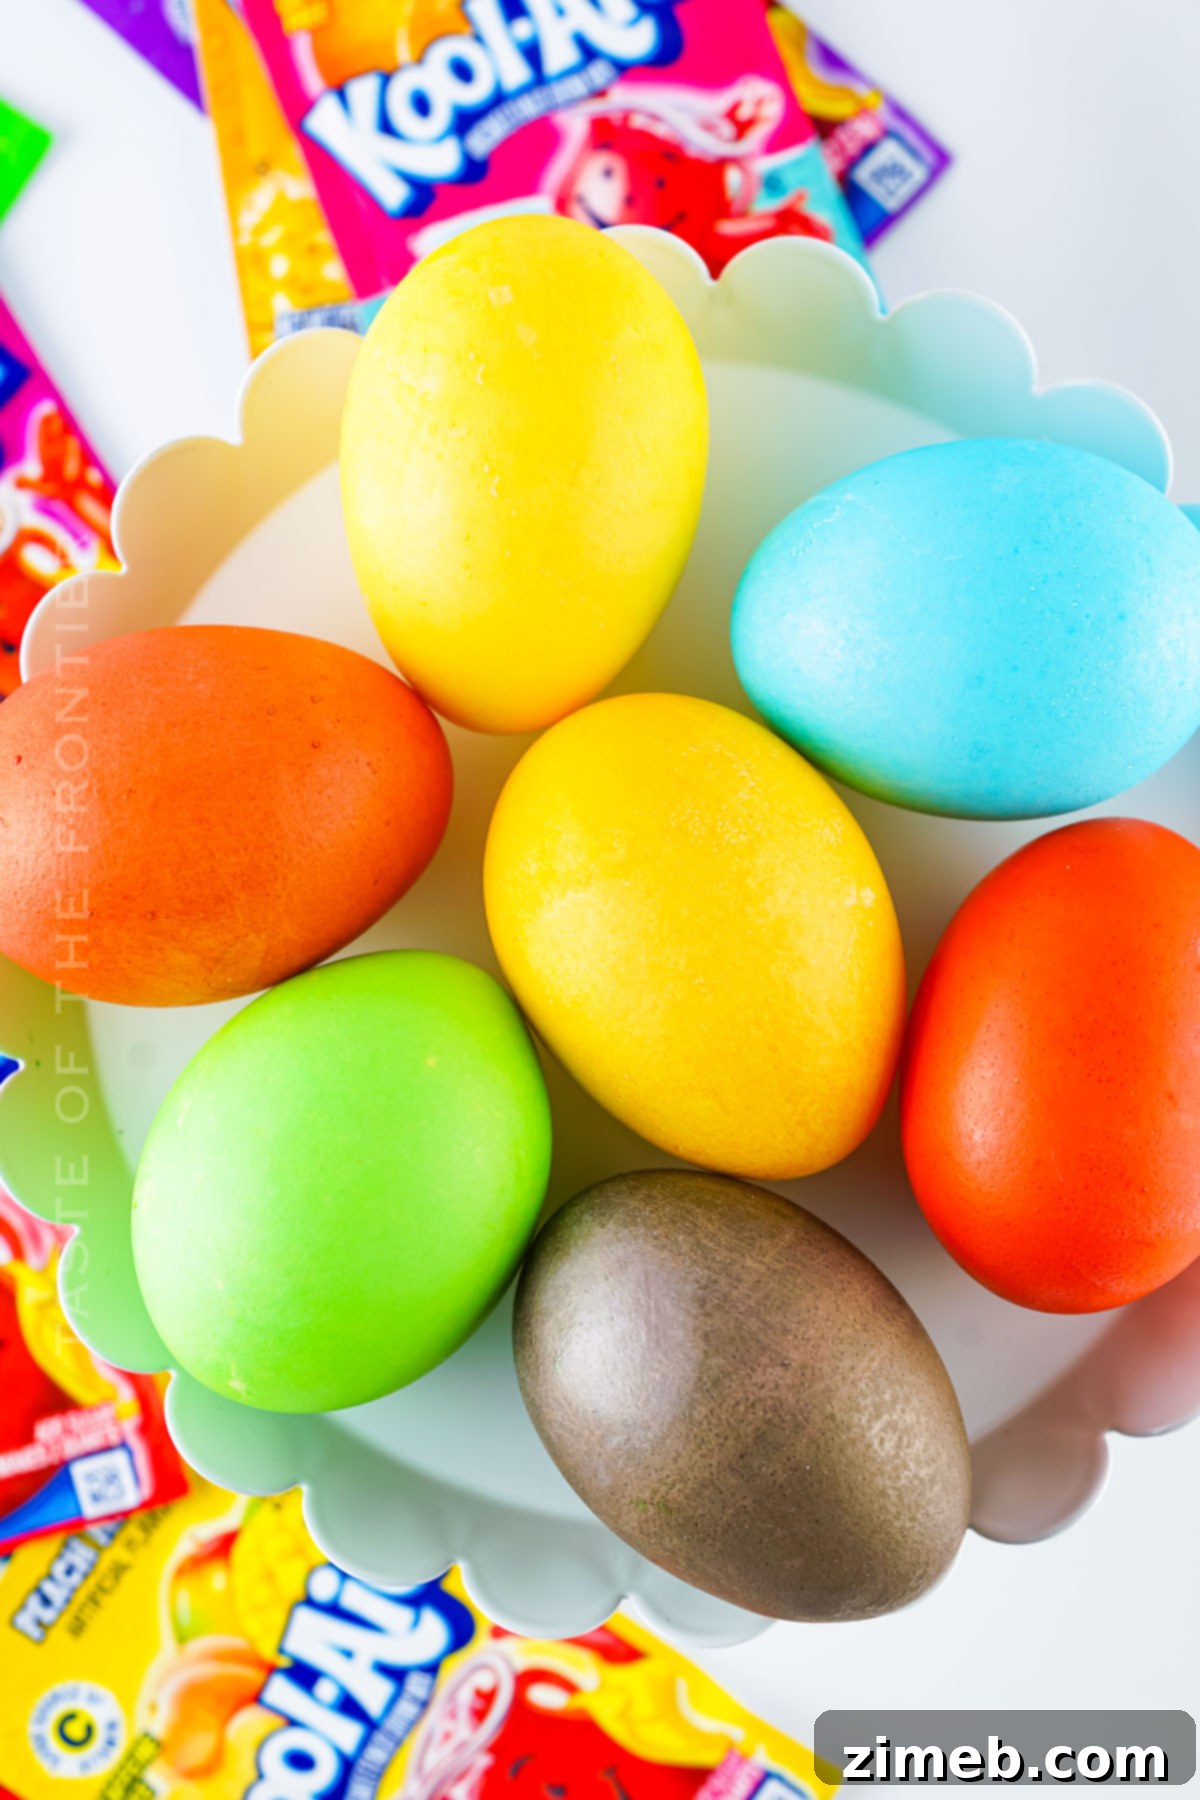
Imagine your Easter egg hunt becoming a kaleidoscope of brilliant shades! From the cheerful yellow of Lemon Lime to the deep, luxurious purple of Black Cherry, Kool-Aid offers an unparalleled spectrum of colors. It’s an easy, effective, and incredibly fun way to produce eggs in virtually every shade of the rainbow, guaranteed to impress both young and old alike.
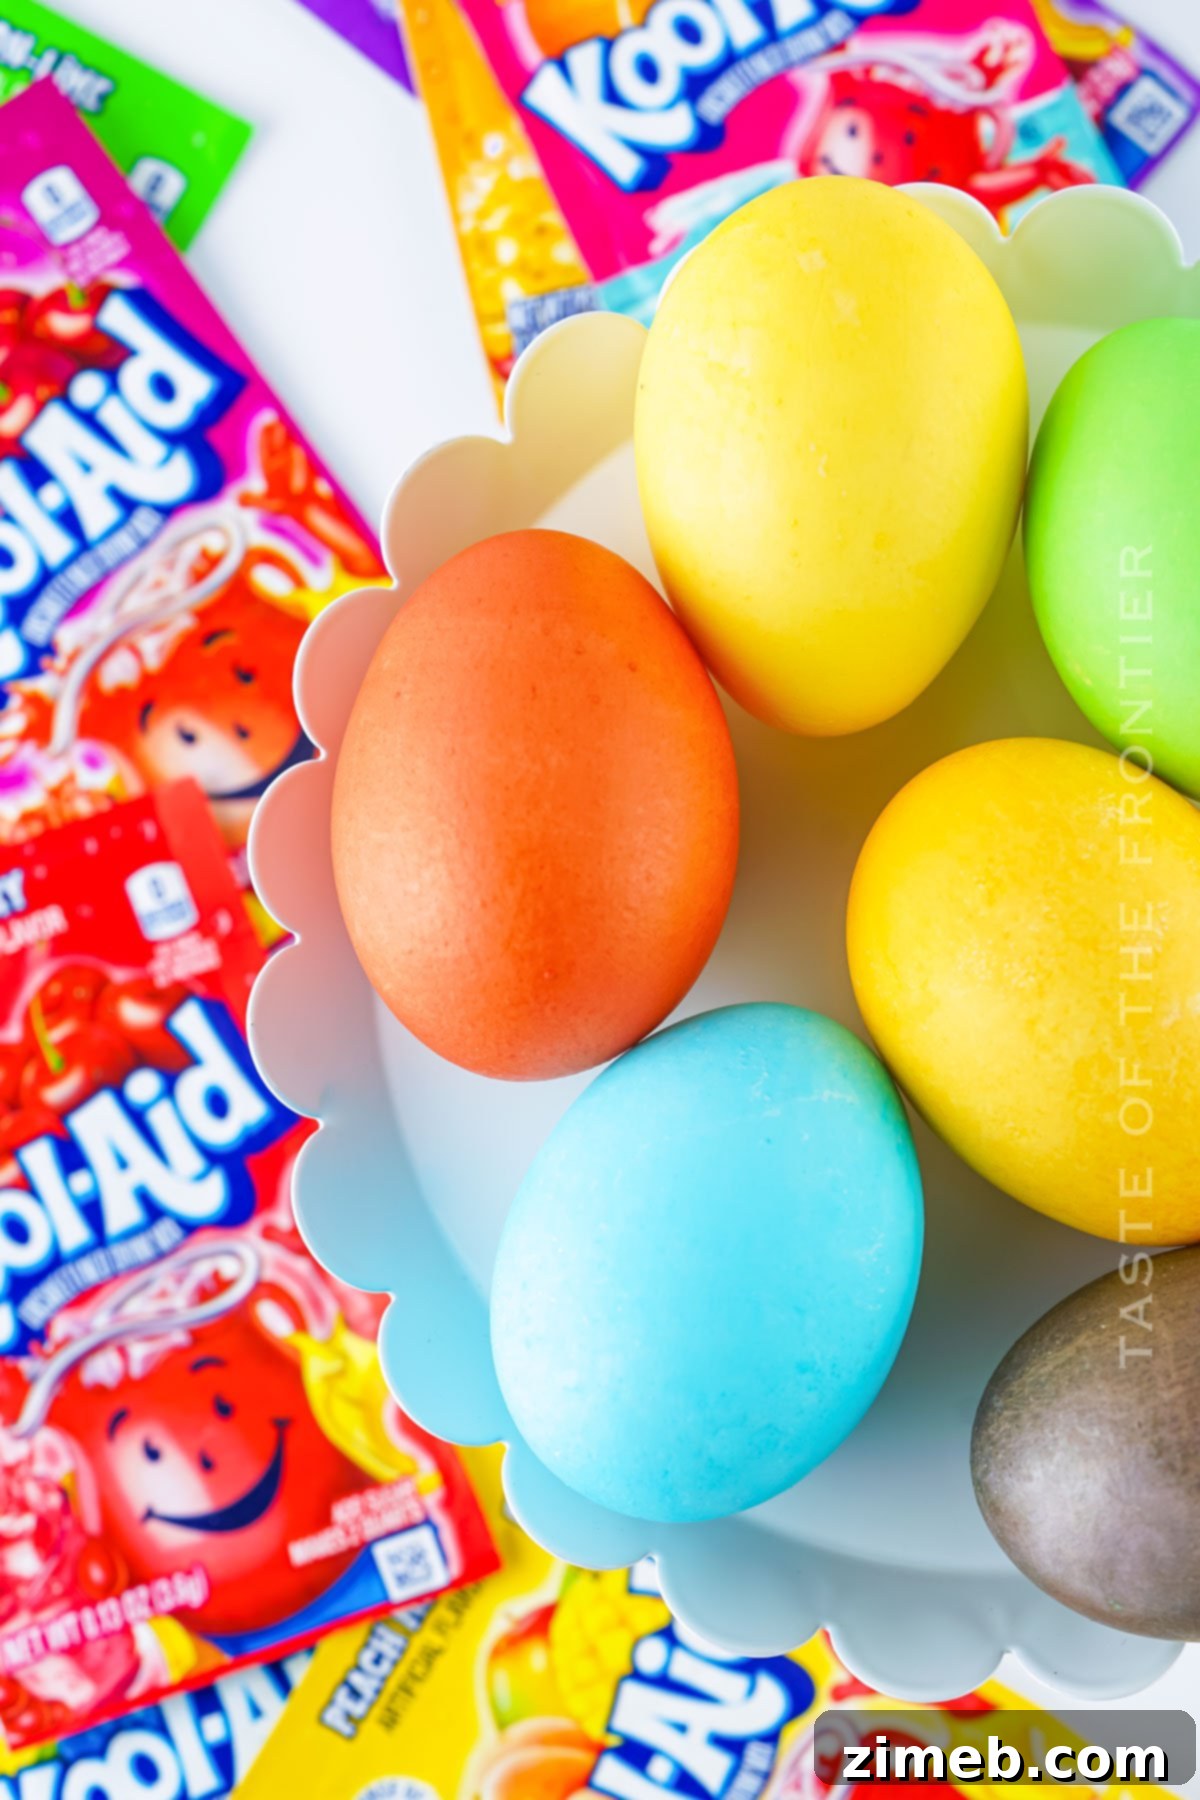
Kool-Aid Dyed Eggs provide a fantastic opportunity to infuse your holiday with creativity, vivid color, and pure joy. With just a few basic ingredients – primarily hard-boiled eggs, Kool-Aid packets, and a touch of vinegar – you can transform plain white or brown eggs into a stunning display that will undoubtedly be the highlight of any Easter gathering. This method is celebrated for its simplicity and the remarkably intense colors it produces, making it a standout choice for anyone looking to elevate their Easter decor.
Whether you’re seeking an effortless recipe for dazzling eggs, a new and exciting family tradition, or simply a fun way to prepare for the spring holiday, Kool-Aid delivers an affordable, enjoyable, and highly effective solution. It’s a wonderful project that combines science and art, captivating children with its vibrant results and straightforward process.
Join us as we dive into the delightful world of Kool-Aid egg dyeing! We’ll guide you through every step to create these brilliantly colored eggs, promising an activity that brings immense fun and is sure to be a great success for young kids and adults alike. Prepare for an Easter filled with laughter, creativity, and the most beautifully dyed eggs you’ve ever seen.
So, gather your favorite Kool-Aid flavors, rally the family, and get ready to make this Easter the most colorful and memorable one yet!
Why Kool-Aid is the Best for Easter Eggs
Choosing Kool-Aid for your Easter egg dyeing offers a plethora of benefits that make it superior to traditional dye kits. Firstly, the sheer variety of colors available from Kool-Aid packets is astounding, ranging from classic reds and blues to exotic tropical blends, allowing for endless customization. Secondly, it’s incredibly cost-effective, often cheaper than buying specialized egg dye kits, making it an excellent option for large families or group activities. Thirdly, the process is incredibly simple, requiring minimal supervision for older children and providing a safe, non-toxic alternative for little hands. Plus, the delightful fruity scents of Kool-Aid add an extra sensory dimension to the dyeing experience, making it even more enjoyable. It’s a nostalgic nod to childhood for adults and a new, exciting discovery for kids!
Common Questions About Kool-Aid Dyed Eggs
Do Kool-Aid dyed eggs taste like the drink mix?
Rest assured, there’s no need to worry about any fruity flavors penetrating the shell! The Kool-Aid dye adheres only to the exterior of the egg. Your perfectly hard-boiled eggs will retain their natural, delicious taste, completely free from any hint of Black Cherry, Tropical Punch, or any other Kool-Aid flavor. Enjoy the vibrant colors without altering the taste of your eggs.
What’s the best way to achieve vibrant colors on my eggs?
For the most brilliant and vivid colors, aim to let your eggs soak in the Kool-Aid dye baths for approximately 1-2 minutes. If you desire a slightly lighter or more pastel shade, you can shorten the soaking time. For deeper, more intense colors, especially with lighter Kool-Aid shades, extending the immersion time to 3-5 minutes can yield stunning results. The key to success lies in both the concentration of your Kool-Aid mixture and the duration of the soaking time.
Can brown eggs be dyed with Kool-Aid too?
Absolutely! You can certainly dye brown eggs with Kool-Aid. While they will produce slightly darker, more subdued shades compared to white eggs, the results are equally beautiful and rich. Dying brown eggs adds a lovely, earthy variety to your Easter egg collection, offering a unique aesthetic. Don’t hesitate to experiment with different egg types to discover new and exciting color combinations!
How long do Kool-Aid dyed eggs last?
Just like any hard-boiled egg, once dyed, they should be refrigerated within two hours of cooking and can be safely consumed for up to seven days. Always keep them in an airtight container in the refrigerator to maintain freshness and vibrant color.
Is Kool-Aid egg dyeing safe for children?
Yes, it’s a very safe activity for children! Kool-Aid is a food-grade product, meaning it’s non-toxic. However, like any craft project, adult supervision is recommended, especially when handling hot water and to prevent accidental ingestion of the dye solution.
Storage
Our family eagerly anticipates Easter each year, not just for the festive fun, but also for the abundance of delicious hard-boiled eggs. It’s always surprising how much they enjoy them, year after year!
Refrigerator
To preserve their dazzling colors and ensure freshness, store your vibrant Easter eggs in an airtight container within the refrigerator. Proper storage will keep them ready for enjoyment or display for up to one week.
Freezer
Freezing dyed hard-boiled eggs is generally not recommended. The freezing and thawing process can significantly alter the texture of the egg whites, often making them rubbery and unpalatable. It’s best to enjoy these colorful creations fresh!
Tips for Flawless Kool-Aid Dyed Eggs
These Kool-Aid dyed eggs are sure to be the envy of every Easter egg hunt, with their exceptionally bright and eye-catching colors that truly pop. The Kool-Aid egg dye method is uniquely effective and yields consistently stunning results!
- Even Coloring: For a uniformly colored egg, gently pat the wet eggs with a paper towel immediately after dyeing to remove excess liquid, being careful not to rub off the fresh dye. This helps set the color and prevents streaks.
- Expand Your Palette: Don’t limit yourself to just the primary Kool-Aid colors! Experiment with different flavors to expand your color range. For instance, Peach Mango Kool-Aid creates beautiful light orange hues, while Berry Blue yields a striking indigo. Mixing different colors of Kool-Aid can also lead to unique custom shades.
- Flawless Finish: To ensure a smooth, unsmudged finish, handle the eggs with extreme care as they come out of the dye bath. Use a spoon or tongs, and place them gently on a drying rack or paper towels. Avoid touching the wet surface as much as possible until the dye has fully set.
- Experiment with Ratios: The ratio of water to vinegar to Kool-Aid can influence the final color. While our recipe provides an optimal starting point, feel free to experiment with a slightly higher vinegar concentration for more intense colors, or more water for a lighter shade. Always add a little at a time to achieve your desired effect.
- Safety First: When working with boiling water, always supervise children closely. Use sturdy cups or containers that won’t tip over easily, and ensure a dedicated workspace to minimize spills.
- Drying Method: Allowing eggs to air dry on a wire rack or several layers of paper towels is crucial. This ensures the dye sets properly and prevents any smudging that might occur from stacking wet eggs.
Ingredients for Kool-Aid Dyed Eggs
It’s always exciting to discover innovative and effective alternatives to traditional egg dyes. Over the years, I’ve heard of numerous methods, with varying degrees of success. I am confident you will absolutely love this Kool-Aid method for its vibrant results and ease!
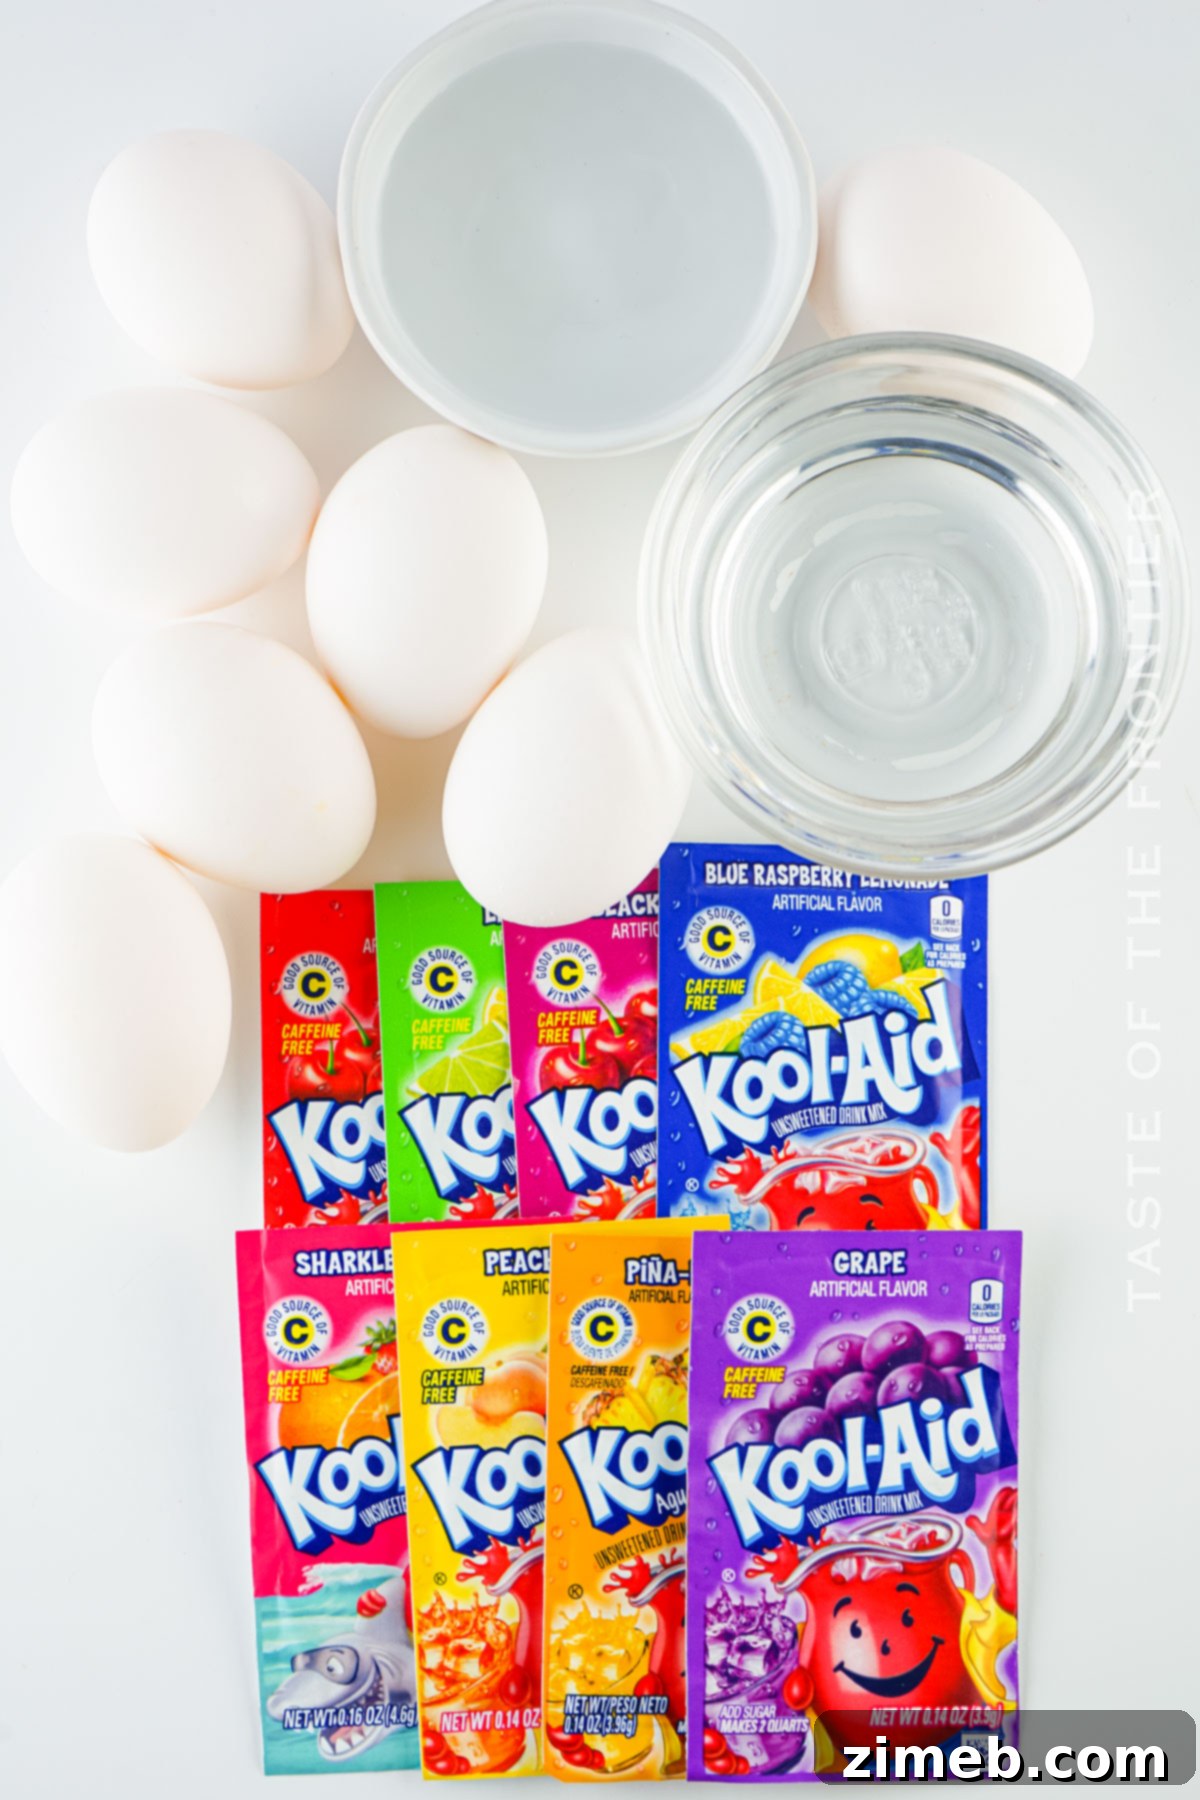
- Hard-boiled eggs: Make sure they are cooled completely to room temperature. This is essential for the dye to adhere properly and evenly.
- Kool-Aid packets: Select a variety of your favorite flavors and colors to create a diverse collection of dyed eggs. The more variety, the more colorful your Easter!
- Boiling water: Hot water helps dissolve the Kool-Aid mix thoroughly and creates a stronger dye solution.
- Vinegar: White vinegar acts as a mordant, helping the dye to bind to the eggshell more effectively, resulting in brighter and longer-lasting colors.
- Paper towels: For drying the eggs and protecting your work surface from spills.
- Spoons or tongs: Essential for carefully submerging and removing eggs from the hot dye solutions.
How to Make Kool-Aid Dyed Eggs: Step-by-Step Instructions
For the most brilliant and unblemished results, it’s crucial to allow your newly colored eggs ample time to dry and set before handling them extensively. This precaution prevents any accidental smudging of the beautiful, fresh color you’ve just applied!
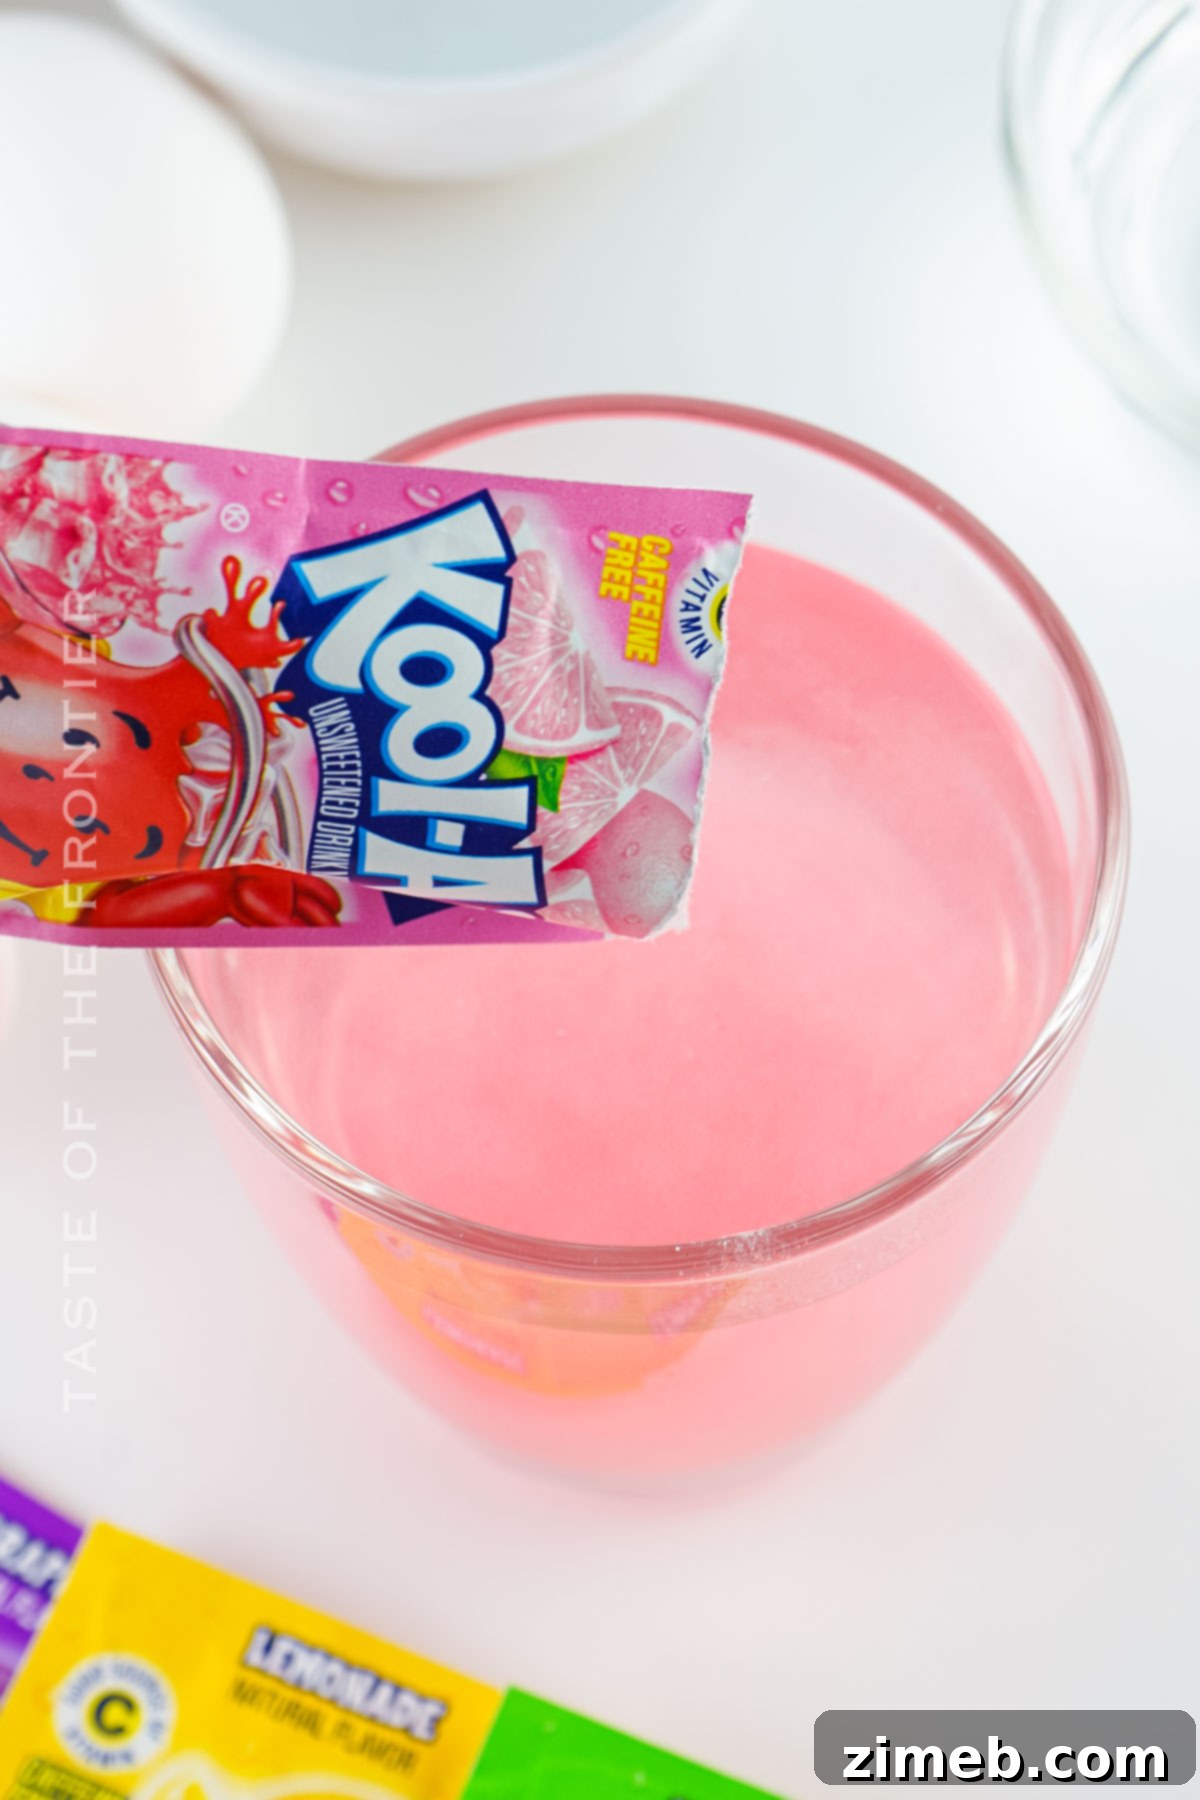
- Prepare Your Dye Baths: For each individual color or packet of Kool-Aid you plan to use, combine ½ cup of boiling water, 1 teaspoon of white vinegar, and one packet of Kool-Aid mix in a separate cup or small container. Stir the mixture thoroughly until the Kool-Aid powder is completely dissolved, ensuring a uniform dye solution.
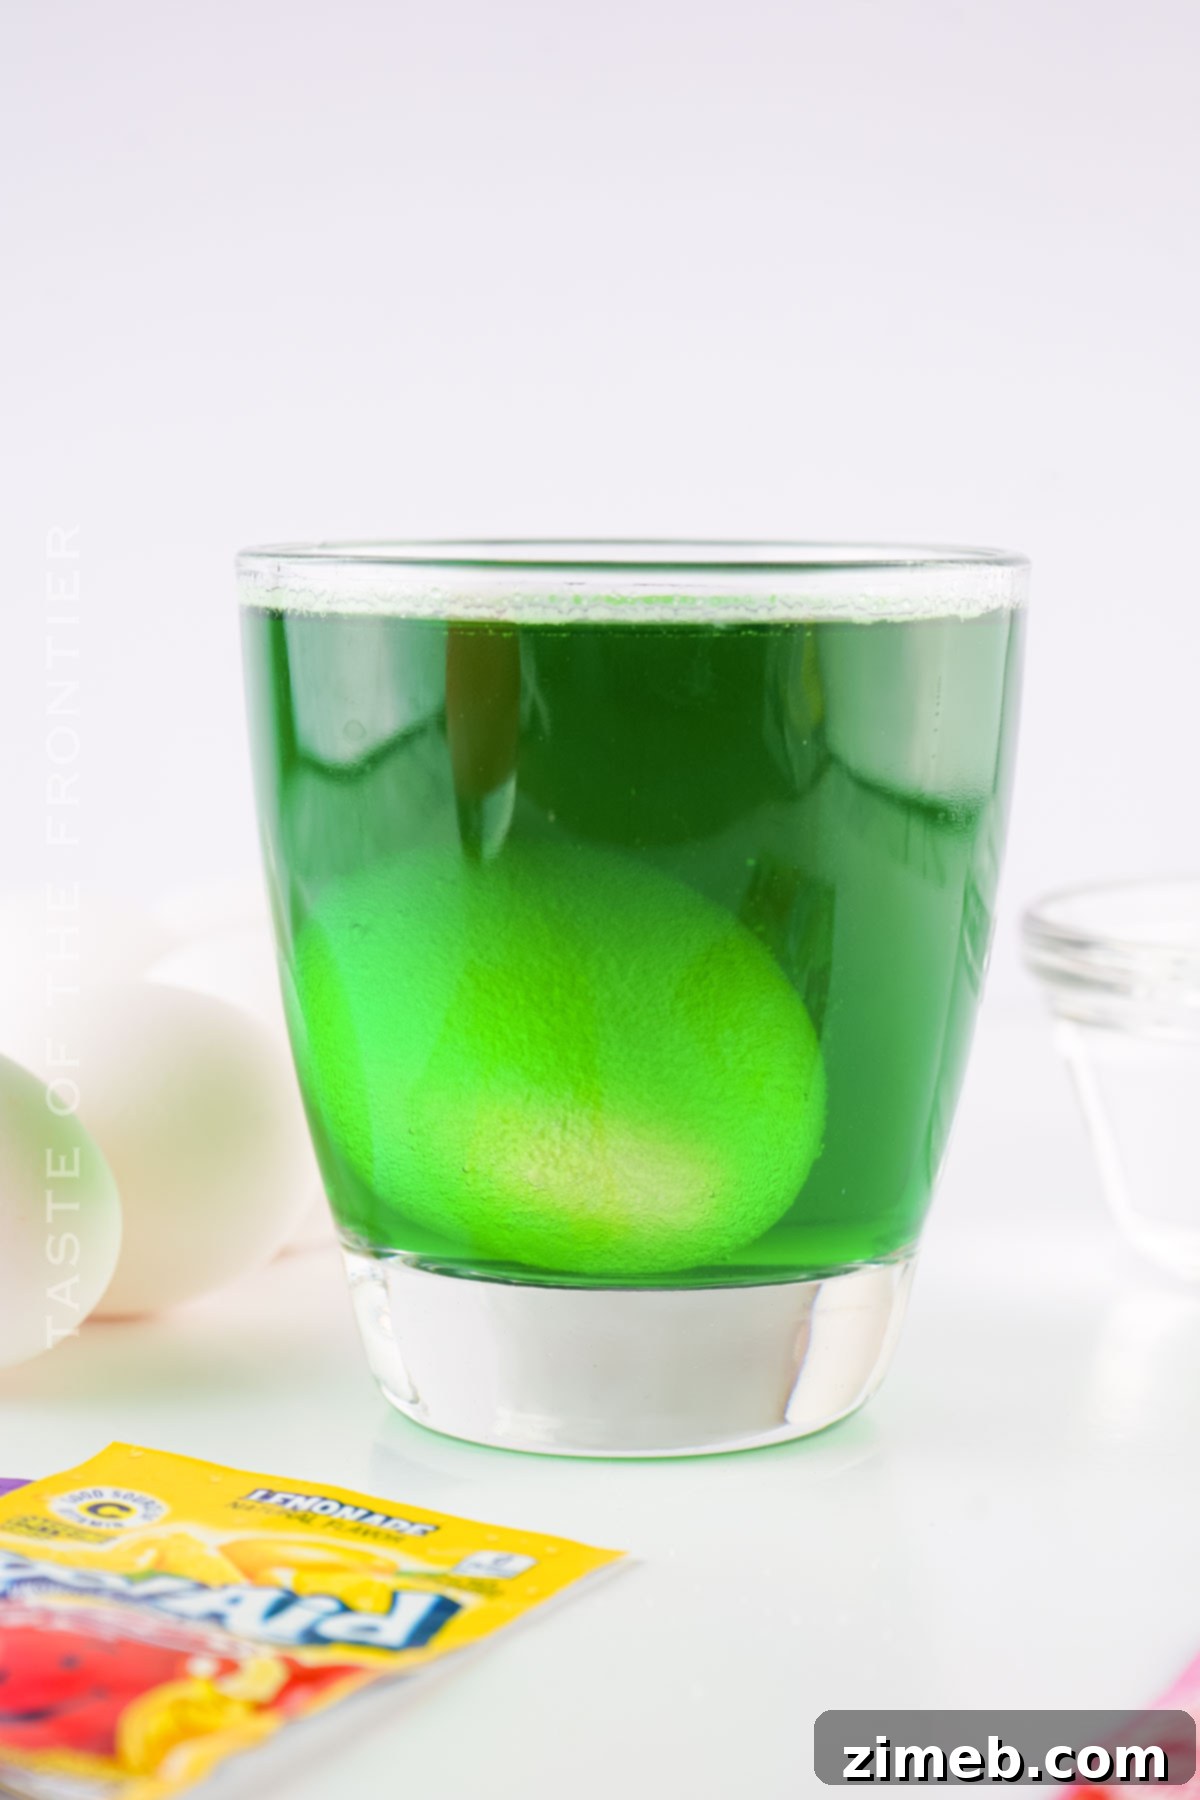
- Submerge the Eggs: Gently place a hard-boiled egg into your chosen dye solution. Ideally, use one egg per cup to prevent overcrowding and ensure even coloring. Allow the egg to soak for 1-2 minutes. For lighter colors or a more pastel look, you can soak for a shorter duration. For deeper, more intense shades, especially with certain Kool-Aid flavors, extend the soaking time to 3-5 minutes.
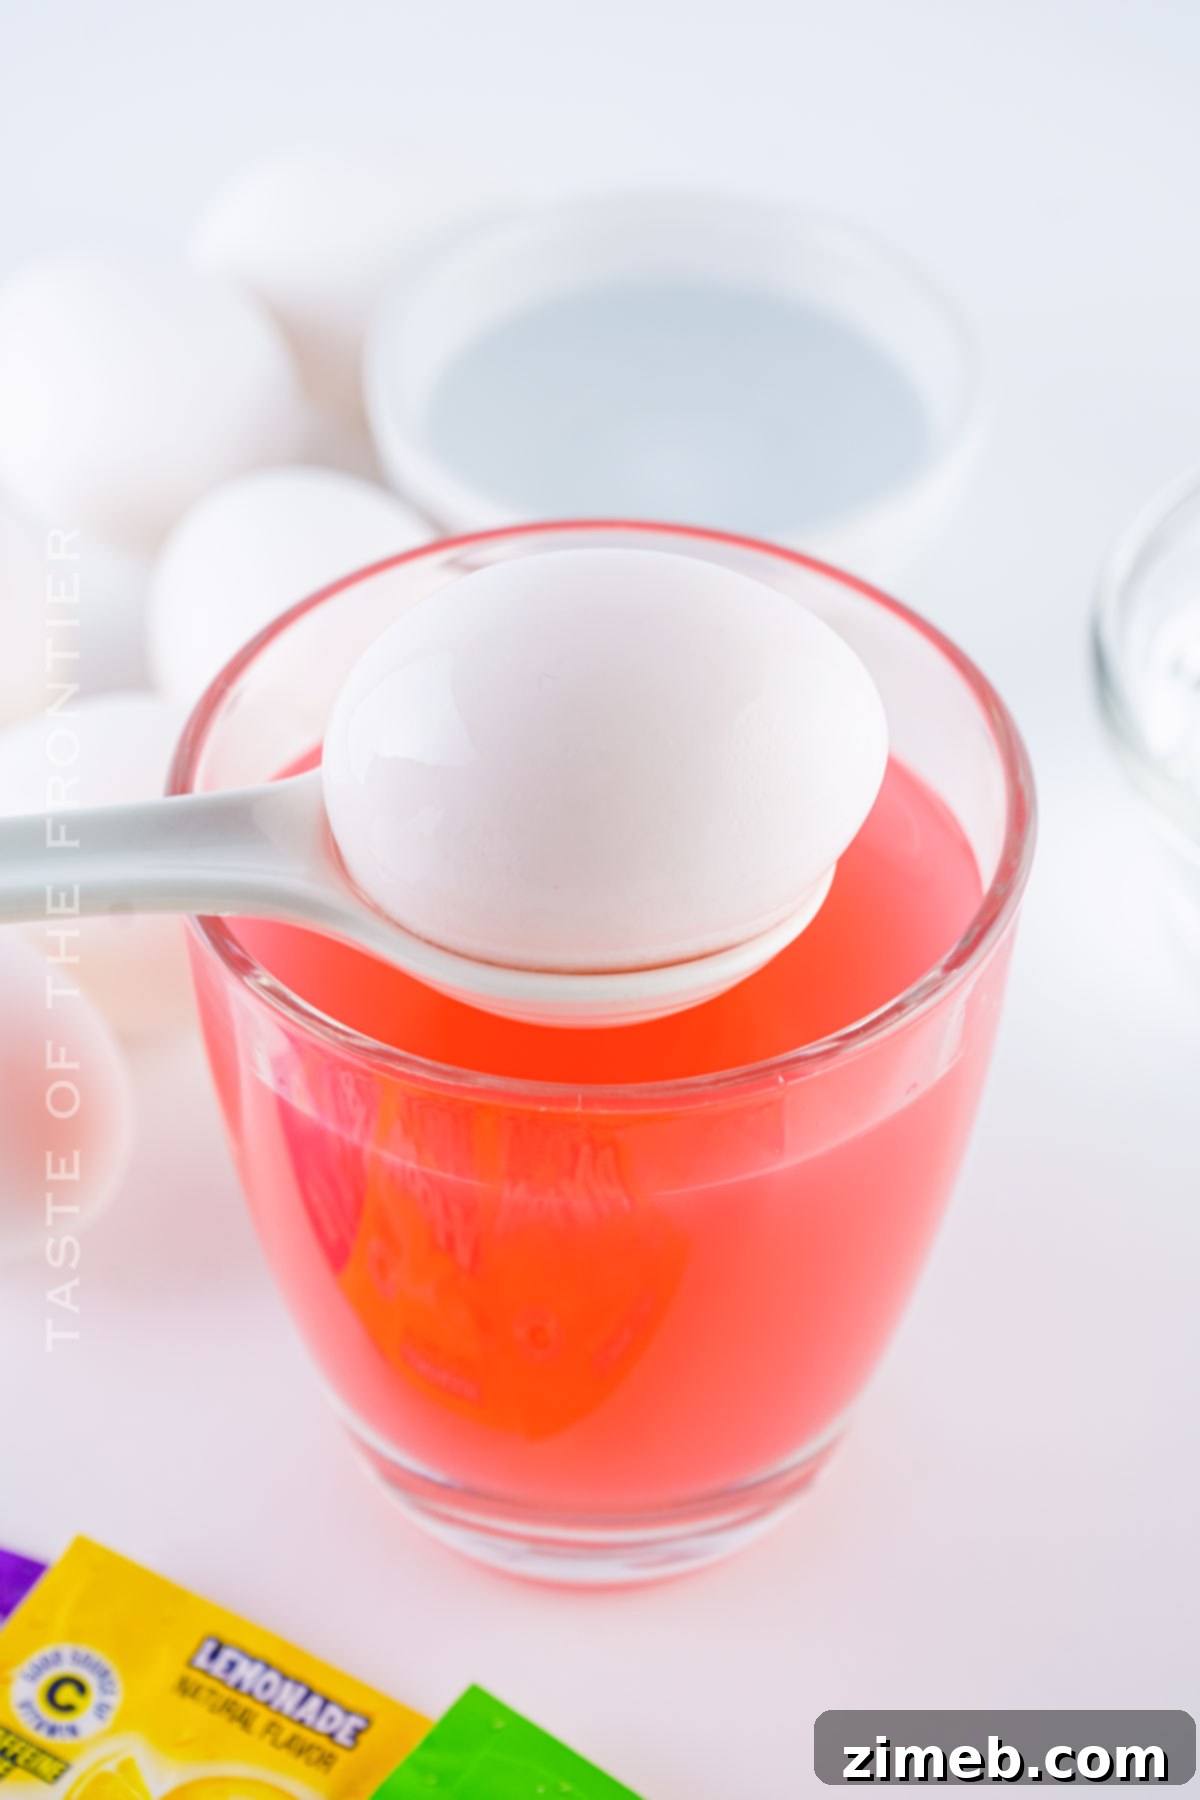
- Careful Removal: Using a spoon or tongs, carefully remove the dyed egg from the solution. Avoid touching the wet surface of the egg as much as possible during this step to prevent leaving fingerprints or smudges on the fresh dye.
- Drying and Setting: Gently lay the wet egg on several layers of paper towels or a wire drying rack. It’s important to let the eggs sit undisturbed for approximately 5 minutes, or until they are completely dry to the touch. Once dry, the dye will be set, and you can safely place them back into an egg carton for storage or display.
Essential Kitchen Supplies for Kool-Aid Dyed Eggs
The beauty of this project lies in its simplicity. You likely already have most of these standard kitchen supplies on hand. I would emphasize that a reliable drying rack is perhaps the most crucial item, as it ensures your vibrant creations have plenty of time to set perfectly!
- A variety of cups or small containers: You’ll need one for each Kool-Aid dye bath. Clear glass or plastic cups work best so you can monitor the color development.
- A large bowl or tray: Useful for containing any spills and keeping your workspace tidy.
- A whisk or spoon: For thoroughly stirring the Kool-Aid mixture until it’s completely dissolved.
- A drying rack or additional paper towels: Absolutely essential for allowing the dyed eggs to dry evenly and completely without smudging.
- Gloves: Optional, but highly recommended to prevent your hands from getting stained by the vibrant Kool-Aid colors.
What to Serve With Kool-Aid Dyed Eggs
In our household, these beautifully dyed eggs are a post-Easter staple, enjoyed for days on end. A simple sprinkle of salt and perhaps a dash of pepper is often all that’s needed to truly savor their deliciousness!
- Easter Brunch Favorites: Pair these colorful creations with a festive Easter brunch spread. They make a fantastic, edible centerpiece and a delightful side dish for ham, quiches, or hot cross buns.
- Egg-Dyeing Party: Enhance the fun by showcasing these Kool-Aid eggs alongside other creative dyeing methods. Consider offering eggs dyed with natural dyes (like onion skins or beets) or using shaving creamfor marbled effects, turning your Easter preparation into a full-fledged egg-decorating party!
- Classic Egg Dishes: Once peeled, these hard-boiled eggs are perfect for classic recipes like Best Egg Salad, Traditional Deviled Eggs, or simply sliced into salads for a pop of color and protein.
Why You Should Make Kool-Aid Dyed Eggs This Easter
Over my many years of Easter preparations, I’ve experimented with countless methods for coloring eggs. This Kool-Aid technique has consistently remained one of my absolute favorites. It’s truly wonderful to have such a reliable and enjoyable option, isn’t it?
- Effortless Side Dish & Decor: Beyond being a fun craft, these eggs serve as a simple yet impactful side dish that instantly adds a magnificent pop of color and joy to your Easter table. They are both edible and decorative!
- Kid-Friendly Activity: Kool-Aid dyed eggs offer a fantastic way to involve children of all ages in the Easter preparations. It’s a fun, safe, and engaging activity that fosters creativity and provides a sense of accomplishment.
- Sensory Delight: The combination of intensely bright colors and the inviting, fruity scents emanating from the dye baths creates a unique and unforgettable sensory experience, establishing a new, beloved Easter tradition for your family.
- Budget-Friendly: Kool-Aid packets are inexpensive and widely available, making this an economical choice for dyeing a large batch of eggs without sacrificing quality or vibrancy.
Creative Variations and Add-Ins for Kool-Aid Dyed Eggs
I’d love to hear about your favorite egg dyeing techniques in the comments below! And please, share your experience with this Kool-Aid recipe – your feedback is always cherished!
- Patterned Eggs with Rubber Bands: For unique stripe or geometric patterns, try wrapping eggs with various rubber bands before submerging them in the dye. The areas covered by the bands will remain undyed, creating a cool resist effect.
- Pastel Shades: If you’re aiming for a softer, more delicate palette, use lighter Kool-Aid flavors like lemonade for subtle pastel colors. This is perfect for a gentle addition to your Easter decor. Remember, these lighter shades may require longer soaking times to achieve noticeable color.
- Custom Color Mixing: Don’t be afraid to mix and match different Kool-Aid flavors in a single dye bath to create your own custom colors. This allows for truly unique shades that will make your eggs stand out from the crowd.
- Wax Resist Designs: For an artistic touch, draw designs or patterns on your eggs with crayons or a wax resist tool before dyeing them. The wax will repel the Kool-Aid dye, leaving your drawn areas white or the original egg color, creating a striking contrast.
- Speckled Eggs: After dyeing, and once the eggs are dry, gently flick a small amount of a contrasting dye color (or even edible food glitter diluted in a tiny bit of water) onto the eggs using an old toothbrush for a beautiful speckled effect.
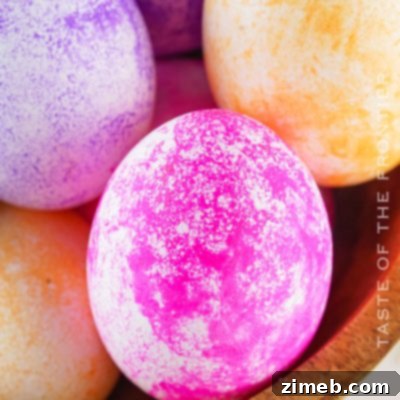
If you’ve enjoyed mastering this easy-to-use Kool-Aid dyed egg recipe, you’ll be thrilled to explore these other fantastic methods for coloring Easter eggs. Click each link below to discover more easy, printable recipes and ideas!
Check out this recipe
Check out this recipe
More Great Egg Recipes for Easter and Beyond
After all that fun decorating, you’ll want some delicious ways to enjoy your hard-boiled eggs! Here are some fantastic recipes featuring eggs that are perfect for any meal:
Best Egg Salad Recipe: A timeless classic, perfect for sandwiches or as a delightful side dish.
Traditional Deviled Eggs: A crowd-pleasing appetizer that’s always a hit at gatherings.
Scrambled Eggs Recipe: Learn how to make perfectly fluffy scrambled eggs for breakfast or brunch.
Hard Boiled Eggs – Perfect Every Time: Master the art of consistently perfect hard-boiled eggs, the essential base for all your dyeing and recipe needs.
CONNECT WITH YUMMI HAUS!
Be sure to follow me on my social media channels, so you never miss a post!
Substack, FB, Pinterest, IG, Email Subscription
Rate this Recipe
Kool-Aid Dyed Eggs
Ingredients
- boiled eggs
- 1 packet kool-aid
- ½ cup boiling water
- 1 teaspoon vinegar
Instructions
-
For each color or packet of Kool-Aid, add ½ cup boiling water, 1 teaspoon vinegar, and one packet of Kool-Aid to a cup and stir until the Kool-Aid is dissolved.
-
Gently add the eggs to the dye of choice (one egg to a cup is ideal) and let sit for 1-2 minutes or until the desired color is reached.
-
Remove the egg with a spoon and gently lay it on a paper towel without touching it as much as possible.
-
Allow the eggs to sit undisturbed for about 5 minutes or until no longer wet before placing them back in the egg carton.
Notes
- Some of the lighter colors of Kool-Aid like lemonade come out very light and will take a little longer soaking in the dye. We tested a ton of flavors of Kool-Aid and only lemonade came out poorly. It’s the only color I wouldn’t suggest. For some colors like the pink lemonade, they come out pretty, but you’ll want to leave them in there for 3-4 minutes, rather than the 1-2.
- This method of dying works for farm fresh eggs or brown eggs. The colors come out a little darker, but it’s still gorgeous.
- Do not add any more vinegar than suggested. It will eat the color off of the egg and make it look bad.
- Don’t add more water unless you add more Kool-Aid or it will water down the dying aspect of the Kool-Aid and cause the dye to not do as well.
- If you handle the eggs too much coming right out of the dye, it will make marks in your coloring. For a more flawless egg, allow the egg to dry before handling it. The dye will settle onto the shell and it won’t budge after that.
- The color of the egg will brighten a bit as it dries.
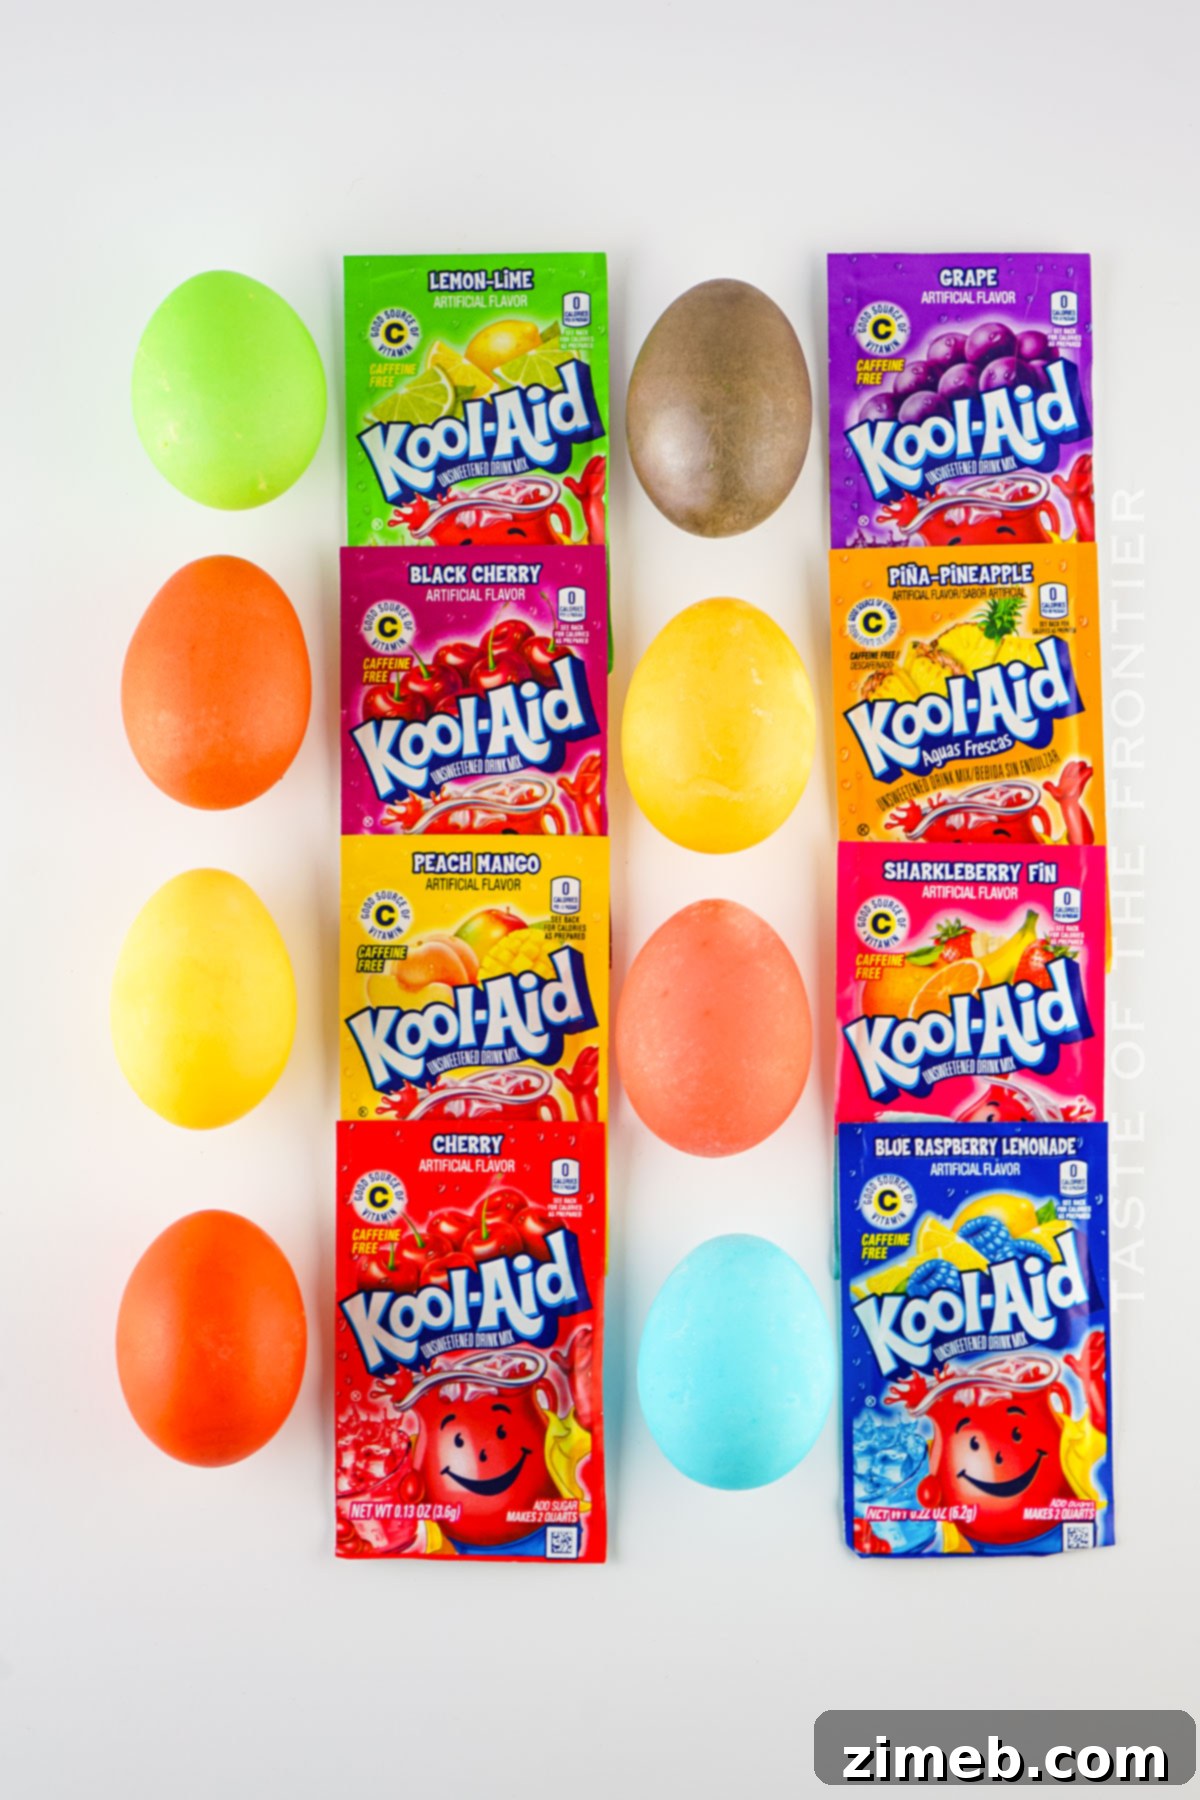
- Lemon lime and green apple come out the same color of green.
- Black cherry, sharkleberry, and cherry come out very similar shades of red, but they ARE different shades.
- Peach mango comes out light orange and pina-pineapple comes out a gorgeous spring yellow.
Equipment
-
Paper Towels
-
spoons
Nutritional information for the recipe is provided as a courtesy and is approximate. Please double-check with your own dietary calculator for the best accuracy. We at Yummi Haus cannot guarantee the accuracy of the nutritional information given for any recipe on this site.