
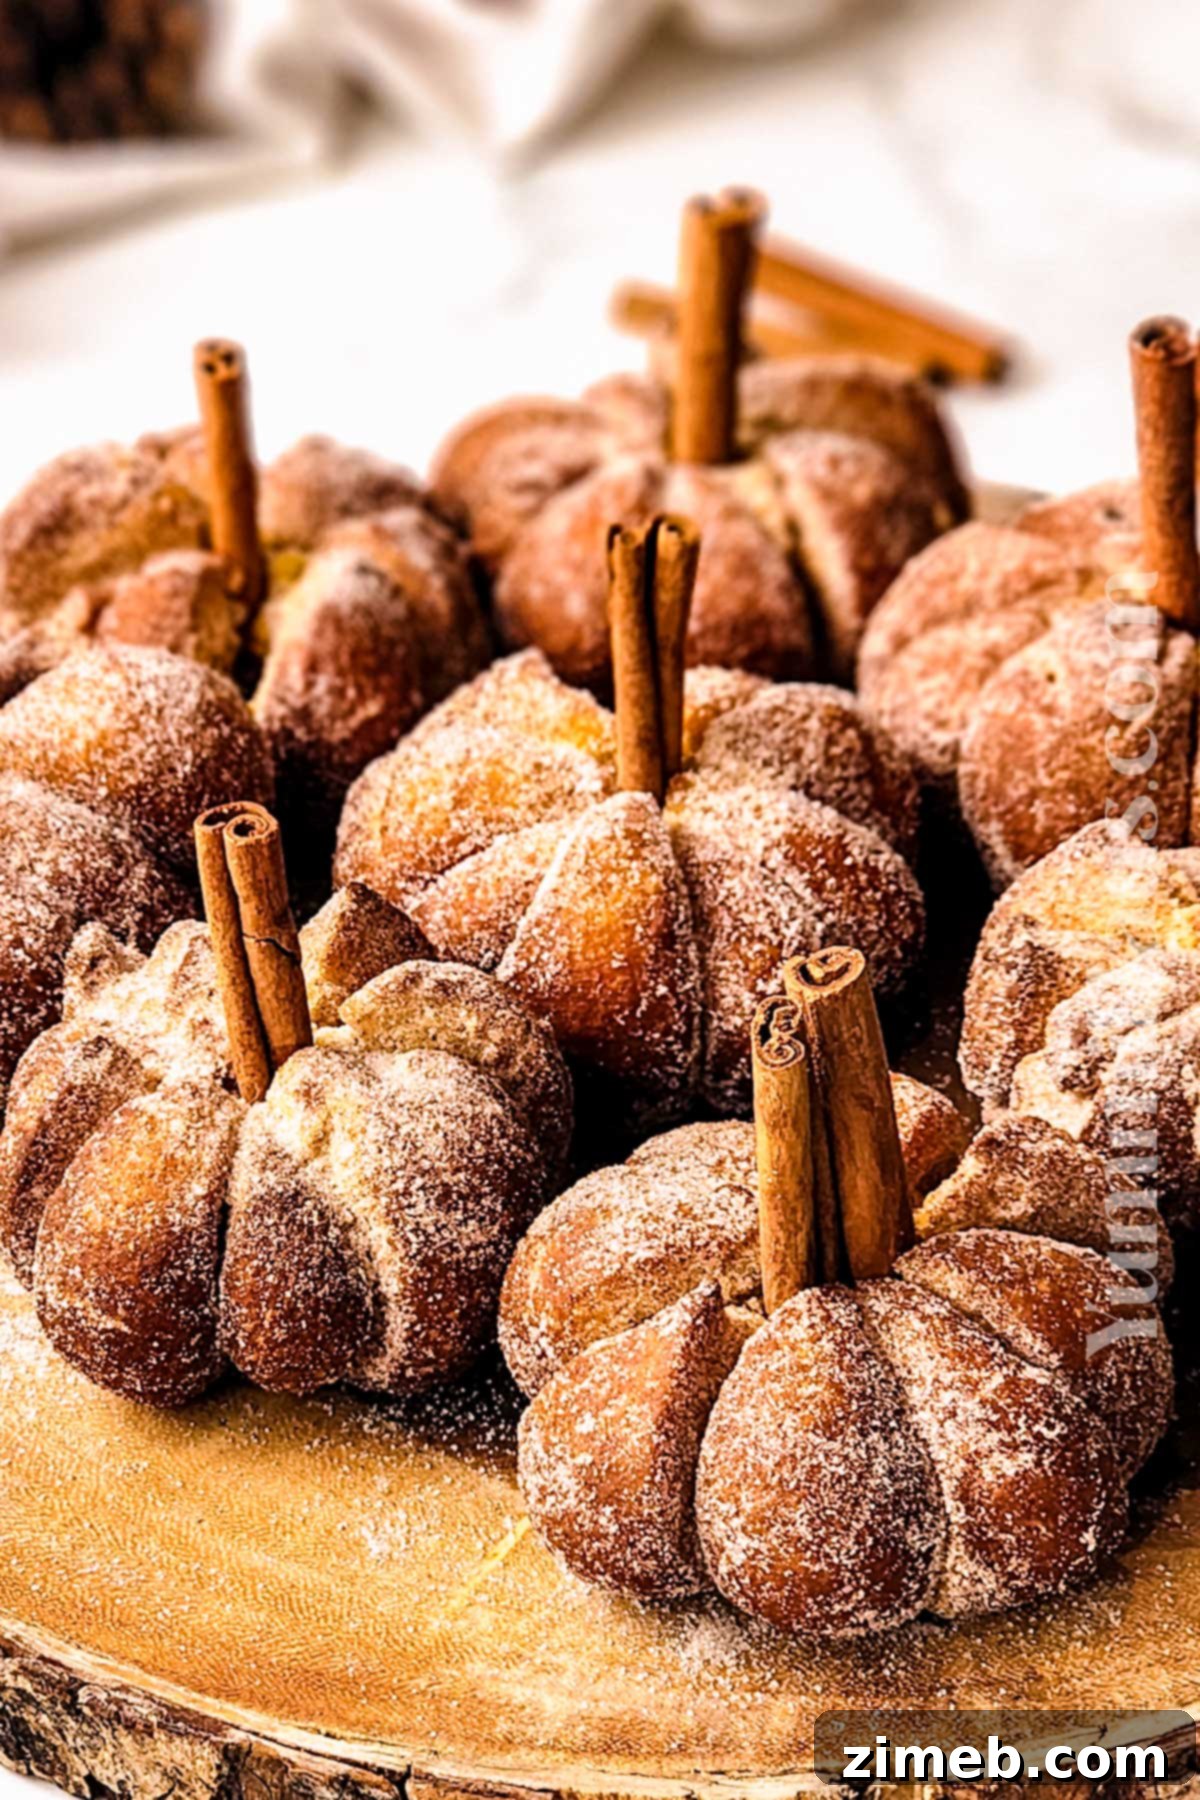
Irresistible Homemade Pumpkin Donuts: Your Ultimate Fall Recipe Guide
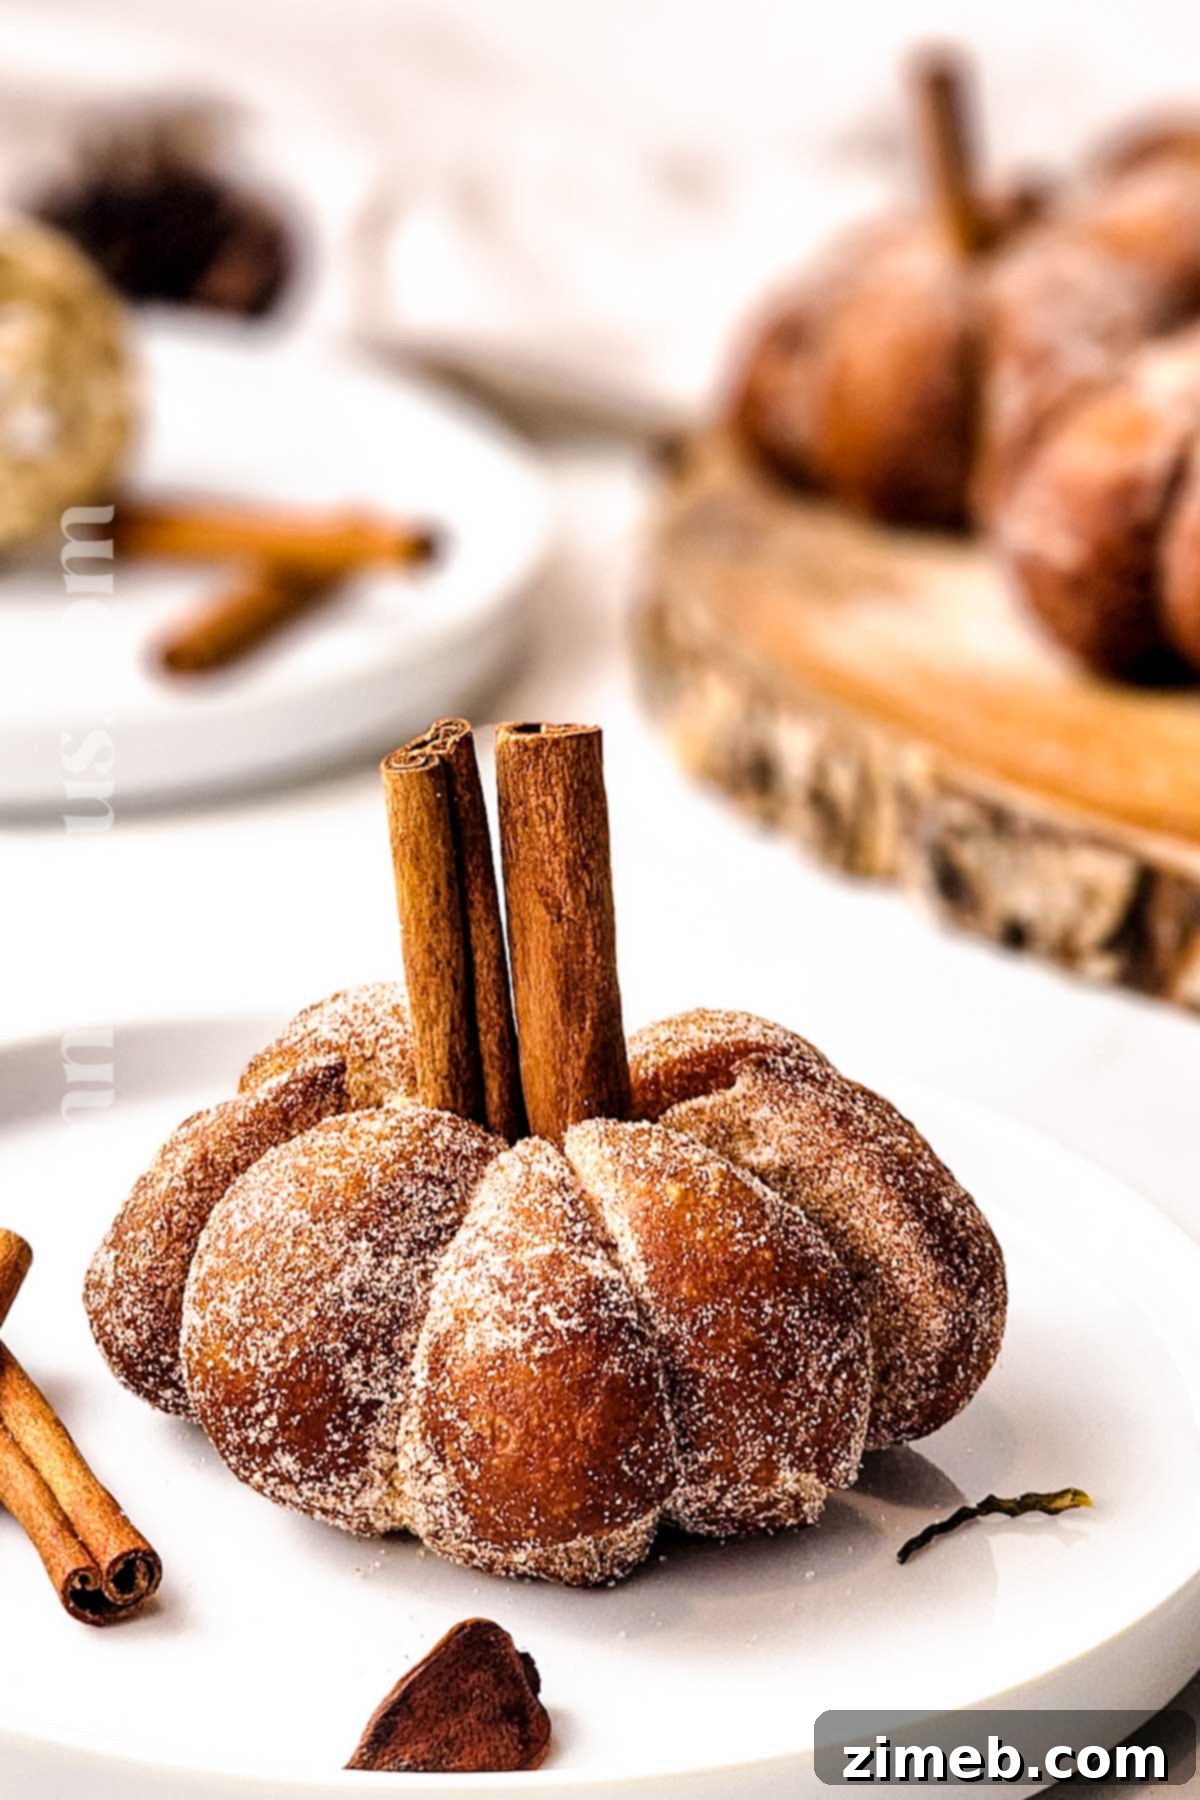
As the crisp autumn air settles in and leaves begin to change, there’s a comforting whisper of pumpkin spice in every breeze. This season calls for cozy treats, and what could be more delightful than a batch of homemade pumpkin donuts? Imagine sweet, tender donuts infused with creamy pumpkin puree and a medley of warm fall spices, all shaped like adorable little pumpkins. These aren’t just any donuts; they are a celebration of autumn, perfect for your fall breakfasts, Halloween parties, or a festive Thanksgiving table. Forget your regular donut cravings – these charming, cinnamon-sugar-coated pumpkin donuts are poised to become your new favorite seasonal indulgence.
While they boast a bakery-quality appearance, looking stunning enough to be picked up from your favorite pastry shop, the truth is they are incredibly simple to make right in your own kitchen. I’m here to guide you through every step of the process, ensuring your success in creating these enchanting pumpkin-shaped delights. Get ready to fill your home with the intoxicating aroma of pumpkin, cinnamon, and sugar as you embark on this delightful baking adventure!
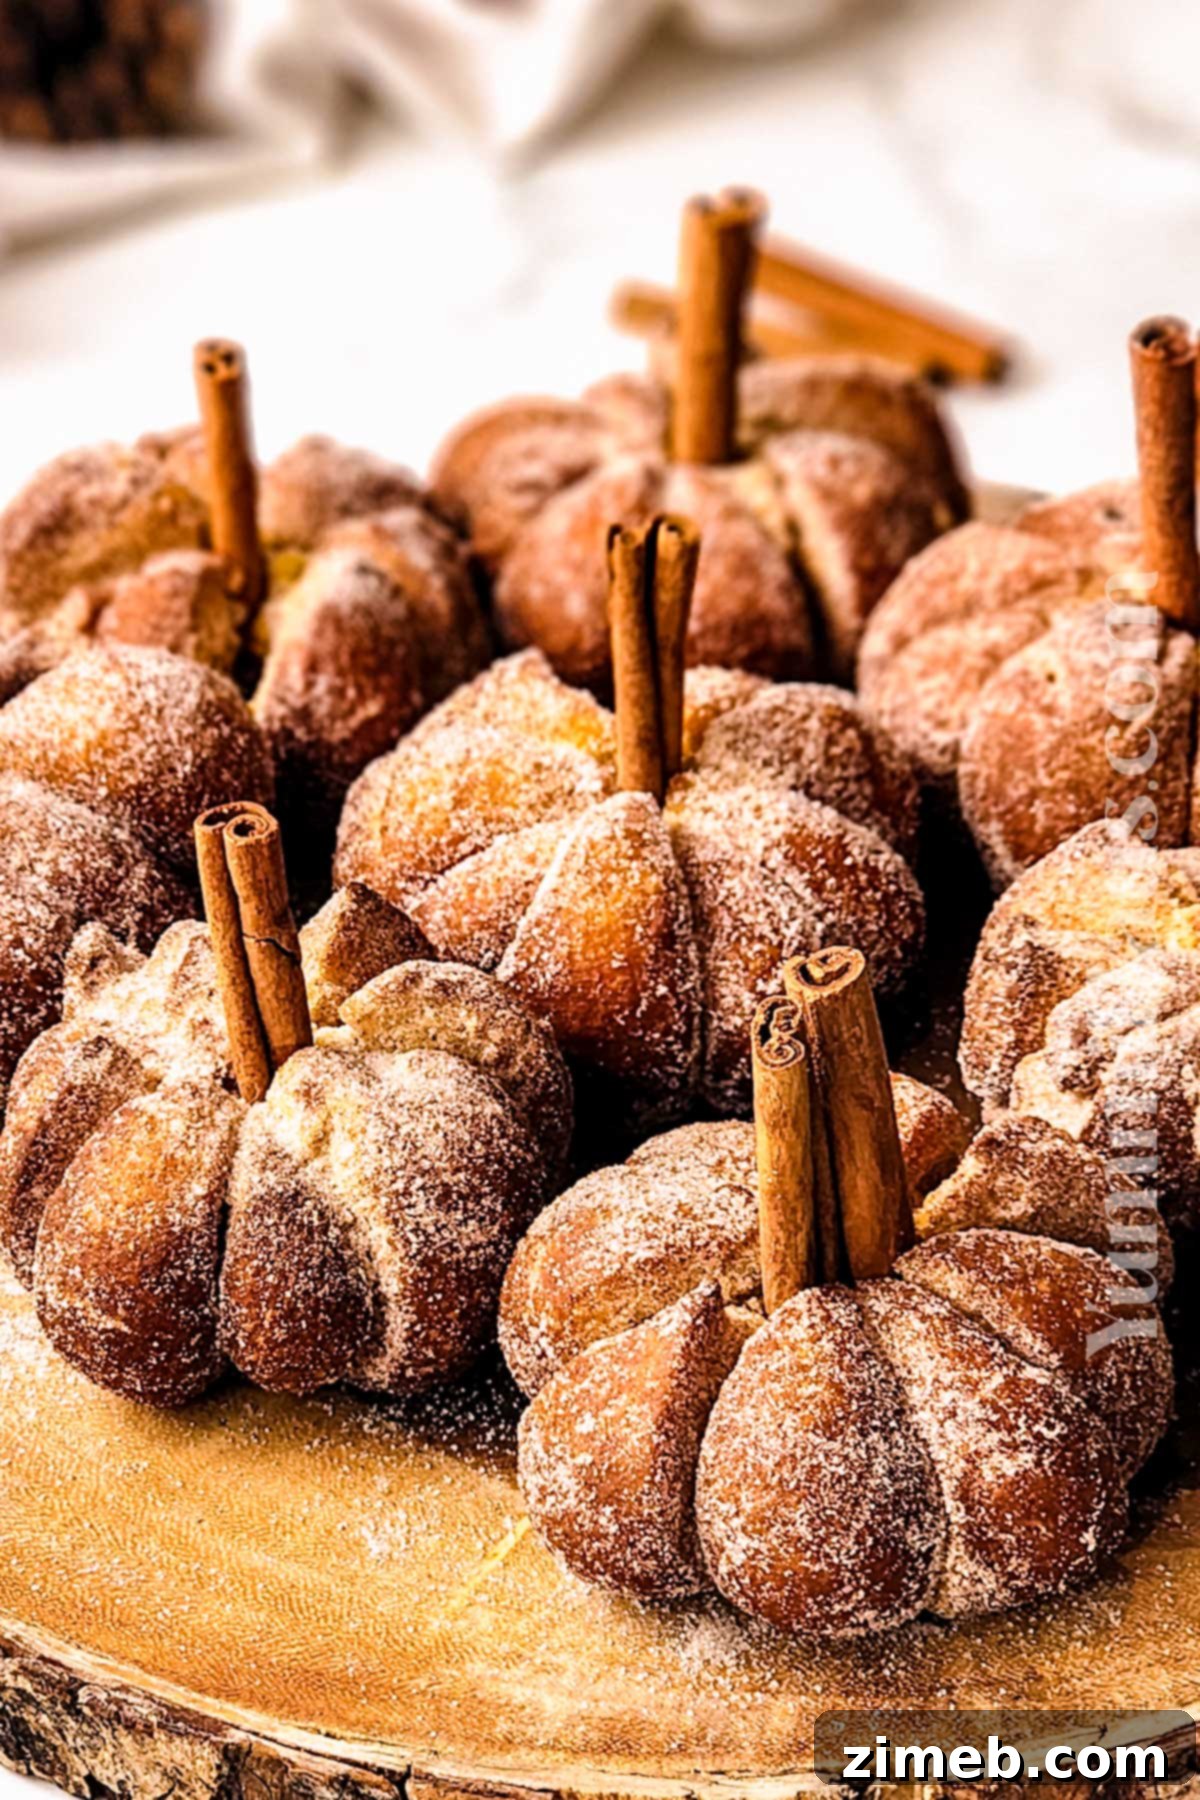
Crafting these adorable donuts is a rewarding experience, transforming simple ingredients into a festive masterpiece. The combination of a soft, airy dough and the delightful crunch of cinnamon sugar makes for an unforgettable treat that will impress family and friends alike. Let’s dive into why this recipe stands out and what you’ll need to create your own batch of fall magic.
Why These Homemade Pumpkin Donuts Will Be Your New Fall Favorite
There are countless reasons to fall in love with this pumpkin donut recipe. Beyond their undeniable charm and festive appearance, they offer a truly satisfying baking and eating experience:
- Effortless Preparation: No Mixer Needed! – You won’t need a stand mixer or any fancy electric equipment for this recipe. All the mixing is done by hand, which is not only simple but also helps prevent overmixing the dough, ensuring a perfectly tender crumb every time. It’s a wonderfully therapeutic process that connects you with your baking.
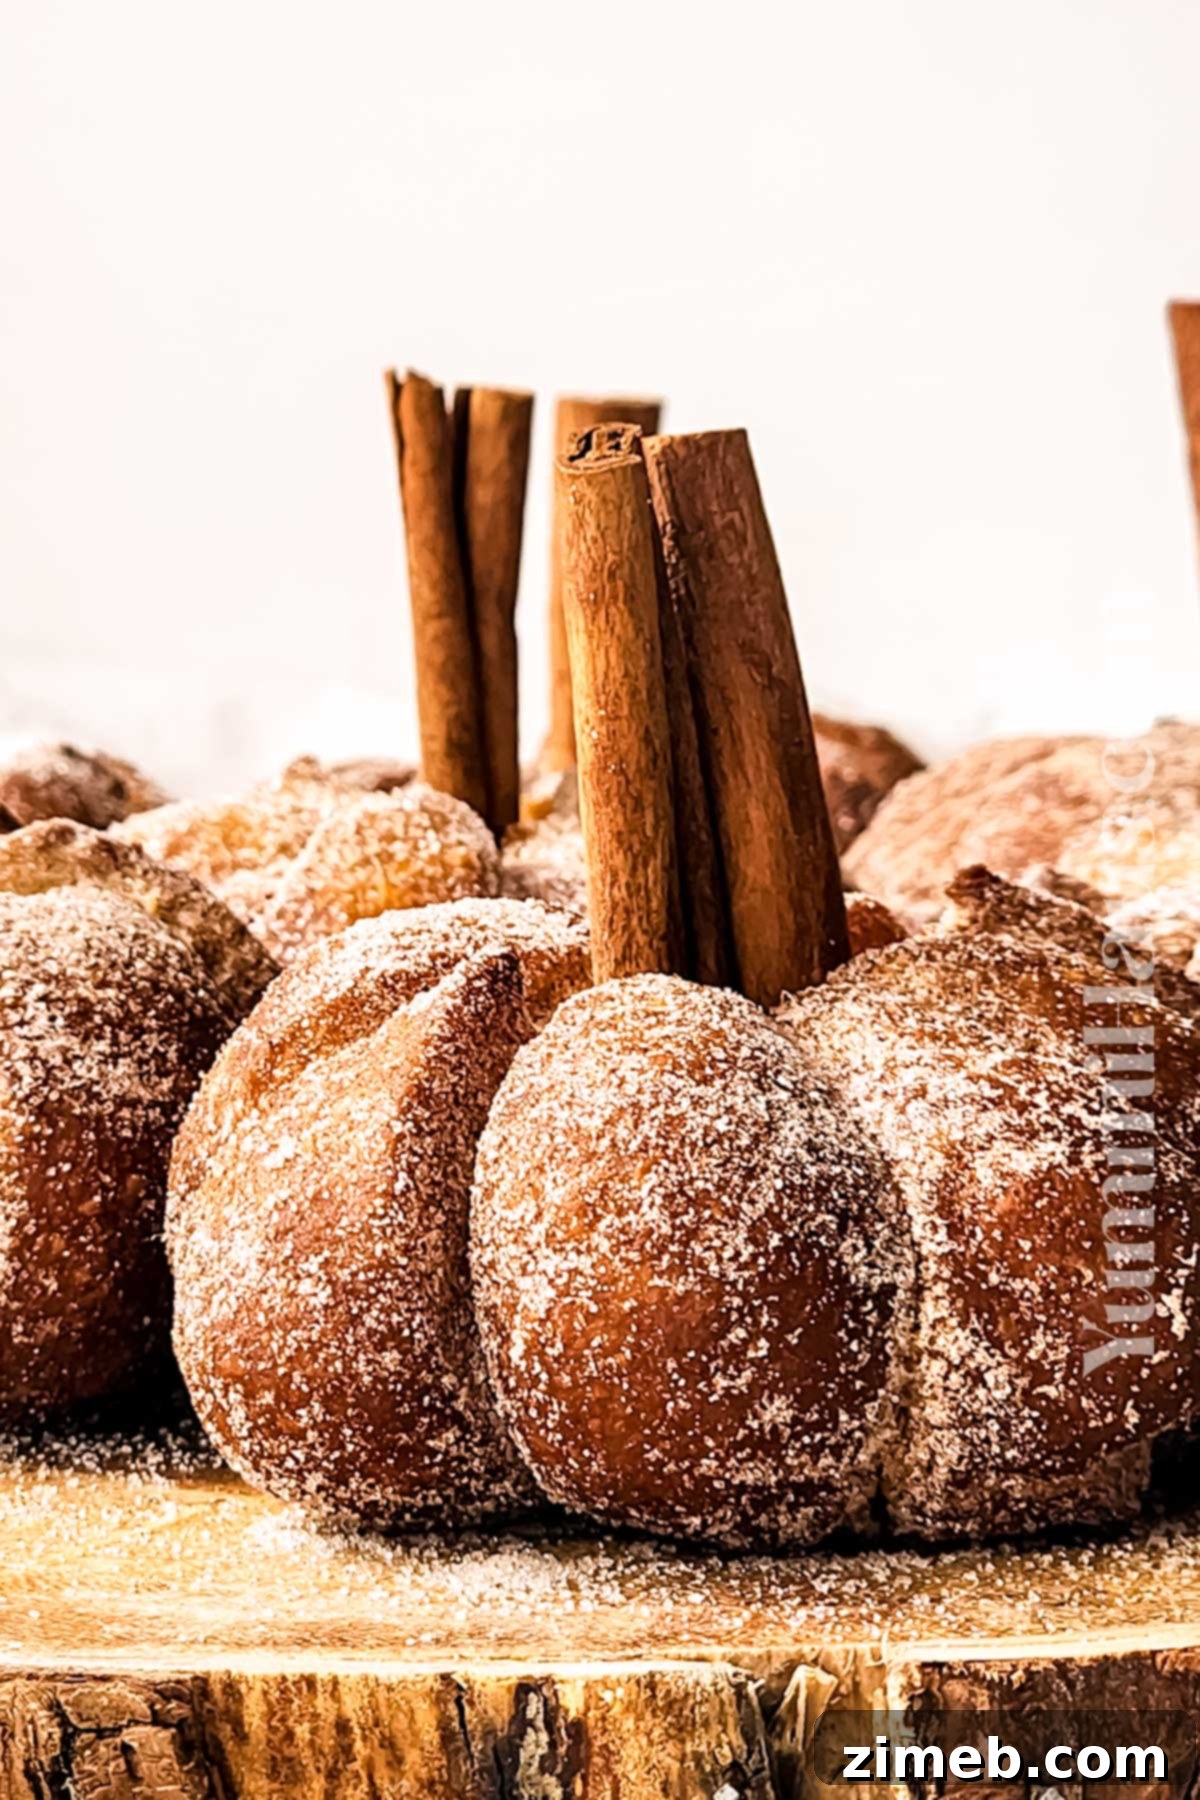
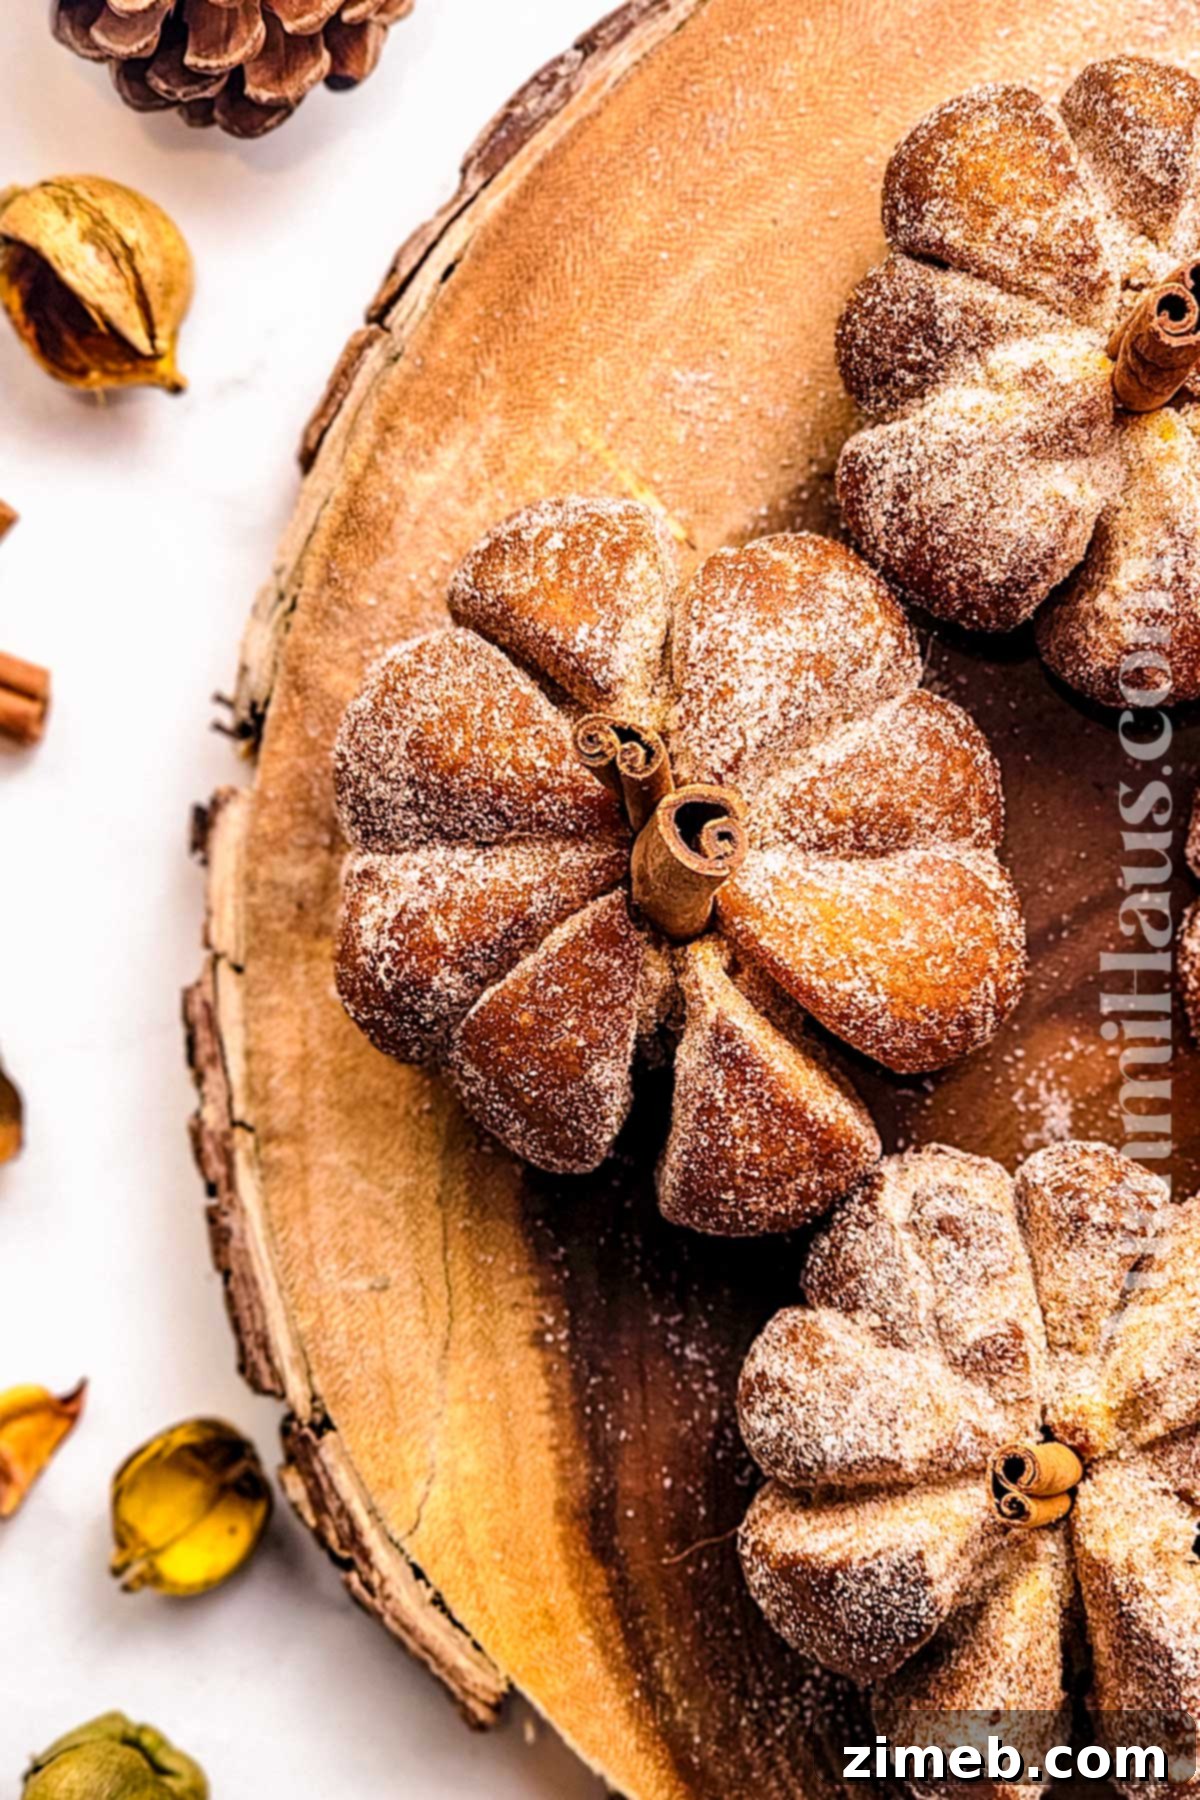
- Adorable Pumpkin-Shaped Delights – These aren’t your average round donuts. We’ll show you how to cleverly shape them into miniature pumpkins, adding an extra layer of festivity and fun. They look like something straight out of a whimsical fall fairy tale and taste just like autumn in every bite. They’re a delightful step up from traditional donut recipes, guaranteed to bring smiles.
- Simple Ingredients, Incredible Flavor – Made with readily available, wholesome ingredients like real pumpkin puree and a blend of cozy autumn spices, this recipe proves that extraordinary flavor doesn’t require an extensive shopping list. The instructions are straightforward, making gourmet-quality donuts achievable for home bakers of all skill levels.
- Versatile for Any Occasion – Whether you’re looking for a special breakfast treat, a sweet indulgence with your afternoon coffee, or a charming addition to your holiday dessert spread, these pumpkin donuts fit the bill perfectly. Their festive shape makes them ideal for seasonal gatherings.
- Customizable to Your Liking – While fantastic on their own with a simple cinnamon sugar coating, this recipe offers a fantastic base for customization. Explore various glazes, fillings, or toppings to tailor them to your personal preferences. We’ll share some creative ideas later in the post!
Understanding Your Ingredients: Crafting Perfect Pumpkin Donuts from Scratch
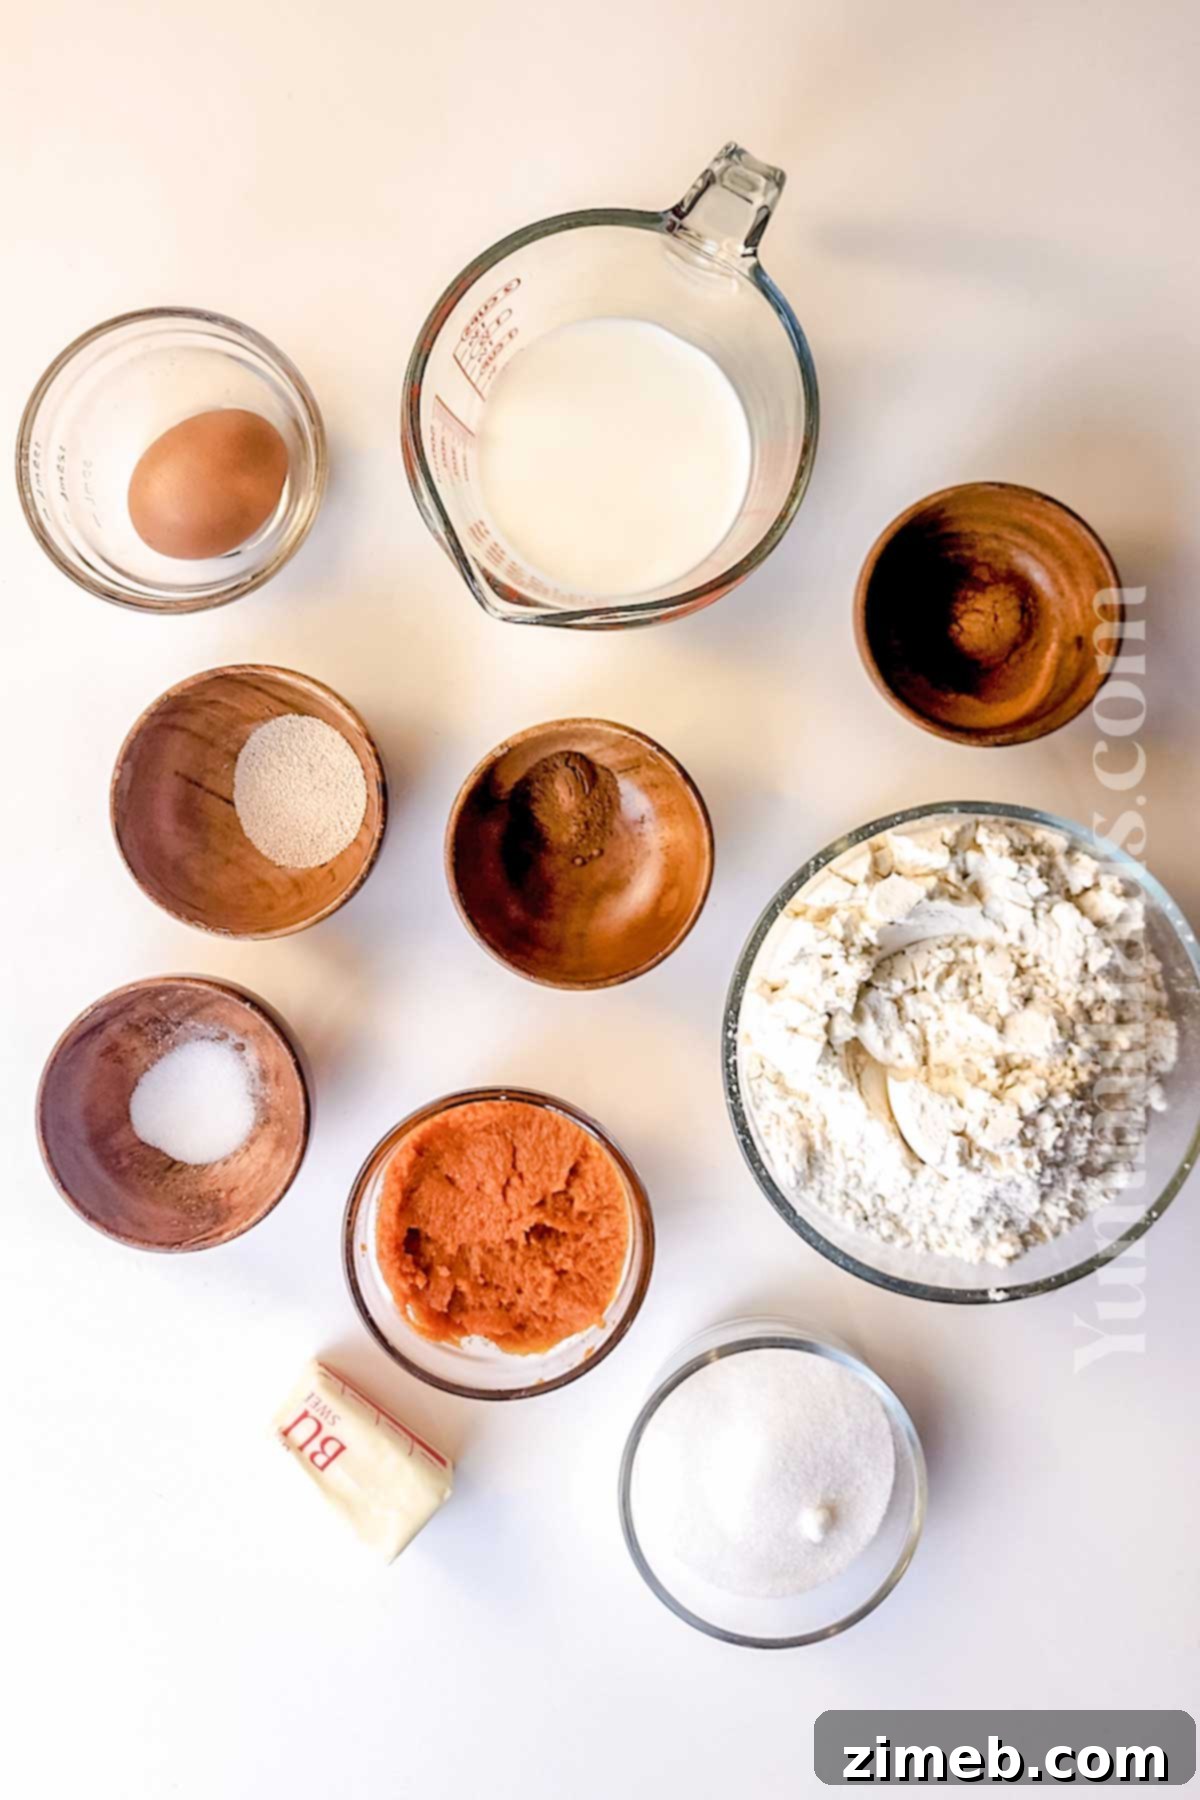
Creating these delicious pumpkin donuts involves using fundamental baking ingredients, elevated by the star flavors of real pumpkin puree and aromatic pumpkin pie spice. A wonderful aspect of this recipe is its adaptability, allowing you to easily make it completely vegan and dairy-free with simple substitutions.
Dough Essentials
- Warm Milk (Regular or Soy Milk): Milk is crucial for activating the yeast and adding moisture to the dough. Ensure it’s warm (around 105-115°F or 40-46°C), but not too hot, as excessive heat can kill the yeast. For a vegan or dairy-free option, unsweetened soy milk or almond milk works beautifully, contributing a similar richness.
- Granulated Sugar (First Addition): This initial amount of sugar isn’t just for sweetness; it provides food for the active yeast, helping it to proof and create a light, airy dough.
- Active Dry Yeast: This is what gives our donuts their fluffy texture and helps them rise. Active dry yeast typically needs to be proofed in warm liquid. Always double-check the instructions on your yeast package to confirm if pre-activation is required, as some instant yeasts can be mixed directly with dry ingredients.
- Pumpkin Puree (Not Pumpkin Pie Filling): This is a critical distinction! Use pure pumpkin puree, whether homemade or canned. Pumpkin pie filling often contains added sugars, spices, and other flavorings that can alter the taste and texture of your donuts in undesirable ways. Pure pumpkin puree provides natural moisture, color, and a subtle pumpkin flavor that harmonizes perfectly with the spices.
- One Large Egg (or Two Medium Eggs): Eggs act as a binder, add richness, and contribute to the dough’s structure and golden color. For a vegan alternative, a “flax egg” (1 tablespoon ground flaxseed mixed with 3 tablespoons water, let sit for 5 minutes) can be a viable substitute, though the texture might vary slightly.
- Unsalted Butter (Softened at Room Temperature): Softened butter incorporates more evenly into the dough, leading to a tender and moist donut. Remember to take it out of the fridge about 30 minutes to an hour before you start baking. If you forget, you can quickly soften it in the microwave in short bursts, being careful not to melt it completely. Any good quality vegan butter substitute can be used for a dairy-free version.
- All-Purpose Flour (or Gluten-Free Flour Blend): This is the structural backbone of our donuts. Precise measurement is key; too much flour can result in dry, tough donuts. Spoon and level your flour to ensure accuracy. If you’re making gluten-free donuts, use a reputable all-purpose gluten-free flour blend, preferably one designed for baking.
- Pumpkin Pie Spice: This fragrant blend is the heart of our fall flavor. It typically includes cinnamon, nutmeg, cloves, and ginger, delivering that iconic warm, autumnal taste. You can use a store-bought blend or easily create your own with individual spices.
- Pinch of Salt: A small amount of salt is essential to balance the sweetness of the donuts and enhance all the other flavors, making them more vibrant.
- Neutral Oil for Frying the Donuts: Choosing the right oil for frying is important for a clean flavor and even cooking. Canola oil, vegetable oil, or sunflower oil are excellent neutral options with high smoke points, ensuring your donuts fry beautifully without imparting unwanted flavors.
It’s worth noting that our dough achieves its rise and tender texture solely through the active yeast, without the addition of baking powder or baking soda. This traditional method contributes to the classic donut consistency we’re aiming for.
The Signature Cinnamon Sugar Coating
The final touch for these pumpkin donuts is a simple yet irresistible coating that adds sweetness, spice, and a delightful textural contrast.
- Granulated Sugar or Dark Brown Sugar: While granulated sugar provides a classic sweet sparkle, using dark brown sugar can impart a deeper, more caramel-like flavor, complementing the pumpkin beautifully. Feel free to experiment with your preference.
- Ground Cinnamon: The warmth and aromatic quality of ground cinnamon are indispensable for this coating. It pairs perfectly with the pumpkin spice already in the dough.
- Cinnamon Sticks (for Decoration) or Edible Stems: To complete the pumpkin illusion, cinnamon sticks can be pressed into the center of each donut to mimic a pumpkin stem. For an edible alternative, consider cutting thin strips of fruit leather (like apple or apricot) and twisting them to resemble stems – a fun and delicious touch!
Essential Equipment: Tools for Donut-Making Success
You don’t need a specialized donut maker or fancy molds to create these beautiful pumpkin donuts. Most of the equipment you’ll need are standard kitchen items, making this recipe accessible to everyone.
- 9×13 Baking Sheet: Essential for chilling your dough, as well as for holding your shaped donuts before frying and for their final bake in the oven. Lining it with parchment paper is highly recommended for easy cleanup and to prevent sticking.
- Parchment Paper: Crucial for lining your baking sheets, preventing the dough from sticking, and making transfer easier.
- Thick String (Kitchen Twine): This is our secret weapon for achieving the pumpkin shape! Food-safe kitchen twine or a similar thick string works best. Make sure it’s clean and doesn’t have any dyes that could transfer to the dough.
- Frying Pan or Dutch Oven: You’ll need a heavy-bottomed pan with high sides to safely fry the donuts. A Dutch oven is ideal as it retains heat well and provides sufficient depth. You’ll need to fill it with 2-3 inches of neutral oil. A deep-fry thermometer is highly recommended for maintaining the correct oil temperature.
- Wire Cooling Rack: Perfect for allowing excess oil to drain from the fried donuts and for cooling them evenly before coating. Place it over a tray or paper towels to catch any drips.
- Slotted Spoon or Spider Skimmer: An essential tool for safely removing the fried donuts from the hot oil. Its slotted design allows excess oil to drain away quickly.
- Large Mixing Bowls: For combining ingredients for the dough and for the cinnamon sugar mixture.
- Whisk or Fork: For mixing wet ingredients and creating the sugar coating.
- Measuring Cups and Spoons: Accurate measurements are vital for successful baking.
Homemade Pumpkin Puree: A Simple Guide
Absolutely! Making your own pumpkin puree at home is surprisingly easy and allows you to control the freshness and flavor, though high-quality canned pumpkin puree works perfectly fine too.
Here’s how to do it:
- Select Your Pumpkin: Choose sweet, culinary pumpkin varieties such as Sugar Pie, Cinderella, or Kabocha squash. Avoid the large, stringy Jack’o’Lantern pumpkins, as they are bred for carving, not for flavor.
- Prepare the Pumpkin: Wash the pumpkin thoroughly. Carefully cut it in half, scooping out the seeds and stringy bits with a spoon. You can save the seeds to roast later!
- Roast for Tenderness: Place the pumpkin halves cut-side down on a baking sheet. Roast in a preheated oven at 350°F (175°C) for approximately 55-60 minutes, or until the flesh is fork-tender. The exact time will depend on the size of your pumpkin.
- Cool and Scoop: Once baked, remove the pumpkin from the oven and let it cool completely. This step is important for easy handling and to ensure the puree isn’t too hot for blending. Once cool, scoop the soft flesh from the skin.
- Puree to Smoothness: Transfer the cooked pumpkin flesh to a blender or food processor. Blend until you achieve a perfectly smooth puree. If it seems too thick, you can add a tablespoon or two of water to help it blend, but generally, it should be quite dense.
- Storage: Homemade pumpkin puree can be stored in an airtight container in the refrigerator for up to a week. For longer storage, it freezes exceptionally well for up to 6 months. Portion it into freezer-safe bags or containers before freezing for convenience.
Step-by-Step Guide: How to Create Your Own Pumpkin-Shaped Donuts
This delightful pumpkin donut recipe features minimal active prep time, making it a surprisingly quick baking project. The main waiting period comes from letting the dough chill, which is essential for easier handling and a perfect texture. My absolute favorite part, however, is transforming simple dough balls into adorable, festive mini pumpkins!
Phase 1: Preparing the Irresistible Dough
- Activate the Yeast: In a small bowl, gently combine the warm milk with 2 tablespoons of granulated sugar and the active yeast. Give it a gentle stir. Let this mixture sit undisturbed for 5 minutes. You’ll know the yeast is proofing correctly when it becomes foamy and bubbly on the surface, indicating it’s alive and ready to work its magic.
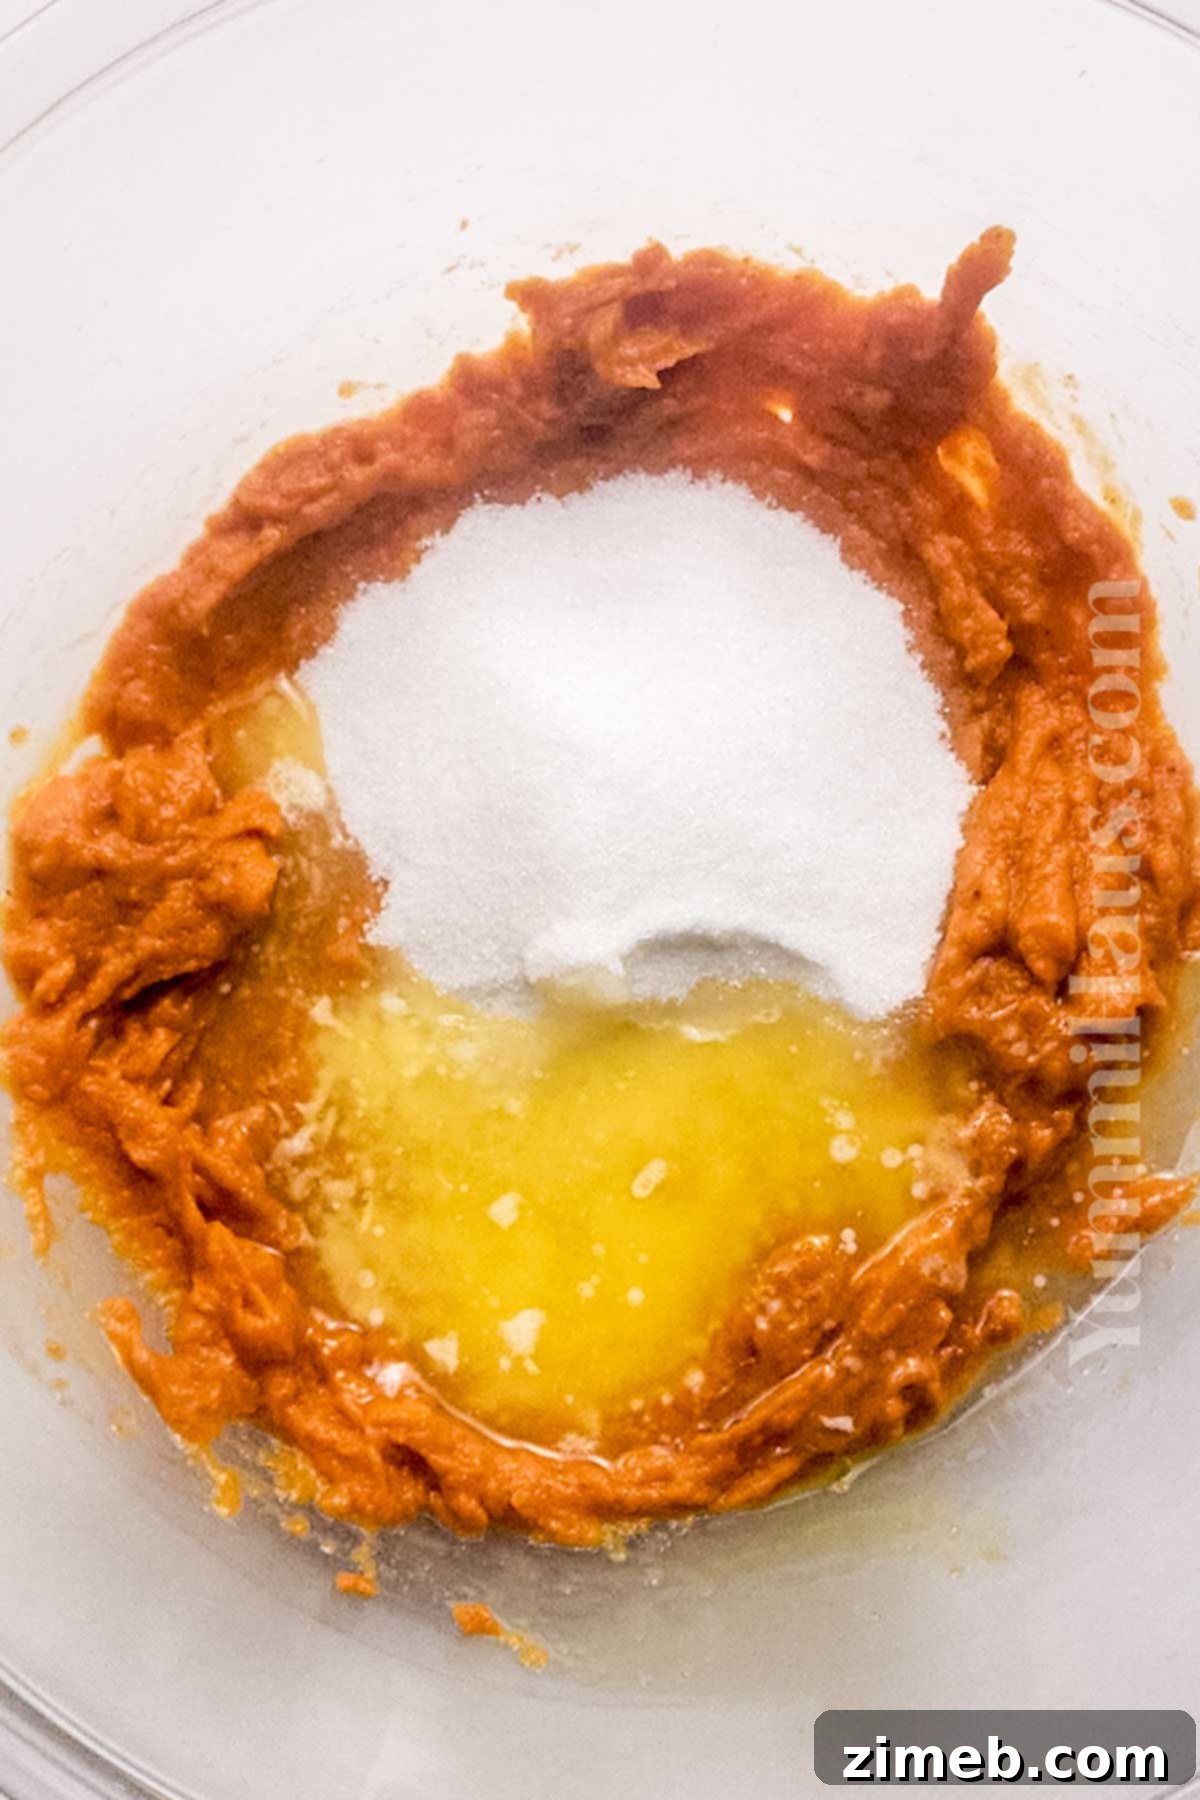
- Combine Wet Ingredients: In a large mixing bowl, whisk together the remaining wet ingredients: pumpkin puree, the other 1/2 cup of granulated sugar, the large egg, and the softened unsalted butter. Whisk until the mixture is smooth and well combined. Ensure the butter is truly softened for even incorporation.
- Integrate Yeast Mixture: Once your yeast has proofed (is foamy), carefully add it to the pumpkin-egg mixture in the large bowl. Mix everything thoroughly until all the components are uniformly combined.
- Incorporate Dry Ingredients: Now, add the all-purpose flour, pumpkin pie spice, and salt to the wet mixture. Using a spatula or your hands, gently fold the ingredients together. Mix just until a thick, cohesive dough forms. Avoid overmixing, as this can develop too much gluten and result in tough donuts. A few streaks of flour are acceptable at this stage.
- Chill for Perfection: Cover the bowl tightly with plastic wrap. Transfer the dough to the refrigerator and let it chill for at least 1 hour. This chilling period is crucial as it firms up the dough, making it much easier to handle and shape later on. It also allows the flavors to meld beautifully.
Phase 2: Kneading, Shaping, and Anticipating Delight
- Prepare Your Surface: Once the dough has thoroughly chilled, remove it from the refrigerator and transfer it to a lightly floured surface. This prevents sticking and makes kneading easier.
- Knead to Develop Gluten: Knead the dough for several minutes. You’re looking for it to become firm, elastic, and stretchy. A good test for readiness is the “window pane test”: gently stretch a small piece of dough; if it stretches thin enough that light can pass through without tearing, it has developed enough gluten for frying and baking. The dough might still feel slightly sticky, which is perfectly normal.
- Divide the Dough: Divide the kneaded dough into 8 equal portions. Each portion will become one charming pumpkin donut. For consistency, you can weigh them.
- Roll into Balls: Roll each of the 8 portions into a smooth, round ball. Aim for a uniform shape to ensure even cooking.
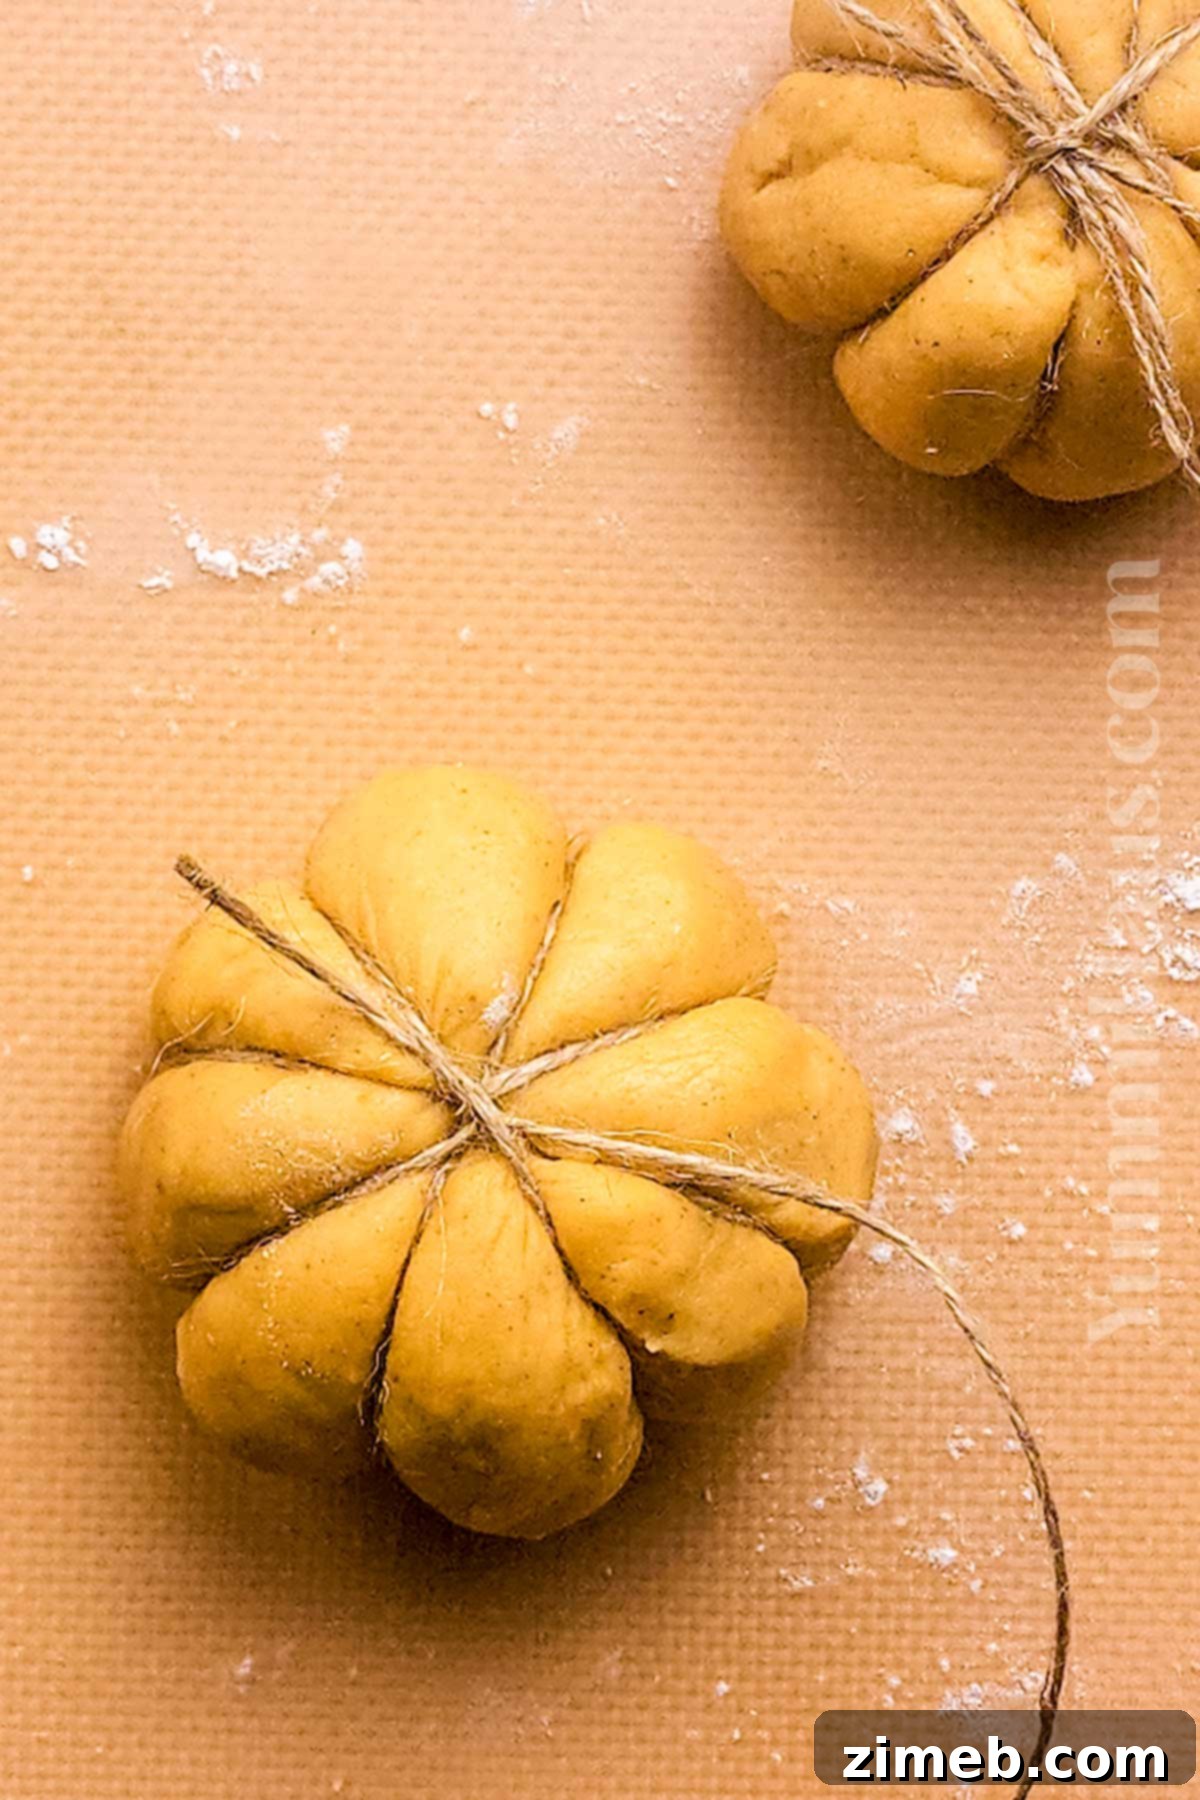
- Master the Pumpkin Shape: This is where the magic happens! Take a piece of thick, food-safe string (kitchen twine). Wrap it gently around each dough ball 4 times, ensuring the strings cross at the top and bottom to create 8 distinct indentations. These indentations will give your donuts that characteristic pumpkin shape. Be careful not to tie the string too tightly, as the donuts will expand (puff up) significantly during frying and baking. Leave a little room for growth.
- Prepare for Frying: Place the string-wrapped dough balls on a baking sheet that has been lined with parchment paper. Leave adequate space between each dough ball, as they will expand. Don’t be concerned if the balls seem small at this stage; they will puff up wonderfully in the hot oil.
Phase 3: Frying to Golden Perfection
- Heat the Oil Safely: Pour your chosen neutral oil into a deep frying pan or Dutch oven, ensuring it reaches a depth of 2-3 inches. Heat the oil on the stovetop over medium heat until it reaches a temperature of 375°F (190°C). A deep-fry thermometer is highly recommended for accuracy. If you don’t have one, you can test the oil by sticking the end of a wooden spoon into it; if small bubbles rapidly form around the wood, the oil is hot enough.
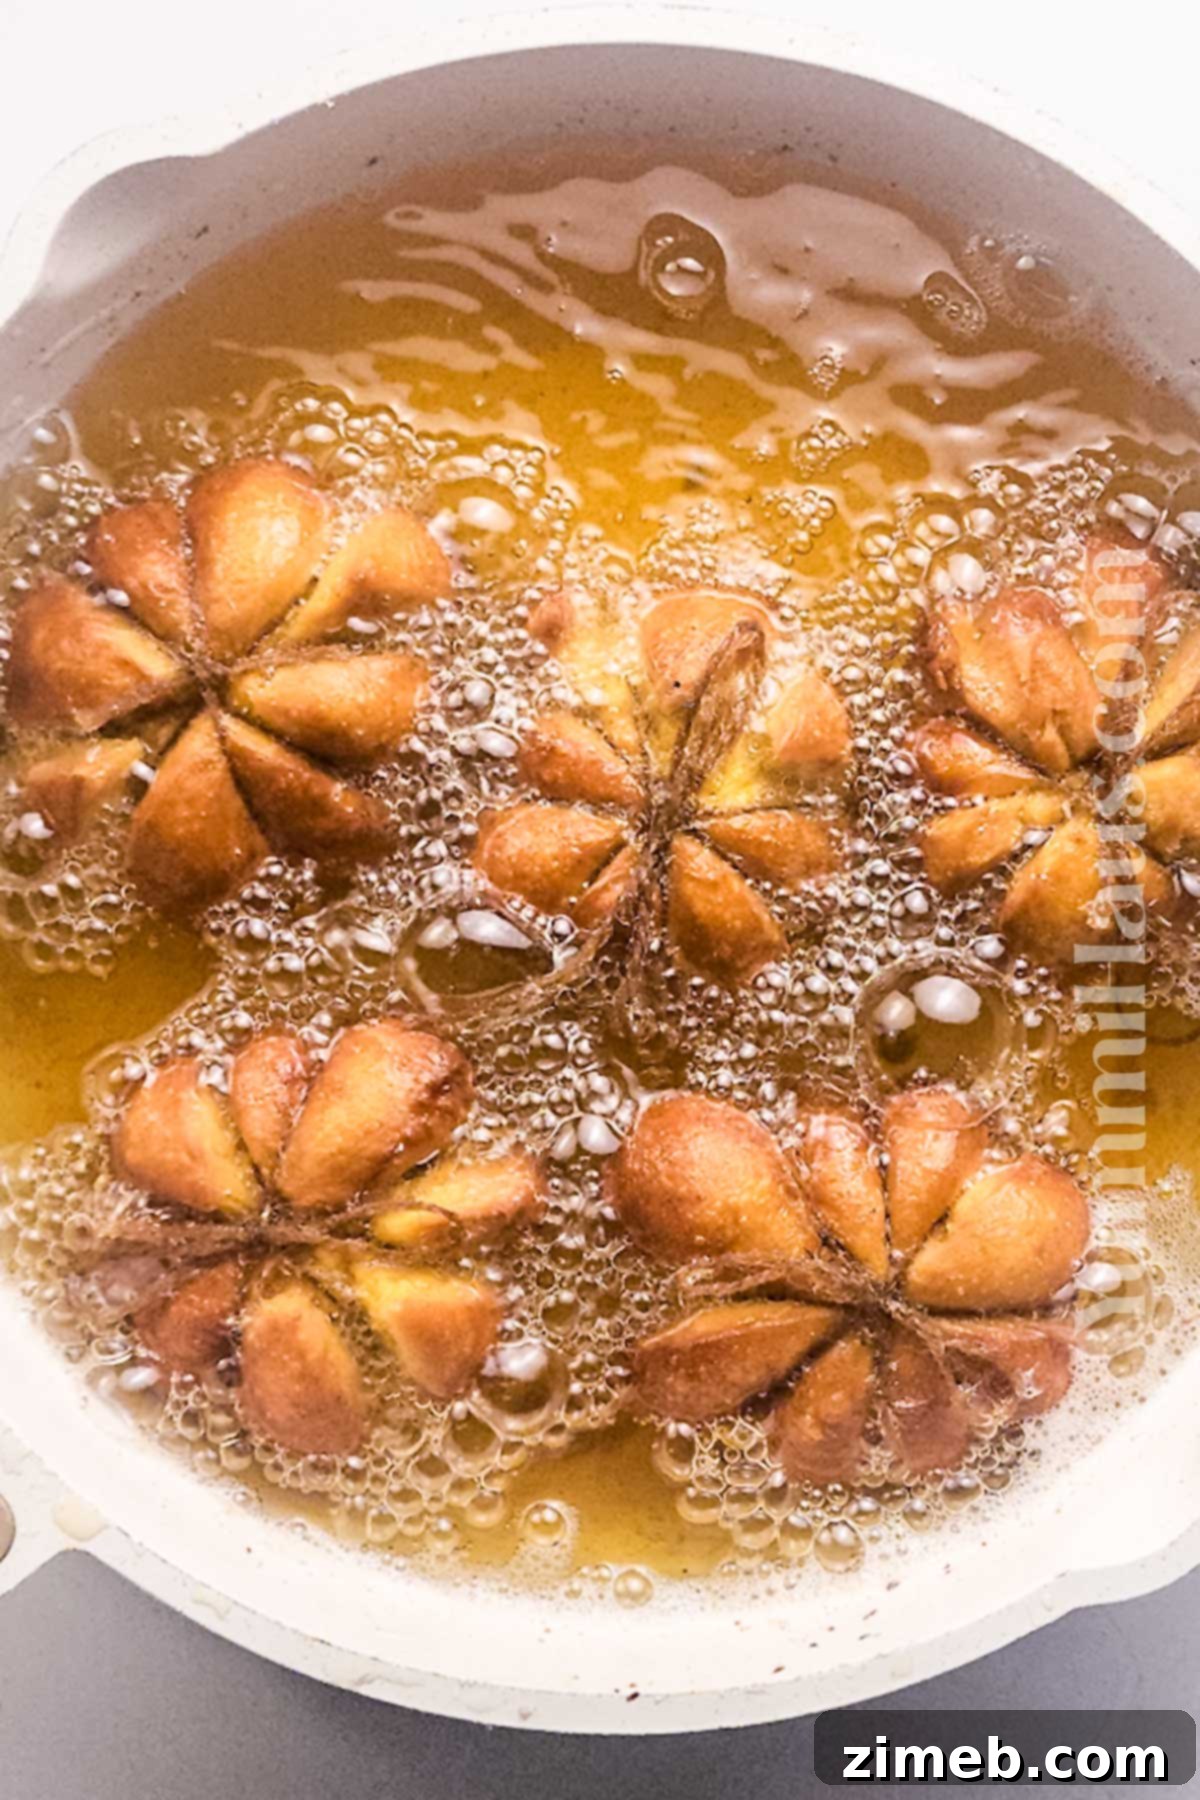
- Fry Each Donut: Once the oil is at the correct temperature, carefully place a few string-wrapped dough pumpkins into the hot oil, being careful not to overcrowd the pan. Fry for approximately 3 minutes on each side, or until they turn a beautiful golden brown. Flip them gently when the first side is lightly browned. Maintain a consistent oil temperature throughout the frying process for best results.
- Drain Excess Oil: Using a slotted spoon or spider skimmer, carefully remove the fried donuts from the hot oil. Immediately transfer them to a wire cooling rack placed over a baking sheet or a tray lined with paper towels. This allows any excess grease to drain off, preventing soggy donuts. Repeat the frying process with the remaining dough pumpkins until all of them are golden and delicious.
Phase 4: The Sweet Cinnamon Sugar Finish
- Preheat Oven & Prepare Coating: Preheat your oven to 350°F (175°C). While the oven heats, in a medium bowl, whisk together the granulated sugar and ground cinnamon for your irresistible coating.
- Remove String and Coat: After the fried donuts have cooled on the wire rack for just a couple of minutes (they should still be warm), carefully cut the string around each donut and remove it. The indentations will remain, giving you perfect pumpkin shapes.
- Bake for Optimal Texture: Place the now string-free donuts back onto a parchment-lined baking sheet in a single layer. Bake for 5-8 minutes. This brief bake ensures they are cooked through and have a beautifully light, fluffy interior. They should feel springy and bounce back slightly when lightly pressed.
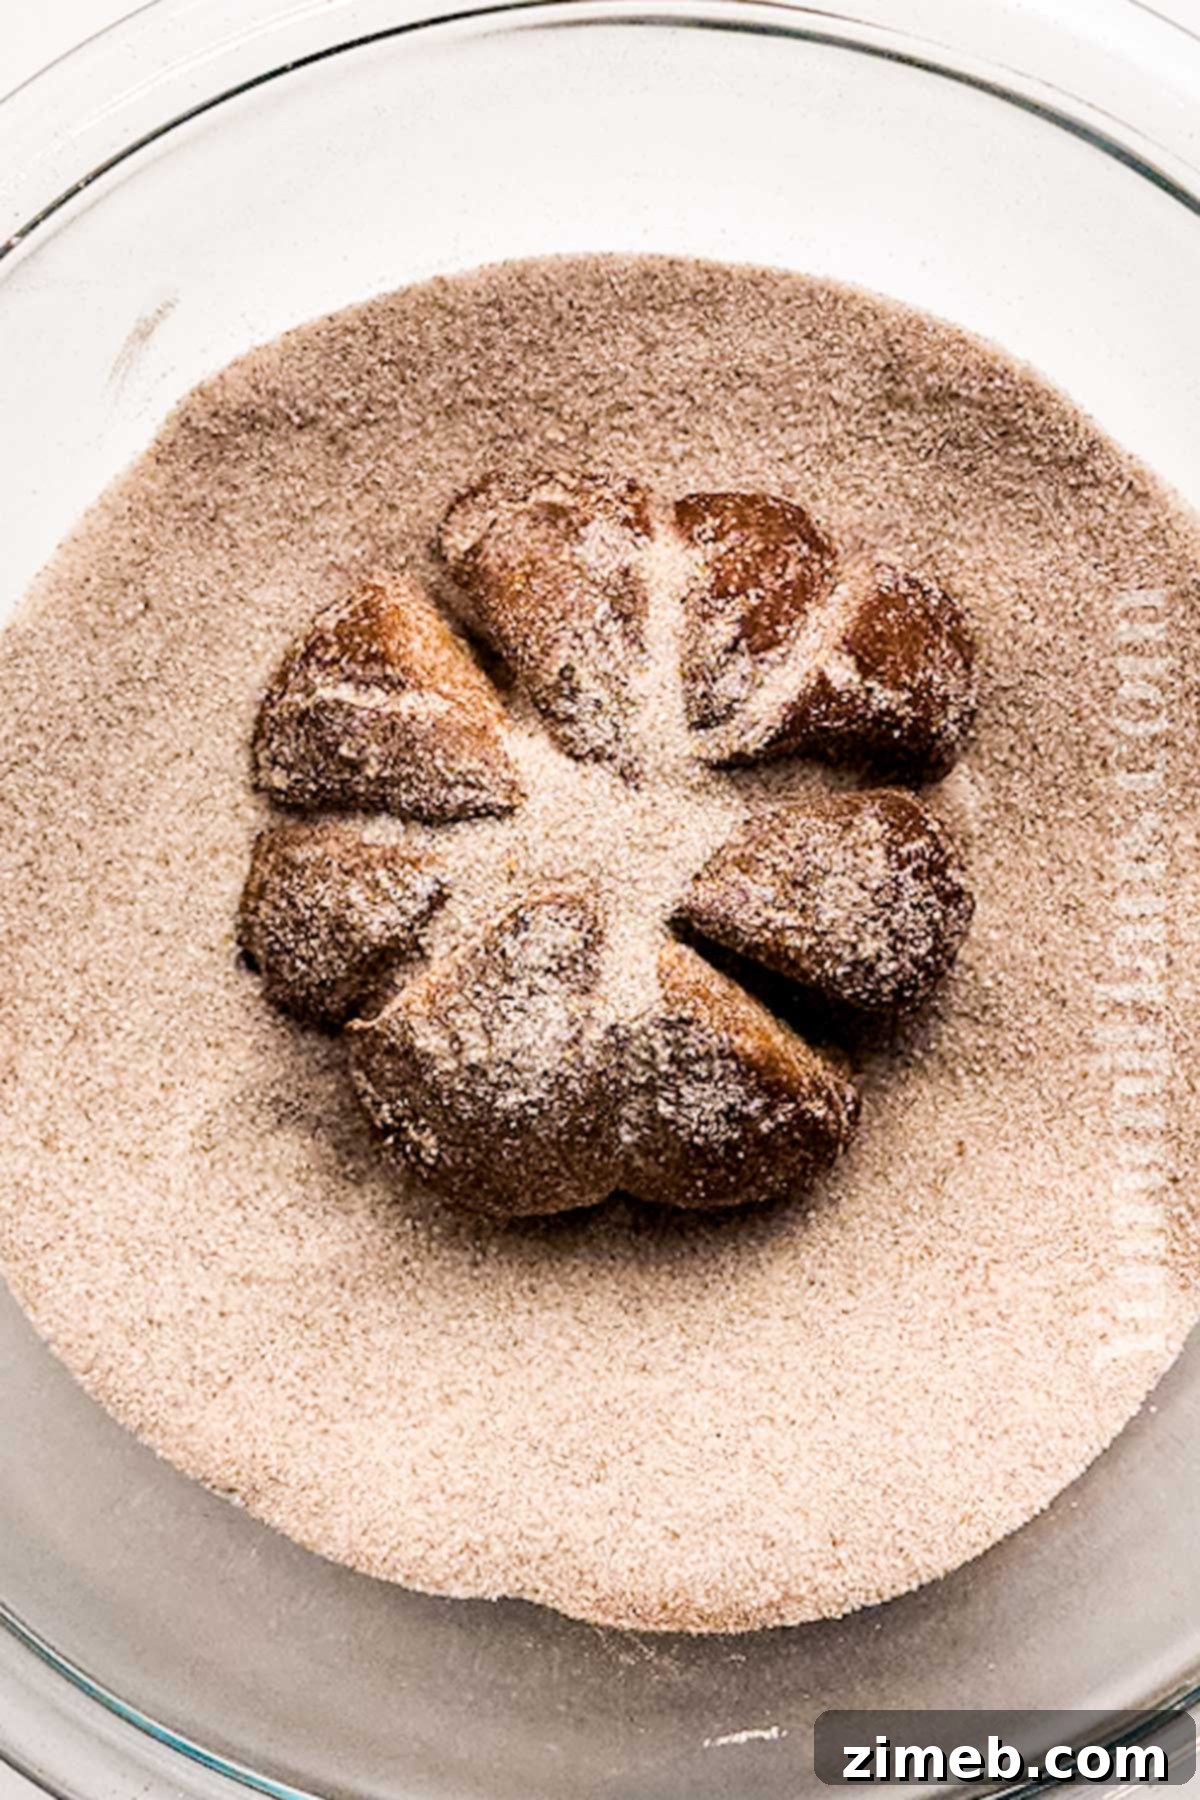
- Add the Final Touch: Immediately after removing the baked donuts from the oven, while they are still hot, carefully roll each one in the prepared cinnamon-sugar mixture. The warmth helps the sugar adhere perfectly. For an extra rich coating, you can first dip the warm donuts in a little melted butter before rolling them in the cinnamon sugar.
- Serve Immediately: Once all donuts are coated, press a cinnamon stick into the center of each pumpkin for a charming, aromatic “stem” to finish these festive treats. Freshly made donuts taste the absolute best, so serve them warm and enjoy!
Storage & Make-Ahead Tips: Enjoying Your Donuts Longer
While these homemade pumpkin donuts are undeniably best served fresh and warm, you can certainly store them to enjoy later or prepare them in advance to save time.
- Storing Leftovers: Store your homemade pumpkin donuts in an airtight container at room temperature for up to 2 days. If you need to extend their freshness a bit longer, they can be kept in the refrigerator for 4-5 days. To enjoy them warm again, a quick zap in the microwave for 10-15 seconds or a few minutes in a preheated oven (300°F/150°C) will do the trick.
- Freezing for Later: These baked pumpkin donuts freeze beautifully! Once they have cooled completely, arrange them in a single layer on a baking sheet and flash freeze them for about an hour. Then, transfer the frozen donuts to a freezer-safe bag or airtight container, separating layers with parchment paper to prevent sticking. They can be frozen for 3-4 months. To thaw, simply place them on the counter at room temperature for a few hours. You can gently reheat them for a fresh-from-the-oven taste.
- Making Ahead: If you’re planning for guests or a busy morning, you can prepare the donut dough a few hours or even up to a day in advance. After the chilling step (Phase 1, Step 5), keep the covered dough in the refrigerator. When you’re ready to bake, proceed with kneading, shaping, frying, and baking about 30 minutes before you plan to serve your guests. This allows you to enjoy freshly made donuts with minimal last-minute fuss.
Creative Variations & Substitutions: Customize Your Pumpkin Donuts
While the cinnamon-sugar coating is classic and delicious, these pumpkin donuts are incredibly versatile! Feel free to get creative with glazes, fillings, and even shapes to make them uniquely yours.
- Embrace Delicious Glazes: Instead of cinnamon sugar, consider a smooth glaze. To glaze the donuts, allow them to cool only slightly after baking—they should still be warm but not hot.
- Simple Vanilla Glaze: Whisk together powdered sugar, a few tablespoons of milk (or plant-based milk), a splash of vanilla extract, and a tiny pinch of salt until smooth.
- Maple Glaze: Replace some of the milk with pure maple syrup for a delightful fall flavor.
- Brown Butter Glaze: Brown some butter in a saucepan until it’s nutty and fragrant, then mix it with powdered sugar and milk for a deeply flavorful coating.
- Chocolate or Cream Cheese Glaze: Melted chocolate or a tangy cream cheese frosting can also create an incredible donut experience.
These glazes often work best with regular-shaped donuts, but can still be drizzled over our cute pumpkin shapes for a gourmet touch.
- Decadent Fillings: For an extra special treat, turn these into filled donuts!
- Cheesecake-Filled Donuts: Combine softened cream cheese with a bit of pumpkin pie spice, a spoonful of pumpkin puree, and some powdered sugar for a super creamy, sweet filling. Once your donuts are fried (do not bake them if filling), you can poke a small hole in the side or bottom and pipe in the cheesecake mixture with a piping bag.
- Classic Fruit Jams or Curds: Raspberry jam, apple butter, or a lemon curd can add a bright, fruity contrast.
- Rich Chocolate or Nutella: A dollop of melted chocolate or a swirl of Nutella creates a truly indulgent center.
For filled donuts, it’s generally best to fry them, then fill, and skip the final bake.
- Different Shapes for Different Moods: This recipe works wonderfully for various donut forms.
- Classic Donut Rings: Instead of shaping into pumpkins, roll out the dough to ½-inch thickness and use a donut cutter to create traditional rings.
- Donut Holes: Use a small round cutter to make delightful bite-sized donut holes, which fry up quickly.
- Muffin Tin Donuts: For a baked-only option, pipe the dough into a greased muffin tin for mini donuts. Adjust baking time accordingly.
These variations can still be coated in cinnamon sugar or your favorite glaze.
- Beyond the Coating: A simple dusting of confectioners’ sugar or a generous drizzle of maple syrup can also be a wonderful finish. Some chopped nuts (like pecans or walnuts) added to a glaze or sprinkled on top offer a lovely texture.
Expert Tips for Flawless Pumpkin Donuts: Elevate Your Baking Game
Achieving the perfect homemade pumpkin donut is easier with a few expert insights. Keep these tips in mind to ensure your batch turns out flawlessly every time:
- Always Chill the Dough: The dough should always be chilled and covered. Chilling makes the dough firmer and less sticky, which is crucial for handling, shaping, and preventing it from absorbing too much oil during frying. Covering it prevents a dry skin from forming.
- Proofing in a Warm Oven: If your kitchen is cool, you can create an ideal environment for dough proofing. First, preheat your oven to its lowest temperature setting, then turn it off. Place your covered dough inside the warm, turned-off oven. The residual warmth provides a consistent, cozy spot for the yeast to activate.
- String vs. Kitchen Scissors for Shaping: While kitchen scissors can be used to make indentations, the thick string method described in this recipe generally yields much prettier, more uniform, and well-defined pumpkin shapes. The string creates a more natural segmentation.
- Master Oil Temperature Control: This is perhaps the most critical factor for successful frying. Use a deep-fry thermometer to ensure your oil consistently stays at 375°F (190°C). If the oil is too cool, donuts will absorb too much oil and become greasy. If it’s too hot, they’ll brown too quickly on the outside and remain raw inside. If you don’t have a thermometer, the wooden spoon trick (bubbles forming around it) is a good indicator, but a thermometer is always more reliable.
- Pumpkin Puree as an Egg Substitute: In many recipes, including this one, pumpkin puree plays a role similar to eggs by adding moisture, binding, and richness. If you’re out of eggs or prefer to omit them, the natural properties of pumpkin puree can often compensate, though you might notice a slight difference in texture.
- Be Precise with Flour Measurement: Flour is the foundation of your dough, and too much or too little can drastically change the outcome. Always spoon your flour into your measuring cup and then level it off with a straight edge. Scooping directly from the bag can compact the flour, leading to using more than intended, resulting in dry, dense, and tough donuts.
- A Secret to Crispy Skin: For donuts with an exceptionally crispy exterior after frying, try substituting regular milk with buttermilk. The acidity in buttermilk reacts with the leavening agents (though we only use yeast here) and can contribute to a slightly more tender interior and a wonderfully crisp, golden-brown crust.
- Don’t Overcrowd the Pan: When frying, work in batches and resist the urge to put too many donuts in the pan at once. Overcrowding lowers the oil temperature, leading to greasy, poorly cooked donuts. Give each donut enough space to fry evenly.
- Serve Them Warm: While they can be stored, these pumpkin donuts truly shine when served warm. The spices are more aromatic, the dough is incredibly tender, and the cinnamon sugar coating is at its most delightful.
If you love this delightful fall breakfast recipe, you’re going to adore these other donut creations and pumpkin-inspired treats too. Please click each link below to find the easy, printable recipe!
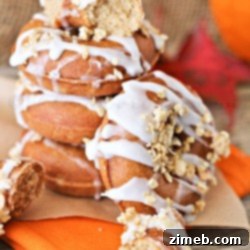
Check out this recipe
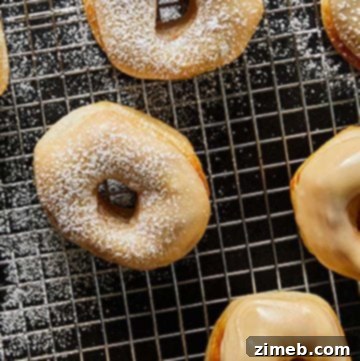
Check out this recipe
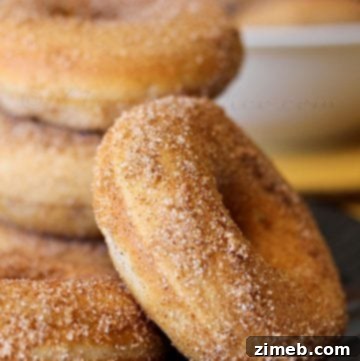
Check out this recipe
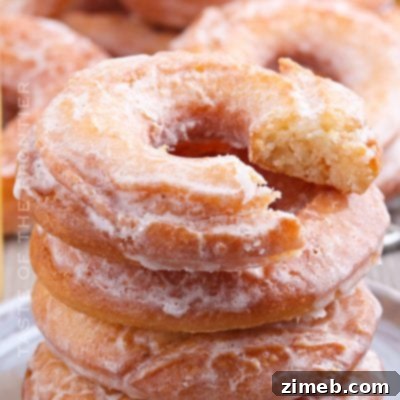
Check out this recipe
More Great Pumpkin Breakfast Recipes
Pumpkin Waffles Recipe
Pumpkin Muffins Recipe
Baked Pumpkin Donuts with Maple Cream Cheese Icing
Costco Pumpkin Muffins
CONNECT WITH YUMMI HAUS!
Be sure to follow me on my social media, so you never miss a post!
Substack, FB, Pinterest, IG, Email Subscription
Rate this Recipe
Pumpkin Donuts
Ingredients
Dough
- ½ cup milk warm
- 2 tbsp granulated sugar
- 1 ½ teaspoons active yeast
- ⅔ cup pumpkin puree – not pie filling
- ½ cup granulated sugar
- 1 large egg
- 3 tablespoons butter softened – unsalted
- 3 ¼ cup all-purpose flour
- ¾ teaspoon pumpkin pie spice
- ½ teaspoon salt
Cinnamon Sugar Mixture
- ½ cup granulated sugar
- 1 teaspoon cinnamon
Cinnamon Sticks
Instructions
-
Combine the warm milk with the sugar and yeast in a small bowl. Gently stir and then let sit for 5 minutes for the yeast to proof.
-
Whisk the pumpkin puree, sugar, egg, and butter in a large mixing bowl.
-
Once the yeast has been proofed, add it to the egg mixture. Mix until combined.
-
Add the flour, pumpkin pie spice, and salt. Fold until a thick dough forms.
-
Cover with plastic wrap, and chill in the refrigerator for 1 hour.
-
Once the dough has chilled, transfer to a lightly floured surface.
-
Knead the dough for several minutes, until firm and stretchy.
-
Divide the dough into 8 equal portions.
-
Roll each portion into a ball.
-
Wrap a piece of thick string around each ball of dough 4 times to create 8 indentations in the dough to give it the pumpkin shape.
-
Place the dough on a parchment-lined baking sheet.
-
Heat the oil on the stovetop to 375 degrees over medium heat.
-
Once the oil has reached temperature, fry each dough pumpkin for 3 minutes on each side – or until golden brown. Remove and place on a wire rack. Repeat until all of the doughnuts have been fried.
-
Preheat the oven to 350 degrees.
-
Prepare the cinnamon and sugar mixture by combining the two in a medium bowl.
-
After the fried donuts have cooled for a couple of minutes, cut the string and remove.
-
Place the donuts on a parchment-lined baking sheet. Bake for 5-8 minutes.
-
Remove and then carefully roll in the cinnamon/sugar mixture while hot.
-
Once all donuts have been coated in the cinnamon sugar, press the cinnamon sticks in the center of each pumpkin for the stem to finish these festive treats.
Equipment
-
9×13 Baking Sheet
-
Parchment Paper
-
Thick String
-
Frying Pan
-
Wire Cooling Rack
Nutrition
Nutritional information for the recipe is provided as a courtesy and is approximate. Please double-check with your own dietary calculator for the best accuracy. We at Yummi Haus cannot guarantee the accuracy of the nutritional information given for any recipe on this site.