

The holiday season always sparks a special kind of magic in my kitchen. There’s something inherently joyful about crafting festive treats, and for me, that often involves the undeniable allure of chocolate. Seriously, just utter the words “chocolate-dipped,” and you’ve captured my complete attention! This year, I found myself captivated by the simple elegance of large pretzel sticks, imagining how a touch of festive flair could transform them into a gourmet delight. What started as a whimsical idea quickly became a delightful project: creating these enchanting Candy Cane Pretzels, a treat that perfectly blends the salty crunch of pretzels with the sweet, refreshing taste of peppermint chocolate.
Embrace the Holiday Spirit with Candy Cane Pretzels
These Candy Cane Pretzels are more than just a snack; they’re a celebration of holiday cheer in every bite. They were an absolute blast to make, proving that creating beautiful and delicious festive treats doesn’t have to be complicated. The process is straightforward, making it an ideal activity for bakers of all skill levels, and especially wonderful to involve children. My own kids absolutely adore them, and I’m confident yours will too! Imagine their delight in helping drizzle the vibrant red chocolate or simply indulging in these captivating treats.
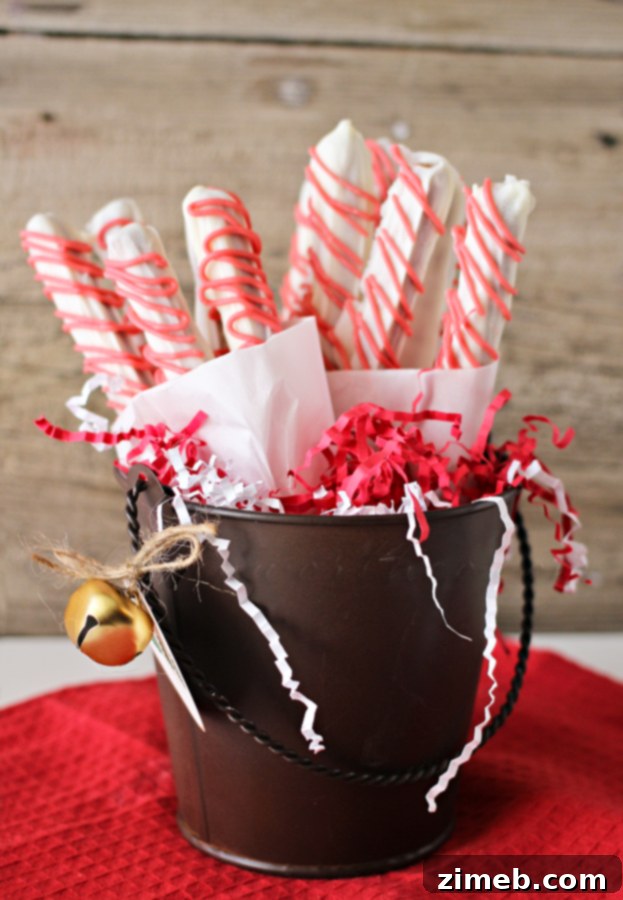
One of the best things about this recipe is how quickly it comes together, offering a satisfyingly quick little snack that feels incredibly special. Whether you’re preparing for a holiday party, looking for a thoughtful homemade gift, or simply want to brighten an ordinary afternoon, these pretzels are a fantastic choice. Their vibrant colors and distinct peppermint flavor instantly evoke the festive atmosphere of winter celebrations.
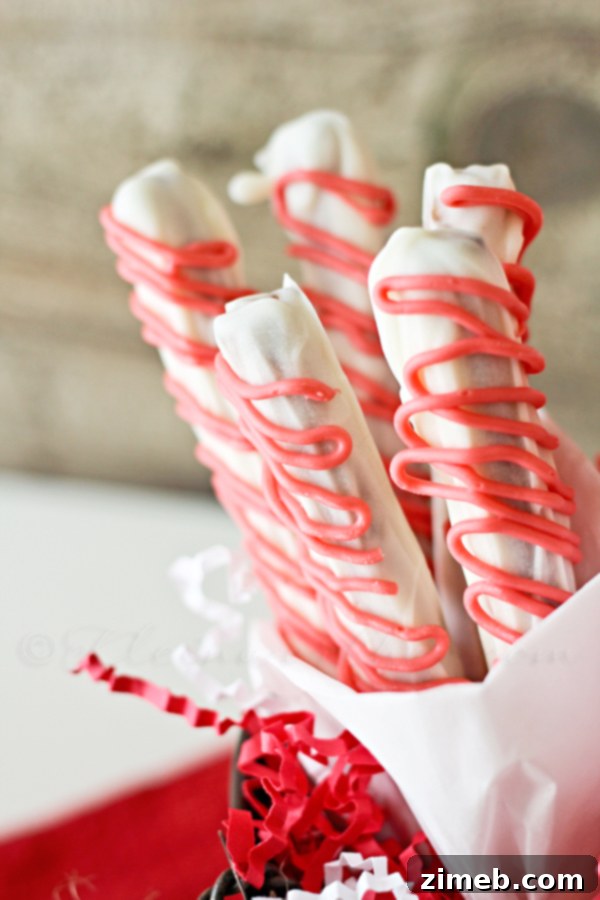
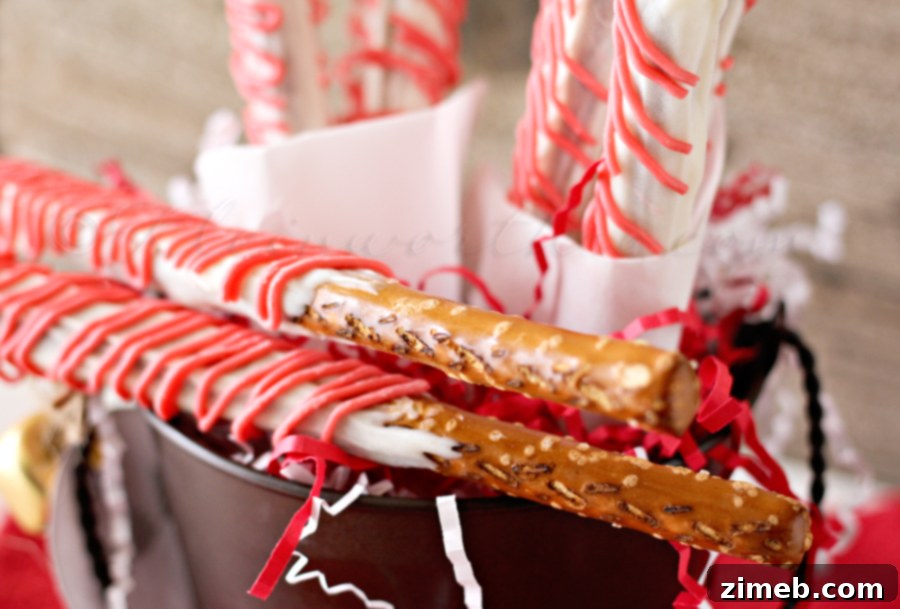
While decorating, remember a crucial tip for optimal enjoyment: always leave a small portion of the pretzel stick uncovered by chocolate. This creates a neat, mess-free handle, allowing you and your guests to enjoy these delightful treats without getting sticky fingers. It’s a small detail that makes a big difference in presentation and practicality, especially when serving them at gatherings.
Crafting Your Own Candy Cane Pretzel Masterpieces
Creating these beautiful and delicious Candy Cane Pretzels is a fun and rewarding experience. The process involves a few simple steps, but each one contributes to the final festive charm of these treats. Let’s delve into the details to ensure your pretzels turn out perfectly, ready to impress and delight.
Essential Ingredients for Perfect Candy Cane Pretzels
The beauty of this recipe lies in its simplicity, requiring just a few key ingredients to achieve maximum flavor and visual appeal. Choosing quality ingredients makes all the difference in taste and texture.
- White Chocolate Candy Melts: These are ideal for dipping because they melt smoothly and harden quickly, providing a beautiful, even coating without tempering. You’ll need about half a bag to coat a good batch of pretzel sticks.
- Red Chocolate Candy Melts: For that iconic candy cane stripe, red candy melts are perfect. Their vibrant color stands out against the white chocolate, creating a striking contrast. A quarter cup is usually sufficient for drizzling.
- Peppermint Extract: This is the secret ingredient that infuses your white chocolate with the signature candy cane flavor. Just half a teaspoon is enough to provide a refreshing zing without being overpowering. Make sure it’s a good quality extract for the best flavor.
- Large Pretzel Sticks: The sturdy nature of large pretzel sticks makes them perfect for dipping and decorating. Their size provides ample surface area for chocolate and gives a satisfying crunch. Aim for about 8-10 sticks, depending on how many you wish to make.
Step-by-Step Guide to Festive Pretzel Perfection
Follow these detailed instructions to create your own batch of irresistible Candy Cane Pretzels. Precision and patience are key, especially when melting and handling chocolate.
-
Step 1: Prepare Your Workspace. Begin by lining a large baking sheet with parchment paper. This non-stick surface is crucial for preventing the chocolate-dipped pretzels from sticking as they cool and harden, making cleanup a breeze.
-
Step 2: Arrange Pretzels. Carefully lay out your large pretzel sticks on the prepared baking sheet. Ensure there is enough space between each pretzel to prevent them from touching and sticking together once coated.
-
Step 3: Melt White Chocolate. In a small, microwave-safe glass bowl, place your white chocolate candy melts. Glass bowls heat more evenly and are less likely to scorch chocolate compared to plastic.
-
Step 4: Microwave with Care. Microwave the white candy melts on high for 1-2 minutes, stirring thoroughly every 30 seconds. It’s critical not to overheat the chocolate, as this can cause it to seize and become unusable. The goal is a smooth, liquid consistency. If you prefer, a double boiler method on the stovetop also works wonderfully, providing gentler, more controlled heat.
-
Step 5: Infuse with Peppermint. Once the white chocolate is completely liquefied and smooth, add the peppermint extract. Stir it in thoroughly to ensure the flavor is evenly distributed throughout the chocolate. The delightful aroma will instantly fill your kitchen!
-
Step 6: Coat the Pretzels. Take one pretzel stick at a time and hold it over your bowl of melted white chocolate. Using a spoon, carefully drizzle and coat the pretzel, making sure to cover most of its length while leaving a small portion at one end free for holding. Gently tap the pretzel against the side of the bowl to remove any excess chocolate, ensuring a smooth, even layer.
-
Step 7: Set Aside. Place the coated pretzel back onto the parchment-lined baking sheet. Continue this process with all the remaining pretzel sticks, making sure they remain spaced apart.
-
Step 8: Melt Red Chocolate. In a separate small bowl, melt your red chocolate candy melts following the exact same careful microwave process as you did for the white chocolate. Achieving a smooth, pourable consistency is key for the drizzle.
-
Step 9: Prepare for Drizzling. Once the red chocolate is liquefied, carefully transfer it to a piping bag fitted with a small, round tip. If you don’t have a piping bag, a small Ziploc bag with a tiny corner snipped off will work just as well.
-
Step 10: Drizzle with Creativity. Pipe thin lines of red chocolate over the white-coated pretzels in a festive drizzle pattern. There’s no need for absolute precision here; embrace your creativity! Zigzags, swirls, or simple diagonal lines all look wonderful.
-
Step 11: Cool and Harden. Allow the decorated pretzels to cool completely and harden. This typically takes about 1 hour at room temperature, or you can expedite the process by placing them in the refrigerator for about 20-30 minutes. Ensure they are fully set before serving or packaging.
Pro Tips for Dazzling Pretzel Creations
To elevate your Candy Cane Pretzels even further, consider these expert tips:
- Chocolate Consistency: If your candy melts seem too thick after melting, you can add a tiny amount of coconut oil or vegetable shortening (about 1/2 teaspoon per cup of melts) to thin them slightly, making dipping and drizzling easier.
- Temperature Control: Avoid introducing any water into your melted chocolate, as this will cause it to seize and become clumpy. Always use dry utensils and bowls.
- Quick Decorating: For an extra festive touch, consider sprinkling crushed candy canes or holiday sprinkles over the white chocolate immediately after dipping, while the chocolate is still wet. This will ensure they adhere properly before the chocolate sets.
- Storage: Store your finished Candy Cane Pretzels in an airtight container at room temperature for up to two weeks. Avoid refrigerating them for extended periods, as this can cause condensation and affect the texture and appearance of the chocolate.
- Gifting: These pretzels make fantastic homemade gifts! Package them in clear cellophane bags tied with festive ribbons, or arrange them in a decorative tin for a truly personal touch.
Beyond the Basics: Variations & Serving Suggestions
While the classic candy cane design is wonderfully festive, don’t hesitate to experiment with variations. You could use green candy melts for a Grinch-themed twist, or add a dash of almond extract to the white chocolate for a different flavor profile. Before the chocolate sets, a sprinkle of edible glitter can add an extra sparkle. These pretzels are perfect for holiday dessert platters, as a delightful accompaniment to hot cocoa, or simply enjoyed as a standalone treat with your morning coffee. Their charming appearance makes them a focal point on any table, and their irresistible flavor ensures they’ll be quickly devoured.
Explore More Pretzel Delights
If you’ve enjoyed making these Candy Cane Pretzels, you’ll be thrilled to discover the diverse world of pretzel recipes. Pretzels are incredibly versatile, serving as a base for both sweet and savory creations. Here are some other fantastic pretzel recipes to inspire your next kitchen adventure:
- Grinch Pretzel Rods
- Garlic Parmesan Pretzels
- Halloween Pretzels
- Homemade Soft Pretzels
- White Chocolate Peppermint Pretzels
- 3-Ingredient Soft Pretzels
- Halloween Snack Mix
- Party Snack Mix
- Rolo Pretzel Turtles
- Chocolate Covered Pretzel Fudge


Rate this Recipe
Candy Cane Pretzels Recipe
Pin
Save
Ingredients
- 1/2 bag White Chocolate Candy Melts
- 1/4 cup Red Chocolate Candy Melts
- 1/2 tsp Peppermint Extract
- 8-10 Large Pretzel Sticks
Instructions
- Prepare a large baking sheet lined with parchment paper. This will prevent your pretzels from sticking and ensure easy removal.
- Carefully lay out your large pretzel sticks on the prepared baking sheet, making sure they are spaced apart.
- In a small, microwave-safe glass bowl, add your white chocolate candy melts. Glass is preferred for even heating.
- Microwave the white chocolate on high for 1-2 minutes. Pause to stir the chocolate every 30 seconds. Be very careful not to overheat it, as this can cause the chocolate to seize and become unusable. Stir until completely smooth and liquefied.
- Once the white chocolate is fully liquid, add in the peppermint extract. Stir it thoroughly until the extract is well incorporated and the chocolate is fragrant.
- Take one pretzel stick and hold it over the bowl of white chocolate. Use a spoon to drizzle and coat the pretzel evenly, leaving a small portion at one end free of chocolate for a convenient holding spot. Gently tap the pretzel against the edge of the bowl to remove any excess chocolate.
- Place the coated pretzel back onto the parchment-lined baking sheet. Repeat this process for all remaining pretzels, ensuring they are not touching.
- In another small, microwave-safe bowl, melt your red chocolate candy melts using the exact same method as for the white chocolate. Stir until completely smooth.
- Once the red chocolate is liquefied, transfer it to a piping bag fitted with a small, round tip. If you don’t have a piping bag, a small Ziploc bag with a tiny corner snipped off works perfectly.
- Pipe decorative lines of red chocolate over the white-coated pretzels in a drizzle pattern. Feel free to get creative with zigzags, straight lines, or swirls!
- Allow the decorated pretzels to cool and harden completely for about 1 hour at room temperature before serving or packaging. For faster setting, you can place them in the refrigerator for about 20-30 minutes.
Nutritional information for the recipe is provided as a courtesy and is approximate. Please double-check with your own dietary calculator for the best accuracy. We at [Your Blog Name] cannot guarantee the accuracy of the nutritional information given for any recipe on this site.
Follow @KleinworthCo for even more tasty recipes!
These delightful Candy Cane Pretzels also make for a wonderful Neighbor Gift – you can find my special contributor post on SNAP! for gift packaging ideas. I was absolutely thrilled and honored to be a contributor for SNAP! that year, sharing my creative culinary endeavors with a wider audience.
As a contributor, I had the incredible opportunity to attend the conference in the spring, an experience I eagerly anticipated and thoroughly enjoyed. It was a fantastic chance to connect with fellow creators and gather even more inspiration!
Want More Holiday Snack Inspiration?
The holidays are all about indulging in delightful treats. If you’re looking for more festive sweets to add to your repertoire, consider these other fantastic recipes that capture the essence of the season.

Peppermint Chocolate Chunk Cookies
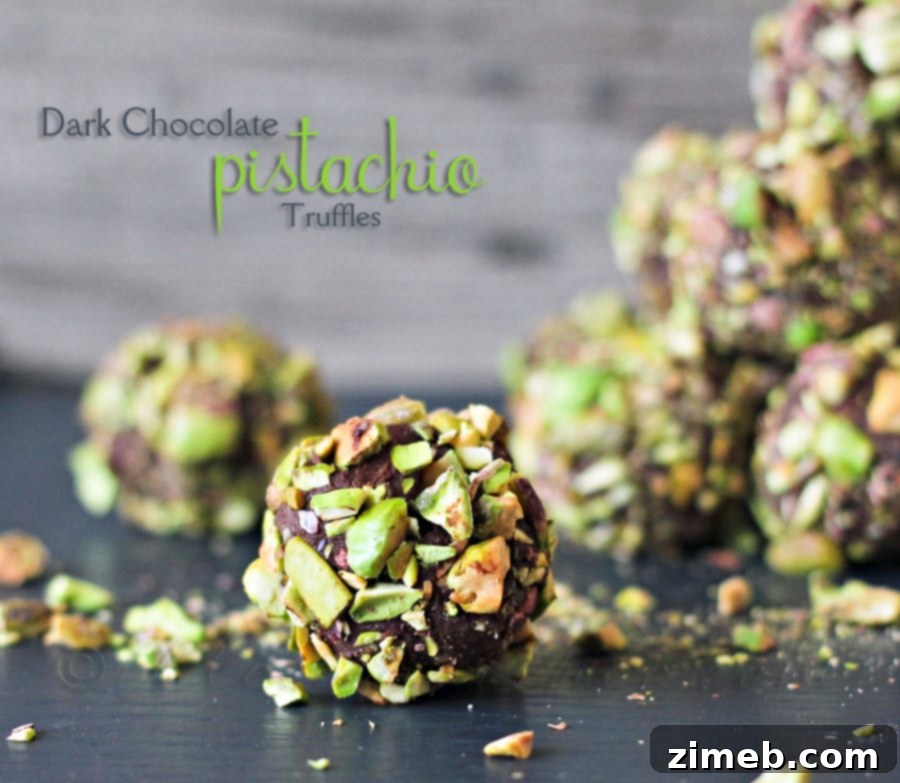
Dark Chocolate Pistachio Truffles
Don’t forget to explore other inspiring content and collaborations by visiting the relevant linking posts. Happy baking and happy holidays!