

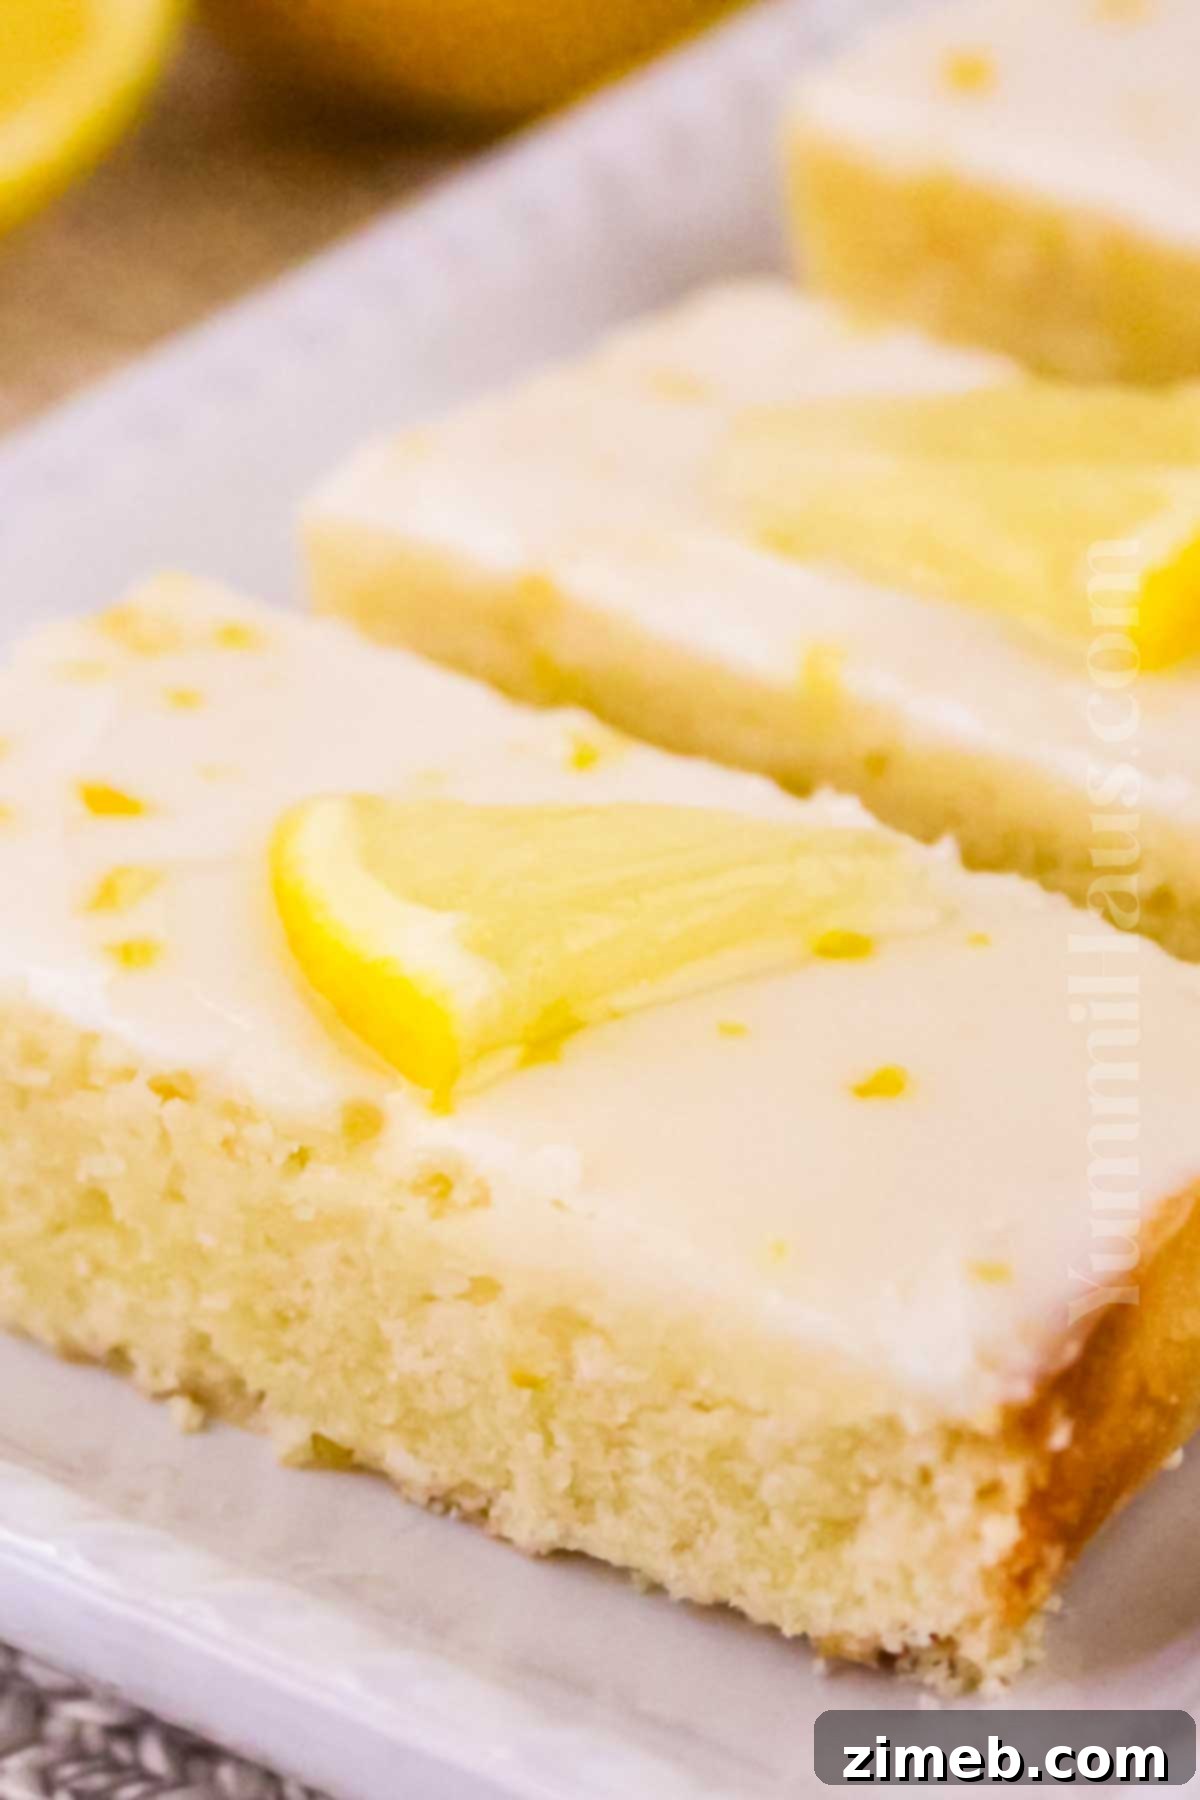
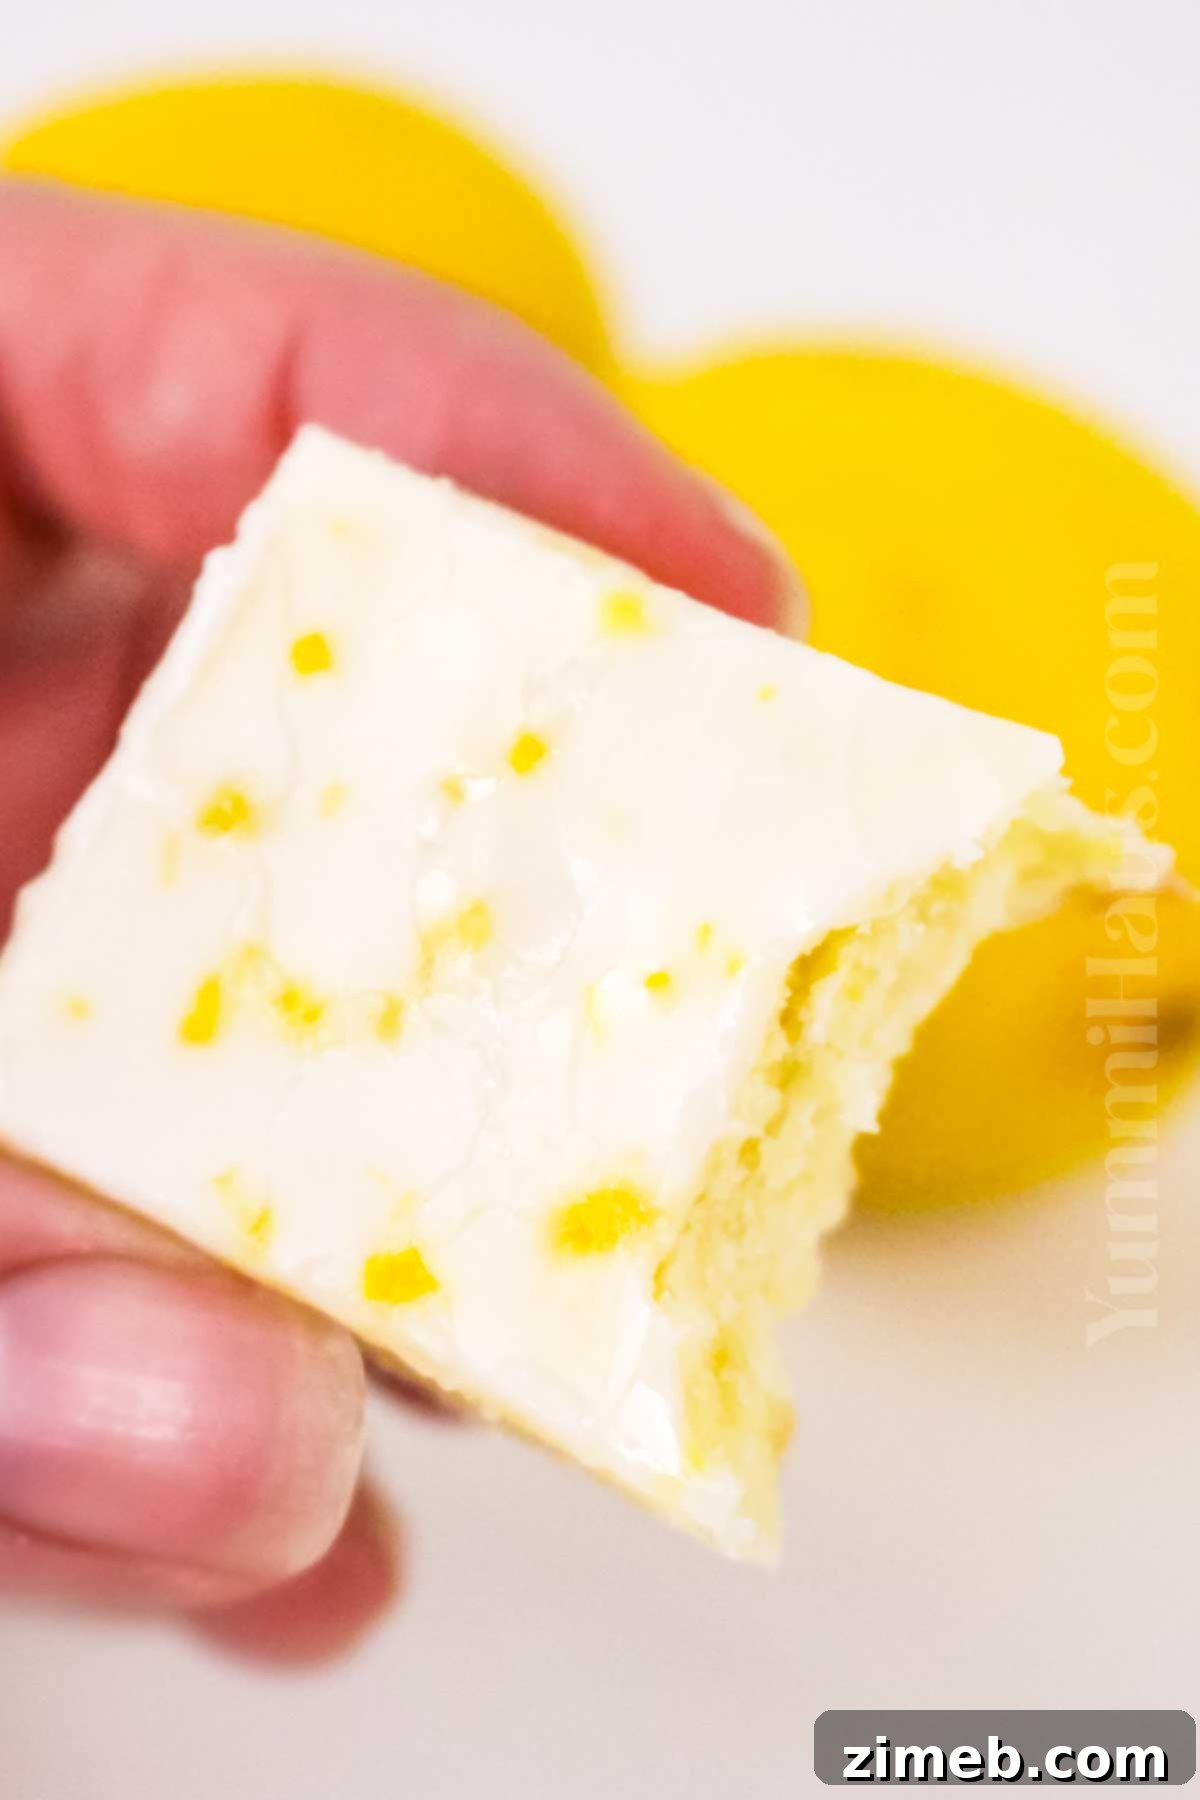
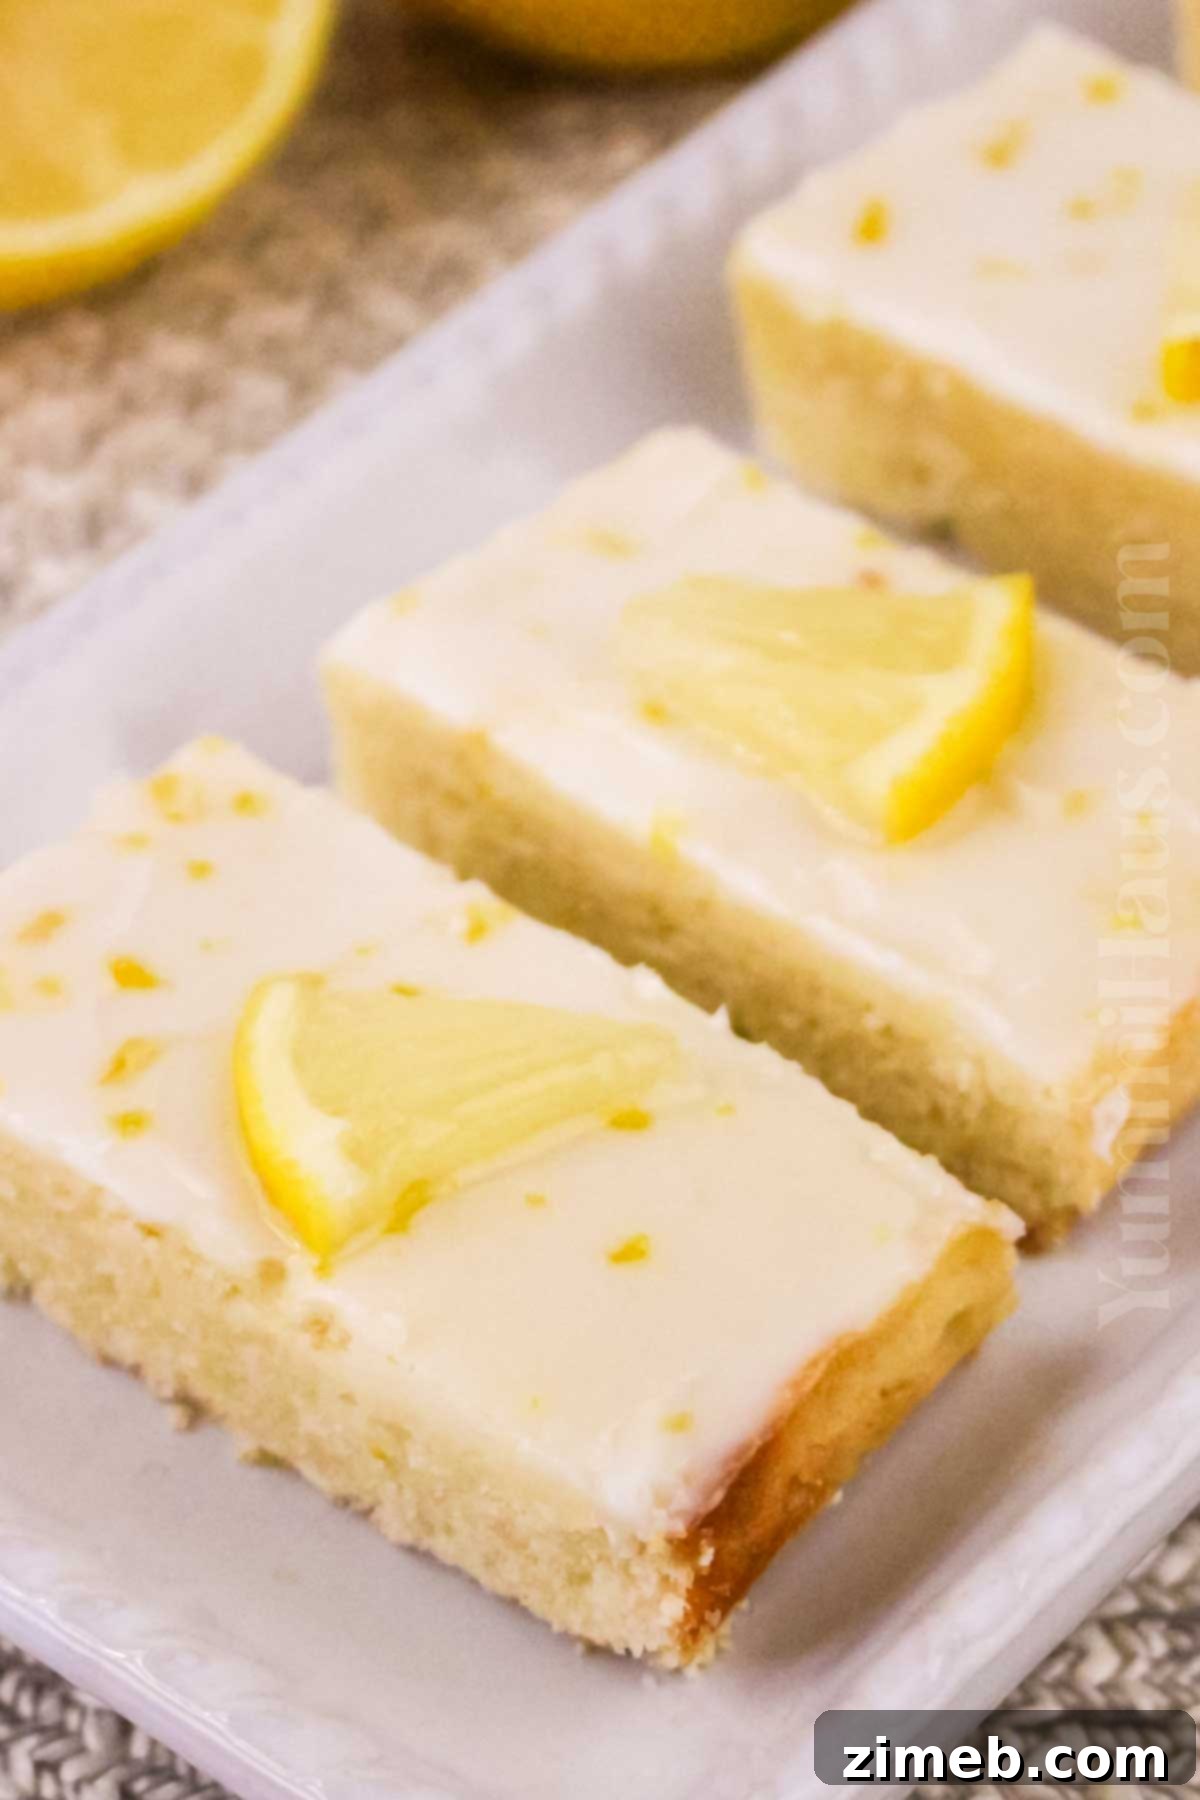
Indulge in the bright, refreshing taste of these irresistible Lemon Cookie Bars! Perfectly balancing sweet and tart flavors, these crumbly treats are an absolute delight for any occasion, especially as a light and zesty counterpoint to a rich holiday meal. Imagine sinking your teeth into a buttery, soft cookie bar, bursting with vibrant lemon, and topped with a glistening, tangy glaze. It’s truly a taste sensation that will brighten your day.
Lemon desserts hold a special place in our hearts, particularly after a hearty and filling Christmas dinner or a heavy meal. Their refreshing citrus notes cut through richness, offering a palate-cleansing sweetness that is both subtle and profoundly delicious. While individual lemon cookies are charming, there’s something inherently more festive and convenient about serving a pan of beautifully cut lemon bars to a crowd. This recipe transforms the beloved lemon sugar cookie into an effortlessly elegant bar, infused with intense lemony flavor, a hint of vanilla, and crowned with a luscious, sweet lemon glaze.
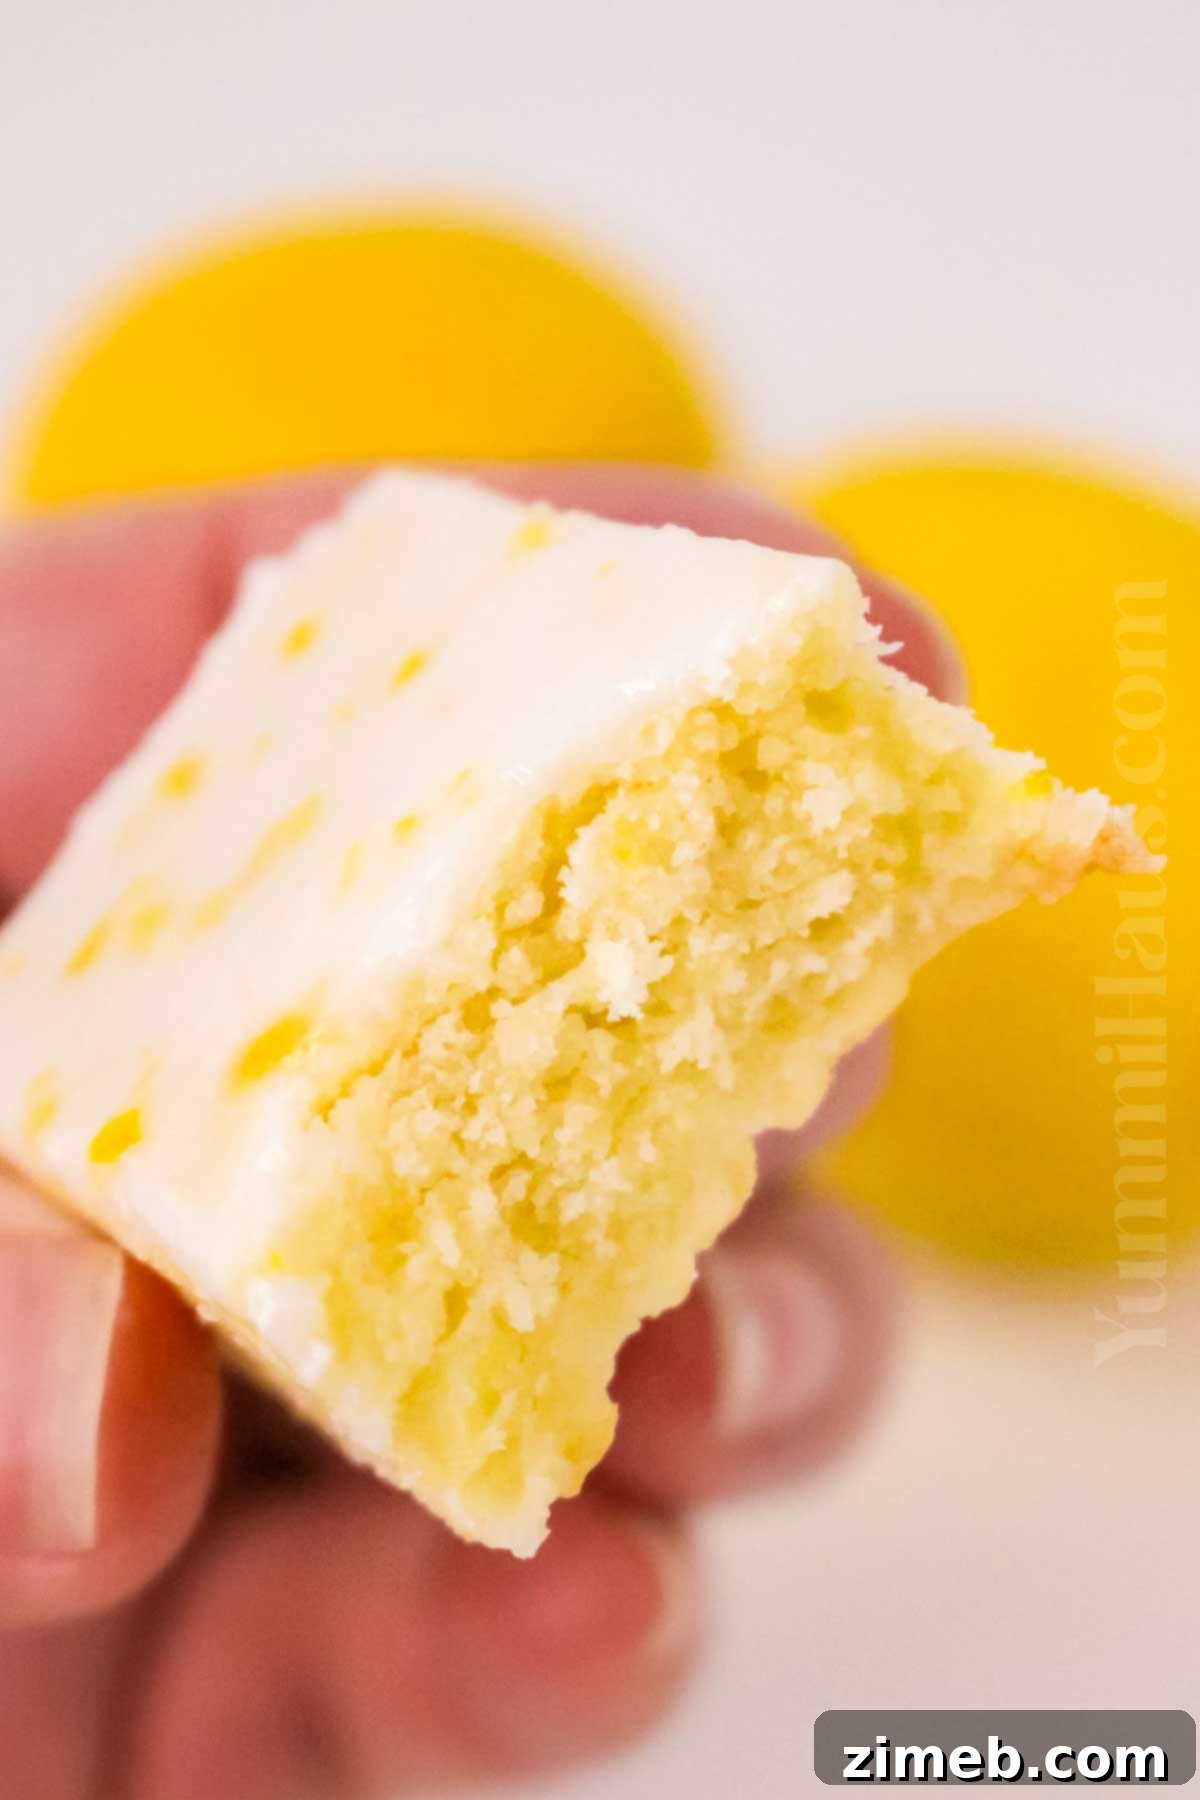
This particular recipe offers a simplified approach to classic lemon bars. Instead of laboring over separate crust and filling layers, we embrace a singular, lemon-packed layer of pure goodness. It’s designed for maximum flavor with minimal fuss, ensuring you get that incredible sweet and tangy experience without the extra effort. These bars are an ideal choice for holiday gatherings, summer picnics, potlucks, or simply as a comforting treat with your morning coffee or afternoon tea. They quickly become a family favorite, beloved year-round for their vibrant flavor and delightful texture.
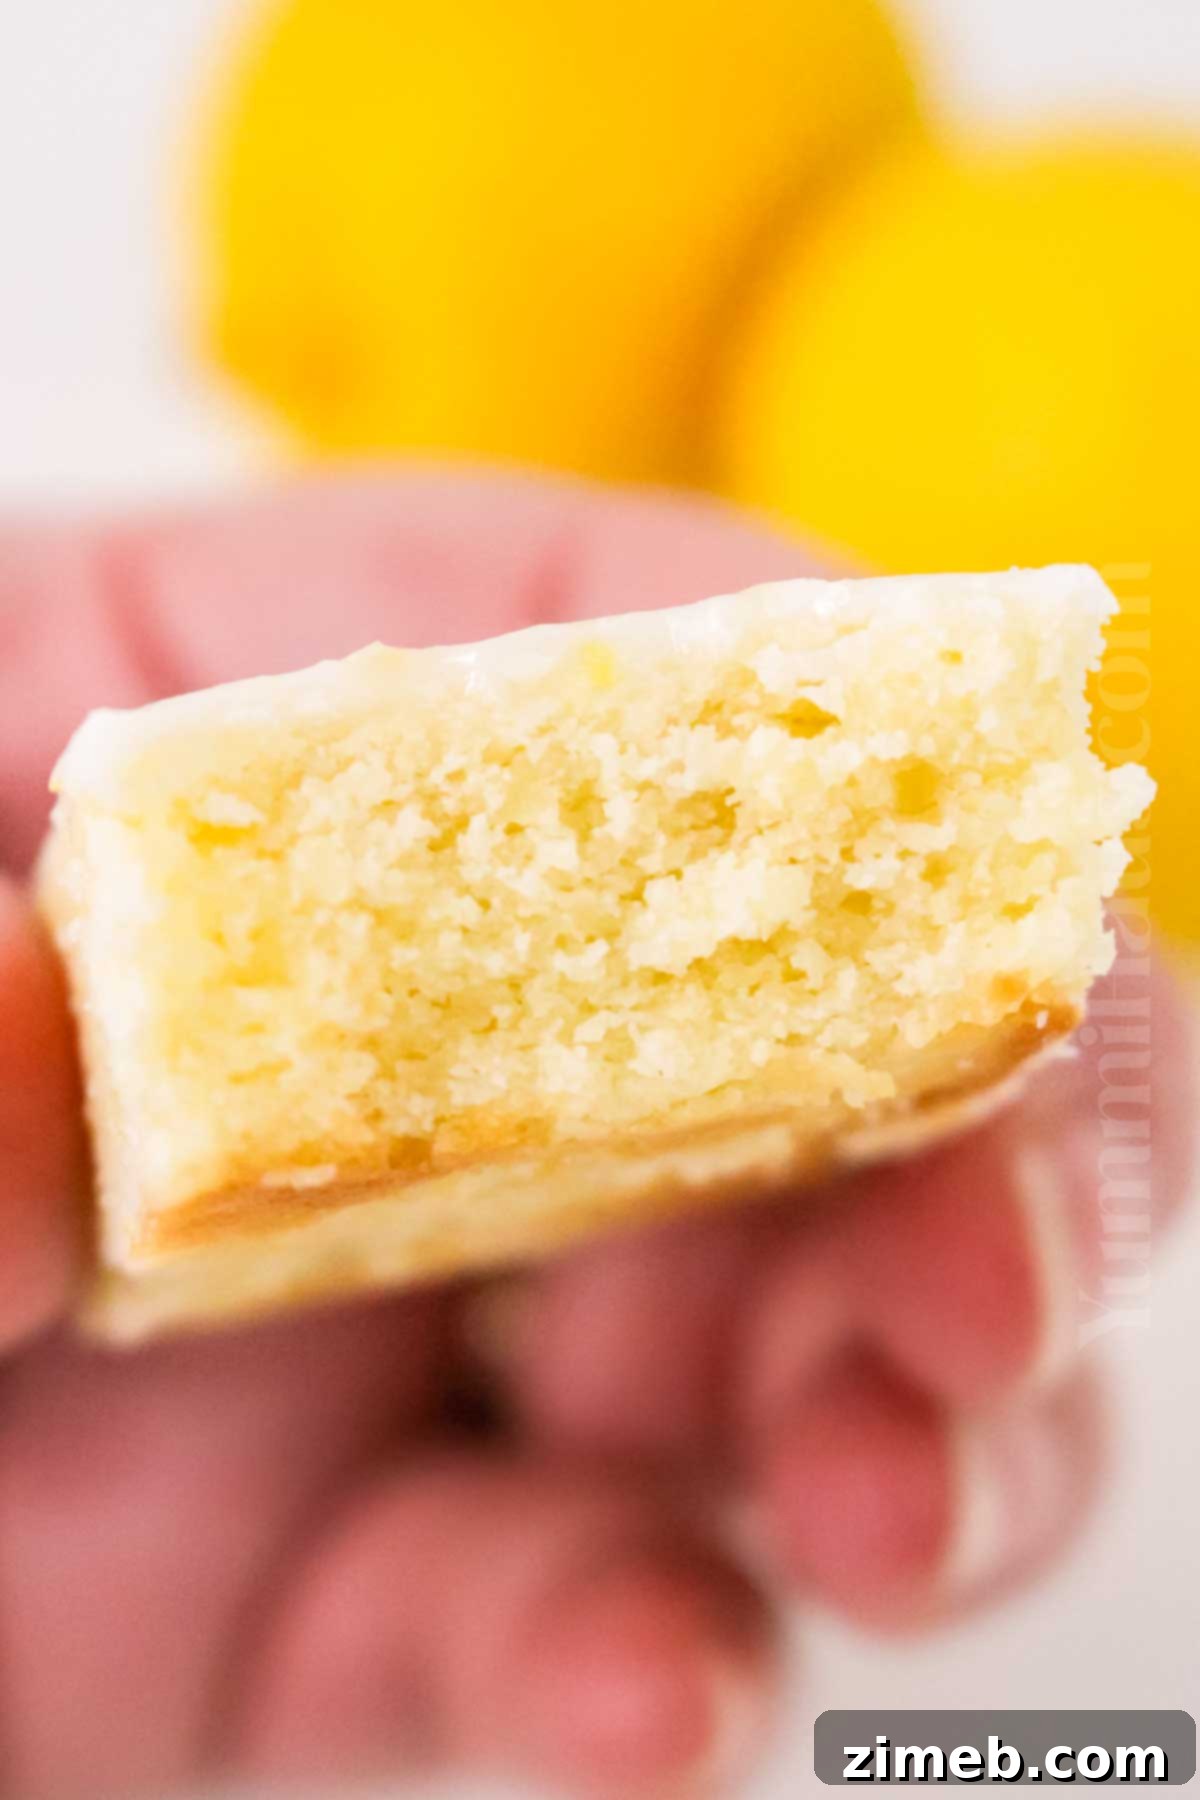
Why You’ll Adore These Easy Lemon Cookie Bars
- Effortlessly Delicious & Generous Batch: This recipe yields a substantial batch of buttery lemon squares, each boasting a wonderfully tender crumb. They’re simple to make, yet impressive enough to share, perfect for feeding a crowd or ensuring you have plenty of leftovers to enjoy. The texture is consistently perfect – not too cakey, not too dense, but a delightful melt-in-your-mouth experience.
- Bright, Balanced Flavor Profile: Experience lemon perfection! These bars are wonderfully lemony without being overpowering, light, and not overly sweet. The vibrant citrus notes are wonderfully refreshing, making them an excellent choice for pairing with a hot cup of tea or coffee, or as a lighter dessert option after a substantial meal.
- Simplified & Speedy Preparation: Forget the hassle of individual cookies or complex multi-layered desserts. This recipe streamlines the process, allowing you to create homemade lemon bars from scratch with incredible speed and ease. There’s no need for fancy equipment like a cookie scoop; simply spread the batter and bake! It’s a truly straightforward method that saves you time without compromising on flavor or quality.
- Incredibly Versatile for Any Season: These Lemon Cookie Bars are a true year-round favorite. They’re fantastic for summer picnics and BBQs, offering a cool and tangy treat, and equally perfect for festive holiday tables, adding a burst of sunshine. From potlucks to casual family gatherings, they are one of those universally loved desserts that everyone will ask you to make again and again, regardless of the season.
Essential Ingredients for Your Lemon Cookie Bars
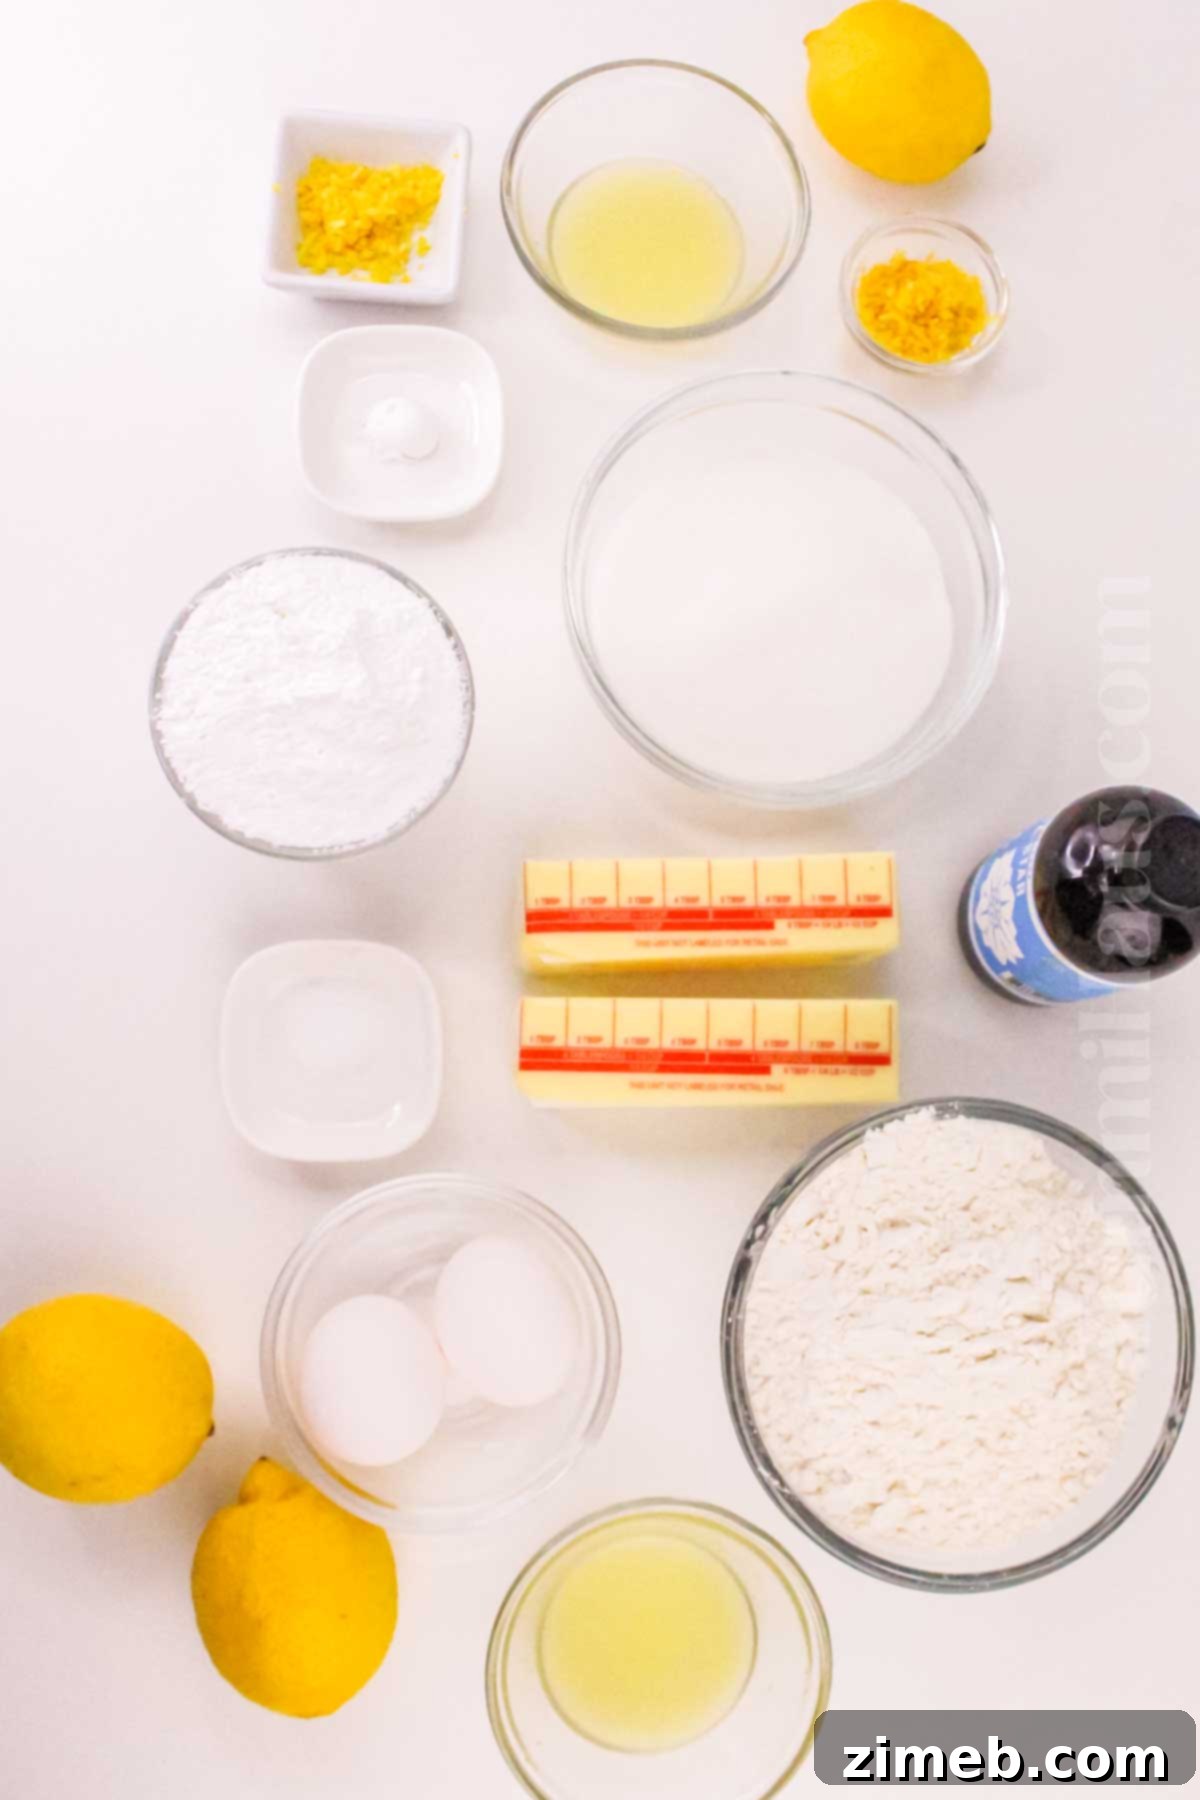
Crafting these delectable lemon cookie bars requires only a handful of common pantry staples. You’ll find all the simple ingredients at your local grocery store. For precise measurements and step-by-step instructions, please refer to the detailed recipe card at the bottom of this post.
For the Zesty Lemon Cookie Bars:
- Unsalted Butter (Softened): The foundation of our flavorful, soft cookie bars. Using softened butter is crucial for achieving a smooth, well-combined batter and a tender texture. If you desire an even softer and moister bar, a small amount of vegetable oil can be added, though it’s entirely optional and the butter alone provides excellent results.
- Granulated Sugar: Provides the perfect level of sweetness, complementing the tart lemon. While granulated sugar is traditional, powdered sugar can also be used for a slightly different texture in the base.
- Large Whole Eggs: Essential for giving these cookie bars their structure, richness, and a desirable thickness. Always opt for large-sized eggs in baking recipes for consistent results, as they provide the ideal moisture and binding properties.
- Lemon Flavor Boost (Zest + Freshly Squeezed Lemon Juice): This is where the magic happens! We use both the aromatic zest and the bright, tangy juice from fresh lemons. For the best flavor and to ensure the skin is free from unwanted chemicals, I highly recommend using organic lemons. The vibrant, incomparable taste of fresh lemon juice cannot be replicated by bottled alternatives, so please do not substitute it.
- Pure Vanilla Extract: A splash of vanilla enhances the overall flavor profile, adding a warm, subtle sweetness that beautifully complements the bright lemon. Always reach for pure vanilla extract for superior taste.
- Flour Mixture: This blend forms the body of our cookie bars.
- All-Purpose Flour: The primary dry ingredient, providing structure.
- Baking Powder: Our leavening agent, ensuring a light and slightly airy texture.
- Salt: A pinch of salt is vital for balancing the sweetness and enhancing all the other flavors. If you opt to use salted butter, remember to omit any additional salt from the recipe.
For the Irresistible Lemon Glaze:
- Confectioners’ Sugar: Also known as powdered sugar, this fine sugar creates a smooth, pourable glaze with a silky texture.
- Fresh Lemon Juice: Provides the essential tartness and liquid needed to form the glaze, ensuring that signature lemon flavor shines through.
- Lemon Zest: A touch of zest in the glaze adds an extra layer of intense lemon aroma and visual appeal.
Essential Kitchen Tools
Gathering your tools before you begin will ensure a smooth and enjoyable baking experience. Here’s what you’ll need:
- 9×13 Inch Baking Pan: This standard-sized pan is perfect for creating a generous batch of bars. Always line it with parchment paper or foil and grease it thoroughly with nonstick spray to ensure easy removal and clean slices.
- Large Mixing Bowl: Necessary for combining your ingredients, especially when creaming butter and sugar.
- Measuring Cups and Spoons: Accuracy in baking is key, so have your full set ready for precise ingredient measurements.
- Rubber Spatula: Ideal for scraping down the sides of your mixing bowl and gently folding in dry ingredients.
- Electric Mixer or Stand Mixer: While a hand mixer works well, a stand mixer fitted with the paddle attachment will make creaming the butter and sugar quick and effortless, yielding a perfectly fluffy base.
- Cheese Grater or Microplane: Absolutely essential for zesting your fresh lemons, extracting all that fragrant, flavorful oil from the rind.
Crafting Your Homemade Lemon Cookie Bars: A Step-by-Step Guide
Making these delightful Lemon Cookie Bars is a straightforward process. Follow these simple steps for a truly rewarding baking experience:
Step 1: Prepare the Irresistible Cookie Bar Batter
- Preheat Oven: Begin by preheating your oven to 350 degrees Fahrenheit (175°C). This ensures the oven is at the correct temperature for even baking from the moment your bars go in.
- Prepare Baking Pan: Lightly grease a 9×13 inch baking pan with cooking spray. Then, line it with parchment paper, leaving an overhang on the longer sides. This parchment “sling” will make lifting the baked bars out of the pan incredibly easy. Set the prepared pan aside.
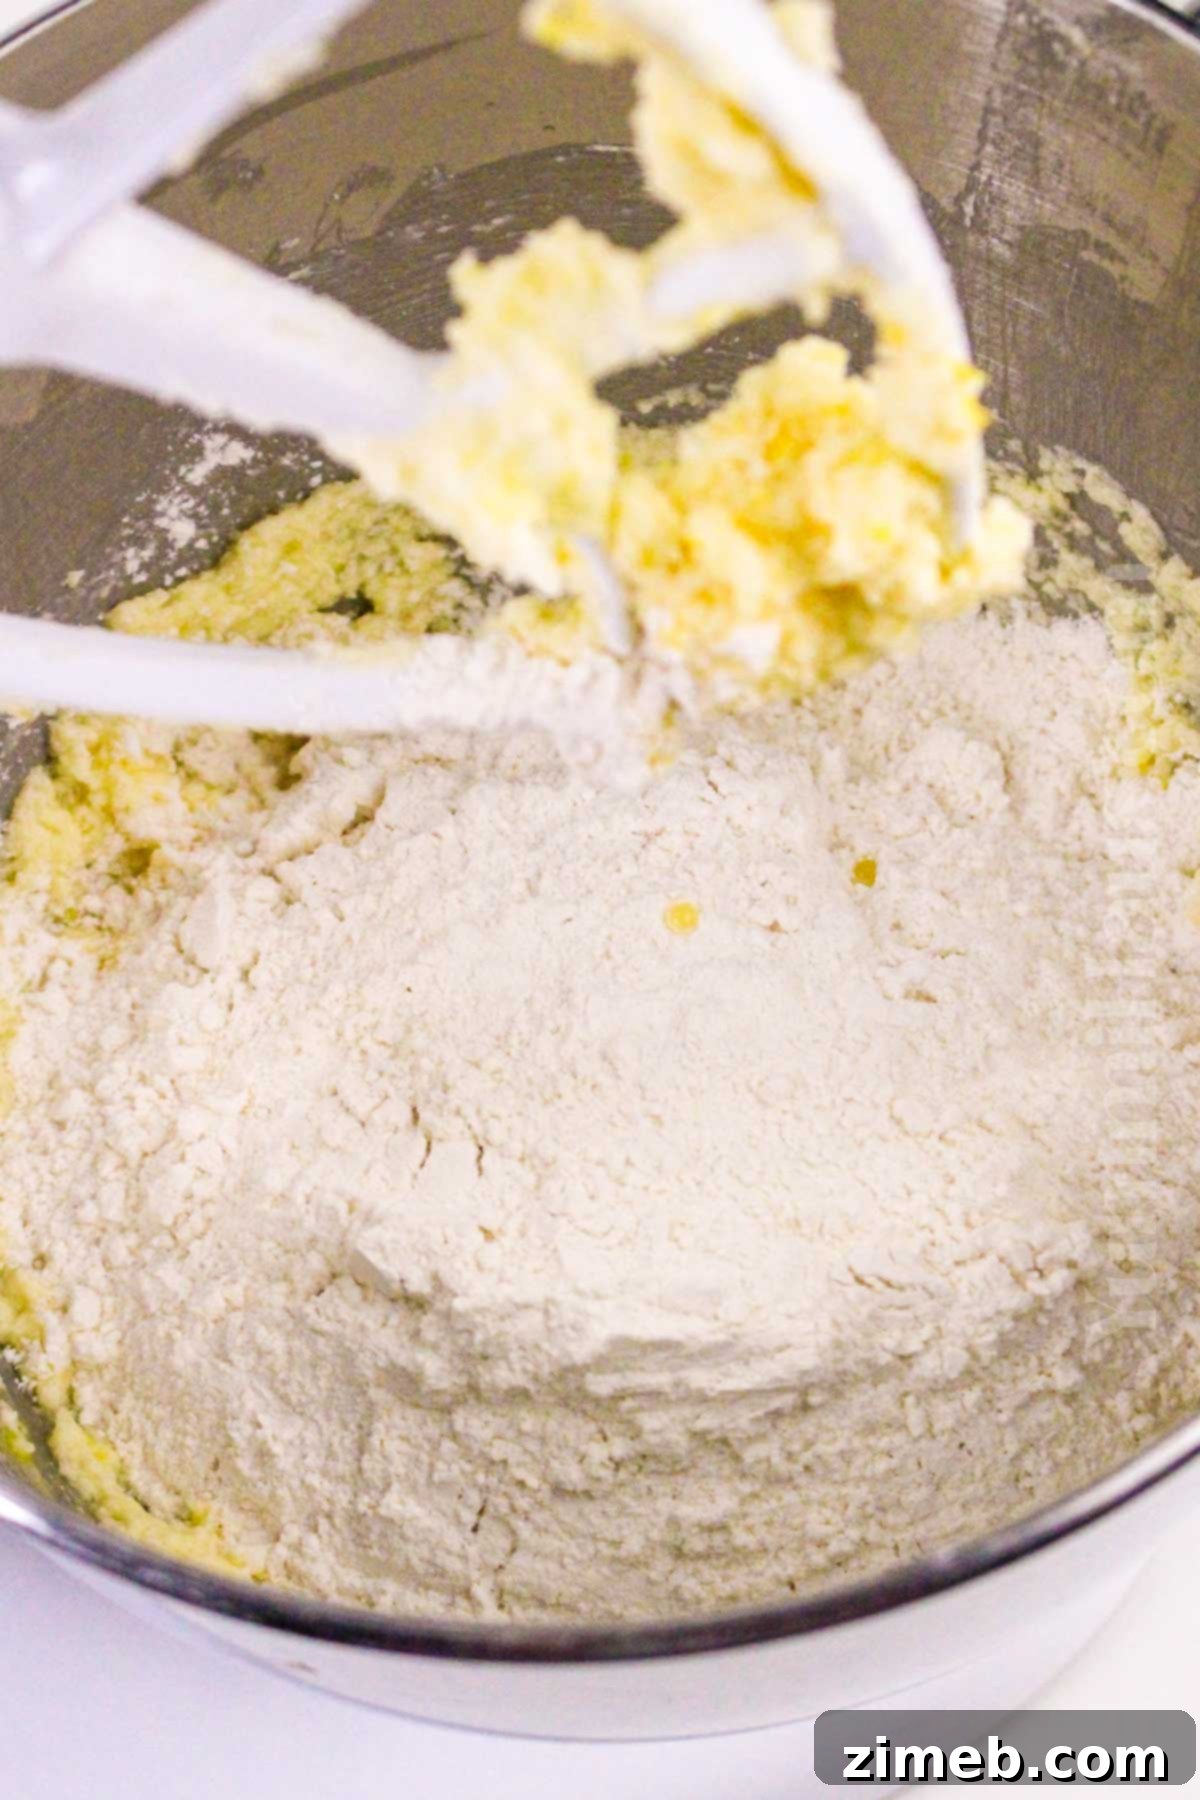
- Cream Butter and Sugar: In your large mixing bowl, combine the softened unsalted butter and granulated sugar. Beat them together vigorously with an electric mixer (or stand mixer with a paddle attachment) until the mixture is light, fluffy, and pale in color. This creaming process incorporates air, contributing to the bars’ tender texture.
- Incorporate Eggs: Add the large eggs to the butter mixture, one at a time, beating well after each addition until fully incorporated. This helps to create a stable emulsion, resulting in a smooth batter.
- Add Lemon and Vanilla: Stir in the fresh lemon juice, lemon zest, and vanilla extract. Mix on low speed just until these wet ingredients are combined. Be careful not to overmix at this stage.
- Combine Dry Ingredients: In a separate small bowl, whisk together the all-purpose flour, baking powder, and salt. Then, with your mixer running on a low speed, gradually add these dry ingredients to the wet ingredients. Mix only until just combined and no streaks of flour remain. Overmixing the flour can develop the gluten too much, leading to tough, dense cookie bars.
Step 2: Bake Your Golden Cookie Bars
- Spread Batter Evenly: Transfer the prepared cookie bar batter into the lined baking dish. Use a rubber spatula or the back of a spoon to spread it out into a smooth, even layer across the bottom of the pan. Even spreading ensures uniform baking.
- Bake to Perfection: Place the pan in the preheated oven and bake for 20-25 minutes. The bars are ready when the edges are beautifully golden brown and a toothpick inserted into the center comes out clean or with only a few moist crumbs attached. Avoid over-baking, as this can result in dry bars.
- Cool Completely: Once baked, remove the pan from the oven and place it on a wire rack. Allow the lemon bars to cool completely in the pan before attempting to add the glaze. This step is crucial for the glaze to set properly and prevent it from melting or running off.
Step 3: Prepare and Apply the Zesty Lemon Glaze
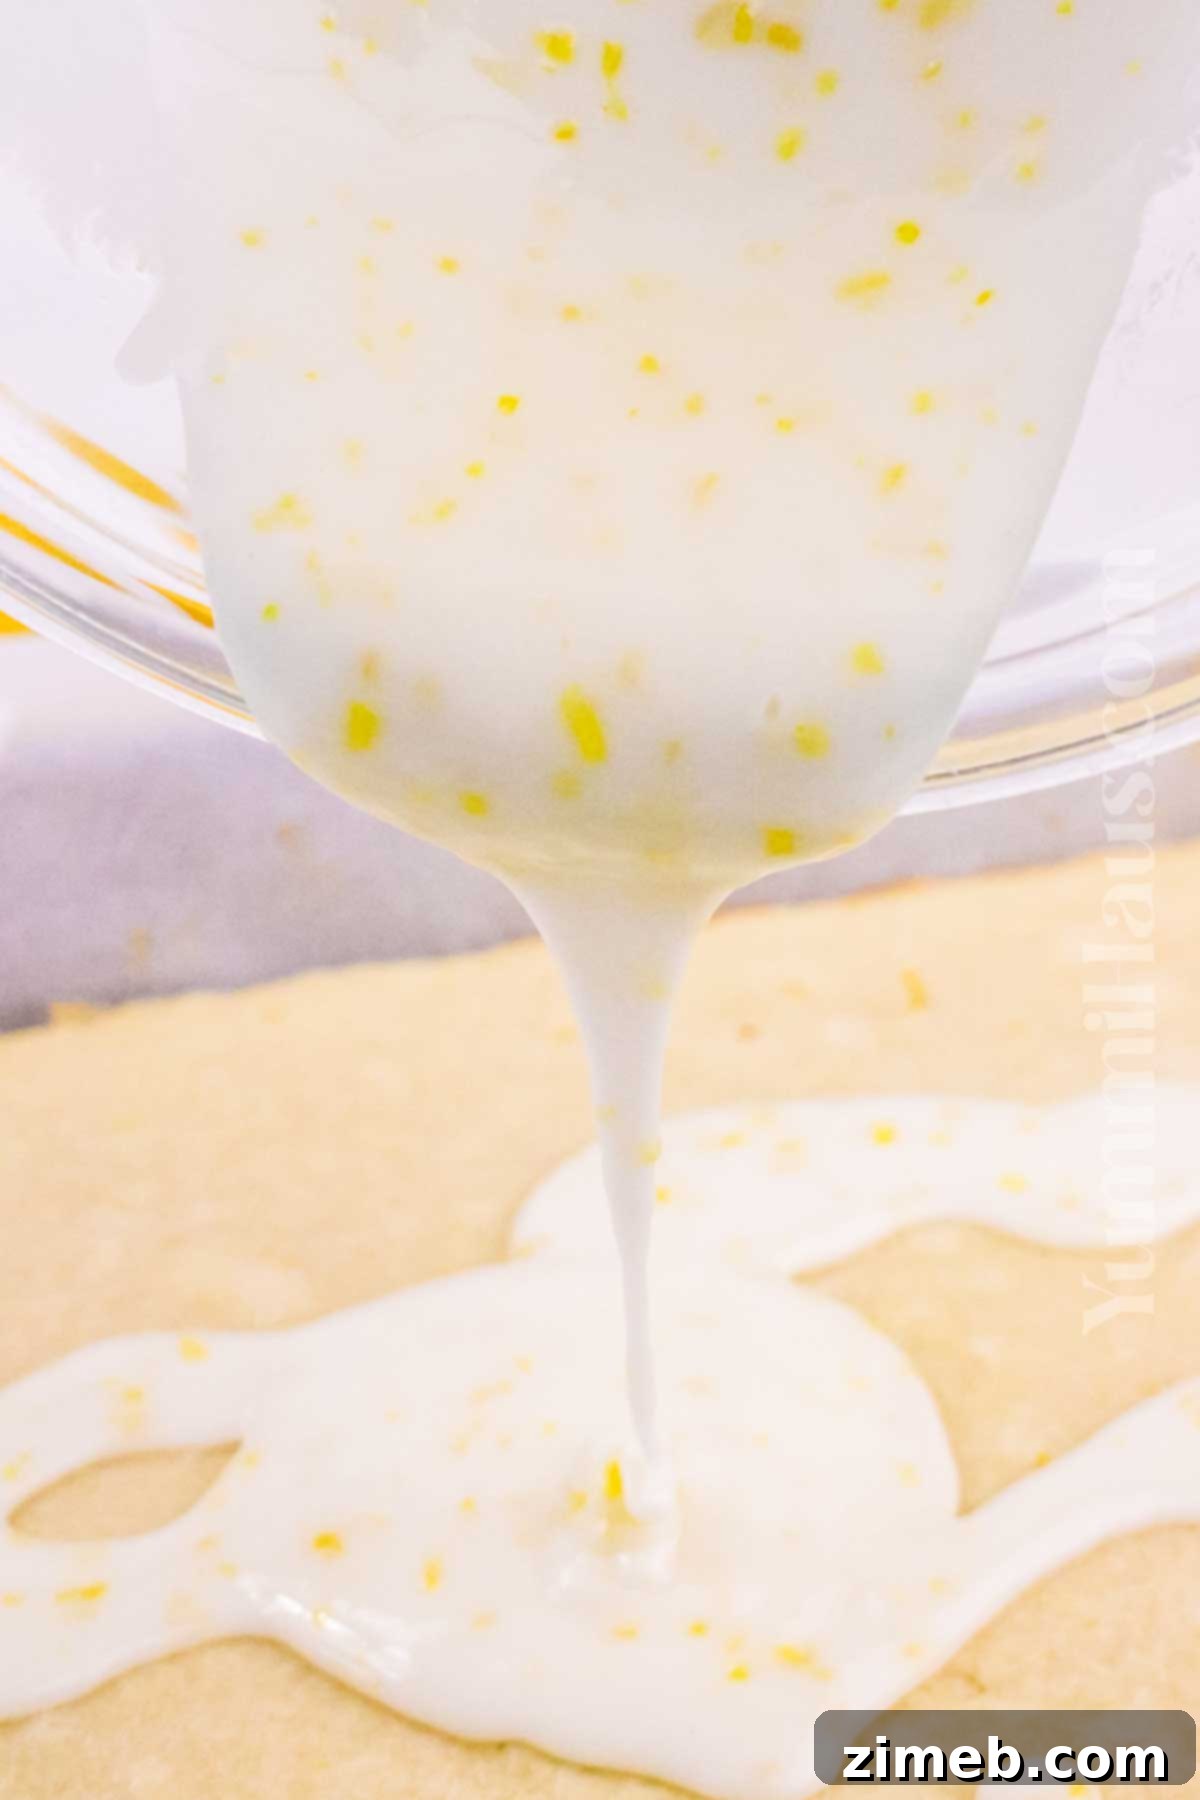
- Whisk Glaze Ingredients: In a small bowl, whisk together the confectioners’ sugar, freshly squeezed lemon juice, and lemon zest. Continue whisking until the mixture is completely smooth and free of lumps, reaching a pourable consistency. If it’s too thick, add a tiny bit more lemon juice; if too thin, add a touch more confectioners’ sugar.
- Glaze Cooled Bars: Once the cookie bars have cooled to room temperature (this is vital!), pour the lemon glaze evenly over the top. Use an offset spatula or the back of a spoon to spread the glaze to the edges if needed. Allow the glaze to set fully before slicing and serving. This can take 30-60 minutes at room temperature.
- Speed Up Cooling (Optional): If you’re short on time, you can carefully place the warm baked bars (still in the pan) on a hot pad in the refrigerator to cool more quickly. Once glazed, you can chill them again to speed up the glaze setting. Just remember to bring them back to room temperature before slicing for the best texture and flavor.
- Powdered Sugar Alternative: For a simpler finish, you can skip the glaze entirely and simply dust the completely cooled bars generously with powdered sugar before serving.
Storing Your Delicious Lemon Cookie Bars
Proper storage ensures your Lemon Cookie Bars remain fresh and flavorful for as long as possible. Always allow them to cool completely and for the glaze to set before storing.
Room Temperature: Store the bars in an airtight container at room temperature for up to 3 days. For optimal freshness, separate layers with parchment paper to prevent sticking.
Refrigerator: For extended freshness, store the lemon cookie bars in an airtight container in the refrigerator for up to 5 days. The chilling can make the bars firmer, but they’ll soften slightly when brought back to room temperature.
Freezing: These bars freeze beautifully! For best results, freeze them without the glaze. Once the baked bars are completely cooled, tightly wrap individual bars or entire slabs in plastic wrap, then an additional layer of aluminum foil. You can place a piece of parchment paper between layers if stacking. Freeze for up to 3 months. When ready to enjoy, thaw them at room temperature, then apply the fresh glaze just before serving.
Exciting Substitutions & Creative Variations
While these classic Lemon Cookie Bars are perfect as they are, don’t hesitate to experiment! Here are some ideas to customize them to your liking:
- No-Bake Lemon Cookie Bars: Craving lemon bars without turning on the oven? You can simplify the recipe significantly. Start with a no-bake crust made from crushed digestive biscuits or graham crackers mixed with melted butter, pressed firmly into the bottom of your pan. Fill this with a quality store-bought lemon curd or a homemade lemon filling, then chill until set. It’s a quick and refreshing alternative!
- Explore Other Citrus Flavors: While lemon is undeniably delicious, feel free to venture into other citrus territories. Orange zest and juice will yield a sweeter, mellower bar, while lime offers a sharper, more intense tang. Grapefruit could provide a sophisticated bitter-sweet note. I recommend trying the classic lemon version first to appreciate its pure flavor before experimenting with other delightful citrus combinations.
- For Extra Soft and Fluffy Bars: To achieve an even softer and richer texture, incorporate a couple of tablespoons of cream cheese or sour cream into your cookie bar batter. These ingredients add moisture and a subtle tang that complements the lemon beautifully.
- Luxurious Lemon Cream Cheese Frosting: Elevate your bars with a creamy lemon cream cheese frosting instead of the simple glaze. To make it, beat softened butter and cream cheese until smooth and fluffy. Then, mix in fresh lemon zest and juice, gradually adding powdered sugar until you reach your desired consistency. If you prefer a thick frosting but aren’t a fan of cream cheese, a classic lemon buttercream frosting is another fantastic option.
- Classic Lemon Bars with Shortbread Crust and Curd Filling: For a more traditional, tart-like experience, consider a two-layer approach. Prepare a buttery shortbread crust and pre-bake it until lightly golden. While it cools, create a homemade lemon curd by whisking egg yolks, sugar, lemon zest, and lemon juice in a saucepan over medium-low heat until it thickens to a luscious, creamy consistency. Pour the cooled curd over the cooled shortbread crust and bake again until the curd is set. This version offers an incredibly creamy and intensely tangy filling.
- Need an Extra Zesty Kick? If you’re a true lemon enthusiast and want to amplify the citrus flavor even further, add a few drops of pure lemon extract to either the cookie bar batter or the glaze. Just a little goes a long way!
- Customize for Any Celebration: Make your lemon bars celebration-ready by incorporating festive colorful sprinkles into the batter or over the glaze. For a touch of indulgence, fold white chocolate chips into the batter before baking, or drizzle melted white chocolate over the set glaze.
Expert Tips for Unforgettable Lemon Cookie Bars
Achieving bakery-quality Lemon Cookie Bars at home is easier than you think with these professional tips:
- For a Chewier Texture: If you prefer a slightly chewier cookie bar, consider adding a quarter teaspoon of baking soda to your flour mixture. This small addition can subtly alter the texture, creating a delightful chewiness.
- Accurate Flour Measurement is Key: For the best results in any scratch baking recipe, always sift your flour and measure it correctly using the “scoop and level” method. Gently scoop flour into your measuring cup until it overflows, then level it off with a straight edge. This prevents over-packing the flour, which can lead to dry and dense bars.
- Room Temperature Ingredients Rule: Ensure all your cold ingredients, especially butter and eggs, are at room temperature before you begin mixing. This allows them to emulsify properly, creating a smooth, homogenous batter that bakes evenly and results in a superior texture.
- Avoid the Dreaded Over-baking: Keep a close eye on your oven! Over-baking is the quickest way to end up with dry, overly dense, and less flavorful cookie bars. Start checking for doneness at the lower end of the recommended baking time. The edges should be golden, and a toothpick inserted into the center should come out clean.
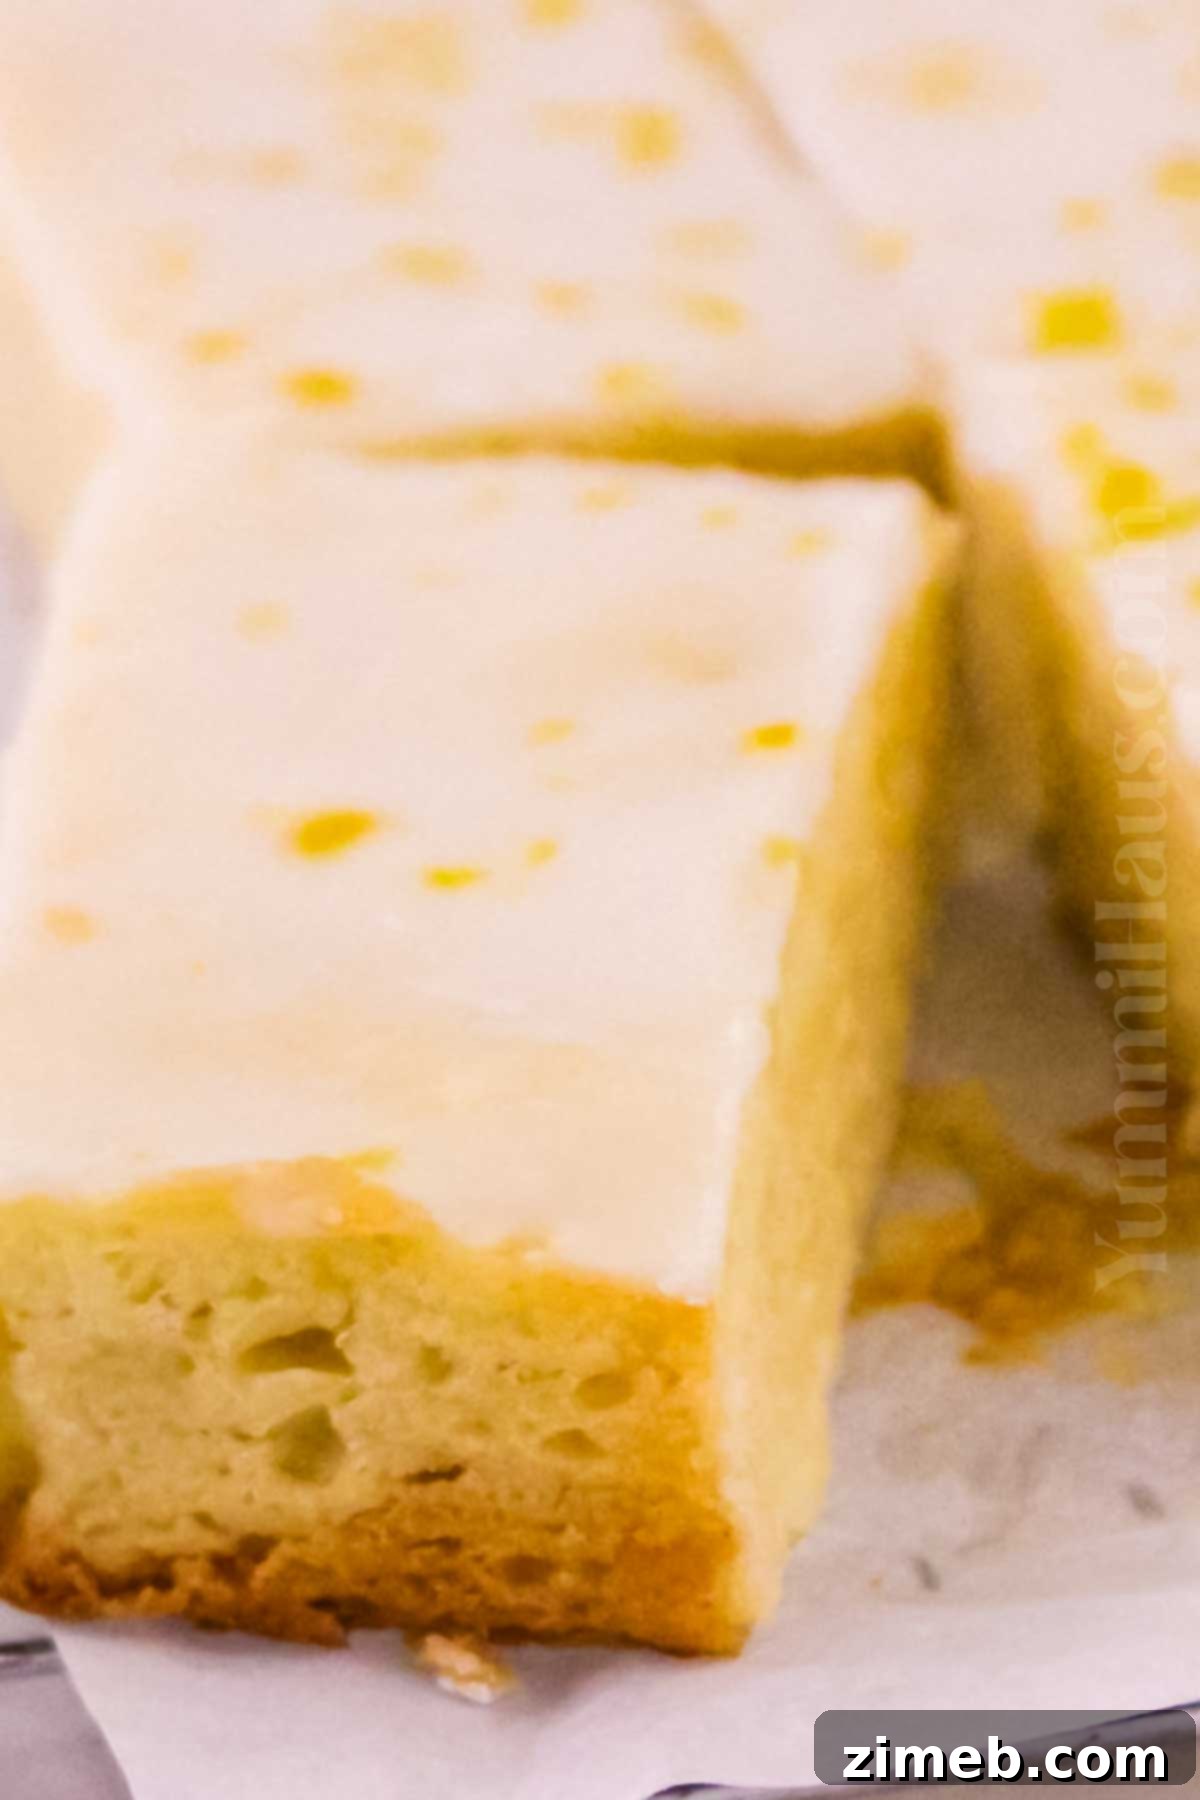
- Cool Completely Before Cutting: Patience is a virtue when it comes to cutting bars. Allow your lemon cookie bars to cool completely in the pan on a wire rack before attempting to slice them. Fully cooled bars will be much firmer and easier to cut into neat, clean squares, preventing crumbling. Use a very sharp knife for the cleanest cuts.
- Warm Lemons for Maximum Juice: To extract the most juice from your fresh lemons, warm them up slightly before squeezing. A simple trick is to pop them in the microwave for just 10-15 seconds or roll them firmly on your countertop before cutting. This helps release the juices, making them easier to squeeze.
- Baking Multiple Pans: If you decide to double the recipe and bake two pans simultaneously, place them on the middle and top racks of your oven. Avoid using the bottom rack, as it can sometimes lead to over-browning on the bottom of your baked goods. Rotate the pans halfway through baking for even results.
If you adore these bright and zesty lemon cookie bars, you’re sure to love these other fantastic bar recipes. Click each link below to discover more easy and delightful baking inspiration!
Check out this recipe
Check out this recipe

Check out this recipe
Check out this recipe

Check out this recipe
More Zesty Lemon Recipes to Love
Lemon Pound Cake
Easy Lemon Cake Recipe
Lemon Icebox Pie
Lemon Cake Mix Cookies
CONNECT WITH YUMMI HAUS!
Be sure to follow me on my social media, so you never miss a post!
Substack, FB, Pinterest, IG, Email Subscription

Rate this Recipe
Lemon Cookie Bars Recipe
Ingredients
Bars
- 1 cup butter softened – unsalted
- 1 cup granulated sugar
- 2 large eggs
- 1 tablespoon lemon zest
- 2 tablespoons lemon juice – freshly squeezed
- 1 teaspoon vanilla extract
- 2 ½ cups all-purpose flour
- ½ teaspoon baking powder
- ¼ teaspoon salt
Glaze
- 1 cup confectioner’s sugar
- 2 tablespoons lemon juice – freshly squeezed
- 1 teaspoon lemon zest
Instructions
-
Preheat the oven to 350 degrees F (175°C).
-
Grease a 9×13 inch baking pan and then line it with parchment paper, allowing an overhang on the sides for easy lifting. Set aside.
-
Combine the softened butter and granulated sugar in a large mixing bowl. Beat well with an electric mixer until light and fluffy.
-
Beat in the large eggs, one at a time, ensuring each is fully incorporated before adding the next.
-
Add the lemon zest, freshly squeezed lemon juice, and vanilla extract. Mix until just combined.
-
With the mixer stirring on low speed, gradually add the combined dry ingredients (all-purpose flour, baking powder, and salt). Stir until just combined and no dry streaks of flour remain, being careful not to overmix.
-
Spread the mixture into the prepared pan in a smooth, even layer.
-
Bake for 20-25 minutes, or until the edges are golden brown and a toothpick inserted into the center comes out clean.
-
Let the bars cool completely in the pan on a wire rack while you prepare the glaze.
-
To make the glaze, whisk the confectioner’s sugar with the lemon juice and lemon zest in a small bowl until smooth and well combined.
-
Once the bars have cooled to room temperature, pour the lemon glaze evenly over the top. Allow the glaze to set completely before cutting the bars into squares and serving.
-
If you wish to speed up the setting process, you can cool the baked bars in the refrigerator (ensure they are placed on a heat-safe surface first) and then chill them again once the glaze has been applied. Remove and bring to room temperature before slicing for the best flavor and texture.
Nutrition
Calories: 253kcal |
Carbohydrates: 35g |
Protein: 2g |
Fat: 12g |
Saturated Fat: 7g |
Cholesterol: 31mg |
Sodium: 141mg |
Potassium: 30mg |
Fiber: 1g |
Sugar: 20g |
Vitamin C: 2mg |
Calcium: 11mg |
Iron: 1mg |
Net Carbohydrates: 27g
Nutritional information for the recipe is provided as a courtesy and is approximate. Please double-check with your own dietary calculator for the best accuracy. We at Yummi Haus cannot guarantee the accuracy of the nutritional information given for any recipe on this site.