
Embark on a culinary adventure by learning how to create a vibrant, homemade Sourdough Starter with this comprehensive and easy-to-follow guide. Perfect for anyone eager to bake artisanal, deliciously tangy sourdough bread, this step-by-step recipe will help you cultivate a thriving live culture that is fundamental to elevating your baking game. Whether you are a complete beginner or a seasoned baker looking to refine your technique, this guide offers invaluable insights and practical advice for cultivating a robust and reliable starter.
Unlock a world of flavor and tradition right in your kitchen by mastering the art of creating your very own sourdough starter! This seemingly simple yet magical blend of flour and water is much more than just ingredients; it’s the living foundation for baking incredible, aromatic sourdough bread and a host of other delightful recipes. Imagine the satisfaction of pulling a warm, crusty loaf from your oven, knowing you nurtured the very essence that gives it its distinctive taste and texture.
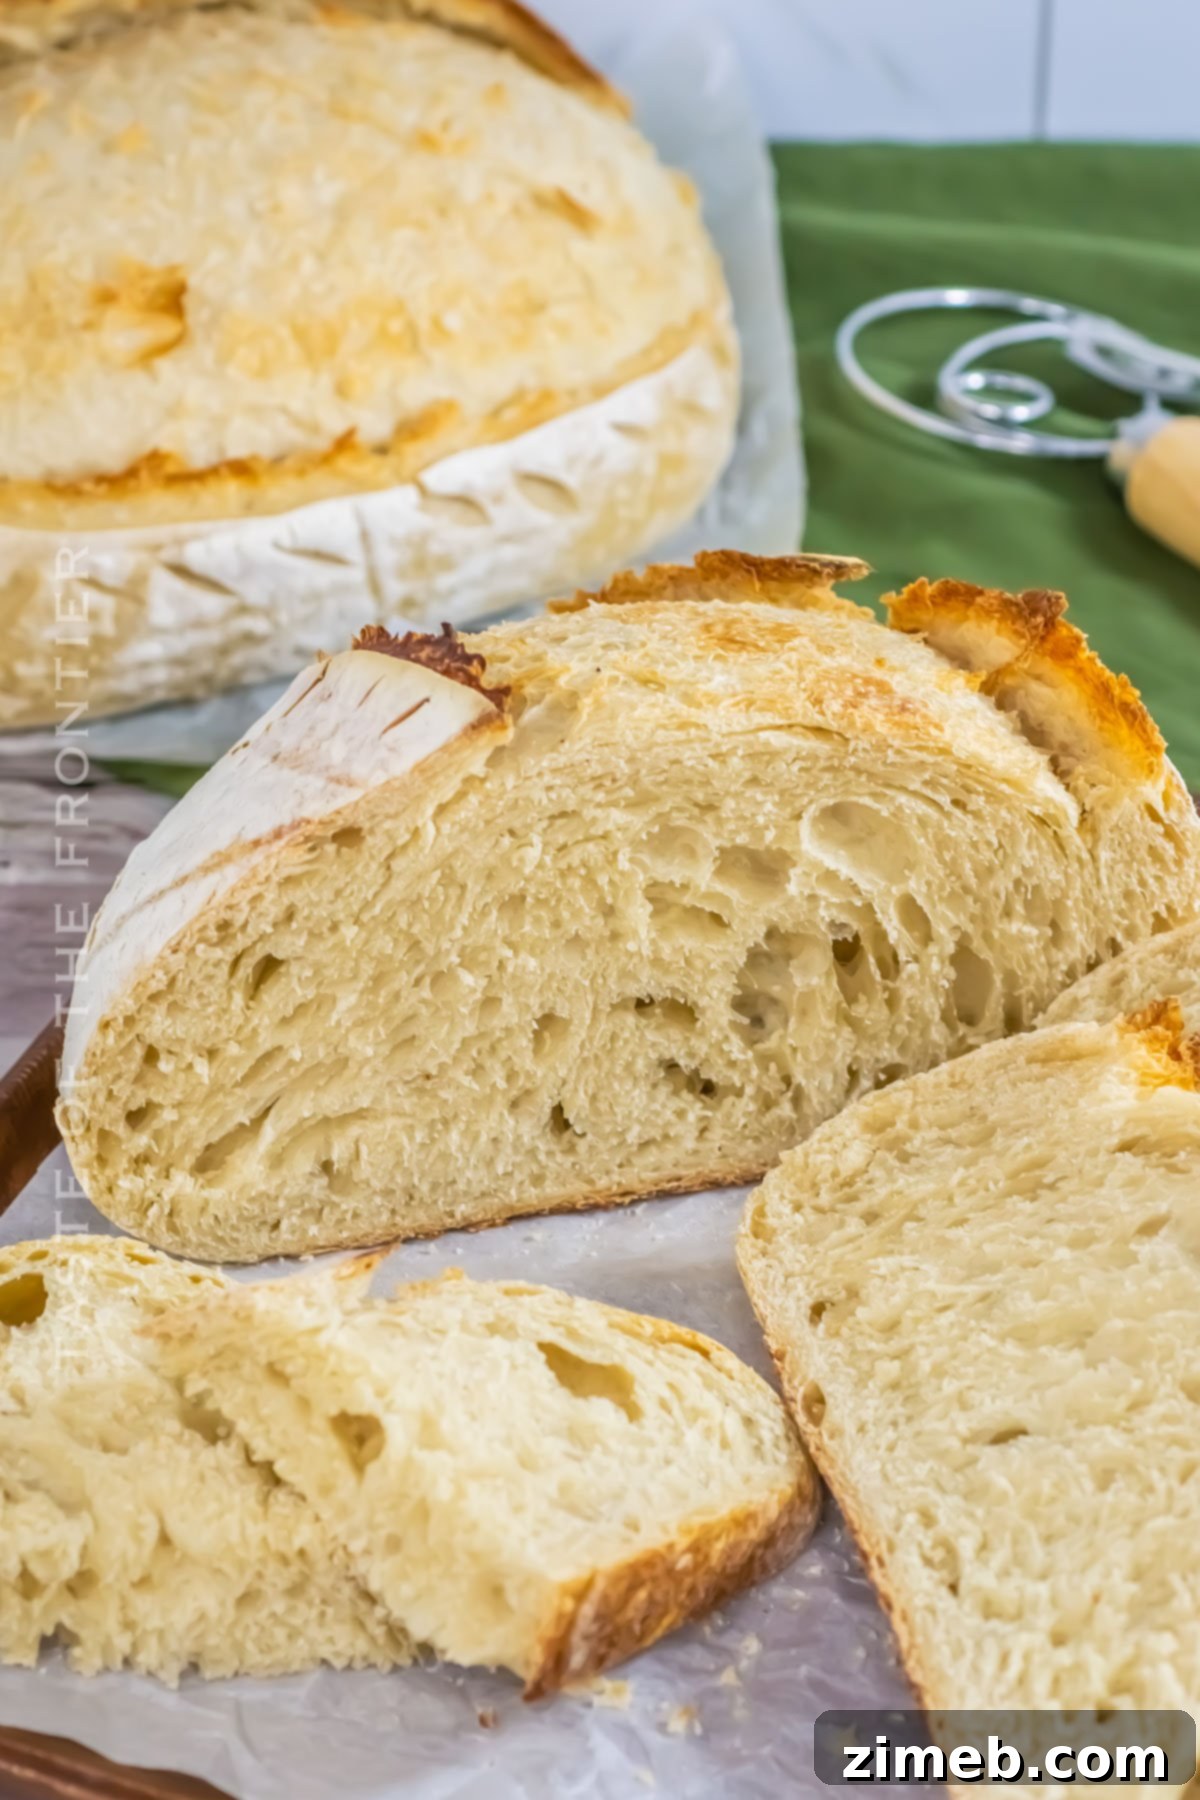
Sourdough bread is celebrated worldwide for its deep, complex tangy flavor, wonderfully chewy texture, and that signature crispy crust—qualities that are born from a healthy, active starter. By patiently nurturing your starter, you’re not only preparing to bake; you’re tapping into ancient baking traditions, connecting with a time-honored craft, and bringing a piece of artisan mastery to your daily meals. This process is rewarding, offering both a delicious outcome and a deeply satisfying culinary journey.
Creating your sourdough starter is an enriching experience that transcends mere recipe following. It’s about building a living relationship with your food, understanding the fermentation process, and fostering a unique connection to every loaf you bake. This isn’t just about ingredients; it’s about life, patience, and the incredible transformation that occurs when simple elements combine.
For those embarking on this journey for the first time, an exciting adventure awaits. Growing a sourdough starter is a deeply rewarding culinary experience that connects you to hundreds, if not thousands, of years of baking heritage. It’s a testament to human ingenuity and the timeless art of transforming humble grains into nourishing, flavorful food.
Whether your motivation is to explore potential health benefits associated with fermented foods, save money on artisan bread, or simply challenge and expand your skills in the kitchen, the world of sourdough recipes offers endless possibilities and profound satisfaction. Each feeding, each rise, and each bake becomes a step in a gratifying process that continually yields delicious rewards.
So, get ready to dive into your sourdough journey and discover the wonderful, vibrant world of natural fermentation. Your kitchen will soon be filled with the irresistible aroma of homemade bread, and your palate will thank you for the incredible flavors!
Understanding Your Sourdough Starter: Common Questions & Troubleshooting
Embarking on the sourdough journey can bring a few questions, especially when observing the fascinating but sometimes unpredictable behavior of your new starter. Here, we address some of the most common inquiries to help you navigate this exciting process with confidence and success.
Why Isn’t My Sourdough Starter Rising?
A common concern for new sourdough enthusiasts is a starter that seems sluggish or fails to rise. Several factors can influence your starter’s activity, including ambient temperature, feeding frequency, and the type of flour being used. Wild yeasts thrive in warmer environments, so ensuring your starter is kept in a cozy spot, ideally between 70-78°F (21-26°C), is crucial.
Regular and consistent feeding is equally important. Your starter needs fresh fuel (flour and water) to multiply and become active. Make sure you are consistently feeding it with equal parts fresh flour and water by weight. Patience truly is a virtue in sourdough creation; starters can take anywhere from a few days to two weeks to consistently show vigorous activity, characterized by bubbly growth and a pleasant, tangy aroma. Resisting the urge to rush the process is key to cultivating a strong, healthy culture.
What’s the Best Container for Sourdough Starter?
Choosing the right vessel for your sourdough starter is simple but important. The ideal container is made from a non-reactive material such as glass or food-grade plastic. These materials prevent any unwanted chemical reactions with the acidic starter and allow you to easily observe its progress, noting bubble formation and rise.
It’s crucial that your chosen container offers ample space for the starter to grow. As it ferments and becomes active, a healthy starter can easily double or even triple in volume. Therefore, select a jar that allows for at least triple the initial volume of your starter to prevent overflow and ensure plenty of room for robust activity. A wide-mouth jar, like a Ball jar, is also recommended for ease of stirring and discarding.
Can Sourdough Starter Develop Mold?
While a sourdough starter is a robust ecosystem of yeasts and bacteria, it can occasionally develop mold. The appearance of mold, which often looks fuzzy or discolored (green, black, pink), is a clear indication of contamination or inadequate storage conditions. If you observe any mold, for safety and best practice, it is always safest to discard the entire starter and begin anew.
To prevent mold, ensure absolute cleanliness when handling your starter. Always use clean, sanitized utensils and containers. Cover your starter with a breathable lid, such as a loosely placed lid, a coffee filter secured with a rubber band, or a clean dishcloth, to allow air circulation while preventing unwanted airborne contaminants. Keeping it in a consistently clean, warm, and stable environment will also significantly reduce the risk of mold growth.
What Flour is Best for Sourdough Starter?
The type of flour you choose for creating your sourdough starter plays a significant role in its initial activity and long-term health. For jump-starting the fermentation process, flours rich in nutrients and wild yeasts are highly recommended. These include whole wheat flour, pumpernickel flour, or rye flour.
These whole-grain flours contain more naturally occurring microbes and enzymes, providing a more robust initial environment for fermentation. As your starter matures and becomes consistently active (typically after a week or two), you can transition to feeding it with unbleached all-purpose flour or bread flour. Many bakers choose to continue using whole-grain flours for regular feedings to maintain a particularly vigorous and flavorful starter, but it’s not strictly necessary once established. The key is consistency in your chosen feeding flour.
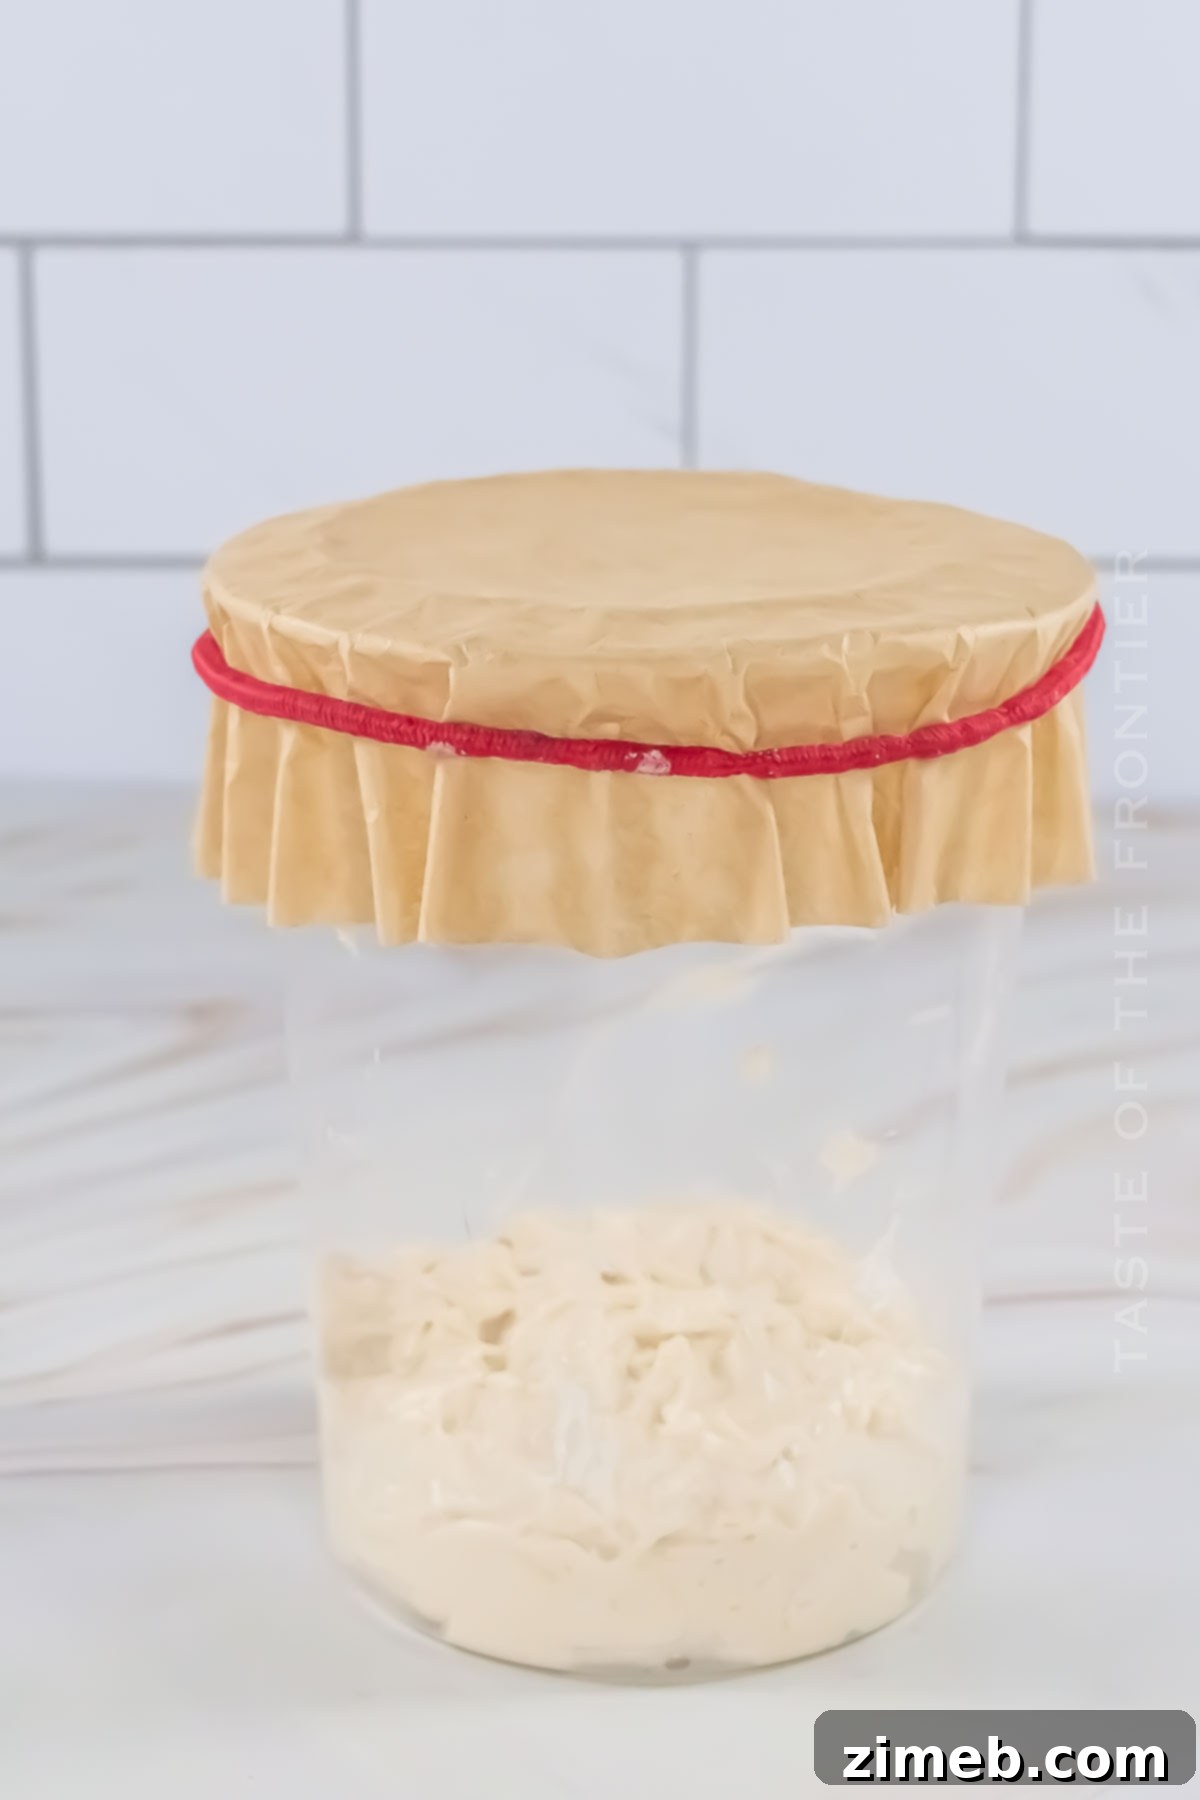
Storage and Maintenance of Your Sourdough Starter
Managing your sourdough starter’s storage and feeding schedule can seem a little intimidating at first, but with a bit of practice and understanding, it quickly becomes a simple and intuitive part of your baking routine. The key is to adapt your starter’s care to your baking frequency.
Refrigerator Storage (for occasional bakers): If you bake infrequently, perhaps once a week or every few weeks, storing your starter in the refrigerator is the most practical option. The cold temperature significantly slows down the fermentation process, reducing the need for frequent feedings. When stored in the fridge, your starter will typically need to be fed once a week. Before baking, remove it from the refrigerator, allow it to come to room temperature, feed it, and let it become active and bubbly before use. This process usually takes 4-12 hours after feeding, depending on its vigor.
Room Temperature Storage (for frequent bakers): For those who bake several times a week, keeping your starter on the kitchen counter at room temperature is ideal. At room temperature, the starter remains highly active and ready for baking with minimal preparation. However, this also means it requires more frequent feedings—typically once every 12-24 hours. Daily feeding ensures your starter stays robust, healthy, and consistently vigorous, always ready to leaven your next loaf of bread or other sourdough creations.
Top Tips for a Thriving Sourdough Starter
Making sourdough is not just a trend; it’s a wonderfully rewarding culinary journey that offers unparalleled flavor and satisfaction. From your very first successful loaf, you’ll understand the magic. Here are some essential tips to help your sourdough starter flourish:
- Maintain Consistent Warmth: Yeast activity is highly dependent on temperature. Keep your starter in a consistently warm environment, ideally between 70-78°F (21-26°C), to encourage vigorous fermentation and growth. Avoid drastic temperature fluctuations.
- Precise Hydration is Key: For the most consistent and predictable results, always stick to a 1:1:1 ratio by weight of starter, flour, and water. Using a kitchen scale ensures accuracy, which is crucial for a stable starter.
- Regular Feeding Schedule: Consistency is paramount. Feed your starter with equal parts water and flour (by weight) regularly. The frequency depends on whether it’s stored at room temperature (daily) or in the refrigerator (weekly).
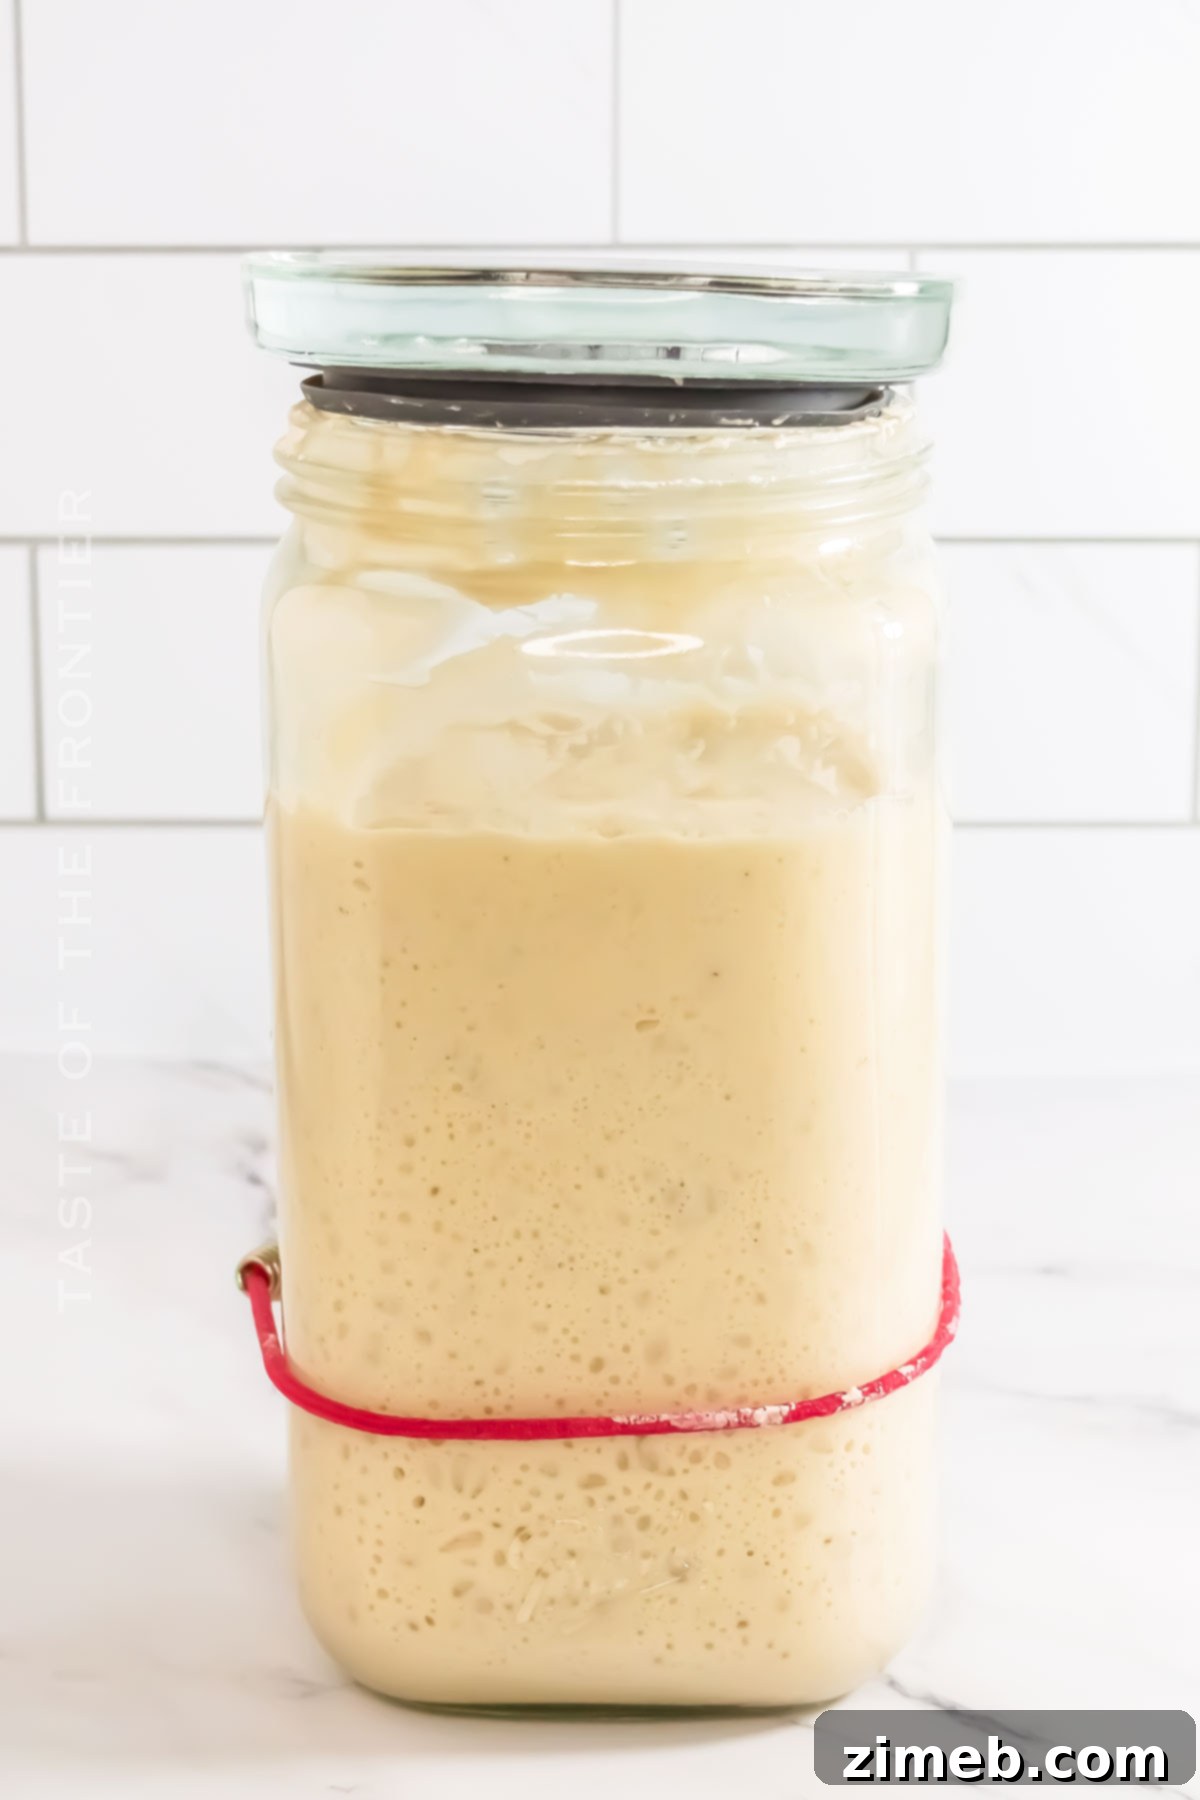
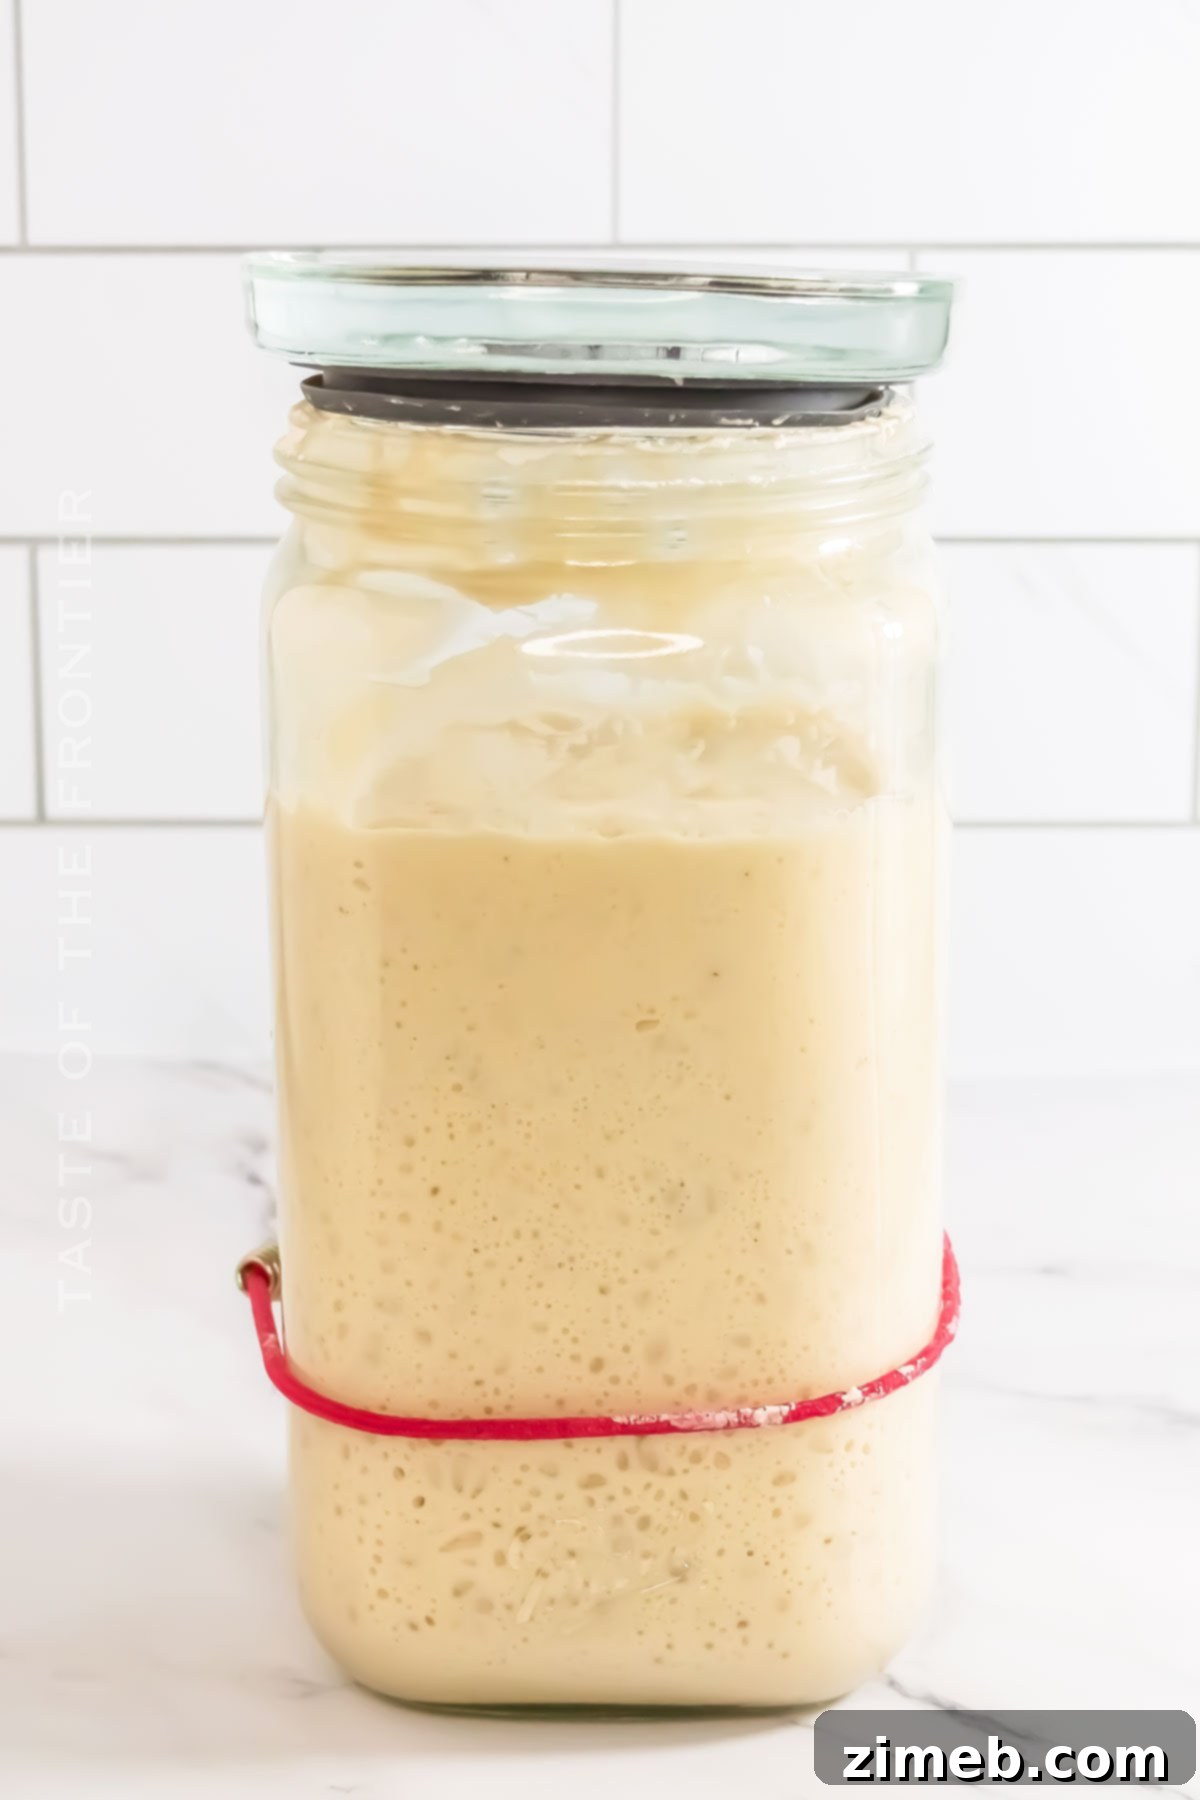
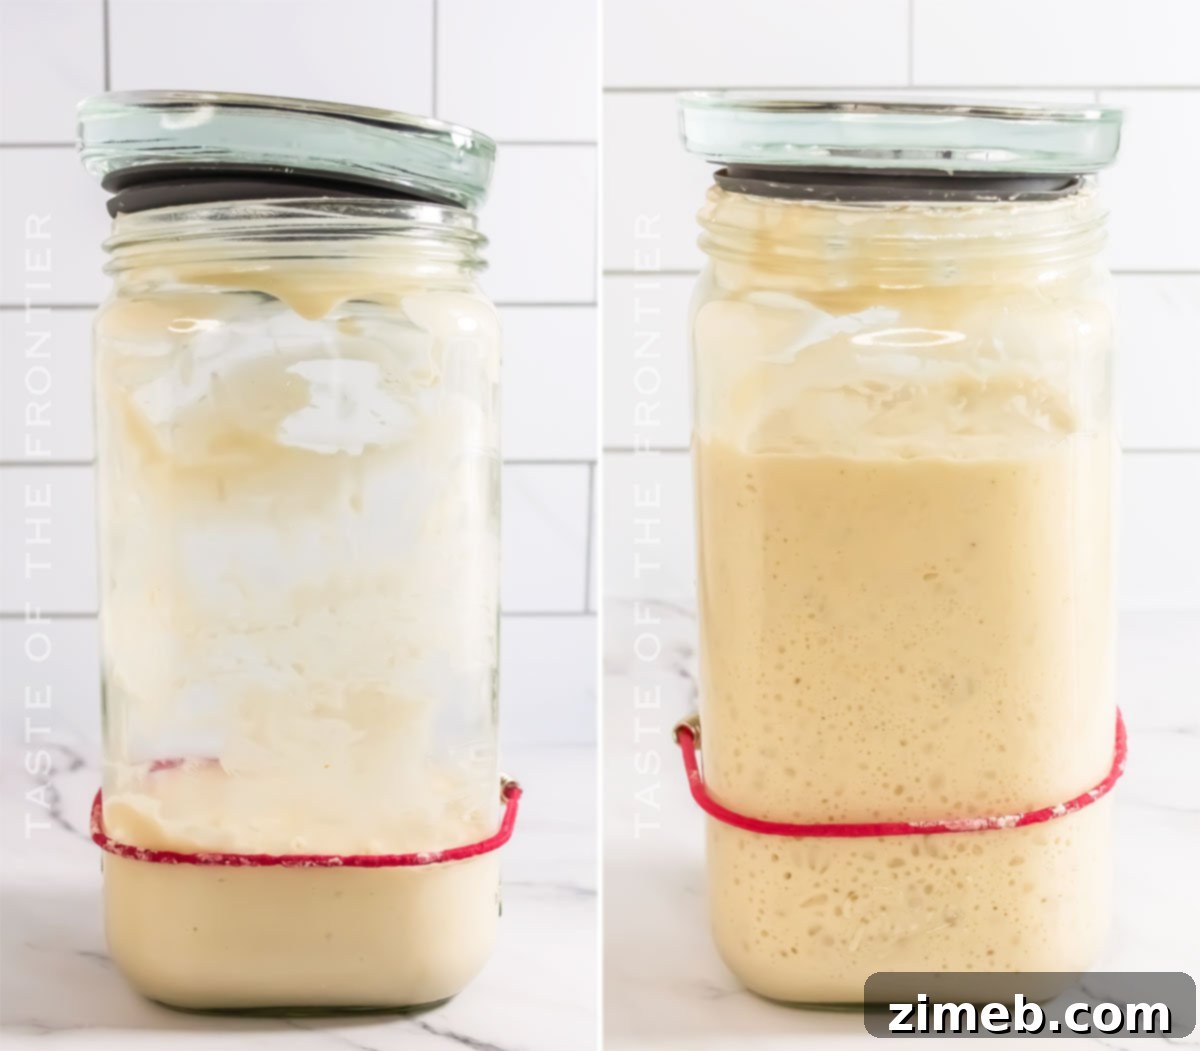
- Monitor Growth with a Rubber Band: A simple yet effective trick is to place a rubber band around your container at the starter’s initial level immediately after feeding. This allows you to easily track its rise and fall, visually confirming its activity and peak readiness.
- Prioritize Cleanliness: To prevent unwanted bacteria or mold contamination, always use meticulously clean utensils and a spotless container when handling and feeding your starter. This protects your delicate microbial ecosystem.
- Patience Pays Off: A robust, bake-ready starter isn’t built overnight. Allow your starter ample time to develop fully—it can take anywhere from one to two weeks of consistent feeding before it establishes sufficient strength and activity for successful baking. Resist the urge to use it prematurely.
- Understand “Hooch”: If you see a dark liquid forming on top of your starter, it’s called “hooch.” This indicates that your starter is hungry and needs to be fed. You can either stir it back in (for a more sour flavor) or pour it off before feeding.
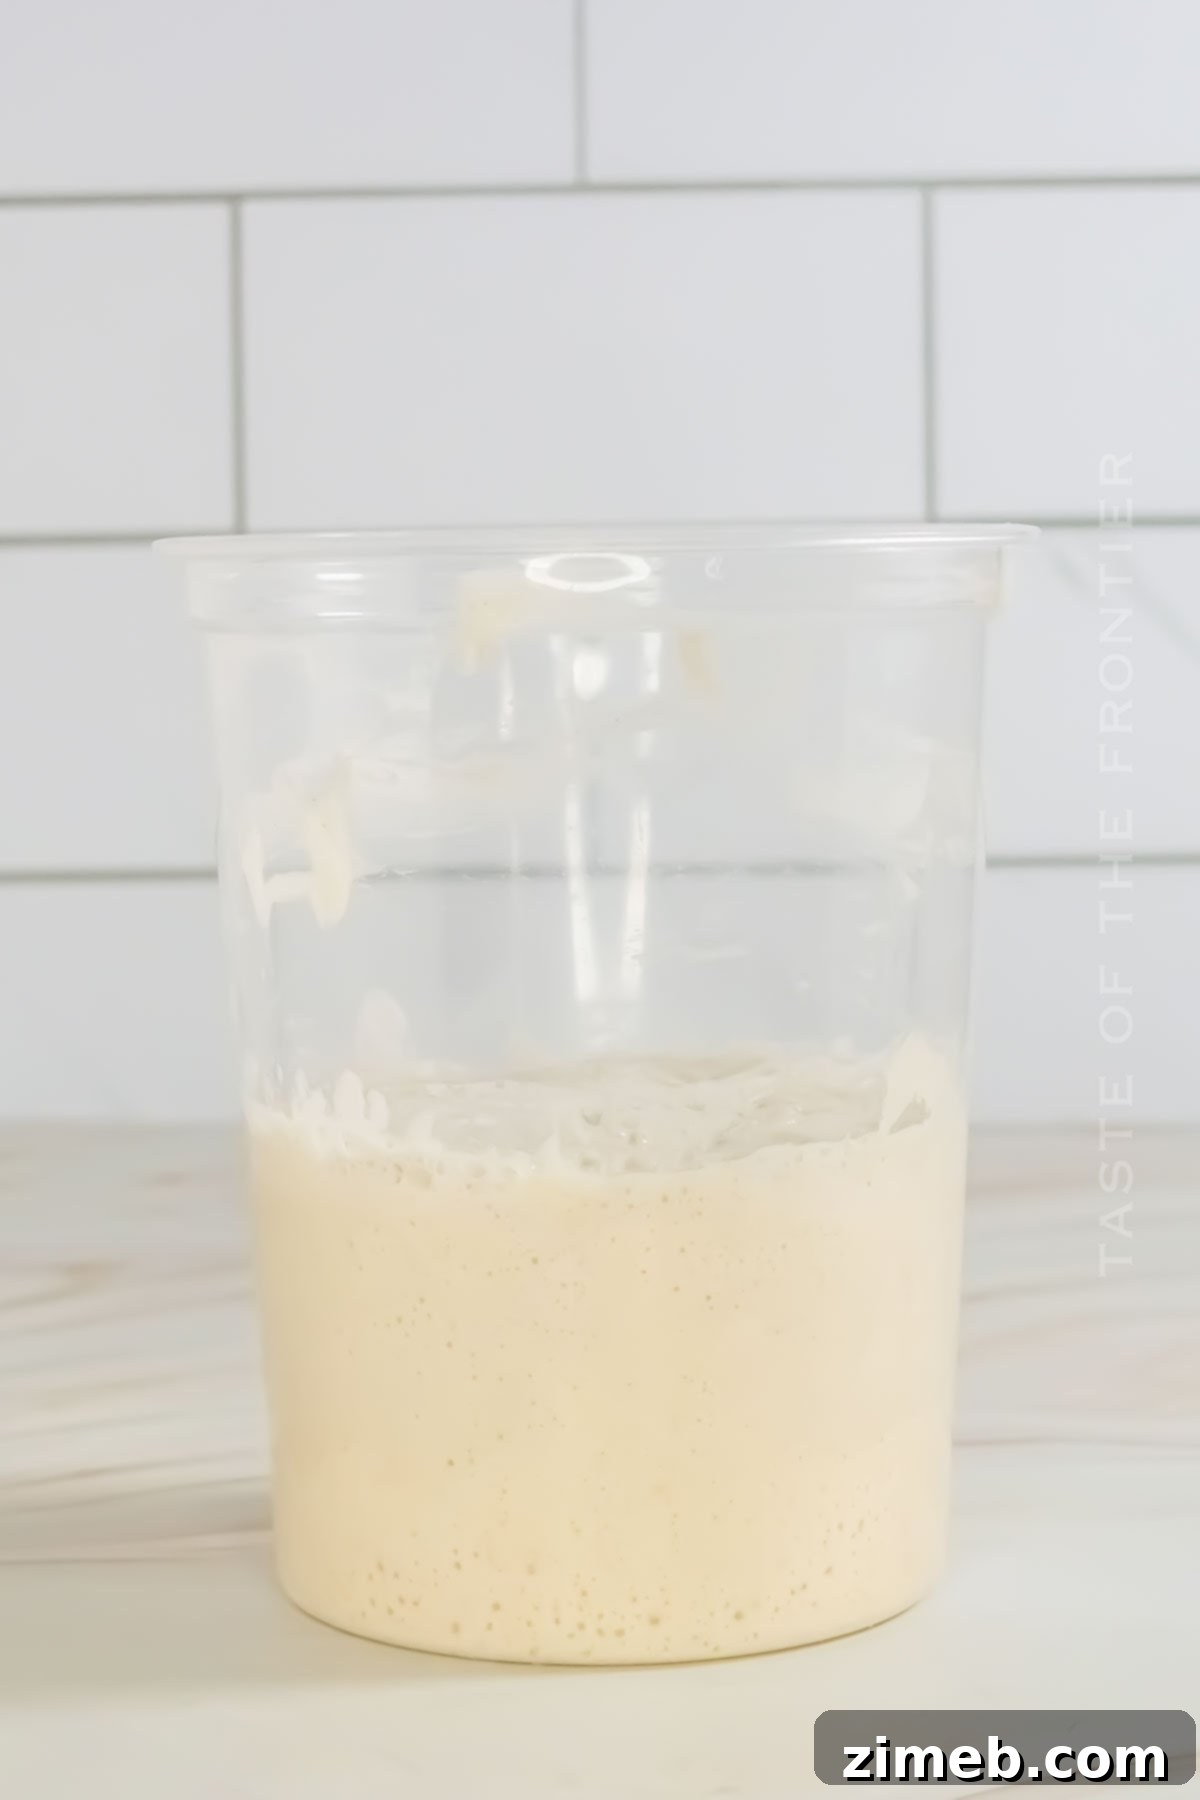
Essential Ingredients for Your Sourdough Starter
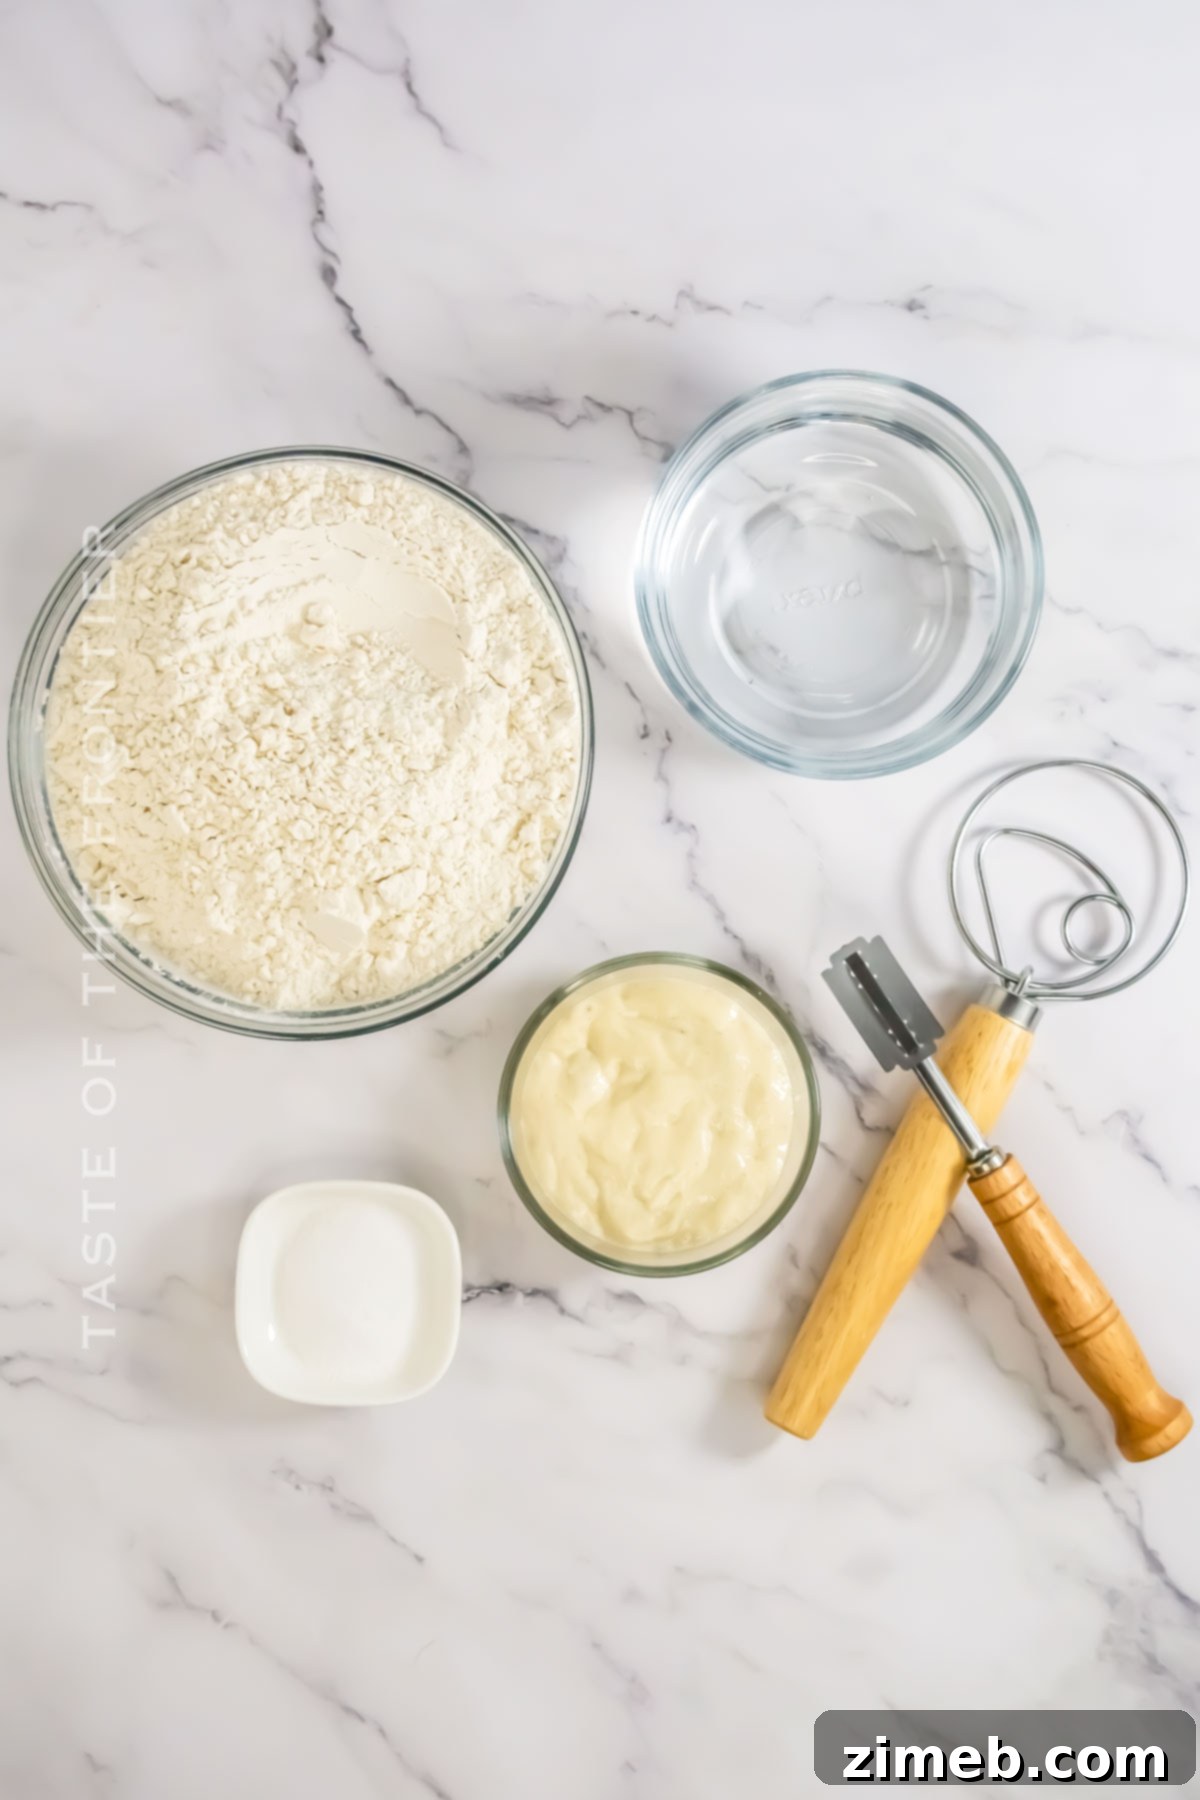
The beauty of a sourdough starter lies in its simplicity. Just two core ingredients, combined with a bit of time and patience, create this incredible living culture. The initial flour choice is crucial for kick-starting the fermentation, while a consistent feeding schedule is the secret to its long-term vitality.
- Whole Wheat Flour, Bread Flour, or Pumpernickel Flour: These flours are rich in nutrients and wild yeasts, making them ideal for initiating the fermentation process. While whole wheat is often recommended for its high microbial content, bread flour (with higher protein) or pumpernickel can also be used effectively to begin.
- All-Purpose Flour (for subsequent feedings): Once your starter has established itself and shows consistent activity, you can switch to unbleached all-purpose flour for regular feedings. This is often more economical and still provides sufficient nutrients for a healthy starter.
- Filtered Water or Distilled Water: Tap water can sometimes contain chlorine or chloramine, which can inhibit the delicate wild yeasts and bacteria in your starter. Using filtered or distilled water, especially during the initial stages, helps create a cleaner, more favorable environment for your starter to thrive. Once it’s robust, most starters can handle tap water if it’s left out for a few hours to allow chlorine to dissipate.
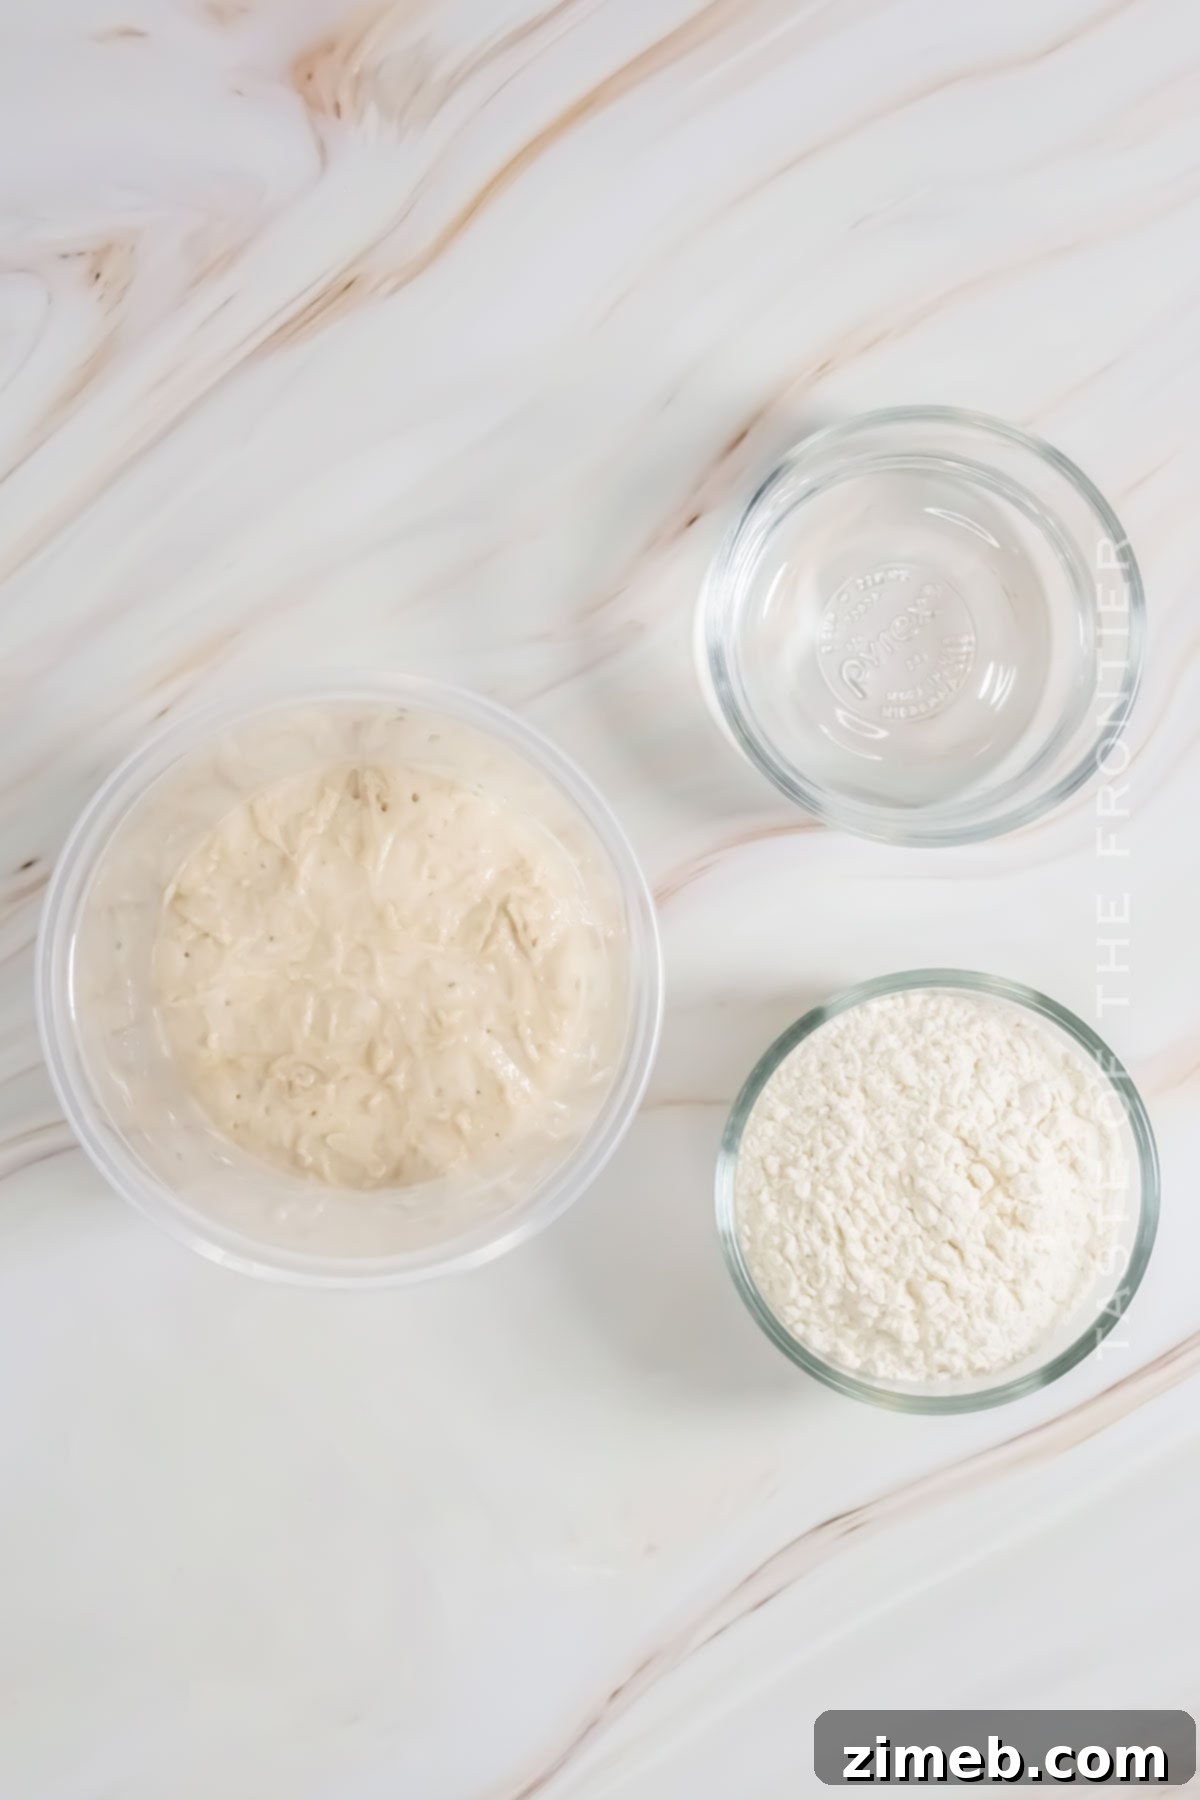
How to Create Your Homemade Sourdough Starter: A Step-by-Step Guide
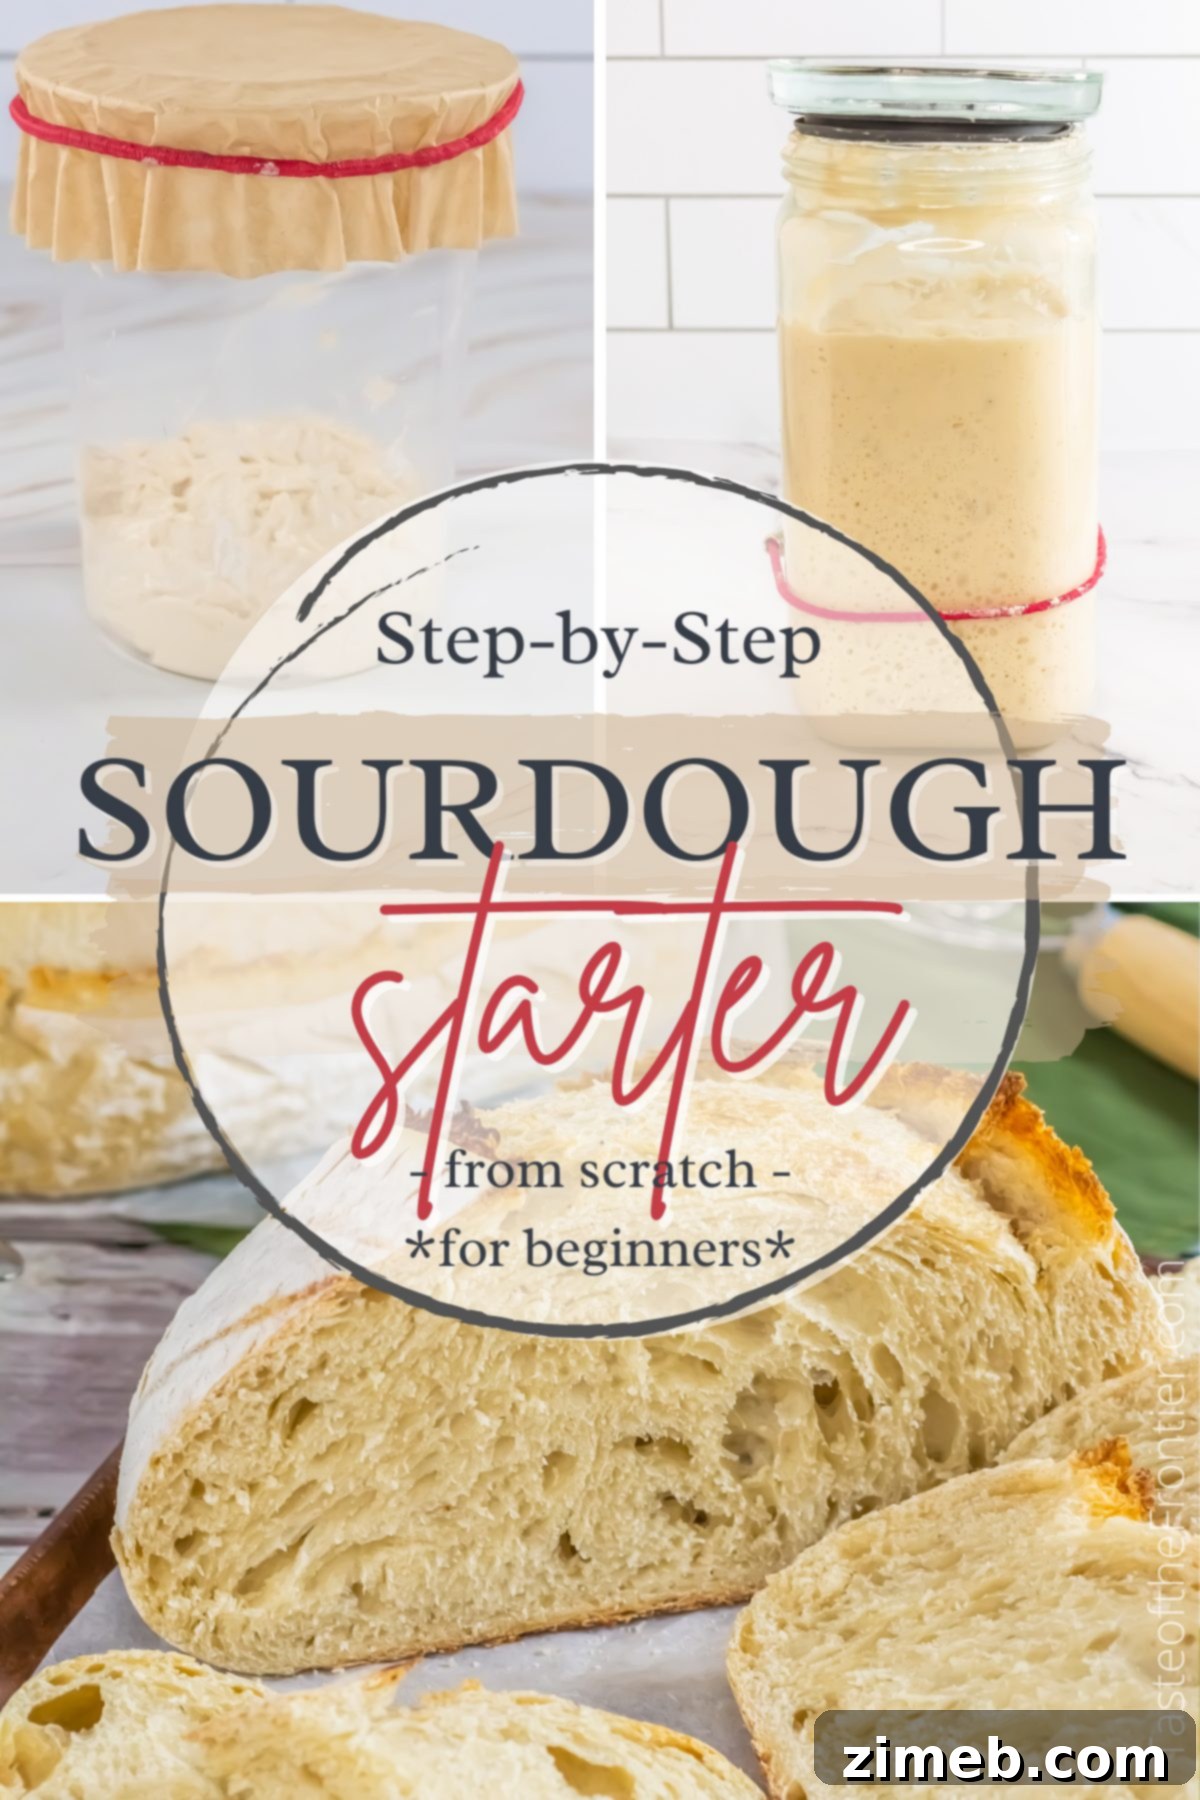
Observe the incredible transformation of flour and water into a vibrant, bubbly culture! After just a couple of days, you’ll start noticing significant changes in your starter’s size and activity. It’s a fascinating process, akin to a controlled science experiment unfolding on your countertop.
Day One: The Beginning of Your Sourdough Journey
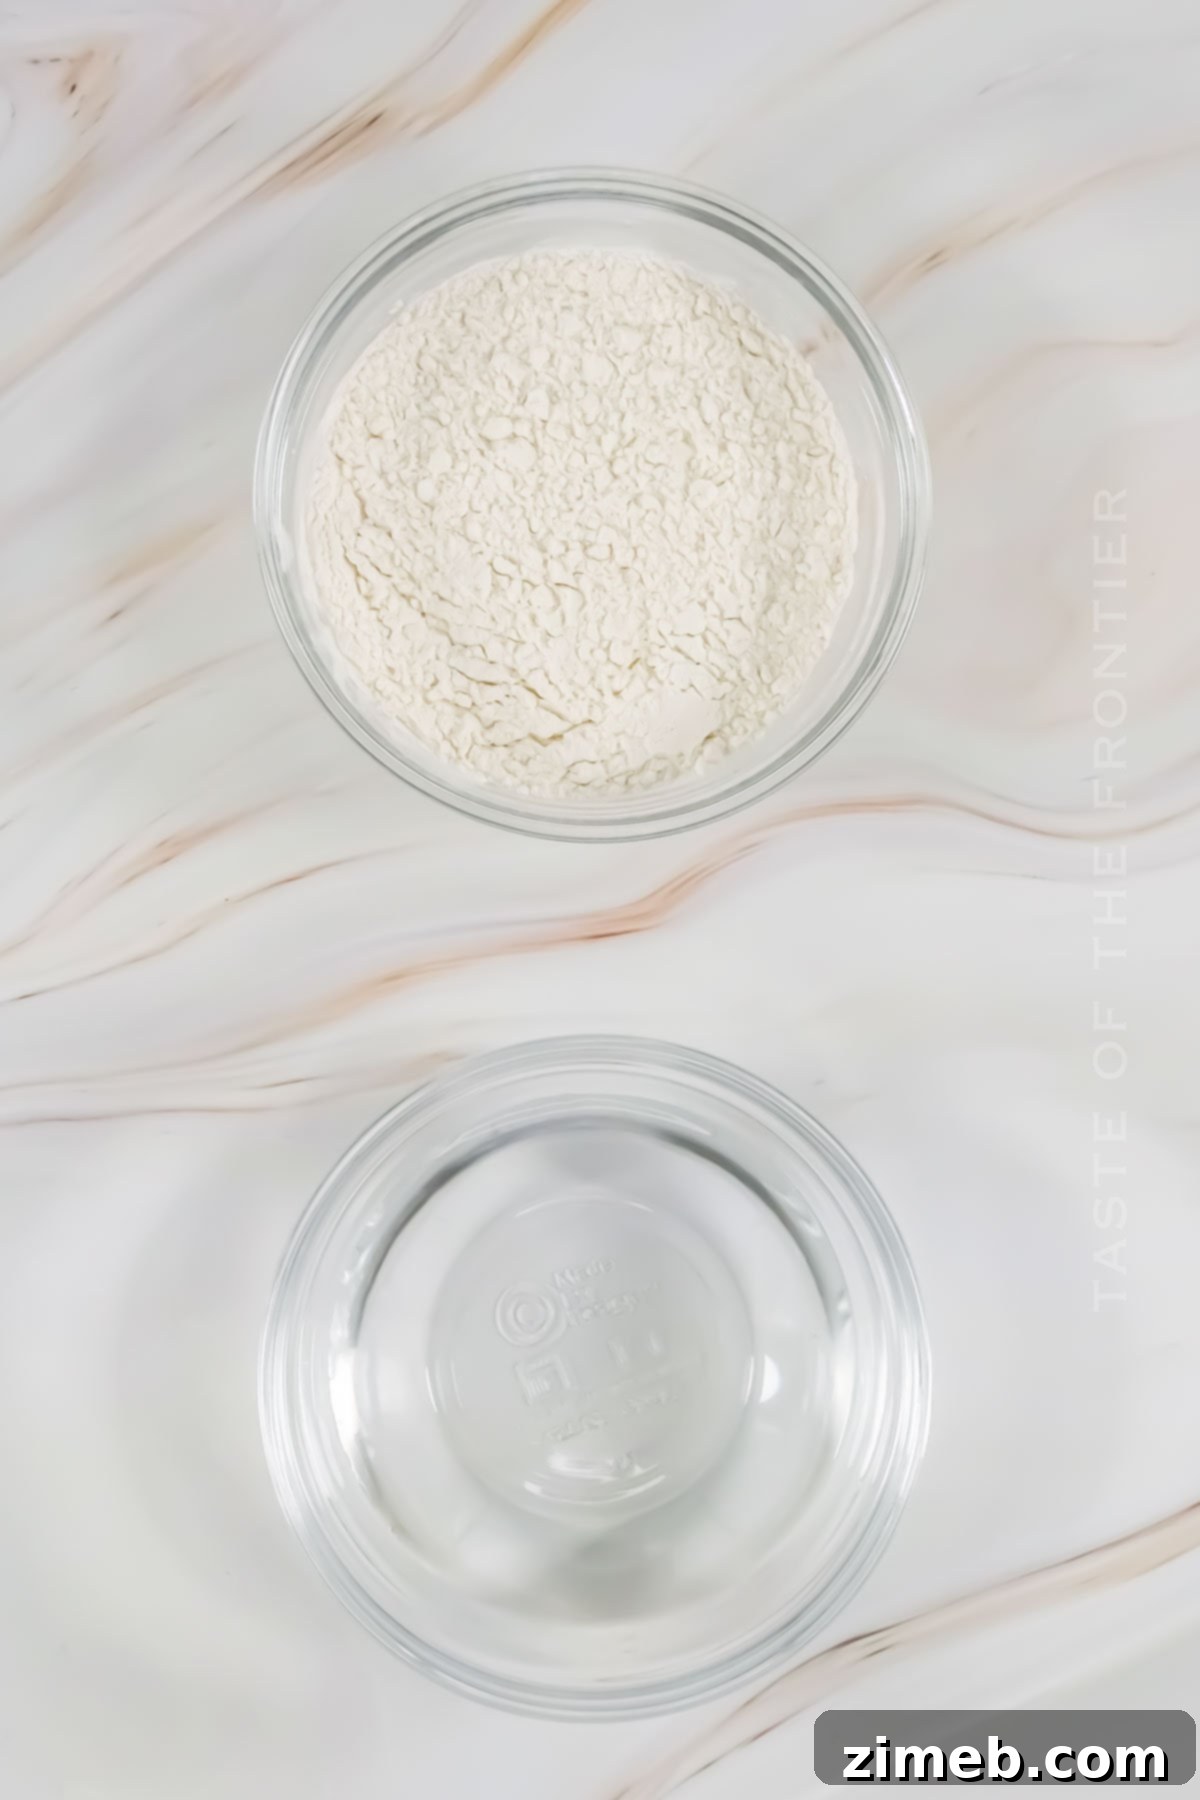
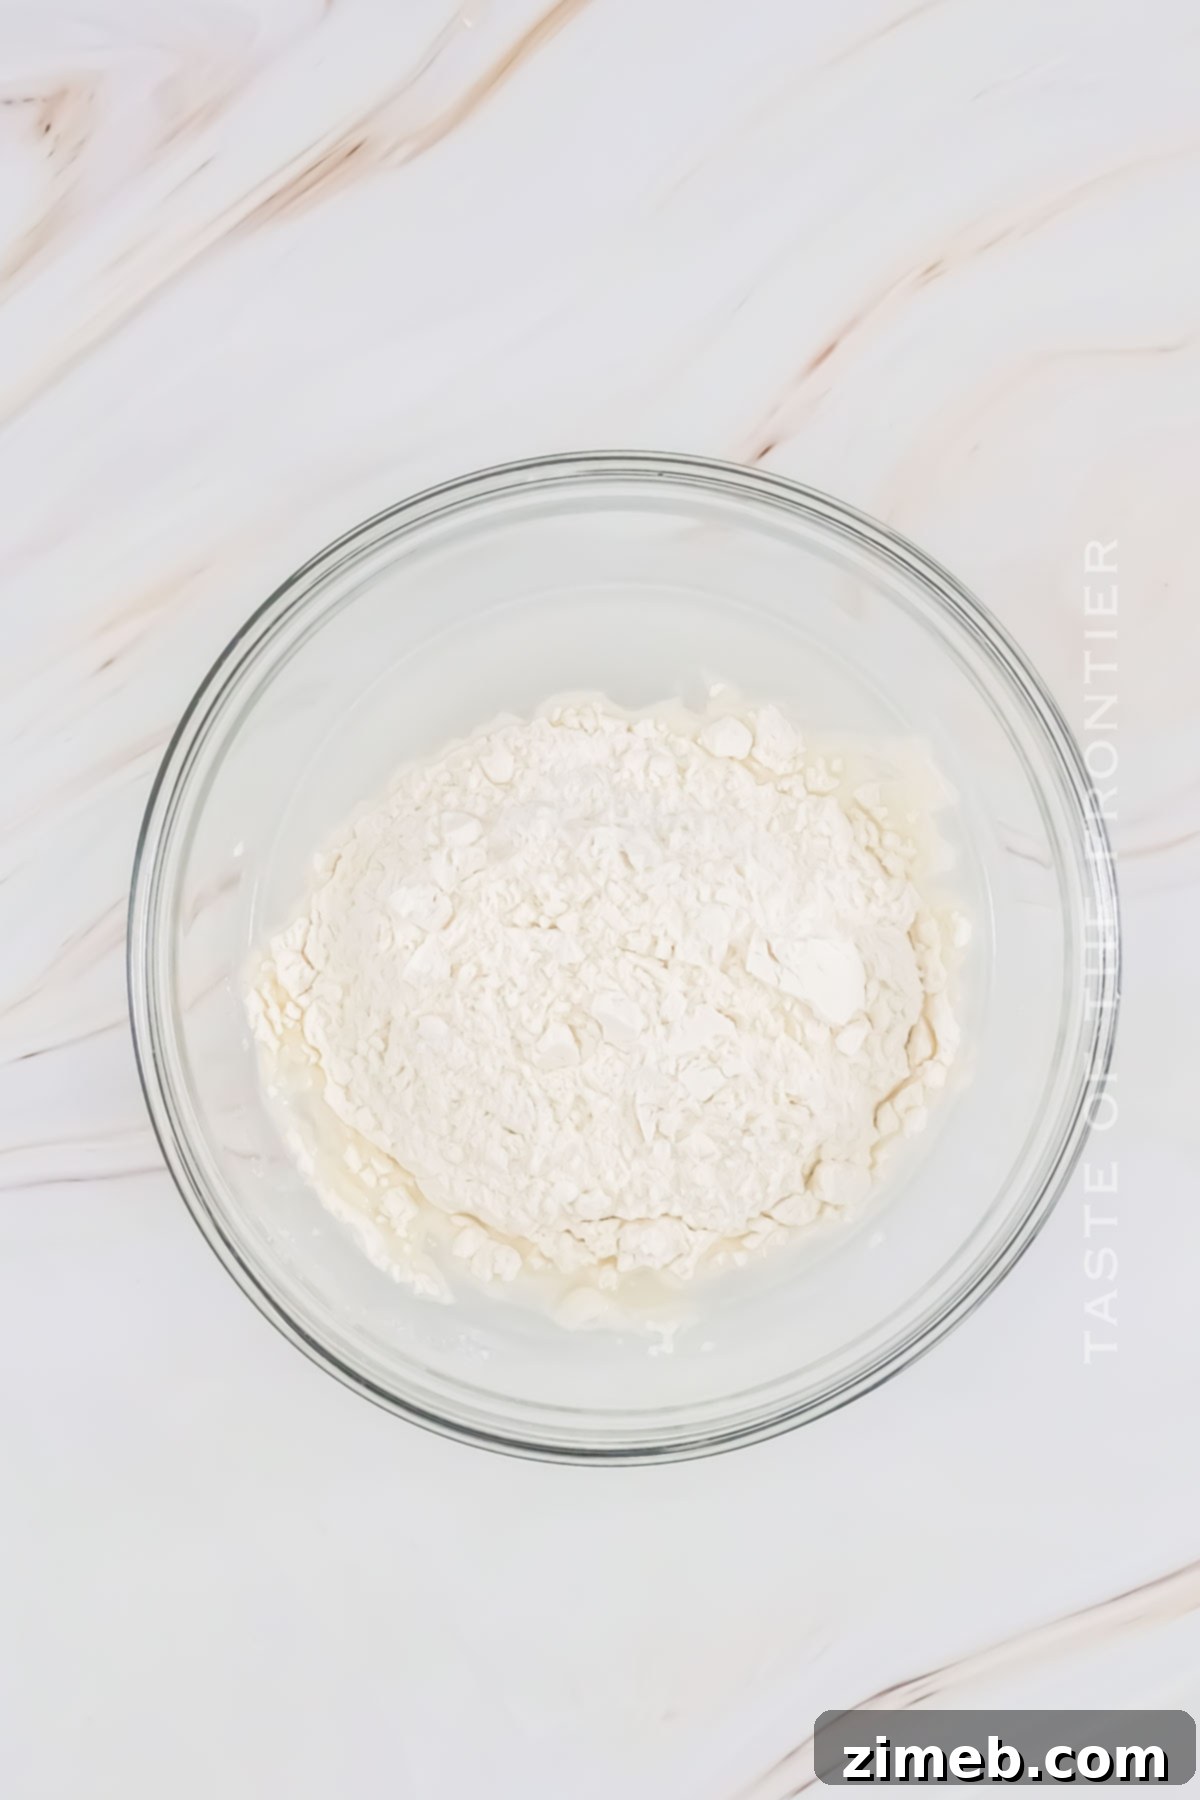
- In a clean, large plastic or glass container (such as a Ball jar), combine 113 grams (approximately 1 cup) of your chosen initial flour (whole wheat, bread, or pumpernickel) with 113 grams (approximately ½ cup) of room-temperature distilled or filtered water. Stir thoroughly with a clean spoon or spatula until no dry clumps of flour remain and the mixture is smooth and consistent.
- Cover the container loosely. You can achieve this by placing the lid askew, using a coffee filter secured with a rubber band, or covering it with a clean dishcloth. This allows for air circulation while protecting the starter from contaminants. Place the jar in a warm spot, ideally between 70-78°F (21-26°C), away from direct sunlight.
Days Two through Fourteen: Nurturing Your Active Culture
- Each day, roughly every 24 hours, you will “discard” a portion of your starter. Remove approximately half (about ½ cup or 113 grams) of the water/flour mixture from the container. Dispose of this discard in the trash. **Important: DO NOT wash it down the drain, as it can solidify like cement and cause significant plumbing issues.** This discard, however, can be saved and used in various “sourdough discard” recipes, such as pancakes, crackers, or muffins.
- “Feed” the remaining starter in the jar by adding another 113 grams of fresh flour (you can now switch to all-purpose flour if desired, or continue with whole grain) and 113 grams of room-temperature distilled or filtered water. Stir well until fully combined and smooth.
- After feeding, place a rubber band around the container to mark the current level of the starter. This will help you easily monitor its growth over the next 12-24 hours. A healthy starter will rise significantly, often doubling in size, and then slowly fall back down. It is ready for baking once it consistently doubles in size within 4-8 hours after feeding and shows numerous active bubbles throughout.
- During these initial two weeks, you might observe different stages: a funky smell in the first few days (this is normal as different microbes become dominant), sluggish activity, or even periods where it seems to do nothing. Continue with the daily feeding routine. Consistency and warmth are your best allies.
Day 15 and Beyond: Your Mature Starter is Ready!
- By day 15, or when your starter consistently doubles in size within a few hours of feeding, smells pleasantly tangy (like ripe fruit or yogurt), and is full of bubbles, it is considered mature and ready to be used for baking your favorite sourdough recipes!
- If you keep your starter at room temperature because you bake frequently, continue the discard and feed process at least every other day (or daily for maximum vigor). This regular maintenance ensures a strong, highly reactive starter that will consistently leaven your baked goods.
- If you plan to bake less frequently, you can slow down your starter’s activity by refrigerating it. When refrigerating, feed it once every couple of weeks. To prepare it for baking after refrigeration, remove it from the fridge, allow it to come to room temperature, feed it, and let it sit at room temperature for at least 12-24 hours (or until it’s very active and bubbly) before incorporating it into your recipe. This “wakes up” the starter and ensures it has the necessary strength for leavening.
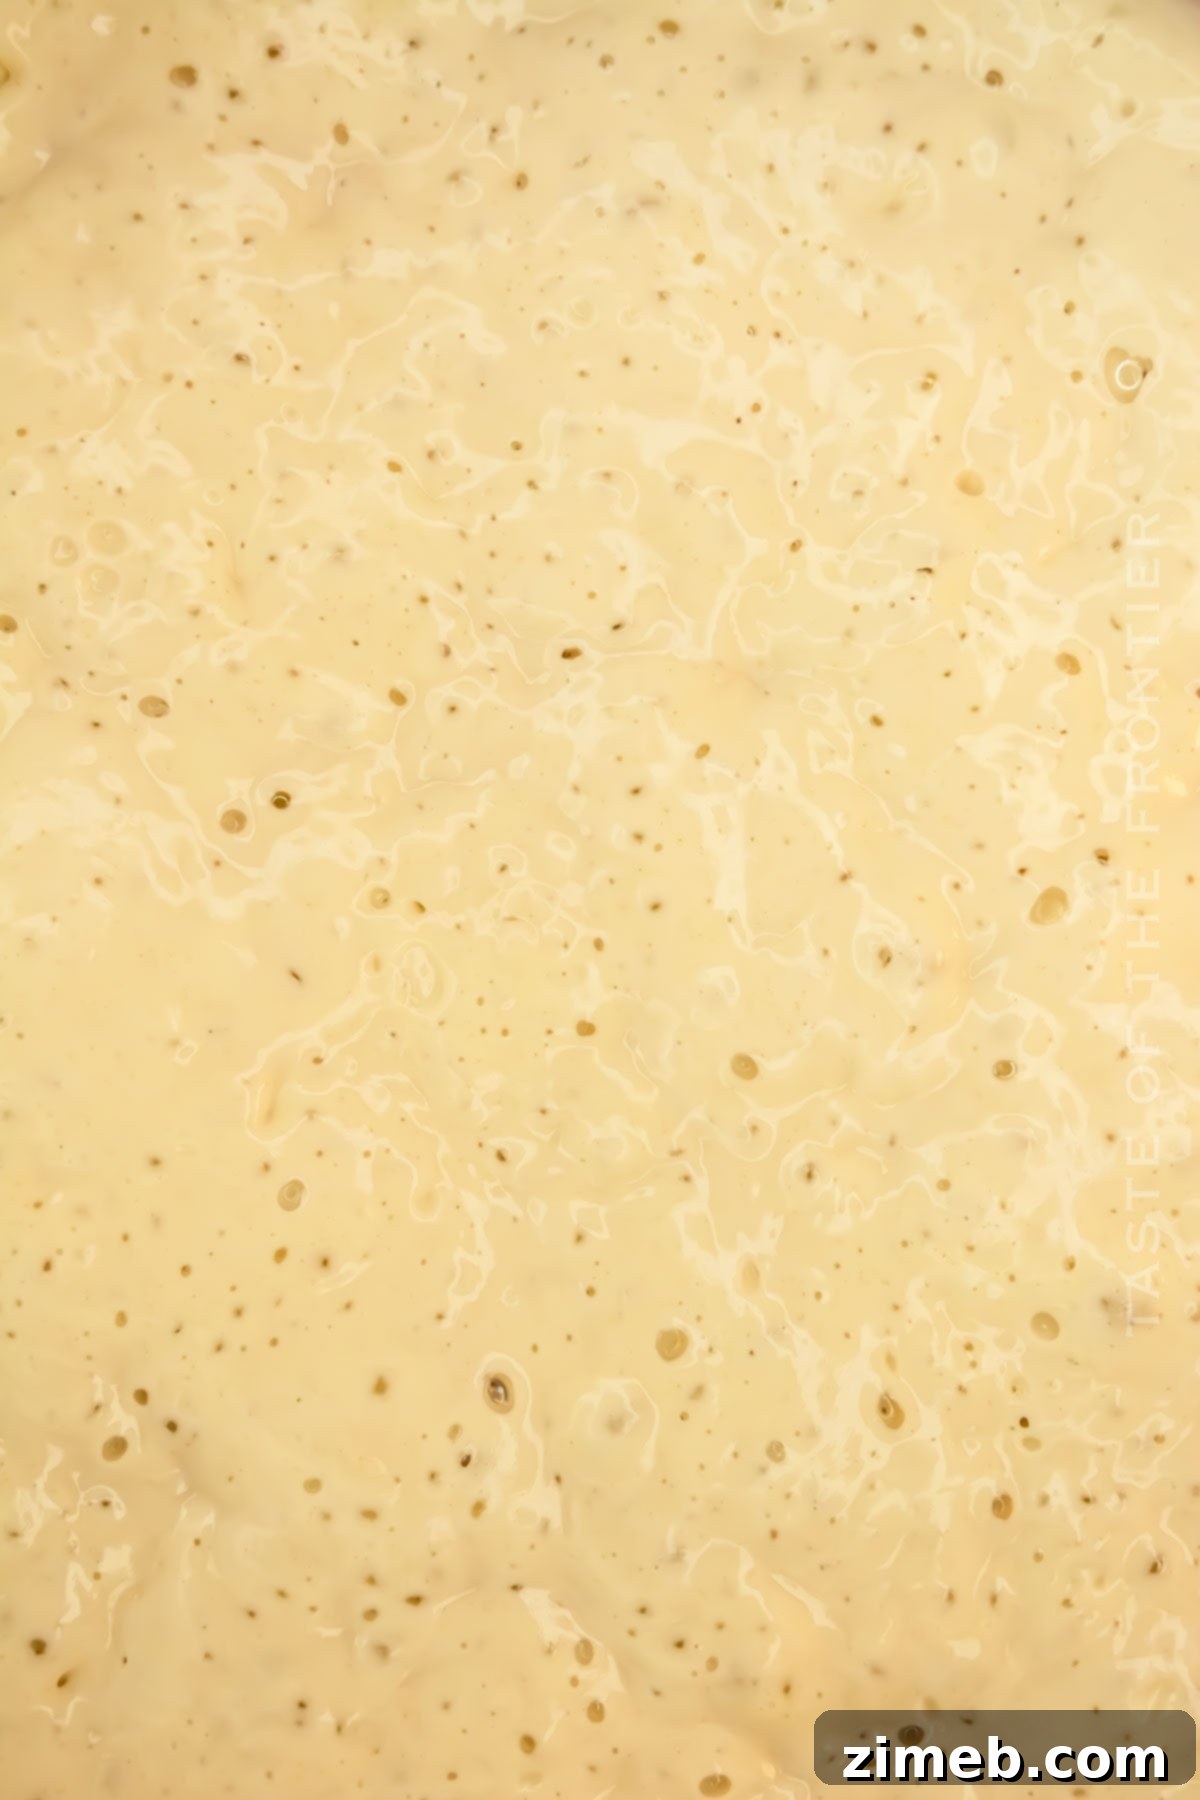
Essential Kitchen Supplies for Sourdough Starter Success
While the process of making sourdough starter is wonderfully simple, having the right tools can make all the difference, especially for ensuring accuracy and ease. Precision, particularly with measurements, is key to cultivating a healthy and consistent starter.
- Clear Glass Jar or Food-Grade Plastic Container: A transparent container, ideally with a wide mouth (like a Ball jar), is indispensable. It allows you to easily observe the starter’s activity, monitor its rise, and assess its health. Ensure it’s large enough to accommodate the starter doubling or tripling in size.
- Kitchen Scale for Accurate Measurement: This is arguably the most crucial tool. While approximate cup measurements are provided, measuring flour and water by weight (a good kitchen scale) ensures the precise 1:1:1 ratio needed for a consistent starter. This removes guesswork and significantly increases your chances of success.
- Rubber Band to Mark Growth: A simple rubber band placed around the jar at the starter’s level after feeding provides a clear visual reference for monitoring its growth and peak activity.
- Stirring Spoon or Spatula: Use a clean, non-reactive spoon or silicone spatula for mixing your starter. This prevents contamination and ensures even incorporation of new flour and water.
- Breathable Cover: A clean cloth, coffee filter, or a loosely placed lid allows your starter to breathe while protecting it from dust and airborne contaminants. Avoid airtight seals, especially during active fermentation, as gases need to escape.
What to Create with Your Active Sourdough Starter
Once your sourdough starter is active and thriving, the culinary possibilities are truly endless! Beyond the quintessential loaf of sourdough bread, your starter can be the foundation for a wide array of delicious baked goods and treats.
You can use it to bake various kinds of sourdough bread, from classic, rustic loaves to more specialized options like flavorful rye bread or hearty whole wheat variations. Don’t stop there! Explore making delicious sourdough English muffins for breakfast, soft and tangy sourdough pizza dough, or even light and airy sourdough pancakes and waffles. Enjoy these with a pat of butter, homemade fruit jams, a drizzle of local honey, or as the perfect base for savory sandwiches and gourmet toasts. The distinctive tangy flavor profile of sourdough adds a unique depth to almost any baked good.
Why You Should Start Your Own Sourdough Starter Today
Creating and maintaining a good sourdough starter is arguably the easiest and most rewarding way to significantly elevate your bread-baking skills and overall culinary experience. Once you taste truly homemade sourdough, store-bought bread will simply not compare!
- Enhance Flavor and Texture: Sourdough starters produce a bread with a depth of flavor and a unique chewy texture that is simply unmatched by commercial yeast. The slow fermentation process develops complex, nuanced tastes, ranging from subtly tangy to robustly sour.
- Potential Health Benefits: The fermentation process in sourdough can make bread easier to digest. It helps break down gluten and phytic acid (an anti-nutrient), potentially leading to enhanced nutrient absorption and a lower glycemic index compared to conventionally leavened bread.
- Economical and Sustainable Baking: By baking your own sourdough, you reduce reliance on store-bought loaves, saving money in the long run. Furthermore, the “discard” from your starter can be incorporated into a wide variety of other recipes, minimizing food waste and maximizing the utility of your starter.
- The Profound Joy of Baking from Scratch: There’s immense satisfaction in creating something wholesome and delicious from basic ingredients. Nurturing a sourdough starter and transforming it into beautiful bread offers a deep connection to the food you eat and a rewarding sense of accomplishment.
Variations and Creative Add-Ins for Your Sourdough Journey
Once you’ve experienced the rich flavors of a classic sourdough bread recipe, you’ll likely find yourself hooked. The entire process, from feeding your starter to savoring your fresh-baked loaf, is both fun and deeply satisfying. But the adventure doesn’t stop there; your starter can be customized to explore even more exciting flavors and textures.
- Experiment with Diverse Flours: Don’t limit yourself to just wheat! Incorporate different types of flours like spelt, einkorn, kamut, or buckwheat into your feeding routine. Each flour contributes unique characteristics, altering the starter’s flavor profile and ultimately impacting the taste and texture of your final baked goods.
- Infuse Subtle Flavors: For a gentle hint of flavor in your future breads, consider adding finely ground spices to your starter feedings. A pinch of cinnamon, nutmeg, cardamom, or even cocoa powder can infuse subtle notes that complement various sweet or savory recipes.
- Explore Gluten-Free Options: For individuals with gluten sensitivities or dietary restrictions, crafting a gluten-free sourdough starter is entirely possible. Flours such as rice flour, sorghum flour, buckwheat flour, or a gluten-free all-purpose blend can be used to cultivate a vibrant and active gluten-free culture.
- Introduce Herbal Notes: For savory sourdough loaves, you can gently flavor your starter by incorporating finely dried herbs like rosemary, thyme, or oregano into some of your feedings. This technique allows the herbal essence to slowly meld with the starter, yielding beautifully aromatic breads perfect for pairing with meals.
If you’ve enjoyed mastering this homemade sourdough starter recipe, you’re sure to love these other fantastic bread recipes too. Click each link below to discover easy, printable recipes that will further expand your baking repertoire!
Check out this recipe

Check out this recipe

Check out this recipe
Check out this recipe
Check out this recipe

More Creative Ways to Use Sourdough Starter Discard
Don’t let your sourdough discard go to waste! It’s a fantastic ingredient that can add a unique tang and tenderness to many recipes, even if it’s not active enough for leavening. Here are some more great ideas for using your sourdough discard:
Sourdough Pretzels: Perfect for a chewy, tangy snack.
Cheesy Garlic Soup Dippers: An excellent accompaniment to any soup, with a delicious sourdough tang.
Disney Inspired Clam Chowder Bread Bowl: Make your own edible bread bowls with a delightful sourdough twist.
From crispy crackers and savory flatbreads to tender muffins and even fried chicken batter, the possibilities for sourdough discard are truly limitless!
CONNECT WITH YUMMI HAUS!
Be sure to follow me on my social media, so you never miss a post!
Substack, FB, Pinterest, IG, Email Subscription
Rate this Recipe
Sourdough Starter
Ingredients
- 113 g whole wheat flour – or bread flour, pumpernickel flour (approx. 1 cup) – for best results to start
- 113 g distilled water – room temperature (approx. ½ cup)
- All-purpose flour or bread flour – for daily feedings (after Day 1)
- Filtered water – for daily feedings
Instructions
Day One: Initial Mixing
-
In a large, clean glass or food-grade plastic container (like a Ball jar), combine the initial flour (113g whole wheat, bread, or pumpernickel) and 113g room-temperature distilled or filtered water. Stir thoroughly until all flour is incorporated and the mixture is smooth.
-
Cover the jar loosely with an askew lid, a coffee filter, or a clean dishcloth to allow air circulation. Place in a warm spot, ideally 70-78°F (21-26°C), away from direct sunlight.
Days Two through Fourteen: Daily Feeding & Nurturing
-
Approximately every 24 hours, remove half (about 113g or ½ cup) of the water/flour mixture from the container. Discard this portion in the trash (do not wash down the drain to prevent plumbing issues). This is known as “sourdough discard” and can be used in other recipes.
-
“Feed” the remaining starter by adding 113 grams of fresh flour (all-purpose, bread, or whole wheat) and 113 grams of distilled or filtered water to the jar. Stir thoroughly until well combined.
-
Place a rubber band around the container at the level of the newly fed starter to easily track its growth. A healthy, active starter will double in size within several hours and show numerous bubbles. Continue this feeding process daily for at least 14 days.
Day 15 and Onward: Using Your Mature Starter
-
Once your starter consistently doubles in size within 4-8 hours after feeding and smells pleasantly tangy, it is mature and ready to be used for baking!
-
If you keep your starter at room temperature for frequent baking, continue the discard and feed process daily or at least every other day to maintain its strength and reactivity.
-
To slow down activity for less frequent baking, store the starter in the refrigerator. Feed it once every couple of weeks. When ready to bake, remove it from the fridge, allow it to warm to room temperature, feed it, and let it become active for at least a day before use.
Important Notes for Sourdough Success
-
The sourdough starter may emit a “funky” or unpleasant smell during the first few days of its development. This is completely normal as different microbial communities establish themselves. The smell should become more pleasant and tangy as it matures.
-
Do not attempt to bake with your starter for the first two weeks while it is still developing. It will not yet possess the proper rising capabilities or characteristic sourdough flavor needed for successful bread.
-
Your starter is truly ready for baking when it consistently doubles in size within a few hours (typically 4-8 hours) after being fed. It should be visibly bubbly throughout and have the distinct, pleasant sourdough “tangy” aroma.
-
Always use clean utensils and containers to handle your starter. Any contaminants can introduce unwanted bacteria or mold, potentially compromising or even killing your starter. This is why distilled or filtered water is recommended initially. Once strong, you may switch to tap water, but observe for any adverse effects.
-
Flours with higher protein and gluten content (like bread flour or certain whole wheat flours) generally create a stronger and more active starter. While you can feed with all-purpose flour, a balance often yields the best results.
-
When a recipe calls for an “active sourdough starter,” it refers to a starter that has been fed a few hours prior and is at its peak of activity – happy, bubbly, and risen. This is different from a dormant (refrigerated) starter or discarded starter. When properly maintained, a sourdough starter can last for many years, even centuries, becoming a cherished kitchen heirloom.
Notes
Storage: Always keep your sourdough starter in a clean container with a loose-fitting lid or breathable cover. If feeding daily or every other day, it can be left on the counter at room temperature. For less frequent baking, store it in the refrigerator and feed every one to two weeks.
Equipment
-
Large glass jar (e.g., Ball jar)
-
Kitchen scale
-
Rubber band
-
Spatula or spoon
-
Breathable cover (coffee filter, cloth, or loose lid)
Nutritional information for this recipe is provided as a courtesy and is approximate. Please double-check with your own dietary calculator for the best accuracy. We at Yummi Haus cannot guarantee the accuracy of the nutritional information given for any recipe on this site.