
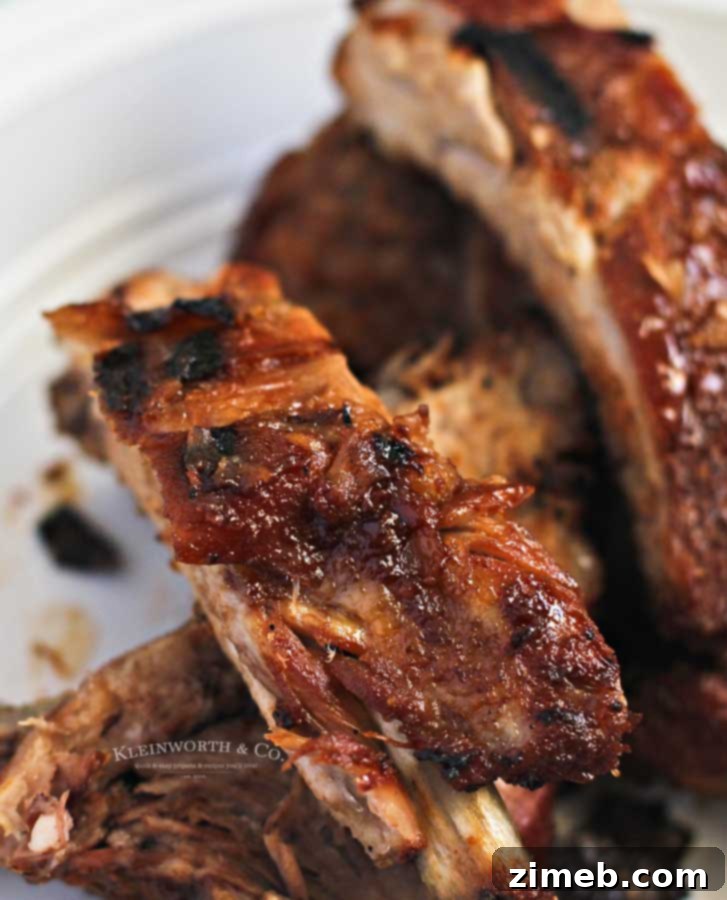
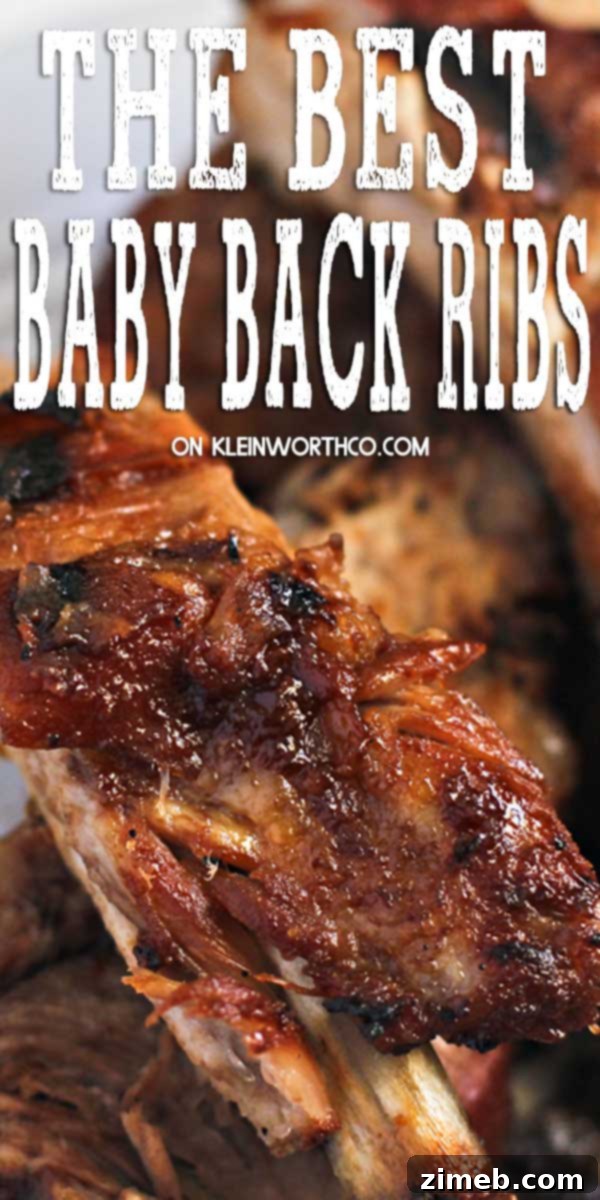
Welcome to the easiest recipe for creating mouth-watering, FALL OFF THE BONE Baby Back Ribs that will have everyone begging for more. Perfect for summer BBQs, festive parties, or simply an unforgettable family dinner, these ribs are guaranteed to be a showstopper. You’ll definitely want to prepare a few racks!
As a devoted enthusiast of perfectly cooked ribs, I often reminisce about the glorious Best in the West Rib Cook-Off in Northern Nevada. Attending this annual Labor Day Weekend event was a cherished tradition for my family. The air filled with smoky aromas, the vibrant atmosphere, and, of course, the incredible ribs made it an experience unlike any other. It was a true celebration of barbecue perfection.
However, life changes, and since our move, my husband frequently finds himself on call during Labor Day weekend. This meant bidding farewell to our annual pilgrimage to Reno and facing the daunting prospect of “rib withdrawals.” We knew we had to find a way to replicate that irresistible taste at home, turning it into one of our go-to easy family dinner ideas. Fortunately, my husband, the BBQ maestro, has spent countless hours perfecting his own rendition of these iconic ribs. And I must say, his efforts have paid off spectacularly! Now, I don’t need to travel all the way to Reno to indulge in that mouth-watering goodness; we can create it right in our own backyard.
Looking for more delicious options? Try our Smoked Beef Ribs for a different flavor profile, and be sure to pair them with our incredibly creamy Smoked Mac and Cheese for the ultimate comfort food experience!
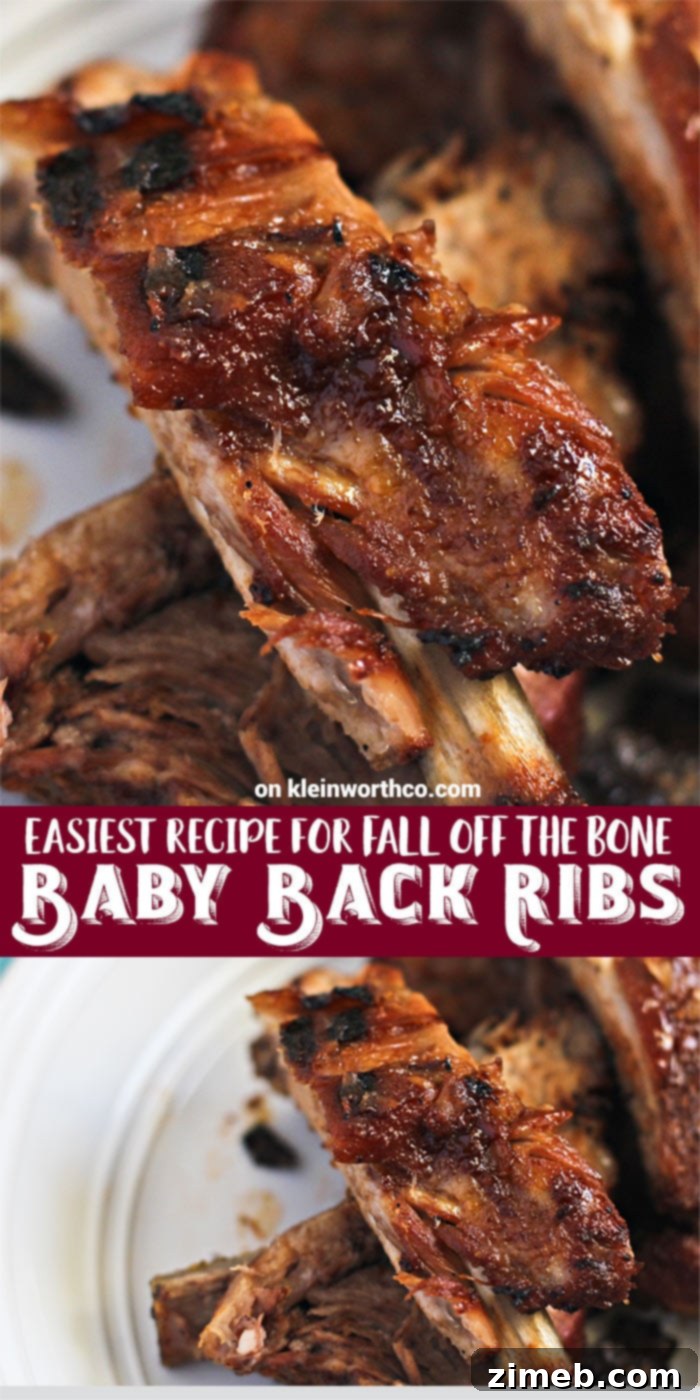
Over the years, we’ve meticulously fine-tuned this recipe, transforming it into what we confidently declare is BY FAR the best recipe for ribs we have ever created. It’s a testament to patience and a passion for barbecue. The results are consistently tender, flavorful, and absolutely unforgettable. Its reputation has spread far and wide; I have friends across the country who have wholeheartedly adopted this recipe as their absolute favorite for every backyard BBQ celebration, all summer long. From casual weeknight meals to grand gatherings, these ribs are always a crowd-plepleaser, consistently delivering on their promise of tender, succulent meat.
I’m telling you, this recipe will truly KNOCK YOUR SOCKS OFF! The flavor, the tenderness, the ease – it’s all here. If you’re cooking for a crowd, do yourself a favor and prepare as many racks as you can possibly handle. These ribs disappear at an astonishing rate. Seriously, they go SUPER FAST, so it’s always better to make more than you think you’ll need. Prepare for rave reviews and empty plates!
To elevate your rib experience, make sure to pair these delectable ribs with our homemade Texas BBQ Sauce! The rich, tangy, and slightly sweet notes of the sauce perfectly complement the savory pork.
The Ultimate Fall-Off-The-Bone Baby Back Ribs Recipe
Please note: This post contains some affiliate links. For more information, you can read my full disclosure policy by clicking here.
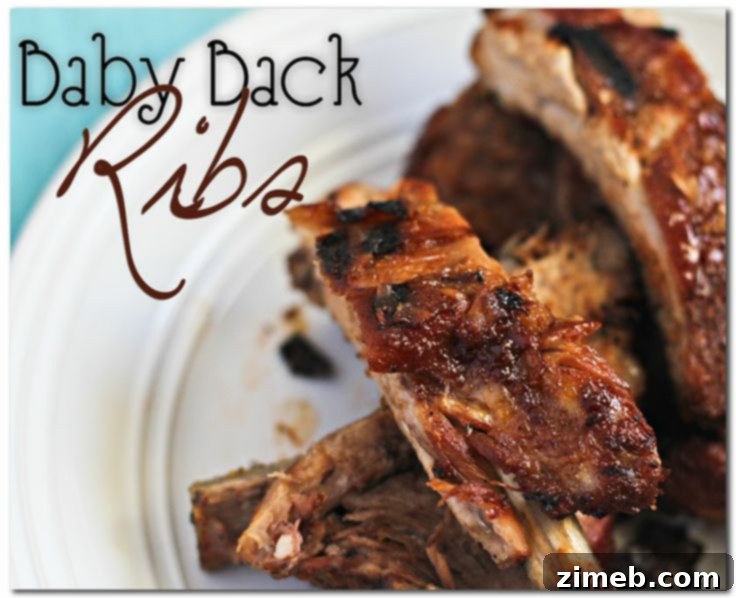
When it comes to achieving that coveted “fall-off-the-bone” tenderness, cooking Baby Back Ribs in the oven first is, in my opinion, the absolute best way to go. This method ensures they are incredibly moist and succulent before hitting the grill for that perfect smoky finish. Our family of five can easily devour three full racks, and sometimes even that isn’t enough! The aroma alone is enough to get everyone gathered in the kitchen, eagerly awaiting the feast.
These ribs are not just for everyday dinners; they are perfect for entertaining. When guests come over, you’ll definitely want to impress them with this recipe. So, I strongly urge you to make them in abundance. You’ll find that even the most generous portions quickly vanish, leaving everyone satisfied and happy.
Commonly Asked Questions About Baby Back Ribs
Before diving into the full recipe, let’s address some of the most frequently asked questions about baby back ribs. Understanding the basics will help you master this delicious dish and impress your guests every time.
Are baby back ribs pork?
Yes, absolutely! Baby back ribs are indeed pork ribs. When you head to the butcher or grocery store, you’ll typically find a few different cuts of pork ribs, each with its own characteristics. These include back ribs (also famously known as “baby back ribs”), spare ribs, and St. Louis ribs. Back ribs are sourced from the loin section of the pig, specifically the area connecting to the backbone. They are shorter and meatier than spare ribs, curving around the loin, which is typically used for cuts like loin roast, tenderloin, or pork chops. This particular cut is my personal favorite because they tend to be incredibly tender and cook relatively quickly, making them ideal for achieving that desirable “fall-off-the-bone” texture.
What is the best way to store leftover ribs?
Storing leftover ribs properly ensures they remain delicious for future meals. Once your ribs have cooled to room temperature, place them in an airtight container or wrap them tightly in aluminum foil. Refrigerate them promptly, and they will keep well for up to 3-4 days. For longer storage, you can freeze them for up to 2-3 months. When reheating, the key is to do so gently to prevent them from drying out. You can warm them in the oven at a low temperature (around 250-300°F) until heated through, or even on the grill over indirect heat, brushing with a little extra BBQ sauce to bring back moisture and flavor. They truly reheat beautifully and are often just as good, if not better, the second or third time around!
How many can this serve?
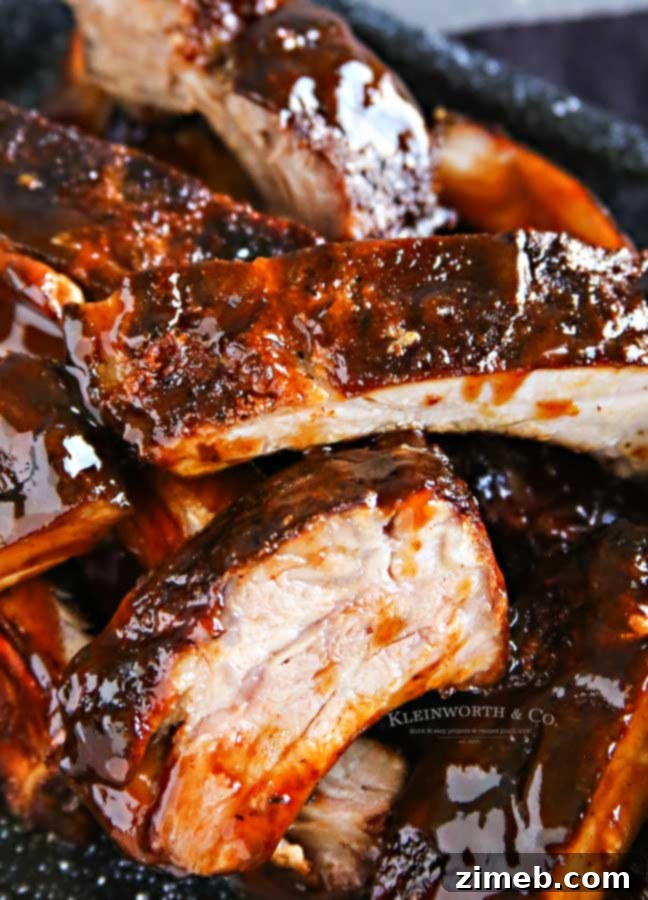
The serving size really depends on how many racks you decide to make and the appetites of your guests! A general rule of thumb is to estimate about 1/2 to 1 full rack per person, especially if ribs are the main course. Each full rack of baby back ribs typically yields about 10-12 individual ribs. For our family of five adults, I almost always advocate for making the full three racks, because those hungry appetites can really put them away! When planning for a gathering, consider that people often can’t resist going back for seconds (or even thirds!) once they taste these delicious ribs. It’s always better to have a few extra ribs than to run out. Trust me, you won’t have any complaints about leftovers!
Optimizing Tenderness with Baked Baby Back Ribs
While some might go straight to the grill, baking baby back ribs first is the secret to achieving unparalleled tenderness and juiciness. This initial slow roast in the oven allows the meat to become incredibly soft and succulent, practically melting off the bone. The moist environment created by the braising liquid prevents the ribs from drying out, which can often happen if you try to cook them solely on the grill from the start. We’ll delve into the precise steps for this “oven-first” technique in the instructions below, demonstrating why it’s the superior method for truly tender ribs.
Can this recipe be doubled or scaled?
Theoretically, yes, this recipe can certainly be doubled or scaled up to feed a larger crowd. The beauty of this method is its adaptability. You might need more oven space, possibly utilizing a double oven to roast two pans simultaneously, or cooking in batches if your oven can only accommodate one pan at a time. This recipe as written already generously prepares up to three racks of ribs, which is usually sufficient for most family gatherings or medium-sized parties. If you’re hosting an even bigger event, simply increase the ingredient quantities proportionally and ensure you have enough baking pans and oven capacity. Planning ahead for space and timing will make scaling up a breeze!
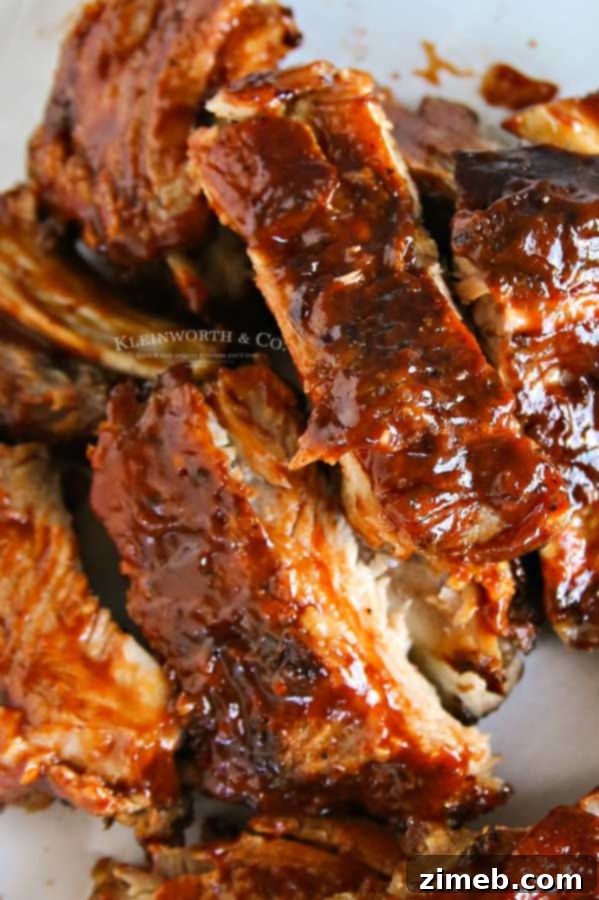
When are baby back ribs truly done?
When it comes to ribs, “done” means different things to different people. According to USDA guidelines, pork ribs are technically safe to eat when they reach an internal temperature of 145°F. However, at this temperature, the meat will still be quite firm and attached to the bone, requiring effort to pull it off. For that truly desirable “fall-off-the-bone” tenderness, we need to cook them further. I prefer to take them up to an internal temperature range of 190°F to 203°F. This higher temperature allows the tough collagens and fats within the meat to slowly break down and melt, transforming the meat fibers into that incredibly tender, succulent texture that defines perfect ribs. It’s a small difference in temperature that makes a huge difference in the eating experience!
HOW TO MAKE THE BEST Fall-Off-The-Bone Baby Back Ribs
Making these incredible baby back ribs is surprisingly simple, yet the results are gourmet-level delicious. The key is a two-step cooking process: slow-baking in the oven for maximum tenderness, followed by a quick finish on the grill for that irresistible smoky char and caramelized crust. Here’s a detailed look at the process:
- **Prepare Your Oven & Pan:** First, pre-heat your oven to a consistent 350 degrees Fahrenheit. While the oven heats, generously spray your large braising pan or baking dish with a non-stick cooking spray. This will help prevent the ribs from sticking and make cleanup much easier.
- **Rib Placement:** Carefully lay your racks of baby back ribs into the prepared pan. Arrange them meat-side down. This allows the fat on the bone side to render into the liquid, basting the meat and contributing to its juiciness and flavor.
- **Create the Braising Liquid:** Pour in Mr. Yoshida’s Original Gourmet Sweet & Savory Sauce and your choice of beer (any flavor works, though a light lager or amber ale is often complementary). You want enough liquid to cover the bottom of the pan, about 1/2 to 1 inch deep. This creates a flavorful, moist environment for the ribs to slow cook in.
- **Flavor Enhancements:** Add a stick of butter to the pan – it melts into the liquid, adding richness. Then, liberally sprinkle your seasonings of choice over the ribs. Think minced garlic, garlic powder, salt, and pepper, adjusting to your liking. Don’t be shy with the spices!
- **Cover & Bake:** Cover the pan tightly with heavy-duty aluminum foil. Ensure there are no gaps for steam to escape. This creates a steamy, pressure-cooker-like environment in your oven, crucial for tenderizing the ribs. Bake in the pre-heated oven.
- **Baking Time Guidance:** For optimum tenderness without overcooking, follow these guidelines: If you’re baking 2 racks, bake them for approximately 1.5 hours. If you’re making the full 3 racks, allow them the full 2 hours. The goal is to get them incredibly tender, but not so fall-apart that they disintegrate before you can even get them to the grill. They should still hold their shape but yield easily.
- **Grill Finish:** Once baked, carefully pull the ribs out of the oven. Transfer them to a pre-heated BBQ grill. Grill for about 15-20 minutes over medium-high heat, flipping occasionally. This step is essential for adding a wonderful smoky flavor, creating a delicious crispy outer texture, and achieving those beautiful grill marks.
- **Caramelize BBQ Sauce (Optional but Recommended):** For an extra layer of flavor, brush a very light layer of your favorite BBQ sauce onto the ribs during the last 5-10 minutes of grilling. Let it caramelize on the grill, creating a sticky, sweet, and savory glaze. Avoid applying too much at once, as it can drip and cause flare-ups.
- **Serve and Enjoy:** The ribs are ready when they pull easily from the bone but still have a satisfying bite. They won’t be overly mushy or fall apart prematurely. This method ensures maximum flavor and perfect texture.
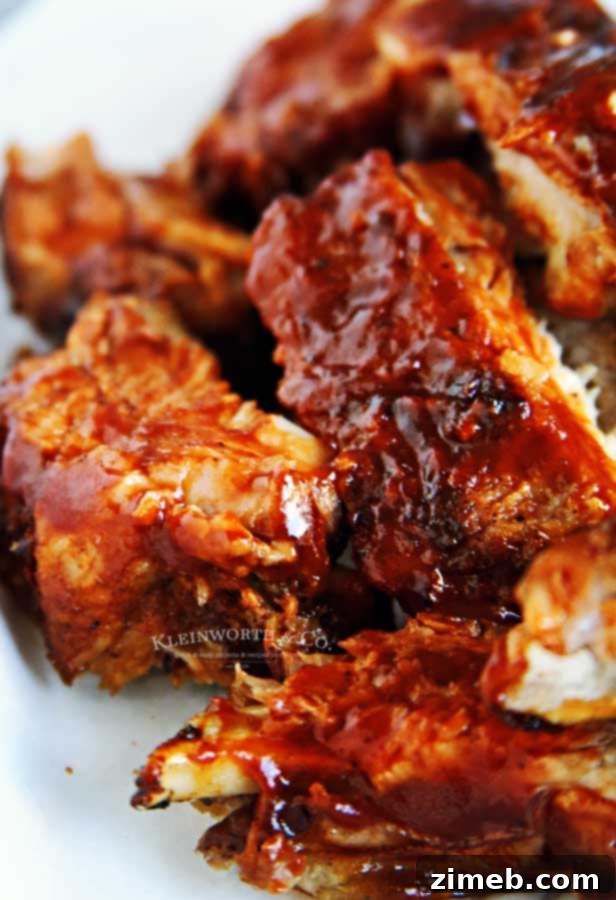
Do I have to bake the ribs first, or can I just grill them?
This is a question I get asked often, and the answer is a resounding yes, you absolutely *should* bake them first using this method! The initial baking process in the oven is crucial for achieving the tender, juicy, and “fall-off-the-bone” results that make this recipe so beloved. Baking them slowly in a moist environment ensures the connective tissues break down thoroughly, transforming tough meat into succulent goodness without drying it out. I’ve experimented with trying to cook ribs solely on the grill from the start, and the outcome is consistently a much tougher, less juicy, and frankly, disappointing piece of meat. The grill’s high, dry heat tends to cook the exterior quickly while the interior remains chewy. The baking step is your secret weapon for perfectly tender ribs, allowing the grill to simply add that incredible smoky flavor and caramelized crust at the end, sealing in all the moisture and richness.
What type of bakeware should I use for ribs?
Selecting the right bakeware is key to success when making these ribs in the oven. I highly recommend using a large, sturdy metal braising pan. These pans are excellent at retaining heat and distributing it evenly, which is essential for the slow, tenderizing bake. They also typically have high sides, which help contain the delicious braising liquid. Alternatively, you can certainly use disposable aluminum pans, which offer the convenience of easy cleanup. However, if you choose disposable pans, it’s crucial to place a heavy-duty baking sheet underneath them before putting them in the oven. Ribs, especially multiple racks with liquid, can become quite heavy, and a flimsy disposable pan could buckle, leading to a big mess and potential burns. Always prioritize safety and stability when handling hot pans from the oven. I’ve included links to my favorite recommended products below to help you get started.
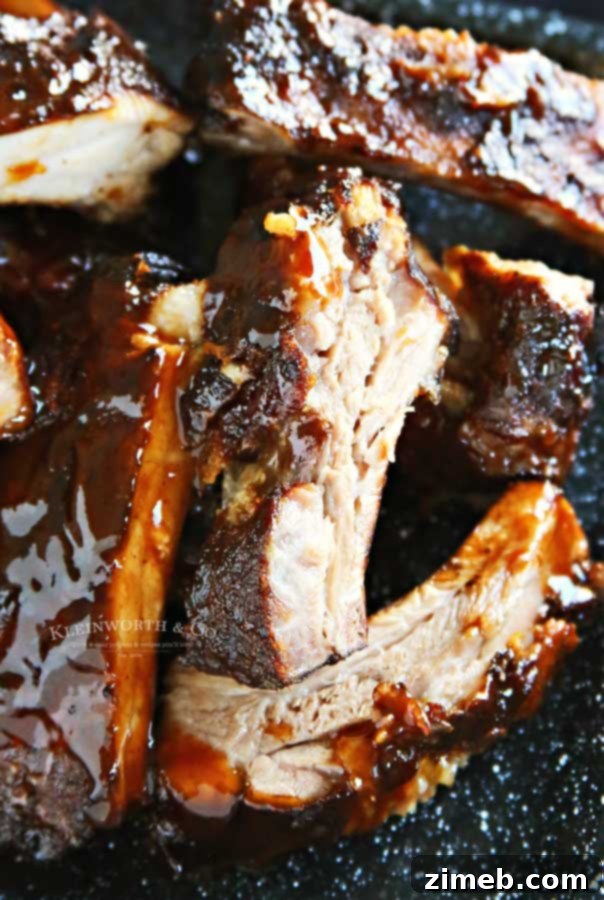
Mastering BBQ Ribs in the Oven (Before the Grill)
The magic of this recipe truly begins in the oven. While we all love the char and smoky flavor of the grill, the oven is where the hard work of tenderizing takes place. By slow-roasting the ribs in a liquid-filled pan, tightly sealed with foil, we create a steamy, moist environment. This process allows the tough connective tissues in the ribs to break down slowly, resulting in meat that is incredibly tender and succulent. It’s akin to a braising process, which is why the ribs emerge from the oven already falling off the bone. This pre-bake ensures that when the ribs hit the grill, they only need a short amount of time to develop a beautiful crust and absorb that irresistible outdoor smoky flavor, without ever becoming dry or tough. Think of the oven as your tenderizer and the grill as your flavor finisher.
Essential Ingredients You Will Need for This Recipe:
Gathering your ingredients ahead of time makes the cooking process smooth and enjoyable. Here’s what you’ll need to create these amazing baby back ribs:
- High-quality baby back pork ribs (1-3 racks, depending on your crowd)
- Mr. Yoshida’s Original Gourmet Sweet & Savory Sauce (this is a key flavor component!)
- Your favorite beer (any style will do, adding depth to the braising liquid)
- Minced Garlic (for an aromatic punch)
- Garlic Powder (distinct from garlic salt, for a concentrated garlic flavor)
- Butter (adds richness and helps create a luscious sauce)
- Your preferred BBQ Sauce (for the final glaze on the grill)
- Salt & Pepper to taste (essential for seasoning the meat)
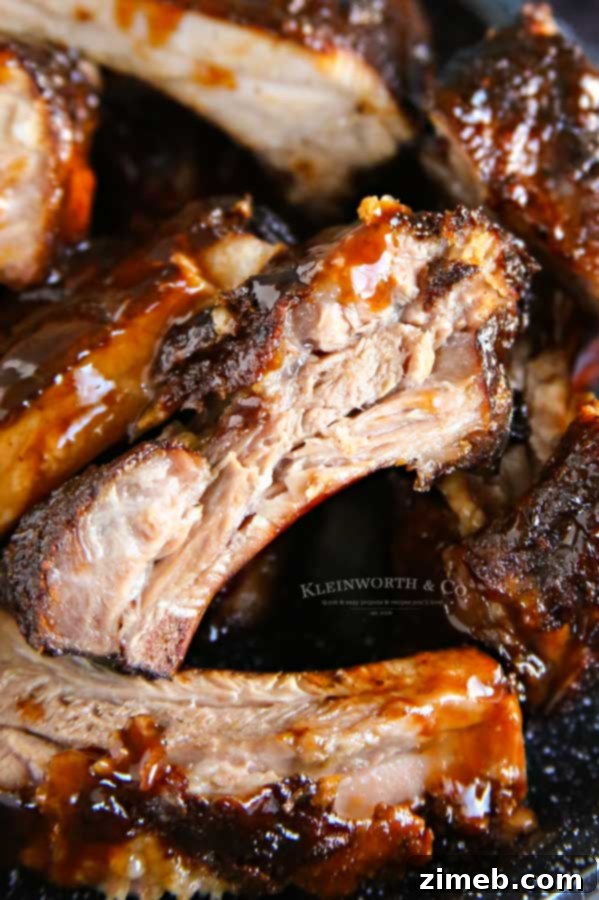
My Go-To Products for Making the Best Baby Back Ribs
This Baby Back Ribs recipe is truly effortless and incredibly delicious. As grilling season approaches, or if you’re just looking for an amazing meal, you’re likely eager to get started! If you’ve never made ribs at home before, don’t be nervous. This BBQ favorite is surprisingly easy to master. To ensure your success and make the process even smoother, I’ve compiled a list of products I absolutely rely on when making this recipe. These tools and ingredients help achieve perfect results every time.
- Large Baking Pan: Essential for accommodating multiple racks and the braising liquid.
- Traeger Grill: My personal choice for adding exceptional smoky flavor to the finished ribs.
- Disposable Pan: A convenient option for easy cleanup, just remember to use a sturdy baking sheet underneath!
- Mr. Yoshida’s Original Gourmet Sweet & Savory Sauce: The backbone of our braising liquid, delivering incredible flavor.
- Minced Garlic: For adding depth and a pungent aroma.
- My Favorite BBQ Sauce: Essential for glazing and caramelizing on the grill.
- Table Salt: A basic but crucial seasoning.
- Pepper: For adding a balanced spice.
- Cooking Thermometer: To ensure your ribs reach the perfect internal temperature for tenderness.
- Heavy Duty Foil: For tightly covering the ribs during baking, trapping steam and moisture.
- Measuring Cups: For accurate liquid and ingredient measurements.
- Measuring Spoons: For precise seasoning.
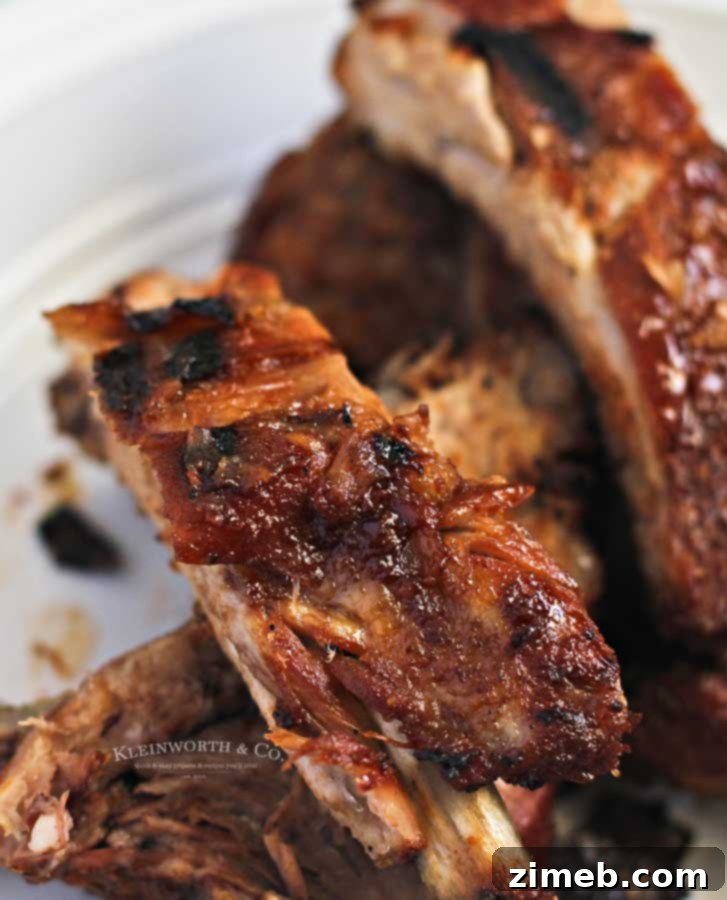
Once you try this recipe, you’ll find yourself making these succulent ribs all summer long – I guarantee it!
For your convenience, scroll to the bottom for the complete Printable Recipe Card!
Irresistible Pork Baby Back Ribs: A Summer Favorite
These pork baby back ribs are more than just a meal; they’re an experience. The combination of oven-baking for tenderness and grilling for flavor creates a culinary masterpiece that embodies the essence of summer. Imagine the perfect backyard barbecue: friends and family gathered, the scent of smoky ribs wafting through the air, and plates piled high with perfectly cooked meat. This recipe consistently delivers that dream scenario. The balanced sweet and savory flavors, coupled with the incredible texture, make these ribs a guaranteed hit for any occasion. They are versatile enough to be the star of a casual weeknight dinner or the highlight of a festive holiday spread. Get ready to add this recipe to your permanent rotation, because once you taste them, there’s no going back!
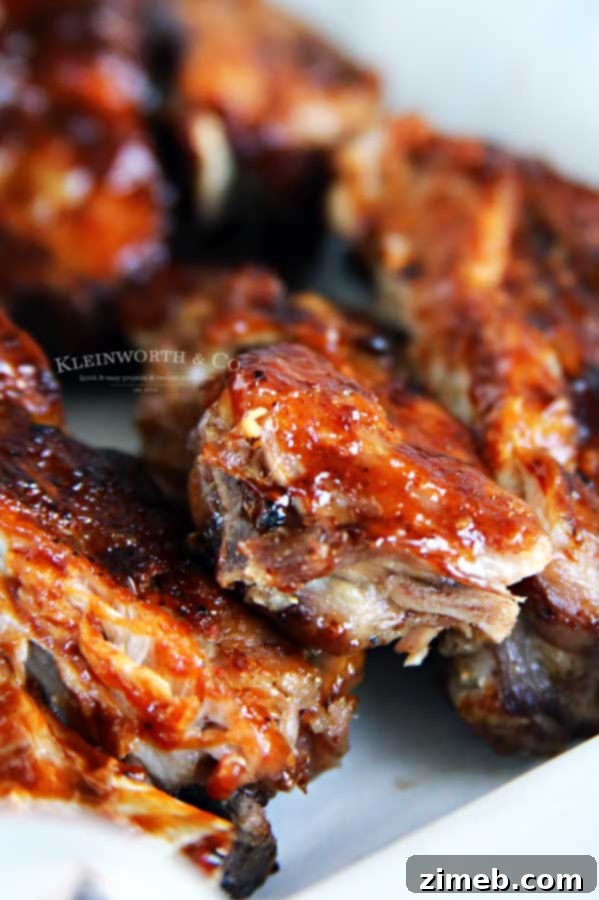
If you fall in love with this amazing Baby Back Ribs recipe, you’ll definitely want to explore these other fantastic dinner recipes too. Each link below leads to an easy, printable recipe that’s perfect for your next meal!
Check out this recipe
Check out this recipe
Check out this recipe
Check out this recipe
Check out this recipe
Check out this recipe
The Best Baby Back Ribs You’ll Ever Make
Seriously, these are the best baby back ribs! I truly believe that once you try this recipe, it will become your undisputed favorite for tender, flavorful, and incredibly satisfying ribs. The combination of easy preparation and spectacular results is unmatched. If you love this Baby Back Ribs recipe as much as I do, please take a moment to leave a five-star review and help me spread the word by sharing it on Facebook and Pinterest! Your support means the world and helps others discover this amazing dish.
CONNECT WITH KLEINWORTH & CO!
Be sure to follow me on my social media channels, so you never miss a delicious post!
FB, Pinterest, IG, Email Subscription
Rate this Recipe
Baby Back Ribs
Ingredients
- 1-3 racks baby back pork ribs
- 2 cups Mr. Yoshida’s Original Gourmet Sweet & Savory Sauce
- 12 ounces beer any flavor of choice
- 3 tbsp minced Garlic
- 3 tbsp garlic powder not garlic salt
- ½ cup butter
- 1 cup BBQ sauce flavor of choice
- Salt & Pepper to taste
Instructions
-
Pre-heat your oven to 350 degrees Fahrenheit. Prepare your baking pan by spraying it generously with non-stick spray.
-
Lay the baby back ribs in the pan, ensuring the meat side is facing down.
-
Pour in Mr. Yoshida’s sauce and beer until the bottom of the pan is covered with about 1/2 to 1 inch of liquid.
-
Add the stick of butter to the liquid in the pan, then generously sprinkle the minced garlic, garlic powder, salt, and pepper over the ribs to your liking.
-
Cover the pan tightly with heavy-duty aluminum foil to create a seal, then bake for 2 hours.
-
*Note: If you are cooking 2 racks of ribs, bake them for 1½ hours. If you are making all 3 racks, bake for the full 2 hours. The goal is to make them very tender, but not so over-cooked that they completely fall off the bone before you can transfer them to the grill.
-
Carefully remove the ribs from the oven. Transfer them to a pre-heated BBQ grill and cook for about 20 minutes, flipping occasionally. This step adds a wonderful smoky flavor and crisps up the outer part of the meat beautifully.
Notes
Nutritional information for the recipe is provided as a courtesy and is approximate. Please double-check with your own dietary calculator for the best accuracy. We at Yummi Haus cannot guarantee the accuracy of the nutritional information given for any recipe on this site.