
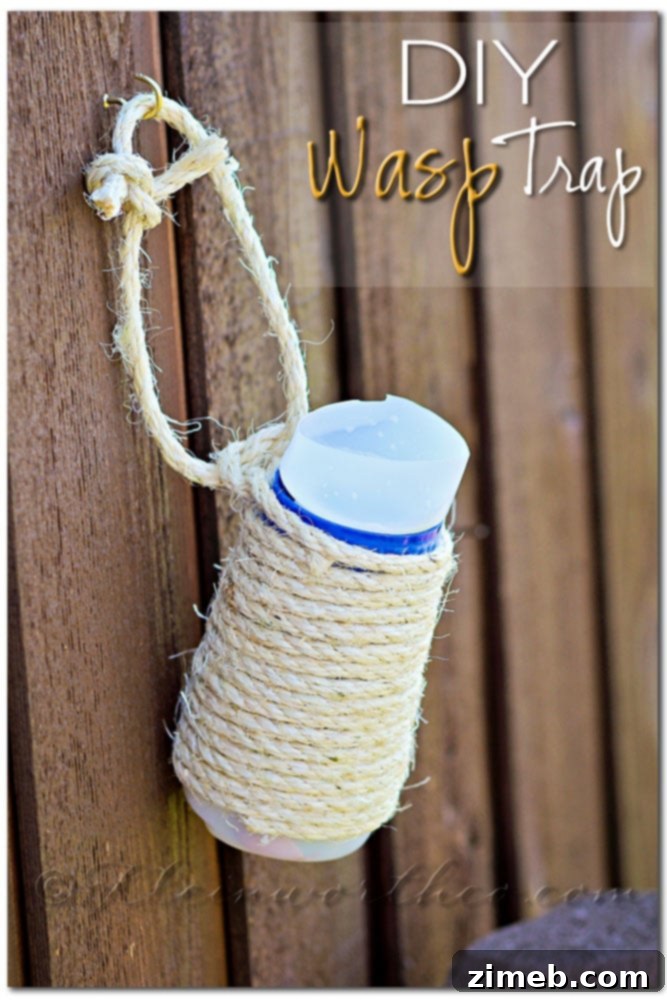
Effective DIY Wasp Trap: Repurpose Your International Delight Bottles for a Pest-Free Outdoor Season
As a devoted coffee enthusiast, my affection for a great cup of joe is something I frequently share. My passion for coffee is matched only by my love for the diverse and delicious flavors of International Delight coffee creamers. This delightful habit, however, has an interesting byproduct: an ever-growing collection of empty plastic bottles. If you’re anything like me, you probably have a significant number of these containers accumulating. But instead of seeing them as waste, I see them as opportunities for creative repurposing, especially through a little DIY magic.
Our family has been truly captivated by the breathtaking natural beauty of Northern Idaho, immersing ourselves in the vibrant life that surrounds us. With this immersive experience comes the reality of living alongside all forms of wildlife, including local insects like bees and wasps. While we appreciate the vital role bees play in our ecosystem, wasps can be a source of significant concern, especially when enjoying outdoor spaces. None of us have ever been stung by a wasp, so the thought of a potential allergic reaction is always a lurking worry – a situation I’m keen to avoid discovering firsthand. This concern, combined with my abundance of creamer bottles, sparked an idea: to transform these everyday containers into a highly effective DIY Wasp Trap.
Why a DIY Wasp Trap is Essential for Enjoyable Outdoor Living
Wasps can quickly transform a peaceful afternoon outdoors into a stressful experience. Their aggressive nature, especially when they feel threatened or are attracted to food and drinks, makes them unwelcome guests at picnics, barbecues, and simply relaxing in the garden. While some insects are beneficial, wasps, particularly yellow jackets and hornets, can deliver painful stings that, for some, can trigger severe allergic reactions. Ensuring our outdoor spaces are safe and enjoyable for everyone, especially children and pets, is a top priority. Commercial wasp traps are available, but why purchase something when you can create an equally effective, eco-friendly solution using materials you already have?
The Benefits of Repurposing Plastic for Sustainable Pest Control
Embracing DIY projects that involve repurposing household items offers numerous advantages. Firstly, it’s a fantastic way to reduce waste and contribute to a more sustainable lifestyle. Instead of tossing those empty International Delight bottles into the recycling bin (or worse, the landfill), you’re giving them a second life and diverting plastic from the waste stream. Secondly, homemade solutions often prove to be incredibly cost-effective. This wasp trap requires minimal materials beyond the bottle itself, saving you money on store-bought alternatives that often contain harsh chemicals. Finally, there’s an immense sense of satisfaction that comes from creating something practical and effective with your own hands. This DIY wasp trap is not only simple to construct but also remarkably efficient, allowing us to enjoy our time outdoors without the constant nuisance of unwanted stinging insects.
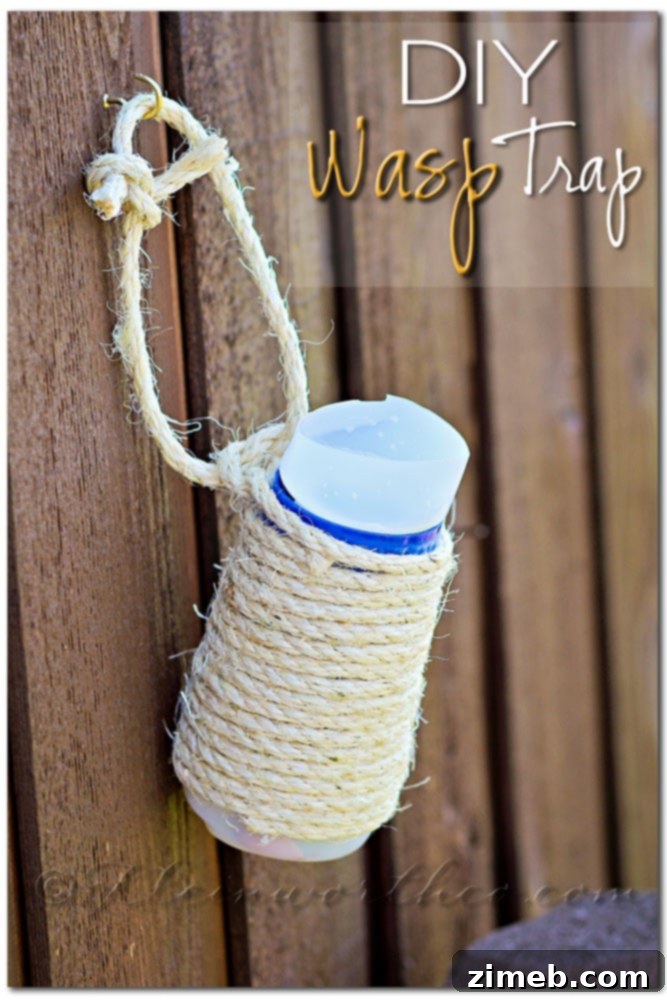
The simplicity of this design is truly its genius, and the results speak for themselves. Since deploying these traps, our outdoor living areas have become significantly more comfortable and worry-free. We’ve observed a noticeable shift in wasp activity; they are far more attracted to the bait within the traps than they are to us or our food. This simple yet highly effective solution allows us to fully embrace the beauty of our Northern Idaho surroundings without the constant nuisance of unwanted stinging insects. It’s a testament to how creative repurposing can solve common household challenges.
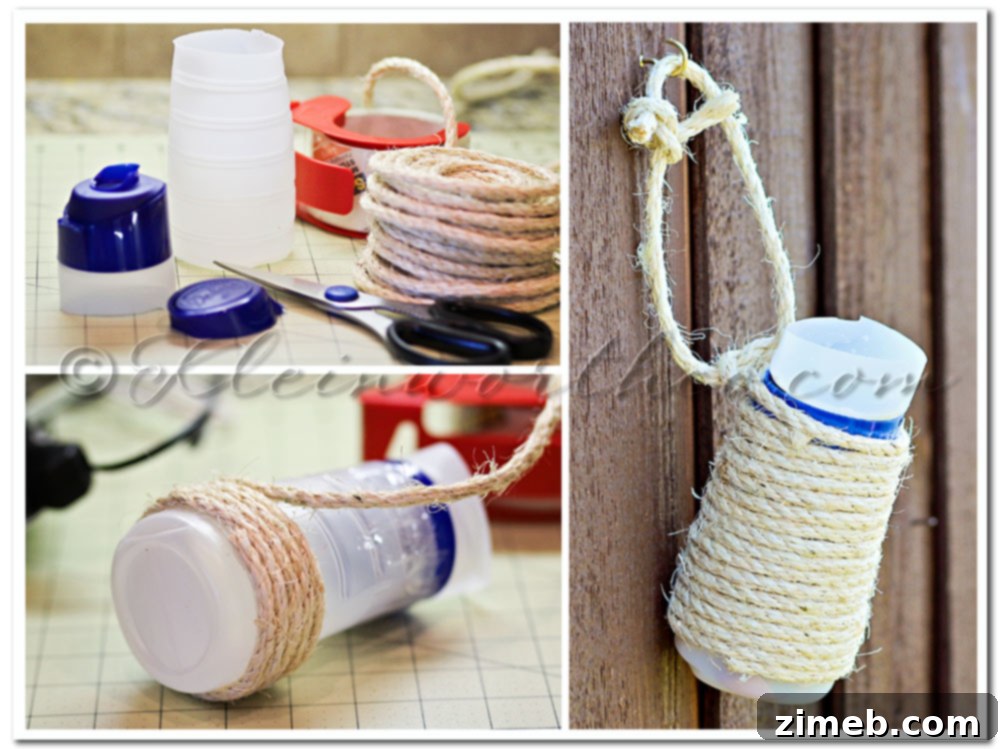
Step-by-Step Guide: Crafting Your Own Effective DIY Wasp Trap
Gathering your materials is the first step towards a wasp-free environment. You’ll need an empty International Delight creamer bottle (or a similar plastic bottle with a narrow neck), sharp scissors or a utility knife, strong adhesive tape, sugar, water, and non-stick cooking spray. Optional decorative elements like sisal rope can also be gathered if you plan to make your trap more aesthetically pleasing.
- Thoroughly Clean the Bottle: Begin by completely emptying your creamer bottle. Rinse it several times with warm, soapy water to remove any lingering residue or sweet aromas that might initially attract wasps prematurely. A clean bottle ensures the bait you add later will be the primary attractant. After rinsing, allow the bottle to air dry completely to prevent mold or unwanted odors, which could detract from the bait’s effectiveness.
- Prepare the Lid: Take the flip-top lid of the creamer bottle. Carefully cut off the hinged, flip-top portion, leaving only the threaded base part of the lid. This creates a larger, unobstructed opening that will eventually become part of the funnel entrance. Precision here ensures a clean, functional entry point.
- Cut the Bottle Top: Using sharp scissors or a utility knife, carefully cut off the top section of the bottle, roughly 1/3 to 1/4 of the way down from the opening. The goal is to create a separate funnel-shaped piece. Be precise and ensure a relatively clean cut; this top section will be inverted into the main body of the bottle, forming the critical one-way entry system.
- Create the Funnel Mechanism: Now, take the cut-off top section of the bottle and invert it. Place this inverted piece into the neck of the remaining bottle body, so it resembles a funnel. The narrow opening of the inverted top should point downwards into the larger base of the bottle. Ensure there’s a small gap around the funnel’s edge within the bottle’s opening for proper airflow and to maximize the “one-way” entry system for the wasps.
- Secure the Funnel: Once the inverted top is perfectly positioned to form a stable funnel, use strong, waterproof tape to secure it firmly in place. Run the tape around the seam where the inverted top meets the bottle’s main body. This ensures the funnel remains stable, preventing it from shifting, and crucially, prevents wasps from finding an escape route through any gaps.
- Optional Aesthetic Enhancement (Sisal Rope): For those who prefer a less utilitarian look, especially if the trap will be visible in high-traffic areas, consider wrapping and gluing sisal rope around the exterior of the bottle. This not only adds a rustic, natural charm but also serves an additional purpose: it obscures the sight of trapped wasps, making the device more visually appealing. Apply a strong adhesive like hot glue or craft glue in sections, wrapping the rope tightly and evenly from bottom to top for a professional finish.
- Prepare for Hanging: To make your trap easily deployable, create a hanging mechanism. You can tie a sturdy loop of string, twine, or wire around the neck of the bottle, just below the funnel. Alternatively, if using sisal rope, you can integrate a hanging loop into the top wrapping. We found that installing a small hook in a strategic outdoor location works perfectly for convenient hanging and retrieval.
- Bait the Trap: The success of your wasp trap hinges on the bait. A simple, yet highly effective, solution is a mixture of sugar and water. You can also enhance its allure by adding a splash of fruit juice, a piece of overripe fruit, a small amount of soda, or even a tiny drop of dish soap to break the surface tension of the liquid. Fill the bottom of the trap with this sweet concoction. Crucially, fill it just high enough for the wasps to drown once they enter, but not so high that they can climb back out of the funnel’s opening. Approximately 1-2 inches should be sufficient.
- Lubricate the Funnel: For an extra layer of effectiveness, lightly spray the inner surface of the funnel with a non-stick cooking spray (like vegetable oil spray). This creates an incredibly slippery surface, making it extremely difficult for wasps to gain purchase and climb back out once they land inside the funnel. They’ll simply slide right down into the bait, ensuring the trap’s efficiency.
How the DIY Wasp Trap Works Its Magic: A Simple Scientific Principle
The mechanics behind this DIY wasp trap are deceptively simple yet highly effective, leveraging basic insect behavior. Wasps, driven by their keen sense of smell, are irresistibly drawn to the sweet bait you’ve placed inside the bottle. They easily fly into the wide opening of the inverted funnel, seeking the sugary liquid. Once they enter, however, their predatory instincts and navigation skills are confounded. They can readily fly downwards towards the bait, but finding their way back out through the small, inverted opening proves incredibly challenging. Wasps tend to fly upwards towards perceived light or openings, and the inverted funnel obscures the clear path back out. The slippery coating from the cooking spray further impedes their ability to grip and climb the funnel walls. Disoriented and unable to escape the clever design, they eventually succumb to the bait liquid.
Optimal Placement and Maintenance for Continuous Wasp Control
For maximum effectiveness, strategic placement of your DIY wasp traps is key. Position them a safe distance away from your primary outdoor activity areas, such as patios, dining tables, or children’s play zones – ideally, about 20-30 feet away. Hanging them from tree branches, eaves, or shepherd’s hooks around the perimeter of your yard is ideal. The goal is to draw wasps away from where people gather, intercepting them before they become a nuisance. Check your traps regularly, perhaps every few days or weekly, depending on wasp activity. When a trap fills up, carefully empty its contents (it’s best to do this early in the morning when wasps are less active, or to ensure any trapped wasps are no longer alive) and replenish the bait. Rinse the trap if necessary before refilling to maintain its attractiveness. Continuous monitoring and re-baiting will ensure you have an ongoing, effective wasp control system throughout the season, allowing you to reclaim your outdoor spaces.
Sustaining Your Wasp Control: A Delicious Cycle
Given my enduring appreciation for my daily coffee ritual and the extensive array of International Delight flavors available (there truly are so many delightful options!), coupled with my substantial coffee consumption, it’s safe to say I’ll always have a ready supply of empty bottles. This fortunate cycle ensures that I can maintain a steady inventory of these highly effective DIY Wasp Traps all summer long, providing continuous protection and peace of mind for our outdoor living. It’s a wonderful synergy of enjoying my favorite coffee creamer and contributing to a more comfortable and eco-friendly home environment. This sustainable approach truly embodies the spirit of practical DIY.
What’s Your ID? International Delight is actively seeking their most passionate flavor fans. Take part by putting your ID on the map for a chance to win a Magical Trip, play engaging games, and uncover more unexpected delights. Share your favorite ID flavor and connect with the community. You can find more details and participate directly on their official website.
This is a sponsored conversation written by me on behalf of International Delight. The opinions and text expressed are entirely my own.
Explore More Outdoor Projects and DIY Inspiration
If you enjoyed this simple yet impactful outdoor DIY, you’ll love exploring other projects that enhance your living spaces and make the most of your surroundings. We’re constantly looking for creative ways to bring beauty and functionality to our home and garden, transforming everyday items into extraordinary solutions.
Our Favorite Outdoor Creations:
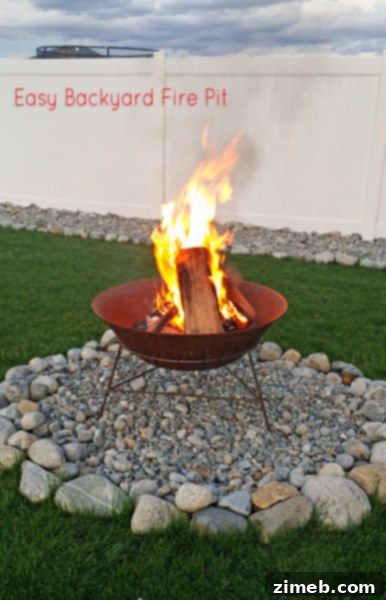
Easy Backyard Fire Pit: Create a Cozy Gathering Space
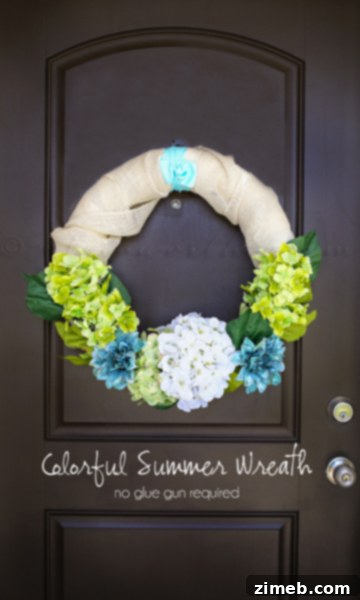
Colorful Summer Wreath: Add a Pop of Seasonal Charm
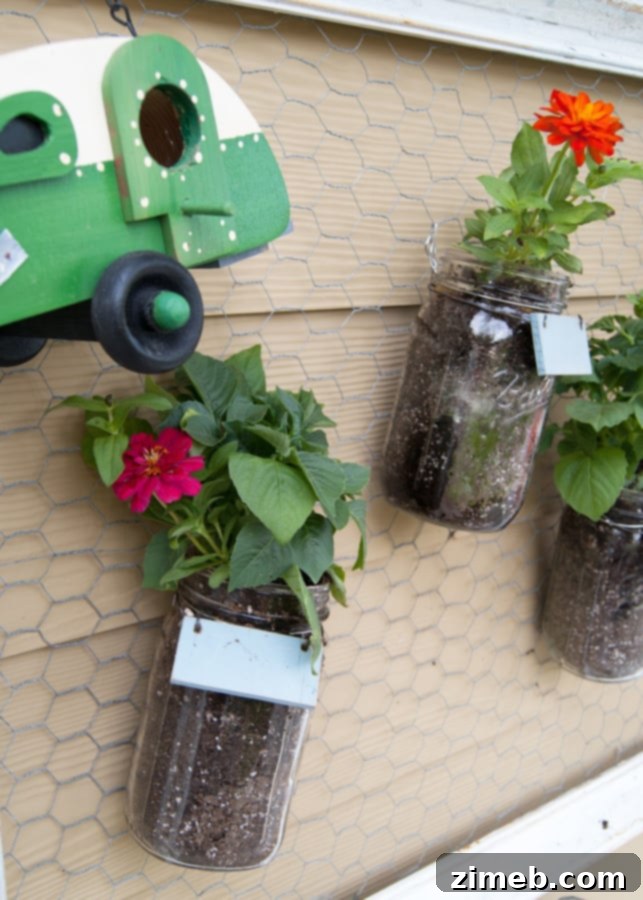
Mason Jar Wall Garden: Vertical Gardening Made Simple
Discover More Inspiring DIY Ideas from Fellow Bloggers:
Don’t miss these fantastic ideas from our talented blogger friends, perfect for enhancing your home and garden:
- One Little Project – How to make a garden box
- A Mom’s Take – Easy DIY Garden Markers
For more details on where I am linking today and other features, please visit HERE.