
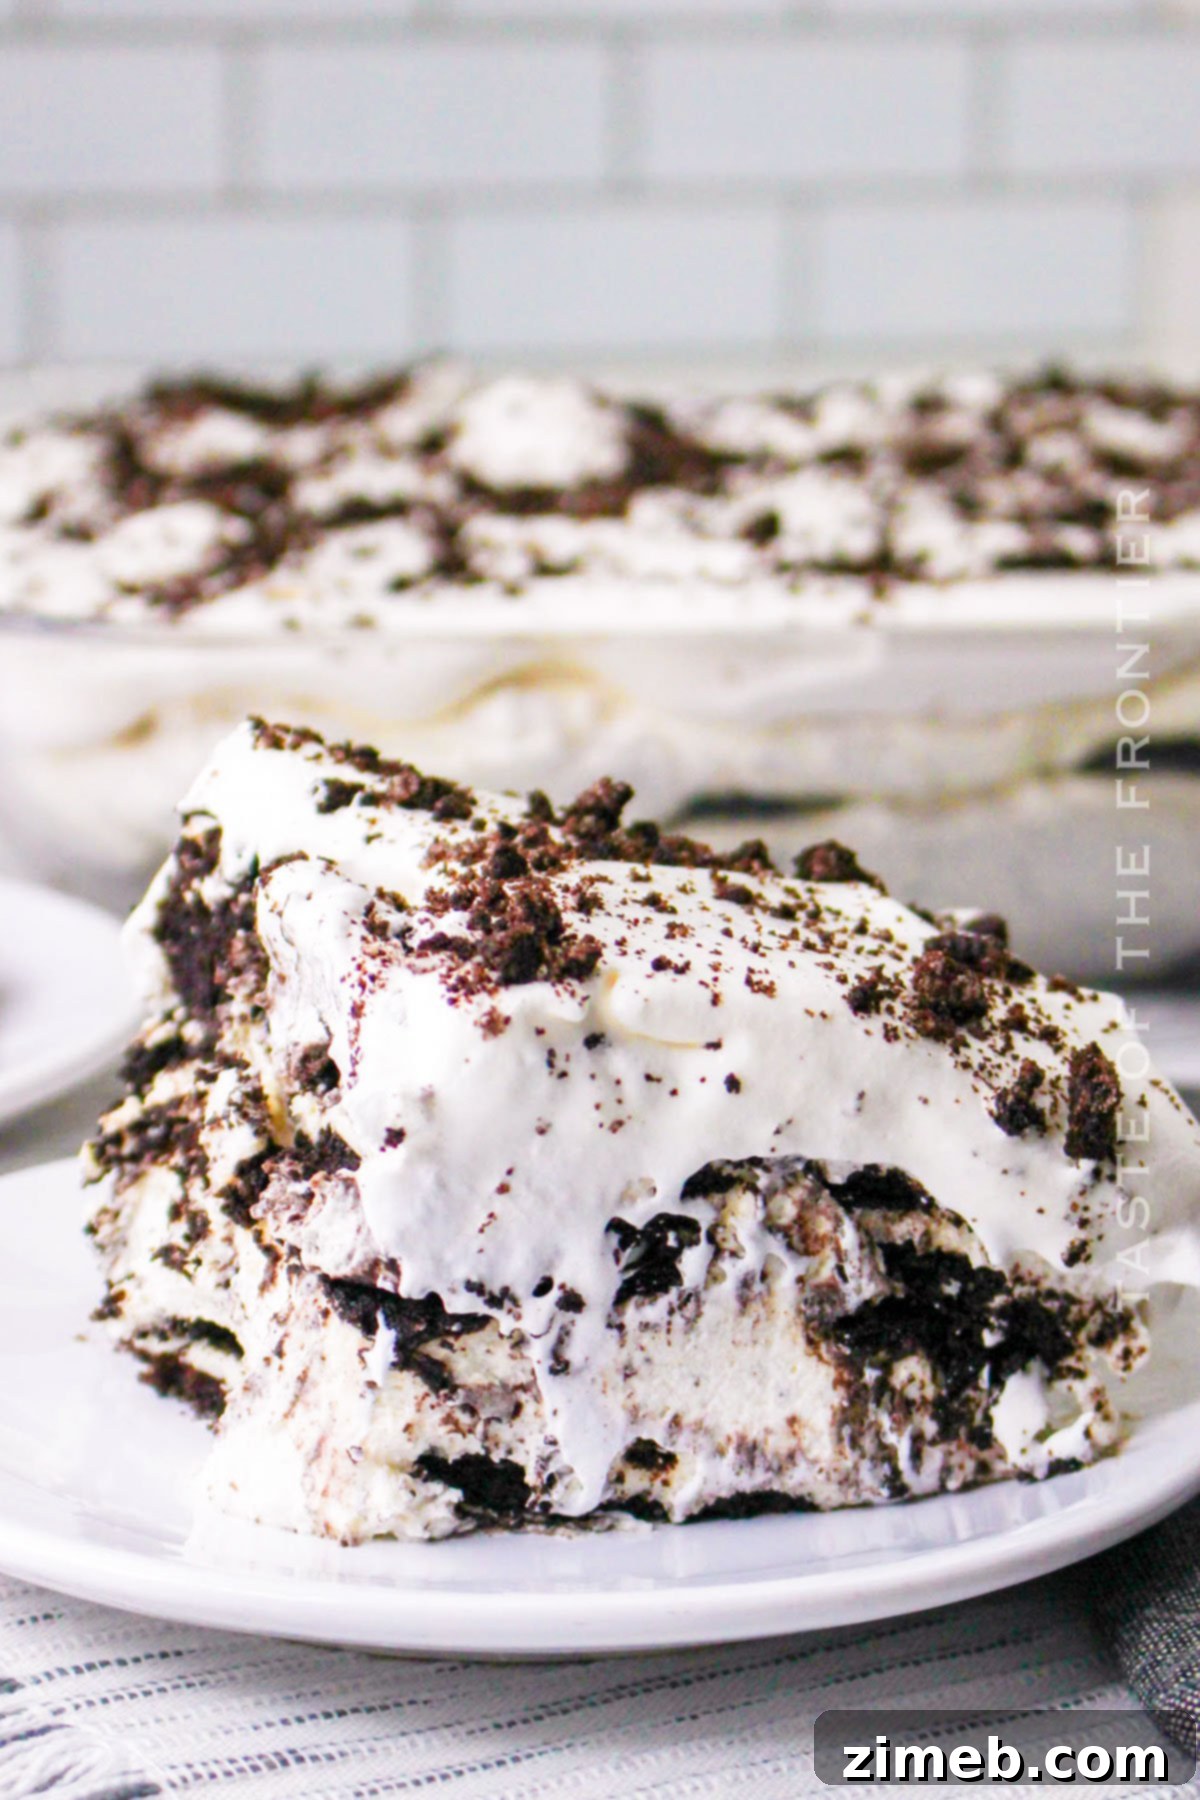
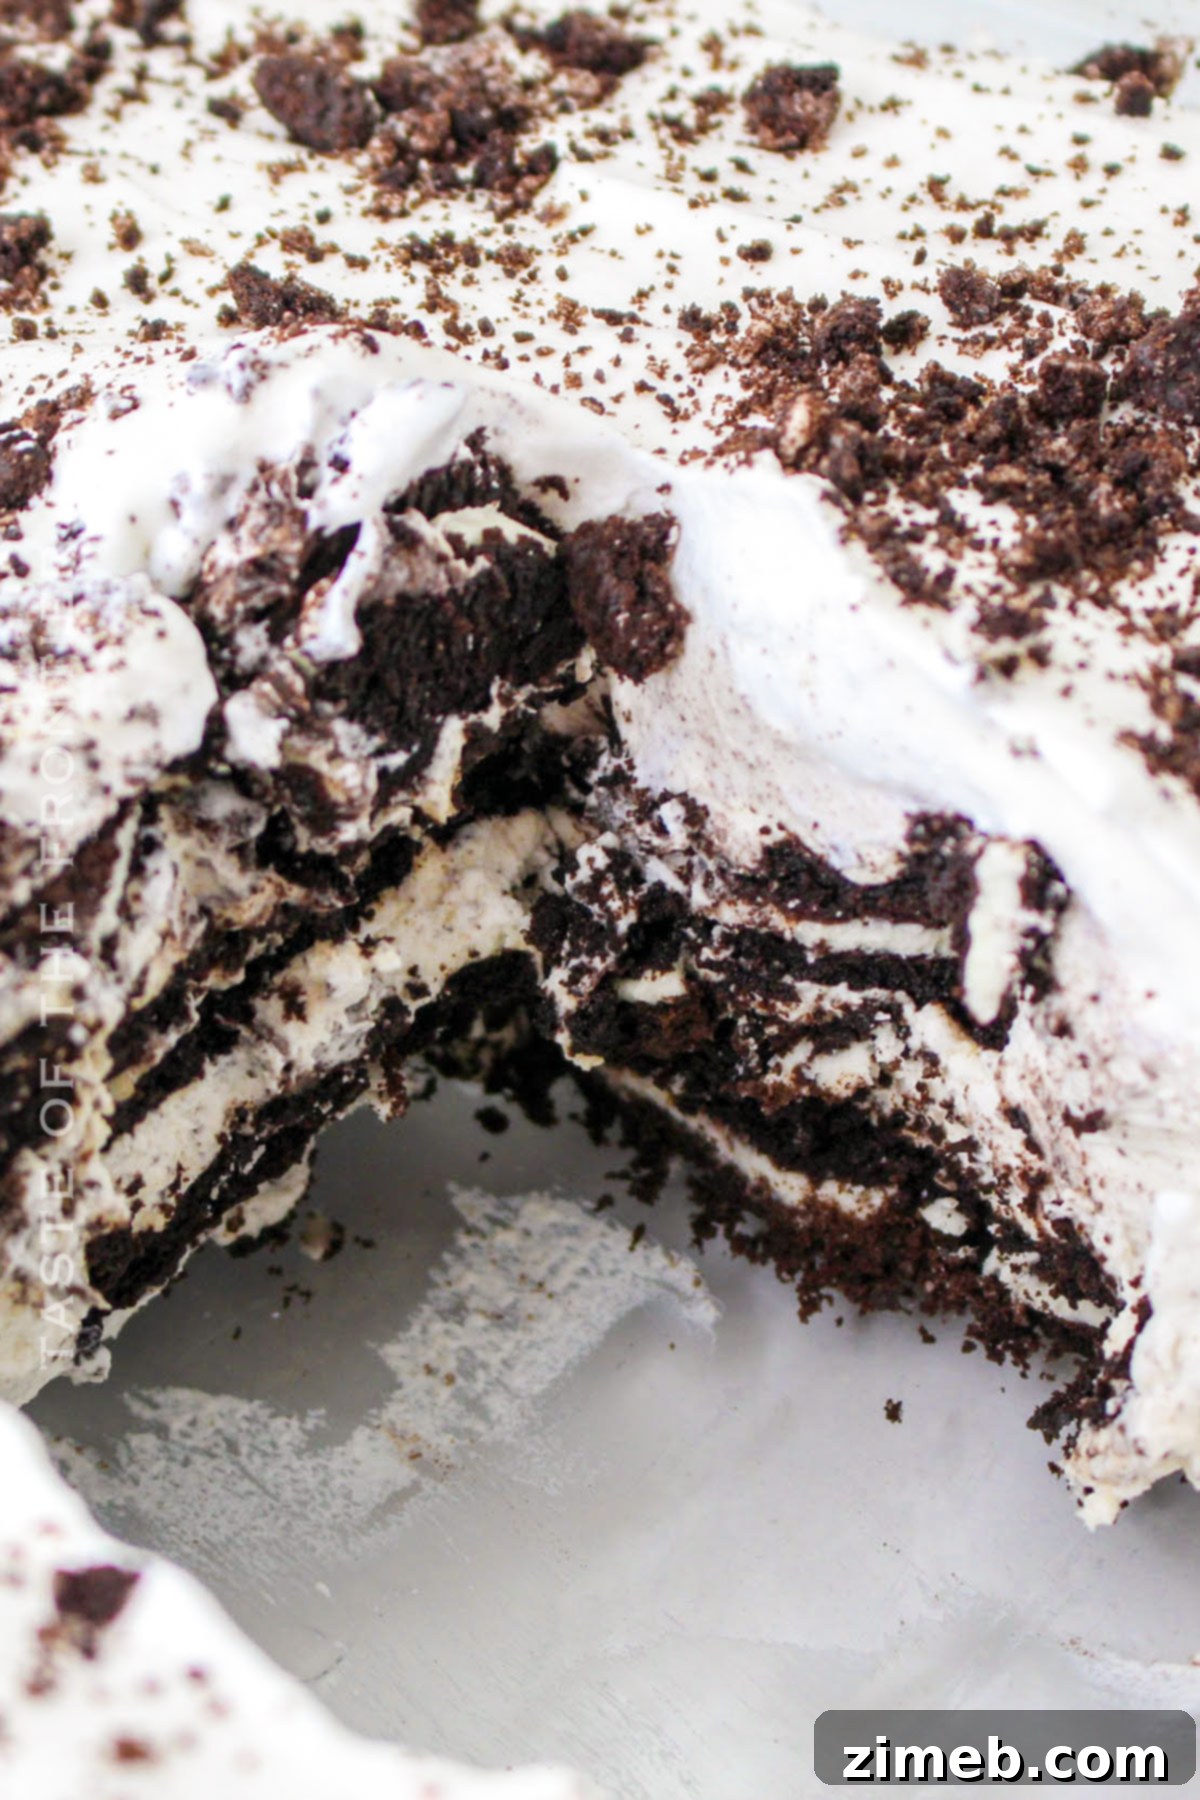
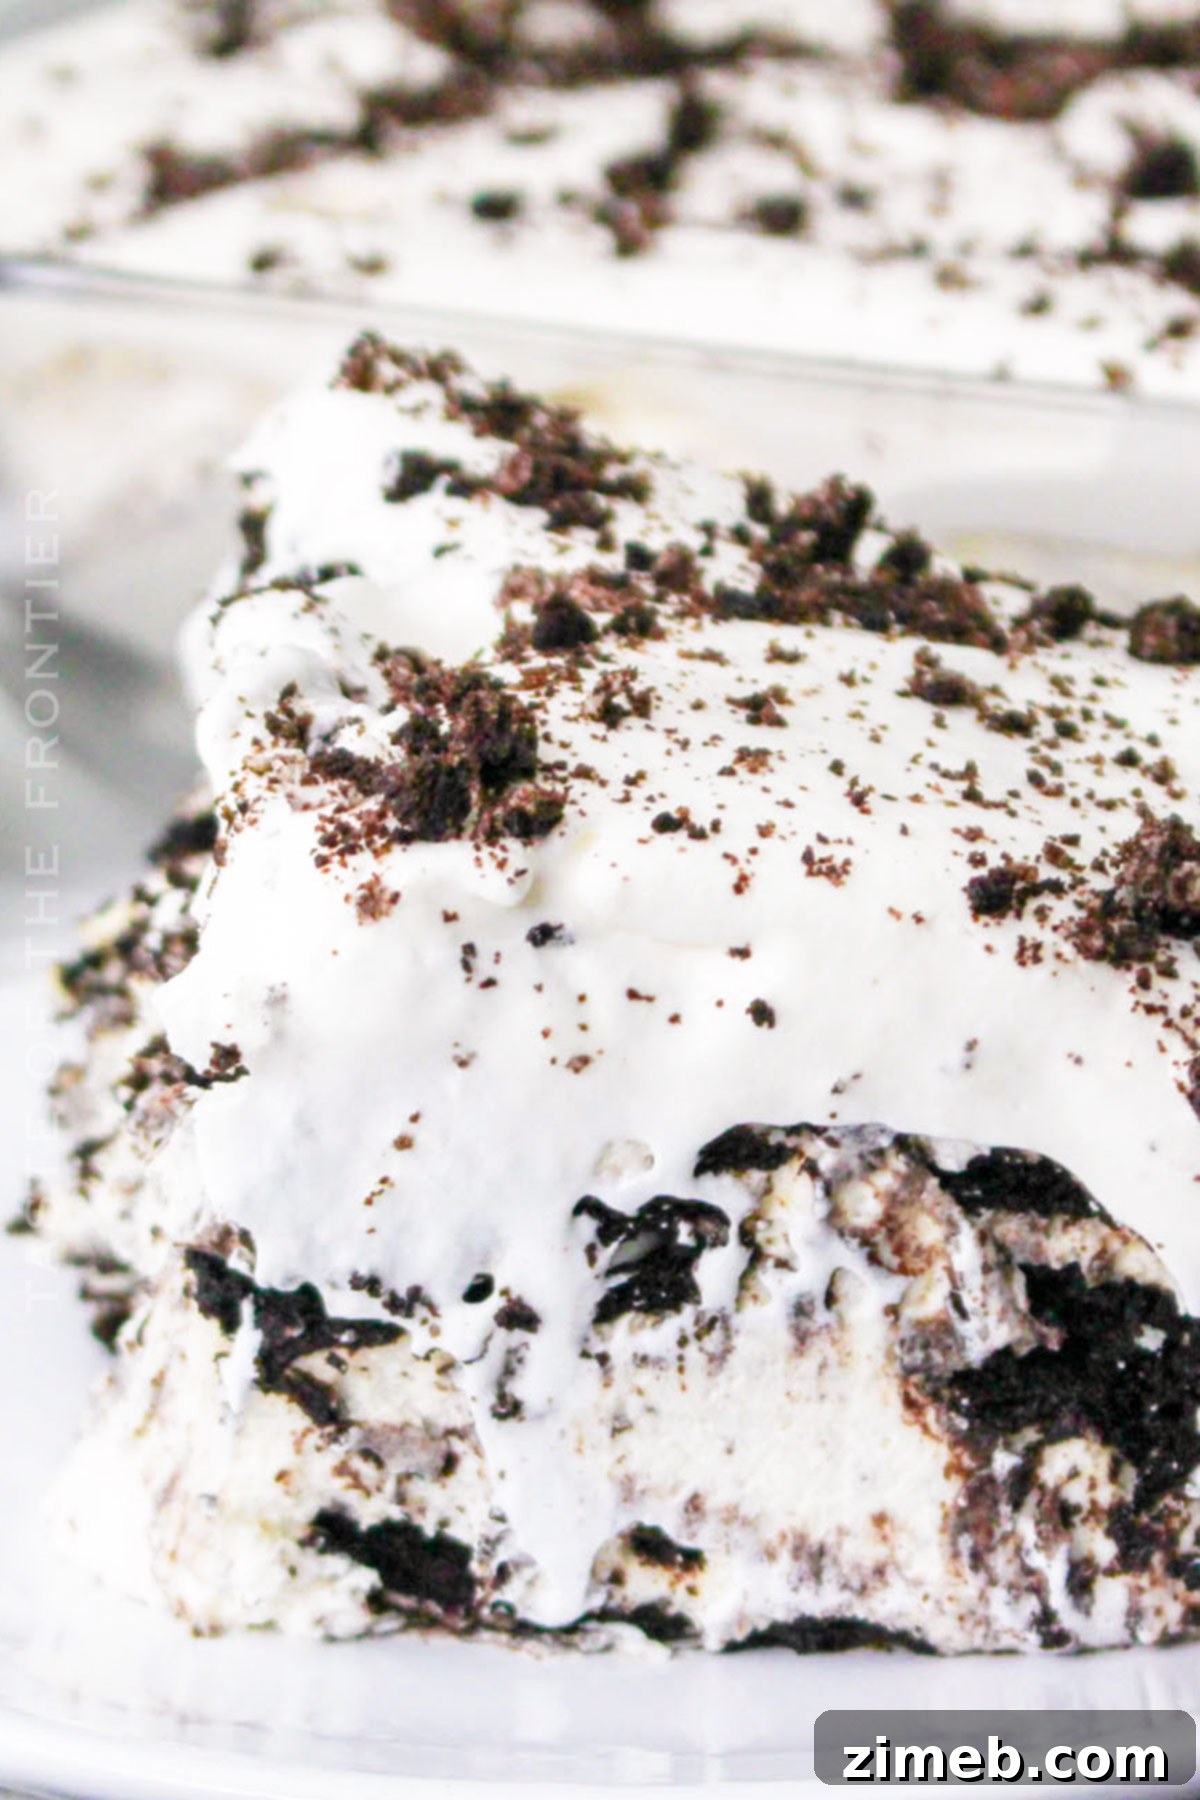
This Oreo Icebox Cake is the ultimate no-bake summer treat, perfect for all your parties and cozy get-togethers. Incredibly creamy, delightfully crunchy, and absolutely bursting with iconic Oreo flavor, it’s a dessert dream come true.
Welcome, all you dessert enthusiasts and sweet tooth seekers! Today, we embark on a deliciously simple journey to create a truly delightful, creamy haven: the Oreo Icebox Cake. If you’re a devoted fan of those classic chocolate sandwich cookies, then this incredibly easy dessert recipe is destined to become your new favorite go-to treat. Forget the oven and tedious baking steps; this simple dessert delivers maximum flavor with minimal effort.
An effortless no-bake cake that’s consistently a crowd-pleaser and a perfect choice for virtually any occasion, from casual family dinners to festive celebrations. This cake offers a creamy, crunchy paradise of Oreo goodness that is guaranteed to satisfy even the most intense sweet cravings. Its layers of softened cookies and rich, velvety cream create an unforgettable texture and taste sensation.
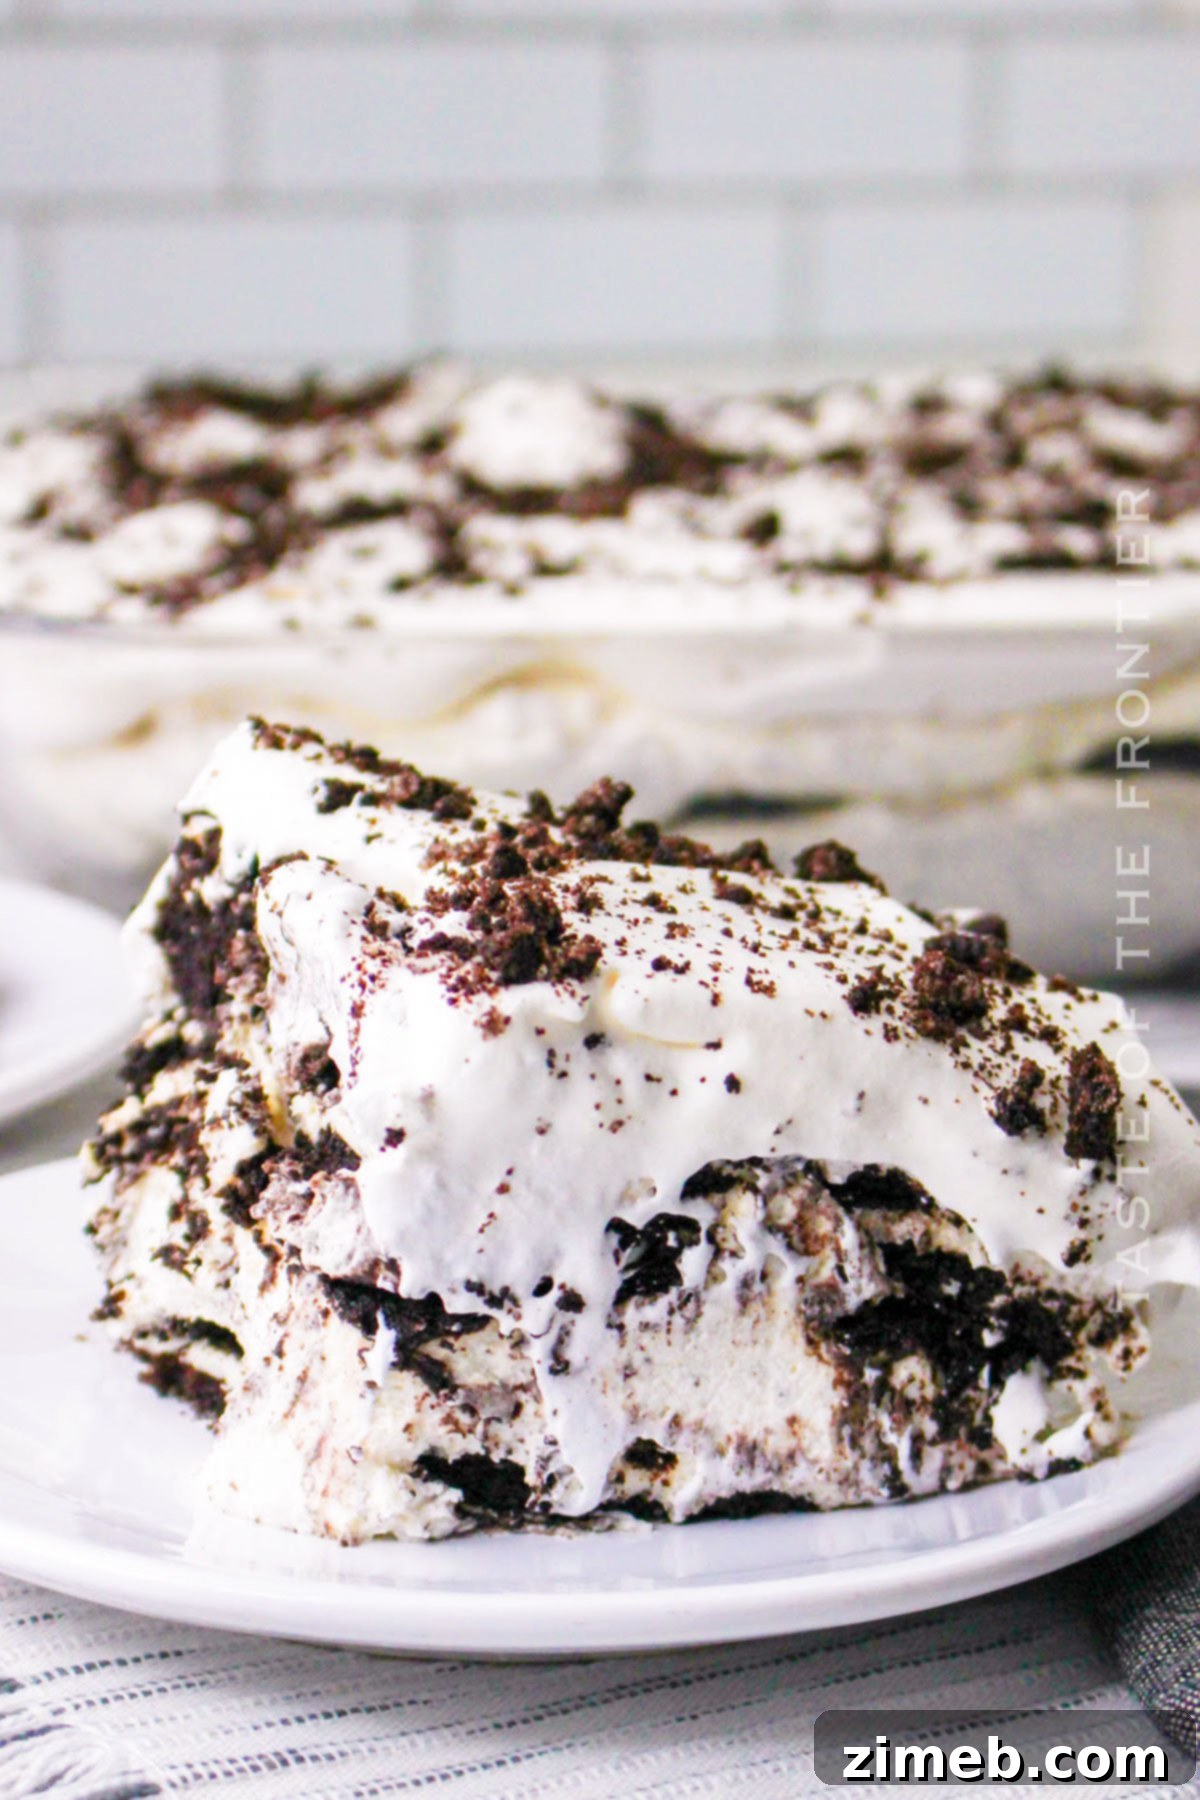
The Oreo Icebox Cake stands out as the ideal easy-to-make, no-bake dessert that will conquer any sweet tooth with its rich flavors and irresistible texture. This universally loved treat requires only a handful of incredibly simple ingredients, making it accessible to even the most novice bakers. It will undoubtedly make your special occasions or even just a regular weekday a little bit sweeter and a lot more memorable.
Give this fantastic recipe a try, and you’ll quickly understand why it has become a cherished favorite in countless households worldwide. Its simplicity, combined with its decadent taste, ensures it’s a recipe you’ll revisit time and again. Don’t forget to save the recipe card for your future dessert adventures. Happy no-baking, and get ready to indulge in pure Oreo bliss!
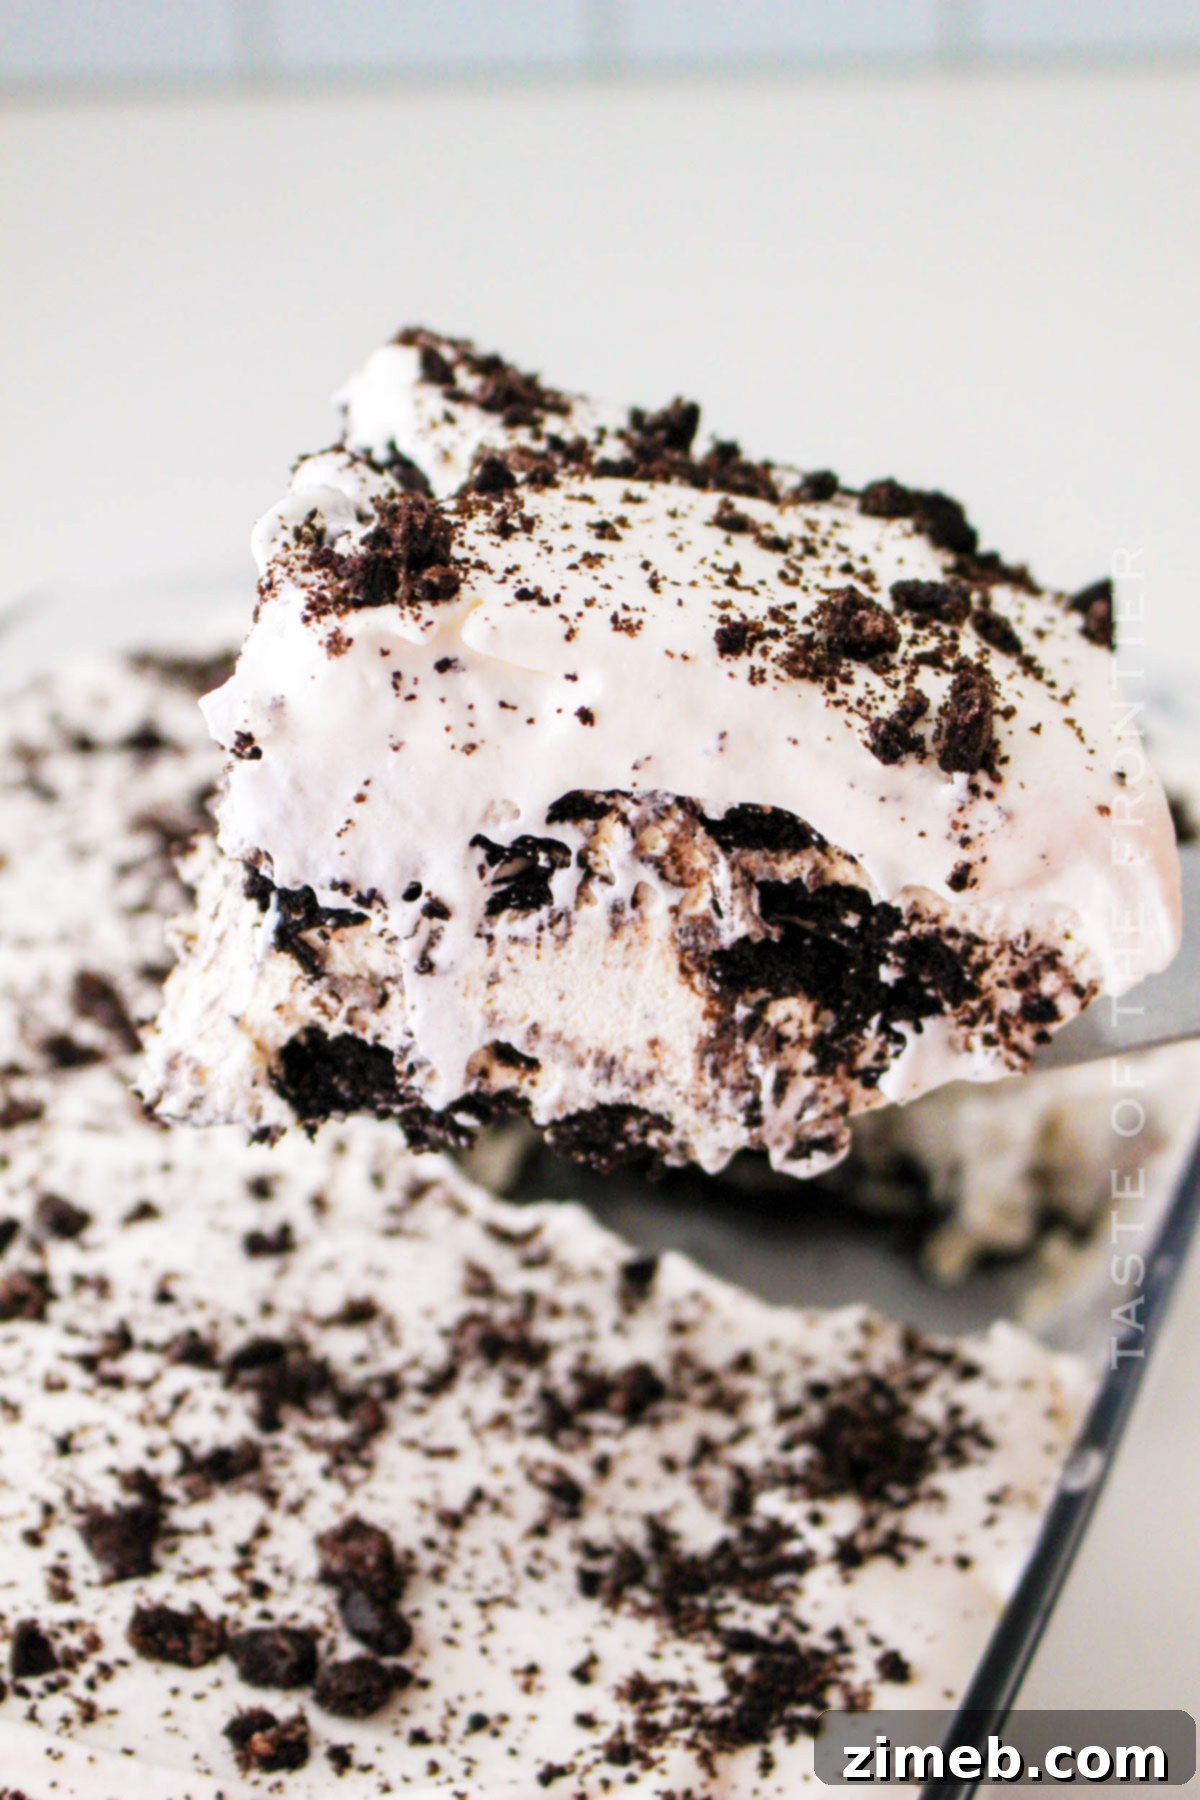
What Makes an Icebox Cake So Special?
Icebox cakes, also known as refrigerator cakes, have a rich history rooted in their practicality and deliciousness. Originating in the early 20th century when home refrigeration became common, these desserts offered a cooling alternative to traditional baked goods, especially during warmer months. The magic lies in their transformative nature: simple cookies or crackers become tender and cake-like as they absorb moisture from creamy layers during a period of chilling. This process not only creates an incredibly smooth texture but also allows the flavors to meld beautifully, resulting in a dessert that tastes far more complex than its assembly suggests. For the Oreo Icebox Cake, this means the iconic chocolate wafers slowly soften into a rich, fudgy base, perfectly complementing the sweet cream layers.
Common Questions About Oreo Icebox Cake
Do I Need to Bake the Oreo Icebox Cake?
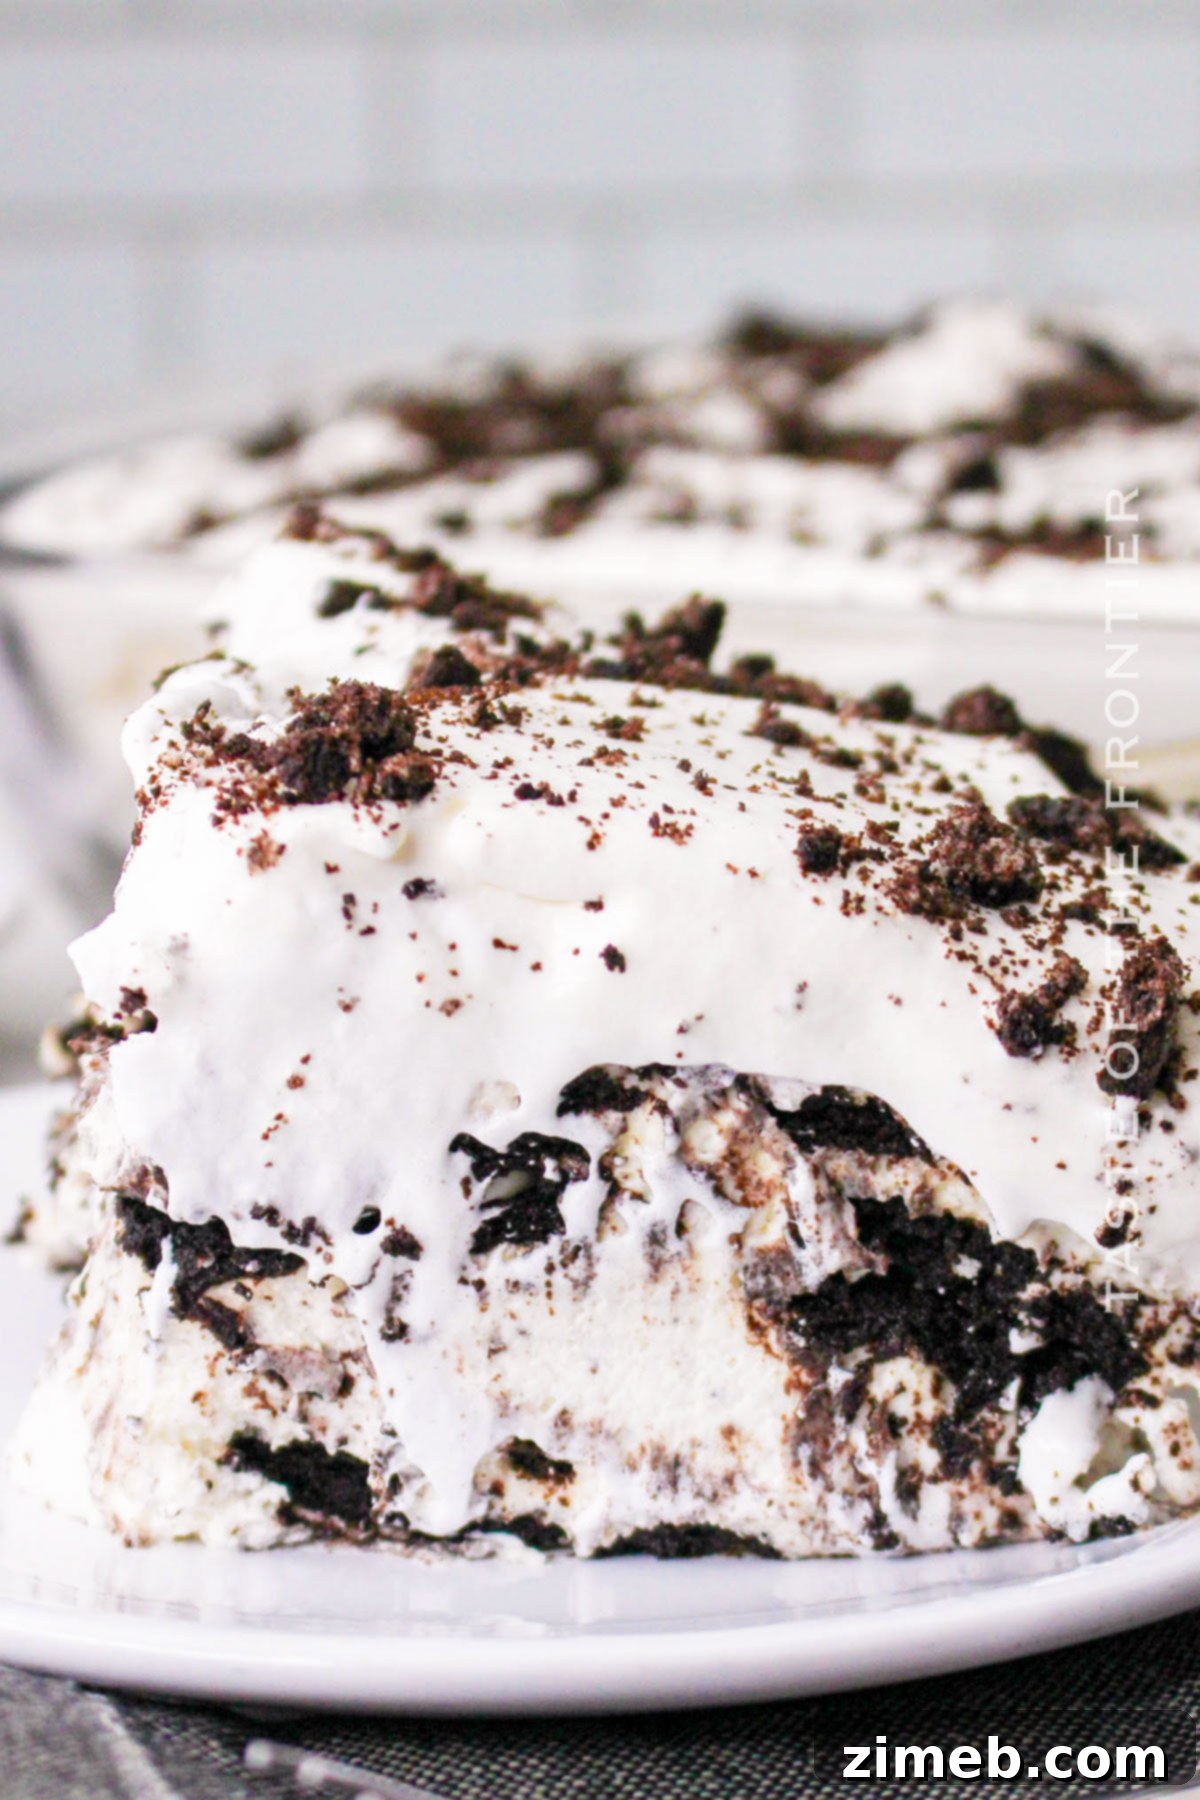
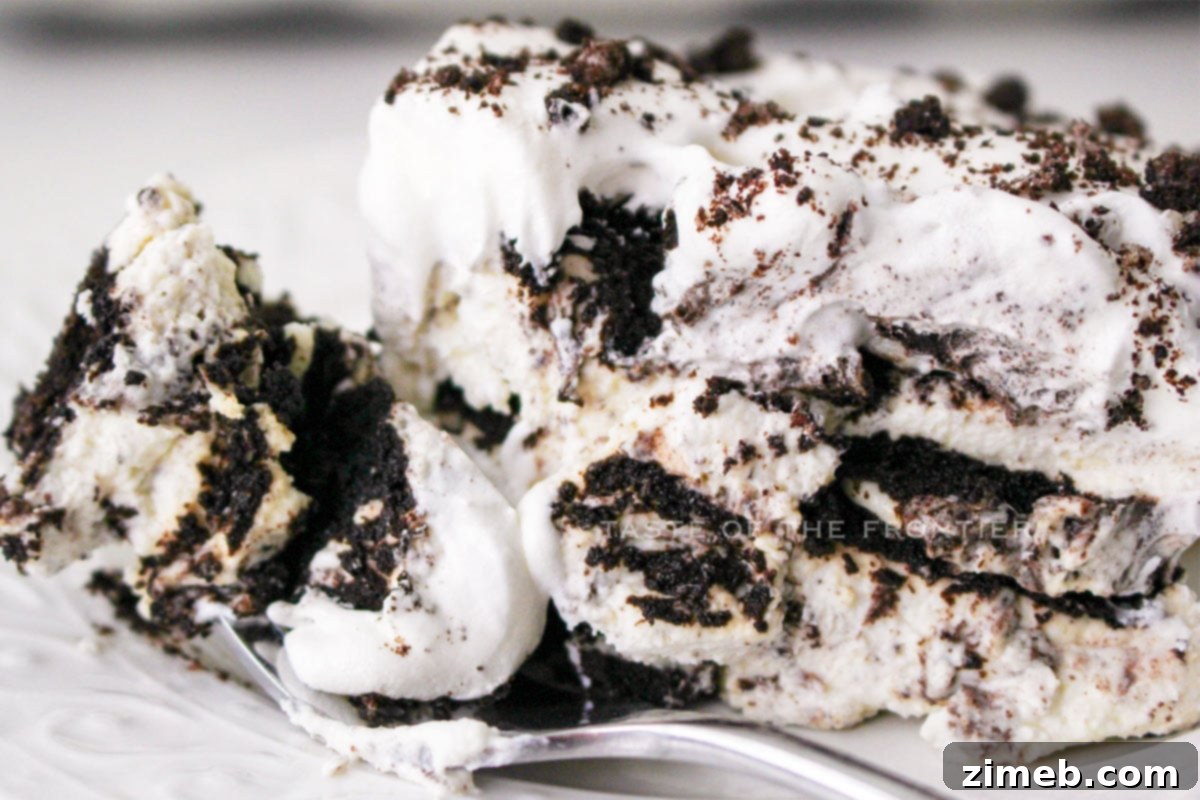
Absolutely not! The true charm of an icebox cake, especially this delightful Oreo Icebox Cake, is its completely no-bake nature. There’s no need to turn on your oven or worry about precise baking times. The “cooking” or, more accurately, the softening process, occurs entirely as the cake rests in the refrigerator. During this crucial chilling period, the Oreo cookies absorb moisture from the rich, creamy layers, transforming from crisp wafers into a tender, cake-like texture that’s simply irresistible. This makes it an ideal dessert for summer, holidays, or any time you want a fantastic treat without the fuss of baking.
What If I Don’t Have Heavy Cream for Whipped Cream?
While heavy whipping cream is highly recommended for achieving the signature fluffy and luxurious texture of this Oreo Icebox Cake, there are substitutes if you’re in a pinch. A mixture of melted butter and milk can sometimes work in other recipes, but for homemade whipped cream, it’s not an ideal direct substitute. For the best creamy results, sticking to heavy cream (with at least 36% milk fat) is paramount, as it whips up beautifully and provides excellent stability. However, if heavy cream is truly unavailable, you might consider using a combination of full-fat coconut cream (chilled overnight to separate the cream from the water) or trying one of the alternative whipped topping suggestions mentioned below.
Can I Use Cool Whip Instead of Whipped Cream?
You absolutely can use a thawed whipped topping like Cool Whip as a convenient substitute for freshly made whipped cream in this recipe! Many people prefer it for its ease of use and consistent texture. Just keep in mind that using Cool Whip will result in a slightly different flavor and texture profile compared to homemade whipped cream, which tends to be richer and less airy. If you prefer the lighter, sweeter taste and texture of Cool Whip, or simply want to save a step, it’s a perfectly acceptable and delicious alternative for your Oreo Icebox Cake.
Storage
If you’re new to the wonderful world of icebox cakes, this Oreo Icebox Cake recipe is undoubtedly my favorite way to introduce you to their irresistible charm!
Refrigerator
To keep your Oreo Icebox Cake fresh and delicious, store it in an airtight container in the refrigerator for up to 5 days. The cake’s flavor and texture will actually improve over the first day or two as the cookies continue to soften and absorb the creamy goodness. This makes it an excellent make-ahead dessert for parties or busy weeks.
Freezer
For a fantastic long-term storage option, or if you simply prefer a frozen dessert, the Oreo Icebox Cake freezes beautifully. To freeze, wrap the entire cake (or individual slices) thoroughly in plastic wrap, then an additional layer of aluminum foil to prevent freezer burn. It can be stored in the freezer for up to 1 month. When you’re ready to enjoy, simply defrost the cake in the refrigerator overnight. You can also serve it slightly frozen for a firmer, ice cream cake-like experience.
Tips for a Perfect Oreo Icebox Cake
Making a show-stopping Oreo Icebox Cake, especially one featuring homemade whipped cream, is simple but a few pointers can elevate your dessert from good to absolutely phenomenal. Here are some essential tips to ensure your no-bake creation is a resounding success:
- **Achieve the Right Whipped Cream Consistency:** When beating heavy cream, always stop as soon as soft peaks form. Overbeating is a common mistake that can quickly turn your luscious cream into lumpy butter, ruining the smooth texture of your cake layers.
- **Effortless Oreo Crushing:** For perfectly crushed Oreos without a fancy food processor, simply place them in a sturdy zip-top bag. Use a rolling pin to gently, but firmly, roll over the cookies until they reach your desired crumb consistency. This method works wonders and is surprisingly therapeutic!
- **Allow Ample Chilling Time:** The refrigeration period is not just for cooling; it’s the magical transformation phase of your icebox cake. Give your cake at least 4 hours, and ideally overnight, to set in the fridge. This allows the Oreo cookies sufficient time to soften and fully absorb the moisture from the creamy layers, achieving that delightful, cake-like texture.
- **Elevate the Flavor with Chocolate Drizzle:** For an extra burst of decadent flavor and a beautiful presentation, consider drizzling some high-quality chocolate sauce or even caramel sauce over individual servings just before enjoying.
- **Garnish for Visual Appeal:** Always reserve a small portion of crushed Oreos to sprinkle generously over the very top layer of your cake. This not only adds a lovely textural contrast but also gives your finished dessert an enticing, cookie-filled appearance that hints at the deliciousness within.
- **Room Temperature Cream Cheese:** Ensure your cream cheese is at true room temperature before beating. This is crucial for achieving a perfectly smooth and lump-free cream cheese mixture, which is the foundation of your creamy layers.
Essential Ingredients for Your Oreo Icebox Cake
This dessert will likely remind you of a rich, creamy ice cream cake once it’s fully set and ready to enjoy. However, a well-made icebox cake possesses a unique, comforting quality that will satisfy your sweet tooth in its own wonderfully distinctive way!
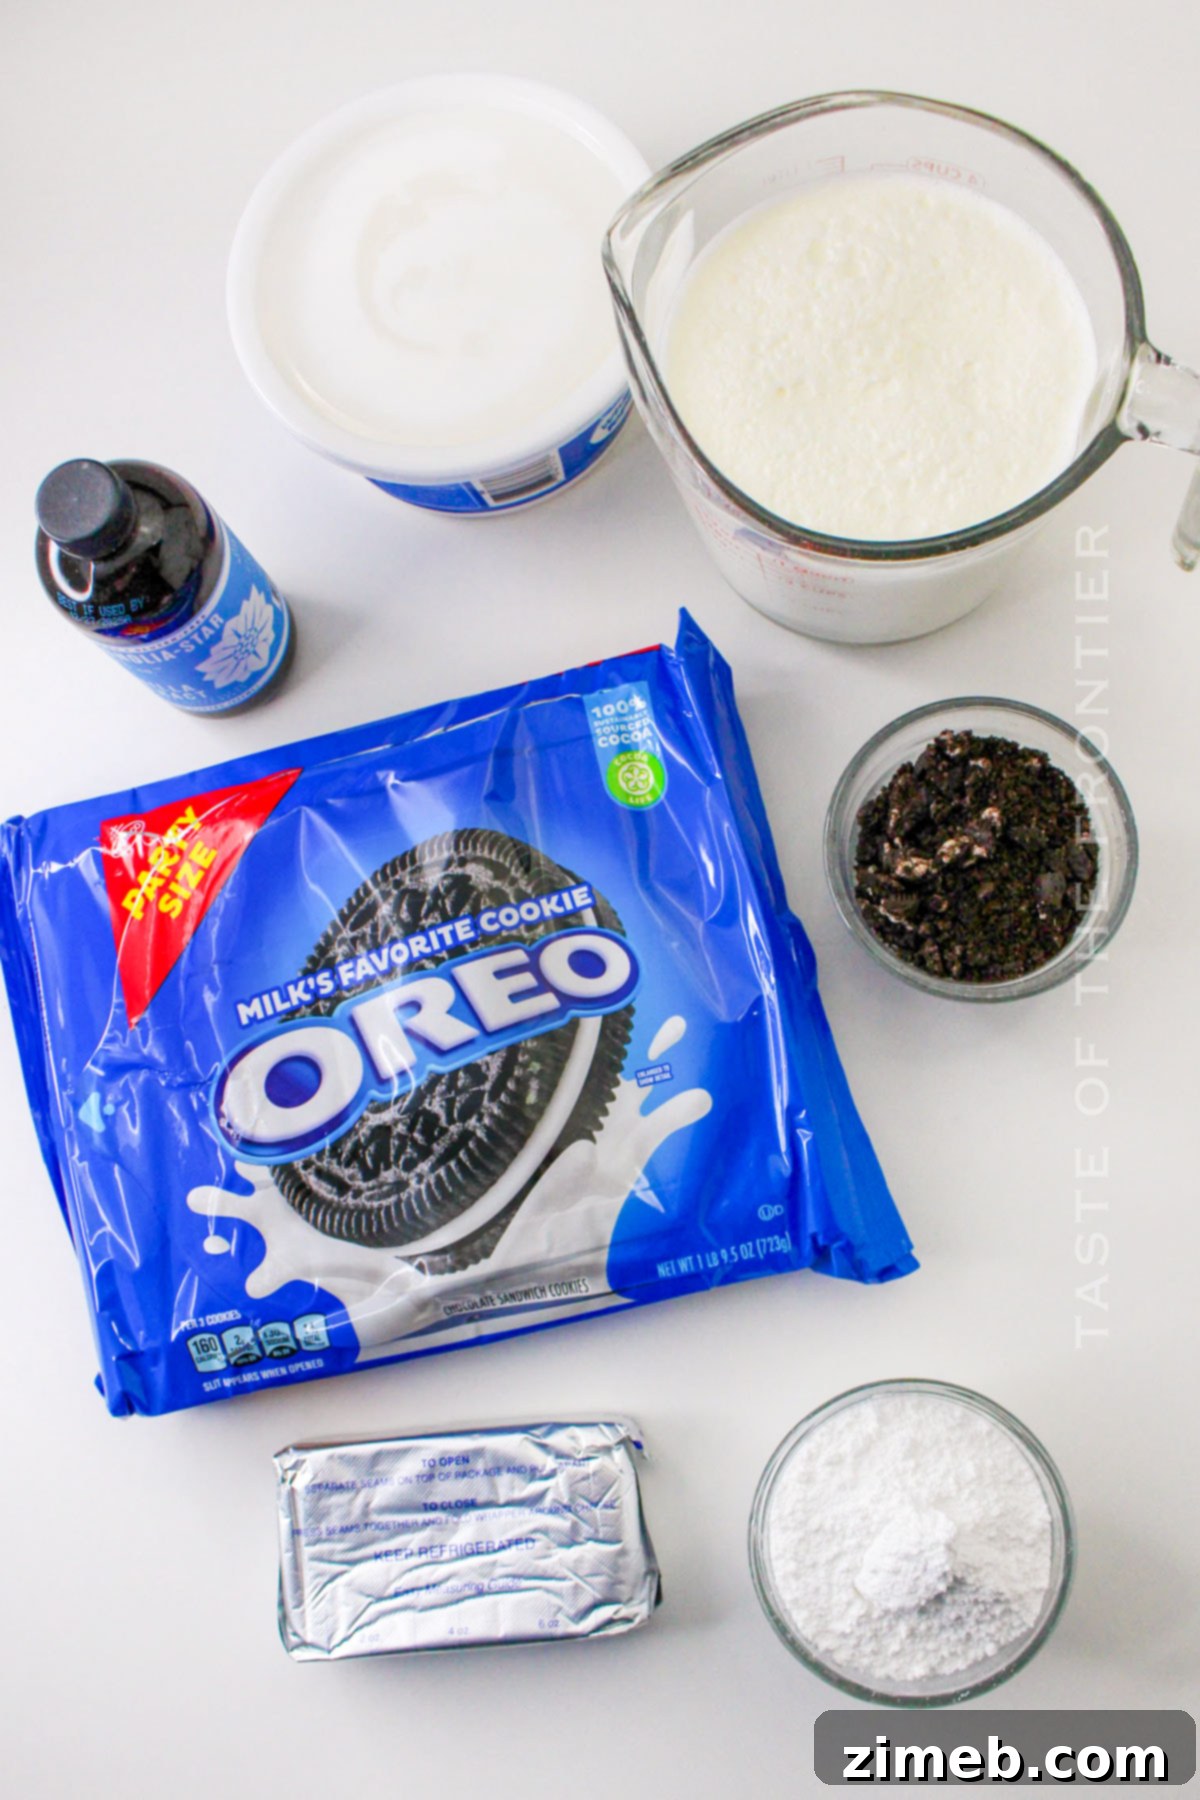
- **Oreo Cookies:** The star of the show! You’ll need whole cookies for layering and some crushed for mixing into the cream and for garnish.
- **Cream Cheese, Room Temperature:** Essential for the rich, tangy, and stable creamy layers. Ensure it’s softened to avoid lumps.
- **Vanilla Extract:** Enhances all the sweet flavors and adds a warm, aromatic note.
- **Heavy Cream:** Forms the base of your fluffy whipped cream, providing richness and body.
- **Confectioner’s Sugar (Powdered Sugar):** Sweetens the cream mixture and helps stabilize the whipped cream, ensuring a smooth texture without a grainy feel.
- **Crushed Oreo Cookies (divided):** These are folded into the cream for an extra burst of Oreo flavor and texture, and reserved for a beautiful top sprinkle.
- **Whipped Topping (thawed):** Used for the final, airy layer on top, offering a lovely contrast to the denser cream cheese layers.
How to Make the Perfect Oreo Icebox Cake
In my opinion, the easiest desserts are often the best, especially when they deliver on taste and presentation without hours in the kitchen. This incredible Oreo icebox cake truly fits that bill! Follow these simple steps to create a show-stopping dessert that everyone will adore:
- **Prepare Your Base Layer:** Begin by arranging a single layer of whole Oreo cookies neatly across the bottom of a 9×13-inch casserole dish. Try to cover as much of the surface as possible, breaking cookies if necessary to fill gaps.
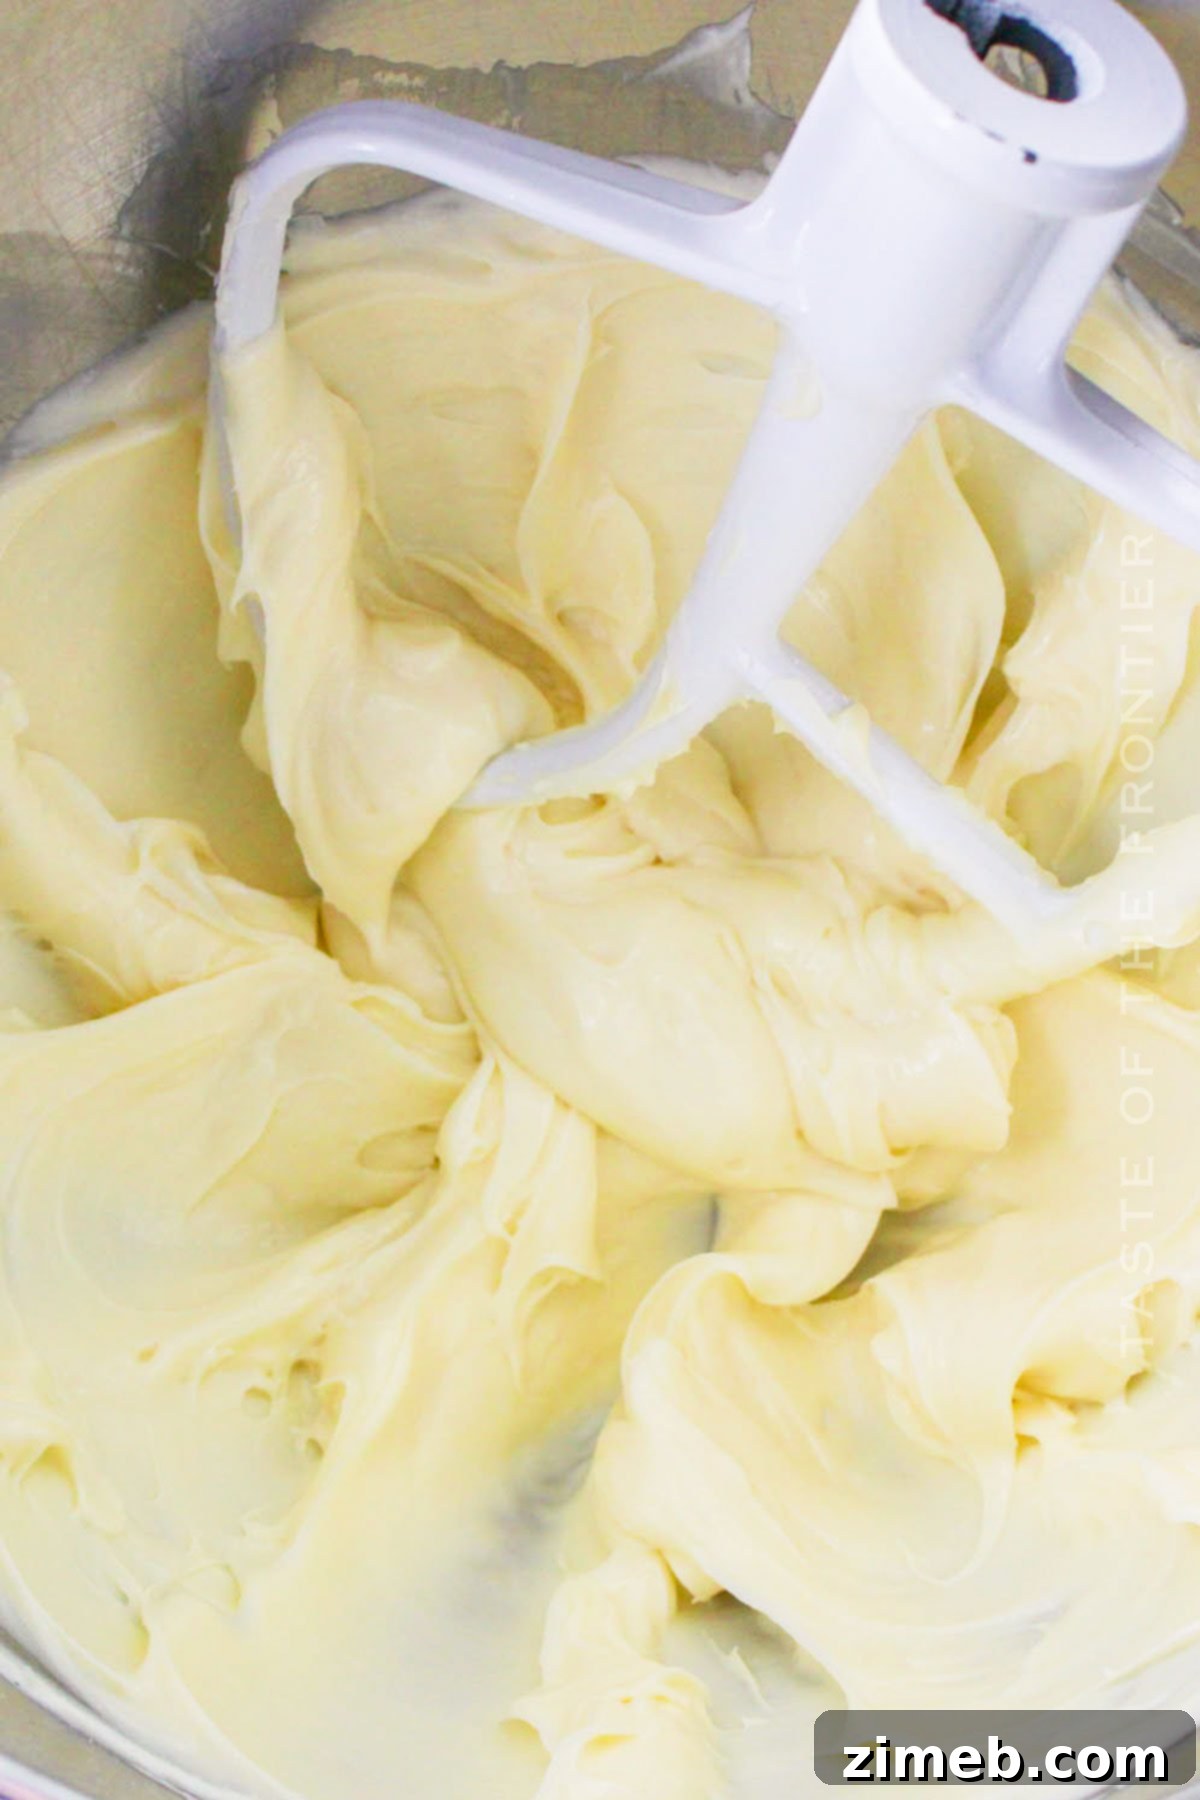
- **Create the Cream Cheese Mixture:** In a large mixing bowl, combine the softened cream cheese and vanilla extract. Beat them together with an electric mixer until the mixture is completely smooth and free of any lumps. This ensures a velvety texture for your filling.
- **Whip the Cream:** Gradually add the confectioner’s sugar and heavy cream to the cream cheese mixture. Continue beating on medium-high speed until firm, yet soft peaks form. Be careful not to overbeat, as this can turn your cream grainy.
- **Incorporate Crushed Oreos:** Reserve approximately 2 tablespoons of finely crushed Oreo crumbs for garnish. Gently fold the remaining crushed Oreo crumbs into the luscious cream mixture. This adds incredible flavor and texture throughout the cake.
- **First Cream Layer:** Carefully drop about one-third of your creamy Oreo mixture over the initial layer of whole Oreo cookies in the casserole dish. Use a spatula to gently spread it into an even, smooth layer, ensuring all cookies are covered.
- **Repeat for Layers:** Repeat the layering process twice more. Start with a layer of whole Oreo cookies, then top with another third of the cream mixture. Continue until you have three layers of cookies and three layers of cream.
- **Top with Whipped Topping:** Once your final cream layer is in place, spread the thawed whipped topping evenly over the entire surface of the cake. This adds a light, airy finish.
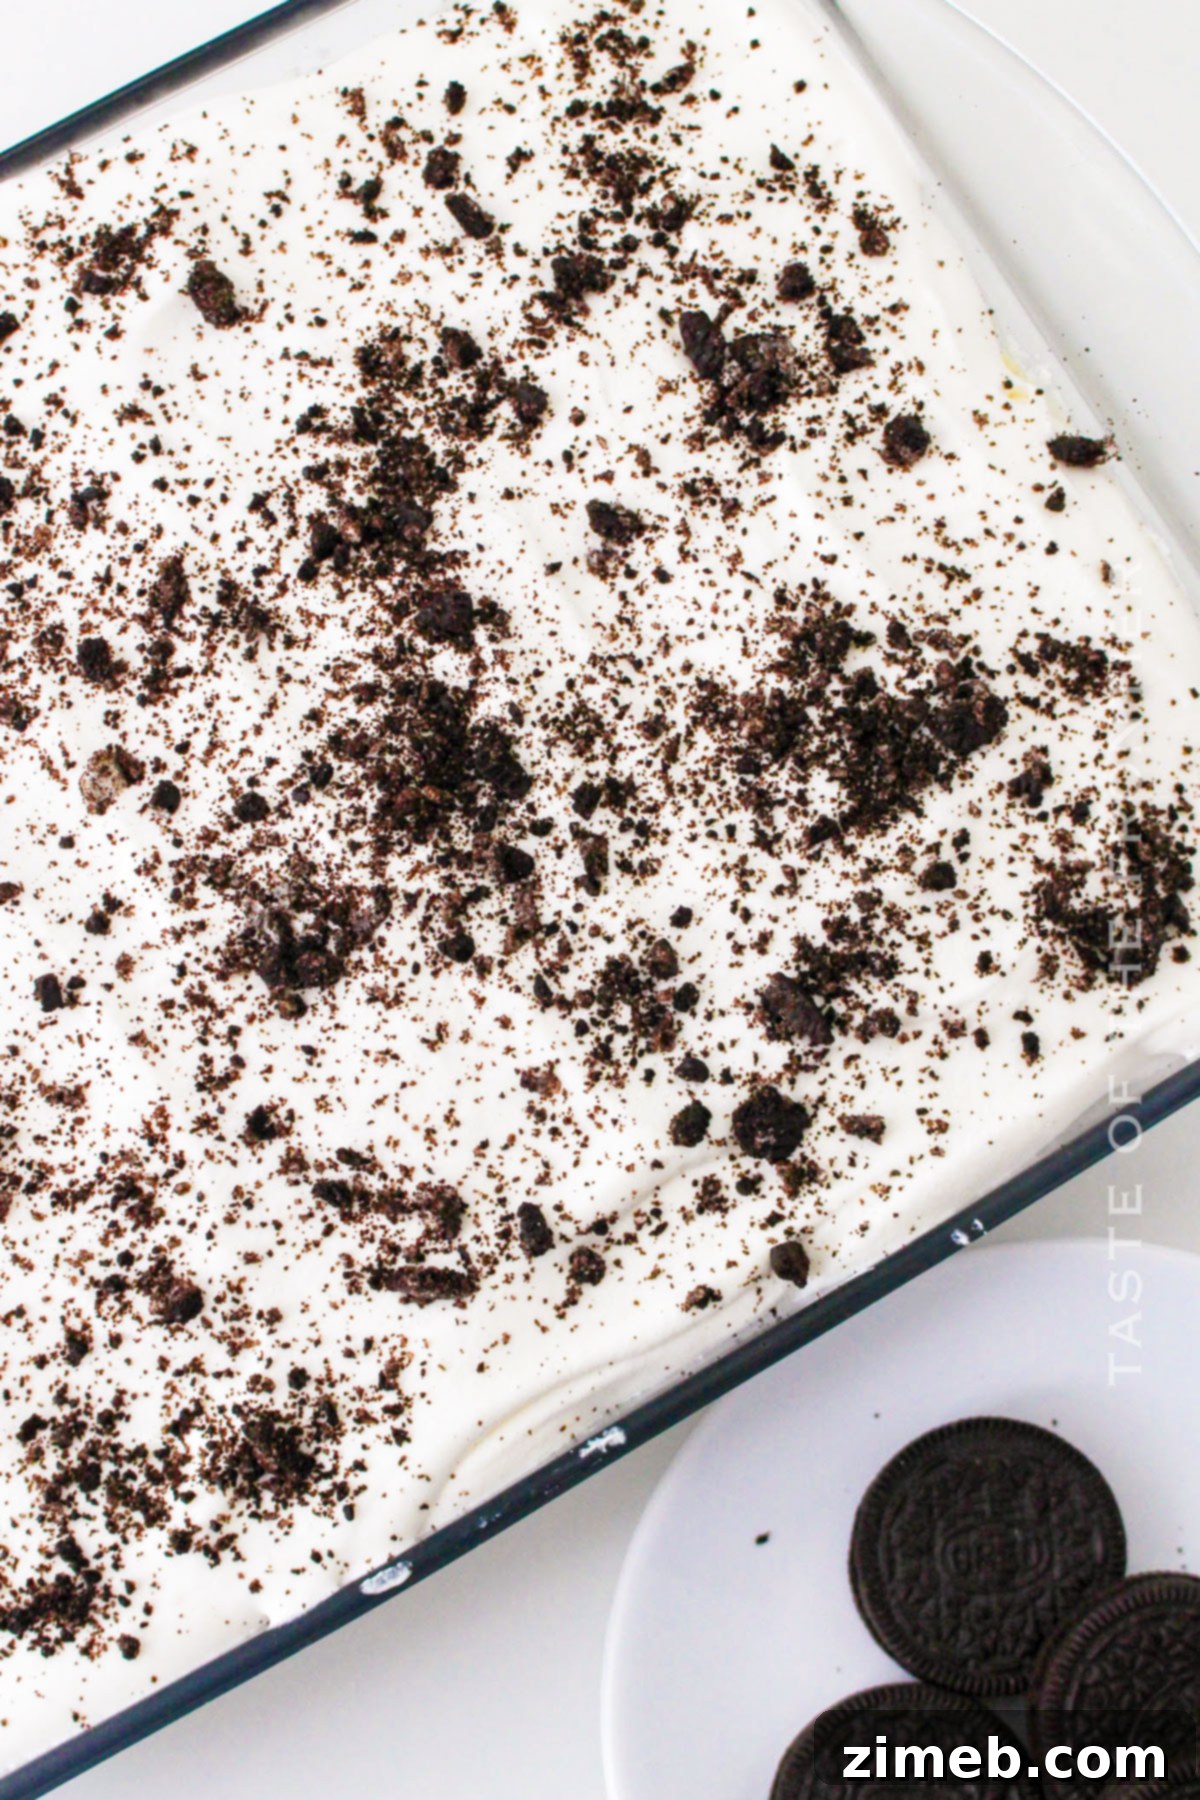
- **Final Garnish:** Sprinkle the reserved crushed Oreo cookies over the whipped topping. This provides a beautiful visual appeal and an extra crunch.
- **Chill and Serve:** Cover your assembled dessert tightly with plastic wrap and refrigerate for at least 4 hours. For the best flavor and texture, chilling it overnight is highly recommended. The longer it chills, the softer the cookies become, truly transforming into a delightful cake. Slice and serve cold!
Kitchen Supplies You’ll Need for Oreo Icebox Cake
One of the many joys of making an Oreo Icebox Cake is that it requires minimal kitchen equipment. With simple ingredients and basic supplies, you can spend less time on preparation and cleanup, and more time relaxing after crafting this effortless dessert. Here’s what you’ll need:
- 9×13 Casserole Dish: This standard-sized baking dish is perfect for assembling your layered cake.
- Large Mixing Bowl: You’ll need this for combining your cream cheese, sugar, and heavy cream to create the rich filling.
- Electric Mixer: Essential for beating the cream cheese until smooth and whipping the heavy cream to stiff peaks. A hand mixer or stand mixer will both work beautifully.
- Spatula: A sturdy rubber or silicone spatula is indispensable for folding in crushed Oreos and spreading the creamy layers evenly.
- **Measuring Cups and Spoons:** For accurate ingredient measurements.
- **Zip-top bag and Rolling Pin (optional):** If you’re crushing Oreos manually.
What to Serve With Oreo Icebox Cake
The rich, creamy, and chocolatey profile of Oreo Icebox Cake makes it a versatile dessert that pairs well with a variety of accompaniments. If you’re searching for something special to serve alongside this decadent treat, consider these delightful pairings:
- **Hot Beverages:** A classic choice, a hot cup of rich cocoa or freshly brewed coffee can beautifully complement the chocolate notes of the cake. The warmth provides a comforting contrast to the chilled dessert.
- **Tart Fruit Salad:** For a refreshing and fun contrast, consider serving your Oreo Icebox Cake alongside a vibrant, tart, and citrusy fruit salad. The bright acidity of the fruit will cut through the cake’s richness, offering a lovely balance.
- **Fresh Tangy Fruits:** Slices of fresh, tangy fruits like juicy oranges, sweet pineapples, or ripe strawberries would complement this cream-filled dessert wonderfully. Their natural sweetness and slight tartness provide a refreshing counterpoint to the deep chocolate and creamy layers. Berries, in particular, always make a fantastic pairing.
- **Ice Cream or Sorbet:** For an extra indulgent experience, a scoop of vanilla bean ice cream or a light fruit sorbet can enhance the dessert. The sorbet can act similarly to the fresh fruit, providing a zesty contrast.
Why You Should Make Oreo Icebox Cake Today
Beyond the obvious reason – delicious Oreo cookies! – there are so many compelling reasons to whip up this amazing no-bake Oreo Icebox Cake:
- **Perfect for Warm Weather:** It’s a completely **no-bake cake**, making it the ideal dessert for those scorching summer days when the last thing you want is to heat up your kitchen by turning on the oven. Keep cool and enjoy!
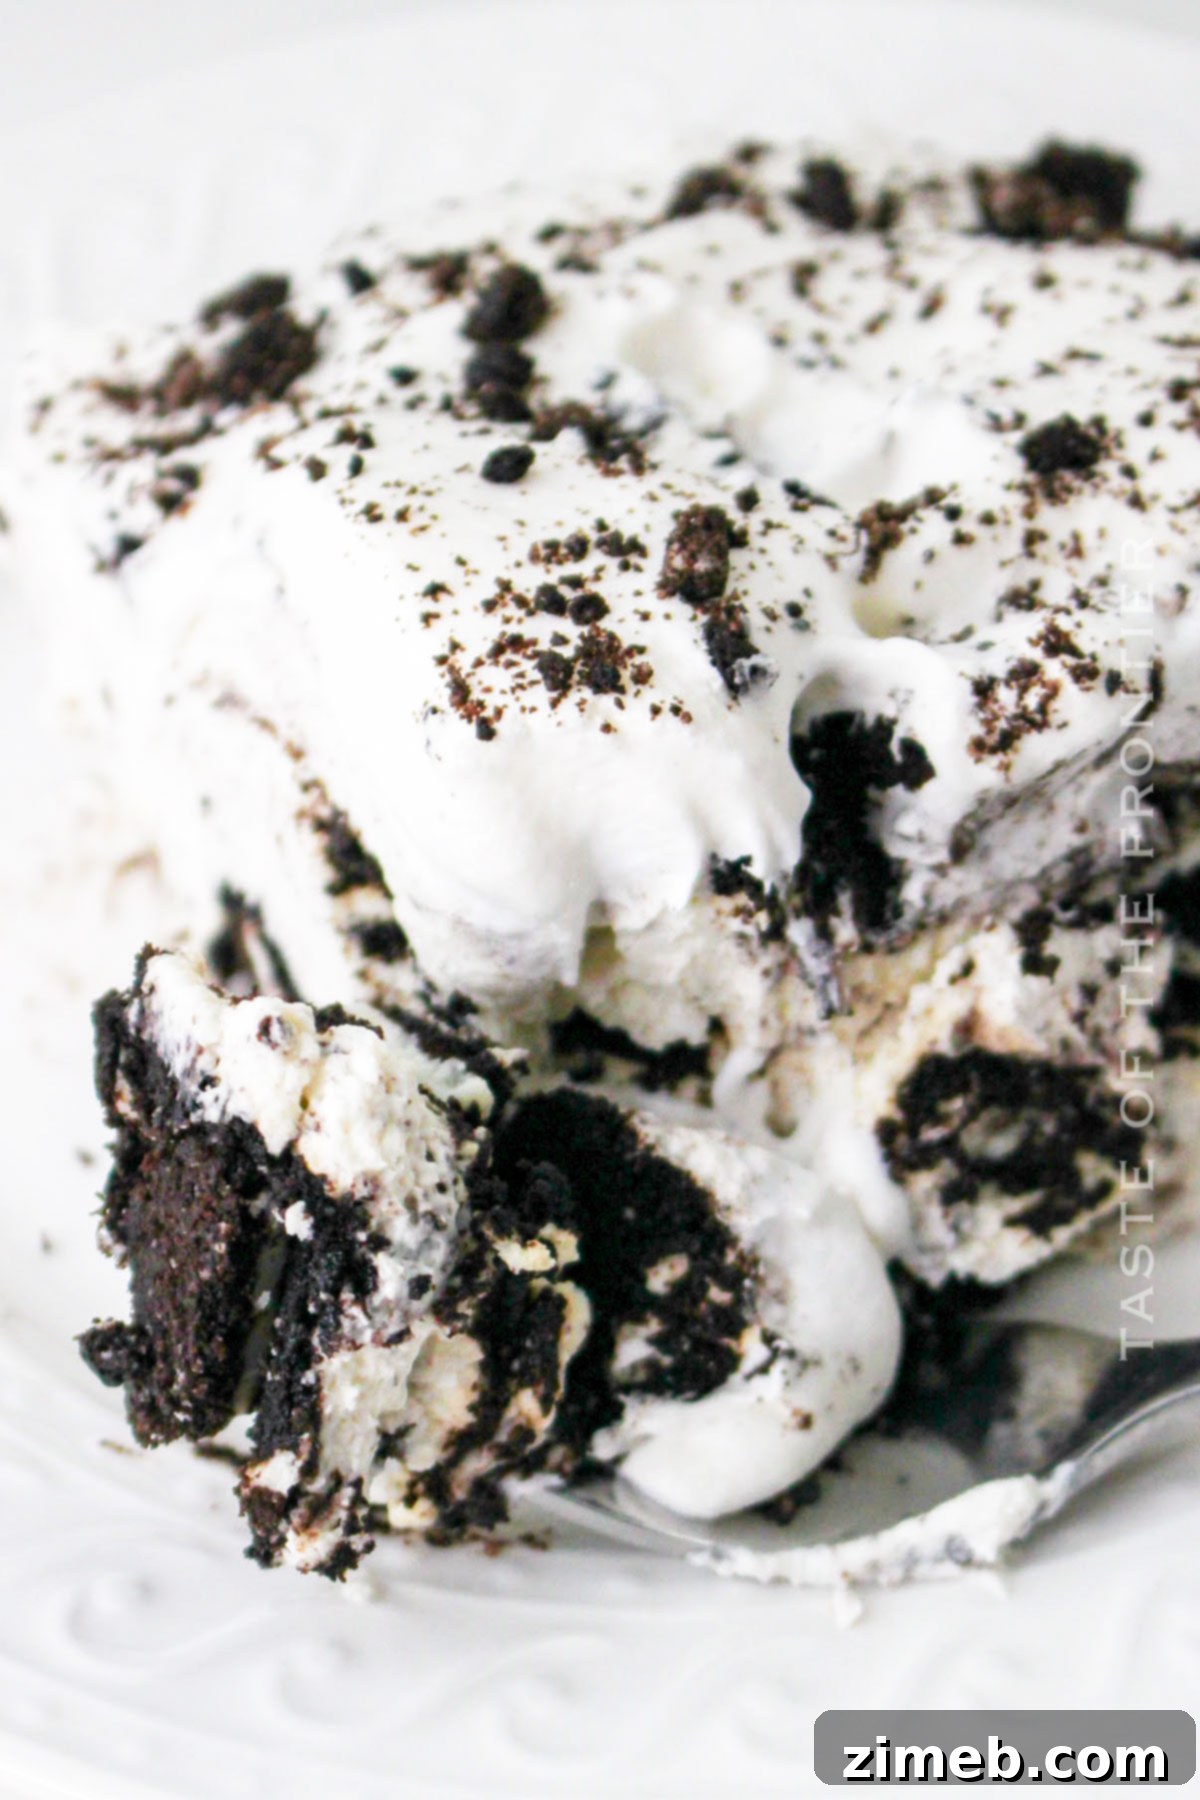
- **Irresistible Texture & Flavor:** The magical combination of the **crunchy Oreos transforming into tender cake layers and the rich, creamy filling** makes for a truly **delicious dessert** that absolutely every member of your family, and any guest, will adore. It’s a textural masterpiece.
- **Incredibly Easy Recipe:** This is an **easy recipe with simple, accessible ingredients**. Most, if not all, of these items are likely already in your pantry or can be effortlessly found at any local grocery store. No obscure ingredients or complicated techniques required!
- **A Guaranteed Crowd-Pleaser:** This cake is a **definite crowd-pleaser**, a dessert that garners rave reviews every single time. Whether you’re hosting a birthday party, celebrating a holiday, bringing it to a potluck, or just enjoying a regular Tuesday evening, this cake will undoubtedly earn you endless compliments and happy smiles.
- **Make-Ahead Convenience:** Its ability to be prepared in advance and its improvement with chilling time make it a stress-free option for entertaining. Prepare it the day before, and simply pull it out of the fridge when ready to serve.
Creative Variations and Delicious Add-Ins for Your Oreo Icebox Cake
While the classic Oreo Icebox Cake is perfect as is, it also serves as a fantastic canvas for your creativity! Don’t hesitate to add a few of the following ideas to your shopping list to inject your own unique flavors and personal touches. As always, find ways to make this recipe truly your own and experiment with what you love!
- **Explore Oreo Flavors:** Don’t limit yourself to the original! Swap out regular Oreos for a delightful **Mint Oreo** for a refreshing twist, or try **Golden Oreos** for a vanilla-based dessert. Seasonal Oreo flavors like pumpkin spice or red velvet can also create exciting variations.
- **Indulge with Syrups:** Add a mesmerizing **swirl of rich chocolate syrup or luscious caramel sauce** in between the creamy layers. This extra touch will add an additional dimension of richness and sweetness that’s truly decadent.
- **Peanut Butter Perfection:** For all the peanut butter lovers, spread a thin layer of creamy **peanut butter** directly onto your Oreo cookies before adding the cream layer. This creates an irresistible chocolate-peanut butter fusion.
- **Candy and Chip Surprises:** Sprinkle in some miniature **Reese’s Pieces, chocolate chips, white chocolate chips**, or even chopped candy bars between layers for an added surprise of texture and flavor with every bite.
- **Coffee Kick:** For an adult twist, a drizzle of coffee liqueur or a sprinkle of instant espresso powder mixed into the cream can create a mocha-flavored delight.
- **Fruity Freshness:** While Oreos are chocolatey, a layer of thinly sliced bananas or fresh raspberries could add a bright, unexpected contrast to the rich cream.
If you love this easy icebox cake recipe, you’re going to adore these other fantastic no-bake treats too! They’re perfect for any occasion and just as simple to prepare. Please click each link below to find the easy, printable recipe and add more deliciousness to your repertoire!
Check out this recipe

Check out this recipe
Check out this recipe

Check out this recipe
Check out this recipe

More Irresistible Icebox Cakes to Try
If you’ve fallen in love with the ease and deliciousness of the Oreo Icebox Cake, then you’re in for a treat! The world of no-bake icebox cakes is vast and full of delightful possibilities. Here are a few more fantastic icebox cake recipes that are just as simple to make and equally satisfying:
- Classic Icebox Cake Recipe: A timeless version that can be customized with various cookies and creams.
- Strawberry Icebox Cake: Layers of fresh strawberries and creamy goodness, perfect for berry season.
- Banana Caramel Icebox Cake: A decadent combination of sweet bananas and rich caramel.
- Blueberry Icebox Cake: Bursting with the fresh, tangy flavor of blueberries, it’s a refreshing delight.
If you absolutely adore this recipe for Oreo Icebox Cake as much as I do, please take a moment to leave a five-star review below, and be sure to help me share this delightful creation with friends and family on Facebook and Pinterest! Your support means the world and helps others discover these fantastic recipes.
CONNECT WITH YUMMI HAUS!
Be sure to follow me on my social media channels, so you never miss a post or a new delicious recipe!
Substack, Facebook, Pinterest, Instagram, Email Subscription
Rate this Recipe
Oreo Icebox Cake
Ingredients
- 25.5 ounces Oreo cookies 1 package (approximately 36 cookies)
- 8 ounces cream cheese softened to room temperature
- 1 teaspoon vanilla extract
- 4 cups heavy cream (cold)
- ¾ cup confectioner’s sugar (powdered sugar)
- ½ cup Oreo cookies crushed – divided for mixing and topping
- 8 ounces whipped topping such as Cool Whip, thawed
Instructions
-
In a 9×13 casserole dish, place a single layer of whole Oreo cookies. Arrange them closely together to form the base of your cake.
-
In a large mixing bowl, using an electric mixer, beat the softened cream cheese and vanilla extract together until the mixture is perfectly smooth and creamy, with no lumps remaining.
-
Gradually add the confectioner’s sugar and cold heavy cream to the cream cheese mixture. Continue beating on medium-high speed until the mixture forms soft, stable peaks. Be careful not to overbeat.
-
Reserve 2 tablespoons of the crushed Oreo crumbs for a garnish later. Gently fold the remaining crushed Oreo crumbs into the prepared creamy mixture until just combined.
-
Drop approximately one-third of the creamy Oreo mixture evenly over the initial layer of whole Oreo cookies in your casserole dish. Use a spatula to gently spread it into an even layer, ensuring good coverage.
-
Repeat the layering process two more times: add another layer of whole Oreo cookies, followed by another third of the cream mixture. Continue until you have three distinct layers of cookies and cream.
-
Once all layers are assembled, spread the thawed whipped topping evenly over the very top layer of the cake, creating a smooth finish.
-
Generously sprinkle the reserved crushed Oreo cookies over the whipped topping. This adds a beautiful visual appeal and a final touch of crunchy chocolate goodness.
-
Cover the dessert tightly with plastic wrap and refrigerate for a minimum of 4 hours. For the best flavor, texture, and cookie softening, it is highly recommended to chill the cake overnight before slicing and serving.
Notes
Nutrition
Nutritional information for the recipe is provided as a courtesy and is approximate. Please double-check with your own dietary calculator for the best accuracy. We at Yummi Haus cannot guarantee the accuracy of the nutritional information given for any recipe on this site.