
This is a sponsored post written by me on behalf of FrogTape for SocialSpark. All opinions expressed are 100% my own.
DIY Beachy Painted Corkboard: Create Coastal Charm with FrogTape Shape Tape
As our family embarks on the exciting journey of moving into a new home, one of my most cherished projects has been creating personalized, special spaces for each of my children. This endeavor holds particular significance for my daughters, who have shared a room for an entire decade. The thought that my youngest, affectionately known as ‘the munchkin,’ has never had a space truly her own filled me with a determination to make her new room extraordinary. And so, she was assigned the largest room in the house – a fitting reward for her patience and a blank canvas for her dreams. Though she may be the smallest and possess the fewest belongings, this room will be her sanctuary for years to come.
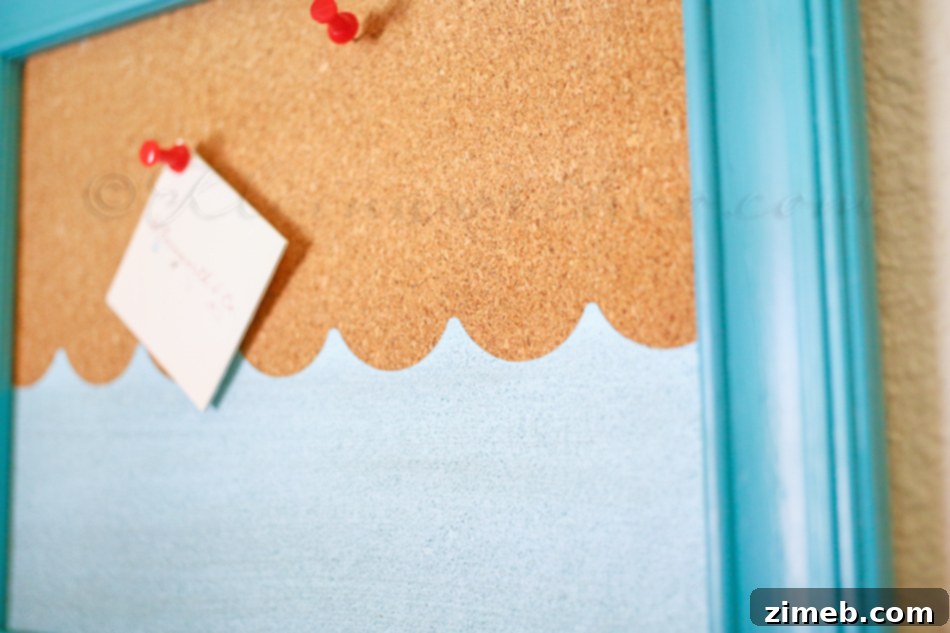
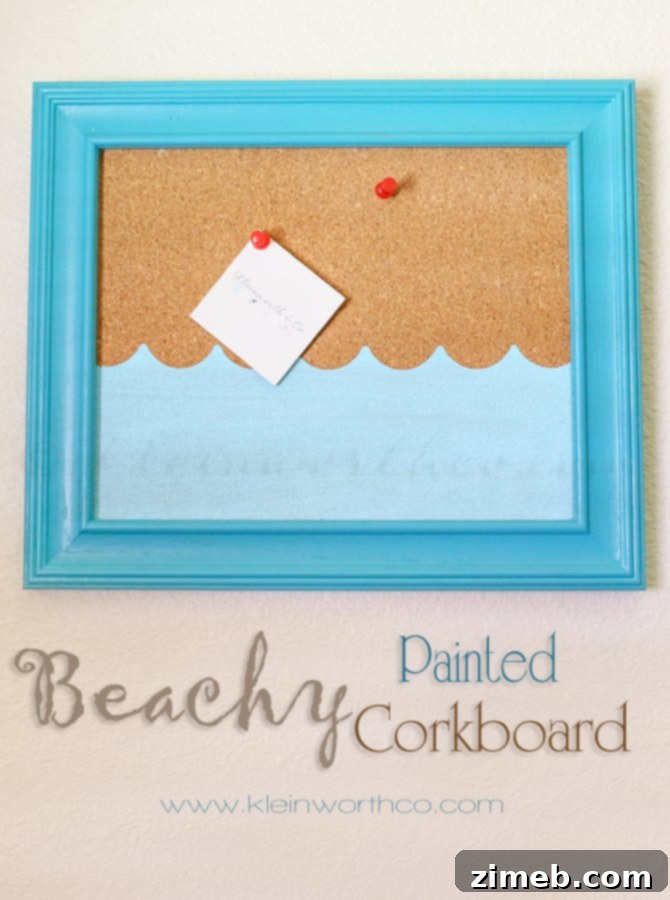
To truly personalize her space, I involved her in the design process, allowing her to choose a theme that resonated with her. Her choice? A captivating beachy theme. She envisioned serene, cool coastal tones, and I’ve been diligently incorporating these elements into every corner of her room, crafting various decor items to bring her vision to life. My latest creation, designed to blend seamlessly with her chosen aesthetic while also providing practical organization, is this enchanting Beachy Painted Corkboard. Its subtle wave patterns perfectly capture the calming, oceanic vibe she desires, making it an ideal addition to her coastal haven.
Transforming an Old Frame into a Coastal Masterpiece
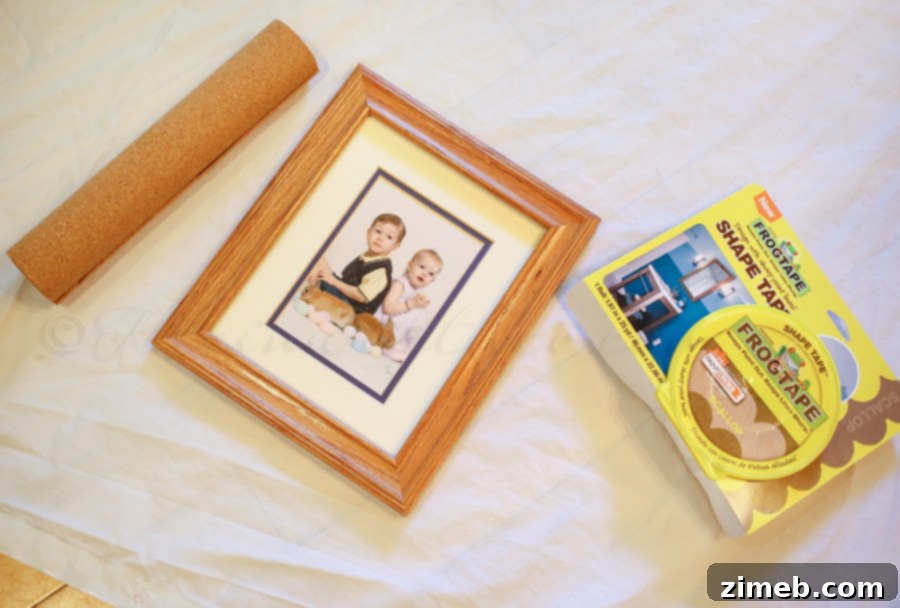
One of the most rewarding aspects of DIY projects is the opportunity to repurpose items that might otherwise be discarded. I have a veritable treasure trove of old and outdated oak picture frames tucked away, and this project provided the perfect chance to give one a new lease on life. I specifically chose a frame whose glass had broken long ago, leaving it forgotten on a shelf, patiently awaiting its transformation. This frame, filled with memories of my two oldest children (now 16 and 13!), bore witness to years gone by. Its dated appearance was a clear sign: it was time for a modern makeover, infusing it with fresh, beach-inspired elegance.
Let’s dive into how incredibly simple and satisfying this DIY project was to complete!
Supplies You’ll Need for Your Coastal Corkboard
Gathering your materials is the first step towards bringing your coastal vision to life. Here’s a detailed list of everything you’ll need, along with a few tips for selection:
- Picture Frame: Any size or material will work, but consider repurposing an old wooden frame for an eco-friendly touch. Make sure it’s sturdy enough to hold the cork.
- Cork Roll: A thin roll of cork is perfect for this project. You can find this at most craft or office supply stores. Alternatively, cork tiles could also work if you’re comfortable cutting them.
- FrogTape’s Shape Tape in Scallop: This is the star of our project! The scallop pattern will create those beautiful, flowing wave designs. FrogTape is renowned for its PaintBlock® Technology, which is crucial for clean lines, especially on porous surfaces like cork.
- Paint Colors of Choice: For a beachy theme, consider shades of blues, greens, sandy beige, or crisp white. Acrylic or latex paints work well for both the frame and the cork.
- Paint Brushes: Have a few different sizes on hand for detailed work and broader strokes.
- Strong Adhesive (e.g., Hot Glue or Craft Glue): To secure the cork to a backing.
- Cardboard or Foam Board: A piece the same size as your frame’s opening will serve as the sturdy backing for your cork.
- Craft Knife or Scissors: For cutting the cork and cardboard.
- Measuring Tape or Ruler: For accurate cutting and tape placement.
**Pro Tip:** Before diving into any DIY project, especially those involving paint, I always recommend laying down a protective barrier. For this project, a simple shower curtain spread across my workspace was invaluable in safeguarding our beautiful hardwood floors from any accidental spills or splatters. It’s a small step that can save a lot of heartache!
Step-by-Step Guide: Crafting Your Beachy Corkboard
1. Prepare Your Cork Base
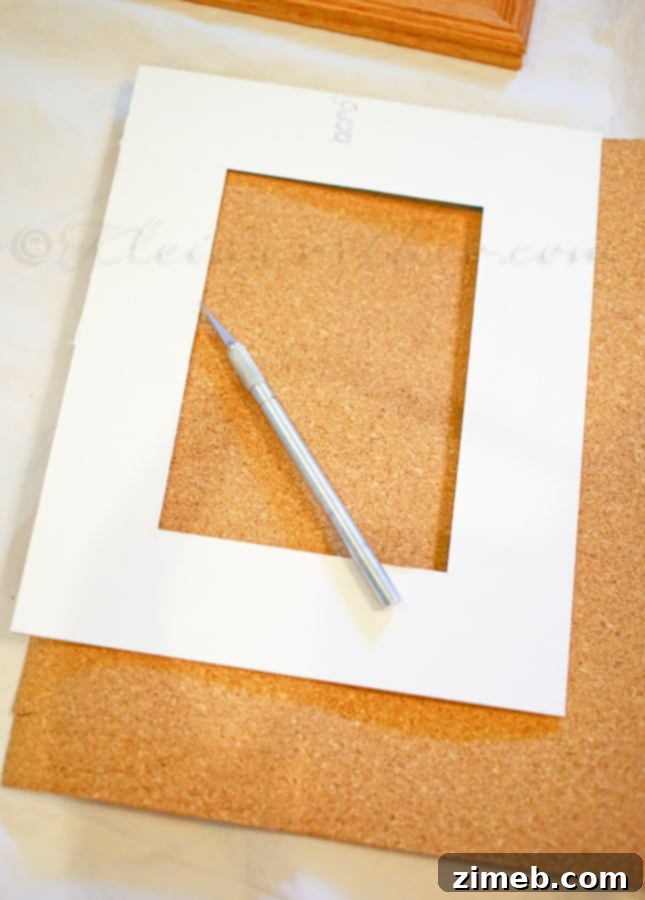
Begin by carefully disassembling your chosen picture frame. Remove any existing pictures, backing, or glass. The mat, if present, makes an excellent template for your cork. Simply lay the mat over your cork roll and trace its dimensions. Use a sharp craft knife or sturdy scissors to cut the cork to size, ensuring clean, precise edges. If your frame doesn’t have a mat, simply measure the inner dimensions of the frame opening.
Next, you’ll want to create a stable backing for your cork. Cut a piece of cardboard or foam board to the exact same dimensions as your cork. Using a strong adhesive, such as hot glue or a durable craft glue, firmly attach the cork to the cardboard backing. This step provides stability and ensures your corkboard can withstand repeated pinning without warping or tearing.
2. Apply FrogTape Shape Tape for Perfect Waves
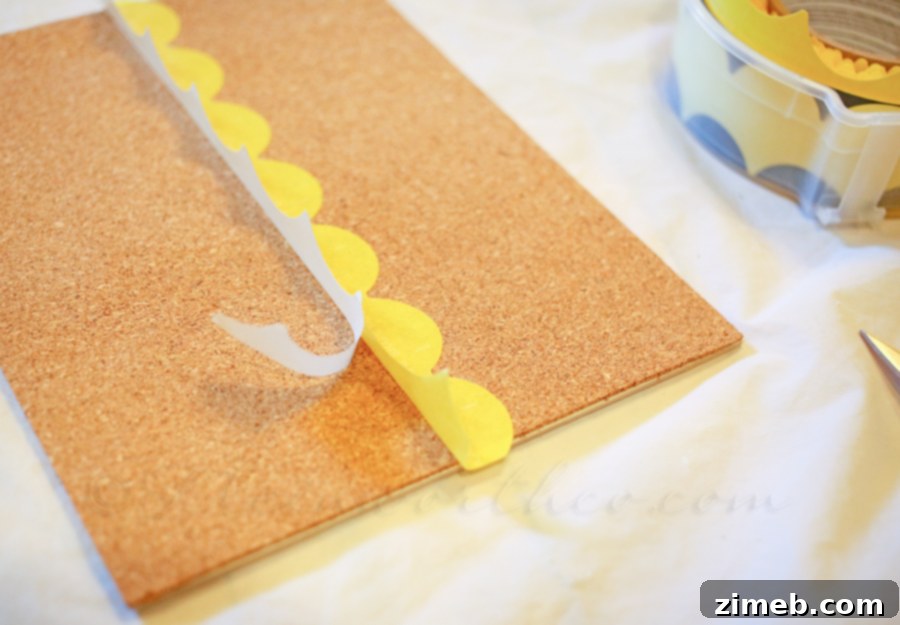
Now for the magic! This is where FrogTape’s Shape Tape™ truly shines. I used the Scallop pattern to create beautiful, flowing wave designs reminiscent of the ocean. The tape is incredibly user-friendly, designed with a split backing that makes application incredibly easy. Simply measure the desired length, cut the tape, and remove half of the backing. Carefully adhere this section to your corkboard, pressing down firmly to ensure good adhesion. Once the first half is in place, remove the remaining backing and complete the placement, gently smoothing out any air bubbles.
What sets FrogTape apart is its innovative PaintBlock® Technology. This isn’t just ordinary masking tape. It features a super-absorbent polymer that reacts instantly with the water in latex paint. Upon contact, it forms a micro-barrier that effectively seals the edges of the tape. This ingenious technology is what prevents paint bleed, ensuring those incredibly crisp, clean lines – even when working with a porous surface like cork. The results are consistently professional, and it significantly simplifies the painting process, allowing for stunning, effortless designs.
3. Paint Your Coastal Vision
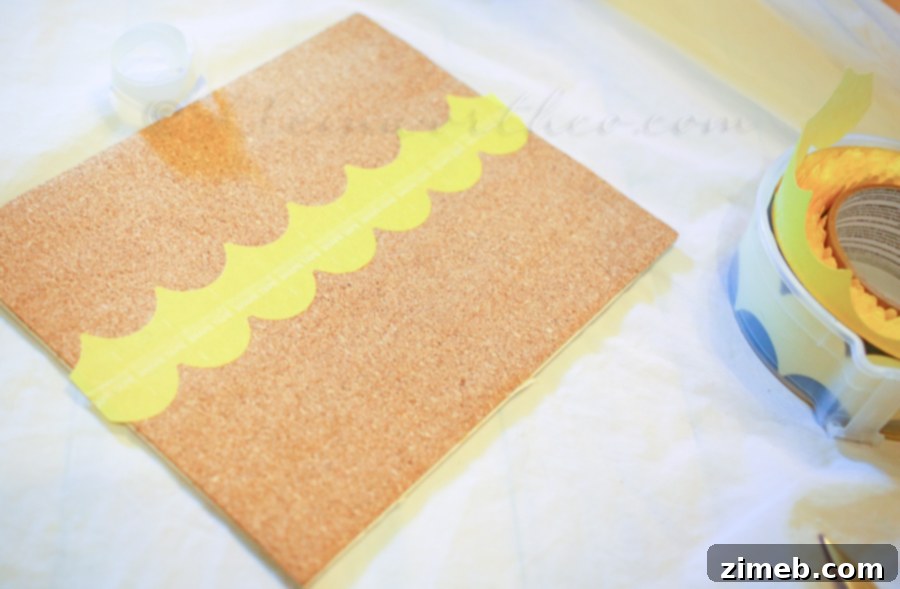
With your Shape Tape securely in place, it’s time to bring color to your project. I started by painting the frame first. Since it was an old honey oak, it required two coats of a crisp white paint to achieve full coverage and a fresh, modern look. Allow adequate drying time between coats for a smooth finish.
While the frame was drying, I moved on to the corkboard itself. Using a soft brush, I applied a beautiful lighter shade of green paint over the entire surface of the cork, including over the Shape Tape. This gentle coastal green perfectly complements the beachy theme. Don’t be afraid to apply a generous but even coat to ensure the color penetrates the cork effectively. For best results, allow the paint to dry to the touch before proceeding to the next step.
4. The Grand Reveal: Unveiling Your Wave Pattern
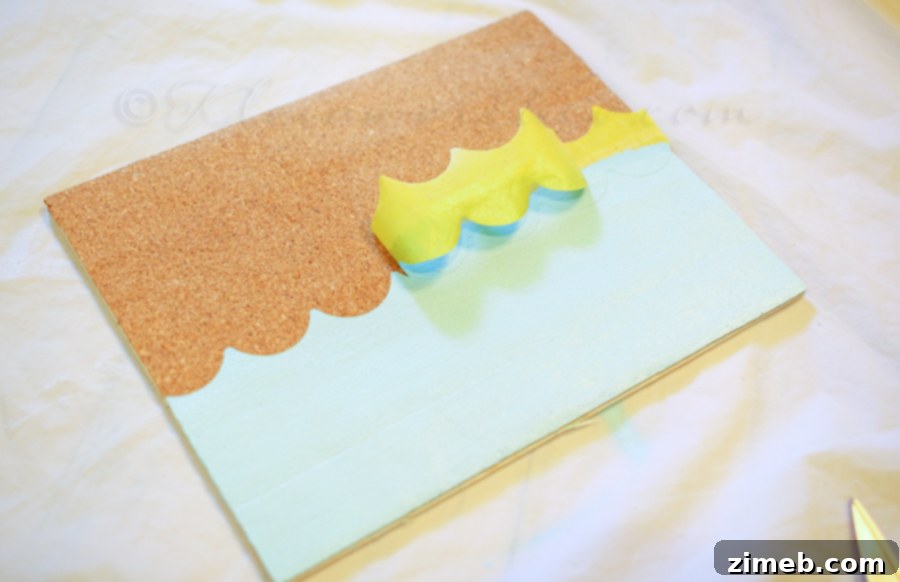
This is arguably the most exciting part of the project! Thanks to FrogTape’s superior technology, you can immediately remove the Shape Tape™ without having to wait for the paint to completely dry. This swift removal is key to achieving those crisp, clean lines without any paint pulling up or bleeding. As you gently peel away the tape, you’ll reveal the stunning, perfectly defined wave pattern beneath. The satisfaction of seeing those clean edges is immense – it truly transforms a simple corkboard into a piece of art! I was absolutely delighted with the results; the beautiful wave pattern adds so much character and perfectly embodies the coastal theme. It was so easy and the outcome so beautiful that it left me eager to use Shape Tape on countless other projects!
5. Final Assembly
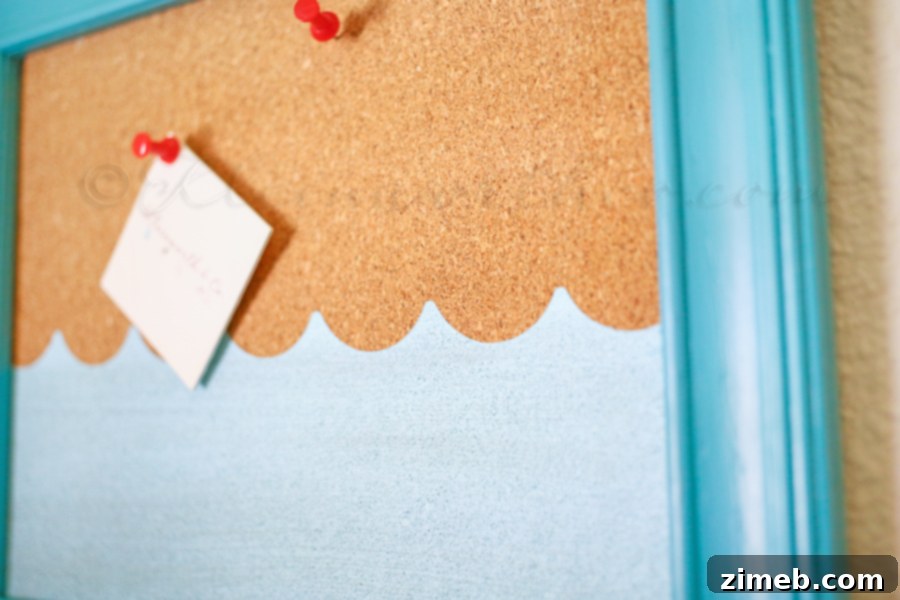
Once both the painted frame and the patterned corkboard are completely dry, it’s time to put everything back together. Carefully insert your newly painted corkboard (cork side facing out) into the frame, just as you would a picture and its backing. Secure it in place with the frame’s original clips or tabs. In about an hour (with most of that time dedicated to paint drying), this ordinary picture frame was transformed into a vibrant, functional Beachy Painted Corkboard – the perfect pop of coastal vibe her room needed.
Beyond the Corkboard: Expanding Your Coastal Decor
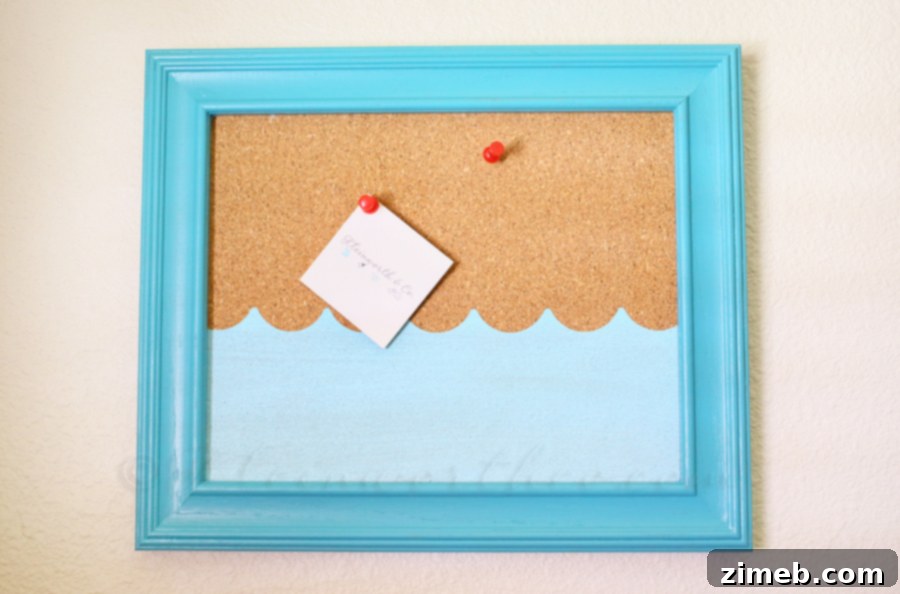
The success of this DIY Beachy Corkboard has truly opened my eyes to the endless possibilities with FrogTape Shape Tape™. Its ease of use and the impeccable results mean I can effortlessly infuse more beachy charm throughout her entire room. Imagine using the scallop pattern on an accent wall to mimic gentle ocean waves, or perhaps on a dresser drawer front for a subtle, unexpected coastal detail. Once we’re fully settled into our new home, I can’t wait to tackle these larger projects and continue personalizing her space with consistent, professional-looking designs, all thanks to this incredible product. From wall art to furniture accents, Shape Tape makes it simple to maintain a cohesive, beautifully themed environment.
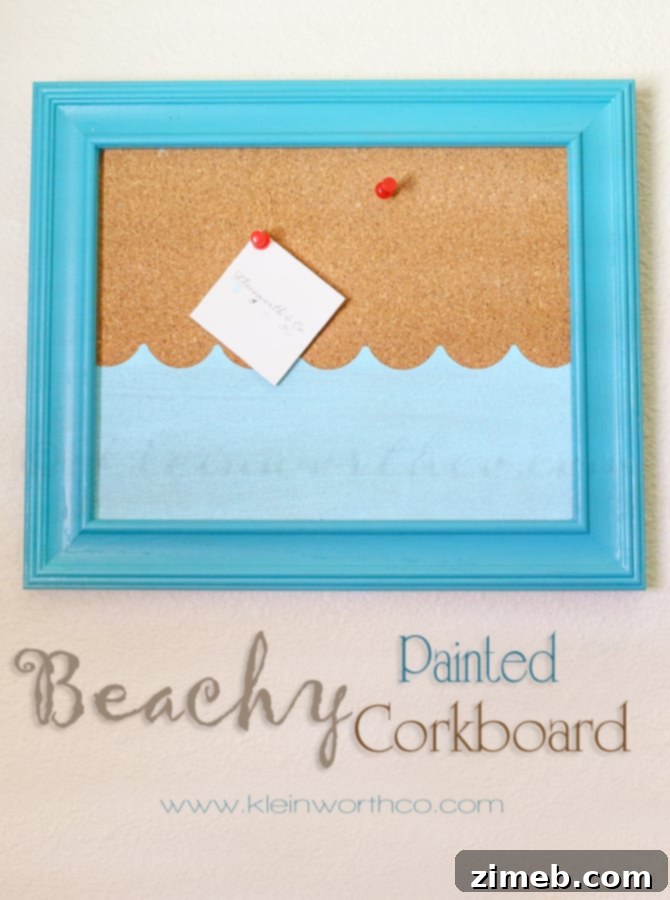
This corkboard project was not only quick and simple but also incredibly fun and rewarding. It’s a testament to how small, thoughtful DIYs can make a huge impact on a room’s atmosphere and functionality. I’m already brimming with ideas for more creative projects once we’re fully settled into our new home. Stay tuned for more transformations!
Connect with FrogTape for Endless Inspiration!
For more innovative ideas, project inspiration, and to learn more about the amazing products like FrogTape® and its Shape Tape™, I highly recommend connecting with them across their social channels:
- Twitter: Follow @FrogTape for updates, tips, and creative sparks.
- Pinterest: Explore their boards for a wealth of DIY project ideas and visually stunning inspiration.
So tell me, fellow DIY enthusiasts: what amazing patterns or projects would you create with Shape Tape™?
Explore More Creative DIY Projects
If you’re looking for more DIY inspiration to organize your home or add a touch of sparkle, check out these related projects:
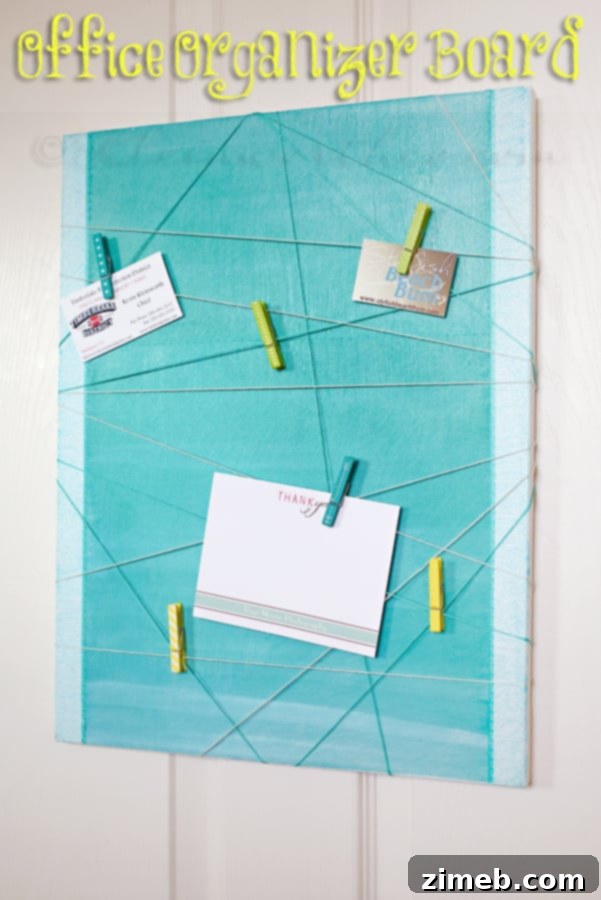
Office Organizer Board
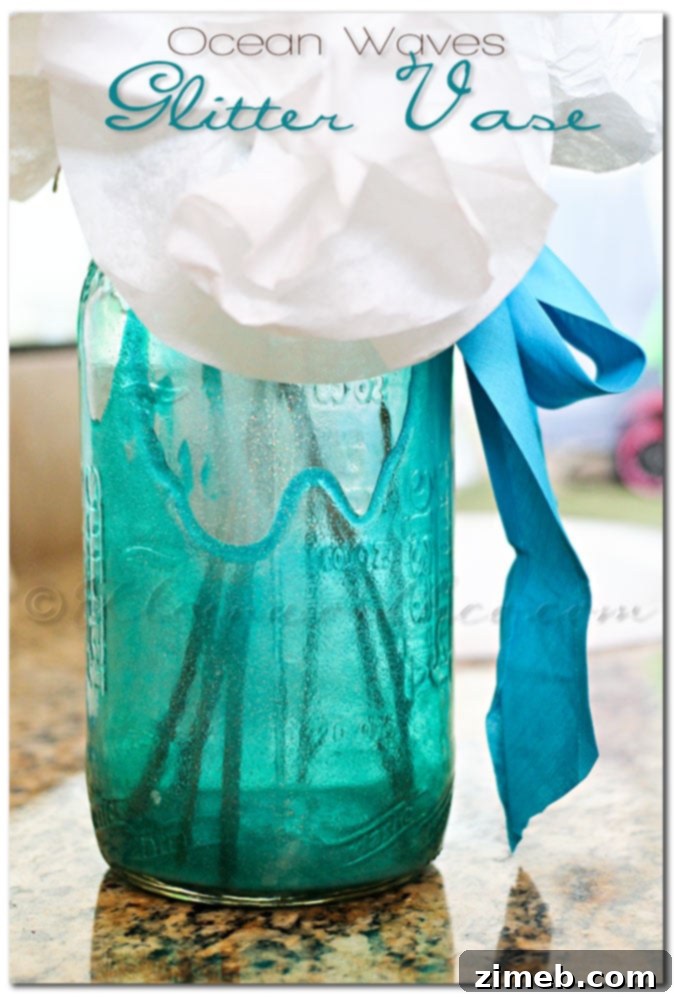
Ocean Waves Glitter Vase
For a deeper dive into my latest creative endeavors and where I find inspiration, feel free to visit HERE.