
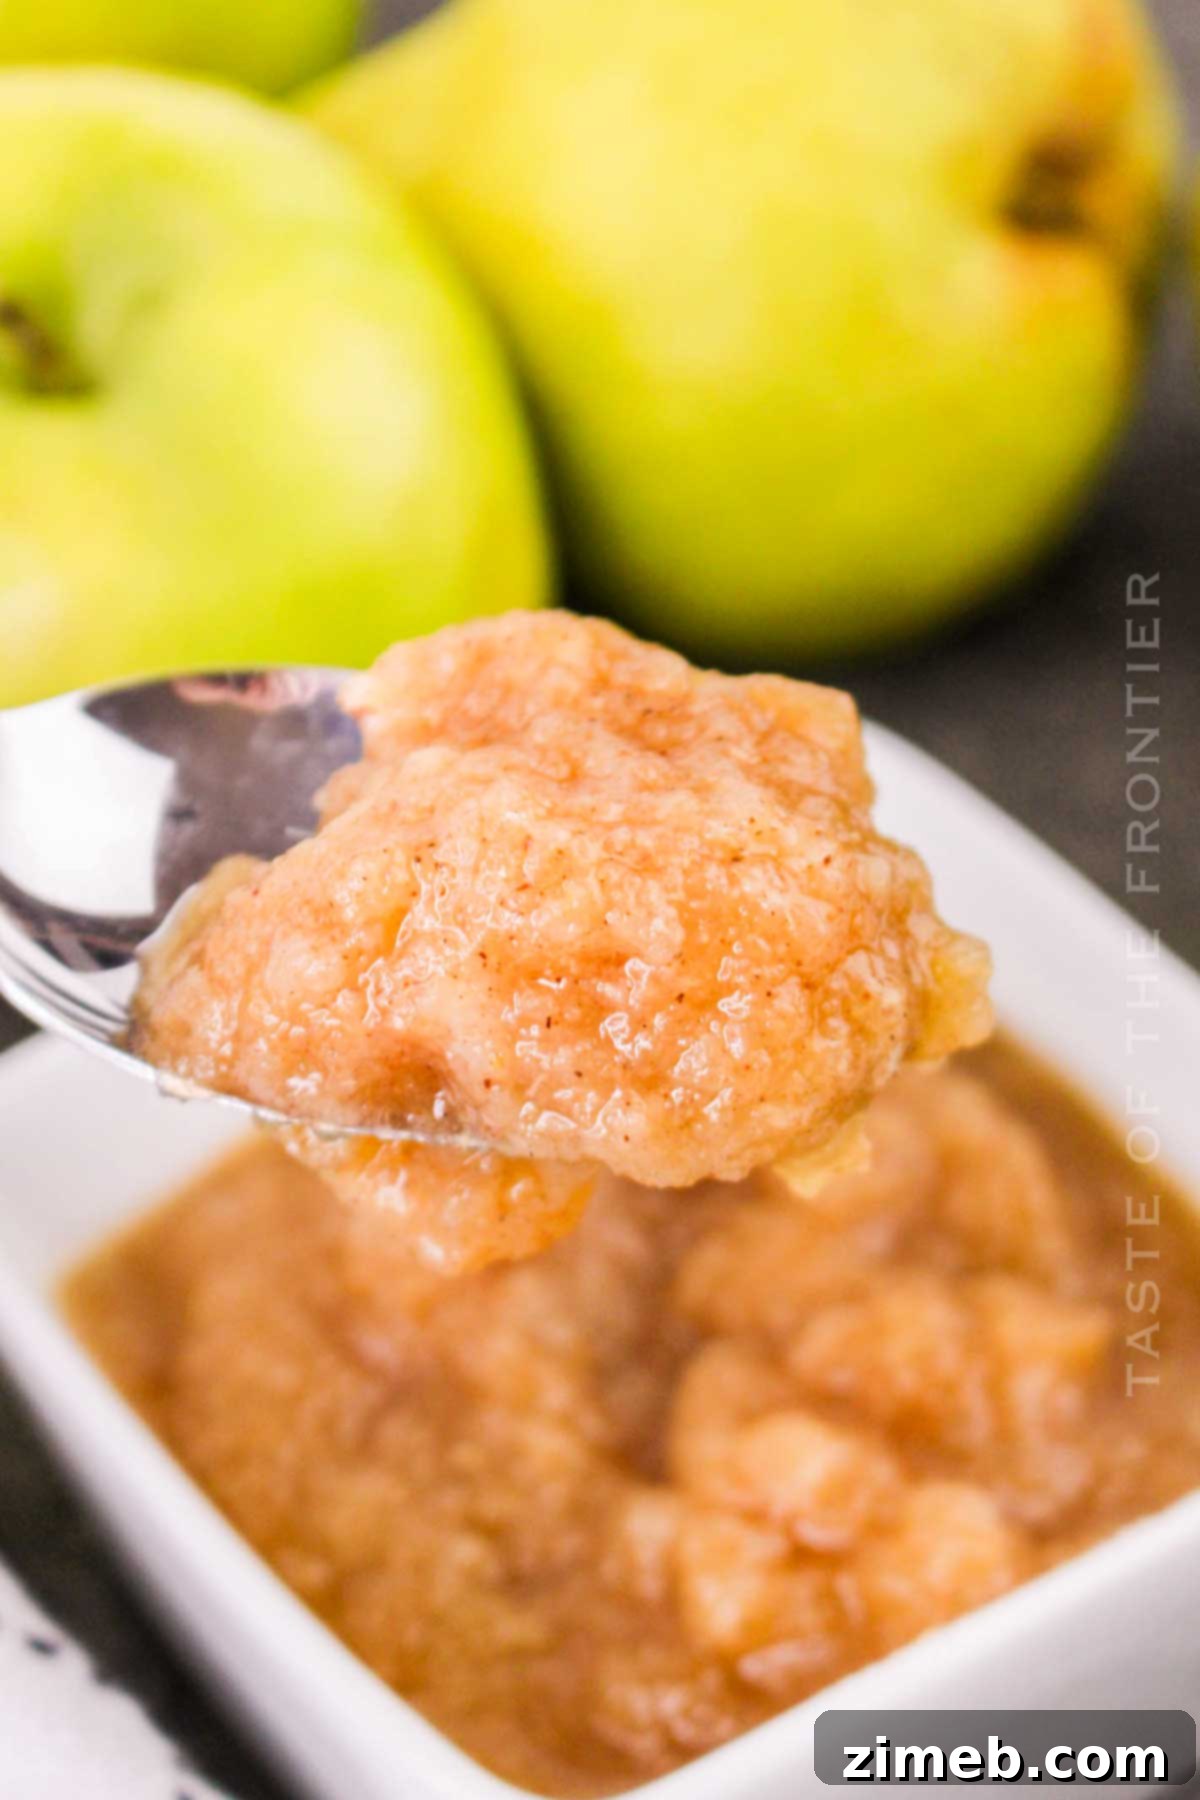
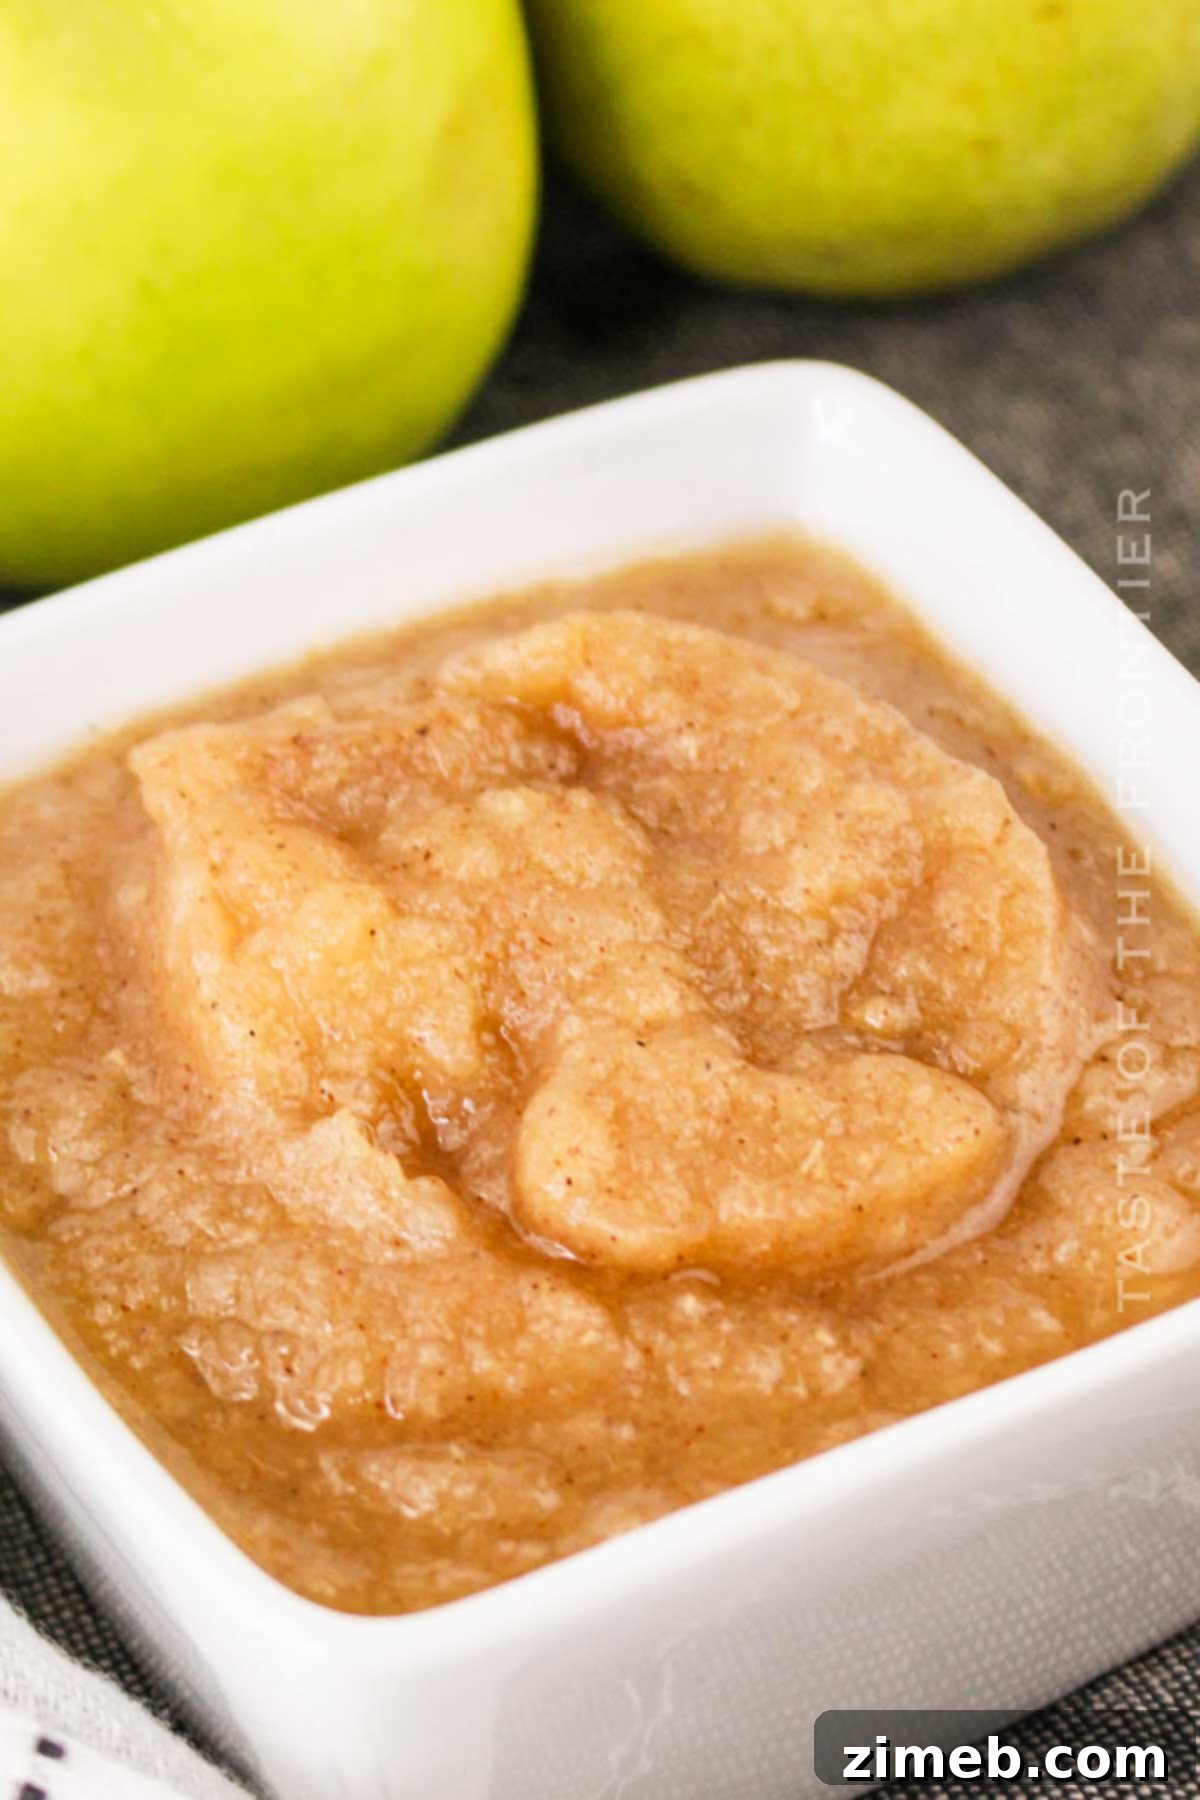
This exquisite and aromatic **Apple Pear Sauce** masterfully blends the inherent sweetness of apples with the delicate, nuanced flavor of ripe pears. More than just a simple condiment, it’s a versatile culinary delight, perfect for elevating your breakfast, enriching your desserts, or serving as a wholesome side dish for any meal.
Imagine your favorite homemade applesauce, but with an irresistible upgrade – that’s what apple pear sauce offers. Naturally sweet, incredibly easy to prepare, and a fantastic candidate for canning, this sauce ensures you can savor the taste of autumn’s bounty throughout the colder months, right from your pantry.
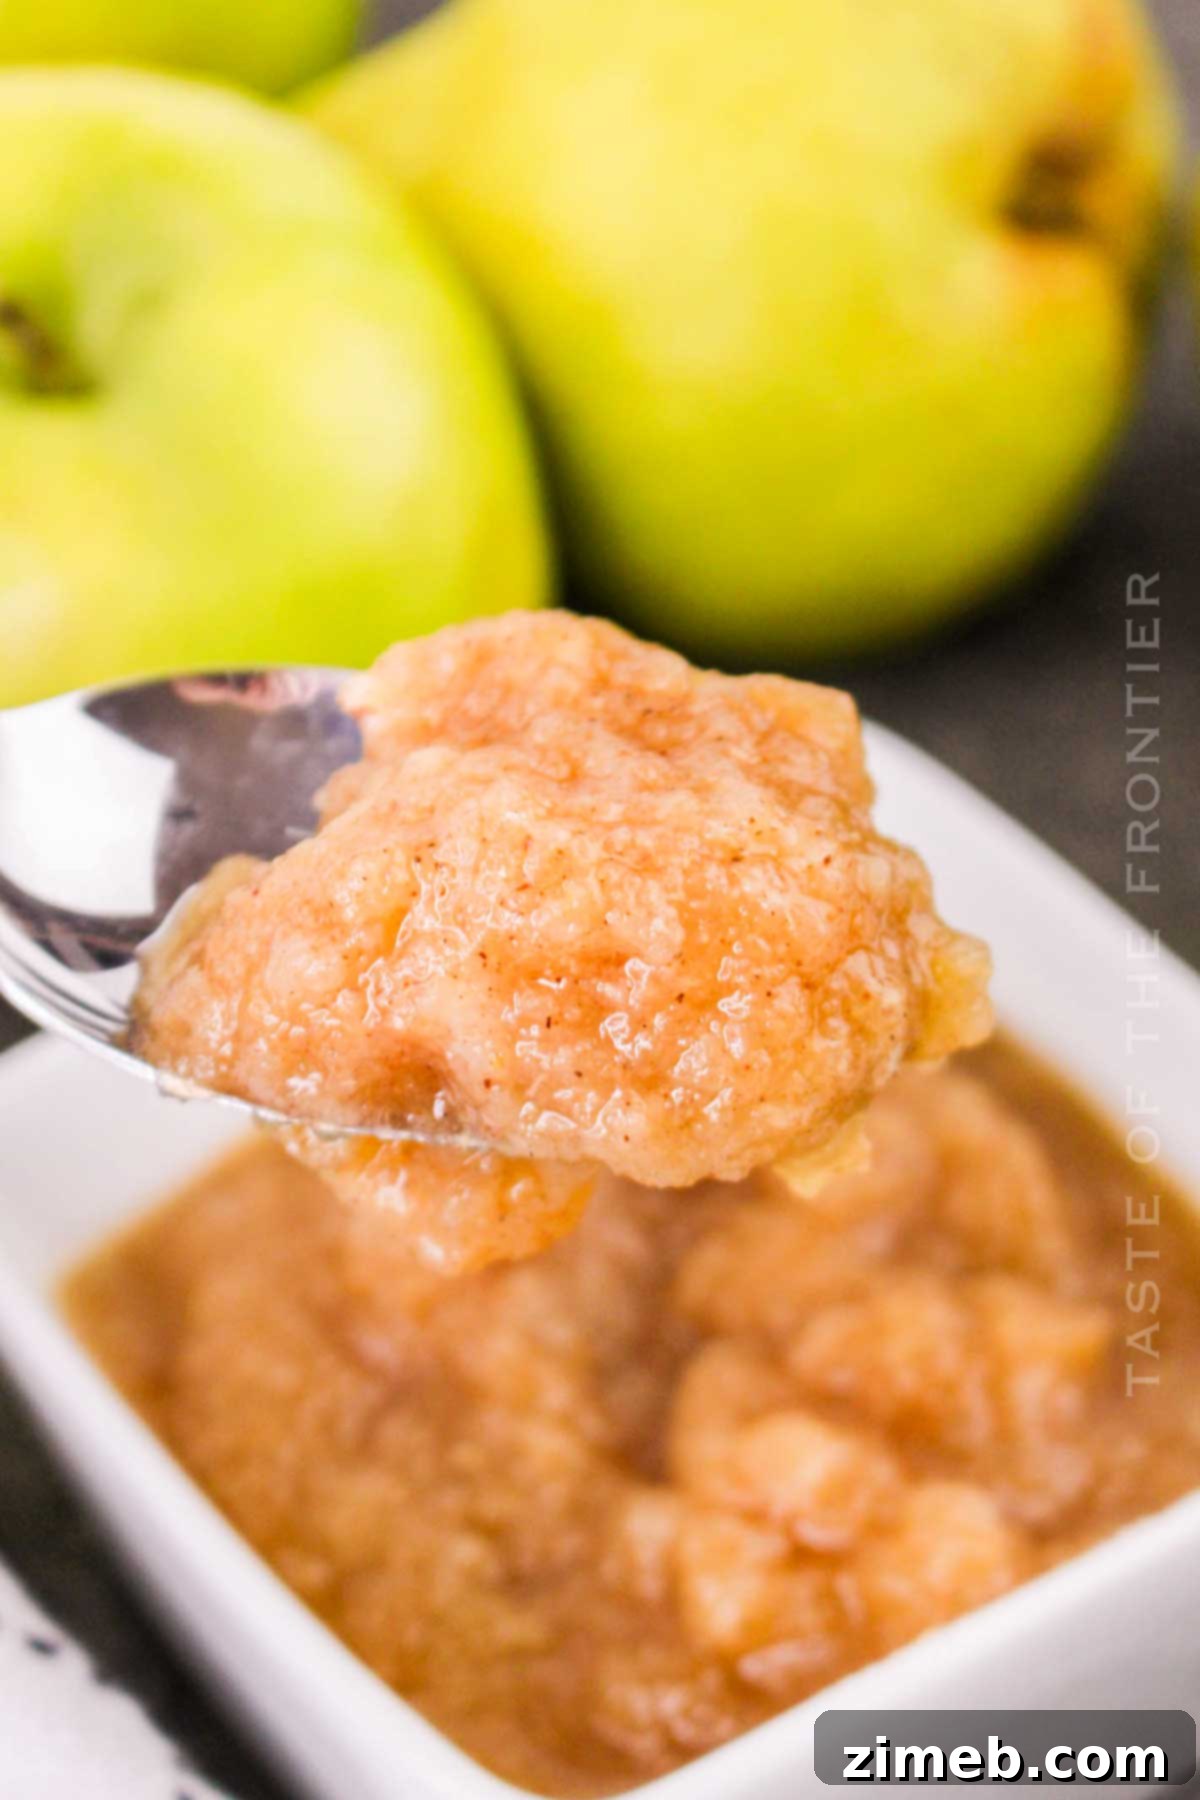
The enchanting aroma of apples and pears evokes cherished childhood memories for many, particularly as the crisp air of fall approaches. The urge to gather these seasonal fruits and transform them into comforting treats becomes almost irresistible. While countless recipes celebrate apples and pears individually, there’s something uniquely satisfying about crafting a batch of homemade apple pear sauce each year. It’s a delightful tradition that captures the essence of the season.
If you’re ready to transcend your typical applesauce recipe and create a truly special, naturally sweet, and incredibly flavorful fruit sauce, then let’s embark on this delicious journey together. Get ready to fill your home with the warm, inviting scents of fall!
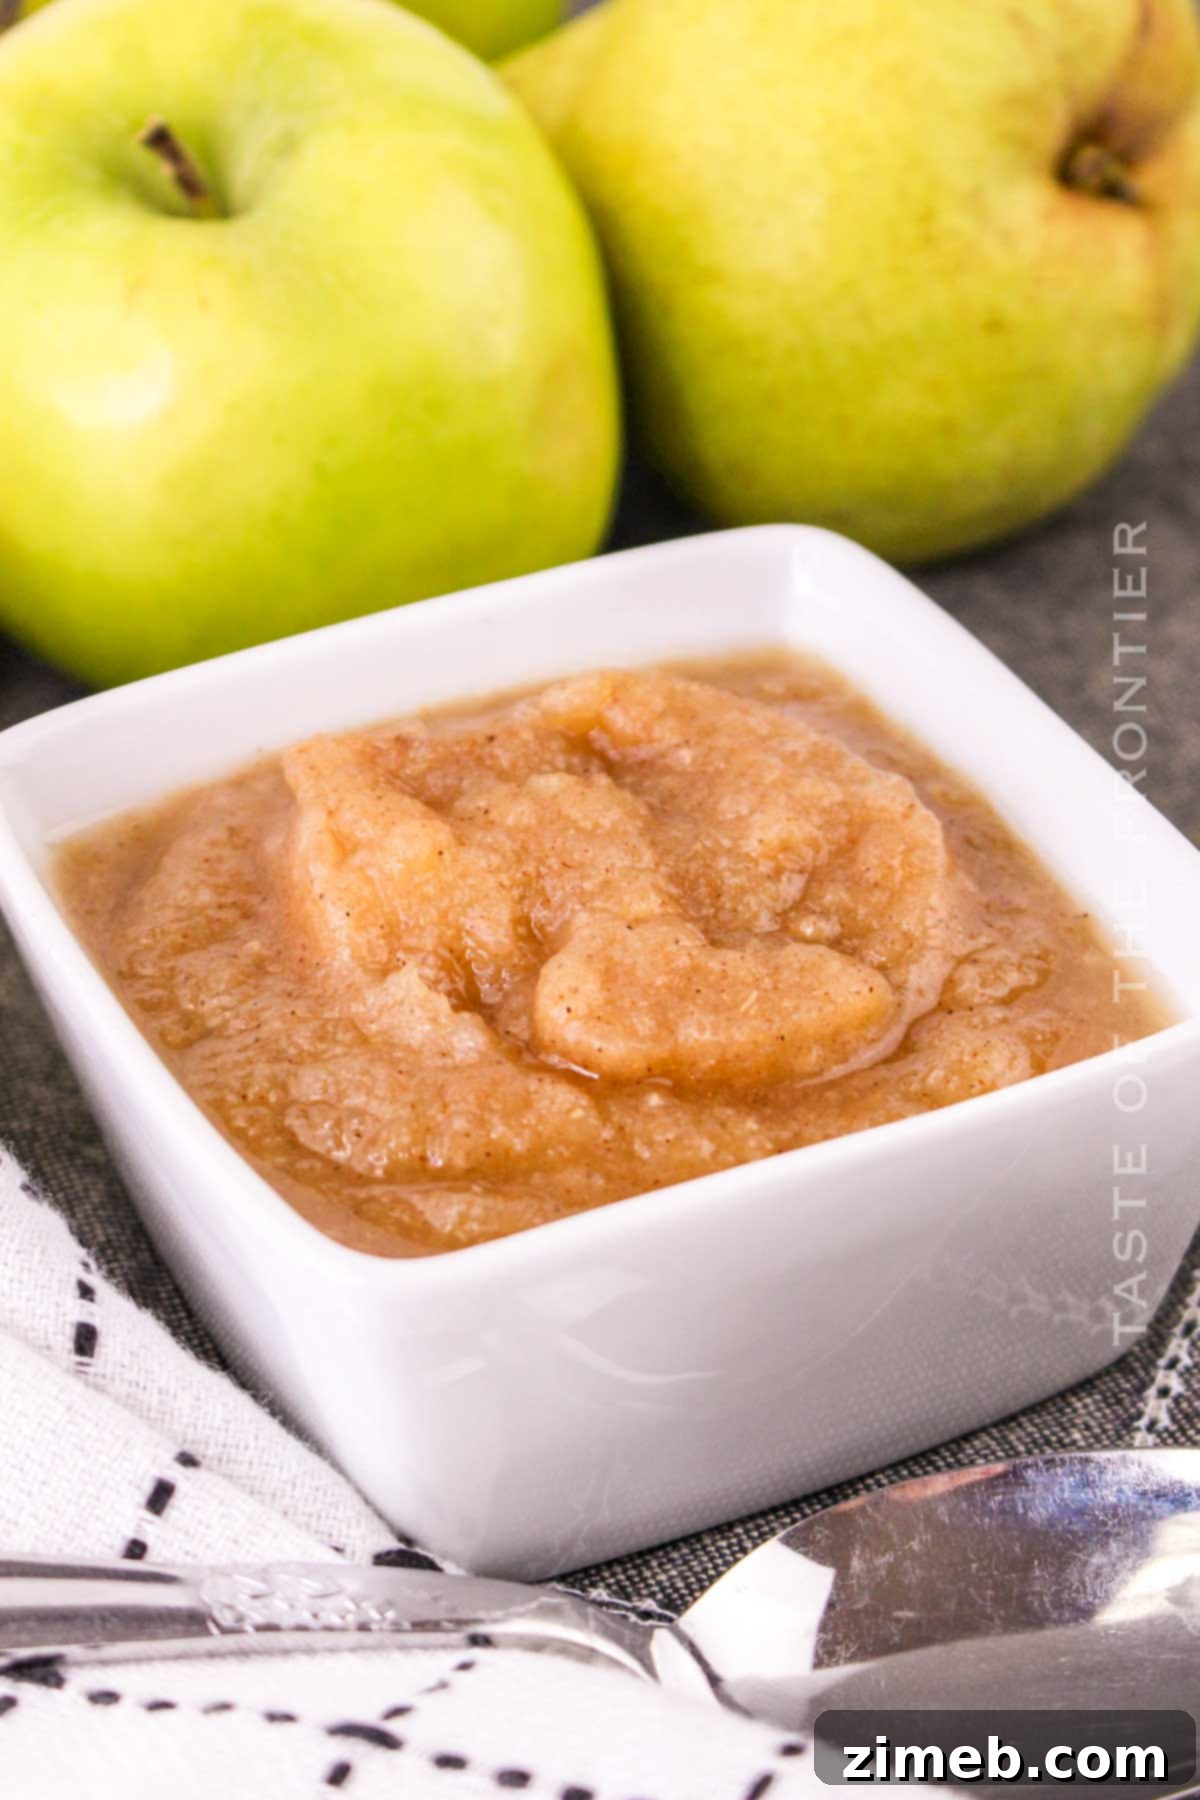
Why You’ll Love This Homemade Apple Pear Sauce
There are countless reasons why this apple pear sauce recipe will become a cherished staple in your kitchen. Beyond its delightful taste, it offers a blend of simplicity, health, and versatility that truly sets it apart:
- Pure & Wholesome Ingredients: Crafted with just a handful of simple, natural ingredients, this recipe contains no refined sugar or artificial preservatives. It’s a genuinely healthy, homemade pear and apple sauce that you can feel good about serving to your family.
- Irresistible Aroma & Flavor: Experience the heavenly sweet, yet perfectly balanced flavor profile that makes your house smell like a freshly baked pie. The warm spices infuse the air, creating an inviting and comforting atmosphere.
- Embrace Seasonal Abundance: This recipe is a fantastic way to utilize the plentiful bounty of apple and pear season. These fruits are often abundant and affordable during the fall, making it an economical and delicious choice. Whether sourced from local orchards or a friend’s farm, using fresh, seasonal produce makes all the difference.
- Effortless One-Pot Preparation: With minimal culinary skills required, this is a truly accessible one-pot recipe. It’s perfect for beginners and seasoned cooks alike, promising delicious results with straightforward steps.
- Remarkably Versatile: Enjoy this homemade sauce in a multitude of ways. Serve it warm by the spoonful for a comforting snack, incorporate it into your favorite pie fillings, or even pair it with savory dishes like roasted meats for an unexpected touch of sweetness.
- A Healthy Choice: Rich in dietary fiber, vitamins, and antioxidants from fresh fruits, this sauce is a nutrient-dense addition to any diet. It’s a guilt-free pleasure that contributes to your well-being.
A Journey Through Flavors: The Ingredients You’ll Need
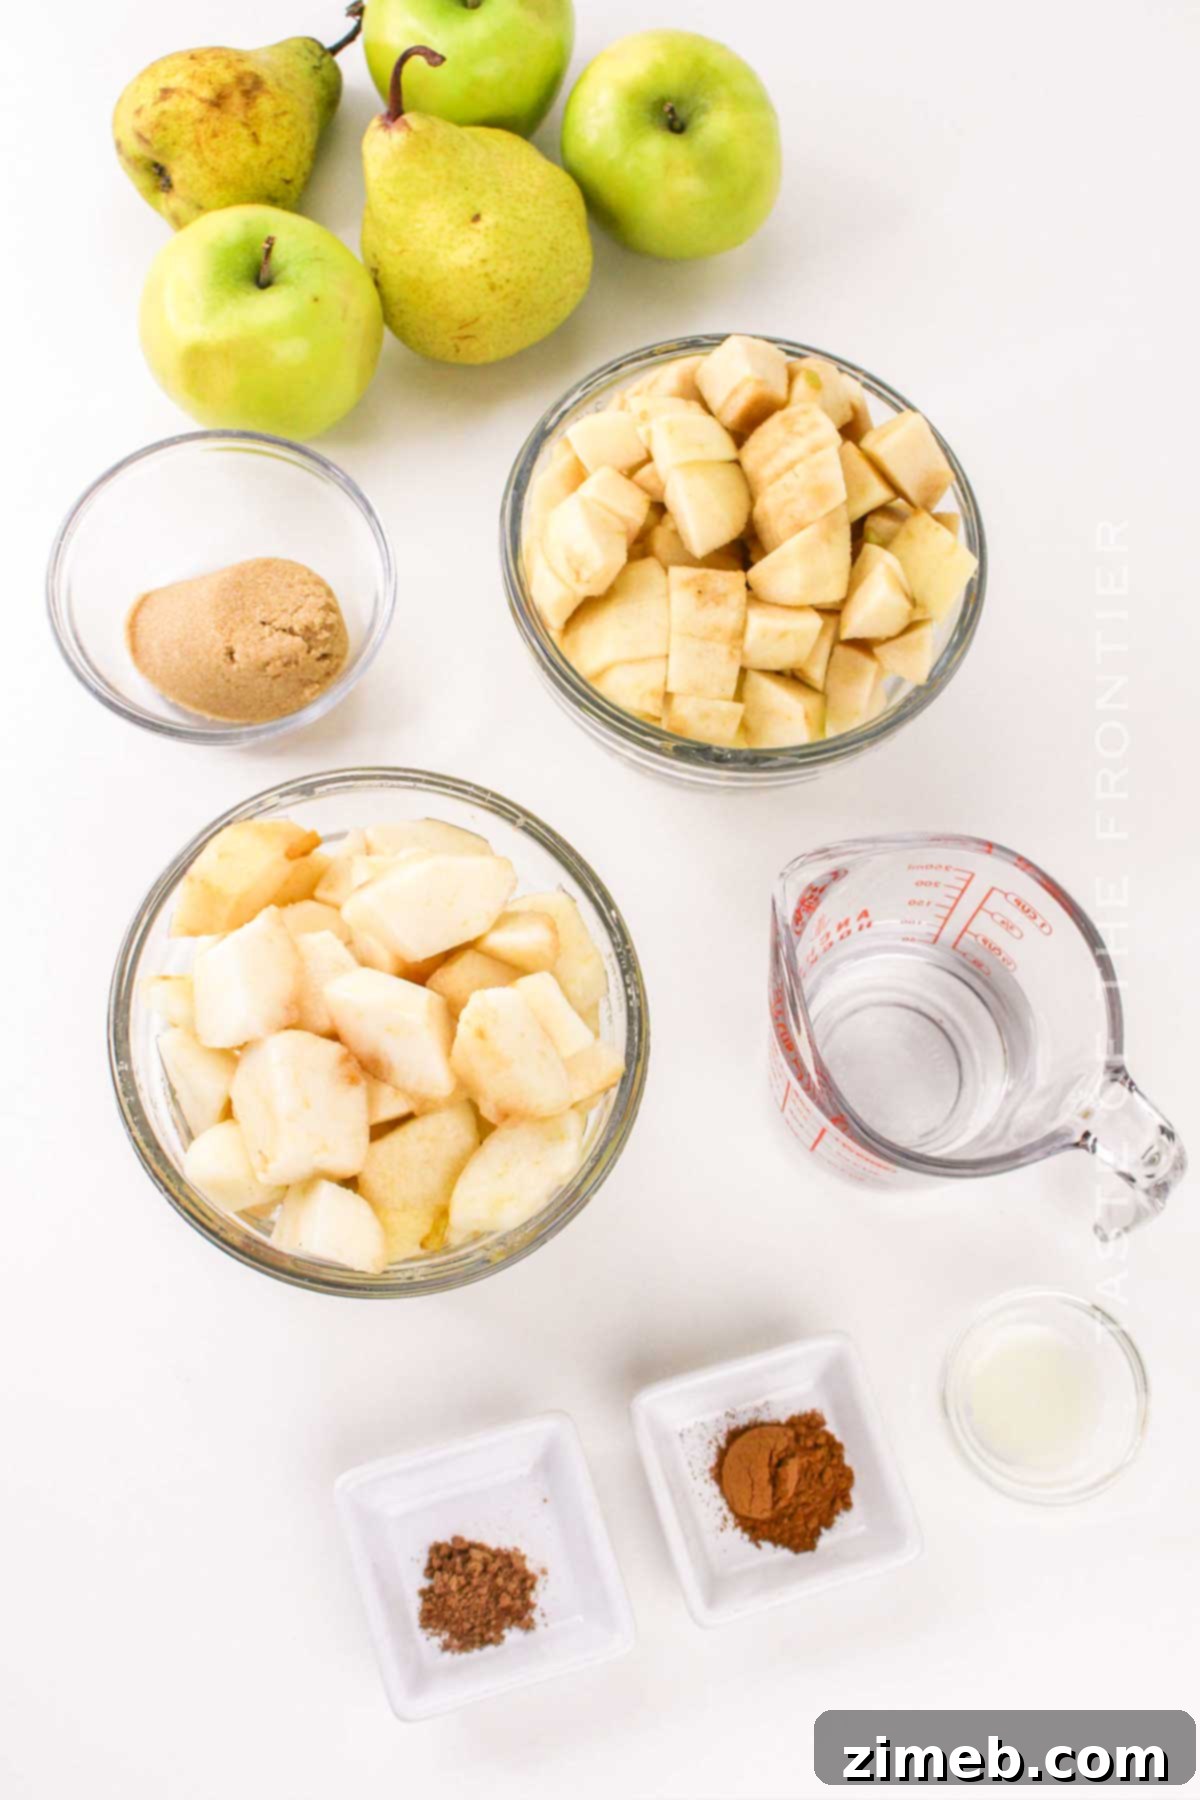
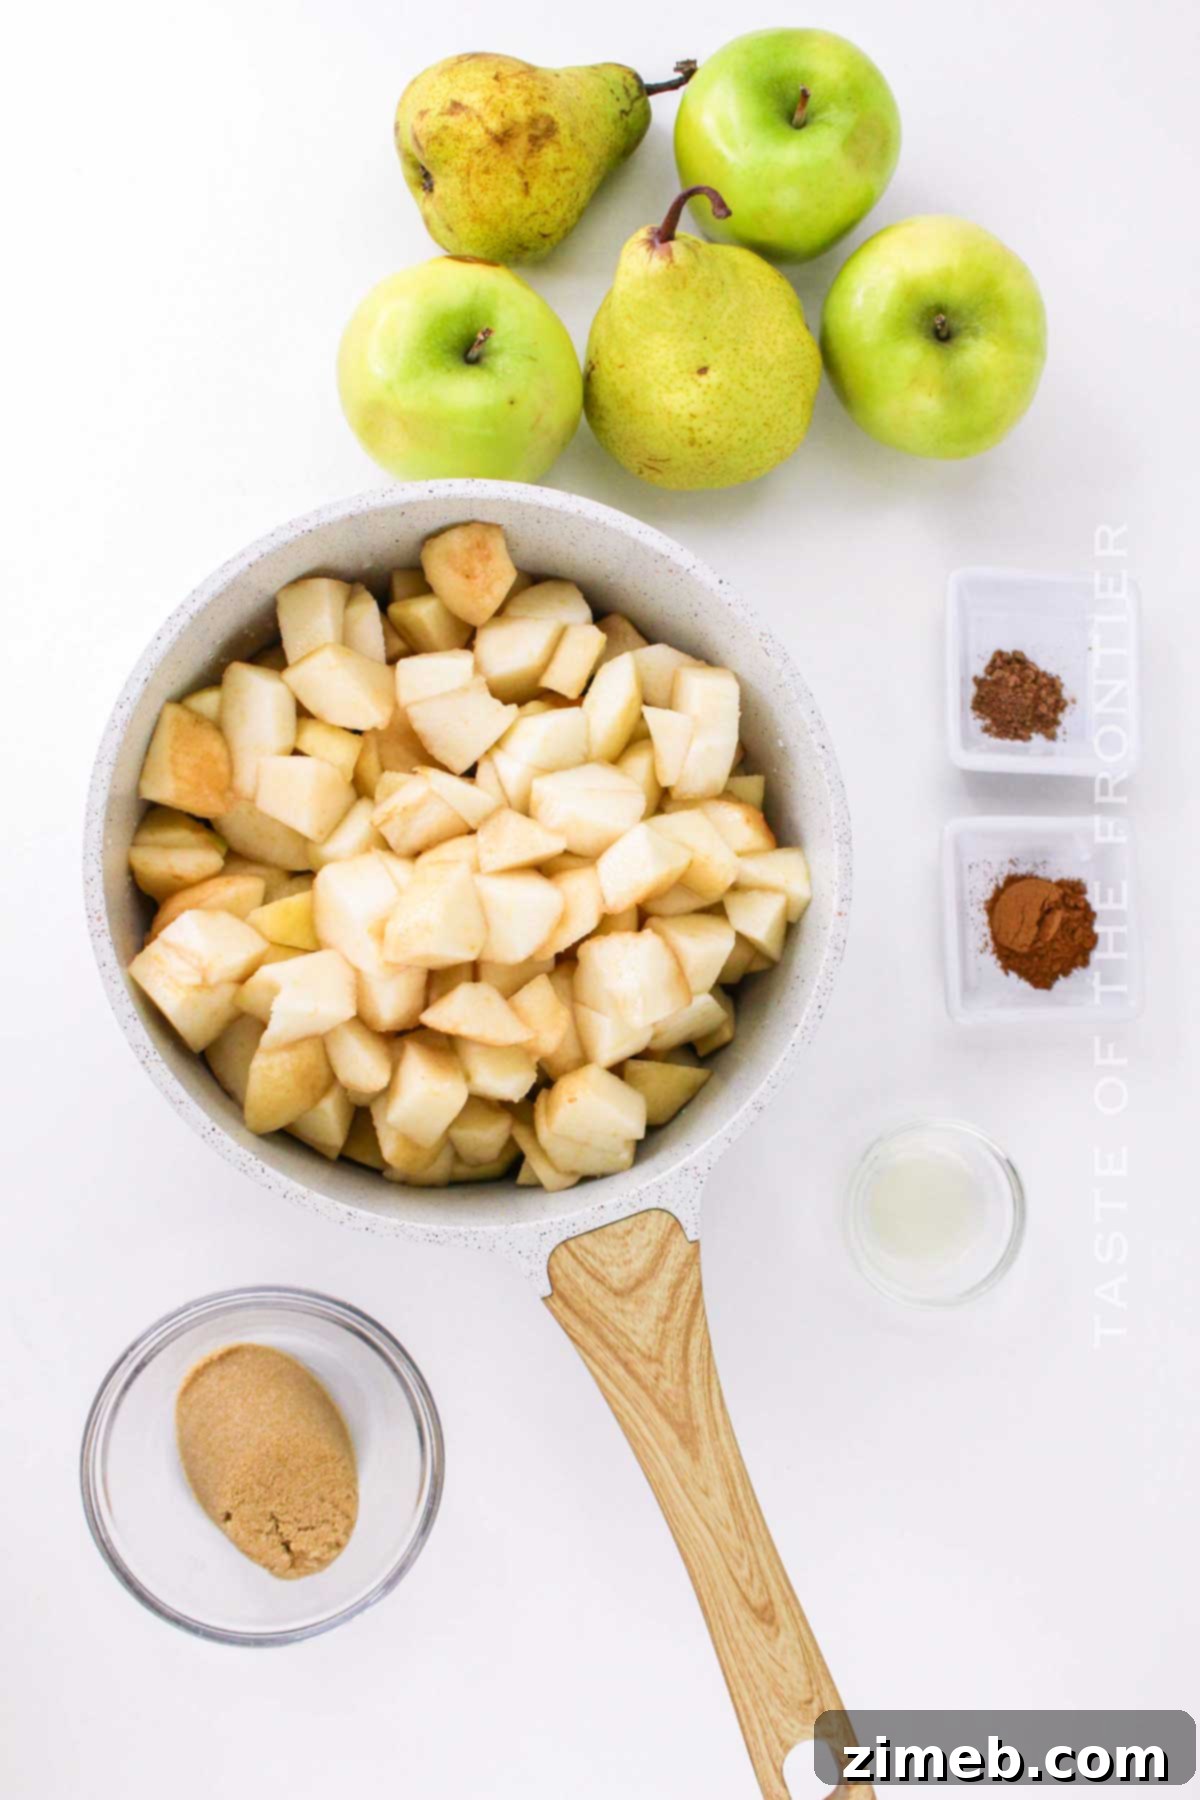
The foundation of this delectable apple pear sauce lies in its fresh fruit and a carefully selected blend of spices that awaken and deepen its natural flavors.
Choosing the Perfect Apples and Pears
- Fresh Apples: For the best results, use apples that are peeled, cored, and chopped. Since pears are naturally very sweet, incorporating tart apples can create a more balanced and complex flavor profile. However, any variety of apples you have on hand will work beautifully. My personal favorites include Honeycrisp for its crisp sweetness, McIntosh for its soft texture, and Granny Smith for its delightful tartness. When combining, consider the texture: firmer apples like Granny Smith pair wonderfully with firmer pears such as Bosc, as they have similar cooking times. Softer varieties like McIntosh or Honeycrisp are ideal with Bartlett pears, which also cook down more readily.
- Fresh Pears: Like apples, pears should be peeled, cored, and chopped. Ripe pears are key here, as they lend the most sweetness and release abundant natural juices, which contribute to a richer sauce. Keep in mind that pears typically take slightly longer to cook than apples. Feel free to use a single variety or mix different types for added depth. Excellent choices include Bartlett, Golden Spice, Bosc, and Seckel pears. Even canned pears (drained) can be used in a pinch. However, Asian pears are generally less suited for this sauce due to their crisp, grainy texture that doesn’t break down as smoothly. Always remove pear skins and cores, as the skins can be tough and the core gritty, which would compromise the smooth consistency of the finished sauce.
Essential & Optional Spices for a Warm Fall Flavor
- Ground Cinnamon and Nutmeg: These iconic spices are indispensable for imparting that quintessential fall warmth, inviting aroma, and a wonderfully rounded taste to your sauce. For an even deeper infusion, you can add cinnamon sticks during the cooking process and simply remove them before blending or jarring the sauce.
- Optional Add-ons for Enhanced Flavor: To further customize your sauce, consider a splash of pure vanilla extract or the seeds from a fresh vanilla bean for a luxurious touch. Ground ginger adds an incredibly nice, subtle heat, while star anise, allspice, cardamom, and clove can introduce complex aromatic notes that pair beautifully with fresh fruit. For a truly autumnal or Thanksgiving-inspired dessert, a handful of cranberries or some orange zest can provide a bright, zesty contrast.
Sweeteners and Acidity Balancers
- Brown Sugar: While the natural sweetness of ripe apples and pears often means little to no added sugar is needed, a touch of brown sugar provides a lovely caramel undertone without the harshness of white sugar. If you prefer a very sweet sauce, a tiny amount (1-2 teaspoons) of maple syrup or honey can be added. This allows you to control the sweetness level precisely.
- Lemon Juice: A squeeze of fresh lemon juice is not just for flavor; it’s a vital component that preserves the fresh fruit’s vibrant color, preventing it from browning, and brightens the overall sweetness, adding a zesty tang. Freshly squeezed lemon juice is always best, but a good quality store-bought version will also work effectively.
The Liquid Foundation
You’ll need a liquid to help the fruits break down and prevent scorching. While plain water is perfectly adequate, using pear or apple juice can intensify the fruit flavor. The amount of liquid added directly influences the final thickness of your sauce; less liquid results in a thicker sauce, more liquid yields a runnier consistency. Don’t worry if you add too much, as it’s always easy to adjust by simmering longer to thicken the sauce, or by adding a bit more water if it becomes too thick. If you find yourself with extra liquid that hasn’t cooked down, don’t discard it! It makes a delicious, homemade apple-pear juice alternative.
Tools for the Task: Essential Equipment
Making delicious apple pear sauce is straightforward and doesn’t require an arsenal of specialized gadgets. Here’s what you’ll need:
- Cooking Vessel: A sturdy saucepan, a Dutch oven, or simply a large, heavy-bottomed pot will be perfect for simmering your homemade sauce. Choose one with ample space to prevent boiling over.
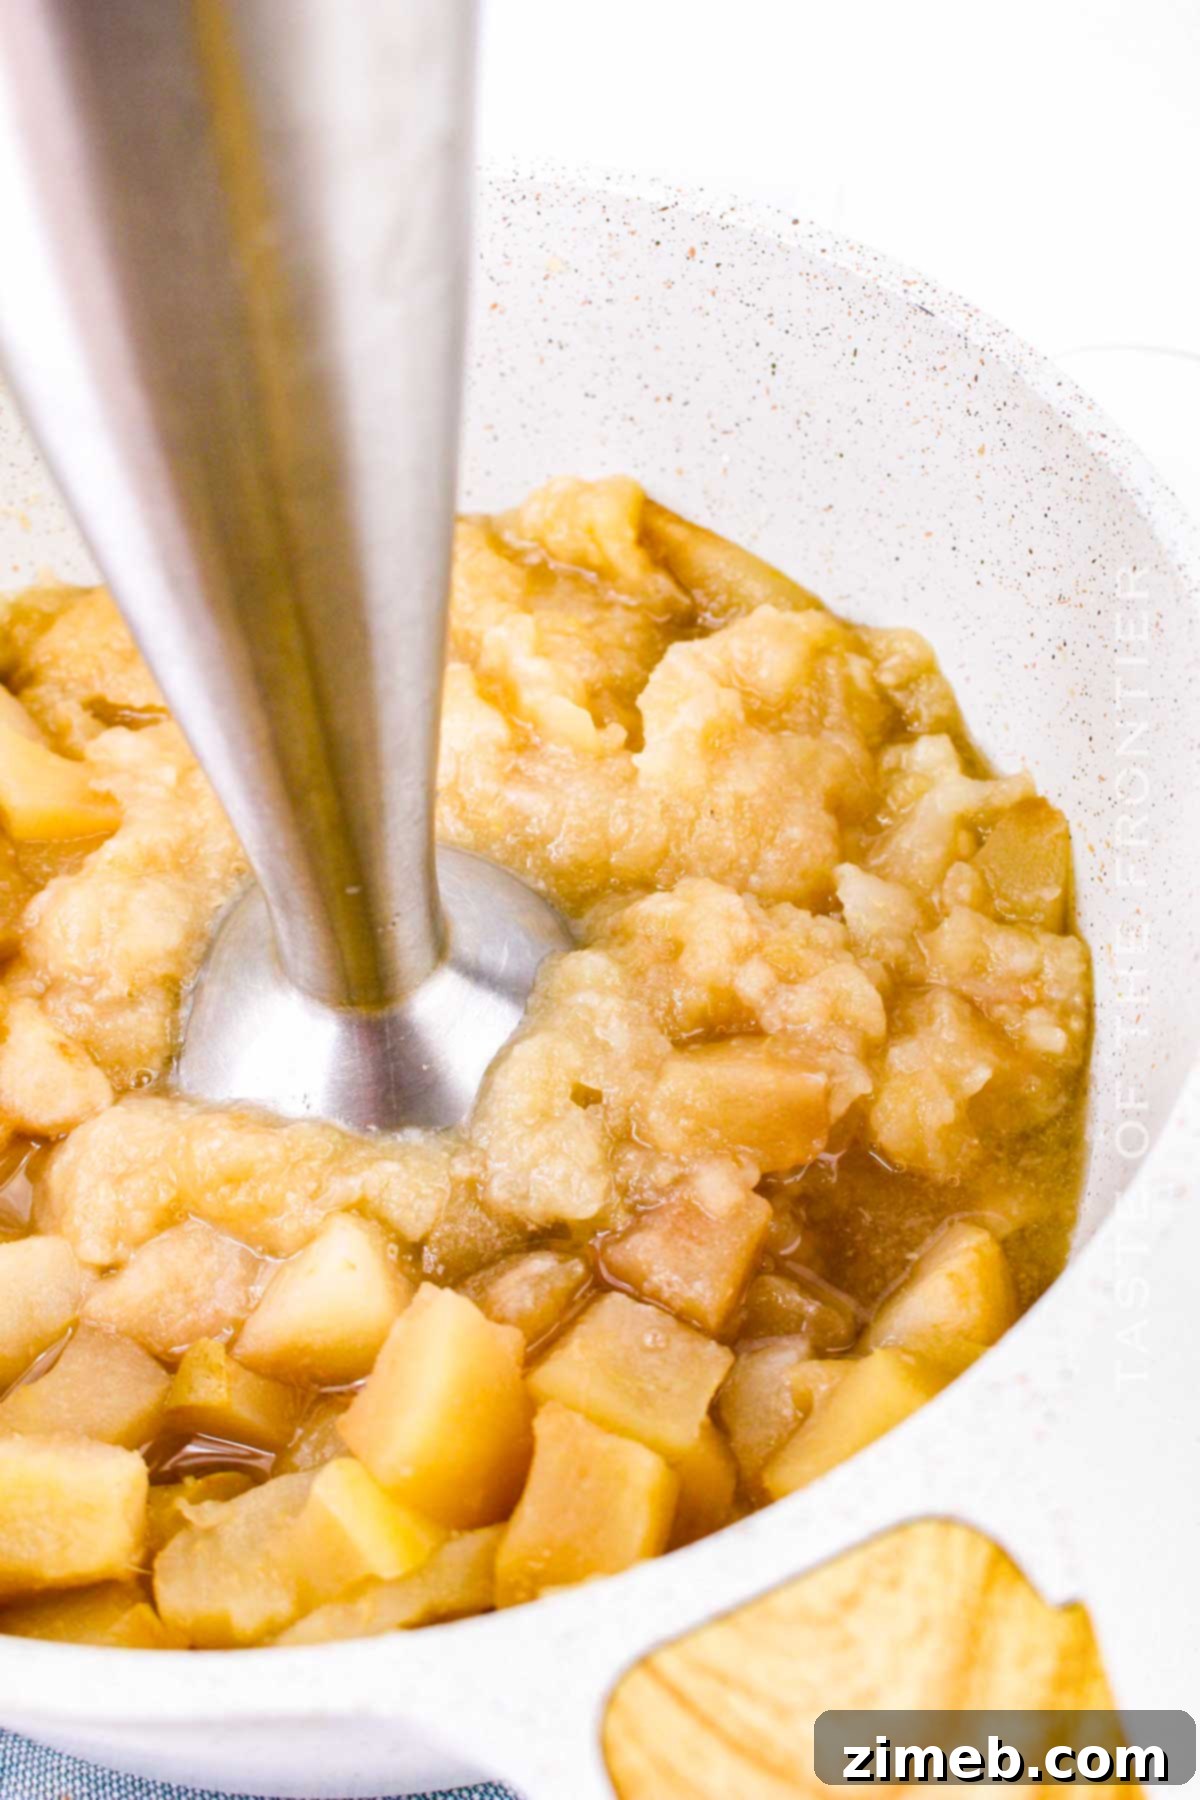
- Mashing & Blending Tools: To achieve your desired consistency, you’ll need a way to break down the cooked fruit. A potato masher is excellent for a chunkier, more textured sauce, allowing you to enjoy small bits of fruit. For a velvety smooth consistency, an immersion blender, a food processor, or a traditional food mill are all great options. Mashing or blending the fruit is also crucial for evening out the cooking times; pears tend to be firmer and take longer to soften than apples, so pureeing helps ensure a uniform texture without overcooking the apples.
- Storage Containers: Once your sauce is made, you’ll need suitable containers for storage. Mason jars are ideal for both refrigeration and canning, while freezer-safe plastic containers or freezer bags are perfect for long-term freezing. This recipe yields approximately 32 oz (about 4 cups), so having your storage solutions ready is key.
Step-by-Step: How to Make Apple Pear Sauce
Crafting homemade apple pear sauce is a simple and rewarding process. Choose your preferred cooking method below:
Classic Stovetop Method
This traditional method provides excellent control over the cooking process and allows for quick adjustments.
- Combine Ingredients: Place the chopped apples, pears, and water into a large, heavy-bottomed saucepan. Bring the mixture to a gentle boil over medium-high heat.
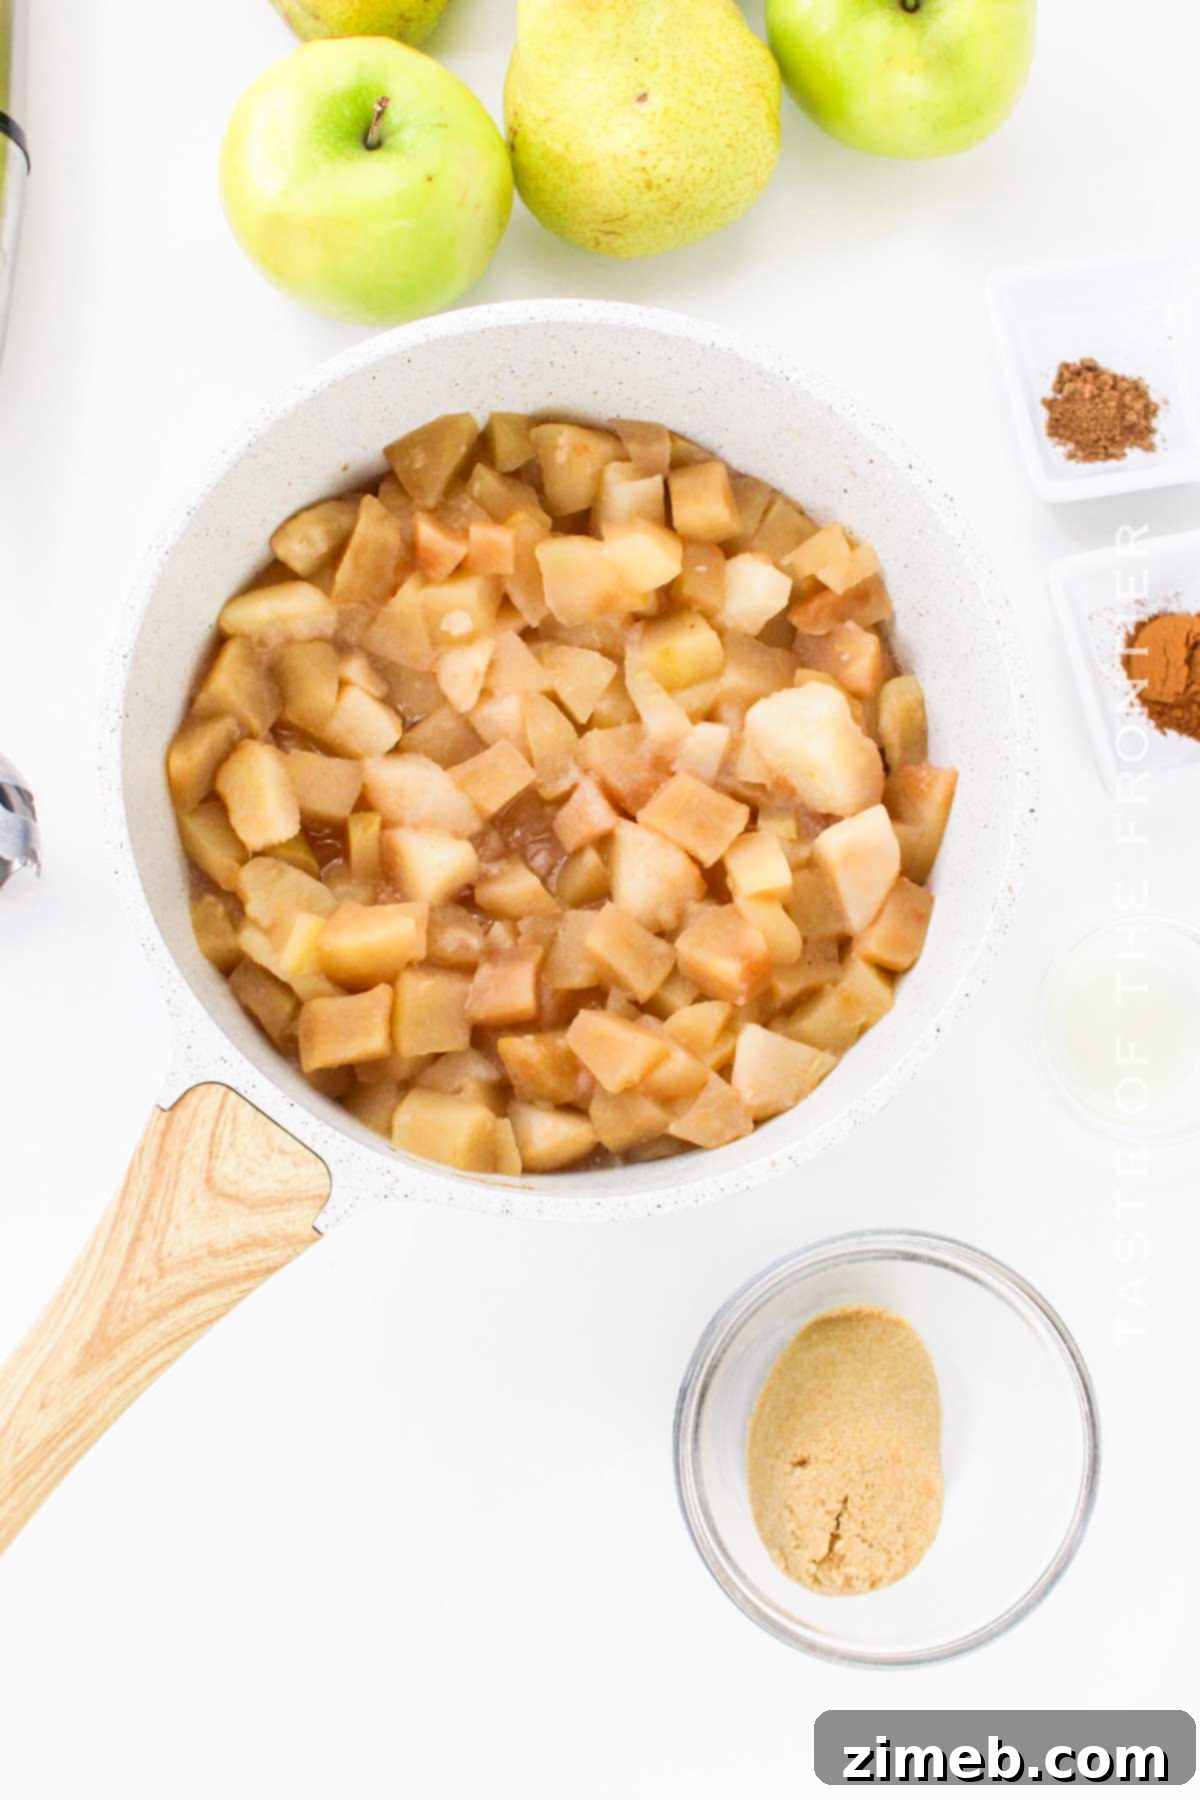
- Simmer to Soften: Once boiling, reduce the heat to medium-low, cover the saucepan, and allow the fruits to simmer for 20-25 minutes. Continue cooking until the fruit is incredibly soft and easily pierced with a fork.
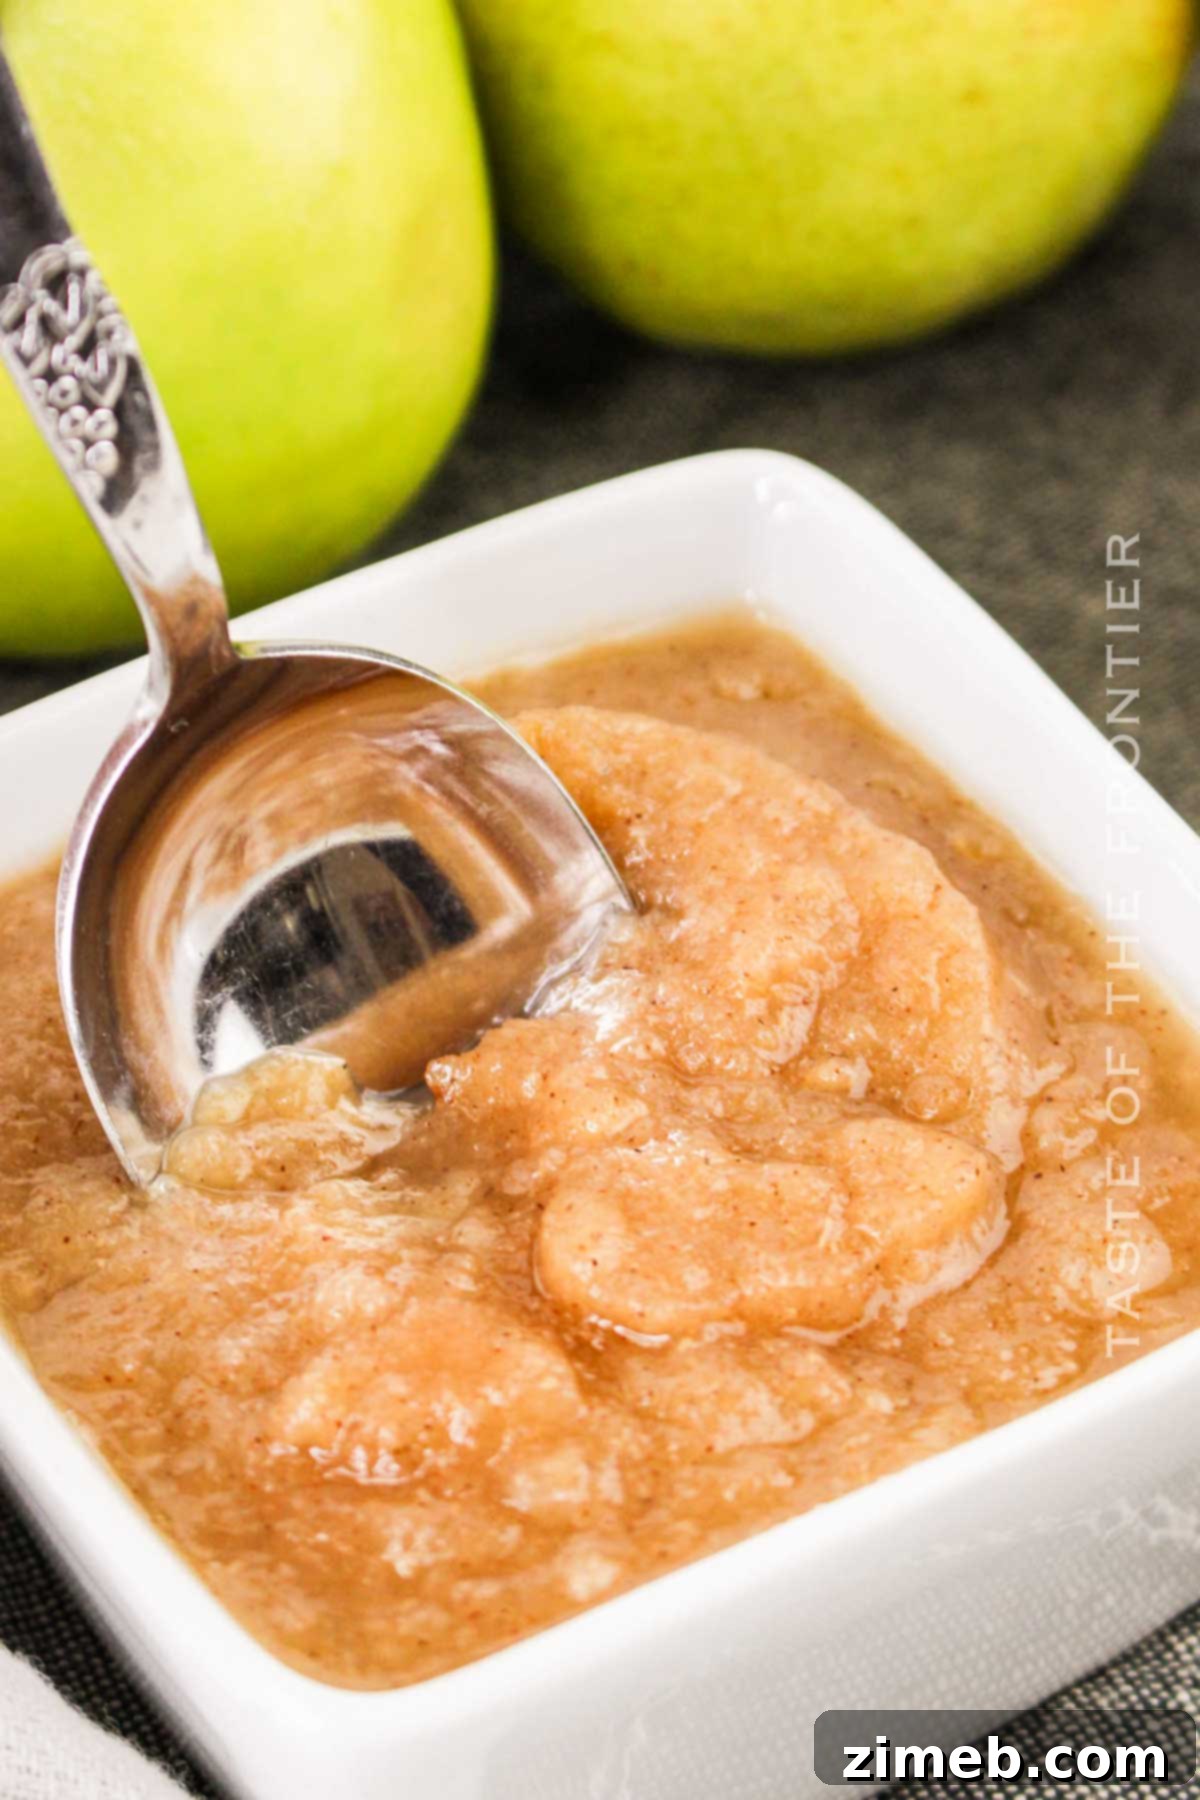
- Achieve Desired Consistency: Using a potato masher, gently mash the fruit for a chunkier texture. For a silky-smooth sauce, use an immersion blender directly in the pot, or carefully transfer the mixture to a food processor or food mill and blend until smooth.
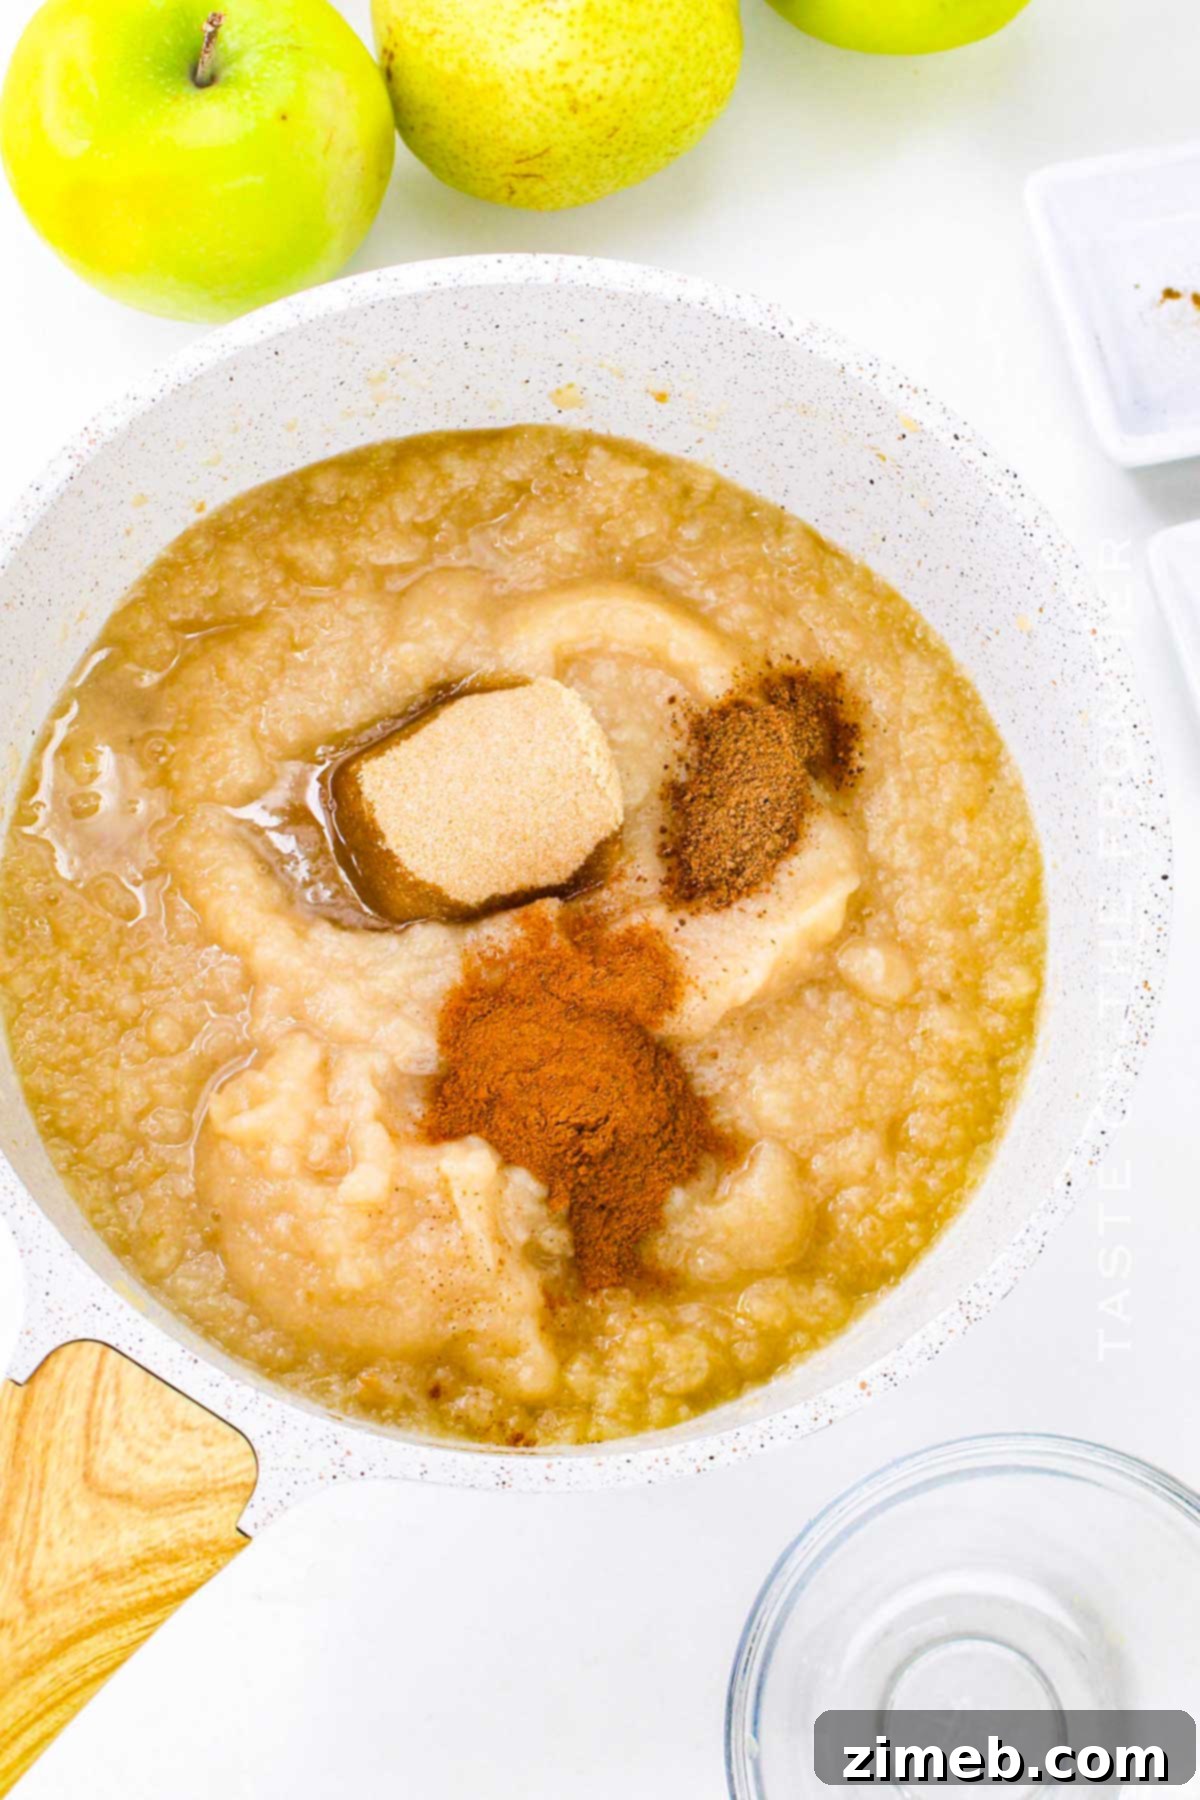
- Flavor Infusion: Stir in the brown sugar, ground cinnamon, nutmeg, and fresh lemon juice using a wooden spoon. Continue to cook for an additional 5 minutes, stirring occasionally, until the sugar has fully dissolved and the mixture is no longer gritty.
- Cool and Serve: Remove the saucepan from the heat and allow the sauce to cool completely before serving or storing. The flavors will deepen as it cools.
Effortless Slow Cooker Method
The slow cooker is an ideal choice for this recipe, allowing the fruits to gently break down and release their natural sweetness and juices with minimal effort on your part.
- Load Ingredients: Place all the prepared ingredients (apples, pears, spices, lemon juice, brown sugar) into your crock pot or slow cooker. Pour in the water or juice.
- Cook on Low: Stir everything to combine, then cover and cook on the low setting for 4-5 hours. For even cooking, stir the mixture once after about 2 hours.
- Finish and Serve: Once the cooking time is complete and the fruit is tender, serve the sauce slightly cooled, or use an immersion blender (or transfer to a food processor) to achieve a smoother consistency before serving.
This “set it and forget it” method is even easier than the stovetop, perfect for busy days!
Quick Instant Pot Method
For a truly hands-off and speedy preparation, the Instant Pot (or any pressure cooker) is an excellent choice for making delicious apple pear sauce.
- Add to Pot: Combine the chopped apples, pears, brown sugar, cinnamon, nutmeg, and lemon juice in the Instant Pot. Pour in the water or juice.
- Pressure Cook: Secure the lid and set the valve to sealing. Pressure cook on high for 4-5 minutes. Once the cooking cycle is complete, allow the pressure to release naturally for 10-15 minutes, then carefully open the valve to release any remaining pressure.
- Puree and Store: Open the lid and, using an immersion blender or a potato masher, puree the cooked fruit to your desired consistency. Serve once cooled slightly or transfer to containers for storage.
Storing Your Homemade Apple Pear Sauce
Proper storage is essential to enjoy your homemade apple pear sauce for as long as possible. Here’s how to keep it fresh:
- Refrigeration: Store the cooled sauce in airtight jars or containers in the refrigerator for up to 4 weeks. It can be served chilled or quickly reheated. Many, myself included, find warm pear applesauce particularly comforting.
- Freezing: For longer preservation, apple pear sauce freezes beautifully. Transfer it to freezer bags (removing as much air as possible) or freezer-safe containers, leaving some headspace for expansion. It will last for up to 6 months in the freezer. Thaw overnight in the refrigerator before serving.
- Canning: For the longest shelf life, canning is an excellent option. Properly canned apple and pear sauce can be stored in a dark, dry, and cool pantry for up to 1.5 years, allowing you to enjoy the taste of fall year-round.
Preserving Fall’s Bounty: Canning Instructions
Canning your apple pear sauce not only extends its shelf life significantly but also frees up valuable refrigerator and freezer space. You can use either the hot water canning method or a water bath canning approach.
Hot Water Canning for Long-Term Storage
For this method, you’ll need a water bath canner, canning jars (pint size are convenient), new lids, and bands.
- Prepare Jars: Ensure your canning jars are clean and warm. Boil water in your canner, making sure there’s enough to cover the jars by at least an inch.
- Fill Jars: Ladle the hot apple pear sauce into each warm jar, leaving about ½ inch of headspace at the top. Use a clean cloth to wipe the rim of each jar, ensuring there’s no sauce residue that could interfere with the seal. Place a new lid on each jar, followed by a band, tightening it fingertip-tight.
- Process in Canner: Carefully lower the filled jars into the boiling water in the canner. Ensure they are fully submerged. Process for 15 minutes. If you live above 1,000 feet in elevation, you will need to adjust the processing time accordingly (consult a reliable canning guide for specific adjustments).
- Cool & Check Seals: Once processing is complete, turn off the heat and let the jars cool slightly inside the canner for 5-10 minutes. Then, carefully remove them and place them on a kitchen towel on your counter, allowing them to cool completely undisturbed for 12-24 hours.
- Store: After cooling, check the seals. The center of the lid should be concave and not flex when pressed. If a jar hasn’t sealed, refrigerate it and consume within 2 weeks. For properly sealed jars, remove the bands (they can corrode if left on), wipe the jars clean, and store them in a dark, dry, cool place for up to a year.
Sterilizing Jars + Water Bath Canning
Another popular method involves sterilizing your jars before filling them with the hot sauce and then processing them in a water bath.
- Sterilize Jars: Preheat your oven to 200°F (93°C). Place clean jars on a baking sheet and sterilize them in the oven for 10 minutes. Simultaneously, bring a small pot of water to a boil and place your canning lids into the boiling water for 5-10 minutes to soften the sealing compound.
- Fill & Seal: Carefully remove the hot jars from the oven. Pour the hot apple pear sauce into the sterilized jars, leaving ½ inch of headspace. Wipe rims clean, place a hot lid on each, and secure with a band, tightening fingertip-tight.
- Water Bath Processing: Prepare a water bath canner (or a large pot with a rack) filled with enough hot water to cover the jars. Carefully place the filled jars into the water bath, ensuring they are submerged. Bring the water to a rolling boil and process for an additional 10 minutes.
- Cool & Store: Once processing is done, carefully remove the jars from the canner and place them on kitchen towels to cool completely. After they are cool, check the lids for a proper seal. Store sealed jars in a cool, dark place.
Delicious Ways to Enjoy Your Apple Pear Sauce
The versatility of homemade apple pear sauce truly shines when it comes to serving. Here are some delightful ideas:
- Dessert Perfection: Serve the apple-pear sauce warm with a scoop of vanilla ice cream and a delicate pinch of cinnamon. Garnish with fresh apple slices or crunchy apple chips for added texture. It’s also an incredible topping or filling for classic apple pies, crumbles, or tarts.
- Savory Pairings: Don’t limit this sauce to sweets! Its balanced sweetness and subtle spice make it an excellent accompaniment to savory dishes. Try it alongside roasted pork chops, duck, or venison as a flavorful condiment or even incorporated into marinades.
- Breakfast & Brunch Boost: Stir it into your morning oatmeal, swirl it into yogurt, or spoon it over pancakes and waffles for a naturally sweet and wholesome breakfast. It’s a fantastic alternative to maple syrup.
- Baking Ingredient: Use apple pear sauce as a moistening agent and natural sweetener in baked goods. It works wonderfully in quickbreads, muffins, and even cookies, adding both flavor and moisture.
Expert Tips for the Best Apple Pear Sauce
Elevate your apple pear sauce from good to extraordinary with these helpful tips:
- To Peel or Not to Peel: Apple and pear skins contain valuable added fiber and nutrients. If you prefer a slightly chunkier, more rustic sauce, you don’t have to peel the fruit. However, for a perfectly smooth, silky sauce, peeling the fruit beforehand is recommended.
- Clean Your Fruit: If using store-bought conventional apples and pears, make sure they are either organic or thoroughly washed. A quick boil in water with a splash of vinegar can help remove any waxy coating or residues.
- Adjust Sweetness Upon Serving: As the sauce cools, its natural sweetness can mellow slightly. Taste your sauce before serving, and if you desire extra sweetness, stir in a touch more brown sugar, maple syrup, or honey to your preference.
- Add a Boozy Kick: For an adult-friendly version, a splash of Amaretto, bourbon, or rum can add a delightful depth of flavor and warmth to the sauce. Add it during the last 5-10 minutes of cooking.
- Customize the Apple-Pear Ratio: Pears are generally sweeter and juicier than most apples. Feel free to adjust the apple-pear ratio to suit your taste. You can easily add more pears for a sweeter, more fragrant sauce, or more apples for a tarter profile.
- Thicken Naturally: If you prefer a thicker sauce for spreads or pie fillings, simply cook the apple pear sauce longer over low heat, stirring frequently, to allow more moisture to evaporate. This naturally thickens the sauce before storing or canning.
DISCOVER MORE SEASONAL RECIPES!



If you adore this homemade apple pear sauce recipe, you’ll undoubtedly love these other delightful apple and pear-inspired creations. Explore new ways to enjoy the season’s finest by clicking each link below for easy, printable recipes!
Check out this recipe
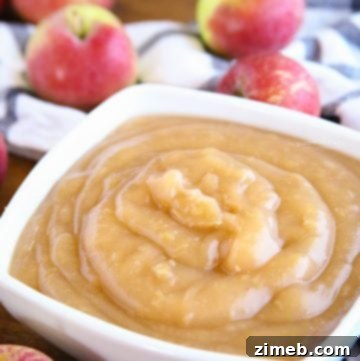
Check out this recipe
Check out this recipe
Check out this recipe
Check out this recipe
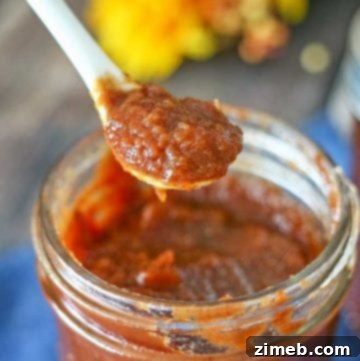
Unlock More Flavor: Recipes Using Apple Pear Sauce
Once you’ve made a batch of this versatile apple pear sauce, you’ll find endless culinary possibilities. Use it to enhance the flavor and moisture in your favorite baked goods and breakfast treats:
- Applesauce Muffin Recipe
- Applesauce Oatmeal Cookies
- Apple Butter Bread
- Apple Butter Pancakes
CONNECT WITH YUMMI HAUS!
Be sure to follow me on my social media, so you never miss a post!
Substack, FB, Pinterest, IG, Email Subscription
Rate this Recipe
Apple Pear Sauce
Ingredients
- 4 apples peeled, cored and chopped
- 4 pears peeled, cored and chopped
- ½ cup water
- ¼ cup brown sugar
- 1 tsp cinnamon
- ¼ tsp nutmeg
- 1 tsp lemon juice
Instructions
-
Combine the apples, pears, and water in a large saucepan. Bring to a boil over medium-high heat.
-
Reduce heat to medium-low, cover, and simmer for 20-25 minutes, or until the fruit is very soft.
-
Mash the fruit with a potato masher or blend with an immersion blender until you reach your desired consistency.
-
Stir in the brown sugar, cinnamon, nutmeg, and lemon juice. Cook for an additional 5 minutes or until the sugar has dissolved and the mixture is no longer gritty.
-
Remove from heat and let cool before serving.
Nutrition
Nutritional information for the recipe is provided as a courtesy and is approximate. Please double-check with your own dietary calculator for the best accuracy. We at Yummi Haus cannot guarantee the accuracy of the nutritional information given for any recipe on this site.