

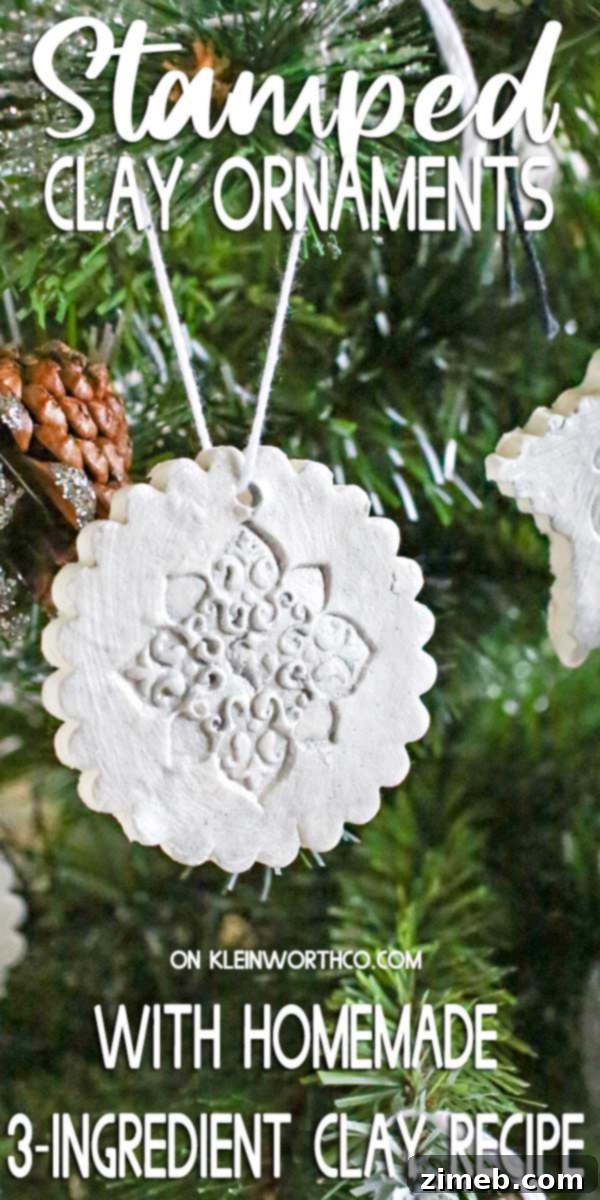
DIY Stamped Clay Ornaments: Crafting Beautiful Tree Decor with a Simple 3-Ingredient Recipe
There’s an undeniable joy in adorning your Christmas tree with homemade ornaments each year. As the festive season approaches, I find myself drawn to the delightful tradition of crafting unique decorations, often inspired by a fresh theme or a new color palette I wish to explore. This yearly endeavor prevents the significant expense of purchasing entirely new store-bought ornaments. Instead, I meticulously create the majority of my tree decorations, supplementing them with a few carefully selected special pieces from stores to achieve that perfectly polished and complete look.
PIN THIS TO SAVE FOR LATER
This festive project was proudly sponsored by Plaid. Their support allows me to continue sharing inspiring and engaging content with you, and for that, I am incredibly grateful.
Homemade Clay Ornaments: A Family Crafting Tradition
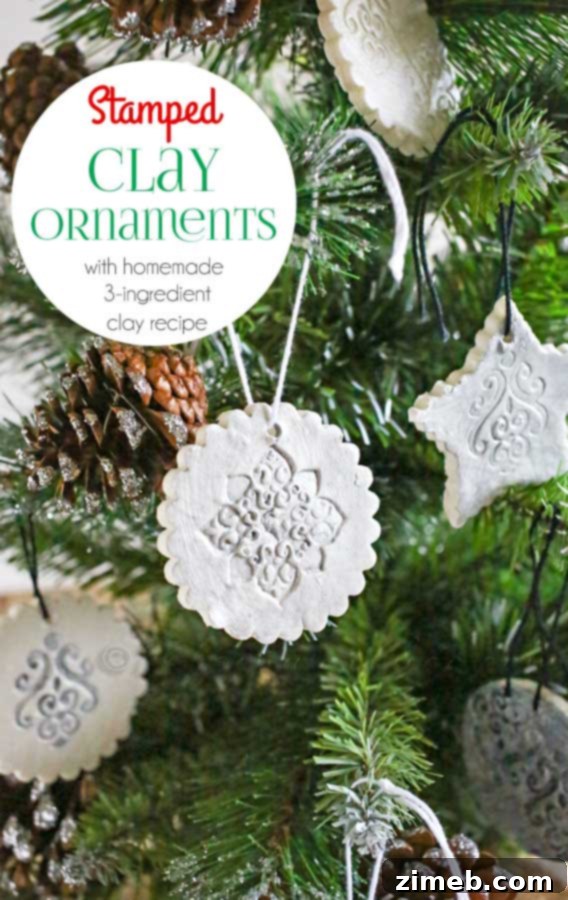
The most cherished aspect of this annual ornament-making tradition is involving my children. It’s a wonderful opportunity for us to gather, unleash our creativity, and engage in meaningful conversations about anything and everything that comes to mind. These moments are truly priceless, fostering connection and imaginative play. This year, I envisioned a neutral, elegant look for our tree, which immediately set my mind racing with ideas for crafting the perfect decorations.
I delved into my craft supplies, sifting through various materials until I landed on the idea of creating simple, stamped clay ornaments. This method felt ideal because it offered a blank canvas for design. I knew that by incorporating Mod Podge Pearl and a selection of exquisite Folk Art paints, I could elevate these humble clay pieces into truly dazzling, sparkling decorations that would perfectly complement my neutral theme.
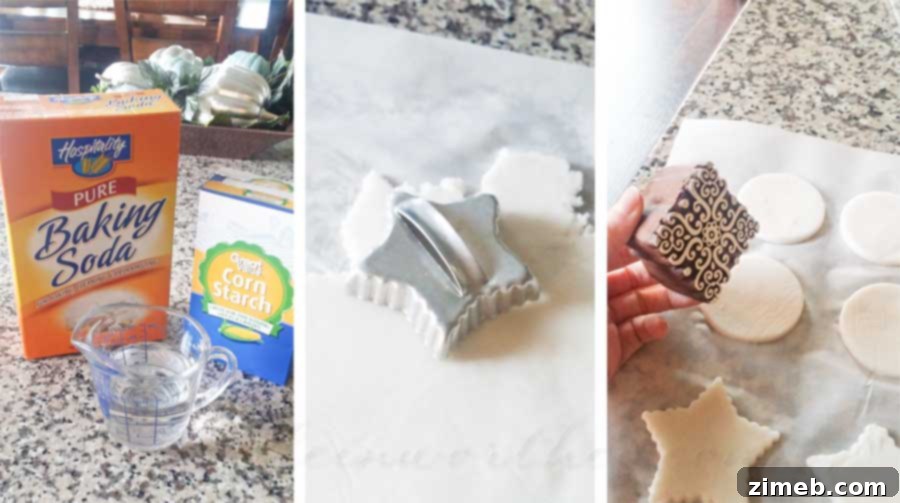
The beauty of this homemade clay recipe lies in its simplicity, requiring just three common household ingredients: water, baking soda, and cornstarch. The process is straightforward and incredibly satisfying: simply combine and cook the mixture until it forms a workable dough, then roll it out, cut it into your desired shapes, impress them with charming stamps, and finally, bake to perfection. This easy method makes it accessible for crafters of all ages and skill levels.
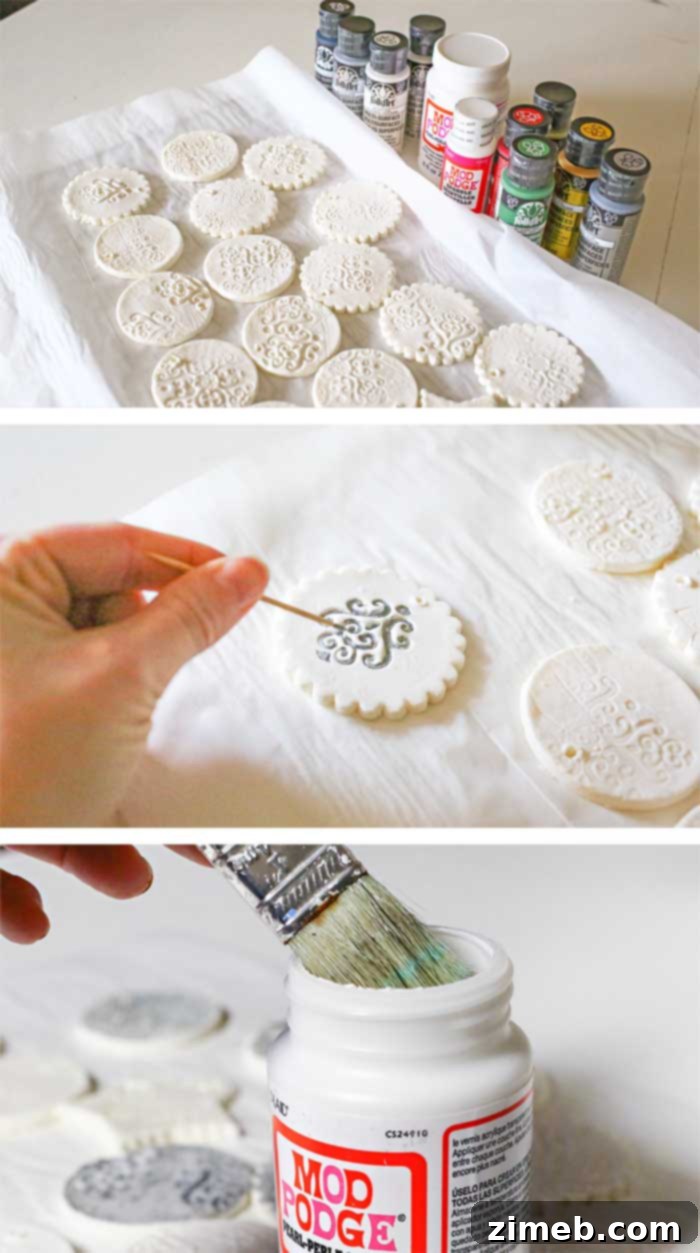
Once your clay creations are baked and allowed to cool completely, they are ready for their artistic transformation. Painting is a meditative and enjoyable step, especially when using a toothpick or a fine-tipped brush to meticulously fill in those intricate stamped designs. For this project, I chose a selection of Folk Art multi-surface paints, specifically White Pearl (2969), Disco Crystal (2963), Sequin Silver (2959), Charcoal Black (2968), and Sterling Silver (2964). Each of these shades boasts a beautiful metallic shimmer, which was absolutely perfect for achieving the sophisticated, neutral yet sparkly aesthetic I envisioned for my ornaments.
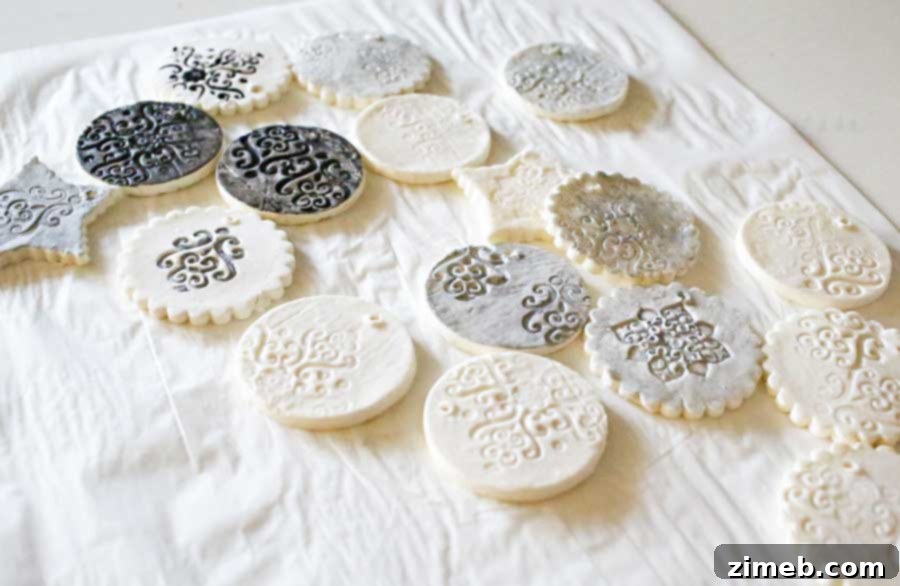
After the paint had thoroughly dried, I applied a generous coat of Mod Podge Pearl. This versatile, water-based product functions as a sealer, glue, and finish, offering a triple benefit. Beyond simply protecting the painted surfaces, it imparted a magnificent iridescent quality to the ornaments, enhancing their sparkle and giving them a truly magical glow. This pearl finish was the ideal final touch, bringing my vision of elegant, shimmering decorations to life.
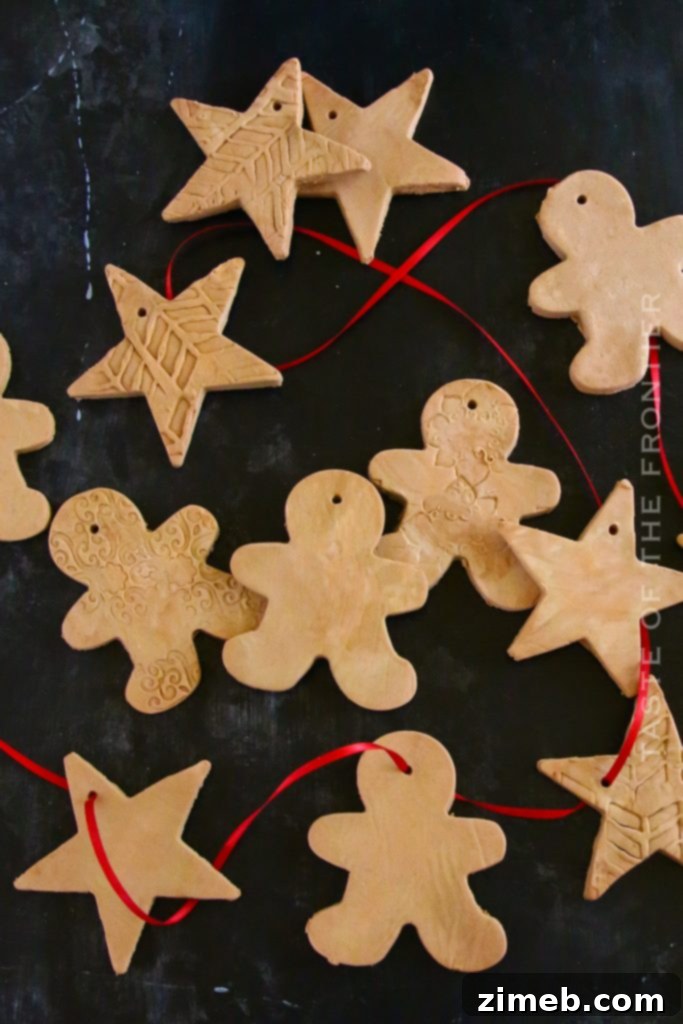
For those who desire a different aesthetic, you might notice in some images that I added a touch of brown food coloring to the clay recipe when preparing certain stamped clay ornaments. This simple addition made them wonderfully resemble gingerbread cookies, offering a charming, festive look without the actual baking of edible treats. The versatility of this homemade clay recipe allows you to tint it to any color you can imagine, opening up endless creative possibilities for your holiday decor.
Your Go-To Recipe for Homemade Clay Ornaments
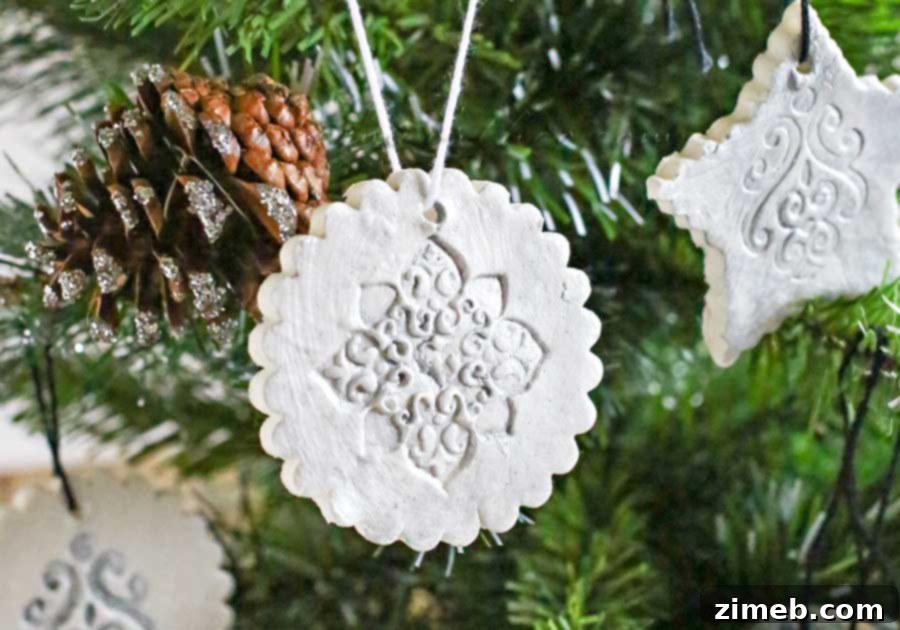
I am absolutely delighted with how my new ornaments turned out. They were incredibly simple and immensely fun to create, making this project a truly rewarding experience!
For more detailed information on the high-quality products I utilized in this creative endeavor, I highly recommend visiting Plaid’s official website.
Step-by-Step: How to Make 3-Ingredient Homemade Clay Ornaments
- Prepare the Clay Mixture: In a medium saucepan, combine all your ingredients: baking soda, water, and cornstarch. If you plan to tint your dough with food coloring, this is the perfect moment to add it, ensuring even distribution.
- Cook the Clay: Place the saucepan over medium heat, stirring the mixture constantly. Continue stirring until the consistency thickens and begins to resemble creamy mashed potatoes. This process usually takes a few minutes as the starch activates.
- Cool the Clay: Once the desired consistency is achieved, remove the saucepan from the heat. Transfer the hot clay mixture into a glass bowl. Cover the bowl with a damp towel to prevent a skin from forming and allow it to cool down to room temperature for approximately 30 minutes. This makes the clay easier and safer to handle.
- Preheat Oven & Prepare Work Surface: While the clay cools, preheat your oven to a low 175 degrees Fahrenheit (about 80 degrees Celsius). Line a baking sheet with parchment paper, which will prevent sticking.
- Roll Out the Clay: Once cooled, place the clay on a sheet of parchment paper. Using a rolling pin, roll the clay out evenly to a thickness of about 1/4 inch. If you find the clay is still a bit sticky, knead in a small amount of additional cornstarch until it reaches a non-sticky, pliable consistency.
- Cut & Stamp Shapes: Use your favorite cookie cutters or any small metal cutters to cut the clay into desired ornament shapes. Then, gently press decorative stamps into each cut-out shape to create beautiful patterns and textures.
- Bake the Ornaments: Carefully transfer your stamped clay shapes onto the parchment-lined baking sheet. Bake for approximately 30 minutes, then gently flip each ornament over and bake for another 30 minutes. The low temperature ensures they dry slowly and thoroughly without cracking.
- Cure Before Painting: After baking, let the ornaments stand at room temperature for at least 24 hours, or until they are completely dried out. The exact drying time can vary depending on the humidity and temperature of your home. Rushing this step can lead to paint peeling or cracking.
Tips & FAQs for Perfect Homemade Clay Ornaments
What is the best way to store extra clay?
While I haven’t personally experimented with storing leftover homemade clay, if you find yourself with extra, you can attempt to preserve it. The best approach would be to wrap it very tightly in plastic wrap, ensuring no air can reach it, and then store it in the refrigerator. Before your next crafting session, remember to allow the clay to come back to room temperature, as this will make it much more pliable and easier to work with. Keep in mind that fresh clay generally yields the best results.
Can this 3-ingredient clay recipe be doubled?
Absolutely! This recipe is incredibly adaptable, and you can easily double it if you wish to create a larger batch of ornaments. When scaling up, I recommend using a larger saucepan to accommodate the increased volume. Additionally, it’s a good practice to work with the clay in smaller batches. As you roll and cut, keep any portion of the clay you’re not actively using tightly wrapped in plastic wrap. This crucial step prevents it from drying out prematurely, ensuring your entire batch remains fresh and workable.

Essential Ingredients for Your 3-Ingredient Homemade Clay
- Cornstarch
- Baking soda
- Water
Recommended Supplies for Crafting the Best Homemade Clay Ornaments
Products I love for making DIY clay ornaments…
Creating homemade ornaments with this simple 3-ingredient clay is not just easy, it’s incredibly fun! If you’re like me, you might already have some of these craft essentials on hand. If you’re new to making homemade clay, don’t be nervous – you’re going to love the process and the beautiful results. To ensure your project is a success, I’ve compiled a list of the items I find absolutely indispensable for crafting these delightful ornaments:
- Mixing Bowl
- Saucepan
- Baking Soda
- Cornstarch
- Rolling Pin
- Small Metal Cookie Cutters
- Spatulas
- White Pearl Acrylic Paint
- Crystal Glitter Paint
- Silver Bling Glitter Paint
- Charcoal Black Paint
- Shimmering Silver Acrylic Paint
- Acrylic Paint Brushes Set
- Hand-Carved Wooden Stamping Blocks
- Mod Podge Pearl
Discover More Festive Holiday Projects!
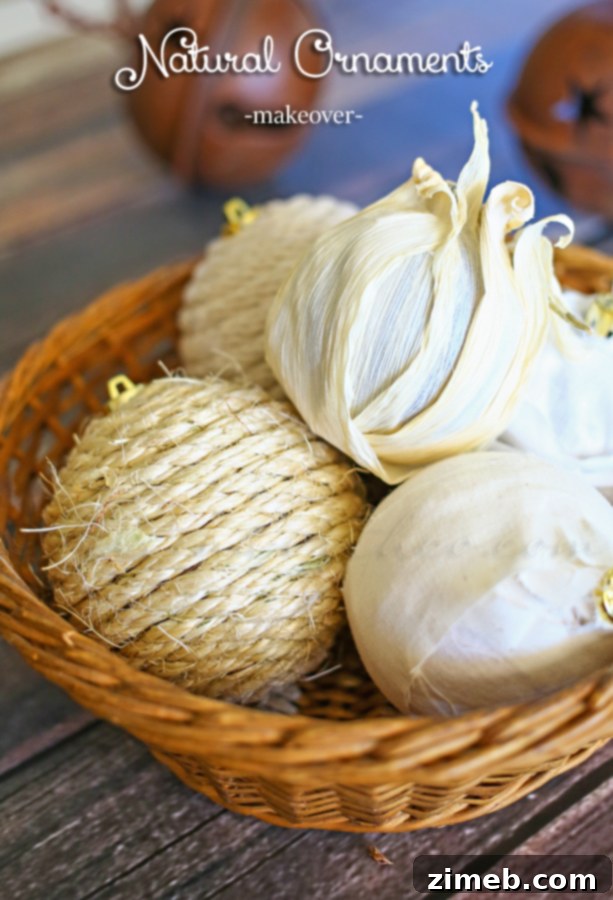
Natural Ornaments
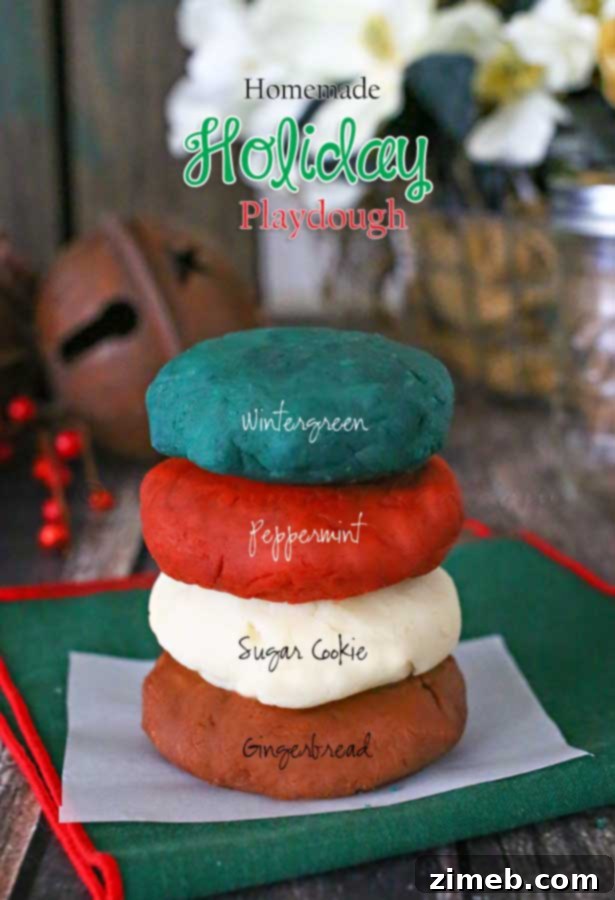
Homemade Holiday Playdough
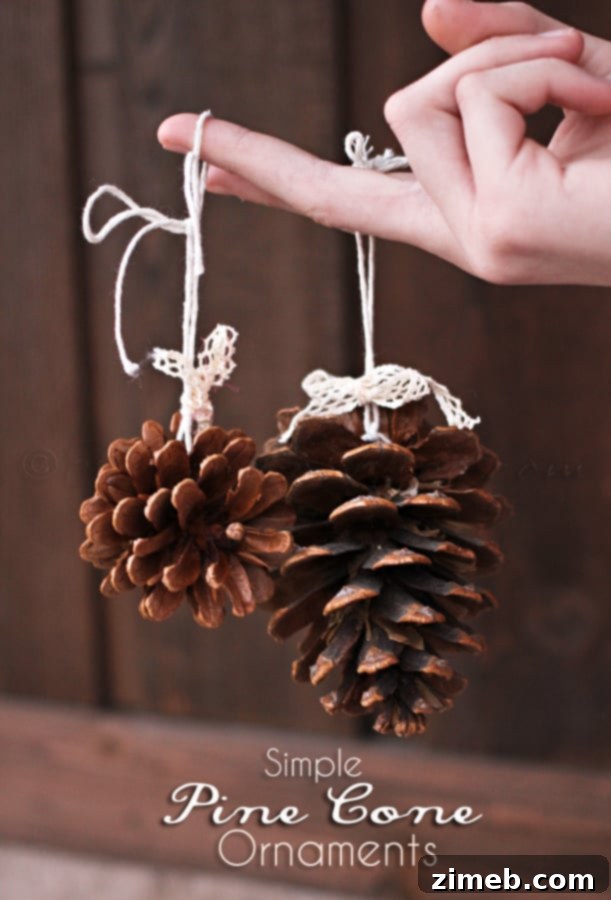
Simple Pine Cone Ornaments
Detailed 3-Ingredient Homemade Clay Recipe for Ornaments
DON’T MISS MY HOLIDAY E-BOOK!

If you’ve enjoyed crafting these beautiful Stamped Clay Ornaments using our simple 3-ingredient homemade clay recipe as much as I have, please consider leaving a five-star review! Your feedback helps others discover and enjoy this wonderful DIY project. And don’t forget to spread the holiday cheer by sharing this post on Facebook and Pinterest!
CONNECT WITH KLEINWORTH & CO!
Be sure to follow me on my social media channels, so you never miss a post!
Facebook, Pinterest, Instagram, Email Subscription

Print Recipe
Pin Recipe
Rate this Recipe
Homemade Clay Recipe (for homemade ornaments)
Ingredients
- 2 cups baking soda
- 1½ cups water
- 1 cup cornstarch
Instructions
-
Combine the baking soda, water, and cornstarch in a medium saucepan. If you are going to tint the dough to the color of your choice, now is the time to also add the food coloring.
-
Heat over medium stirring constantly until the mixture starts to resemble mashed potatoes.
-
Remove & transfer the mixture to a glass bowl.
-
Cover with a damp towel & allow it to cool at room temperature for about 30 minutes.
-
Once cool, preheat the oven to 175 degrees.
-
Place the clay on a sheet of parchment paper and roll it out into a flat layer – about 1/4″ thick. (if it’s still sticky you can add a little more cornstarch)
-
Cut the dough into the desired shapes, stamp with any stampers you choose, and transfer the cut shapes onto a parchment-lined baking sheet.
-
Bake approx 30 minutes – gently flip them over & bake another 30 minutes.
-
Let stand at room temperature for at least 24 hours (or until completely dried out) before painting. (this may take longer depending on the humidity and temperature of your home)