
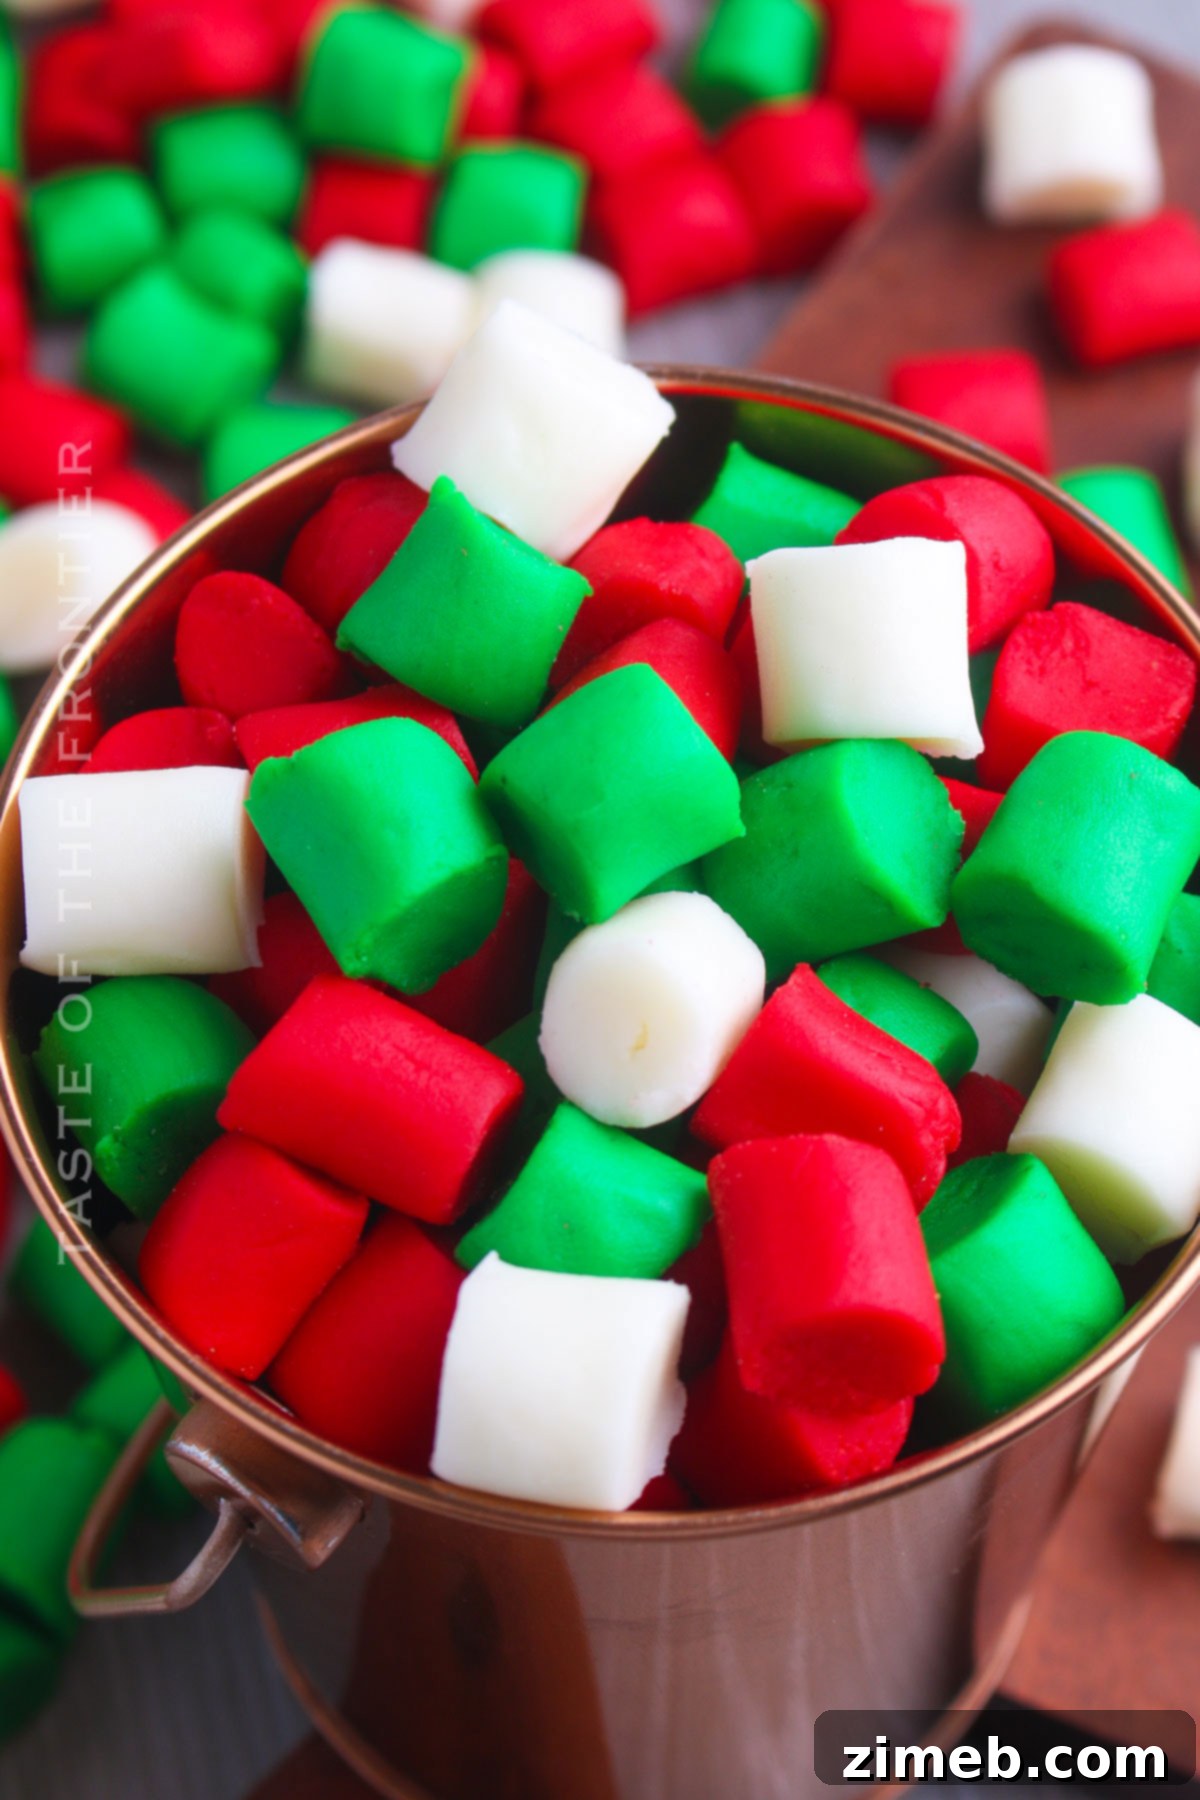
Experience the nostalgic charm and irresistible flavor of classic homemade Butter Mints. These delightful, melt-in-your-mouth candies are incredibly easy to make and can be beautifully customized for any special occasion or everyday treat.
There’s a unique joy in crafting sweets by hand, and these Homemade Butter Mints encapsulate that feeling perfectly. Imagine a small, creamy, peppermint-flavored morsel that gently dissolves on your tongue, leaving a sweet, refreshing sensation that brings a smile to your face. This isn’t just any candy; it’s a taste of nostalgia, reminiscent of the treasured treats grandmothers kept in elegant crystal dishes, yet even more special because they’re made with love right in your kitchen.
Whether you’re planning an elegant wedding, a charming baby shower, a festive holiday gathering, or simply craving a delightful after-dinner indulgence, these butter mints are the ideal choice. Their simple preparation belies their impressive appeal, making them as enjoyable to create as they are to savor.
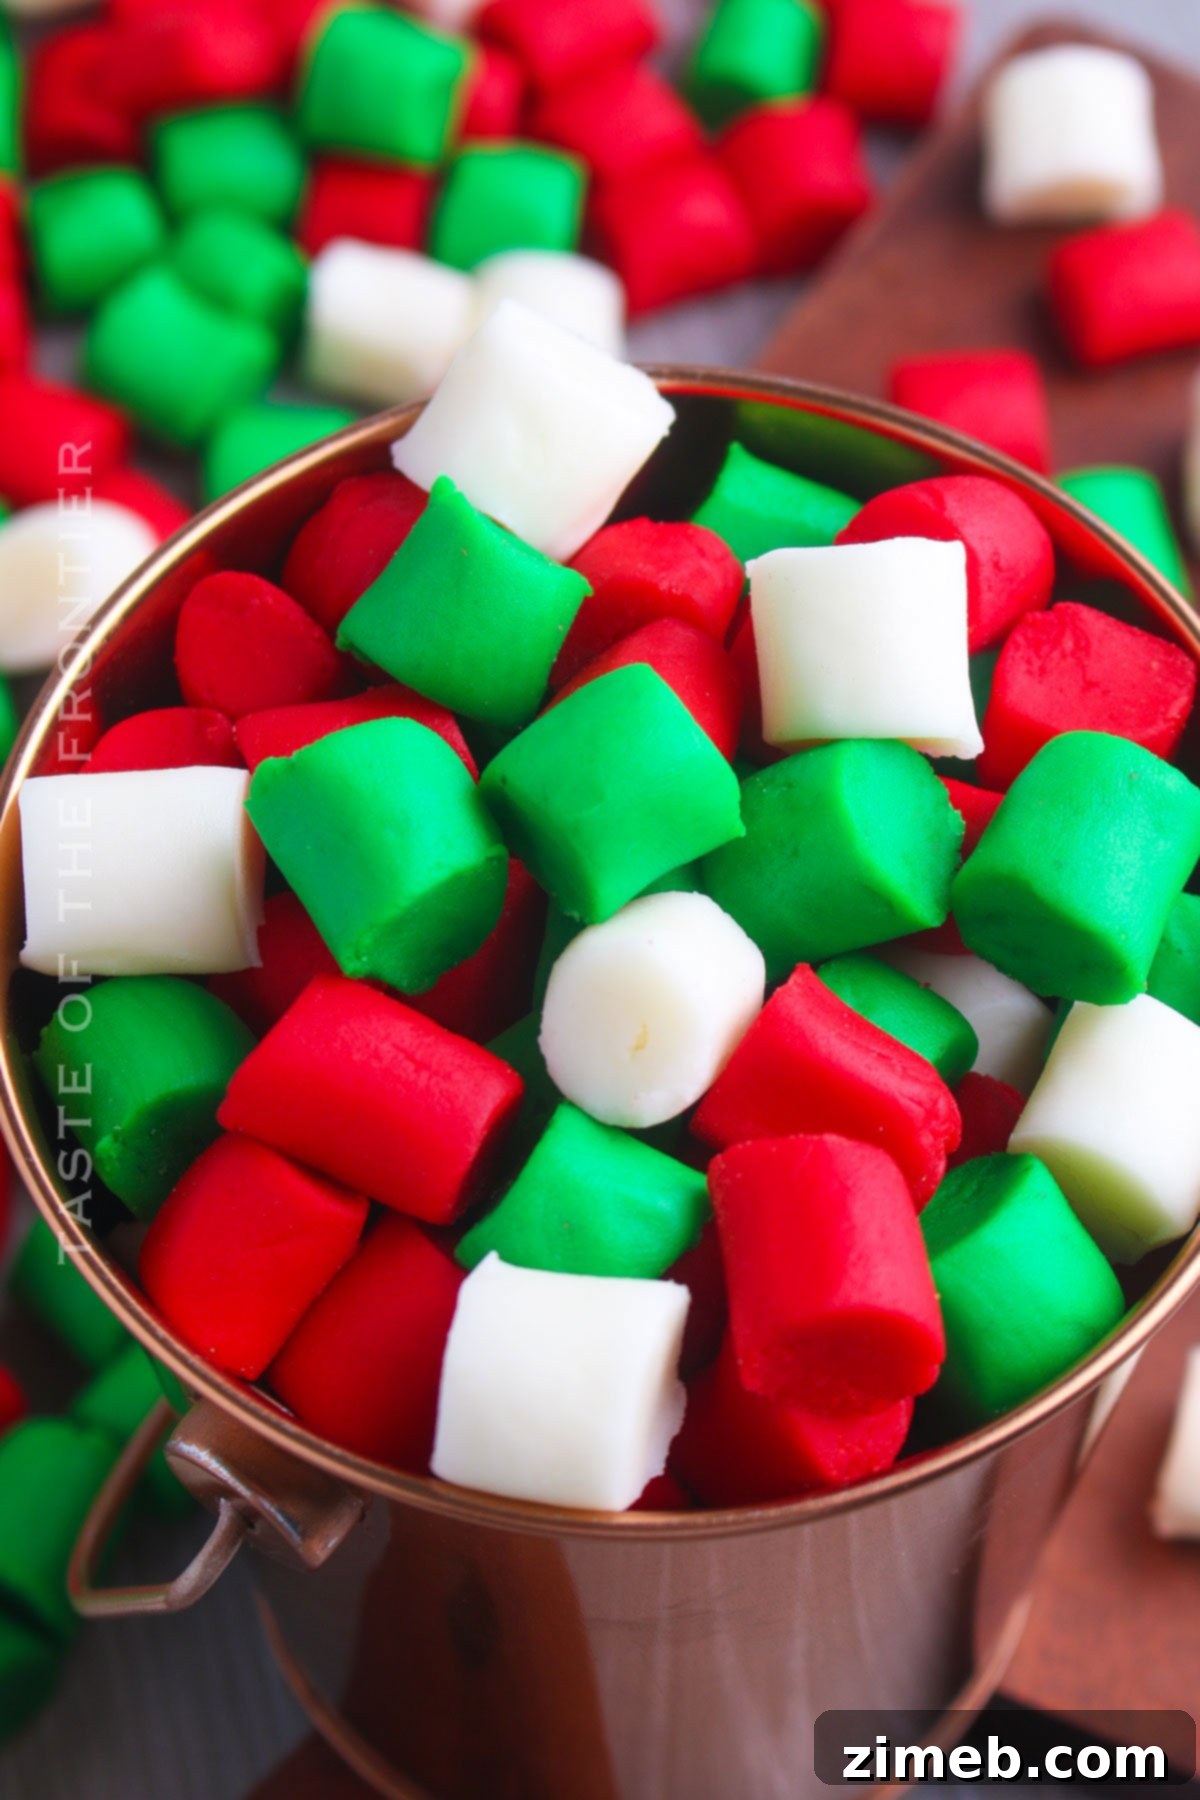
Why Homemade Butter Mints Are a Must-Make
Making your own butter mints offers a truly rewarding experience that goes beyond just taste. With just a handful of everyday ingredients and minimal effort—primarily mixing, rolling, and cutting—you can produce an exquisite sweet that perfectly captures the creamy texture and authentic peppermint flavor of old-fashioned butter mints everyone adores. These are hands down one of the easiest candies you can make, instantly elevating any event with a thoughtful, handmade touch.
The beauty of this recipe lies in its simplicity and accessibility. You don’t need specialized confectionery tools or advanced culinary skills. A standard mixing bowl, a reliable mixer, and your own hands are all it takes to whip up a batch of these delightful little treats. They’re perfect for:
- Effortless Entertaining: Impress guests with a gourmet-quality treat that requires no baking and minimal fuss.
- Thoughtful Gifting: Package them in a decorative box or bag for a heartfelt, personalized present.
- Family Fun: Get the kids involved in the rolling and cutting, creating cherished memories in the kitchen.
- Satisfying Your Sweet Tooth: Enjoy a perfectly balanced, refreshing candy whenever a craving strikes.
Once you try making them, you’ll discover why they become an instant favorite. Your friends, family, and taste buds will undoubtedly be grateful!
Common Questions About Making Butter Mints
Let’s address some of the most frequently asked questions to ensure your butter mint-making experience is smooth and successful.
Can I Make Butter Mints in Different Colors?
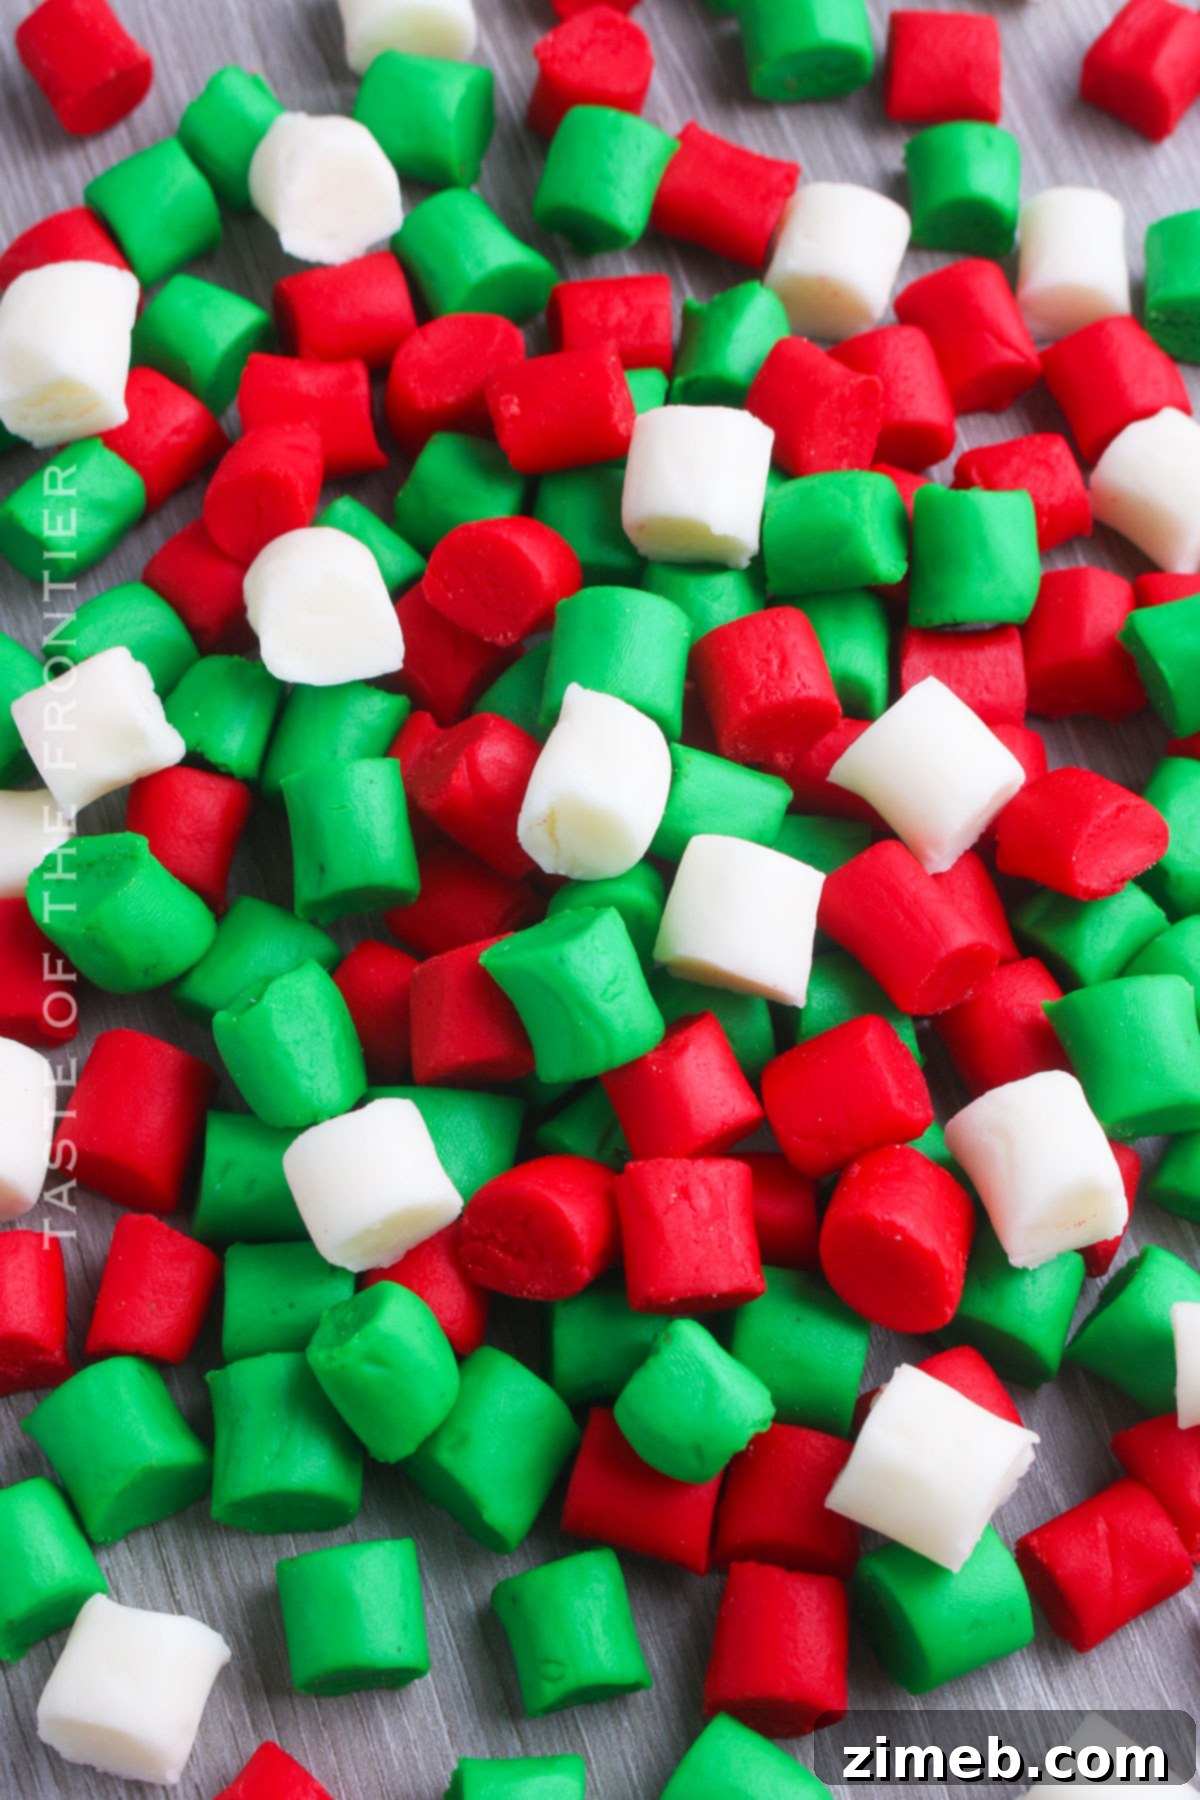
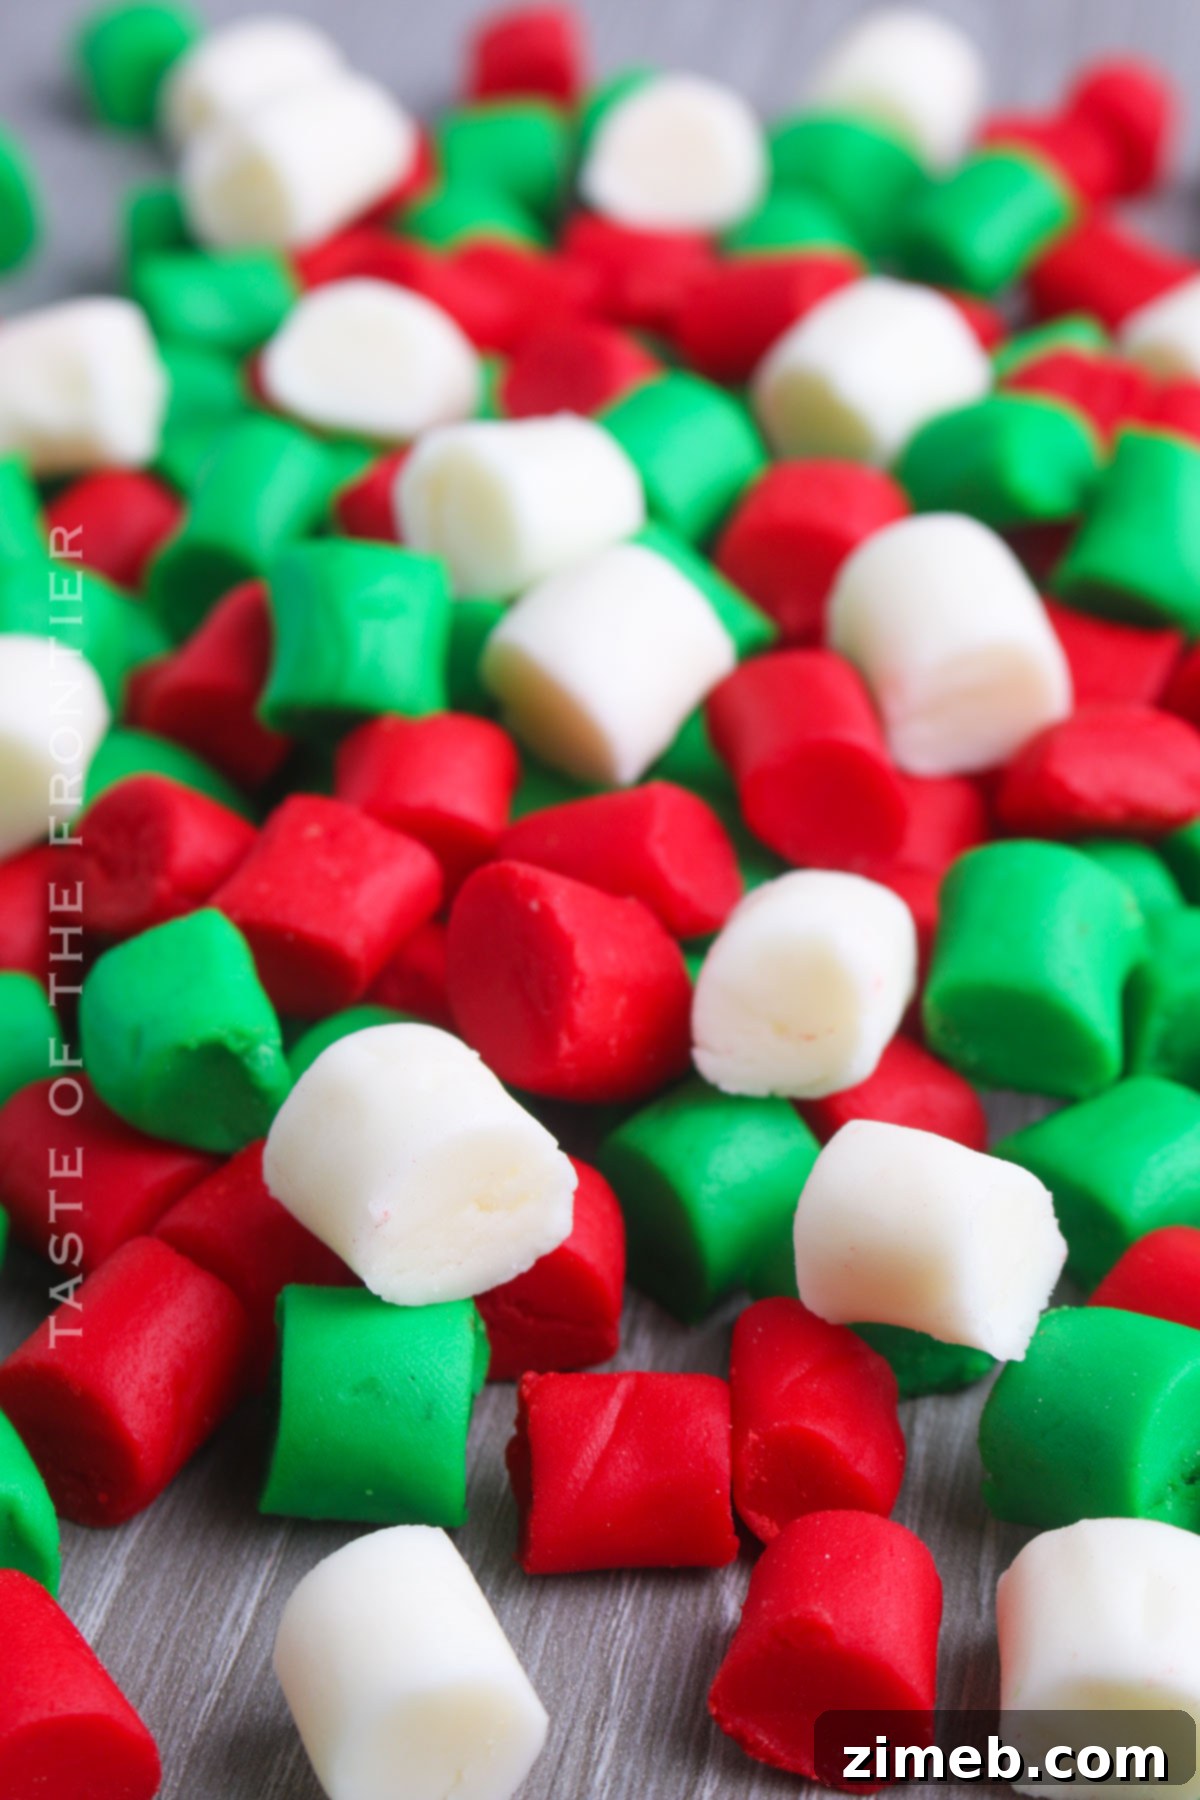
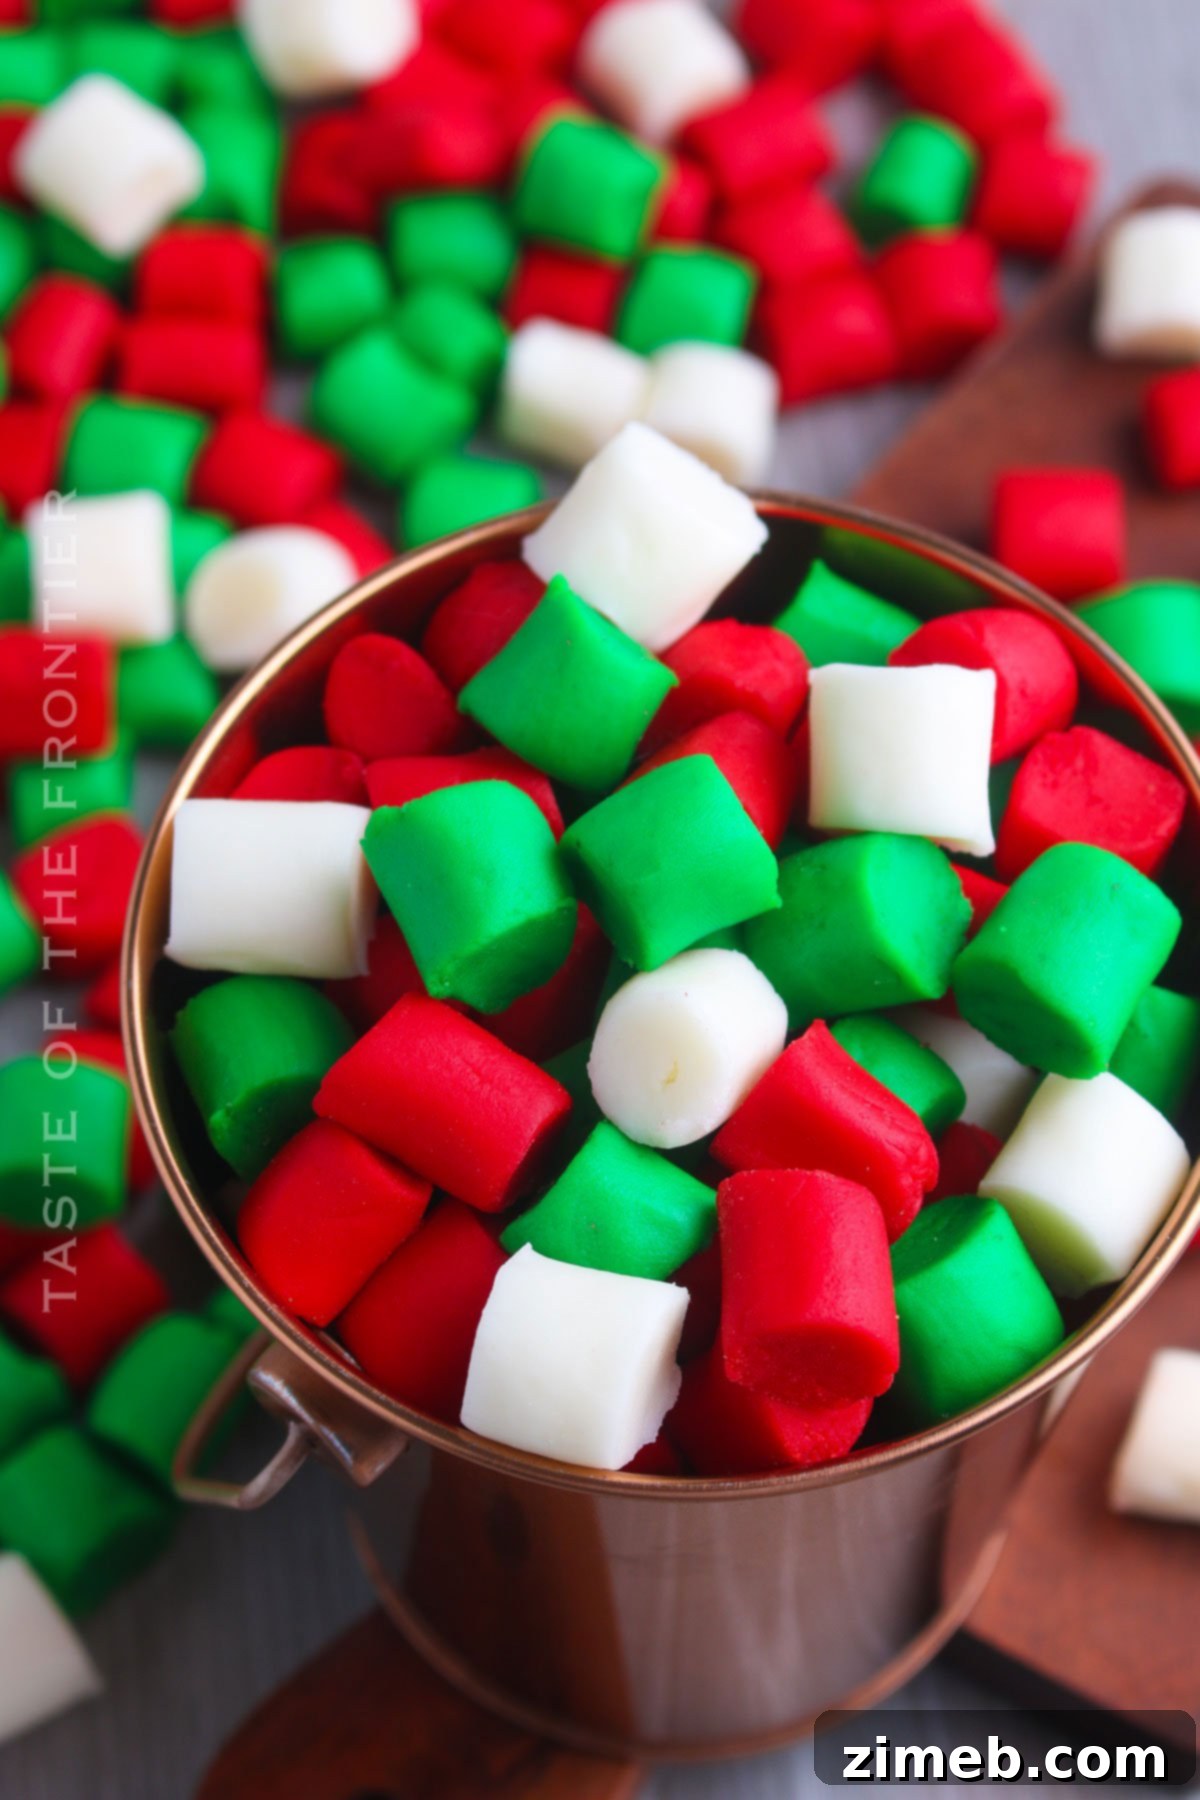
Absolutely! This is one of the most delightful aspects of homemade butter mints – their incredible versatility for customization. Just a single drop or two of gel food coloring can transform these simple mints into a vibrant array of colors. Imagine a pastel assortment for a spring event, bright primary colors for a child’s birthday, or traditional red and green for Christmas. These soft, colorful mints will look absolutely stunning in any candy dish, adding a festive visual element to your edible creations. Food coloring should be kneaded into separate portions of dough after the initial mixing for best results.
Why is My Mint Dough Too Sticky or Too Crumbly?
The consistency of your butter mint dough is crucial, and issues with stickiness or crumbliness are typically related to the moisture balance. If your dough feels too sticky and difficult to handle, it likely has too much liquid. You can easily remedy this by gradually kneading in a little more confectioner’s sugar (also known as powdered sugar) until it reaches a pliable, non-sticky texture. Conversely, if the dough is too dry and crumbly, it lacks sufficient moisture. Add a tiny amount of milk or half-and-half, a teaspoon at a time, until the dough comes together smoothly. Precise measurement of ingredients is key – avoid packing your measuring cups too tightly or too loosely. A great tip for future batches is to make a small note on your recipe card about any adjustments you made, ensuring you nail the perfect consistency every time.
Are Butter Mints Gluten-Free?
Yes, traditional butter mints, including this homemade recipe, are naturally gluten-free! Since they do not contain any flour, they are a safe and delicious treat for those with gluten sensitivities or celiac disease. However, it’s always a good practice to double-check the labels of all your ingredients, especially extracts and food colorings, to ensure they are certified gluten-free. While rare, some brands might use gluten-containing ingredients or have cross-contamination risks.
Storage Tips for Fresh Butter Mints
There’s nothing quite like the satisfaction of enjoying candies you’ve made yourself. Properly storing your homemade butter mints ensures they retain their creamy texture and fresh flavor for as long as possible.
Refrigerator Storage:
For optimal freshness and to prevent them from becoming too soft, store your butter mints in an airtight container in the refrigerator. To keep individual mints from sticking together, layer them between sheets of wax paper. Stored this way, they will remain delicious for up to 2-3 weeks.
Freezer Storage:
Butter mints freeze beautifully, making them an excellent candidate for advance preparation. To freeze, first arrange the finished, dried mints in a single layer on a baking sheet. Freeze them until solid (this prevents them from sticking together in a clump). Once firm, transfer the frozen mints to an airtight freezer-safe container or heavy-duty freezer bag. They can be stored in the freezer for several months. When you’re ready to enjoy them, simply let them thaw at room temperature for a short while.
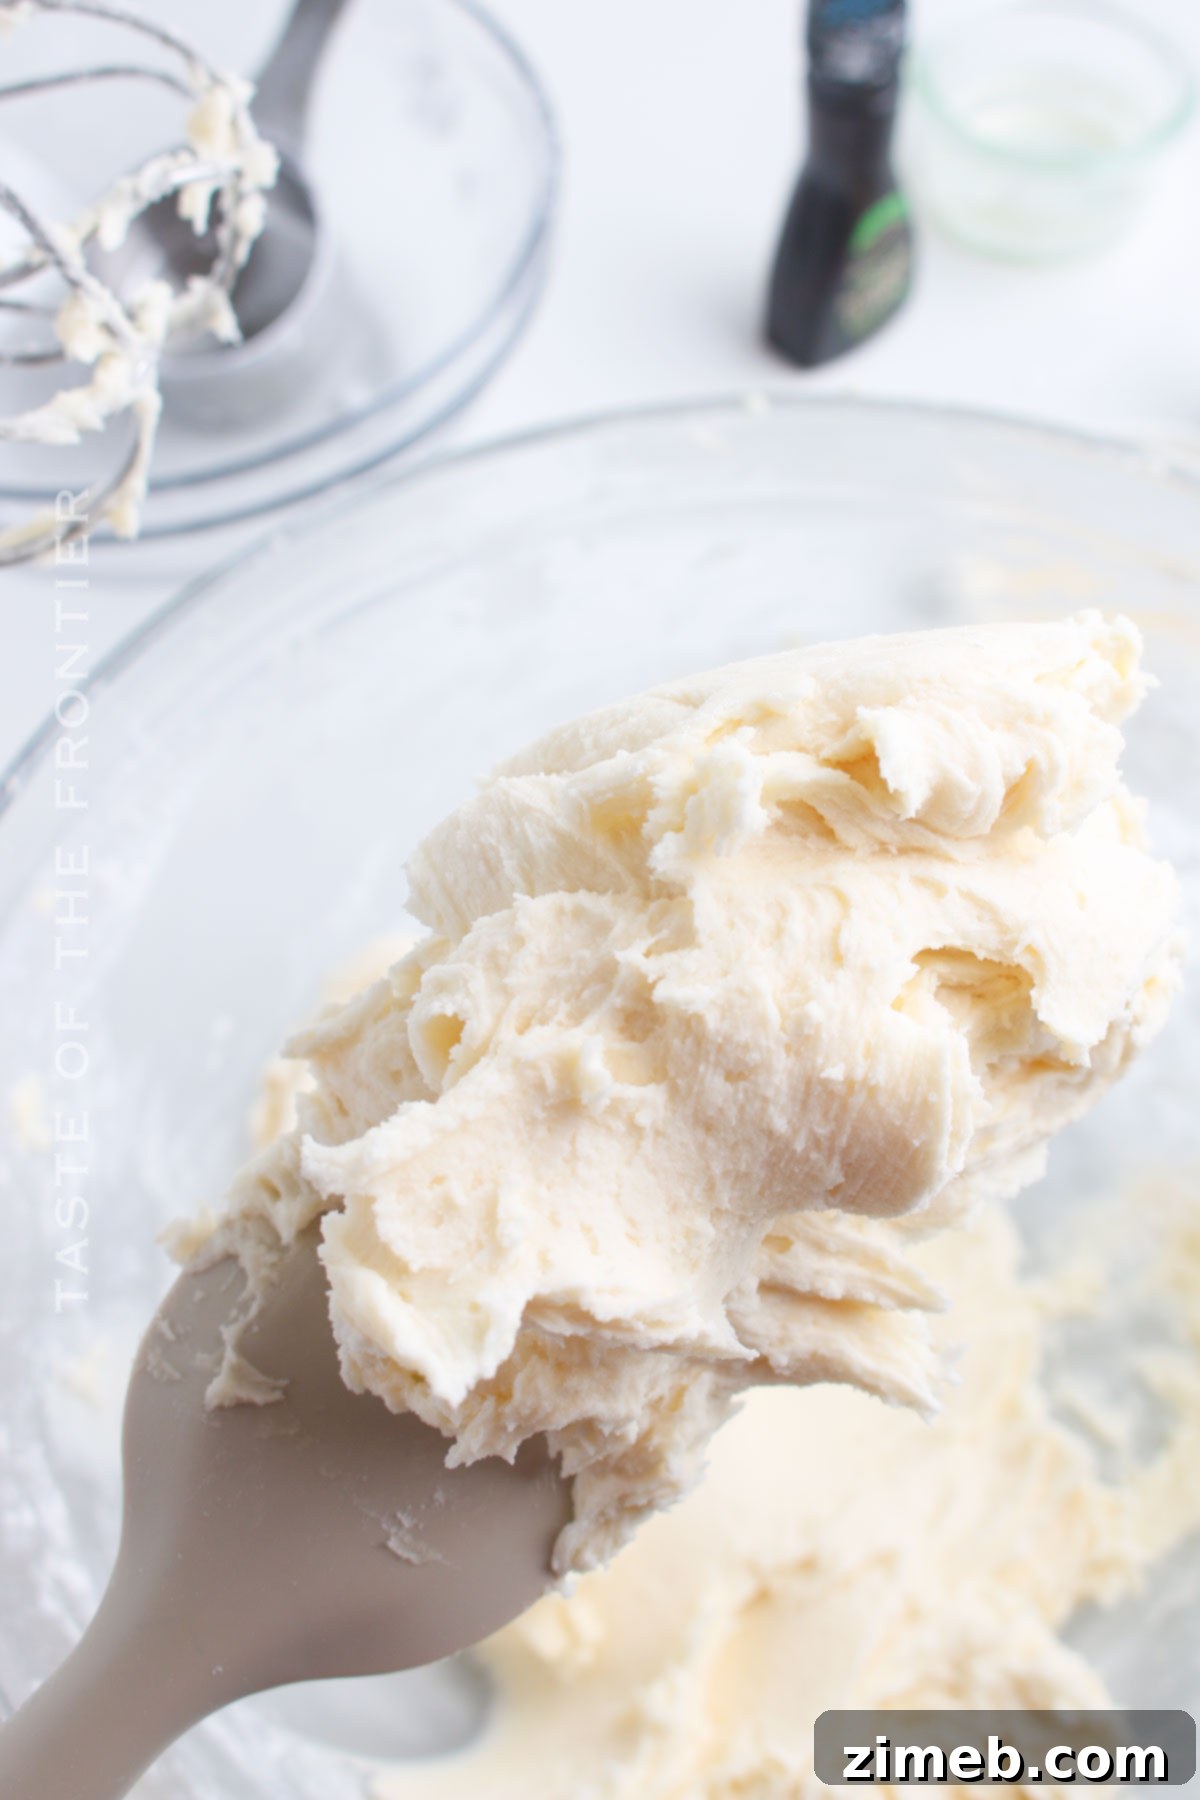
Expert Tips for Perfect Butter Mints Every Time
While this is indeed an easy recipe, a few key pointers will help you achieve the best results. Follow these simple guidelines, and you’ll be enjoying flawless homemade butter mints in no time!
- Achieve Softened Butter: Your butter should be genuinely softened, not melted. It should yield easily to pressure but not be greasy or liquid. This consistency is vital for a smooth, creamy dough.
- Sift Your Confectioner’s Sugar: For that signature melt-in-your-mouth texture, always sift your confectioner’s sugar. This removes any lumps and ensures a uniformly smooth dough, free of gritty bits.
- Divide for Even Portions: If you plan to color your mints, ensure you divide the uncolored dough into equal portions before adding any food coloring. This helps maintain consistent color saturation and allows for a visually appealing assortment.
- Allow for Adequate Drying: The air-drying step is crucial for developing the characteristic firm outer shell and creamy, soft interior of butter mints. Don’t rush this process; allow them to dry at room temperature for the recommended 12-24 hours.
- Don’t Fear Getting Hands-On: When it comes to kneading the dough, especially when incorporating food coloring, don’t be afraid to get your hands in there. The warmth of your hands helps to blend the ingredients thoroughly and achieve a smooth, uniform texture.
- Chill Time is Your Friend: The chilling steps are not optional. They firm up the dough, making it much easier to handle, roll, and cut without it becoming too sticky or losing its shape.
Simple Ingredients for Delicious Butter Mints
One of the most appealing aspects of this recipe is its incredibly short and simple ingredient list. It’s a testament to the fact that often, the best treats are made from humble beginnings. Knowing exactly what goes into your food is always a plus!
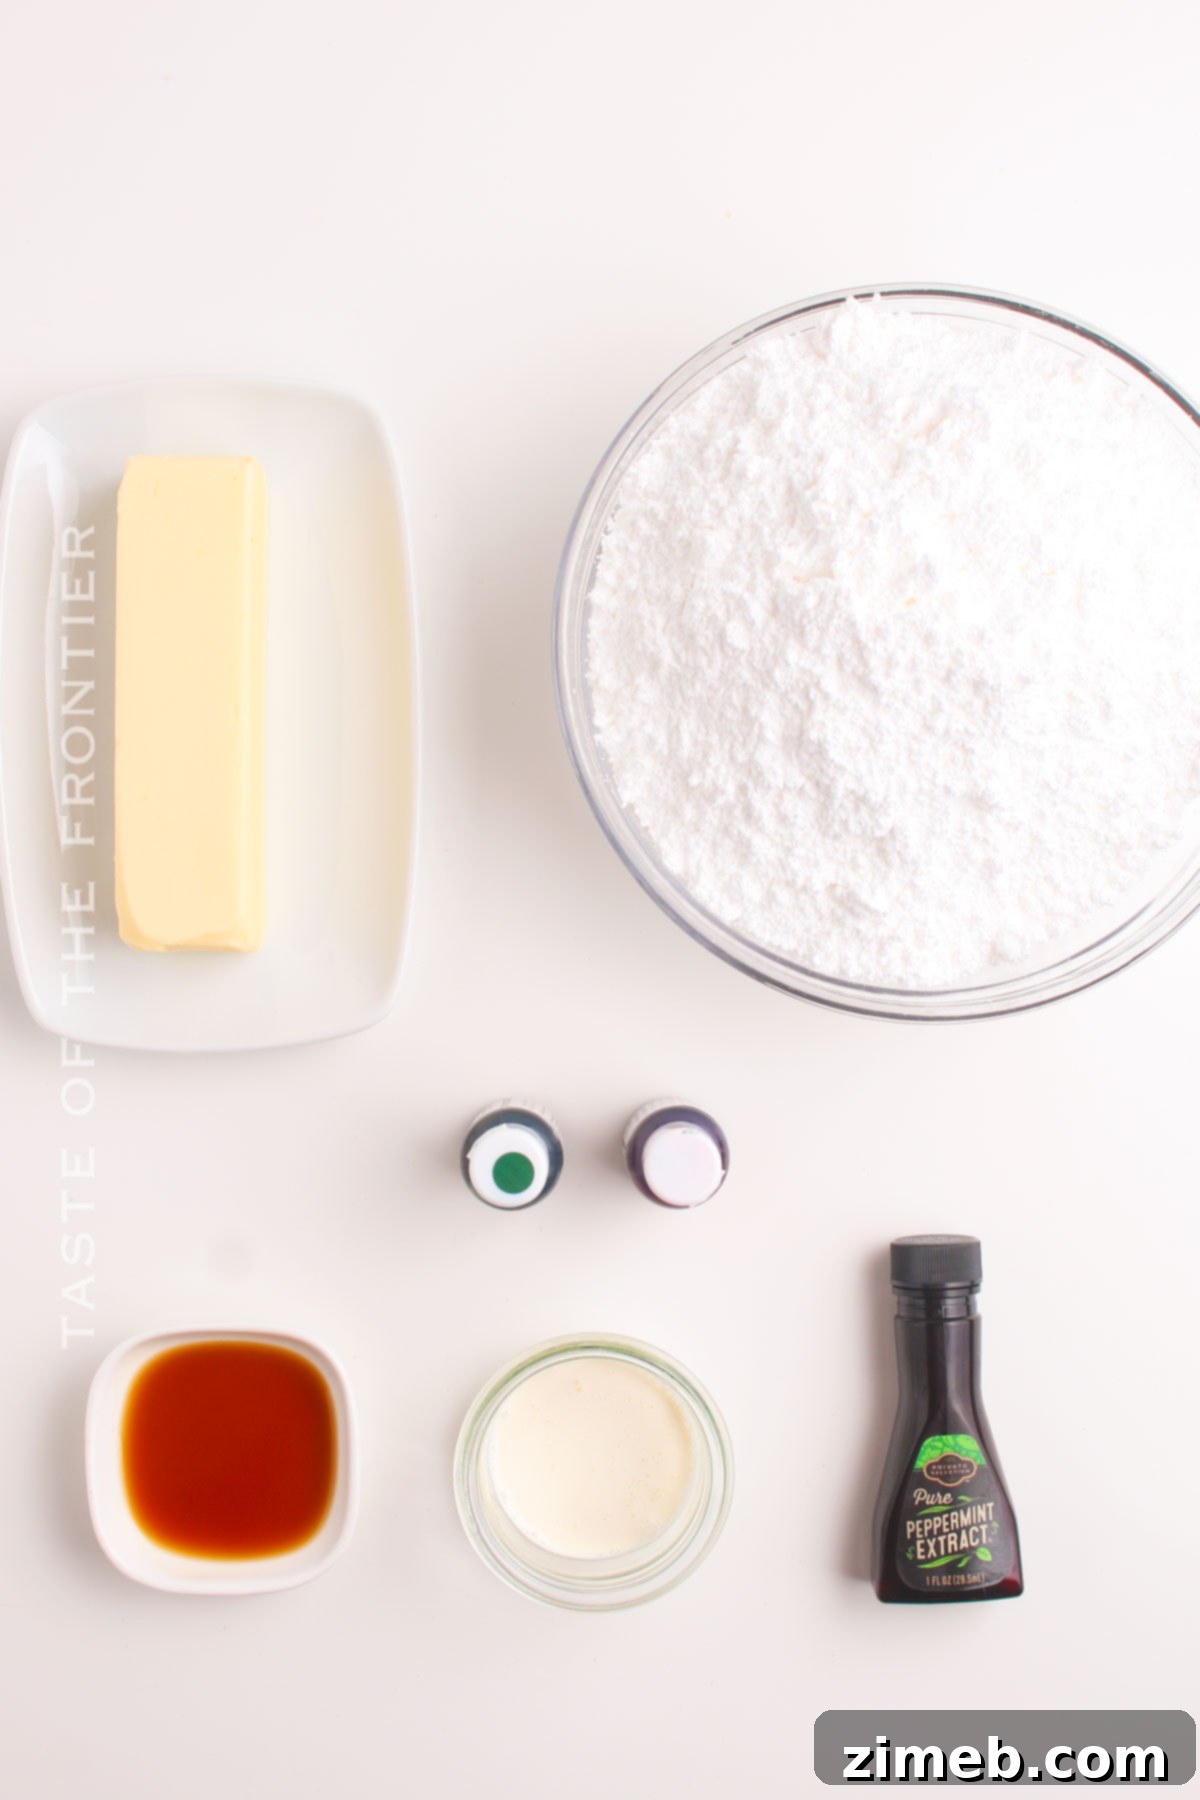
- Unsalted Butter: Using unsalted butter allows you to control the overall saltiness of your mints. Make sure it’s properly softened.
- Confectioner’s Sugar: The foundation of the mints, providing sweetness and that fine, powdery texture.
- Half-and-Half or Whole Milk: Adds moisture and contributes to the creamy consistency. Whole milk or half-and-half will give the richest result.
- Vanilla Extract: A touch of vanilla enhances the overall sweetness and provides a lovely aromatic background.
- Peppermint Extract: The star flavor! Use a good quality extract for the best minty punch.
- Optional Food Coloring: Gel food coloring works best for vibrant, concentrated color without adding too much liquid.
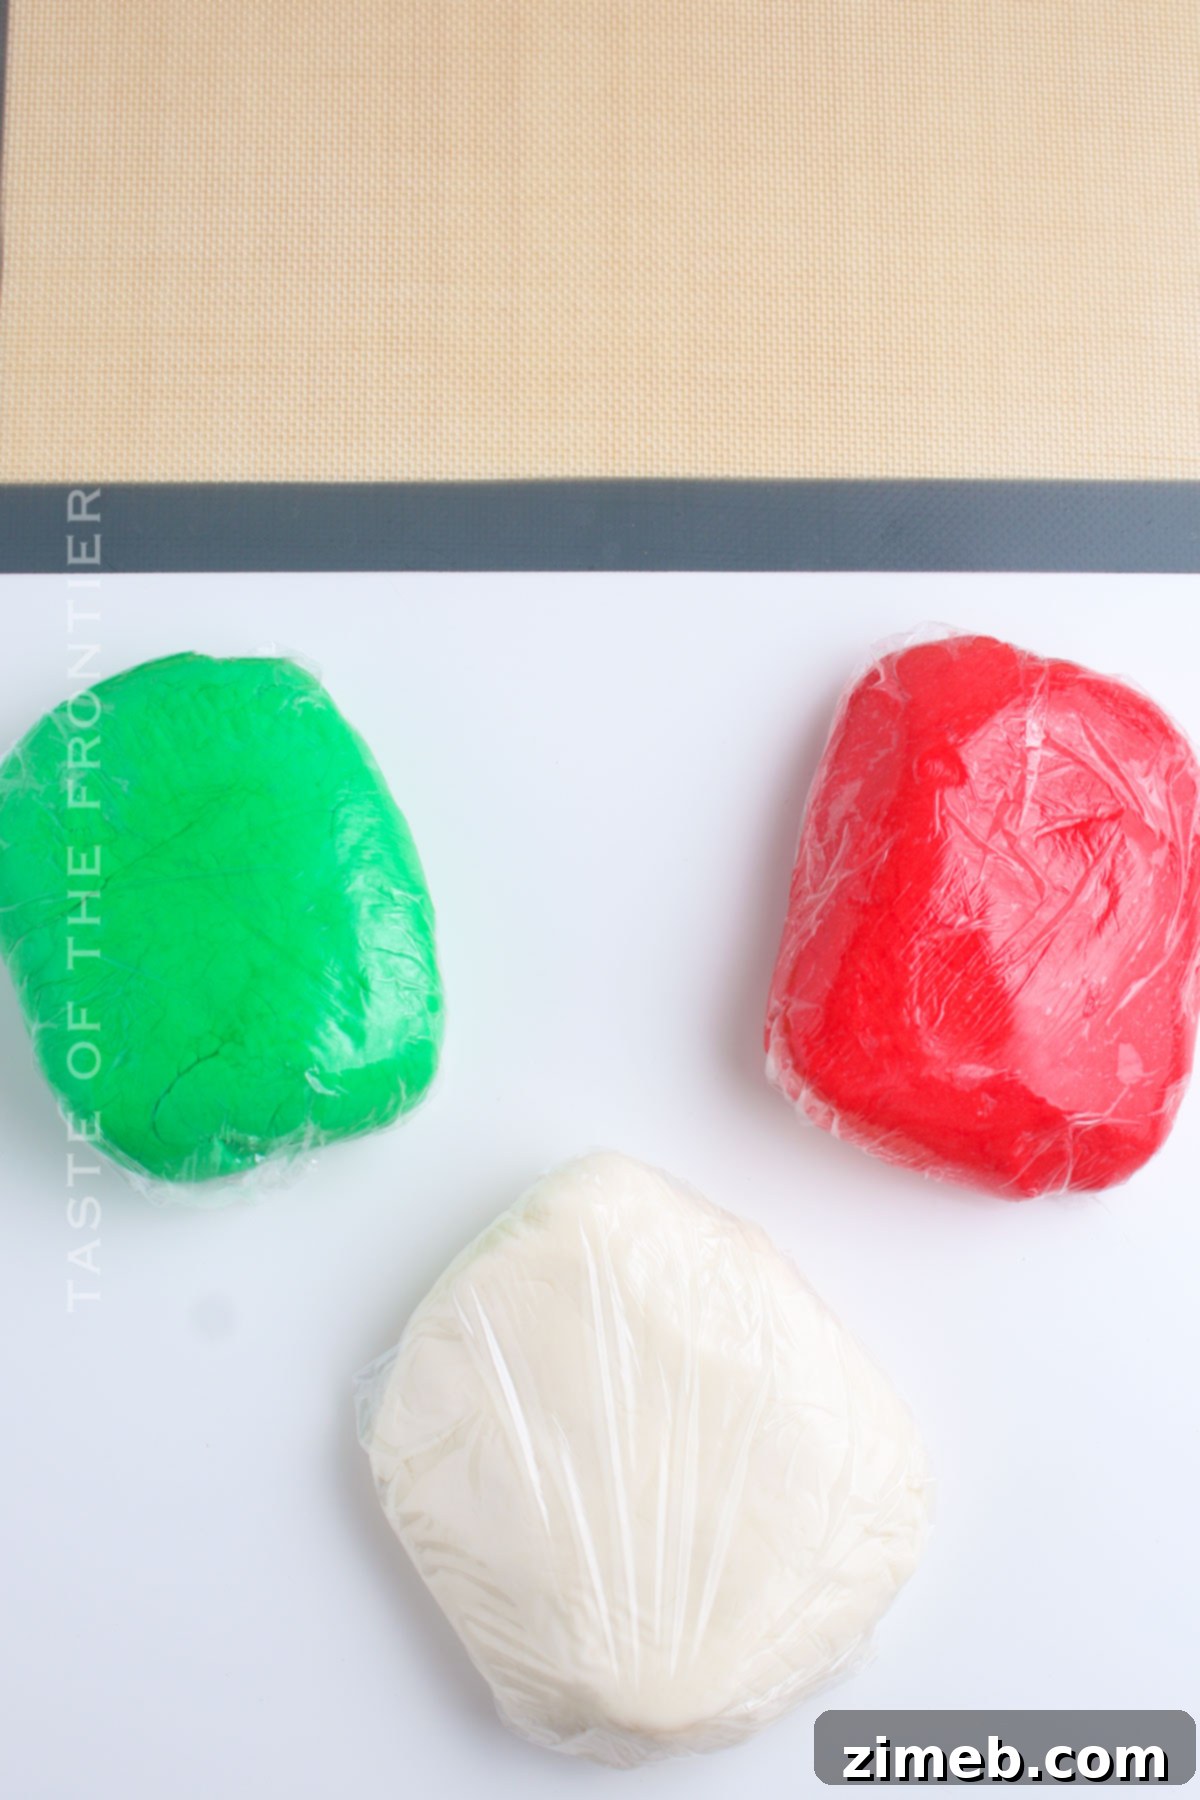
How to Make Classic Homemade Butter Mints
Get ready to create an instant family favorite! This step-by-step guide will walk you through the process of making these irresistible butter mints. Be sure to save the full recipe card below for easy reference.
- Cream the Butter: In a large mixing bowl, beat the softened unsalted butter until it is light, smooth, and fluffy. This can be done with a hand mixer or a stand mixer fitted with a paddle attachment.
- Add Sugar Gradually: Slowly and gradually add the sifted confectioner’s sugar to the butter, beating until it is fully incorporated and the mixture is smooth and well-combined. Scrape down the sides of the bowl as needed.
- Incorporate Liquids and Extracts: Beat in the half-and-half (or whole milk), vanilla extract, and peppermint extract until everything is thoroughly combined and the dough is uniform.
- Divide Dough (Optional for Colors): If you plan to make mints in a variety of colors, divide the dough into equal portions now.
- Initial Chill: Wrap each portion of dough tightly in plastic wrap and chill in the refrigerator for 20-30 minutes. This firms up the dough, making it easier to handle.
- Knead in Food Coloring: Remove one portion of dough from the refrigerator at a time. Add a drop or two of your desired food coloring and knead it into the dough until the color is completely blended and uniform.
- Second Chill: Rewrap the colored dough in plastic wrap and chill it for at least 1 hour, or until it is firm enough to roll without being overly sticky. Repeat for any additional colored portions.
- Prepare Baking Sheets: Line several baking sheets with parchment paper. This will prevent sticking and make for easy cleanup.
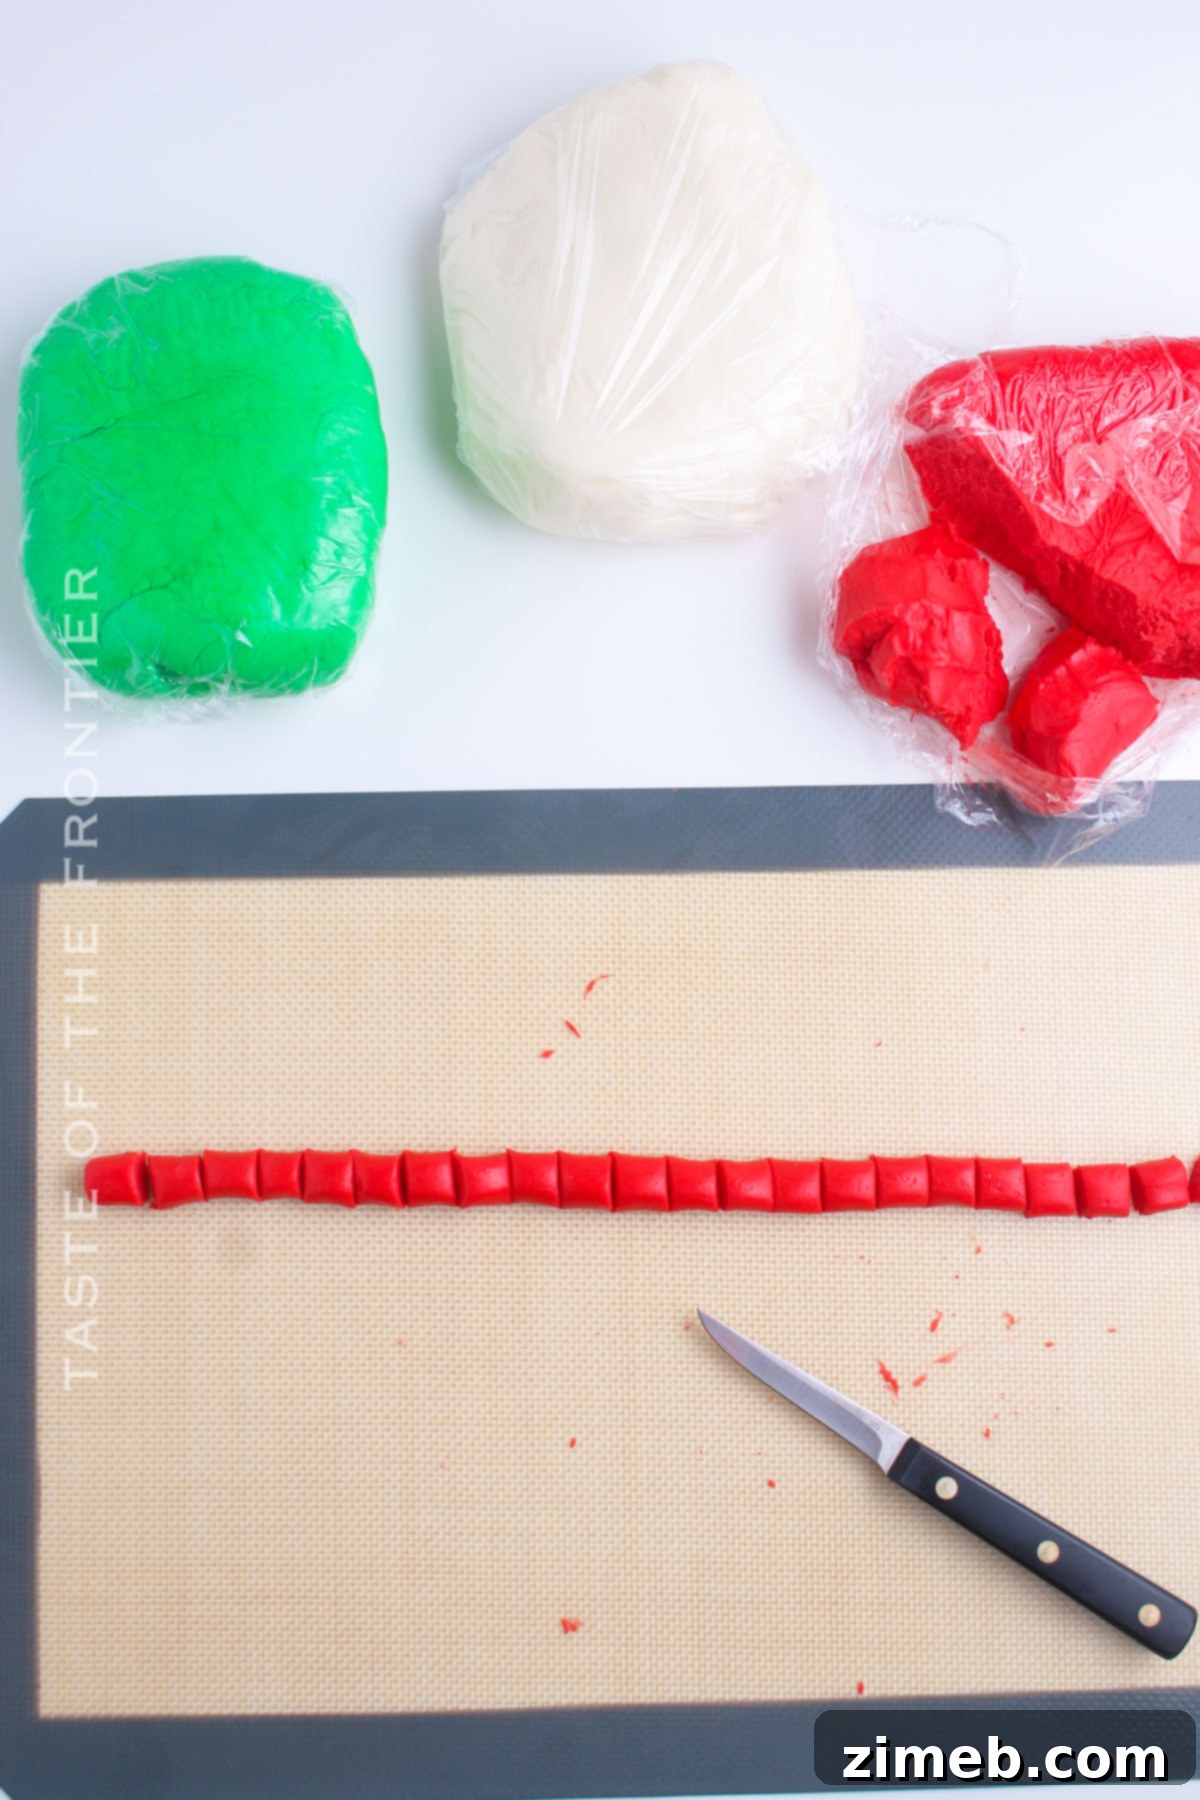
- Shape the Mints: Take one portion of chilled dough. On a lightly powdered sugar-dusted surface, roll the dough into a rope approximately ½ inch thick. Alternatively, you can use mini cookie cutters to create fun shapes.
- Cut Individual Mints: Cut the dough rope into small pieces, about ½ inch long. If using cookie cutters, press them firmly into the rolled-out dough.
- Arrange on Baking Sheets: Place each cut mint onto the prepared baking sheets, ensuring they are not touching each other to allow for even drying.
- Air Dry: Allow the mints to dry at room temperature for 12-24 hours. This step is crucial for them to develop their characteristic firm exterior while remaining creamy inside. Flip them halfway through if desired for even drying.
- Store: Once fully dried, store the mints in an airtight container to maintain their freshness.
Essential Kitchen Supplies for Butter Mint Success
You’ll be pleased to know that you likely have most of these items already in your kitchen. While mini cookie cutters can add a charming touch, they are completely optional. As the recipe explains, simply rolling and cutting the dough works perfectly well!
- Large Mixing Bowl: Essential for combining and beating the ingredients.
- Hand Mixer or Stand Mixer with a Paddle Attachment: Makes creaming the butter and sugar quick and easy.
- Measuring Cups and Spoons: For accurate ingredient measurements.
- Plastic Wrap: Crucial for chilling the dough and preventing it from drying out.
- Parchment Paper: For lining baking sheets, ensuring the mints don’t stick during drying.
- Baking Sheets: Multiple sheets are helpful for drying a large batch of mints.
- Optional: Mini Cookie Cutters: For creating unique and festive shapes for your mints.
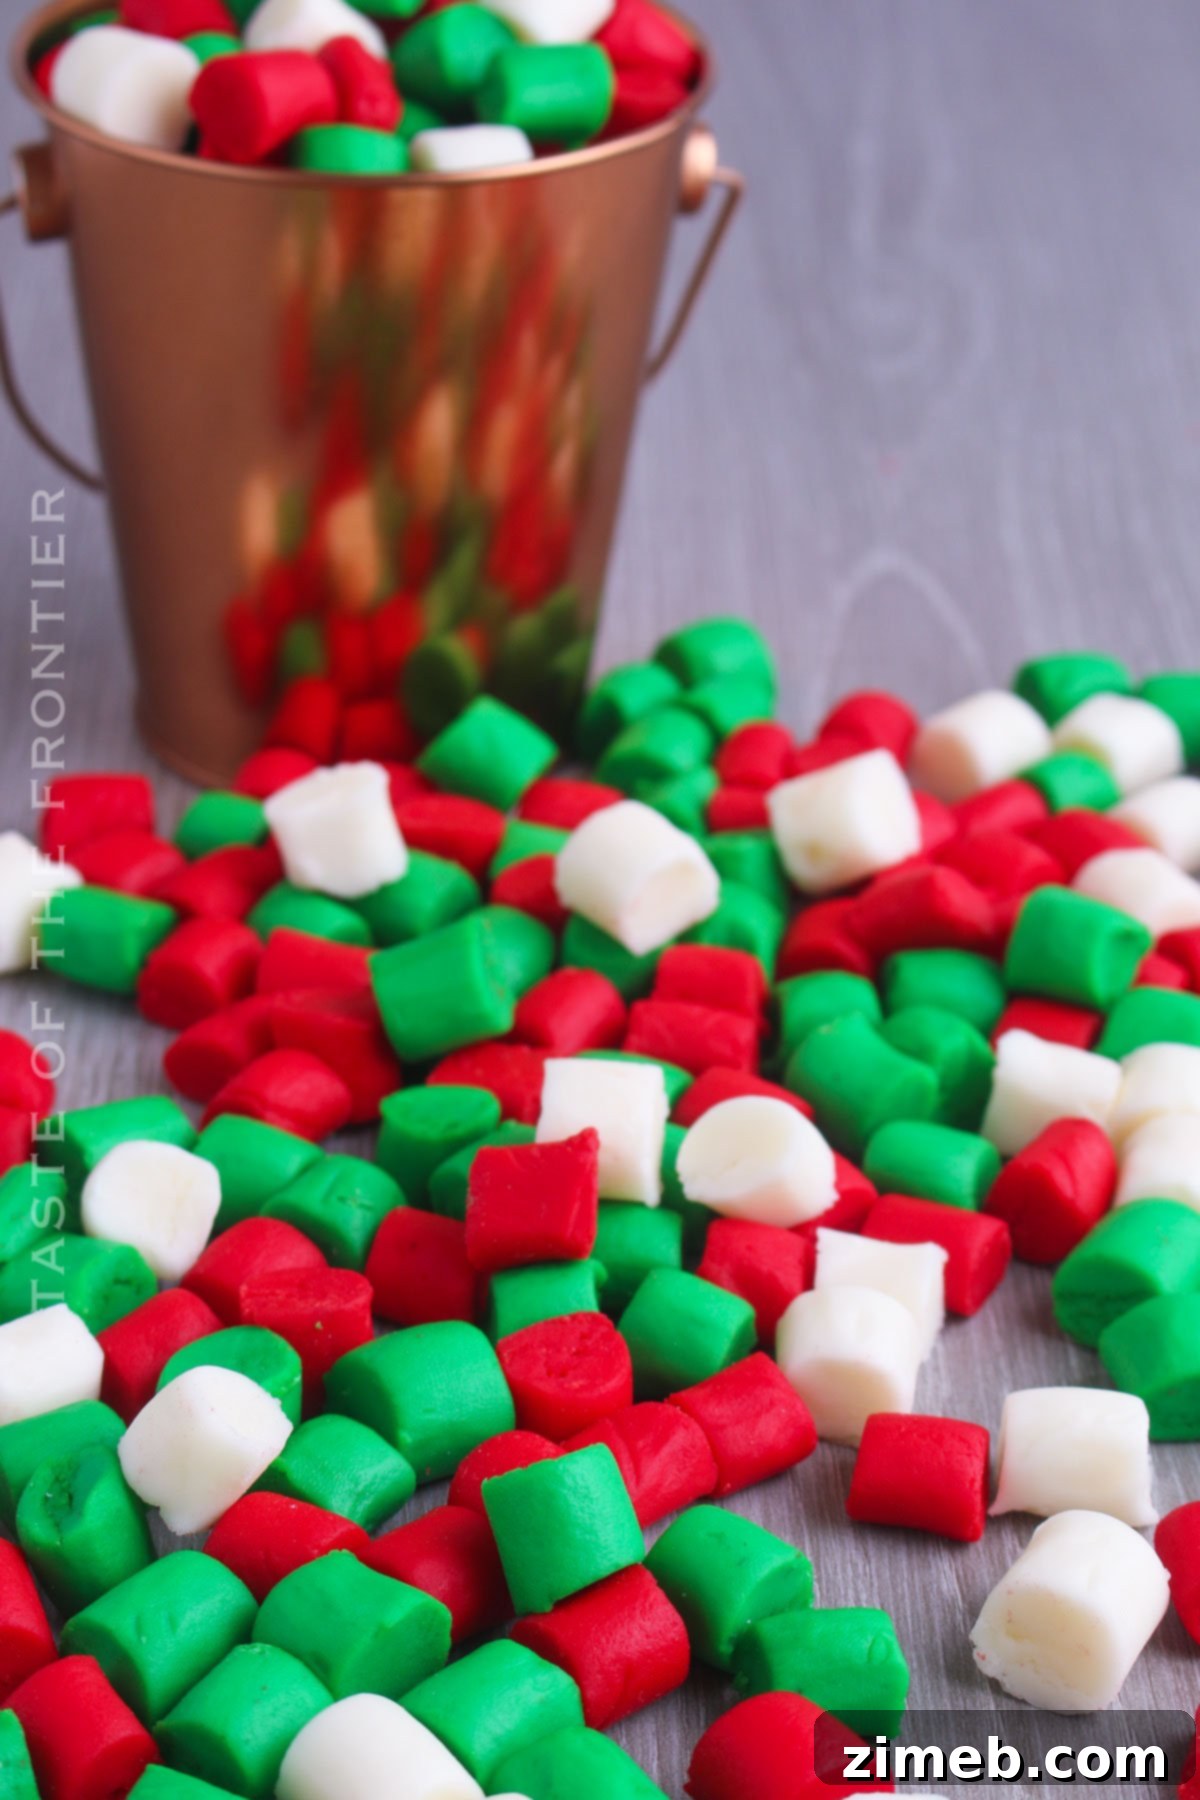
Delightful Ways to Serve Your Homemade Butter Mints
These versatile treats are fantastic on their own, perfect for simply popping throughout the day. However, they can also enhance various occasions and pairings. Display them in a beautiful candy dish for an elegant touch that adds a festive effect to any holiday table or gathering.
- With Hot Beverages: Serve alongside a steaming cup of hot tea, coffee, or hot cocoa for a comforting and refreshing combination.
- As a Buffet Finisher: Place a small dish of butter mints at the end of a buffet line, offering a light and sweet palate cleanser.
- After a Savory Meal: A perfect, delicate sweet follow-up to a rich or savory appetizer or main course.
- Party Favors: Bag them individually and tie with a ribbon for charming and edible party favors at weddings, showers, or birthdays.
- Holiday Candy Platters: Mix them with other festive candies and cookies on a holiday dessert platter for a colorful and varied spread.
Creative Variations and Flavorful Add-Ins for Butter Mints
While the classic peppermint butter mint is undeniably delicious, there’s no rule saying you have to stick to tradition! Feel free to unleash your creativity and experiment with these mints. The possibilities are endless for customizing them to suit different tastes and occasions. If you discover a fantastic new twist, be sure to share it in the comments below!
- Exciting Flavor Twists: Beyond peppermint, explore other extract flavors. Swap peppermint for almond, orange, lemon, lime, or even a hint of coconut extract for a completely different candy experience. Imagine zesty lemon mints or warm almond mints!
- Chocolate Chip Surprise: For a delightful fusion of flavors, press a mini chocolate chip into the top of each mint immediately after cutting. This creates a lovely choco-minty bite that’s irresistible.
- Elegant Herbal Notes: For a sophisticated twist, consider adding a single drop of an edible essential oil, such as food-grade lavender or rose water, to a portion of the dough. This creates a uniquely aromatic and delicate flavor profile that is truly special.
- Rich Cream Cheese Mints: For an even richer, tangier taste and an exceptionally creamy texture, try substituting a small portion of the butter with softened cream cheese. Start by replacing about a quarter of the butter with cream cheese and adjust to your preference.
- Sprinkle Fun: Before the mints fully dry, gently press colorful sprinkles onto the tops. This is especially fun for birthday parties or holiday themes.
If you adore this easy homemade mint recipe, you’re going to love these other classic no-bake and easy-to-make treats too. Discover the printable recipes by clicking each link below!
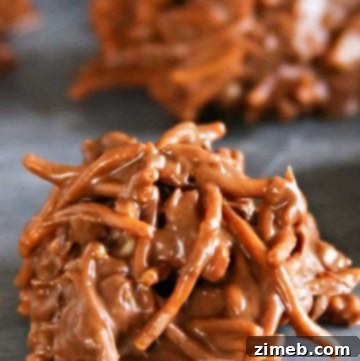
No-Bake Chocolate Haystacks
No-Bake Chocolate Haystacks are a timeless holiday treat. They’re incredibly simple to make with just 4 ingredients and are perfect for inclusion in care packages, as they travel wonderfully.
Check out this recipe
Christmas Popcorn
Christmas Popcorn is adorned with all things festive, from vibrant red and green M&Ms to crunchy crushed pretzels. It’s the ultimate sweet and salty snack to truly get you into the holiday spirit!
Check out this recipe

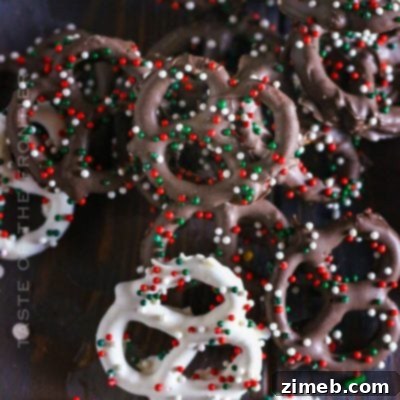
Chocolate Covered Pretzels
Chocolate Covered Pretzels feature mini pretzel twists and rods generously coated in delectable milk, dark, and white chocolate, then topped with cheerful seasonal sprinkles. Quick and easy to make with just 3 ingredients.
Check out this recipe
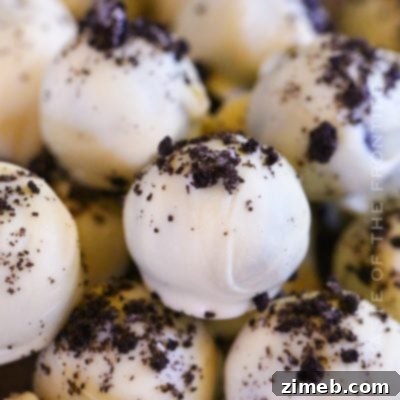
Oreo Balls – Oreo Truffles
Oreo Balls – also known as Oreo Truffles – are an incredibly easy no-bake treat made with just 3 ingredients and can be beautifully decorated for any holiday or occasion. They taste absolutely divine!
Check out this recipe
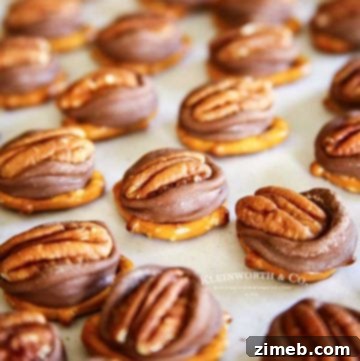
Rolo Pretzel Turtles
Rolo Pretzel Turtles are a wonderfully simple and easy holiday treat, requiring just 3 ingredients. They’re perfect for neighbor gifts, festive parties, and any serious chocolate and caramel enthusiast.
Check out this recipe
More Great Holiday Treats to Explore
If you’re looking for even more delightful homemade candy ideas, these recipes are perfect for expanding your sweet repertoire, especially during the holidays:
Divinity Candy
Cool Whip Candy
Easy Chocolate Caramel Candy
Microwave Peanut Brittle
CONNECT WITH YUMMI HAUS!
Be sure to follow me on my social media channels, so you never miss a post!
Substack, Facebook, Pinterest, Instagram, Email Subscription
Butter Mints
A party isn’t complete without these classic Butter Mints. Not only are they easy to make but they can be customized for any occasion.
Course: Appetizer, Snack
Servings: 12
Prep Time: 30 mins
Dry Time: 1 day
Total Time: 1 day 30 mins
Print Recipe
Ingredients
- ½ cup unsalted butter, softened (1 stick)
- 4 cups confectioner’s sugar, sifted
- 1 tablespoon half-and-half or whole milk
- 1 teaspoon vanilla extract
- ½ teaspoon peppermint extract
- Optional: Food coloring
Instructions
- In a large bowl, beat the butter until it is smooth and fluffy.
- Gradually add the confectioner’s sugar, beating until it is well incorporated and smooth.
- Beat in the milk and the extracts until well combined.
- Divide the dough into equal portions if you want a variety of colors.
- Wrap each portion in plastic wrap and chill for 20-30 minutes.
- Remove one portion at a time and knead in the coloring until it is completely blended.
- Rewrap with plastic wrap and chill for at least 1 hour.
- Repeat for any additional portions.
- Line several baking sheets with parchment paper.
- Roll each portion of dough into a rope about ½ inch thick or form and cut it into any shape you like.
- Cut into small pieces, about ½ inch long.
- Place each mint on the prepared baking sheet.
- Allow the mints to dry at room temperature for 12-24 hours.
- Store the mints in an airtight container.
Nutrition Information (Approximate)
Serving: 1g | Calories: 231kcal | Carbohydrates: 40g | Protein: 0.1g | Fat: 8g | Saturated Fat: 5g | Cholesterol: 21mg | Sodium: 61mg | Potassium: 5mg | Sugar: 39g | Vitamin C: 0.01mg | Calcium: 1mg | Iron: 0.001mg | Net Carbohydrates: 0.1g
Nutritional information for this recipe is provided as a courtesy and is approximate. Please double-check with your own dietary calculator for the best accuracy. We at Yummi Haus cannot guarantee the accuracy of the nutritional information given for any recipe on this site.