
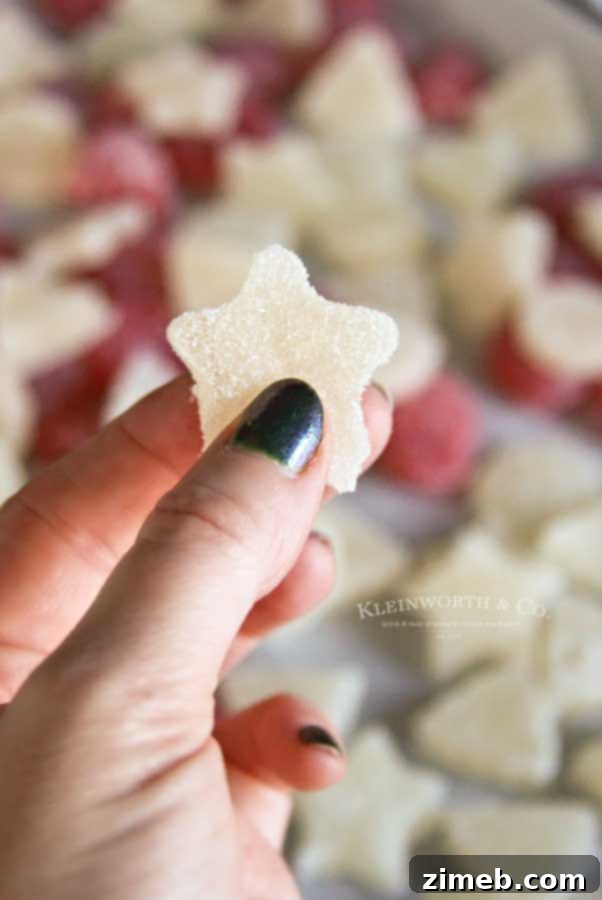
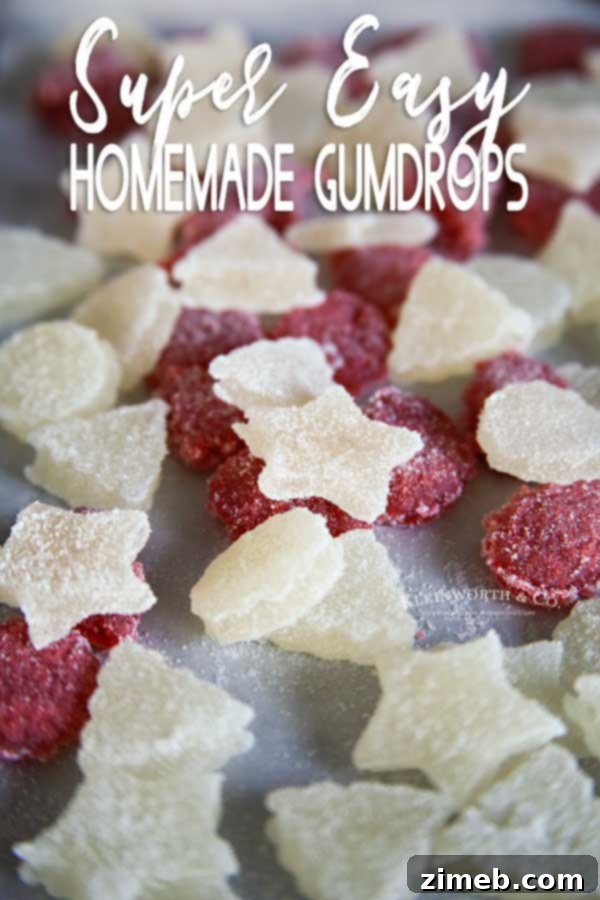
Make your Christmas truly magical and undeniably sweet with these **Easy Homemade Gum Drops**. These delightful, vibrant candies are the perfect treat to share with friends and family, bringing a touch of nostalgic charm to your holiday season festivities.
When the festive spirit of Christmas fills the air, one of the first things that often springs to mind for me is the joyous memory of gumdrops. Growing up, these sugary, jewel-like confections were a staple, gracing our home throughout the entire holiday season. Their vibrant colors and sweet, chewy texture were an irresistible part of my childhood Christmases. So, naturally, I felt compelled to dust off Grandma’s cherished recipe and recreate some of these beloved treats myself, ensuring the tradition lives on.
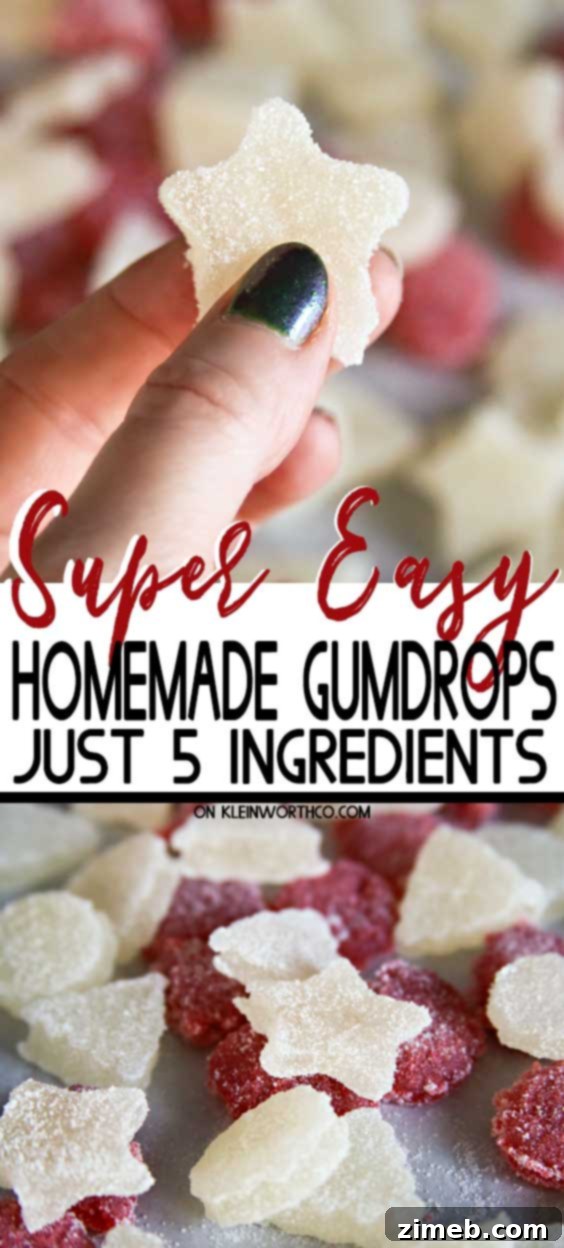
Lately, I’ve found immense joy and comfort in poring over Grandma’s old, well-loved cookbook. This year, perhaps more than any other, I’ve felt a strong pull to revisit and recreate all the wonderful recipes that defined my childhood. It’s a journey down memory lane, a way to connect with the past and infuse our home with familiar aromas and tastes.
Maybe it’s the quiet that comes with my son embarking on his next phase of college life, or perhaps it’s simply the natural progression of time as my children grow older. Whatever the reason, embracing these timeless recipes has been incredibly fulfilling. It’s a true pleasure to bring back these classic flavors that have always held such a special place in my heart, allowing new generations to create their own cherished holiday memories.
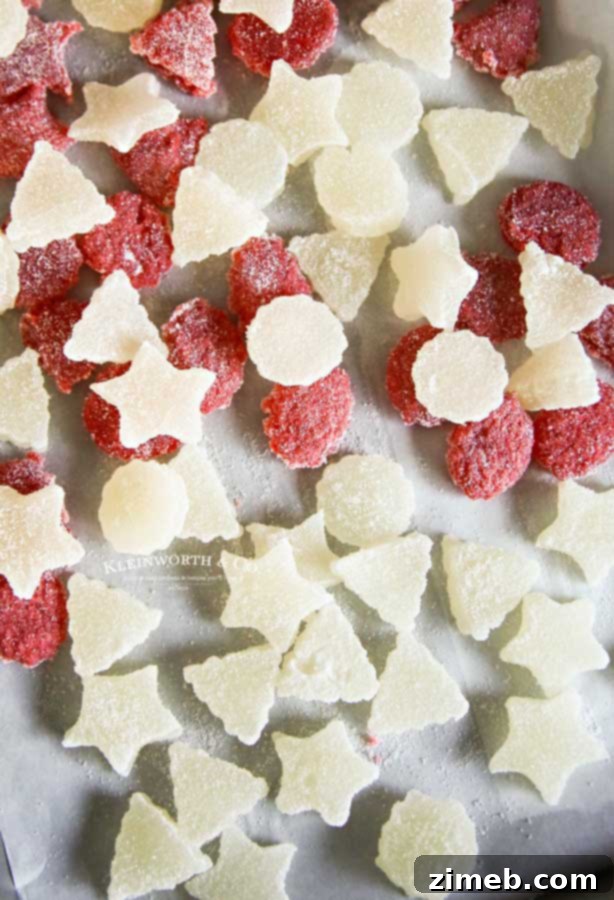
Homemade Gumdrops: A Sweet Trip Down Memory Lane
This post contains some affiliate links. Clicking here allows you to read my full disclosure policy.
Do you remember the sheer delight of discovering a bowl of gumdrops as a child? For me, it was a highlight of every holiday gathering. My grandmother, with her keen eye for hospitality, always had bowls brimming with these colorful candies placed strategically on the coffee table and various end tables throughout her home. You can bet I stayed within easy reach of those bowls for the duration of every visit, ensuring a steady supply of these sweet treasures.
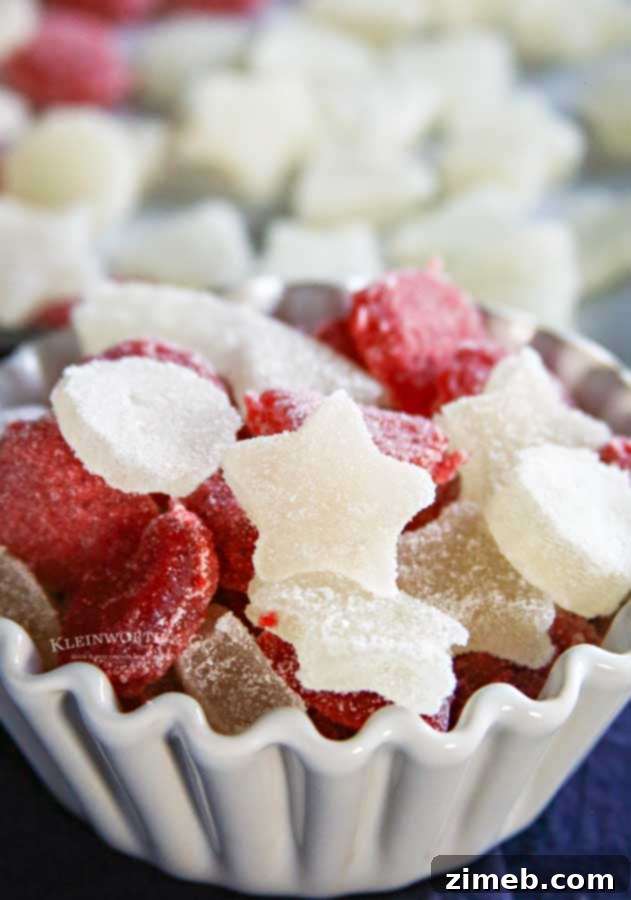
As a self-proclaimed sugar addict, it’s no surprise I gravitated towards them. But, let’s be honest, aren’t most kids drawn to something so magically sweet during the holidays? I could never resist the allure of a gumdrop or any other festive treat that appeared during this special time of year. There’s something uniquely appealing about a little bite-sized candy, especially when it’s generously encrusted with glistening sugar granules. That perfect blend of chewy and crunchy, coupled with intense fruit flavor, makes them simply irresistible.
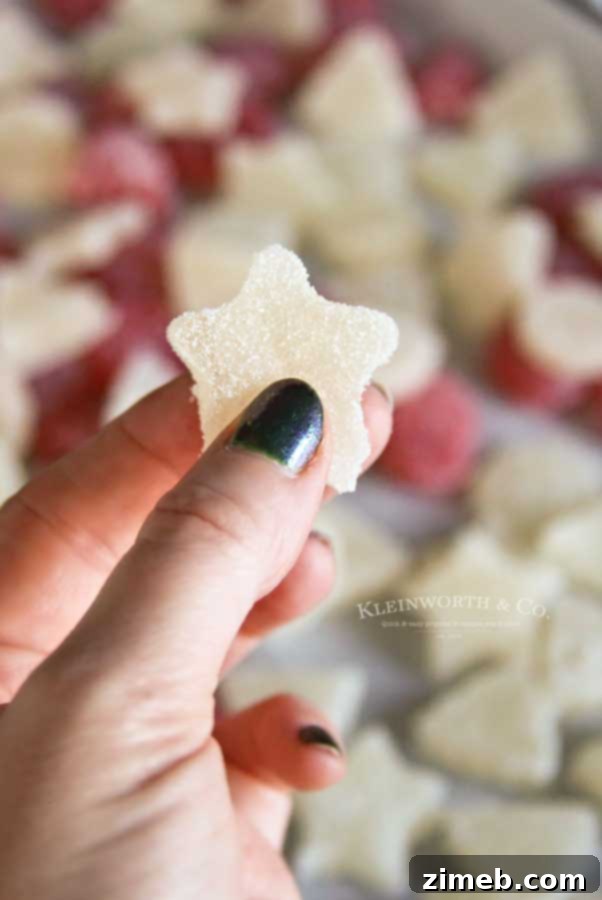
What truly makes these homemade gumdrops a favorite is how surprisingly simple they are to create. If you can follow the basic steps for making Jell-O, then you possess all the skills needed to conjure up these perfect little bites of heaven. The process is straightforward, requiring minimal fuss and just a few common ingredients.
Honestly, the most challenging part of this entire recipe is the waiting game. You’ll need to patiently allow the gelatin mixture to firm up completely before you can cut it into those delightful shapes. Then, there’s a second waiting period as they set after being rolled in sugar. But don’t worry, I won’t tell if you sneak a little taste test while you’re anticipating the final result! The reward for your patience is a batch of beautifully vibrant and utterly delicious homemade gumdrops.
Frequently Asked Questions About Homemade Gumdrops
Can I make this gumdrop recipe with any flavor extract?
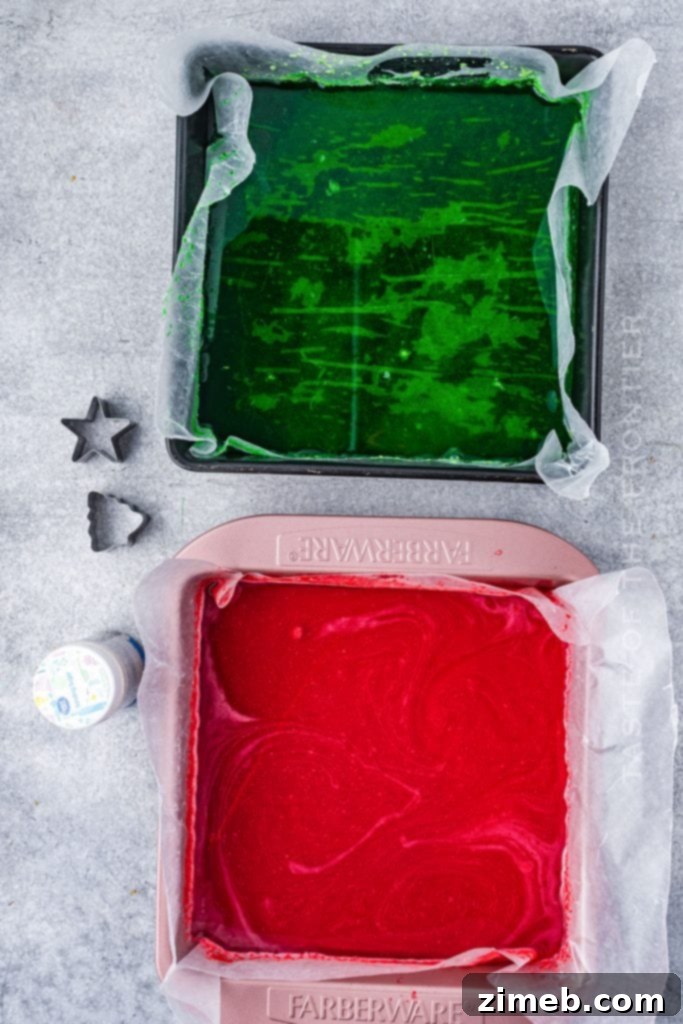
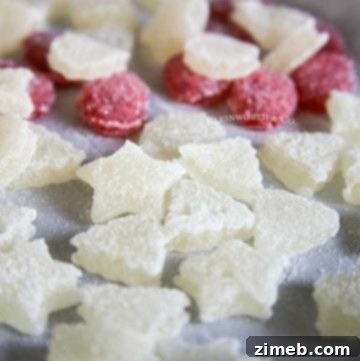
Absolutely! The beauty of making your own gumdrops is the freedom to customize. While I personally adore classic flavors like cherry, pineapple, or raspberry, the possibilities are endless. For this particular batch, I experimented with cake batter flavor for the white gumdrops, which turned out wonderfully unique. If you’re aiming for traditional Christmas colors, simply prepare two separate batches: one with cherry extract and red food coloring, and another with lime extract and green food coloring. You could also try orange, lemon, grape, or even more exotic flavors like almond or peppermint for a truly festive twist. Don’t hesitate to get creative with your flavor combinations!
Why Choose Homemade Gum Drops Over Store-Bought?
There are several compelling reasons to make your own gumdrops this holiday season:
- Simple Ingredients, No Corn Syrup: This classic favorite doesn’t require hard-to-find ingredients like corn syrup or modified corn starch. You’ll use basic pantry staples, giving you full control over what goes into your treats.
- Endless Flavor Customization: Unlike commercial gumdrops, you can truly unleash your creativity. Experiment with a vast array of flavors – from classic fruit profiles to unique options like cake batter, root beer, or even black licorice for a sophisticated palate. Each batch can be a new adventure for your taste buds.
- Nostalgic Appeal: Crafting these timeless treats by hand is an experience in itself. The process and the resulting candy will undoubtedly bring back fond, nostalgic memories, much like the hard candies you remember from your childhood. There’s a special satisfaction in sharing something homemade and heartfelt.
- Perfect for Gifting: Homemade gumdrops make for incredibly thoughtful and impressive edible gifts. Their vibrant appearance and delicious taste are sure to delight recipients, adding a personal touch to your holiday presents.
- Fun Family Activity: Making gumdrops can be a wonderful activity to do with children or loved ones. From choosing colors and flavors to cutting out shapes, it’s an engaging and memorable way to spend time together during the festive season.
What is the best way to store leftover gumdrops to keep them fresh?
To ensure your homemade gumdrops remain delightfully chewy and fresh for as long as possible, proper storage is key. The easiest method is to place them in a medium-sized airtight container. Store this container at room temperature, away from direct sunlight or excessive heat. I find that glass or plastic bowls with secure lids work best, as they prevent the gumdrops from drying out or becoming too sticky. Stored correctly, these sweet treats will retain their texture and flavor, ready to be enjoyed at a moment’s notice.
How many gumdrops does this recipe yield?
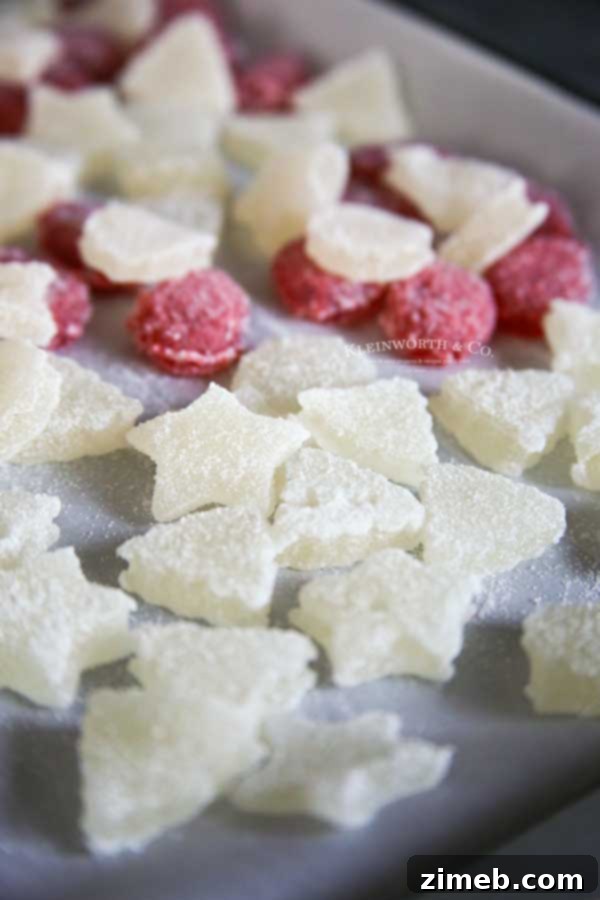
The yield of this recipe is quite flexible and largely depends on the size of the cookie cutters you choose to use. With an average-sized cutter, I typically get around 60 pieces from a single batch. However, if you opt for really tiny cutters, you could produce a much larger quantity, perfect for a mixed candy platter. Conversely, using super-large cutters will result in fewer, but more substantial, gumdrops. Adjust the size according to your needs and preferences for gifting or serving.
Crafting Your Holiday Gumdrops
Can I double this gumdrop recipe for a larger batch?
While the idea of doubling the recipe to save time is tempting, this particular gumdrop recipe doesn’t perform optimally when quantities are simply doubled in a single mix. The gelatin mixture works best when prepared in smaller, more manageable batches to ensure proper setting and texture. Therefore, I highly recommend making two separate batches (one after the other, rather than trying to mix double the quantity at once) if you need a larger yield. This approach ensures consistent quality and delicious results every time.
What if I don’t have cookie cutters?
No cookie cutters? No problem at all! While they add a fun, festive touch, they are certainly not a strict requirement for making delicious gumdrops. You can easily achieve a classic look by using a very sharp knife to cut the firm gelatin into tiny squares or rectangles. Simply slice the chilled gelatin slab into even strips, then cross-cut those strips to create uniform, bite-sized pieces. This method is just as effective and yields equally tasty results.
HOW DO YOU MAKE Easy Homemade Gumdrops?
Follow these simple steps to create your own batch of delightful homemade gumdrops:
- **Prepare Your Pan:** Lightly grease a 9×13 glass baking dish with a neutral oil or cooking spray. This will prevent the gelatin from sticking and make removal much easier.
- **Bloom the Gelatin:** In a small bowl, combine the unflavored gelatin with 1/2 cup of cold water. Stir gently until the gelatin is fully moistened and combined. Let this mixture stand for about 5-10 minutes to “bloom” or soften while you prepare the syrup.
- **Make the Sugar Syrup:** In a small saucepan, combine 3/4 cup of water and 2 cups of granulated sugar. Place the saucepan over medium heat and bring the mixture to a rolling boil, stirring frequently to ensure the sugar dissolves completely and doesn’t scorch.
- **Simmer to Perfection:** Once boiling, reduce the heat slightly and allow the syrup to simmer for exactly 5 minutes, continuing to stir regularly. This ensures the syrup reaches the correct consistency for setting.
- **Combine Mixtures:** Carefully remove the saucepan from the heat. VERY gently and slowly add the bloomed gelatin mixture, your desired food coloring, and the flavor extract of your choice into the hot sugar syrup. Stir until all ingredients are thoroughly combined and the color is uniform. Be cautious, as the mixture will be very hot.
- **Pour and Chill:** Pour the warm gumdrop mixture evenly into your prepared 9×13 baking dish. Carefully transfer the dish to the refrigerator. Allow it to chill and firm up for at least 3 hours, but for the best results and easiest handling, it is highly recommended to leave it overnight.
- **Prepare for Cutting:** The next day, cover a large cutting board or another flat, clean surface with a sheet of parchment paper. Generously sprinkle this parchment paper with additional granulated sugar, creating an even, thin layer. This sugared surface will prevent sticking.
- **Release the Gelatin:** To remove the firm gelatin from the pan, gently loosen the sides with a rubber spatula. Then, carefully pull or lift the gelatin slab out of the pan and lay it down on top of the sugared parchment paper.
- **Sugar Coat the Top:** Sprinkle the top surface of the gelatin slab with even more granulated sugar, ensuring it’s fully coated.
- **Cut Your Gumdrops:** Use your favorite metal cookie cutters to cut your gumdrops into the shapes and sizes you desire. For easy release and clean cuts, periodically run your cookie cutters under hot water and wipe them clean between cuts.
- **Final Sugar Roll:** Take any remaining sticky sides of the cut gumdrops and flip and roll them in the granulated sugar on the parchment paper until they are fully coated. This creates that iconic sparkly finish and prevents them from sticking together.
- **Store:** Place your freshly coated homemade gumdrops in an airtight container. They are now ready to be enjoyed or shared!
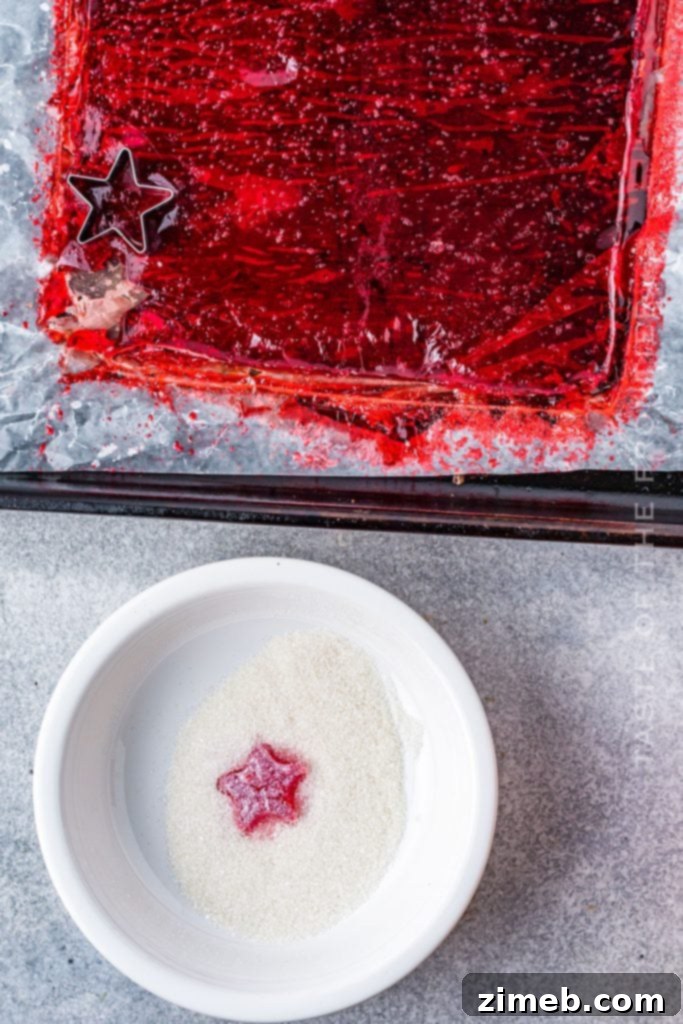
Why is it recommended to use metal cookie cutters?
Using metal cookie cutters is highly recommended for making gumdrops because they provide the cleanest and sharpest cuts. Metal cutters are typically thinner and have a finer edge compared to their plastic counterparts. This sharp edge allows them to slice through the firm gelatin without dragging or tearing, resulting in perfectly shaped gumdrops with crisp edges. Plastic cutters tend to be thicker and can sometimes deform the gelatin rather than cutting it cleanly. For best results and a professional finish, stick with metal.
How long do homemade gumdrops last?
When stored correctly in an airtight container at room temperature, these delightful homemade gumdrops have an impressive shelf life. They should comfortably last for several weeks, making them an ideal make-ahead treat for the busy holiday season. This extended freshness allows you to prepare them well in advance of parties, gatherings, or gift-giving occasions, ensuring you have sweet treats on hand whenever needed.
What is the best way to present homemade gumdrops as gifts?
My mom and grandmother always had a charming way of presenting their homemade candies, and I’ve carried on the tradition. They used to lovingly bag these up in little cellophane candy bags, tying them with a festive ribbon. It makes such a cute and thoughtful presentation, and as we all know, presentation is everything when you’re giving food gifts! It’s incredibly easy to elevate something as simple as homemade gumdrops into something truly special with a pretty bag, a decorative box, or even a small jar. Consider adding a homemade tag with a handwritten message for an extra personal touch. These vibrant candies make beautiful additions to holiday gift baskets or as standalone tokens of appreciation for friends, neighbors, and teachers.
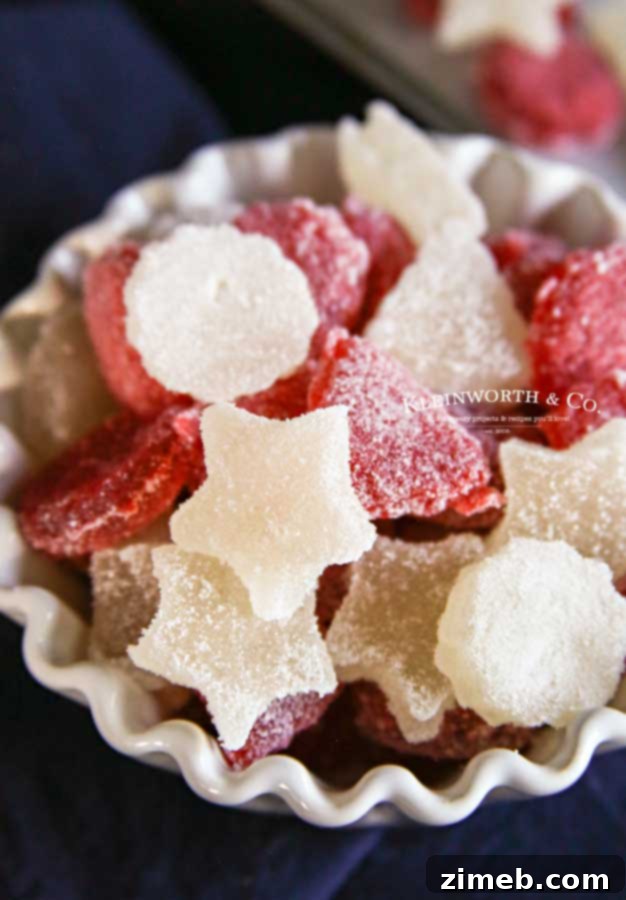
Key Ingredients for Festive Gumdrops
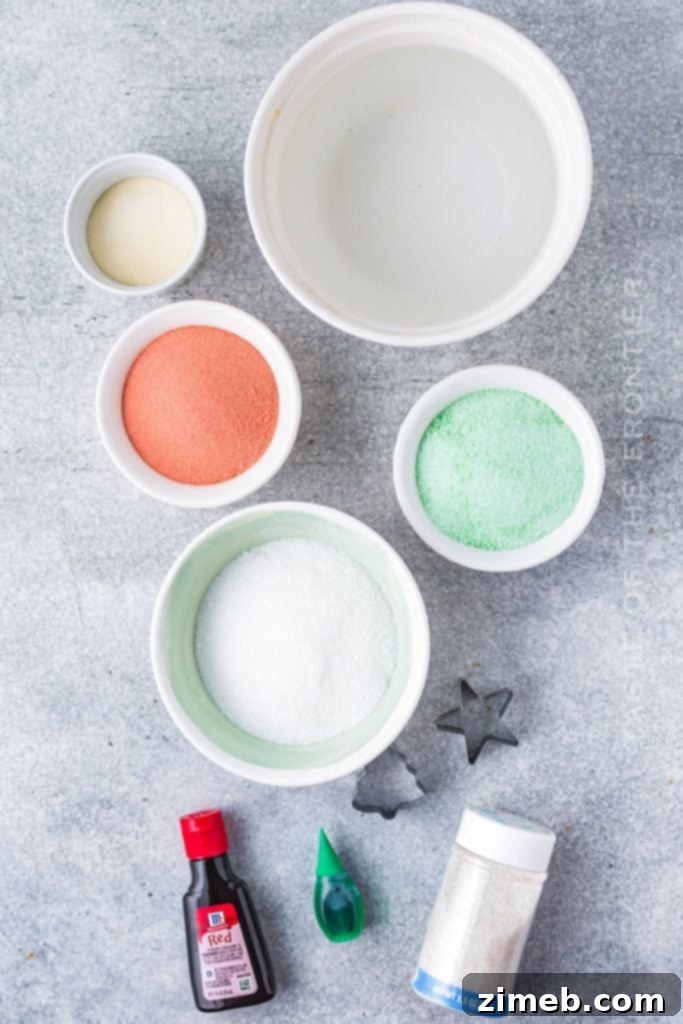
Making these delightful gumdrops requires just a handful of basic ingredients, most of which you likely already have in your pantry:
- **Granulated Sugar:** The foundation of sweetness and the coating for that sparkling finish.
- **Water:** Used to dissolve the gelatin and create the syrup.
- **Unflavored Gelatin:** The magic ingredient that gives gumdrops their characteristic chewy texture.
- **Food Coloring:** To achieve those vibrant, eye-catching holiday colors.
- **Flavor Extracts (or Flavor Oils):** These are essential for imparting the delicious fruit or other unique flavors to your gumdrops.
Can I use a plastic mold for my gumdrops?
While the idea of using a mold to create perfectly shaped gumdrops is excellent, it’s crucial to exercise caution regarding the material of the mold. **Do not use plastic molds.** The liquid gelatin mixture will be extremely hot when poured, and a plastic mold would likely melt, ruining both your mold and your delicious recipe. However, you can certainly use **silicone molds** for this recipe. If you have the patience and a steady hand to carefully pour the hot liquid into the tiny cavities of silicone molds, they can produce fantastic results. Just remember to proceed with extreme caution when handling the hot mixture to prevent any burns or spills.
Explore More Delicious Homemade Candy Recipes
If you loved making these easy homemade gumdrops, you’ll surely enjoy trying your hand at these other fantastic homemade candy recipes, perfect for gifting or indulging:
- Candied Pecans: A sweet and crunchy delight.
- Buckeyes: Classic peanut butter and chocolate treats.
- Meringue Cookies: Light, airy, and delicately sweet.
- Easy No-Cook Fudge: Rich, decadent, and incredibly simple.
- Oreo Peppermint Bark: A refreshing and crunchy holiday favorite.
- Divinity Candy: Elegant, fluffy, and melt-in-your-mouth sweet.
- No-Bake Chocolate Haystacks: Quick, easy, and satisfyingly textural.
- Sugar Cookie Truffles: A creative way to enjoy your favorite cookie flavor.
- Chocolate Nut Clusters: A delightful mix of salty and sweet.
- Microwave Peanut Brittle: A super quick take on a classic crunchy candy.
Essential Tools for Making Easy Homemade Gumdrops
This homemade gumdrops recipe is incredibly straightforward and delicious. If you’re a seasoned baker or candy maker, you likely already have most of these items on hand! However, if you’re new to making gumdrops and feel a bit nervous, rest assured – you’re going to absolutely love the fun and satisfaction these bring. To help you get started, I’ve compiled a list of the tools and ingredients I consider essential for crafting these delightful goodies, ensuring your gumdrop-making experience is smooth and successful.
- Unflavored Gelatine: The key ingredient for texture.
- Granulated Sugar: For the candy itself and the sparkling coating.
- Food Coloring: To create vibrant, festive hues.
- **Food Flavoring Extracts / Flavor Oils**: To infuse your gumdrops with delicious tastes.
- Glass Baking Pan (9×13 inch): For setting the gelatin mixture.
- **Small Metal Cookie Cutters**: For cutting perfect shapes.
- **Parchment Paper**: Essential for a non-stick surface when handling and coating the gumdrops.
- **Saucepan**: For preparing the sugar syrup.
- Spatulas: For mixing and loosening the gelatin.
- Measuring Cups: For accurate ingredient proportions.
- Little Cellophane Candy Bags: Perfect for gifting your homemade creations.
Easy Homemade Gumdrop Recipe Card
If you adore this Homemade Gumdrop recipe, you’re going to love these other simple and sweet treat recipes too. Click each link below to discover the easy, printable recipe and add more festive delights to your repertoire!
Chocolate Nut Clusters (or Reindeer Poo)
The perfect combo of salty & sweet that is so incredibly easy to make. These chocolate nut clusters are a family favorite that the kids decided would best be named “Reindeer Poo” for the holiday season. **Microwave, Stovetop & Slow Cooker recipes included!
Check out this recipe
Rolo Pretzel Turtles
Rolo Pretzel Turtles are a simple & easy holiday treat with just 3-ingredients. Perfect for neighbor gifts, parties & serious chocolate & caramel lovers.
Check out this recipe
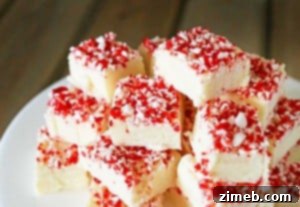
Candy Cane Fudge
Easy 3 ingredient white chocolate fudge crusted with candy cane dust.
Check out this recipe
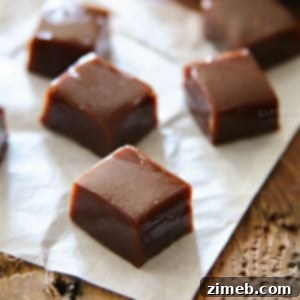
Easy Chocolate Caramel Candy
Easy Chocolate Caramel Candy is simple to make & is a great gift for friends & neighbors. I warn you, they are addicting, and you won’t want to give them away.
Check out this recipe
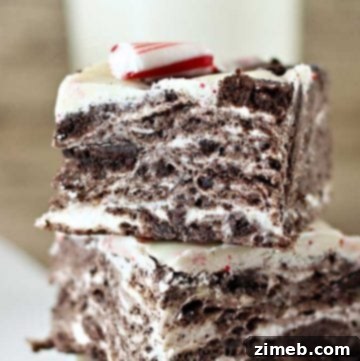
No Bake Peppermint Oreo Bars
No Bake Peppermint Oreo Bars are made with marshmallows, crushed Oreo cookies and peppermint. These are the perfect easy holiday treat this time of year!
Check out this recipe
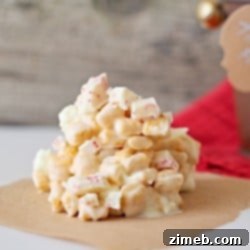
Peppermint Crunch Bites
Peppermint Crunch Bites made with white chocolate, Captain Crunch cereal & chopped peppermint candy bars. It’s a simple, no-bake dessert that makes great holiday gifts.
Check out this recipe
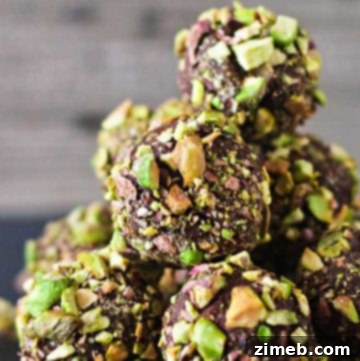
Dark Chocolate Pistachio Truffles
Dark Chocolate Pistachio Truffles are made with just 3 ingredients. So easy to make, these are perfect for holiday parties, potlucks or neighbor gifts.
Check out this recipe
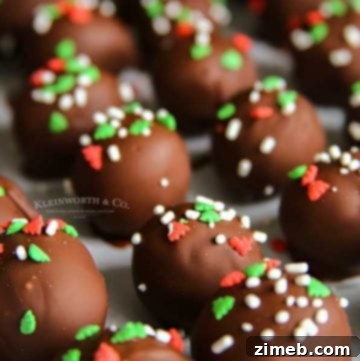
Holiday Nutella Bites
Holiday Nutella Bites are 3 ingredient truffles made with Nutella and coated in a hard chocolate shell before being sprinkled with holiday decorations. Perfect for neighbor gifts and all your holiday parties. YUM!
Check out this recipe
We truly hope you enjoy making and sharing this delightful recipe for **Homemade Gumdrops** as much as I do. If you love it, please consider writing a five-star review and help us spread the sweetness by sharing it on Facebook and Pinterest! Your support means the world and helps others discover these wonderful holiday traditions.
CONNECT WITH YUMMI HAUS!
Be sure to follow me on my social media, so you never miss a post!
Substack, FB, Pinterest, IG, Email Subscription
Easy Homemade Gum Drops
Make your Christmas super sweet with these Easy Homemade Gum Drops. They are the perfect treat for friends & family throughout the holiday season.
Pin Recipe
Ingredients
- 1/2 cup cold water
- 3 envelopes unflavored gelatin (about 2 tbsp)
- 3/4 cup water
- 2 cups granulated sugar (+ more for coating the gumdrops later)
- 3-6 drops food coloring (color of choice)
- 2-5 drops food flavoring extracts (flavor of choice)
Instructions
- Grease a 9×13 glass baking dish with oil or cooking spray.
- Prepare gelatin mixture by combining the gelatin with 1/2 cup of the cold water.
- Stir until combined & then let stand while you work on the syrup.
- Next, combine 3/4 cup water & sugar in a small saucepan.
- Bring the mixture to a boil over medium heat, making sure to stir frequently.
- Simmer for 5 minutes, continuing to stir.
- Remove from heat & VERY carefully add gelatin mixture, food coloring of choice & flavor extract of choice.
- Stir to combine & then pour into prepared pan.
- Refrigerate for at least 3 hours but it is best to leave overnight.
- The next day, cover a large cutting board or another flat surface with parchment paper.
- Sprinkle the parchment with additional granulated sugar, making an even layer.
- Carefully remove the gelatin by loosening up the sides with a spatula & pull to release from the pan, laying down on top of the sugar.
- Sprinkle with more sugar.
- Use your favorite metal cookies cutters to cut your gumdrops into the shapes & sizes you desire.
- Flip & roll any remaining sticky sides of the gumdrops in the sugar to coat.
- Store coated gumdrops in an airtight container.
- *Note – To keep the cookie cutters from sticking, run under hot water before cutting the gelatin. Periodically clean them between cuts by running them under hot water again.
Nutritional information for the recipe is provided as a courtesy and is approximate. Please double-check with your own dietary calculator for the best accuracy. We at Yummi Haus cannot guarantee the accuracy of the nutritional information given for any recipe on this site.
Follow @KleinworthCo for even more tasty recipes!