
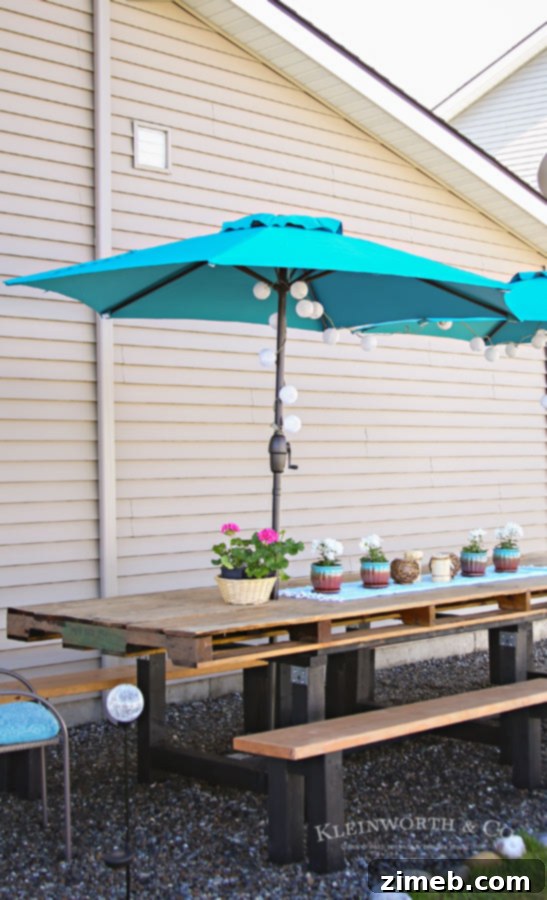
Transform your backyard into a stylish outdoor haven with this easy-to-follow guide to building your very own DIY Pallet Outdoor Dining Table. This weekend project utilizes an oversized pallet to create a durable, rustic, and incredibly functional centerpiece for all your al fresco dining experiences.
A few weeks ago, we gave you a sneak peek of our new outdoor pallet dining table, designed to expand our family’s dining space into the backyard during the beautiful warmer months. It was a profoundly satisfying project, providing ample seating and truly enhancing our outdoor living experience. Today, I’m thrilled to share the detailed process of how we constructed our robust and beautiful DIY Pallet Outdoor Dining Table, empowering you to create a similar masterpiece for your own home.
Build Your Own DIY Pallet Outdoor Dining Table: A Comprehensive Guide
This post contains some affiliate links. Click here to read my full disclosure policy.
Why Choose a DIY Pallet Outdoor Dining Table?
Pallet furniture has surged in popularity, and for good reason. It offers an incredibly cost-effective, sustainable, and customizable way to furnish your home, both indoors and out. Building your own outdoor dining table from a pallet not only allows you to achieve a unique, rustic aesthetic but also provides the immense satisfaction of a handcrafted piece. This project, in particular, showcases the potential of repurposing large industrial pallets, transforming them into functional and beautiful furniture that can withstand the elements and host countless memorable gatherings. It’s an ideal solution for those looking to maximize their outdoor entertaining space without breaking the bank.
Sourcing Your Pallet: The Foundation of Your Table
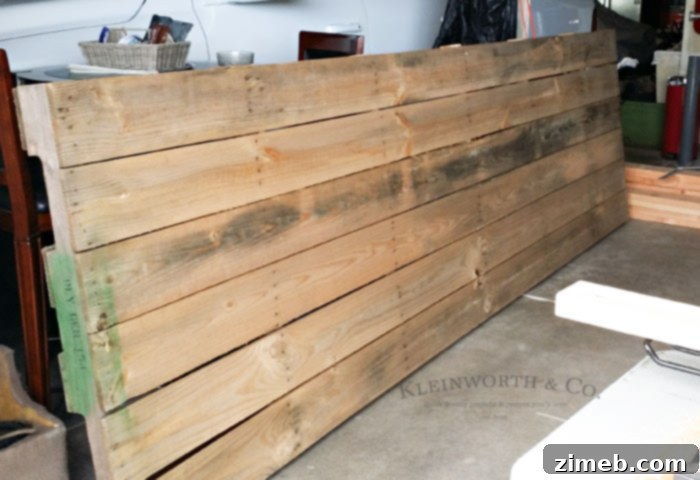
Our journey began with an extraordinary 13-foot pallet, originally used for delivering siding during our home construction three years prior. We intentionally held onto it, knowing its potential for a project exactly like this. Finding an oversized pallet might be the most challenging part of this build, but it’s certainly not impossible. Consider checking with local construction sites, industrial businesses, or even online marketplaces. While a 13-foot pallet offers generous dining space, don’t be discouraged if you find a smaller one; the principles of this build can be adapted to various pallet sizes. Just ensure your chosen pallet is sturdy, free from significant damage, and preferably heat-treated (marked with “HT”) rather than chemically treated (“MB” for Methyl Bromide) for outdoor use and safety.
Planning and Preparation: Measure Twice, Cut Once
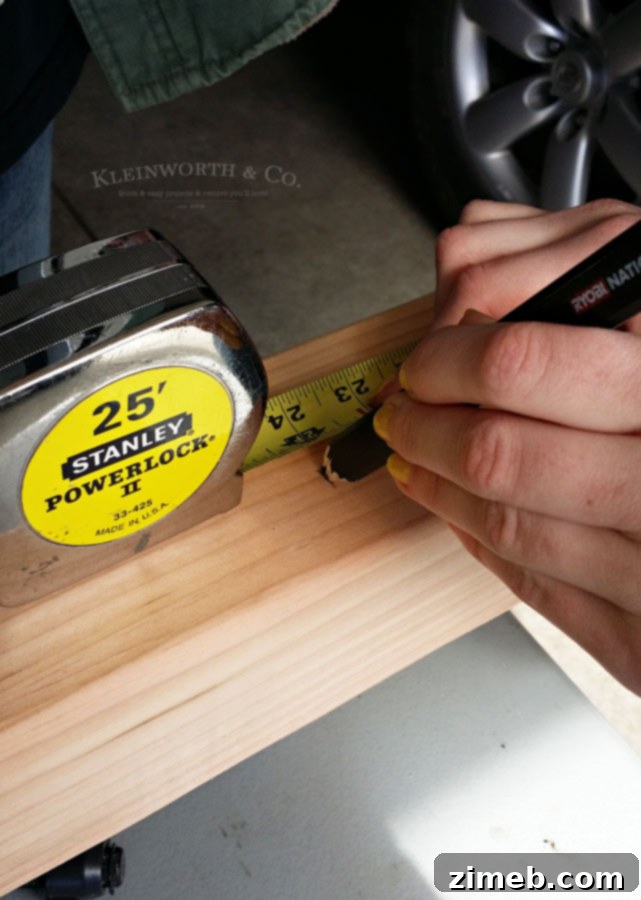
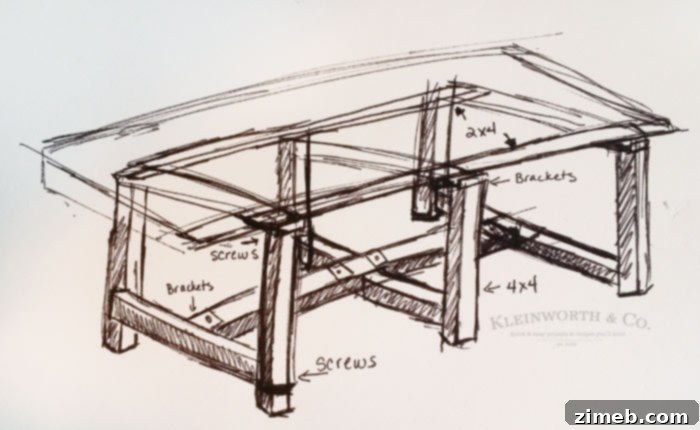
As with any successful DIY endeavor, meticulous planning is paramount. Before making any cuts, it’s essential to determine the ideal height for your dining table. Our family has varying heights, with most being quite tall, while I am on the shorter side. After much discussion, we opted for a slightly taller table than typical, compensating by making the accompanying benches a tad higher for my comfort. This thoughtful approach ensures the table is versatile enough for everyone, allowing my husband to use standard chairs comfortably while making the benches perfectly suited for me. We cut our upright leg pieces to 24 inches. If you plan for three sets of legs, you’ll need six 4×4 pieces at your chosen height. Remember, these dimensions are flexible and should be tailored to your specific pallet size and preferred dining experience. My daughter’s helpful diagram, which I’ll share, can serve as a valuable reference, but always adjust according to your unique materials.
Essential Materials and Tools for Your Pallet Table
Before diving into the build, gather all your necessary materials and tools. This will streamline the process and prevent interruptions. You’ll need:
- An oversized pallet (or multiple standard pallets)
- 4×4 lumber for upright legs (e.g., six 24-inch pieces)
- 2×4 lumber for connecting pieces and support beams
- Long wood screws (suitable for outdoor use)
- Metal L-brackets for additional support
- Wood glue (optional, but recommended for extra strength)
- Minwax Pro Series Wiping Stain (or your preferred outdoor wood stain)
- Thompson’s Waterseal Transparent Stain (Cedar or desired color) or a similar outdoor sealant
- Rags or sponges for staining
- Cordless drill with various bits (including pilot hole bits)
- Miter saw or circular saw for precise cuts
- Orbital sander and sandpaper (various grits)
- Measuring tape and pencil
- Safety goggles and gloves
- Hole saw kit (if adding umbrella holes)
Step-by-Step Construction: Bringing Your Vision to Life
Step 1: Constructing the Leg Frames
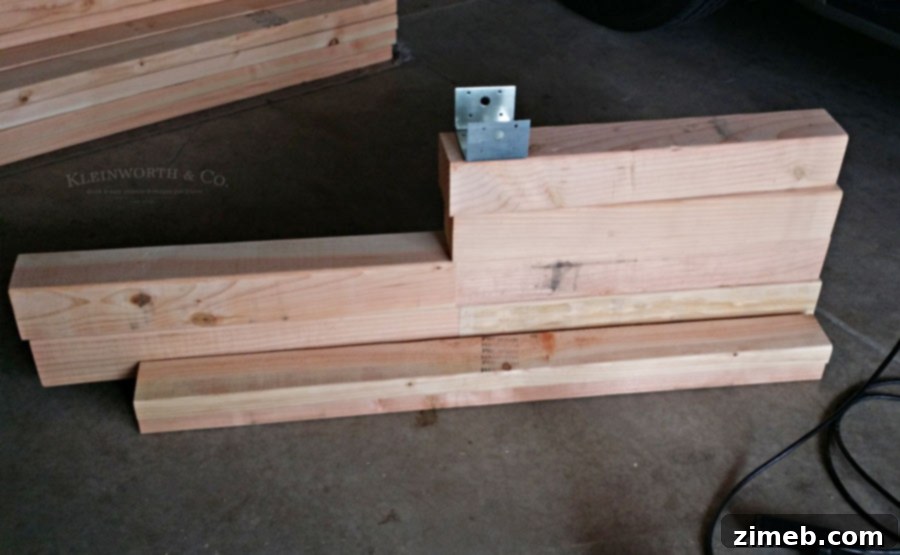
The first major task involves building the individual leg frames that will support your heavy pallet tabletop. We meticulously sectioned out the pieces to maintain clarity throughout the assembly. Each leg frame essentially consists of two upright 4×4 pieces, connected by a horizontal 2×4 at the top and often a lower crossbeam for added stability. Begin by cutting all your 4×4 and 2×4 pieces to the predetermined lengths. For instance, if you’re building three leg sets, you’ll prepare six 24-inch 4x4s and corresponding 2x4s for horizontal connections. Ensure all cuts are straight and precise. This foundational step is critical for the overall stability and appearance of your finished table.
Step 2: Staining the Leg Components
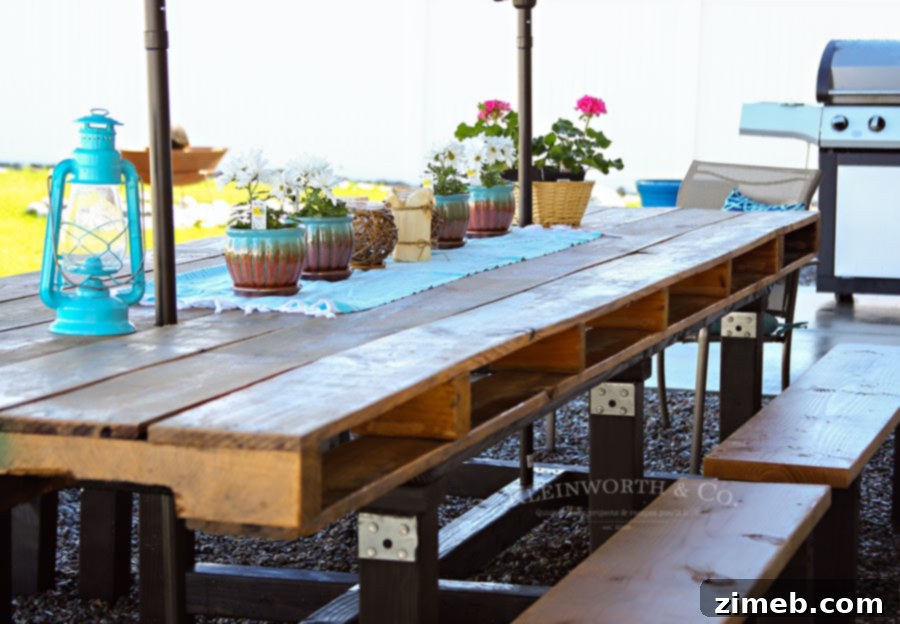
Before assembly, my youngest and I took on the enjoyable task of staining the individual leg components. We used the remarkable Minwax Pro Series Multi-Surface Wiping Stain in “Antiqued Black.” This product is a game-changer; its wiping formula creates a consistency more akin to a rich gouache rather than a thin, drippy liquid. This made application incredibly easy and mess-free, allowing for a smooth, even finish. Staining the pieces separately before full assembly ensures complete coverage, especially in corners and joints that would be difficult to reach later. The deep, antiqued black provides a beautiful contrast to the natural wood tones of the pallet top, adding a sophisticated touch to the rustic design.
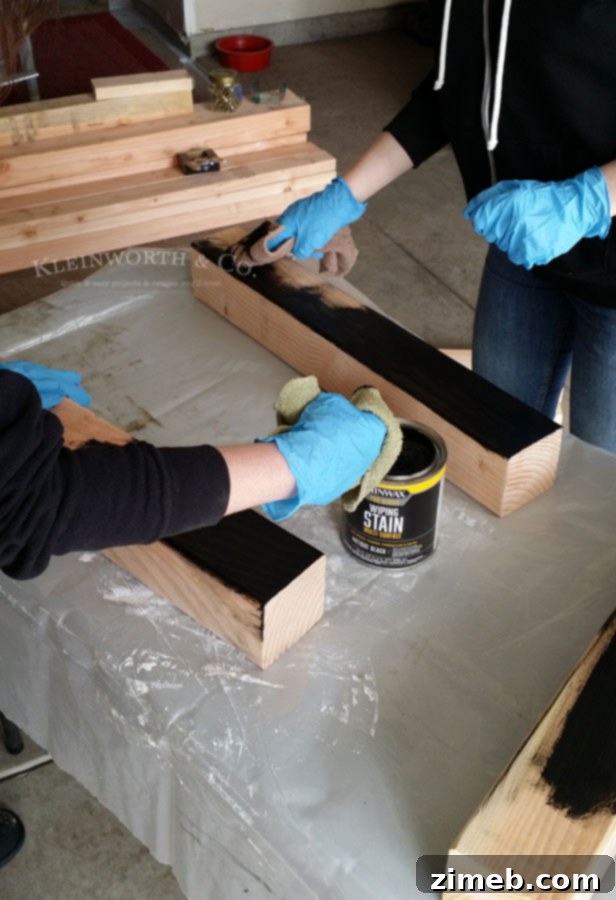
Step 3: Assembling the Leg Frames with Care
With the staining complete, it was time for assembly. This stage requires precision to prevent wood damage. We began by drilling pilot holes through the wood for every screw. This crucial step prevents the wood from cracking or splitting, especially when working with denser materials or near edges. After drilling, we securely attached the pieces using super long, robust wood screws, ensuring a strong and stable connection. For additional reinforcement and peace of mind, we incorporated metal brackets at key stress points where the 4x4s and 2x4s meet. These brackets significantly enhance the structural integrity, guaranteeing your table will stand firm for years to come, even under heavy loads or enthusiastic outdoor gatherings.
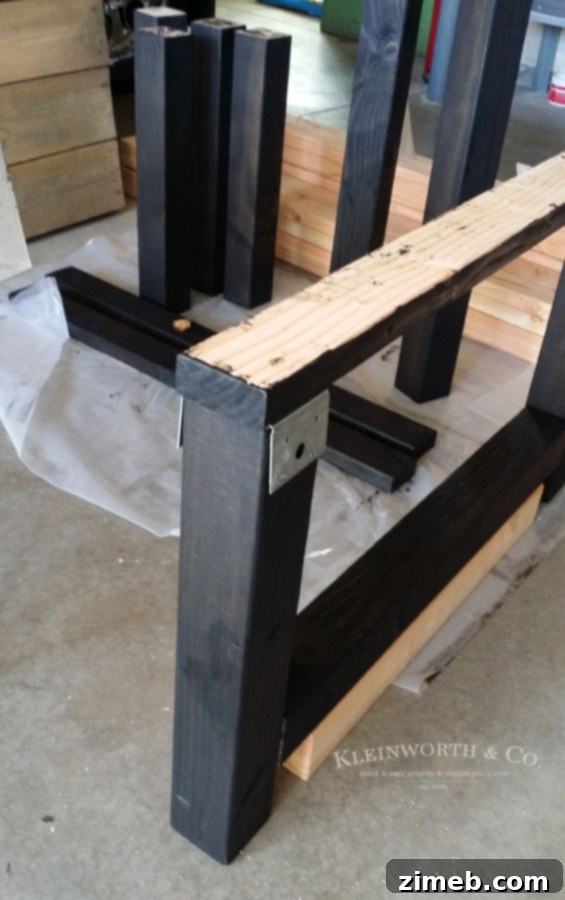
Step 4: Connecting the Leg Frames and Securing the Pallet Top
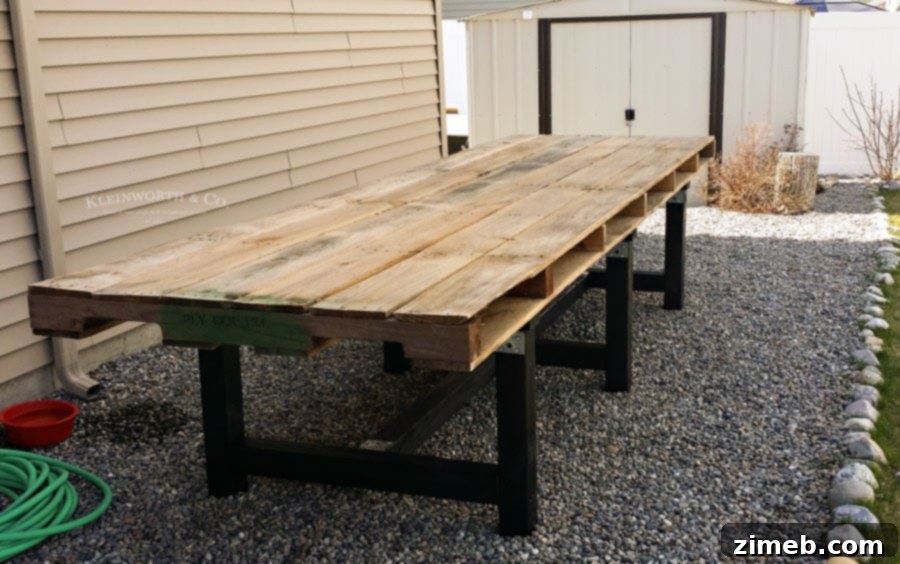
The next significant phase involves connecting the individual leg frames to form the complete base and then attaching it to the pallet. Given the substantial weight of our oversized pallet, we used sturdy 2x4s as cross supports to give the entire structure ample reinforcement. These 2x4s span the length between the leg frames, creating a robust skeletal system. Once the frame was assembled, we carefully moved it into its intended position in the backyard. This is where a team effort is highly recommended due to the sheer size and weight. The pallet itself was then placed upside down, and the assembled leg frame was inverted and positioned on top of it. While the specific photo of this step was missed, the process involves screwing the frame down onto the pallet as much as possible along its entire length, ensuring an incredibly secure attachment. This method distributes the weight effectively and prevents any wobbling, making your table exceptionally stable.
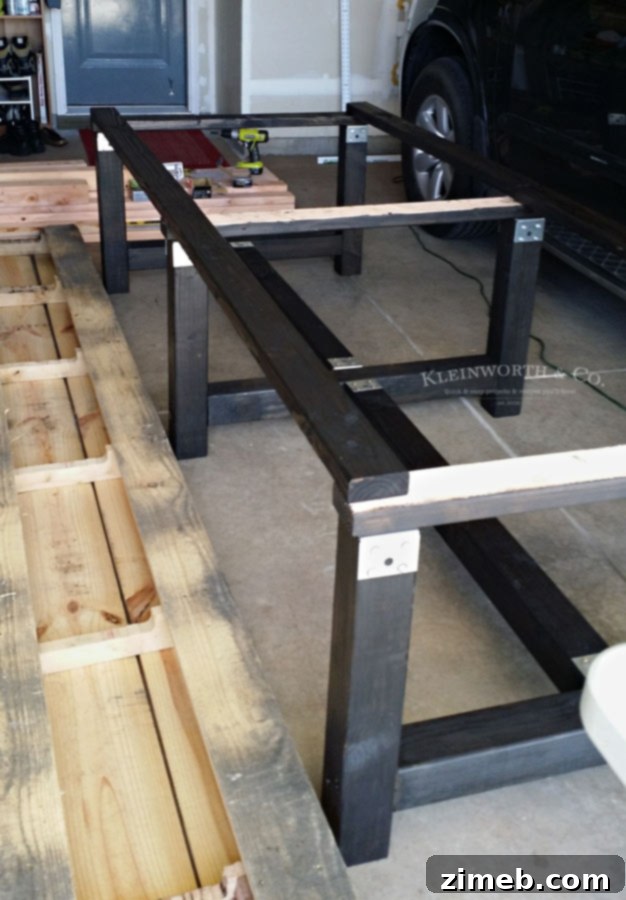
Step 5: Reinforcing the Underside and Final Assembly
Even after the main frame connection, adding extra support is always a good idea, especially for a table designed to last for generations. The underside shot clearly illustrates how the frame comes together, highlighting the strategic placement of crossbeams and supports. These elements work in concert to distribute the immense weight of the pallet evenly across the leg structures. Once you’re confident in the stability of the inverted assembly, carefully flip the entire table upright. This will likely require several strong individuals, or even lifting straps and a dolly for such a heavy piece. With the table now standing on its legs, you can appreciate the solid foundation you’ve built and proceed to the finishing touches on the tabletop.
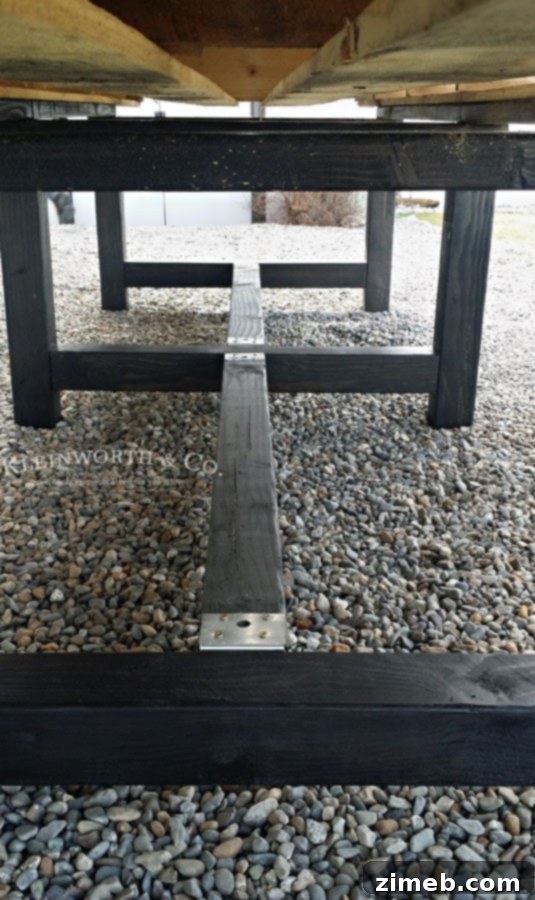
You can see this underside shot how the frame comes together.
Step 6: Sanding, Staining, and Sealing the Tabletop
With the table fully assembled and upright, it was much easier to tackle the sanding and staining of the tabletop. Pallets, by nature, can be rough, so thorough sanding is crucial for a smooth, splinter-free dining surface. Start with a coarser grit sandpaper to smooth out any major imperfections, then progressively move to finer grits for a silky-smooth finish. Once sanded, clean the surface thoroughly to remove all dust. We chose to use Thompson’s Waterseal in Transparent Stain – Cedar. This product is ideal for outdoor furniture, offering excellent weather protection against rain, UV rays, and general wear and tear, while also enhancing the natural beauty of the wood. The cedar tint beautifully complements the antiqued black legs, creating a striking visual appeal that has held up remarkably well against recent heavy rains. Apply several thin coats, allowing adequate drying time between each, for optimal protection.
Step 7: Adding Umbrella Holes for Comfort
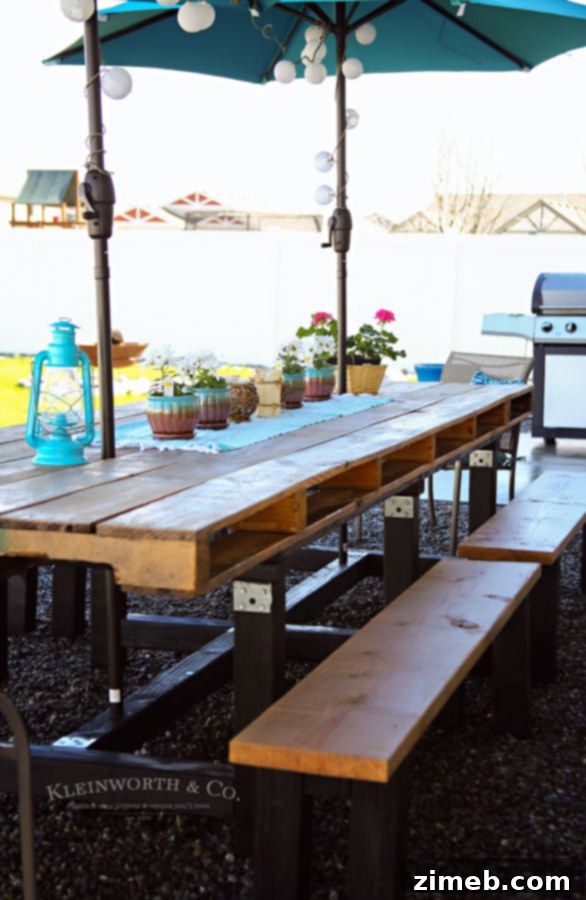
For added comfort during sunny days, we decided to incorporate umbrella holes into our dining table. This simple addition significantly enhances the usability of your outdoor space. Using a hole saw kit, we carefully drilled perfectly sized holes at strategic points along the tabletop. Ensure your hole saw matches the diameter of your umbrella pole for a snug fit. This step completes the construction of your magnificent DIY Pallet Outdoor Dining Table, making it ready for entertaining. Stay tuned, as next week I’ll be sharing the complete guide on how we built the coordinating benches!
The Grand Reveal: A Table Built to Last
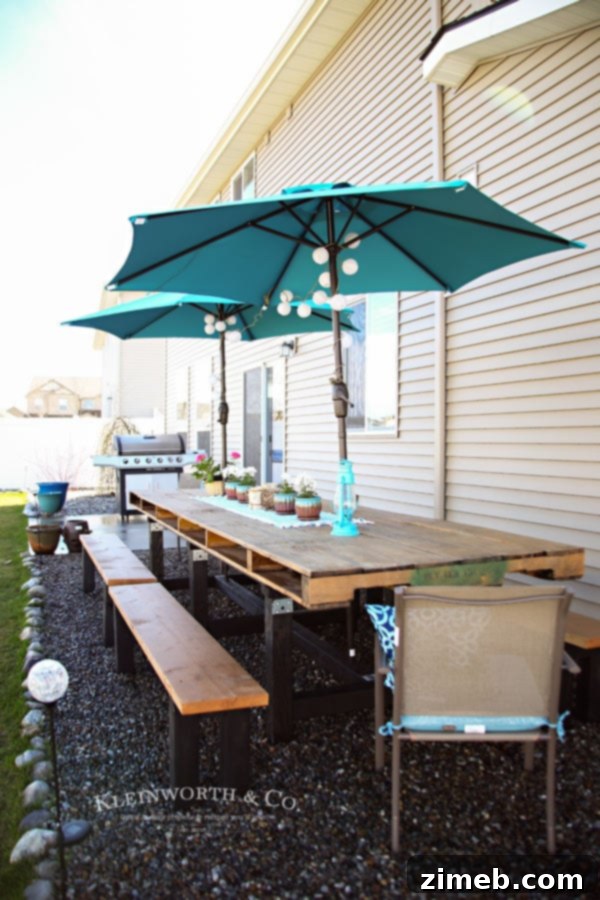
While the process might seem extensive, the actual construction was surprisingly straightforward. The most challenging aspect was undeniably the sheer scale and weight of the table itself. Weighing in at over 300 pounds, this isn’t a piece of furniture you’ll be moving frequently. However, this impressive heft is a testament to its incredible durability and solidity. We envisioned this table lasting for countless years, enduring family meals, celebrations, and quiet evenings outdoors. Our deepest hope is to one day see our grandchildren gather around this very table, sharing laughter and creating cherished memories with us in our beloved backyard. This project truly embodies the spirit of DIY – creating something substantial, meaningful, and deeply personal for your home.
Styling Your New Outdoor Dining Table
Once your magnificent pallet dining table is complete, the fun of decorating begins! Complementing its rustic charm with thoughtful styling can elevate your outdoor space to new heights. Consider adding comfortable cushions to your benches, layering the tabletop with a natural fiber runner, and accentuating with lanterns, potted herbs, or vibrant floral arrangements. For a truly inviting ambiance, string fairy lights above or around your dining area. I’ve detailed all the specific decorating choices and how I styled our table in a dedicated post. Don’t miss out on those creative ideas to make your outdoor dining area truly shine!
If you have a passion for pallet furniture and crave a project that delivers both style and substance, then this DIY outdoor dining table is an absolute must-try!
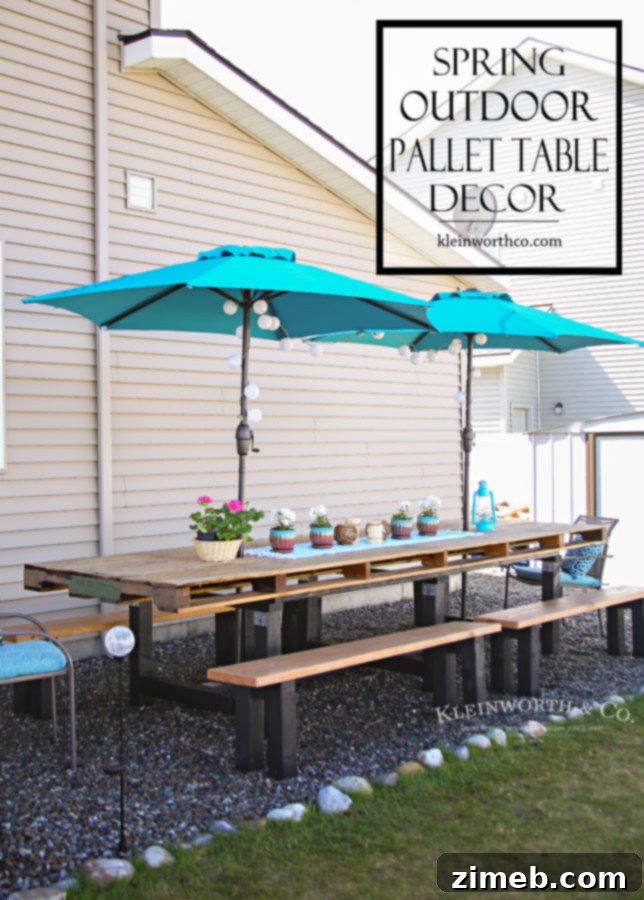
Check out my post on how I styled the table & all the decorating details here!
Looking for more fun home projects?
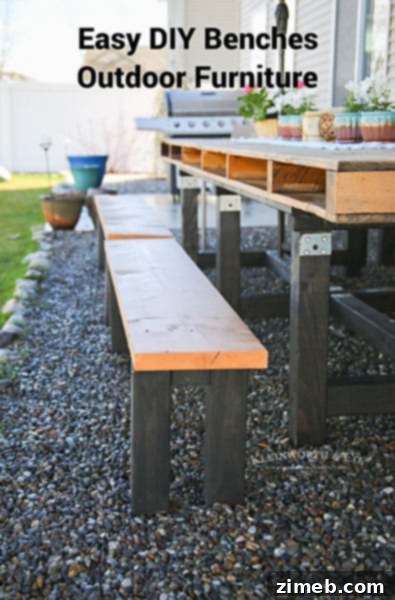
Here’s how to make the benches to go with this table!
Vintage Rolling Laundry Cart
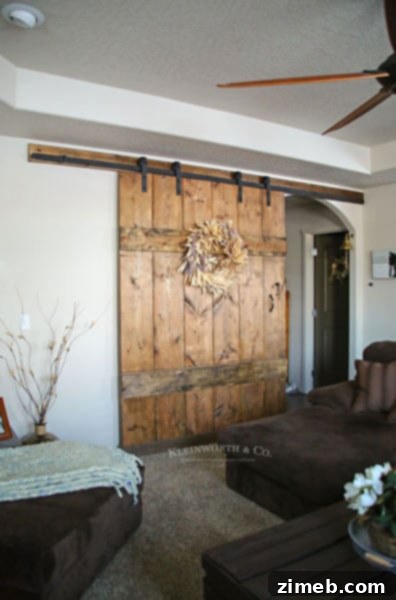
Wide Rustic Barn Door
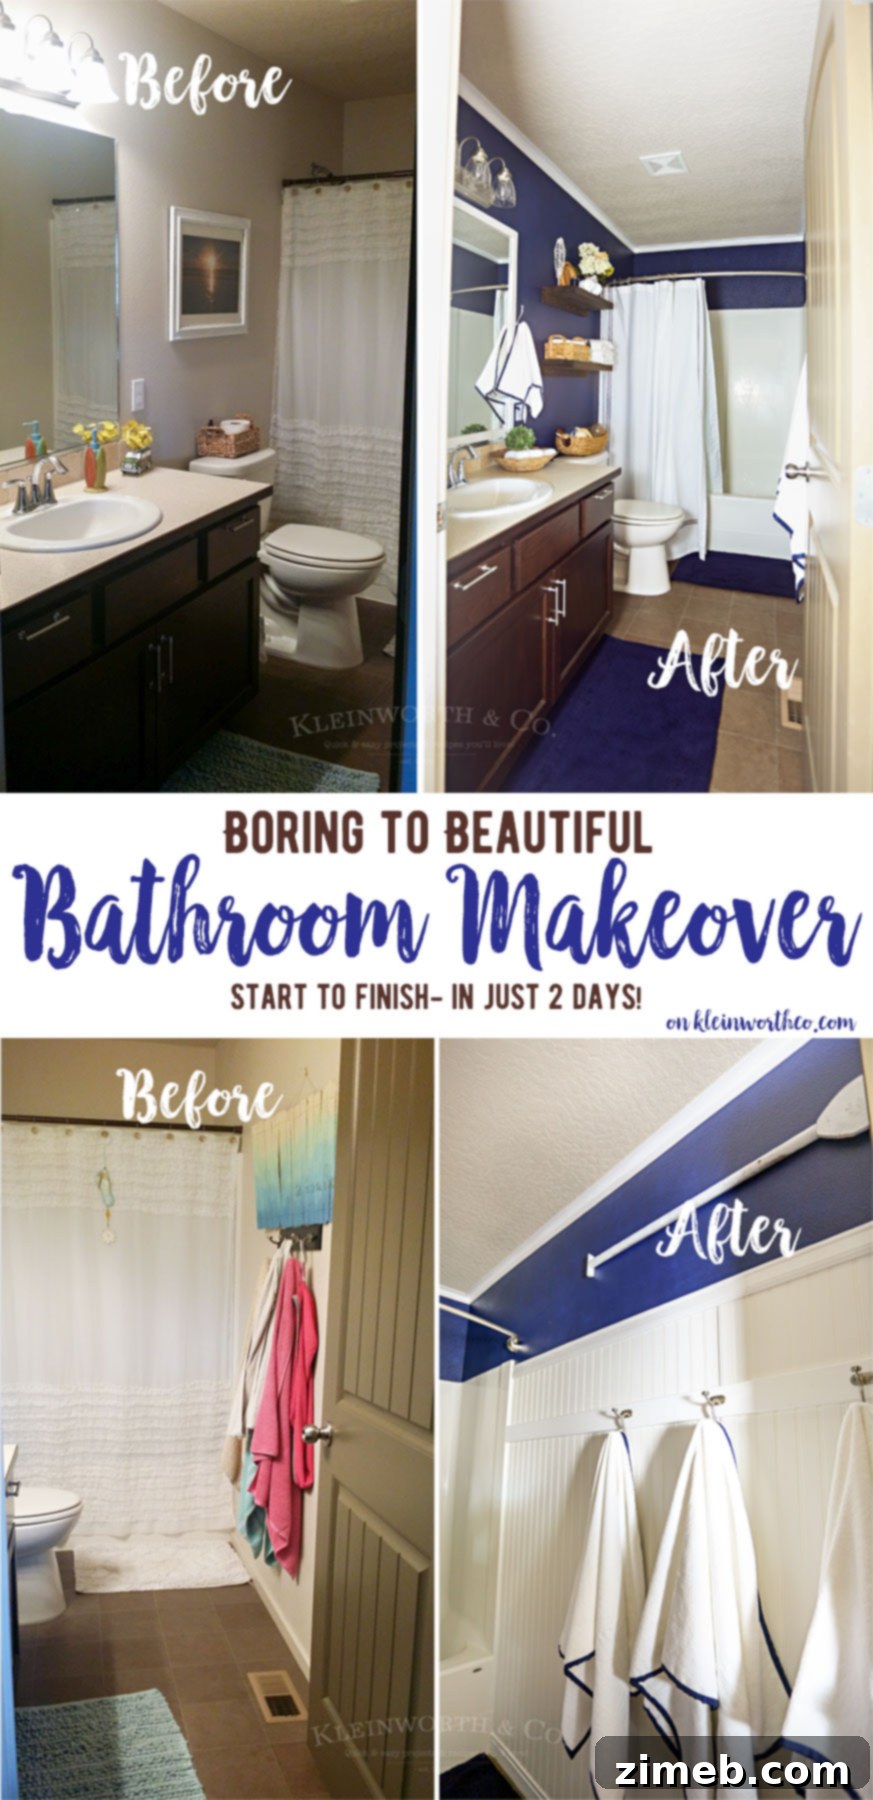
Nautical Navy & White Bathroom Makeover
Don’t miss these inspiring ideas from fellow DIY enthusiasts, perfect for enhancing your home and garden projects:
- Come Back with Tacos Doormat DIY from Settling in Sawdust
- DIY Vertical Plant Hanger from I Heart Nap Time
To see where I am linking today – visit HERE