
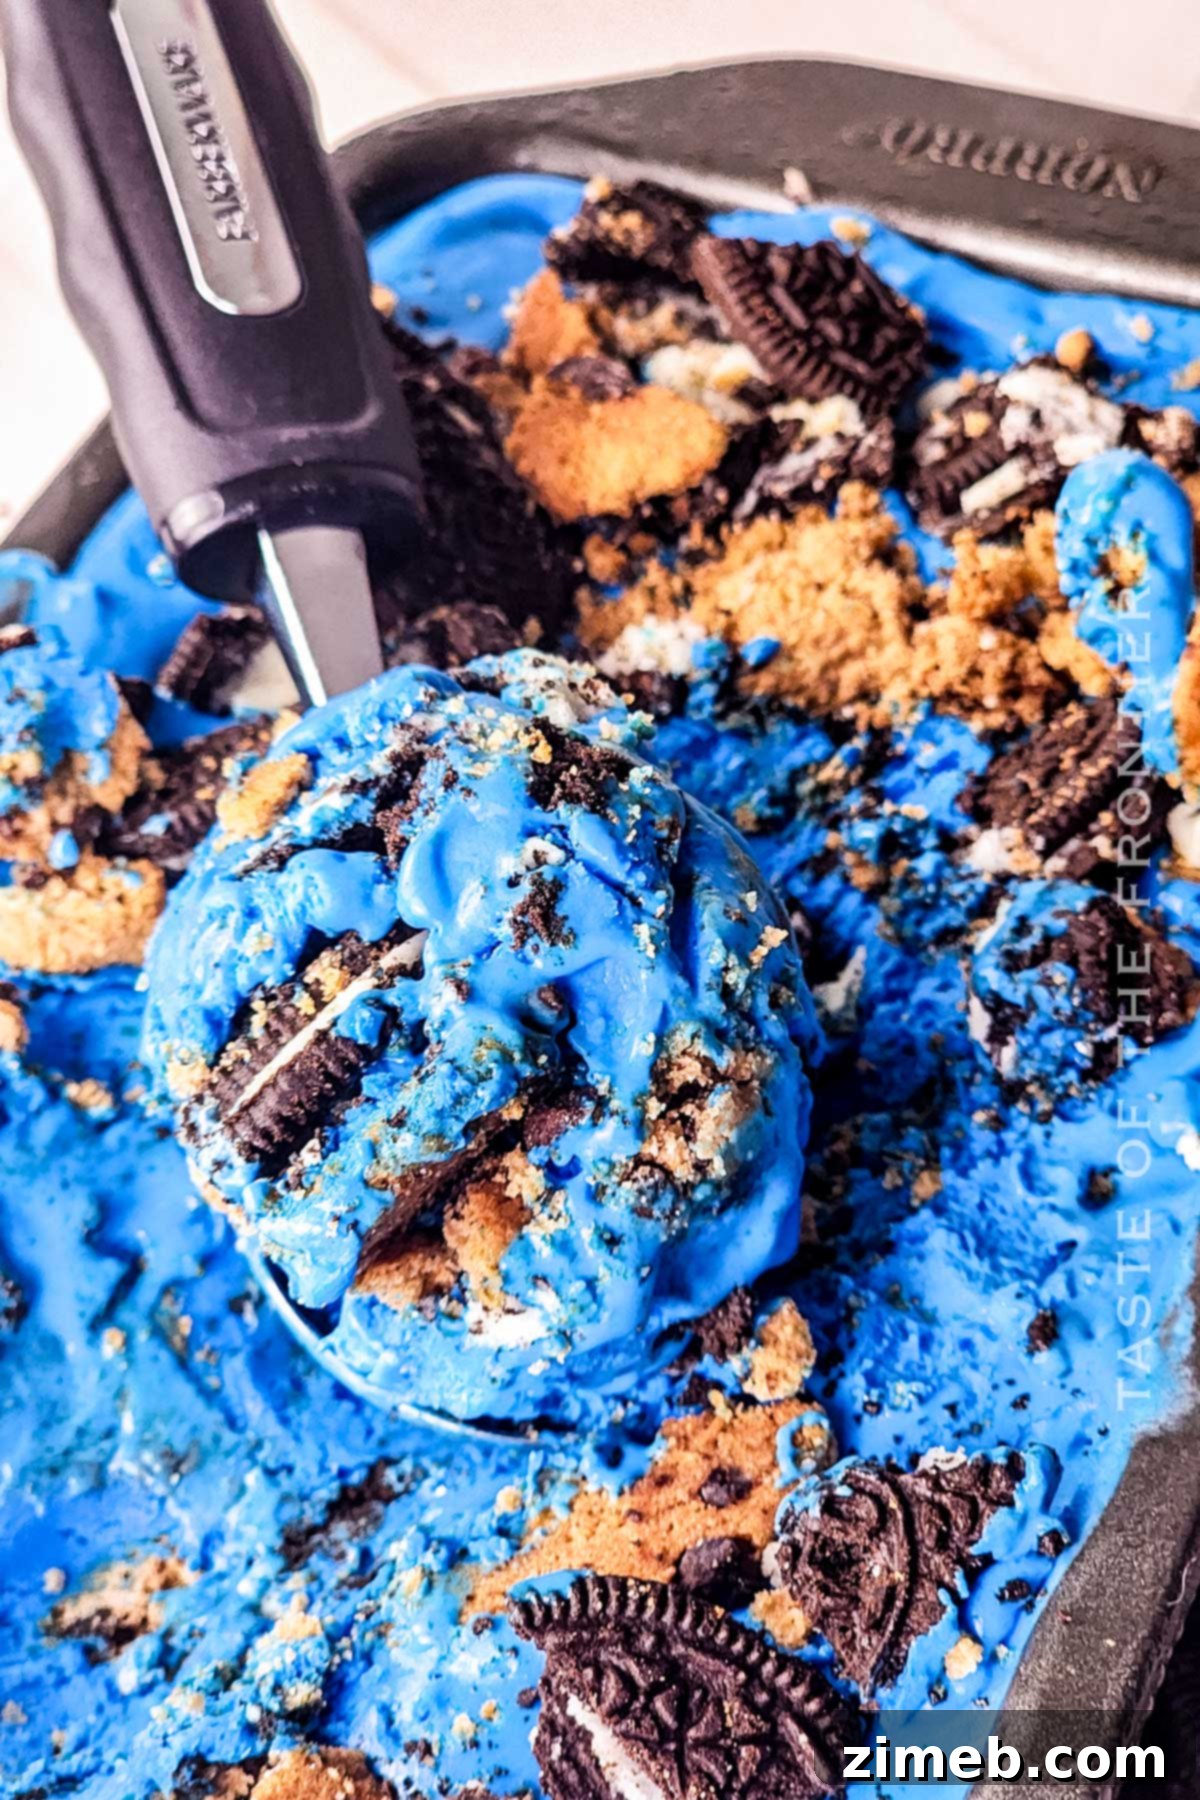
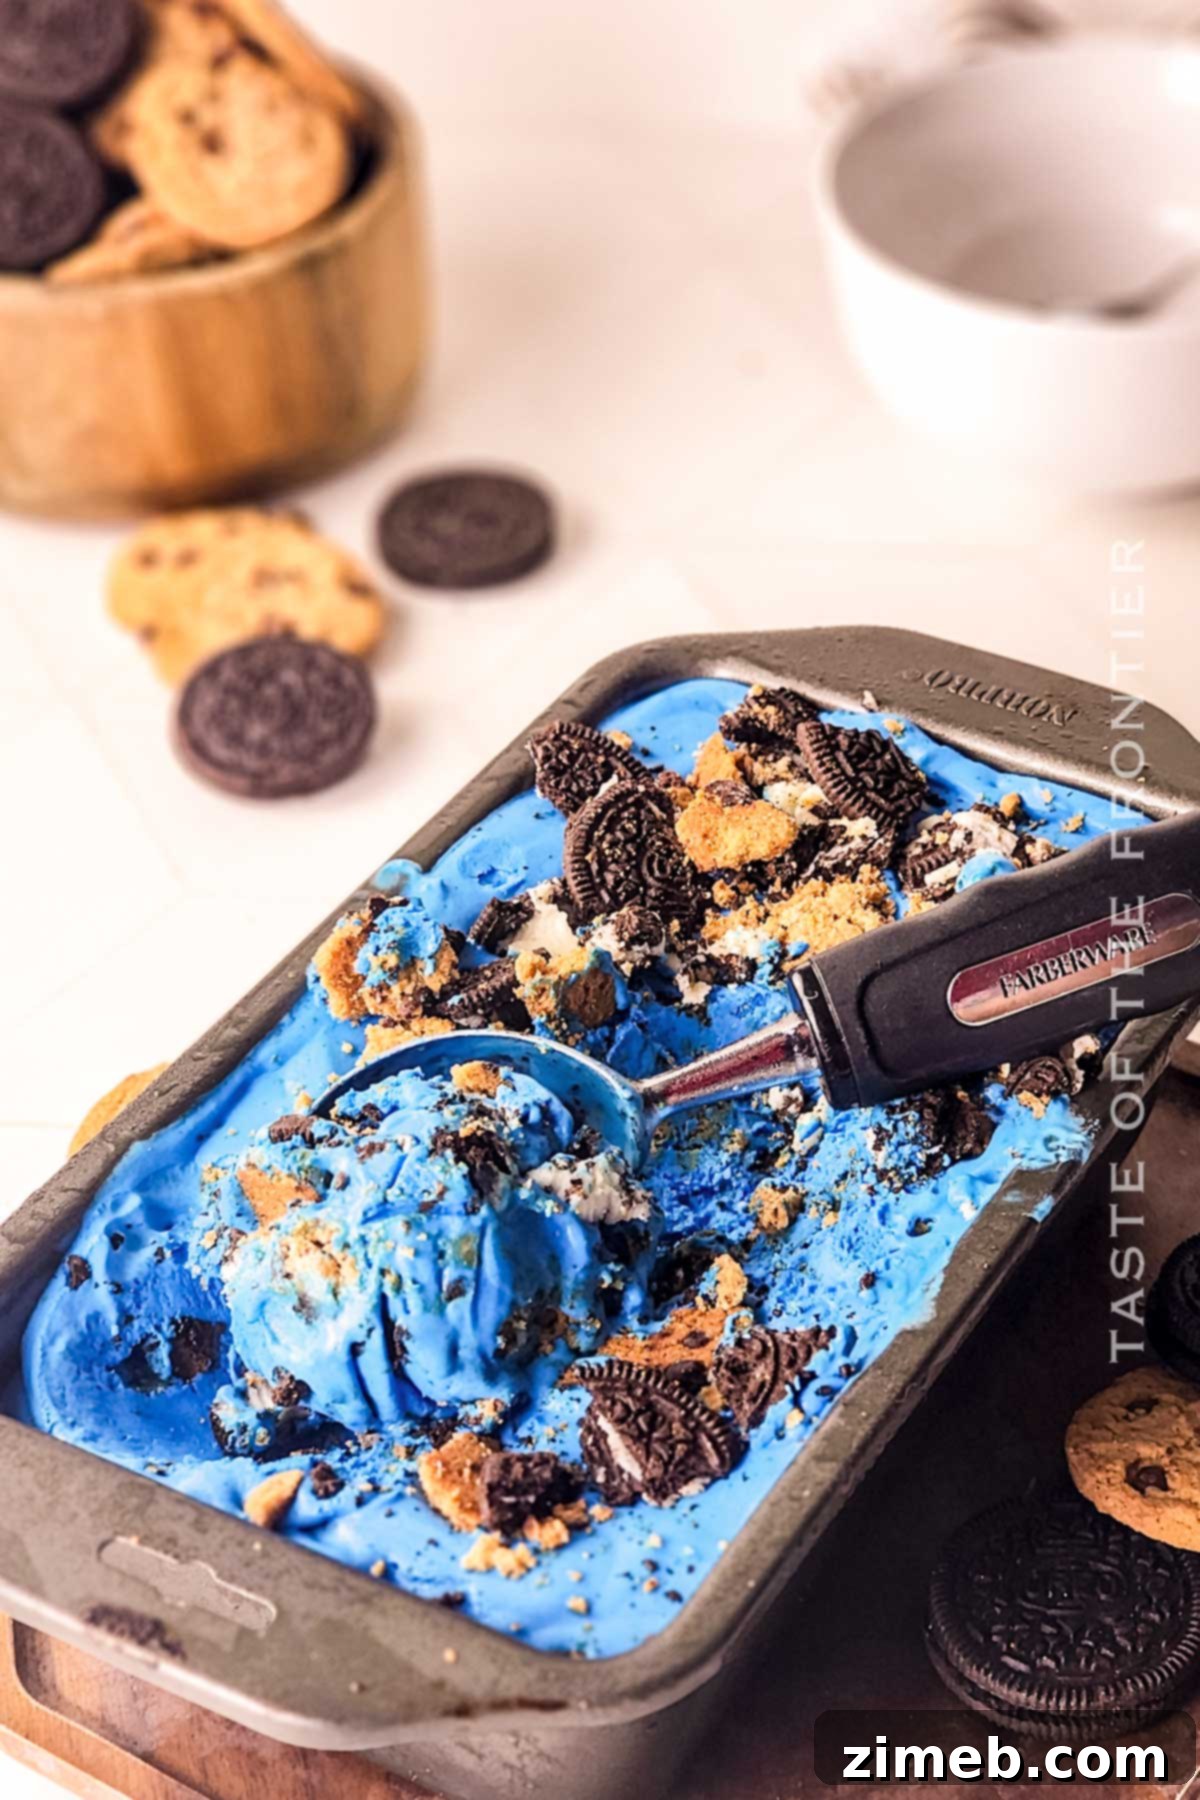
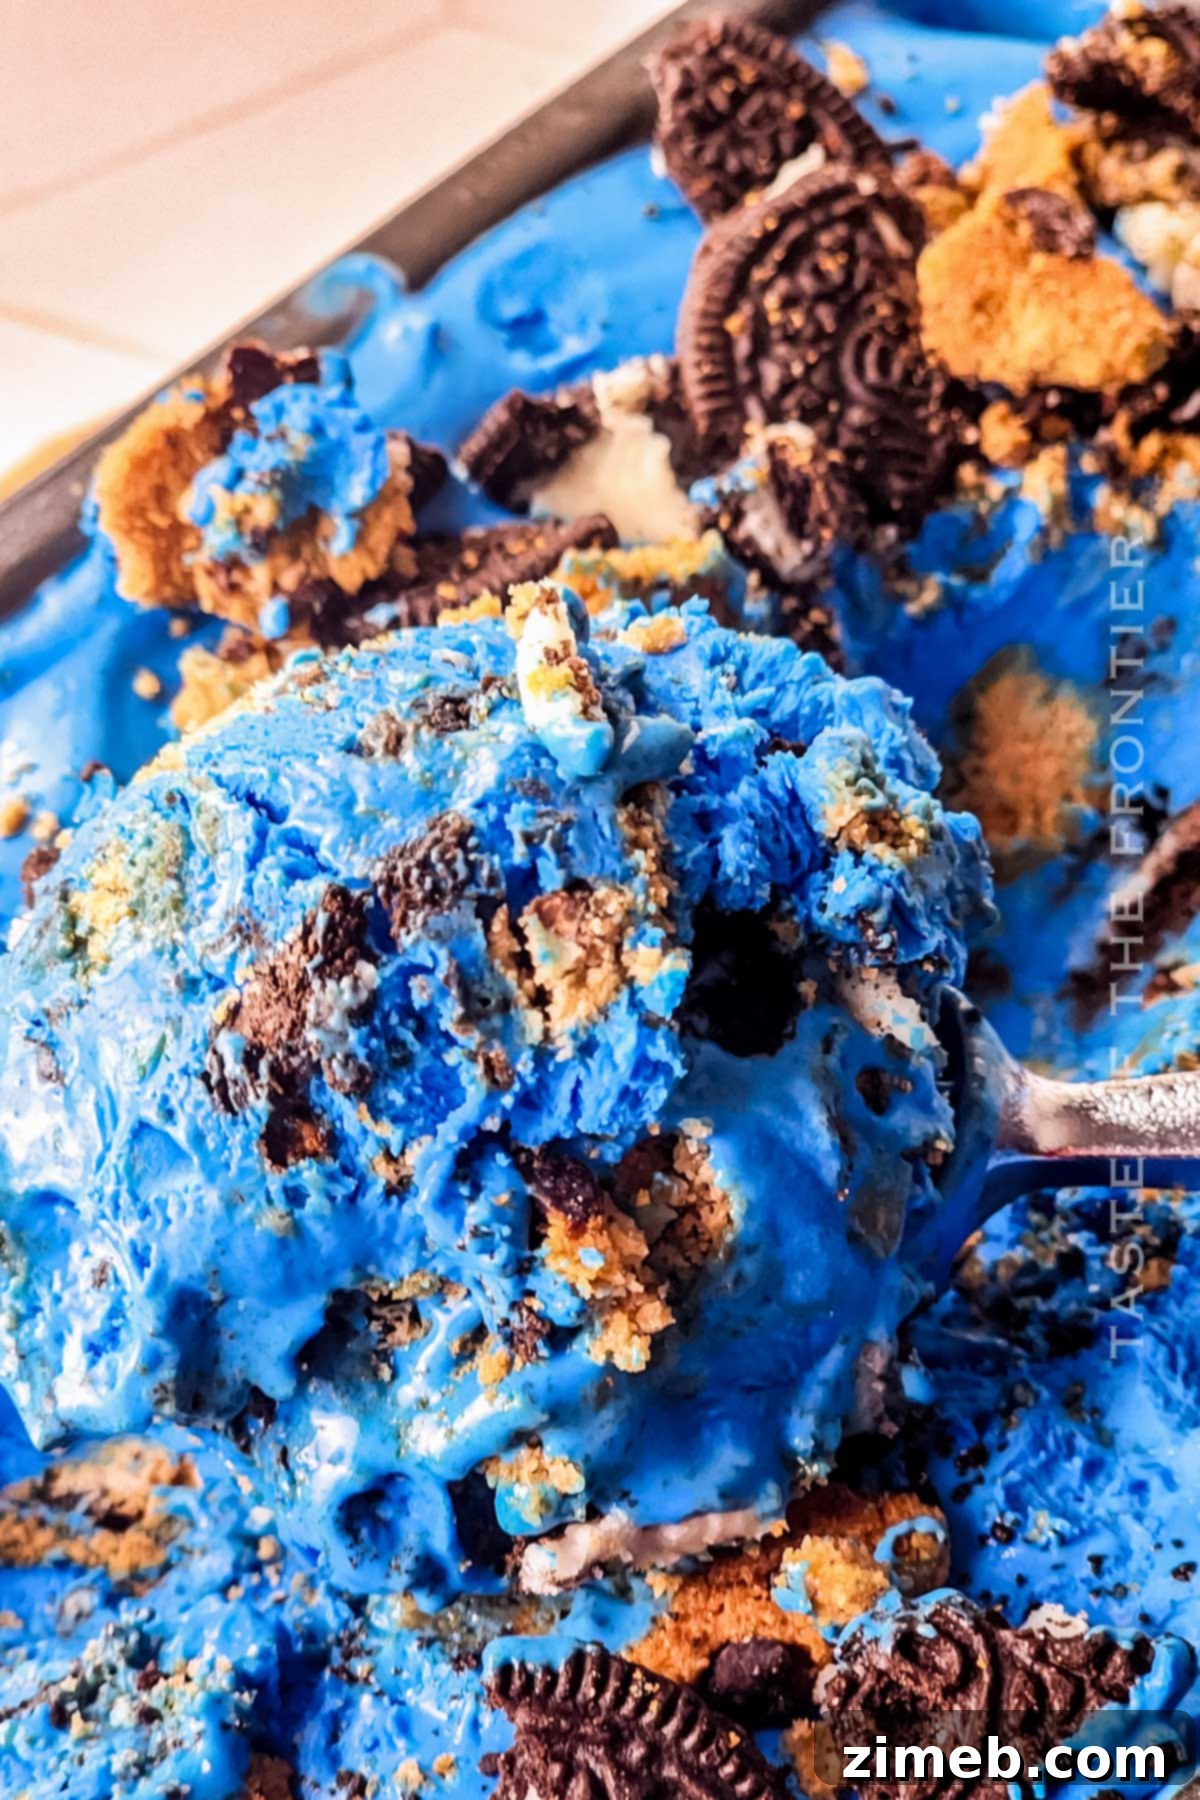
Get ready for a blast from the past with this outrageously fun and incredibly delicious **Homemade Cookie Monster Ice Cream**! Imagine vibrant blue ice cream swirled with generous chunks of classic chocolate Oreos, crunchy chocolate chip cookies, and infused with the elegant, comforting taste of pure vanilla. This isn’t just any dessert; it’s a nostalgic journey that promises to delight both young and old, earning the official stamp of approval from the one and only Cookie Monster himself!
Who can deny the irresistible charm of Cookie Monster? We all harbor a little bit of that insatiable cookie craving, especially when faced with homemade treats. This dazzling blue confection is designed to make every cookie lover’s dream come true, transforming simple ingredients into a show-stopping dessert that’s as enjoyable to make as it is to eat.
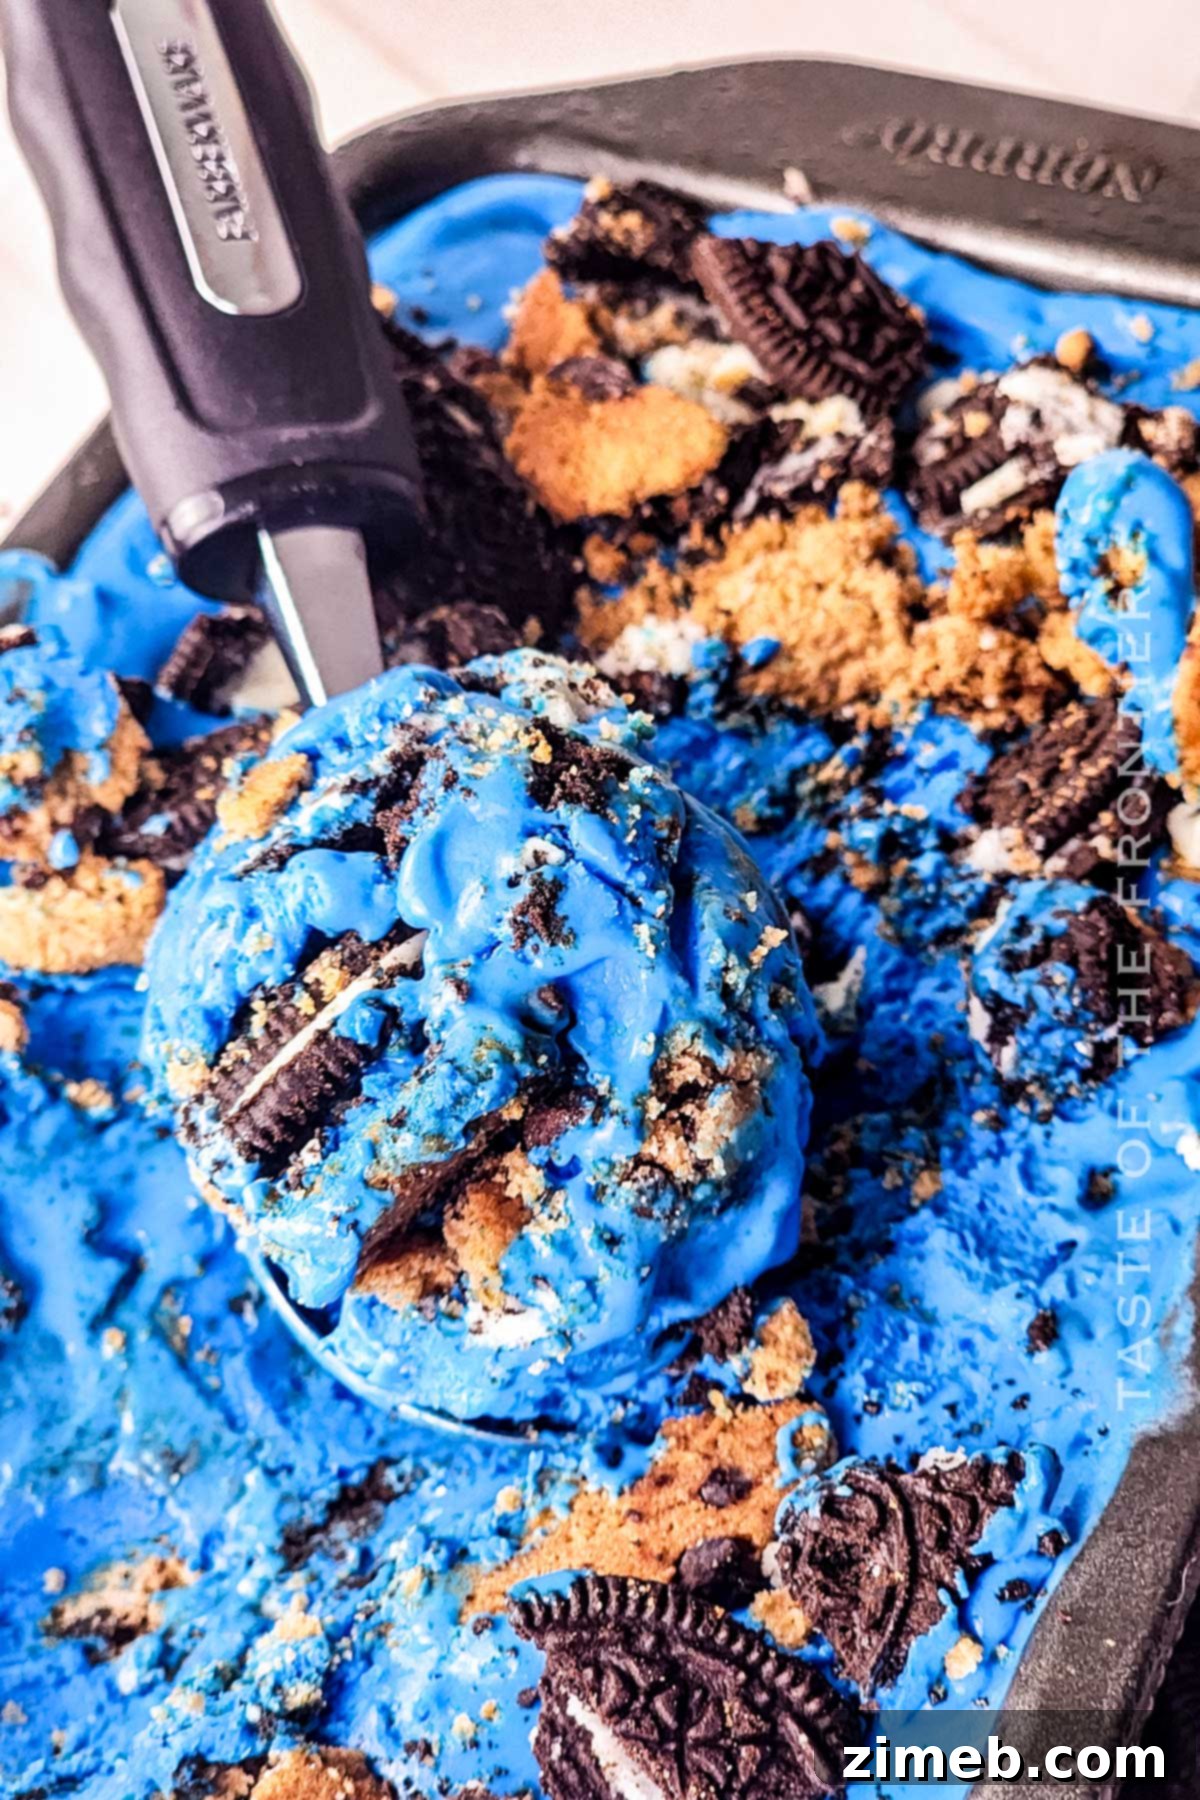
Our homemade Cookie Monster Ice Cream masterfully blends the beloved flavors of classic vanilla ice cream with the textural delight of crushed chocolate sandwich cookies (Oreos) and crispy chocolate chip cookies. It’s essentially a cookies and cream flavor, but elevated with a striking, vivid blue hue that immediately brings smiles. The best part? The food coloring we use is completely tasteless, ensuring the rich cookie and vanilla flavors shine through. Even better, this fantastic recipe doesn’t require any special trips to the grocery store for obscure ingredients – just a few pantry staples!
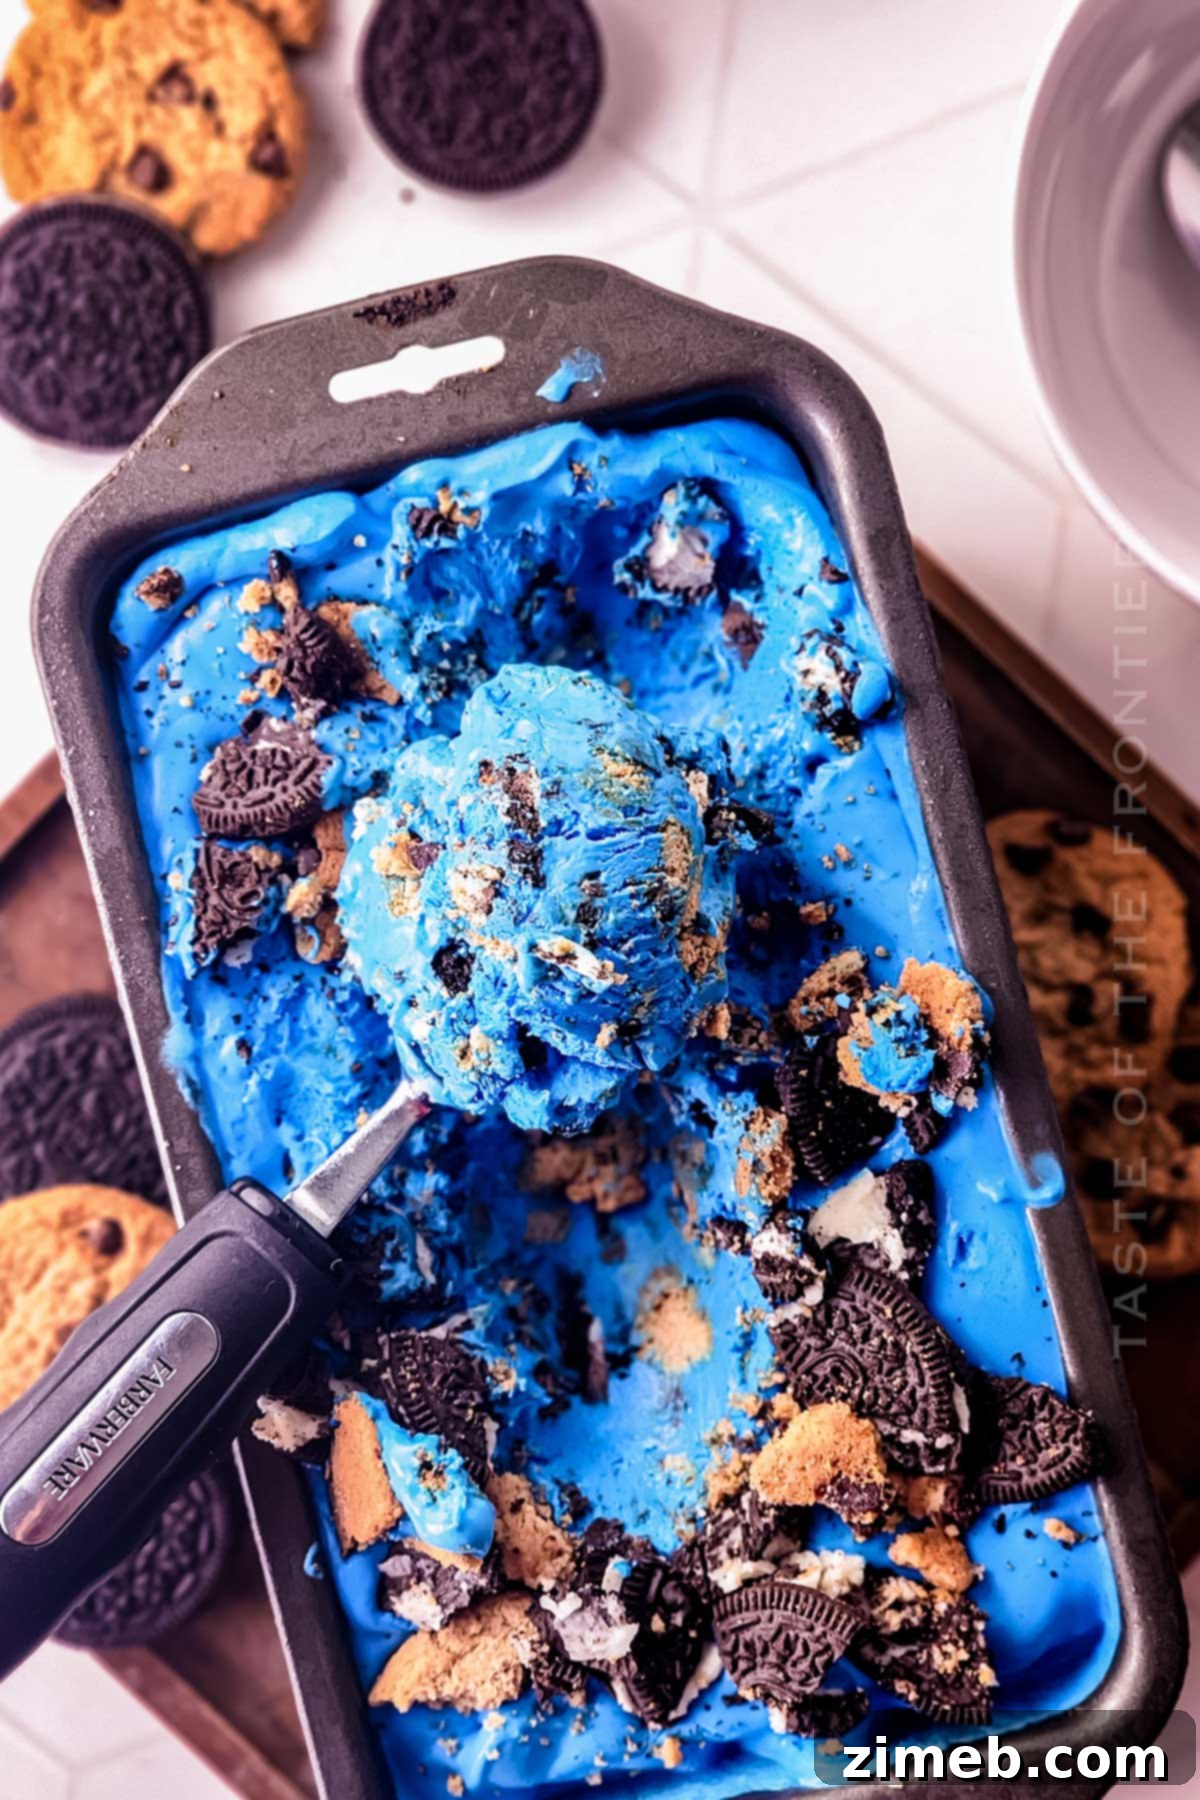
Why You’ll Love This Easy No-Churn Cookie Monster Ice Cream Recipe
If you’re looking for a dessert that’s both simple to prepare and incredibly impressive, this Cookie Monster Ice Cream is your answer. Here’s why this recipe will become a cherished favorite:
- Effortlessly No-Churn: Say goodbye to expensive, bulky ice cream machines! This is a “no-churn” recipe, meaning you won’t need any specialized equipment to achieve a wonderfully creamy, scoopable texture. It’s accessible to everyone, regardless of kitchen gadgetry.
- Quick & Simple Preparation: With just 7 basic ingredients and a mere 20-30 minutes of active prep time, this recipe fits easily into any schedule. The most challenging part is simply waiting for it to freeze and set, which is why we recommend making it in the evening to allow it to chill perfectly overnight.
- A Guaranteed Kid-Pleaser: The vibrant blue color and generous chunks of favorite cookies make this **Blue Monster Ice Cream** an instant hit with children. It combines the ultimate duo for cookie lovers – creamy ice cream and chocolate sandwich cookie pieces. It’s the perfect dessert option if you’re hosting a Sesame Street-themed party or simply want to bring a huge smile to little faces.
- Yields a Generous Batch: This recipe produces a full quart of delicious homemade ice cream, making it ideal for satisfying those spontaneous ice cream and cookie cravings on a warm summer day, or for sharing with family and friends.
- Visually Stunning: Beyond its incredible taste, this ice cream looks absolutely magnificent. The bright blue base studded with dark cookie pieces creates a visually captivating dessert that is guaranteed to be a show-stopper at any gathering or celebration. It’s a treat for the eyes as much as it is for the taste buds!
Key Ingredients for Creamy No-Churn Ice Cream
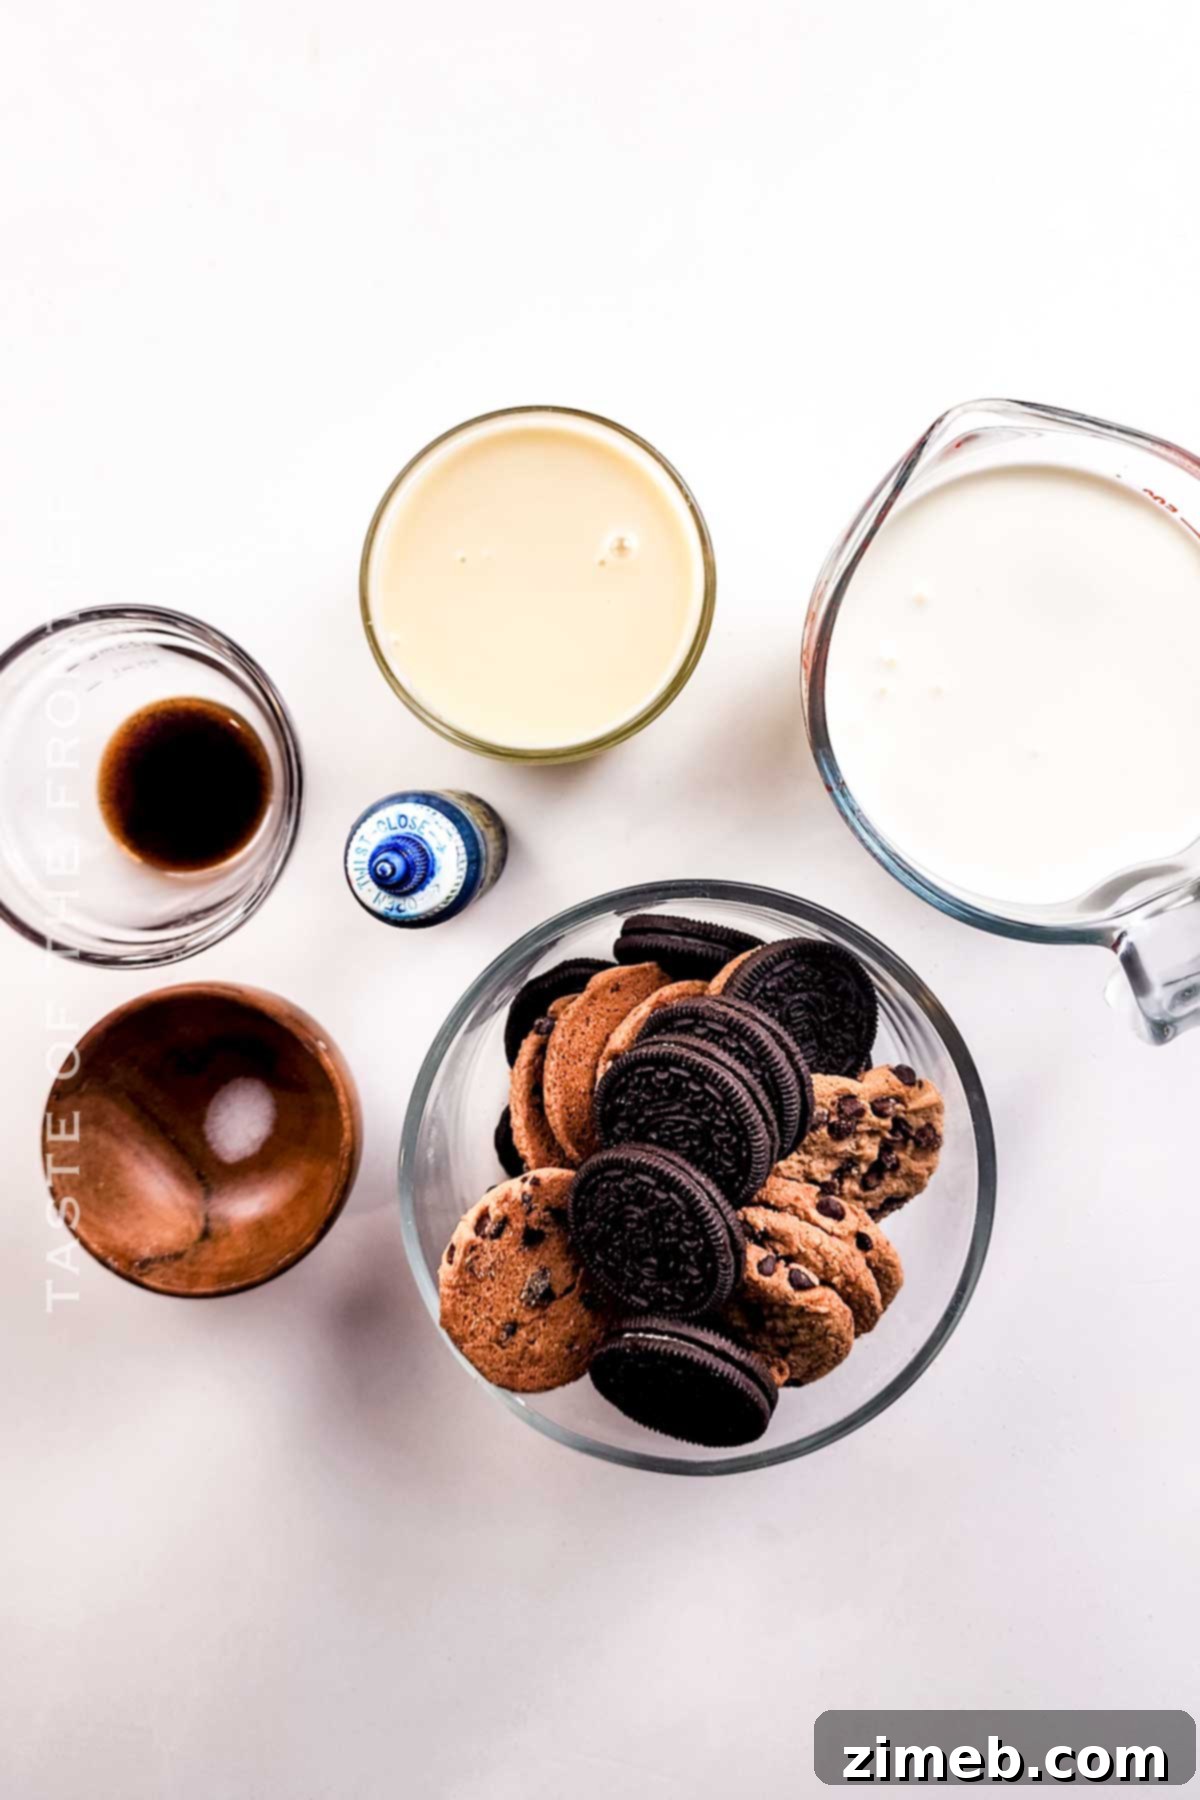
Creating silky-smooth, no-churn ice cream relies on a few core ingredients working in harmony. You’ll notice that for our no-churn recipe, we don’t add granulated sugar separately. Instead, sweetened condensed milk acts as both a sweetener and a crucial emulsifier, ensuring all ingredients combine seamlessly without forming ice crystals that can ruin the texture and flavor. The precise measurements can be found in the recipe card below, but here’s a closer look at each component:
- Heavy Whipping Cream: This is the foundation for our ice cream’s luxurious, silky-smooth texture. When whipped, it creates the airy base that makes no-churn ice cream so delightful. For the best results, we strongly recommend using heavy cream and not substituting it with lighter dairy alternatives.
- Sweetened Condensed Milk: A true secret weapon for homemade ice cream without an ice cream maker! One can of sweetened condensed milk provides the perfect level of sweetness and creaminess, preventing ice crystals from forming and giving your ice cream that desirable scoopable consistency. While there’s little practical difference in the final product between sweetened and unsweetened condensed milk for this specific application (as the other ingredients provide ample sweetness), sweetened is generally preferred for ease.
- Pure Vanilla Extract: We love using a classic vanilla ice cream base for this recipe, as its warm, comforting notes perfectly complement the cookies. However, don’t hesitate to experiment! You could easily flavor your ice cream mixture with other extracts like coconut, almond, cinnamon, or even a hint of rum or bourbon for an adult twist.
- Blue Gel Food Coloring: This is what gives our ice cream its iconic, playful hue, mimicking the beloved Cookie Monster’s coat. We prefer gel food coloring because it provides a more intense color with less liquid, which helps maintain the ice cream’s desired consistency. The amount you use is entirely up to your desired shade of blue; typically, no more than 10 drops are needed. For a lighter, more pastel blue, similar to what you might find at Baskin-Robbins, use fewer drops.
- Salt: A small pinch of salt is crucial for balancing and enhancing the sweet flavors of the ice cream and cookies, making every bite more complex and satisfying.
- Oreo Cookies: Roughly chopped, these classic chocolate sandwich cookies contribute a delightful crunch and rich cocoa flavor. For variety, you can use mini Oreos for decoration, or crush them efficiently in a Ziploc bag with a rolling pin or quickly pulse them in a food processor, rather than hand-chopping.
- Chips Ahoy Cookies: Roughly chopped chocolate chip cookie pieces are essential for adding another layer of texture and that signature chocolate chip flavor. While Chips Ahoy are convenient, homemade chocolate chip cookies work amazingly well and can add an extra touch of gourmet to your dessert! Just be sure to avoid very soft cookies, as they might become soggy once incorporated into the melting ice cream.
Optional additions for serving: Consider serving your Cookie Monster Ice Cream in crispy waffle or sugar cones, or even between two soft chocolate cookies to create a delightful homemade ice cream sandwich.
Essential Equipment for No-Churn Ice Cream
Making this incredible Cookie Monster Ice Cream doesn’t require an array of specialized tools. With just a couple of standard kitchen items, you’ll be well on your way to a perfectly creamy, homemade treat:
- Loaf Pan: A standard loaf pan (approximately 9×5 inches) is ideal for initially freezing your ice cream. Lining it with plastic wrap or parchment paper before adding the mixture makes for easy removal. Once frozen, you can transfer the solidified ice cream to an airtight container for longer-term storage.
- Stand or Hand Mixer: This is crucial for achieving the proper consistency for your ice cream base. Using either a stand mixer with a whisk attachment or a good quality hand mixer will allow you to beat the heavy cream and then gently combine it with the condensed milk, creating the smoothest possible base and effectively preventing the formation of undesirable ice crystals.
Step-by-Step: Crafting Cookie Monster Ice Cream (No Machine Required!)
Follow these simple steps to create your own vibrant and delicious Cookie Monster Ice Cream at home:
- Whip the Cream: In the bowl of a stand mixer (or using a hand mixer), beat the heavy cream on high speed. Continue mixing until stiff peaks form. This usually takes around 3-5 minutes, and you’ll know it’s ready when the cream holds its shape firmly.
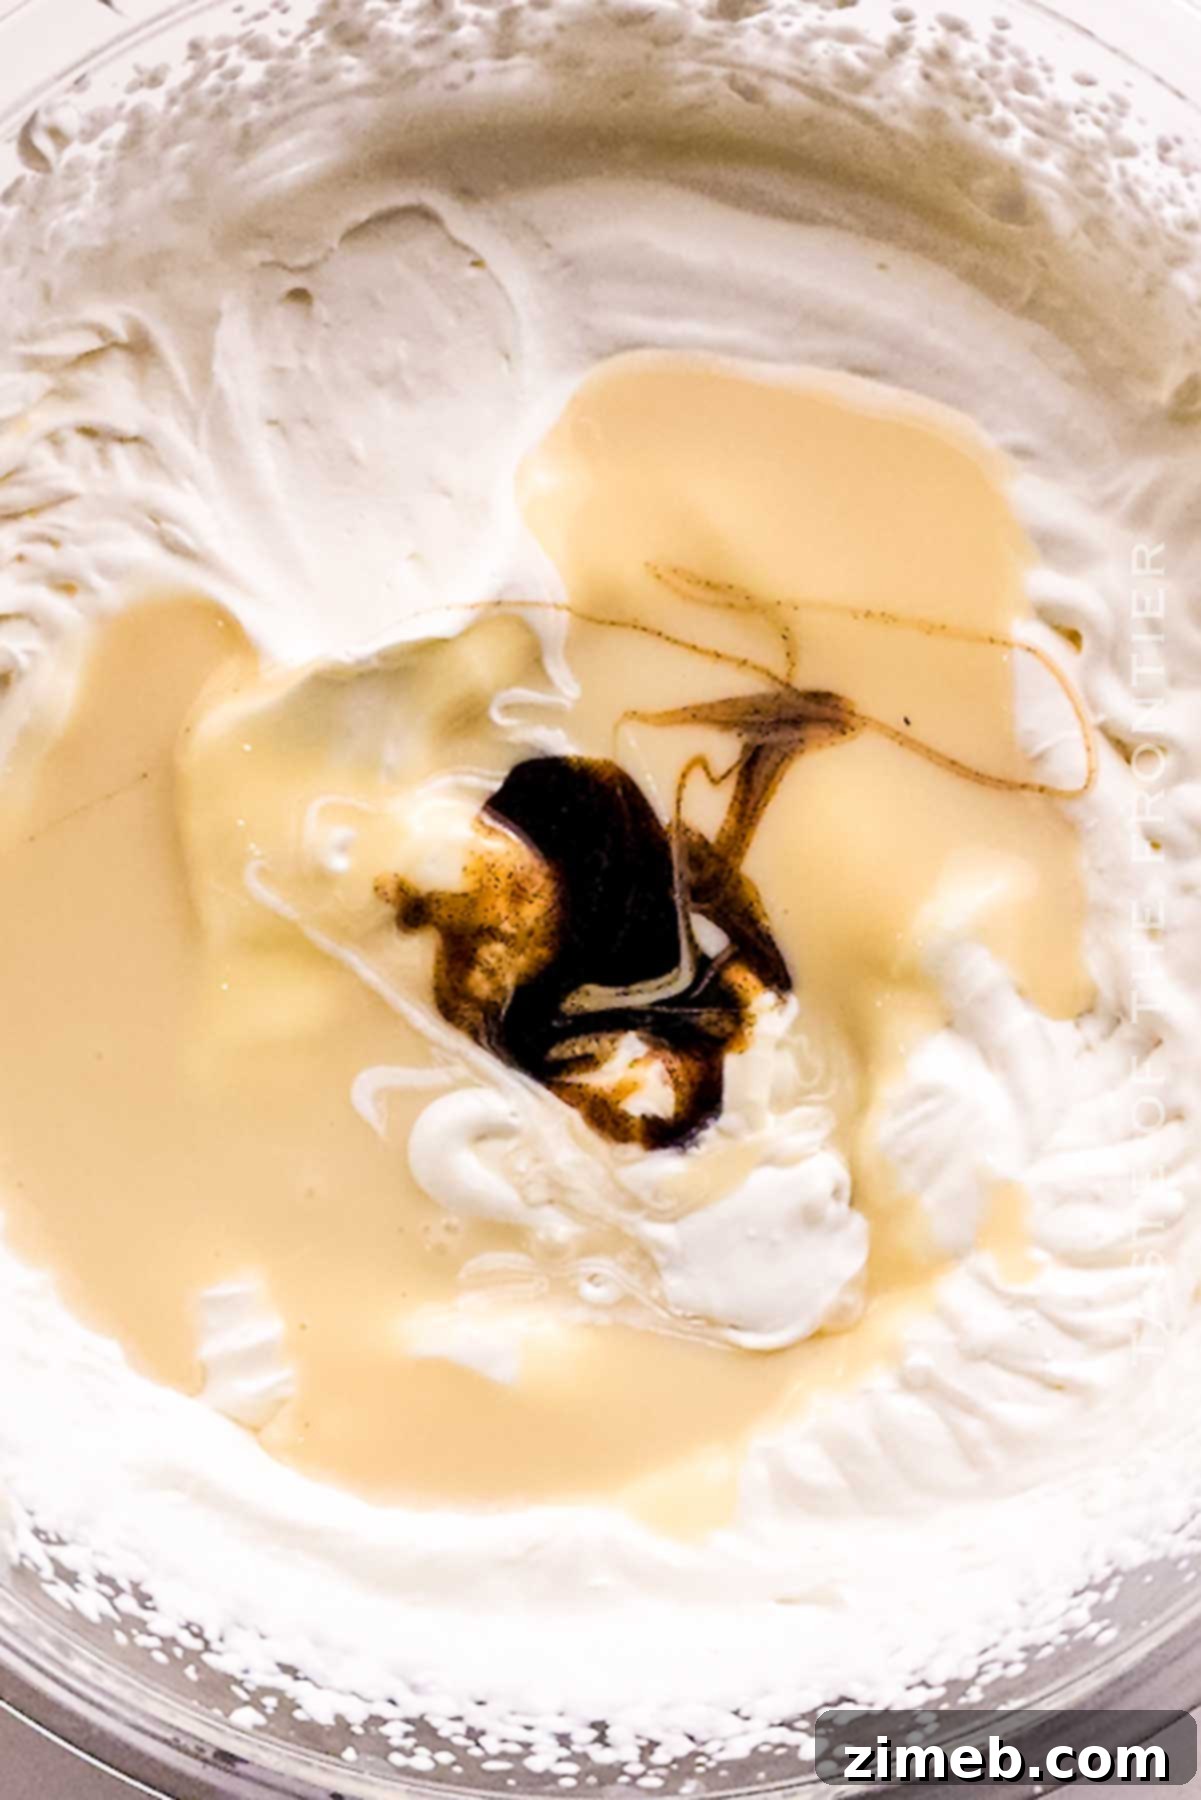
- Combine Sweetened Milk & Vanilla: Gently fold in the sweetened condensed milk and pure vanilla extract into the whipped cream. Mix just until they are fully combined, being careful not to deflate the airy cream.
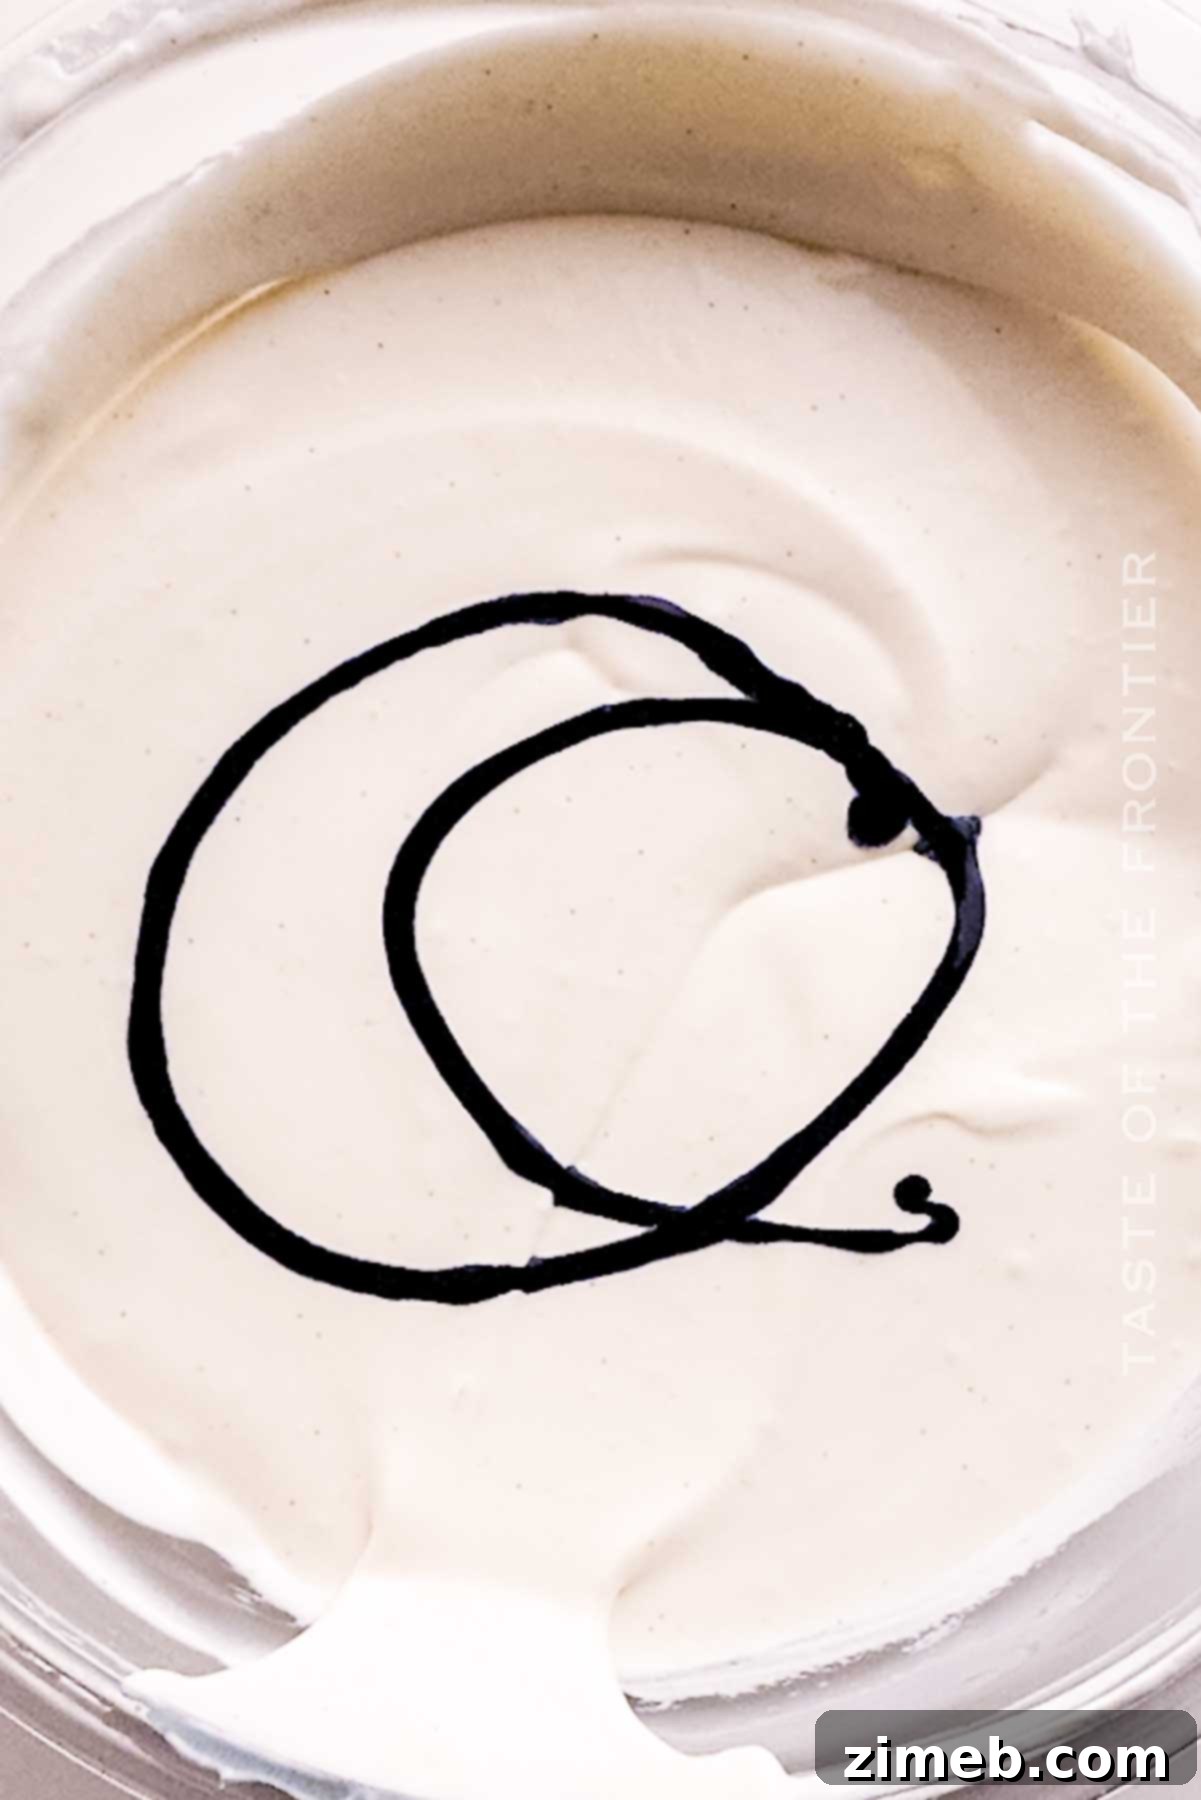
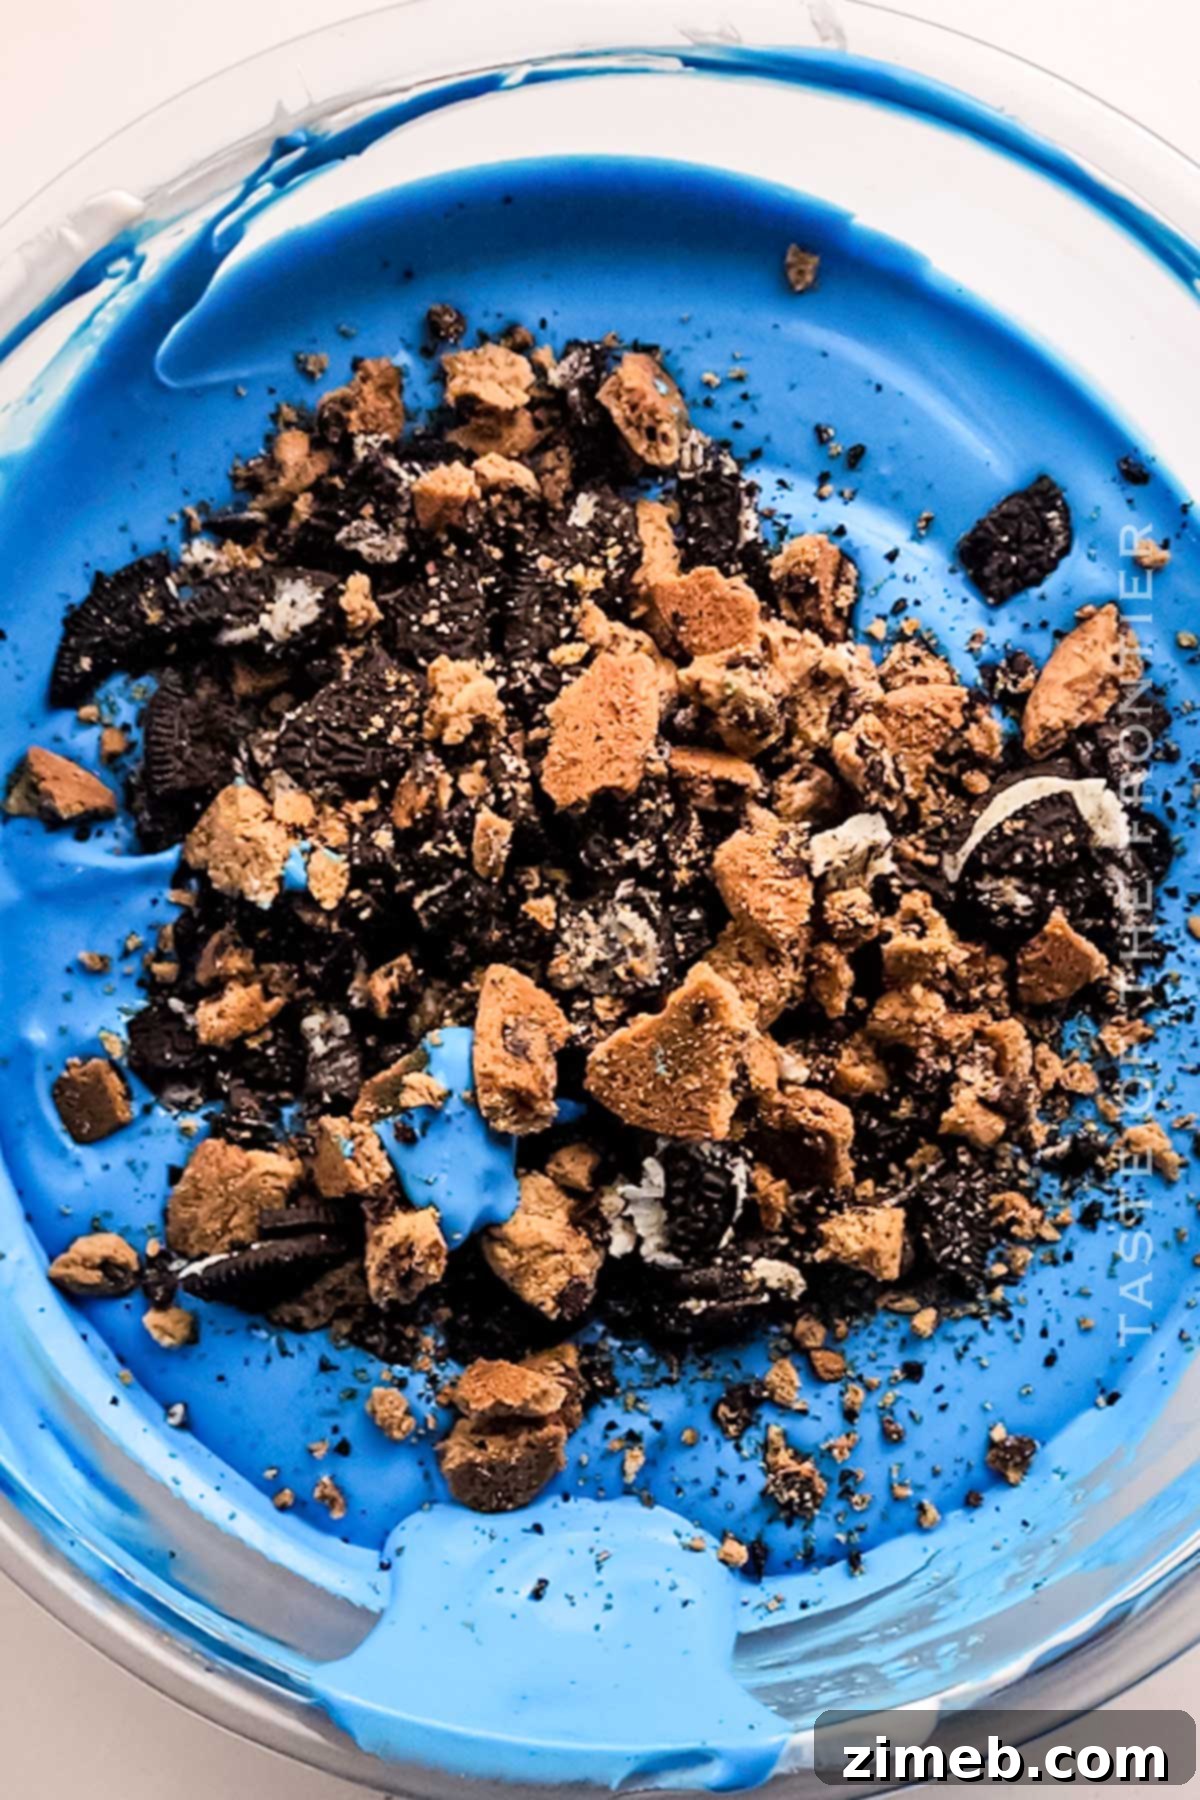
- Add Color & Cookies: Now it’s time for the signature blue! Carefully fold in your blue gel food coloring and the pinch of salt until the desired vibrant hue is achieved. Once the color is even, gently fold in the roughly chopped Oreo and Chips Ahoy cookies. Remember to reserve a small handful of chopped cookie pieces to sprinkle on top for a beautiful finish.
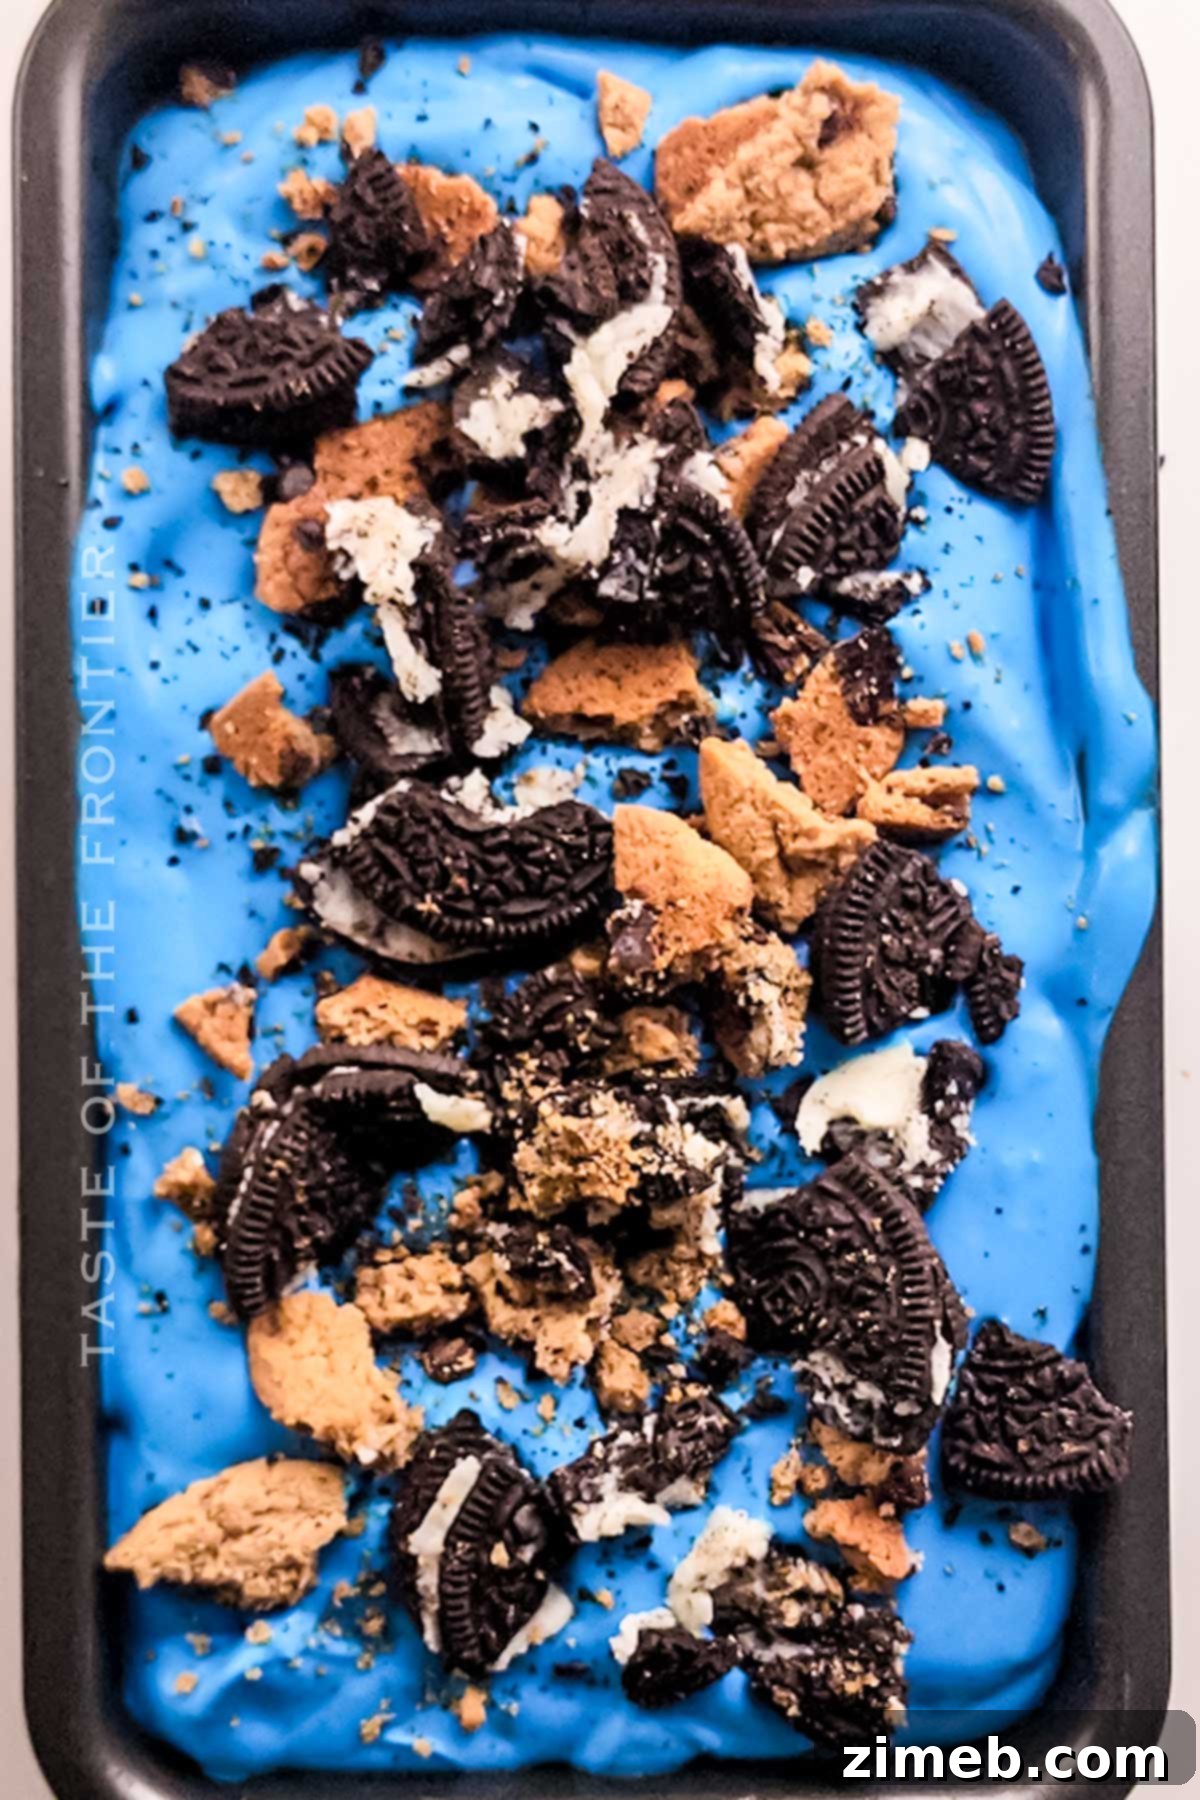
- Transfer to Pan: Spoon the entire ice cream mixture into your prepared loaf pan, ensuring it’s evenly distributed. Sprinkle the reserved chopped cookies over the top for an inviting presentation.
- Freeze Until Firm: Cover the loaf pan tightly with plastic wrap, pressing it directly onto the surface of the ice cream to prevent ice crystals from forming. Freeze for a minimum of 6-8 hours, but for the absolute best, most scoopable texture, leaving it in the freezer overnight is highly recommended.
Scooping Your Homemade Ice Cream Without a Scooper
Homemade ice cream often has a slightly different texture than store-bought varieties. Since it lacks the additives used to preserve firmness, it tends to melt a bit faster when left out on the counter. Don’t fret if you don’t own an ice cream scoop! You can still achieve elegant, restaurant-quality scoops with a simple tablespoon.
To create a beautiful oval-shaped scoop, similar to those seen in fine-dining establishments, firmly press the side of a clean tablespoon into the ice cream. Then, while maintaining pressure, rotate your wrist a full 360 degrees to gather and shape the perfect oval. This technique allows you to carve out smooth, attractive servings every time.
Storing Your Delicious Homemade Ice Cream
To preserve the incredible flavor and texture of your homemade Cookie Monster Ice Cream, proper storage is key. Transfer the ice cream to an airtight, freezer-safe container after it has initially set in the loaf pan. For best results and to prevent freezer burn, press a piece of plastic wrap directly onto the surface of the ice cream before sealing the container. Stored this way, your delightful dessert will remain fresh and enjoyable for 2-4 weeks in the freezer, ready to satisfy your sweet cravings whenever they strike.
Exciting Add-ons & Variations for Your Monster Cookie Ice Cream
While delicious as is, this Cookie Monster Ice Cream recipe is also incredibly versatile, offering endless possibilities for customization and creativity. Take your dessert to the next level with these fantastic ideas:
- Amp Up the Mix-ins: For an even richer, more decadent experience, consider adding mini marshmallows or fluffy marshmallow creme swirls to the ice cream base. You could also include edible cookie dough, shaped into tiny balls (ensure it’s safe to eat raw!), or extra chocolate chips – either white, milk, or dark chocolate – for more varied chocolatey goodness.
- Decadent Drizzles: Elevate individual servings with a luxurious drizzle of hot fudge, rich caramel sauce, or even a swirl of peanut butter caramel throughout the ice cream when you’re layering it into the pan. These additions provide extra moisture and an explosion of flavor.
- Cookie Monster Ice Cream Sandwich Cake: Transform this ice cream into an impressive cake! Using the same loaf pan, create a base layer with brownies, additional sandwich cookies, cookie dough, or even more chocolate chip cookies. Spoon half of the ice cream mixture over this base, then add another layer of your chosen cookies, followed by the remaining ice cream. Freeze until solid for a spectacular layered dessert.
- Vegan Cookie Monster Ice Cream: For a plant-based alternative, substitute dairy heavy cream with chilled full-fat coconut cream (from a can, chilled overnight and only the thick cream used) and swap sweetened condensed milk for a vegan condensed milk alternative. For coloring, spirulina powder can offer a natural blue hue. Ensure your cookies are vegan-friendly; many original Oreos are surprisingly vegan, and there are excellent vegan chocolate chip cookie options available.
Expert Tips for Perfect Homemade Ice Cream
Achieving the best possible homemade ice cream is easy with a few simple tricks:
- Chill Your Equipment: For optimal whipping, place the bowl of your stand mixer (or the mixing bowl you’ll use for whipping the cream) and your whisk attachment in the freezer for at least 15-20 minutes, or even overnight, before you begin. A cold bowl helps the heavy cream whip up faster and achieve stiffer peaks, resulting in a lighter, airier ice cream.
- Mind the Food Coloring: Remember that the vibrant blue color of your ice cream will naturally deepen and become more intense as it chills and sets. Start with a smaller amount of blue gel food coloring and add more gradually if needed. Adding too much coloring can potentially alter the consistency or introduce an unwanted subtle flavor, though this is less common with high-quality gel colors.
- Stain Awareness: Be prepared that food coloring, especially intense shades of blue, can temporarily stain tongues or clothing if a piece of ice cream happens to drop. While it’s generally washable, it’s always good to be mindful, especially with little ones!
- Fold, Don’t Overmix: After whipping the cream, when incorporating the condensed milk, food coloring, and cookies, use a gentle folding motion with a spatula. Avoid overmixing, as this can deflate the whipped cream and lead to a less smooth and airy ice cream. The goal is soft, fluffy peaks that still hold their shape.
- Cookie Consistency: For that “perfect bite” where you get a delightful combination of creamy ice cream and crunchy cookies, ensure your cookies are chopped into small, roughly half-inch pieces. This size allows them to be evenly distributed throughout the mixture and provides a satisfying texture without being too large or too fine.
- Prevent Freezer Burn: Once the ice cream is transferred to its final storage container, always cover the surface directly with plastic wrap before putting on the lid. This minimizes air exposure and helps prevent the formation of ice crystals and freezer burn, keeping your ice cream fresh longer.
Frequently Asked Questions About Cookie Monster Ice Cream
Can I Use Other Types of Cookies?
Absolutely! This recipe is incredibly adaptable. While Oreos and Chips Ahoy are classic choices, feel free to experiment with your favorite cookies. You could use homemade chocolate chip cookies, crushed peanut butter cups, crumbled graham crackers, fudge elves, mini shortbread cookies, or even chunks of edible cookie dough. Just keep in mind the texture – firmer cookies tend to hold up better and provide a satisfying crunch, while very soft cookies might become a bit soggy when the ice cream melts.
Is Gel Food Coloring the Same as Regular Food Coloring?
No, they are quite different, and gel food coloring is generally preferred for ice cream. Liquid food coloring is water-based and can easily alter the consistency of your ice cream mixture if too much is added. It often requires a larger quantity to achieve a vibrant color. Gel food coloring, on the other hand, is highly concentrated, meaning you need only a tiny amount to achieve an intense, rich color. This minimal liquid content ensures it has a negligible effect on the texture of your ice cream, making it the ideal choice for this recipe.
If you adore this delightful ice cream recipe, you’re going to love these other fun and easy recipes perfect for kids and adults alike. Click each link below to discover more printable recipes!
Cookie Ice Cream Sandwiches
Check out this recipe
Circus Animal Cookie Ice Cream
Check out this recipe
Jello Popsicles
Check out this recipe
Unicorn Cookies
Check out this recipe
Oreo Fluff Recipe
Check out this recipe
Discover More Fantastic Ice Cream Recipes
If you’re eager for more frozen delights, explore these other incredible ice cream creations:
Birthday Cake Ice Cream
Cotton Candy Ice Cream
Little Debbie Christmas Tree Ice Cream
Baskin-Robbins Ice Cream Cake
CONNECT WITH YUMMI HAUS!
Be sure to follow me on my social media, so you never miss a post!
Substack, FB, Pinterest, IG, Email Subscription
Cookie Monster Ice Cream

This bright blue homemade Cookie Monster Ice Cream is loaded with crushed Oreos and chocolate chip cookies, making it a fun and delicious treat for any occasion, especially for fans of the iconic blue monster!
Course: Dessert
Servings: 4 servings
Prep Time: 20 minutes
Freeze Time: 6+ hours
Total Time: 6 hours 20 minutes
Print Recipe | Pin Recipe
Ingredients
- 2 cups heavy whipping cream
- 14 ounces sweetened condensed milk (1 can)
- 1 teaspoon vanilla extract
- Blue gel food coloring (amount depends on desired shade of blue)
- ¼ teaspoon salt
- 25 Oreo cookies, roughly chopped
- 15 Chips Ahoy Cookies, roughly chopped
Instructions
- In a stand mixer (or using a hand mixer), beat the heavy cream on high speed until stiff peaks form, typically 3-5 minutes.
- Gently stir in the sweetened condensed milk and vanilla extract until well combined.
- Carefully fold in the blue food coloring and salt until the desired vibrant hue is achieved. Once incorporated, fold in the crushed Oreo and Chips Ahoy cookies, reserving a few chopped pieces for topping.
- Transfer the mixture to a loaf pan and top with the reserved chopped cookies for decoration.
- Cover the loaf pan tightly with plastic wrap and freeze for at least 6-8 hours, or preferably overnight, until firm.
Notes
The color of the ice cream will deepen and become more vibrant as it sits. Be cautious not to overdo the food coloring, as excessive amounts can subtly alter the consistency and flavor of the ice cream.
Equipment
- Loaf Pan
- Stand or Hand mixer
Nutrition (Approximate per serving)
- Serving: 1 serving
- Calories: 1274 kcal
- Carbohydrates: 138g
- Protein: 18g
- Fat: 76g
- Saturated Fat: 37g
- Cholesterol: 168mg
- Sodium: 726mg
- Potassium: 658mg
- Fiber: 3g
- Sugar: 101g
- Vitamin C: 3mg
- Calcium: 376mg
- Iron: 9mg
- Net Carbohydrates: 109g
Nutritional information for the recipe is provided as a courtesy and is approximate. Please double-check with your own dietary calculator for the best accuracy. We at Yummi Haus cannot guarantee the accuracy of the nutritional information given for any recipe on this site.
Love this recipe? Follow @KleinworthCo for even more tasty recipes!