
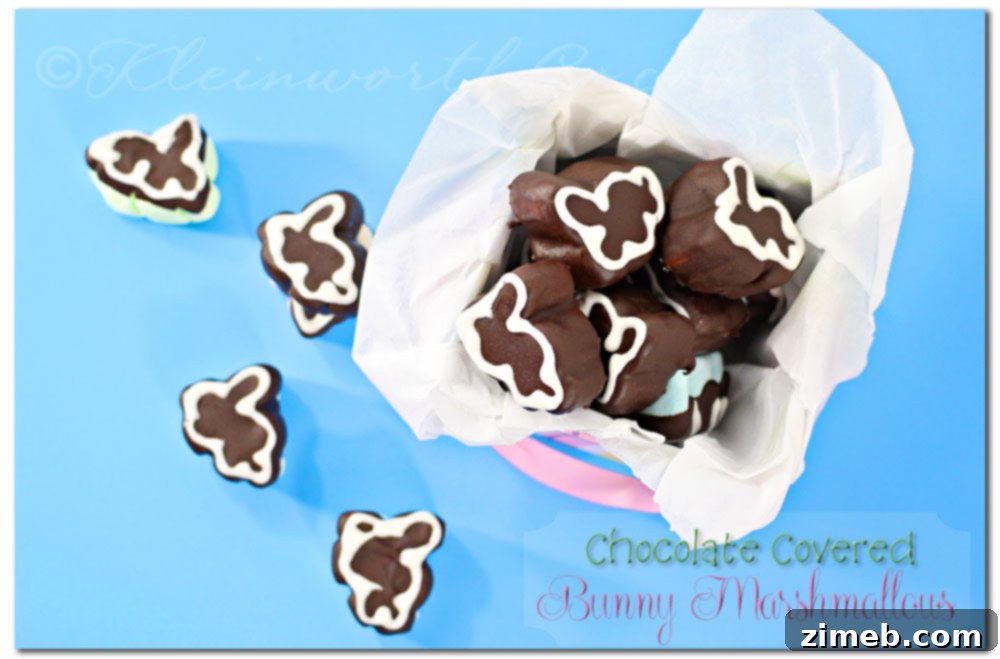
Indulge Your Sweet Tooth: The Ultimate Guide to Homemade Chocolate-Covered Bunny Marshmallows
If there’s one treat that consistently brings a smile to my face and a skip to my step, it’s marshmallows. And when those marshmallows are delightfully shaped like bunnies and generously coated in rich, melted chocolate? Well, that’s a whole new level of confectionery bliss that every sweet lover deserves to experience!
My adoration for marshmallows runs deep, a sentiment I’ve happily shared time and again. There’s something undeniably comforting, joyful, and utterly whimsical about these fluffy, sweet confections. While store-bought varieties certainly have their charm, there’s an unparalleled delight in crafting your own, especially when they’re destined to become the star of an Easter basket, a festive party favor, or simply a well-deserved personal indulgence.
A Sweet Tradition: My Annual Quest for the Perfect Easter Marshmallows
Every year, my wonderful husband (the “hubs” as I affectionately call him) makes a point of bringing home some classic Peeps for me. It’s a thoughtful gesture, particularly since he himself finds them, shall we say, “disgusting.” His willingness to brave the Peep aisle for my sake is truly commendable! However, as the designated Easter basket shopper, he also takes charge of selecting all the goodies. And while I appreciate his efforts immensely, there’s always one critical oversight that leaves me yearning: he NEVER buys enough chocolate-covered marshmallow bunnies! Typically, he’ll pick up a single pack of six, which translates to a mere two bunnies per child. This leaves me in a perpetual predicament – if I “borrow” even just one, it’s immediately noticed. A marshmallow heist from my own children is simply out of the question!
This annual shortage sparked a delightful desire within me: to take matters into my own hands and ensure a truly plentiful supply of these irresistible treats. There’s a certain satisfaction in knowing you have an abundance of your favorite confection, enough to share generously, or perhaps, to enjoy a few extra guilt-free moments of pure, unadulterated indulgence. The thought of creating a continuous stream of these delightful morsels became an exciting mission.
The Moment of Inspiration: Pastel Bunnies and Chocolate Dreams
Imagine my surprise and utter delight when, not long ago, my husband returned from a trip to the store with a bounty that would make any marshmallow enthusiast swoon. Not only did he procure a bag of those wonderfully GIANT regular-shaped marshmallows I adore, but nestled within the shopping bag was also a huge pack of these enchanting pastel-colored, bunny-shaped marshmallows! My excitement levels soared – I was practically jumping through the roof with glee! It was at that very instant I knew their destiny: they were to be gloriously covered in rich chocolate. The thought alone filled me with pure delight and anticipation. No longer would I yearn for more chocolate-covered marshmallows; I had all I could possibly desire, and then some. A truly happy girl, indeed!
This unexpected collection of treats ignited a powerful creative spark. The vibrant pastel hues of the bunny marshmallows, coupled with their playful and iconic shape, seemed almost tailor-made for a decadent chocolate coating. It wasn’t just about satisfying a craving; it was about transforming a simple, delightful snack into a truly special, homemade dessert that felt both nostalgic and new. And the absolute best part? It’s an incredibly easy process to achieve, making it a perfect project for any home baker, regardless of their experience level. Get ready to impress yourself and everyone who tastes these!
Crafting Your Own Chocolate-Covered Bunny Marshmallows: A Delightfully Simple Recipe
You might be wonderfully surprised by just how effortless it is to create these exquisite chocolate-covered marshmallows right in your own kitchen. The process is so straightforward that it barely warrants a complex recipe plugin or an intimidating list of instructions. It’s more of a method, a simple technique that yields incredibly satisfying results with minimal fuss. Forget fancy equipment or elaborate steps; all you really need are a few basic ingredients, a microwave, and a dash of enthusiasm.
Ingredients You’ll Need:
- Chocolate Chips: One 12-ounce bag (approximately 2 cups) of your favorite chocolate chips. Milk, dark, or semi-sweet varieties all work beautifully, so choose what you love most. Quality chocolate will enhance the flavor significantly.
- Shortening: 1 ½ tablespoons of vegetable shortening. This seemingly small addition is crucial, as it helps create a wonderfully smooth, fluid chocolate coating that hardens beautifully without cracking, giving your marshmallows a professional finish.
- Marshmallows: One package of delightful bunny-shaped marshmallows. Of course, if bunny marshmallows aren’t available, any shape you prefer will work perfectly – jumbo, regular, or even mini marshmallows are excellent choices for dipping.
Step-by-Step Instructions:
- Prepare Your Chocolate Mixture: Begin by combining the chocolate chips and the vegetable shortening in a clean, microwave-safe glass bowl. The combination of chocolate and shortening is the secret to achieving that perfectly smooth, dippable consistency that adheres beautifully to the marshmallows.
- Melt with Precision: Place the bowl into the microwave and heat the mixture in short, controlled bursts. Start with 30-second intervals. After each interval, remove the bowl and stir the chocolate mixture thoroughly with a spoon or a sturdy rubber spatula. Even if the chocolate doesn’t appear fully melted, stirring helps to distribute the heat evenly and prevents any scorching.
- Achieve the Perfect Fluid Consistency: Continue this process of heating and stirring until the chocolate is completely melted, feels warm to the touch, and is wonderfully fluid. The goal is a consistency that allows for easy, even coating without being too thick or too watery. In my experience, this usually takes close to two minutes in total, depending on the wattage of your microwave. Exercise patience during this step, as over-microwaving can cause the chocolate to seize or burn, making it unusable.
- Dip Your Marshmallows: Once your chocolate is melted to perfection, take each marshmallow and carefully dip it into the rich, warm chocolate. You can choose to coat just one side for a lighter chocolate touch, or for a truly decadent treat, turn it gently to ensure both sides are generously covered. Don’t worry about achieving absolute perfection; a little rustic charm is part of the homemade appeal!
- Set and Harden Your Treats: Gently place the chocolate-covered marshmallows onto a wire rack. For easier cleanup, I recommend placing a sheet of parchment paper or wax paper underneath the rack to catch any chocolate drips. Allow them to sit at room temperature until the chocolate has completely hardened and set. If you’re like me and possess an admirable lack of patience, you can pop the entire rack into the freezer for about 10-15 minutes. This dramatically speeds up the hardening process, meaning you can enjoy your delicious creations sooner!
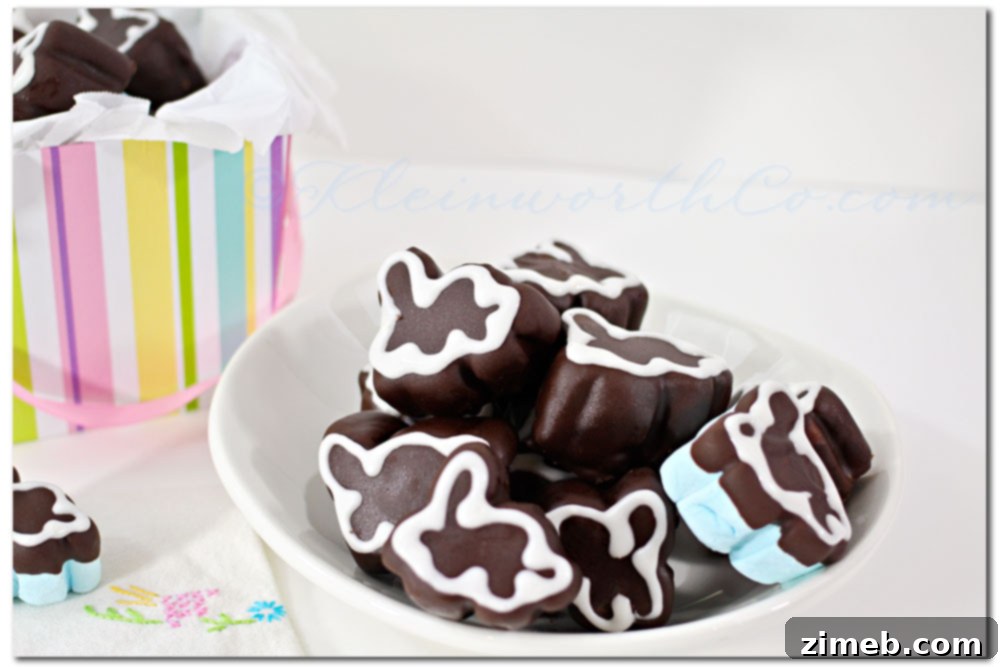
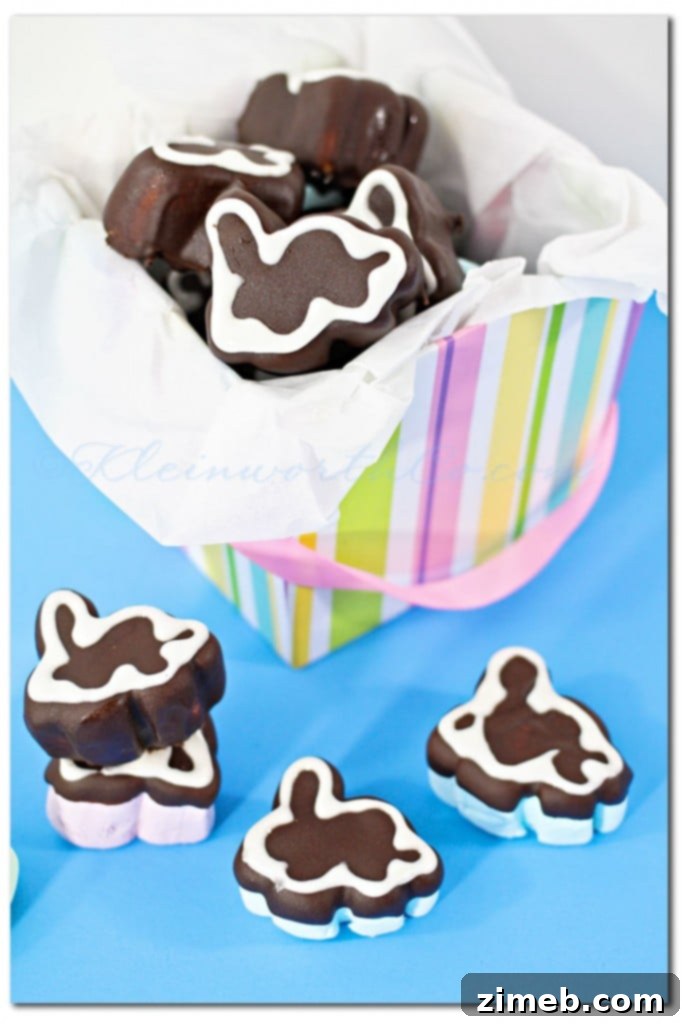
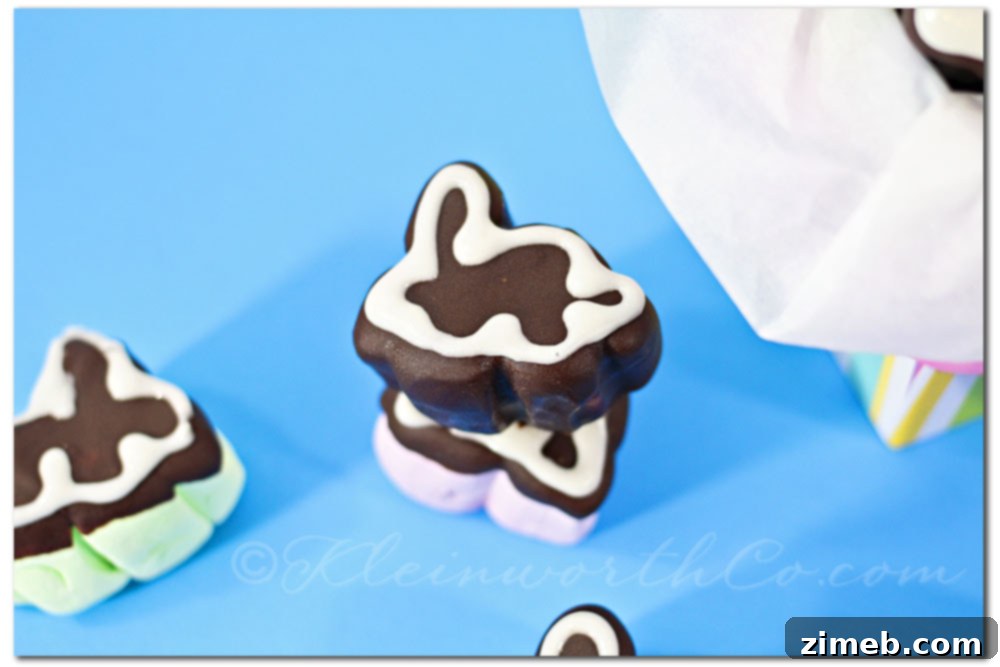
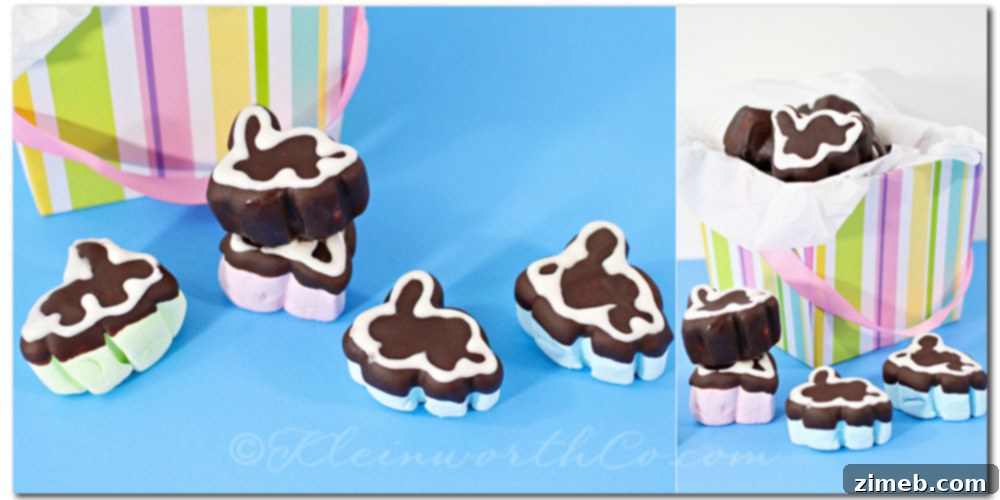
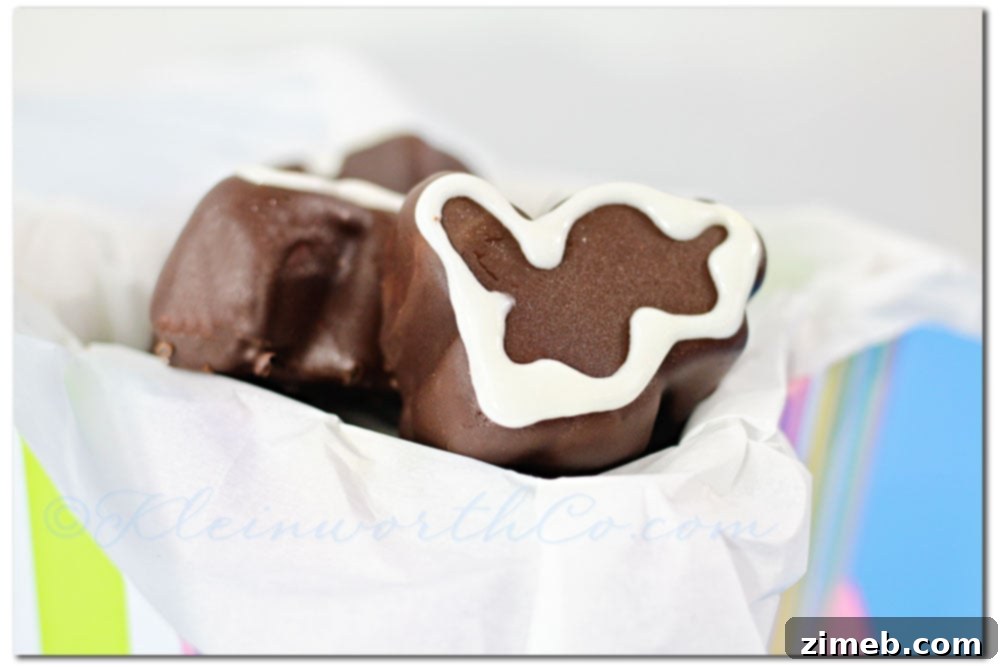
- Optional Decorative Touches: To truly enhance the visual appeal, especially with adorable bunny-shaped marshmallows, consider adding a touch of royal frosting. I piped simple outlines on mine to better define the bunny shape and add a charming detail. This step is entirely optional but adds a lovely, almost professional finish. You could also get creative by sprinkling them with festive sprinkles, edible glitter, finely chopped nuts, or even a contrasting drizzle of white chocolate before the chocolate fully sets for an extra layer of artistry.
Elevate Your Treats: Tips for Perfect Chocolate Dipping and Creative Variations
While the inherent simplicity of this recipe is undoubtedly its greatest charm, a few insider tips can help you achieve consistently beautiful and delicious results every single time. Ensuring your chocolate is perfectly melted and at the optimal temperature is crucial for a flawless coating. If the chocolate is too hot, it can unfortunately melt the marshmallow; if it’s too cool, it won’t coat smoothly or evenly.
Pro-Tips for Achieving Chocolate Dipping Perfection:
- Quality Chocolate Makes a Difference: Investing in good quality chocolate chips or melting wafers will yield a superior flavor and a much smoother, more appealing finish. The taste difference is noticeable!
- Consistent and Gentle Heat: If you’re melting a larger batch of chocolate, or if you prefer a more controlled approach than the microwave, a double boiler can offer wonderfully even heating, effectively preventing any risk of scorching the chocolate.
- The Power of Shortening: The shortening is an unsung hero here – it’s absolutely key for achieving that desirable fluidity and a beautiful, glossy shine. Don’t skip it! As an alternative, a small amount of coconut oil can also be used, which will impart a subtle, pleasant flavor.
- Clean Dipping Technique: For the neatest results, use a fork or a specialized chocolate dipping tool to gently lower and lift the marshmallows. Allow any excess chocolate to drip off back into the bowl before carefully placing them onto the wire rack.
- Work Efficiently: Once your chocolate is perfectly melted, try to work relatively quickly. The chocolate will naturally start to thicken as it cools. If it becomes too thick during your dipping process, a quick 15-second reheat and a thorough stir will usually bring it right back to its ideal consistency.
Creative Variations for Your Marshmallow Masterpieces:
Don’t limit yourself to just bunny marshmallows! This chocolate dipping technique is incredibly versatile and can be adapted for countless occasions and preferences. Consider these exciting variations:
- Explore Different Marshmallow Shapes: Beyond bunnies, experiment with regular jumbo marshmallows, charming mini marshmallows, or even homemade marshmallows cut into squares, hearts, or other fun shapes.
- Flavorful Topping Additions: Before the chocolate fully sets, sprinkle your dipped marshmallows with a variety of delicious toppings. Think sea salt for a sweet and savory contrast, finely chopped nuts (like pecans or walnuts), shredded coconut, mini chocolate chips, or even crushed cookies for added texture and flavor.
- Experiment with Chocolate Types: Go beyond the usual and try dipping your marshmallows in luxurious white chocolate, intense dark chocolate, or even specially flavored chocolates. You could also drizzle contrasting chocolates (e.g., white chocolate over dark chocolate) over the dipped ones for an artistic and elegant touch.
- Holiday and Seasonal Themes: Adapt the shapes and decorations to suit various holidays throughout the year – heart-shaped marshmallows for Valentine’s Day, spooky ghost shapes for Halloween, or festive star shapes for patriotic celebrations.
- Create Marshmallow Pops: For a fun, mess-free, and easy-to-eat treat, simply insert a lollipop stick into each marshmallow before dipping. These marshmallow pops are fantastic for parties and look absolutely adorable.
The Unforgettable Taste: A Treat That Won’t Last Long!
These homemade chocolate-covered bunny marshmallows are truly something special. The delightful combination of the soft, pillowy marshmallow and the crisp, rich chocolate coating is simply divine – a textural and flavor symphony that’s incredibly addictive. I can personally attest that they were so incredibly delicious, they barely lasted long after their photoshoot! There’s something uniquely satisfying about creating and savoring a homemade treat, and these certainly hit the mark, bringing immense joy with every bite.
Storage Recommendations to Keep Them Fresh:
While these irresistible treats are absolutely best enjoyed fresh, you can certainly store any leftovers to prolong their deliciousness. Place them in an airtight container at room temperature for up to a week. If you live in a particularly humid environment, a cool, dry pantry is ideal to prevent the chocolate from becoming sticky. It’s generally best to avoid refrigerating them, as the cold can sometimes cause the chocolate to “bloom” (developing a harmless white film on the surface) and the marshmallows to become a bit tougher, though they will still be perfectly edible. For longer-term storage, you can freeze them in an airtight container for up to a month. When ready to enjoy, simply let them come to room temperature before serving for the best texture and flavor experience.
Embrace the Joy of Homemade Marshmallow Delights
Whether you’re enthusiastically preparing for Easter, searching for a simple yet impressively elegant dessert to share, or simply craving a moment of sweet indulgence just for yourself, these chocolate-covered bunny marshmallows are an absolute winner. They are a testament to how effortlessly you can transform a few simple ingredients into extraordinary treats that bring smiles and satisfaction. So go ahead, gather your ingredients, get dipping, and prepare to swoon in pure, marshmallow-chocolate delight!
For more delightful recipes, creative kitchen tips, and sweet inspiration, be sure to explore my other culinary creations. Happy baking and happy indulging!