
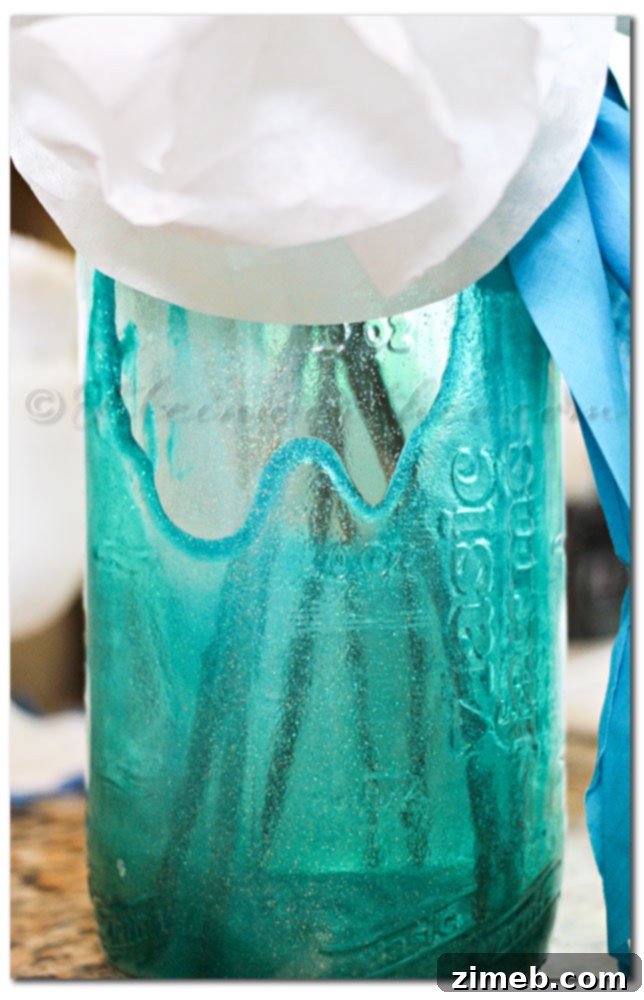
Transforming ordinary household items into captivating home decor pieces is one of the most rewarding aspects of DIY crafting. There’s an undeniable charm in taking something destined for the recycling bin and giving it a new lease on life, imbuing it with personality and purpose. This particular project exemplifies that creative spirit, turning a surprisingly massive pickle jar into a stunning “Ocean Waves Glitter Vase” designed to add a splash of whimsy and elegance to any space, especially a child’s bathroom. This simple yet effective upcycling endeavor not only helps declutter your home but also allows you to craft unique, budget-friendly decor that perfectly matches your aesthetic vision.
The genesis of this sparkling vase began during a routine, yet always exciting, bulk shopping trip to Win-Co. For anyone who appreciates value and the sheer variety of options, Win-Co is a true treasure trove. The ability to purchase almost anything in large quantities at incredibly affordable prices, even if it means bagging it all yourself, is a trade-off I gladly make. On one such visit, my partner, with a keen eye for oversized items, stumbled upon and subsequently acquired an absolutely enormous jar of pickles. Initially, I wasn’t particularly enthused by its sheer scale, but then inspiration struck. As soon as I realized the immense size of this glass behemoth, my creative wheels started turning. I knew instantly that once its savory contents were enjoyed, this gargantuan jar would embark on a new life as a decorative masterpiece. My thoughts immediately gravitated towards our kid’s bathroom, a space I had been eager to refresh and personalize a bit further. This jar was the perfect canvas for the exact kind of vibrant, themed accent I had been envisioning.
Crafting Your Ocean Waves Glitter Vase: A Step-by-Step Tutorial
Creating this mesmerizing Ocean Waves Glitter Vase is a delightfully straightforward process that yields impressive results. It’s an ideal project for beginners and seasoned crafters alike, promising a beautiful, custom piece of decor with minimal effort. Here’s everything you’ll need and how to bring your glittery ocean vision to life.
Materials You Will Need:
- One large, clean, empty glass jar (like a pickle or canning jar)
- Mod Podge Extreme Glitter (approximately 3 tablespoons, or enough to generously coat the interior of your jar)
- A few drops of green gloss acrylic paint
- A few drops of blue gloss acrylic paint
- Green liquid food coloring
- Blue liquid food coloring
- Small mixing cup or bowl
- Stirring stick (a craft stick or old spoon works well)
- Baking sheet
- Oven
Step-by-Step Instructions:
Step 1: Preparing Your First Glittery Mixture (The Lighter Layer)
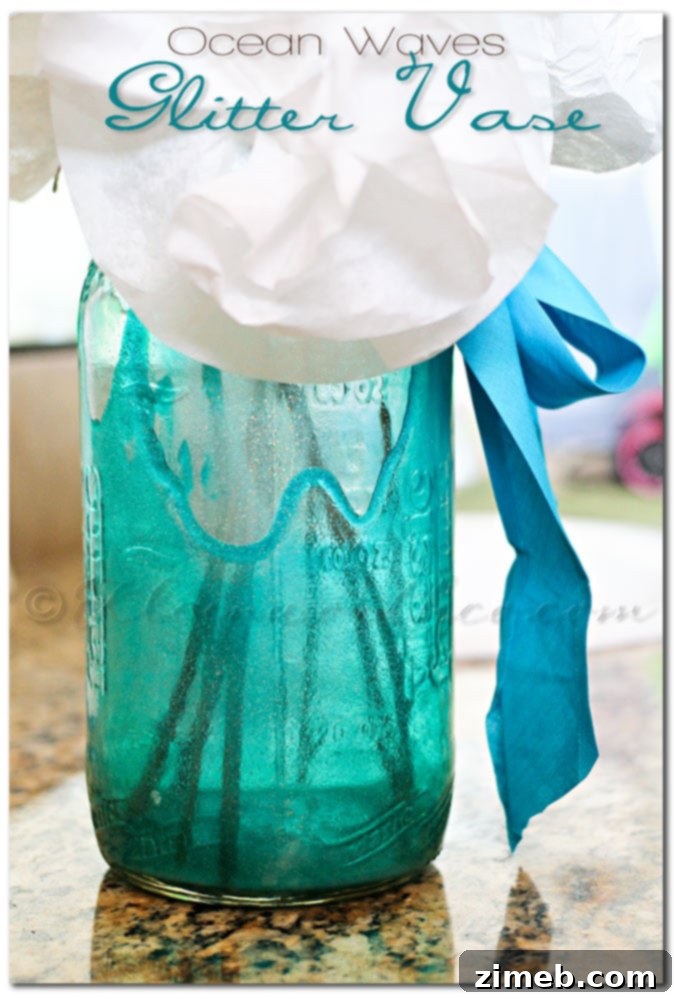
Combine approximately 3 tablespoons of Mod Podge Extreme Glitter with a couple of drops of green and blue gloss acrylic paint in your mixing cup. The key here is to purposely avoid overmixing. You want the colors to swirl together gently, creating beautiful streaks and variations rather than a uniform hue. This intentional lack of complete blending is what will give your vase that authentic, organic ocean wave appearance, mimicking the natural ebb and flow of water.
Step 2: Coating the Jar with the First Layer
Carefully pour your freshly prepared, swirly glitter mixture into the thoroughly cleaned and dried glass jar. Gently swirl the jar around, tilting it in all directions, to ensure the entire interior surface is coated with the mixture. Take your time to achieve an even spread. Once the interior is fully coated, turn the jar upside down on a baking sheet lined with parchment paper or newspaper to allow any excess mixture to drip out. This dripping process is crucial for preventing thick pooling at the bottom and ensuring an even, luminous finish. Allow it to drip for several hours, or even overnight, until the initial coat feels mostly set.
Step 3: Adding Depth with a Second, More Vivid Layer
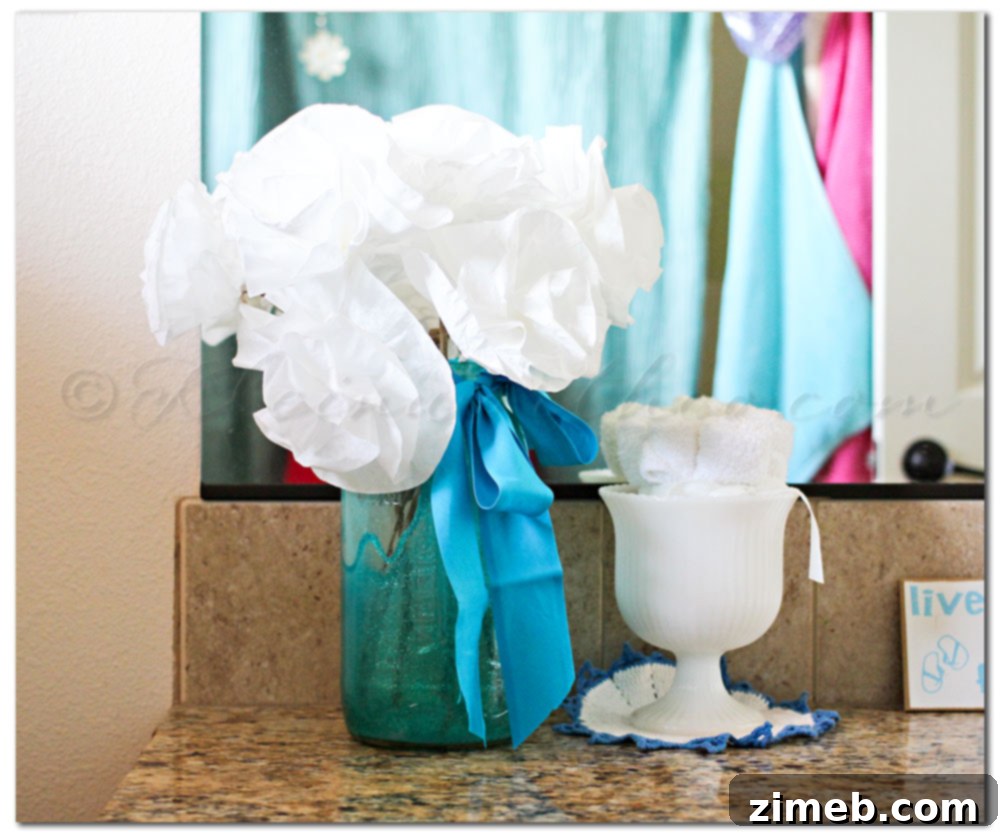
Upon inspecting the jar the next day, you might find the initial blue hue to be a bit lighter than desired. For a deeper, more vibrant color intensity that truly captures the depth of the ocean, a second coat is highly recommended. For this second application, repeat the mixing process, but this time, instead of using acrylic paint, incorporate a few drops of blue and green liquid food coloring into your Mod Podge Extreme Glitter. Food coloring tends to deliver a more concentrated and vivid color, enhancing the richness of your ocean theme. Again, stir just enough to create beautiful swirls without fully blending. Pour this new, brightly colored mixture into the jar and repeat the swirling and upside-down dripping process. Allow this second coat to drip thoroughly, ideally overnight, to ensure maximum color saturation and even distribution.
Step 4: Curing Your Vase for Durability
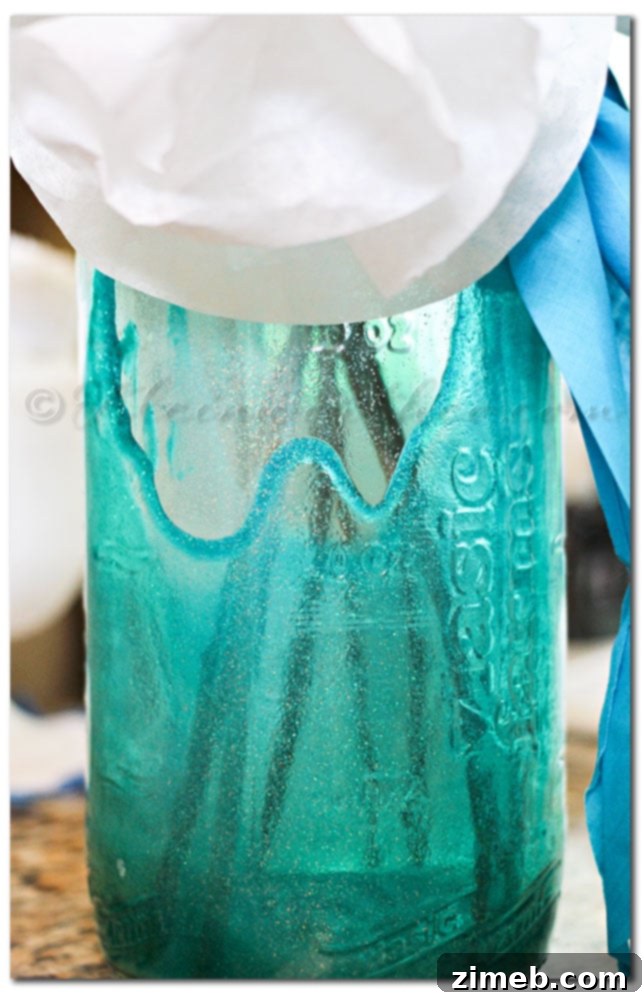
As you can observe, sometimes the darker coat might not drip perfectly evenly in every spot. But don’t fret; these delightful imperfections only add to the unique, handcrafted charm and reinforce the organic, natural feel of ocean waves. Once your jar has finished dripping and both layers feel mostly dry to the touch, it’s time to cure it. Preheat your oven to 250 degrees Fahrenheit (approximately 120 degrees Celsius). Place the jar on a baking sheet and bake it for 40 minutes. This baking step is crucial as it helps to cure the Mod Podge, making the glitter and color permanent and durable. After 40 minutes, turn off the oven and allow the jar to cool completely inside the oven before removing it. This gradual cooling prevents thermal shock and ensures the finish sets properly. That’s it! Your stunning Ocean Waves Glitter Vase is now ready to be displayed. The hardest part of this entire project truly is the waiting – allowing for adequate dripping and cooling. But the enchanting result, especially the shimmering effect of the Mod Podge Extreme Glitter, makes every moment of anticipation worth it. My affection for Mod Podge Extreme Glitter grows with every project; its incredible sparkle and versatility make it an absolute crafting staple.
Tips for a Successful Glitter Jar Project
- Patience is a Virtue: The dripping process is essential for an even coat. Don’t rush it! Allow ample time for excess Mod Podge to drain completely.
- Cleanliness is Key: Ensure your glass jar is impeccably clean and completely dry before you start. Any residue or moisture can prevent the Mod Podge from adhering properly.
- Experiment with Colors: While blue and green create a beautiful ocean theme, feel free to experiment with other color combinations. Pinks and purples for a galaxy theme, or warm tones for a sunset effect, could be equally stunning.
- Achieving Different Effects: For a more uniform glitter application, you can mix the Mod Podge and color more thoroughly. For pronounced swirls and a marbled look, mix just enough to combine the elements without fully blending.
- Consider Various Jars: This technique works beautifully on jars of all shapes and sizes. Repurpose old sauce jars, mason jars, or even glass bottles for a diverse collection of glittery decor.
- Cleanup: Mod Podge is water-soluble when wet, so you can easily clean your mixing tools with warm soapy water immediately after use.
Upcycling: A Creative and Sustainable Choice
Beyond the joy of creating something beautiful, this project embraces the principles of upcycling – transforming discarded items into objects of higher value or quality. By giving a used pickle jar a second life, you’re not only reducing waste but also contributing to a more sustainable lifestyle. It’s an eco-conscious way to personalize your home, saving money on store-bought decor while adding a truly unique, handmade touch that reflects your creativity.
Displaying Your Enchanting Ocean Waves Vase
Once your Ocean Waves Glitter Vase is complete and fully cured, the possibilities for its display are endless. In a child’s bathroom, it can serve as a delightful accent, holding faux coral, seashells, or even acting as a toothbrush holder for a touch of marine magic. Beyond the bathroom, this versatile piece can brighten up a living room shelf, add sparkle to a bedroom nightstand, or become a captivating centerpiece with a bouquet of artificial flowers or fairy lights nestled inside. Its iridescent shimmer and unique texture make it a conversation starter, bringing a touch of personalized artistry to any corner of your home.
Embrace Your Inner Crafter!
This DIY Ocean Waves Glitter Vase project is a testament to how simple ingredients and a dash of creativity can transform the mundane into the magnificent. It’s an accessible craft that offers immense satisfaction, allowing you to create personalized decor that truly reflects your style. So, grab that forgotten jar, unleash your imagination, and get ready to add a dazzling, handmade sparkle to your home. We encourage you to try this project and experience the magic of upcycling firsthand!