
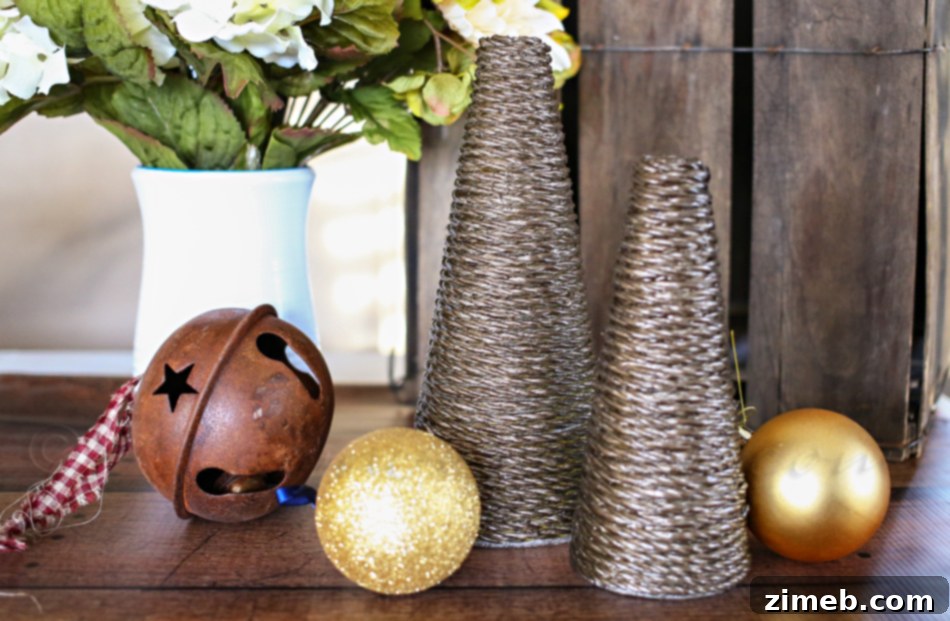
Happy Thanksgiving from Our Home to Yours!
As you gather with loved ones and reflect on all the blessings in your life, we hope this holiday season brings you immense joy and warmth. While many celebrate Thanksgiving with grand feasts and family traditions, our household observed our main Thanksgiving festivities a few weeks prior. This year, we’re embracing the spirit of the season by enjoying some exciting football games, indulging in delicious snacks, and diving headfirst into the magical process of setting up our Christmas decor. It’s a truly special time, made even more exciting by a creative project I recently completed: these absolutely stunning Metallic Rope Trees. This year marks a significant shift in our Christmas decorating philosophy. For the longest time, our home was adorned with traditional red and green hues, a classic choice that always brought a certain charm. However, I’ve always yearned for a change, an evolution that better reflects our home’s existing aesthetic. And so, this year, I’m finally making that long-awaited transition! We’re moving away from the conventional and embracing a sophisticated palette of metallic colors, beautifully complemented by soft whites and elegant creams. This new scheme harmonizes so much better with our everyday decor, creating a cohesive and serene atmosphere. I’m already utterly smitten with this color combination, and bringing it into our Christmas celebration simply felt like the most natural and joyful decision. The best part? These metallic rope trees were incredibly straightforward to create, offering a chic, personalized touch to our new holiday theme. Let’s walk through the simple steps to bring these beautiful pieces into your home.
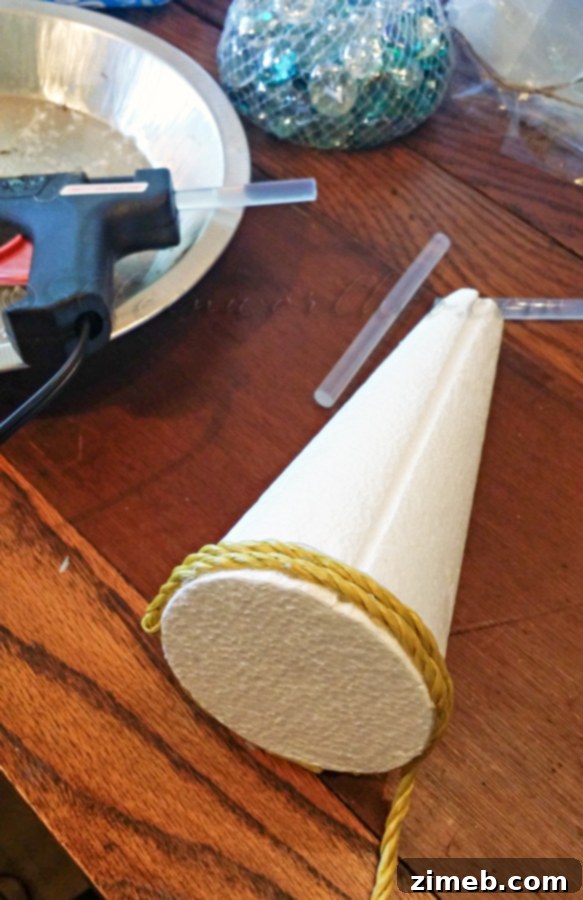
The journey to these elegant metallic rope trees began with just two fundamental components: a set of basic craft cones and a length of simple rope. When selecting the rope, I didn’t fuss over its color or even its specific material, as I knew from the outset that it would be completely transformed with paint. The rope I chose was a common plastic variety – nothing elaborate or expensive. In fact, I believe I might have discovered it at a dollar store or a similar budget-friendly retailer several years ago, proving that beautiful decor doesn’t require costly materials. For the cones, you can use various types such as Styrofoam, paper mache, or even sturdy cardboard cones. The key is to have a stable, conical base. The first step involves securing the rope to the cone. Using a hot glue gun, I meticulously wrapped the rope around the cone, starting from the base and working my way upwards to the apex. Apply the hot glue in small sections to ensure a tight, even adhesion of the rope to the cone’s surface. This technique prevents gaps and ensures a smooth, continuous spiral. Allow each section to set firmly before moving to the next. The beauty of this step is its simplicity; it’s a meditative process that quickly brings the tree’s form to life. Once the entire cone is covered, secure the end of the rope with another dab of hot glue, ensuring it’s neatly tucked away. This foundational layer is crucial for the final metallic effect.
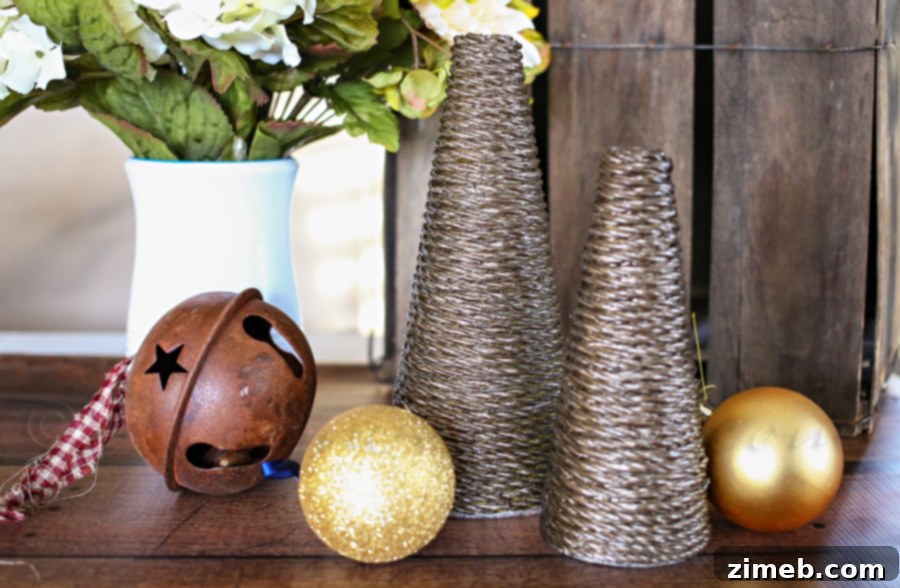
With the rope firmly in place, the true transformation began with the application of metallic spray paint. This stage allows for immense creativity, enabling you to tailor the finish to perfectly match your desired aesthetic. I initially opted for a brushed nickel spray paint, envisioning a subtle, cool-toned metallic sheen. While the color was beautiful, I quickly realized that its light pigment wasn’t providing the robust, full coverage I was truly aiming for over the underlying rope. The natural color of the rope was still peeking through in certain areas, detracting from the crisp, uniform metallic finish I desired. Learning from this, I decided to layer the paint. I then applied two generous coats of Hammered Chestnut spray paint. This choice proved to be absolutely perfect. The Hammered Chestnut offers a richer, deeper metallic tone with a distinctive textured finish that mimics hammered metal. This not only provided superior coverage, completely obscuring the original rope color, but also added an intriguing tactile dimension to the trees. The “hammered” effect gives the surface a wonderful, almost organic texture, catching the light in a way that plain metallic paint simply cannot. When spray painting, always ensure you’re in a well-ventilated area, preferably outdoors, and protect your workspace with drop cloths or old newspapers. Apply the paint in thin, even coats, allowing each coat to dry thoroughly according to the manufacturer’s instructions before applying the next. This prevents drips and ensures a professional-looking finish. The layering approach often yields the best results, allowing you to build up color and texture gradually until you achieve your desired depth and richness. The final result was a stunning set of metallic trees that shimmered with an elegant, burnished glow.
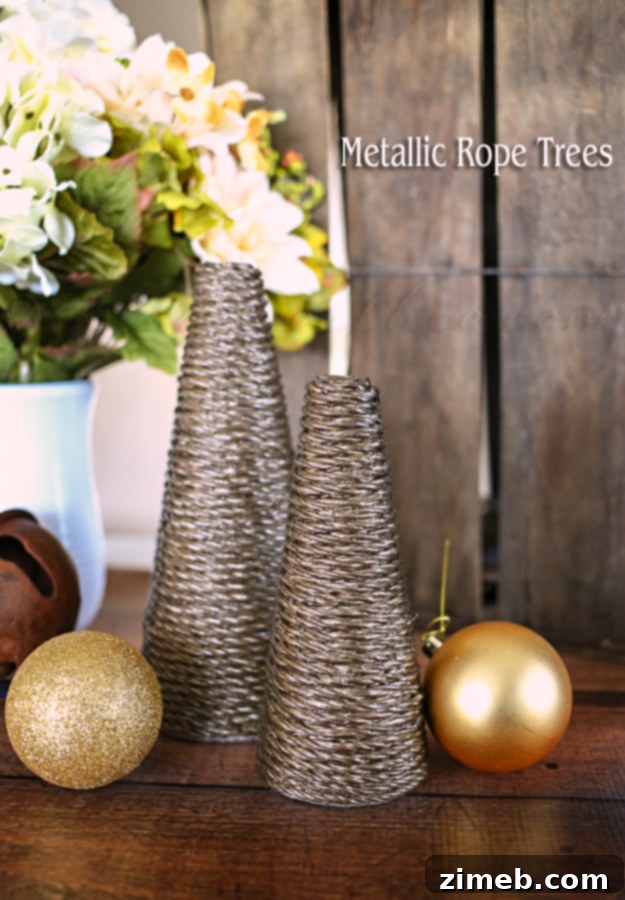
What I love most about these metallic rope trees is their elegant simplicity and incredible versatility. They don’t overtly scream “Christmas,” which means their decorative potential extends far beyond the holiday season. While they are undoubtedly a beautiful addition to our metallic, white, and cream Christmas theme, their sophisticated design allows them to seamlessly integrate into our home decor throughout the entire year. Imagine them gracing a mantelpiece in winter, adding a touch of metallic glam to a bookshelf in spring, or serving as a subtle, architectural accent on a console table. Their neutral metallic tones make them adaptable to various interior styles, from modern and minimalist to rustic chic or even industrial farmhouse. This adaptability is a significant benefit of DIY decor – you create pieces that truly reflect your personal style and serve multiple purposes, offering excellent value for your crafting efforts. Furthermore, their minimalist aesthetic allows them to stand alone as striking statement pieces or to be effortlessly incorporated into larger vignettes with other decorative elements. You could easily enhance them with a delicate string of micro LED fairy lights for an added twinkle during the holidays, or adorn them with small, neutral ornaments for a touch of extra festive flair. The beauty of these trees lies in their understated elegance, providing a sophisticated backdrop for other decor or shining brightly on their own. They truly embody the concept of functional art, bringing beauty and style to any corner of your home, any time of year.
Elevate Your Holiday Decor: Discover More Inspiring Ideas!
Are you feeling inspired to infuse more handmade charm and unique personality into your holiday celebrations? We believe that the best decor tells a story and truly reflects the warmth of your home. If you’ve enjoyed creating these metallic rope trees and are eager to explore more creative ways to deck your halls, we have a treasure trove of holiday ideas waiting for you. From crafting natural elements into breathtaking ornaments to creating festive candle centerpieces and designing personalized gift tags, our past projects offer endless inspiration to make your home shine this season. Each idea is designed to be accessible, enjoyable, and rewarding, allowing you to add thoughtful, handcrafted touches that will be cherished for years to come. Dive into these delightful DIYs and make this holiday season your most beautifully decorated yet. Whether you’re looking for rustic charm, festive flair, or personalized touches, these projects are sure to spark your imagination and help you create a truly memorable holiday atmosphere.

Craft Your Own Natural Ornaments for a Rustic Touch
Embrace the beauty of nature with these charming natural ornaments. Perfect for a farmhouse, rustic, or minimalist Christmas theme, these simple crafts bring an organic warmth to your tree or garlands. Using elements found outdoors, you can create unique, eco-friendly decorations that are both beautiful and meaningful. This project is a wonderful way to connect with nature and infuse your holiday decor with an authentic, homemade feel. Discover how easy it is to transform pinecones, dried oranges, and cinnamon sticks into festive adornments that fill your home with natural scents and sights.
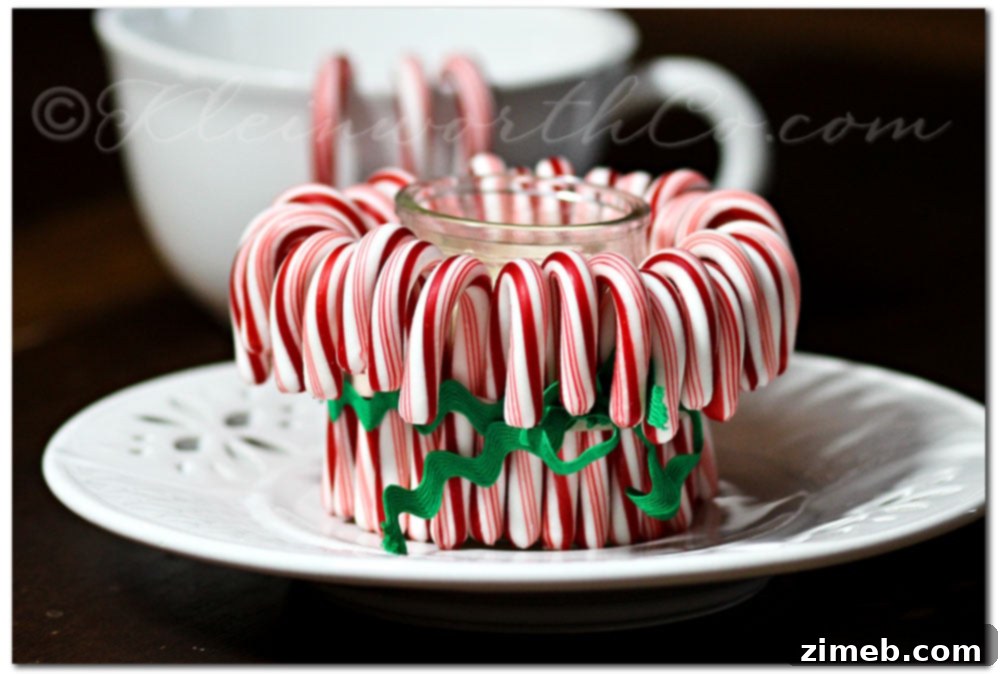
Create a Festive Candy Cane Candle Centerpiece
Add a touch of whimsical sweetness and a warm glow to your holiday table with this delightful candy cane candle craft. This project is not only visually appealing but also incredibly easy to assemble, making it perfect for a quick yet impactful centerpiece or a charming gift. The vibrant red and white stripes of candy canes instantly evoke the spirit of Christmas, while a flickering candle adds a cozy ambiance. Learn how to transform simple materials into an enchanting display that will captivate your guests and fill your home with festive cheer. It’s a brilliant way to incorporate traditional holiday elements into your decor with a creative twist.
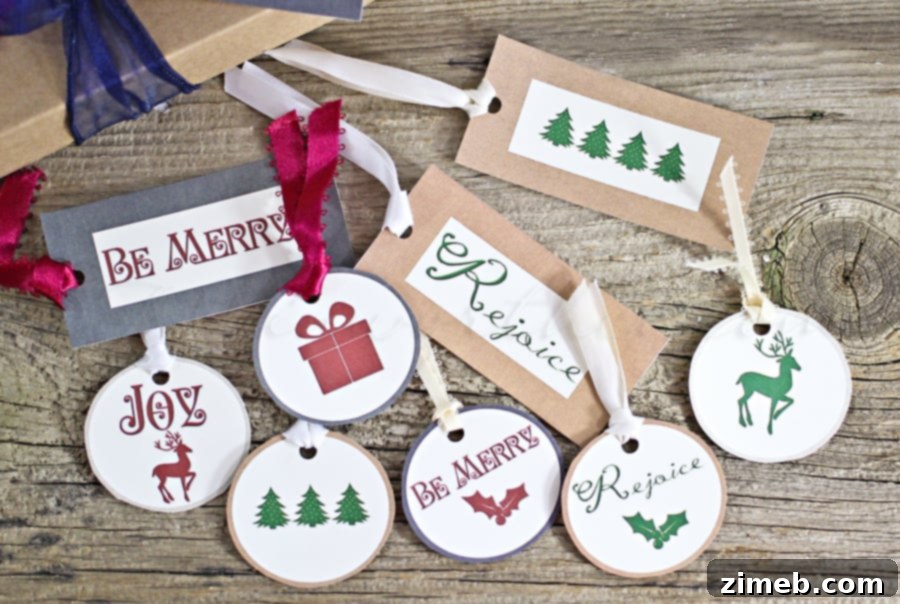
Download Your Free Christmas Gift Tag Printable
Make your gifts extra special this year with beautifully designed, personalized Christmas gift tags. Nothing says “I care” quite like a thoughtful touch on your presents, and these free printable tags are the perfect solution for adding that extra layer of holiday charm. Forget generic store-bought tags; with this printable, you can easily create custom labels that perfectly match your wrapping paper or recipients’ personalities. This simple yet impactful DIY project allows you to elevate your gift presentation, making each present feel even more unique and heartfelt. Download, print, and attach them to add a professional and personal finish to all your holiday gifts, ensuring your thoughtfulness shines through even before the wrapping paper comes off.
We hope these ideas spark your creativity and help you make your home a haven of holiday magic. Remember, the joy is not just in the finished product, but in the creative journey itself. Happy crafting!
To explore more of our crafting adventures and see where we’re finding inspiration today, feel free to visit HERE.