
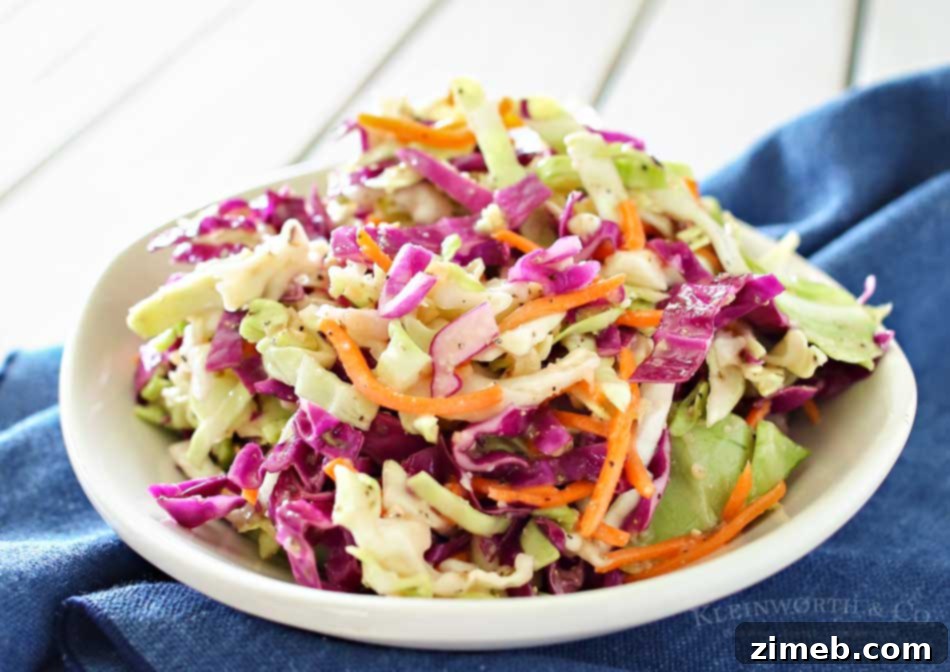
Welcome to a vibrant twist on a beloved classic – our Italian Coleslaw recipe! This isn’t your grandma’s creamy, mayo-laden side dish; instead, it’s a zesty, flavorful, and incredibly refreshing salad that promises to elevate any meal. Whether you’re hosting a backyard barbecue, planning a picnic, or simply looking for an easy yet exciting side for your weeknight dinner, this Italian-inspired coleslaw is guaranteed to become a new family favorite all summer long.
In our kitchen, we thrive on culinary innovation and fresh perspectives. Even cherished classic recipes are constantly reimagined, seeking that perfect ‘zing’ that transforms the familiar into something extraordinary. This quest for unique flavors led us to reinvent the humble coleslaw, breathing new life into a dish often taken for granted.
Consider our standard garlic coleslaw recipe, a staple we adore. However, for an upcoming dish, we envisioned a coleslaw with a more pronounced kick, something beyond the subtle warmth of garlic. It needed more “bite” and a brighter flavor profile to perfectly complement the main course.
This culinary challenge inspired my husband to experiment. He began pulling various ingredients from the refrigerator, leading to a whirlwind of mixing and chopping. The result was this stunning Italian Coleslaw – a truly beautiful and incredibly delicious creation that immediately impressed everyone. Its vibrant colors and irresistible aroma were a testament to its unique blend of flavors.
This post contains some affiliate links. Click here to read my full disclosure policy.
Italian Coleslaw Recipe: A Zesty Summer Favorite
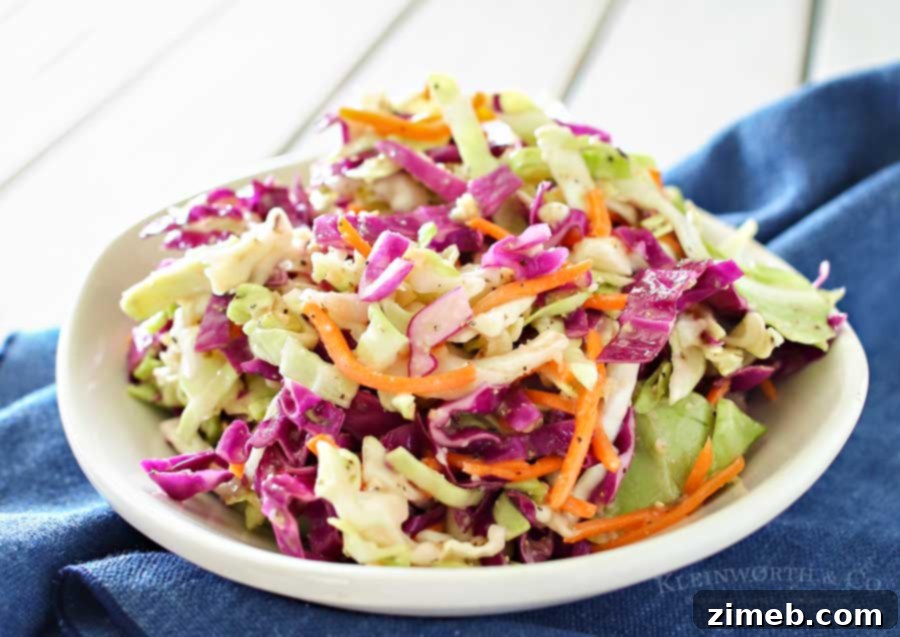
Truth be told, a part of this creative surge might have been the arrival of our new knives. We had ordered them what felt like ages ago, and amidst the hustle and bustle of daily life, they had almost slipped our minds. When they finally arrived, it sparked an immediate desire to put them to good use. With a fresh haul of produce from the market, inspiration struck, leading to this delightful coleslaw.
Making this Italian Coleslaw is incredibly straightforward. The process involves just three simple steps: chop your fresh vegetables, combine them in a large mixing bowl, and then generously coat everything with the star of the show – the creamy Italian dressing. This dressing is the absolute key, infusing the coleslaw with its signature zesty flavor that our family simply can’t get enough of.
Why Choose Italian Coleslaw?
While traditional coleslaw has its undeniable charm, our Italian Coleslaw offers a refreshing departure with its unique flavor profile. Instead of a heavy, mayonnaise-based dressing, this recipe utilizes a creamy Italian dressing, which brings a brighter, tangier, and more herbaceous taste. The addition of Parmesan cheese further enhances this Mediterranean-inspired twist, creating a side dish that is both familiar and exciting. It’s the perfect choice when you want to surprise your taste buds with something fresh and unexpected.

Frequently Asked Questions About Italian Coleslaw
Can I make this coleslaw ahead of time?
Absolutely, and it’s highly recommended! Preparing Italian Coleslaw at least 2 hours before serving, and allowing it to chill thoroughly in the refrigerator, is crucial for optimal flavor development. This resting period gives the ingredients time to meld together, creating a more harmonious and delicious taste. The cabbage also softens slightly, absorbing the dressing’s vibrant flavors. For the best experience, a minimum of two hours chilling time is ideal.
What kind of Italian dressing should I use?
For this recipe, a creamy Italian dressing is preferred over a vinaigrette style. The creaminess helps to bind the ingredients and provides a rich texture, while the inherent herbs and tang of Italian dressing infuse the coleslaw with its signature flavor. You can use your favorite store-bought brand or even make a homemade creamy Italian dressing for an extra fresh touch. Look for dressings that balance tanginess with a good blend of Italian herbs.
Can I use a food processor to chop the cabbage?
While a food processor can speed up the chopping process, caution is advised. It’s easy to over-process the cabbage, leading to a watery and mushy texture. If using a food processor, work in small batches and use the pulse setting to achieve thinly sliced, not finely minced, cabbage. Manual chopping with a sharp knife or a mandoline slicer offers more control over the texture, which is key for a crisp coleslaw.
Storage and Meal Prep Tips
These simple ingredients, combined with the zesty dressing, create an awesome punch of flavor perfect for any summer spread. This Italian coleslaw is truly a perfect partner for your next barbecue, picnic, or family dinner!
Refrigerator:
Store any leftover coleslaw in an airtight container in the refrigerator. It will maintain its best quality for up to 3-4 days. For optimal freshness and that satisfying crunch, we highly recommend enjoying it within the first two days after preparation. The flavors will continue to deepen, but the cabbage will gradually soften over time.
Freezer:
It is generally not recommended to freeze this coleslaw. The freezing and thawing process can significantly alter the texture of the cabbage, making it quite soggy and unappetizing. This recipe is best enjoyed fresh or after a short refrigeration period.
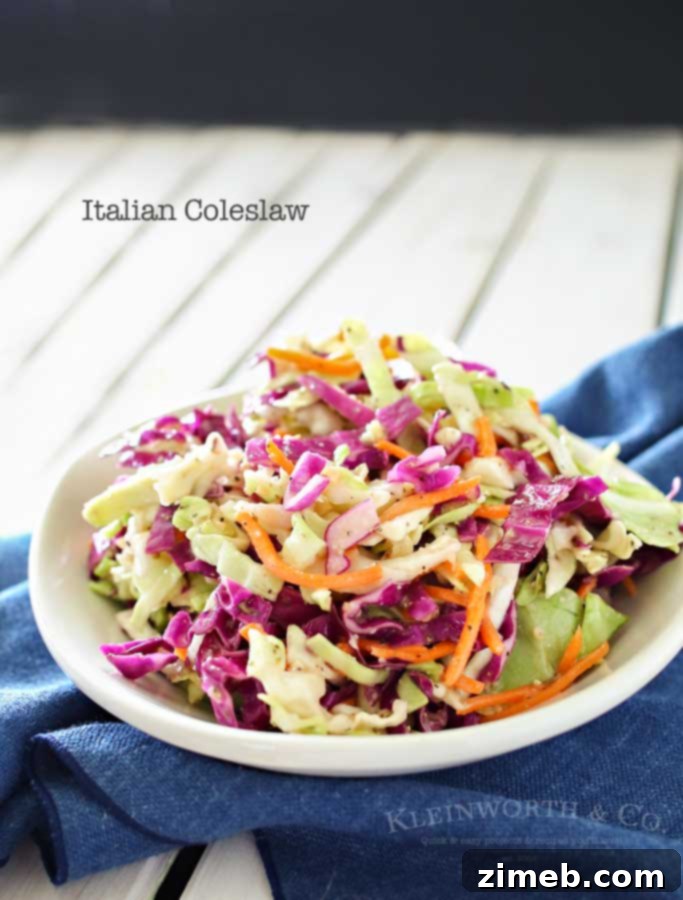
Key Ingredients for Flavorful Italian Coleslaw
- Green Cabbage: The classic base for any coleslaw, providing a crisp texture and mild flavor.
- Purple Cabbage: Adds a beautiful pop of color and a slightly earthier flavor, enhancing visual appeal.
- Shredded Carrots: Contributes sweetness, additional crunch, and vibrant orange hues.
- Black Pepper: Essential for a touch of warmth and subtle spice.
- Minced Garlic: Fresh garlic provides an aromatic depth that is fundamental to Italian-inspired dishes.
- Kosher Salt: Balances the flavors and helps draw out moisture from the cabbage, contributing to a better texture.
- Minced Onions: Offers a sharp, pungent kick that complements the other vegetables and dressing.
- Creamy Italian Dressing: The star ingredient, bringing all the Italian zest, herbs, and tang together. Choose a high-quality dressing for the best results.
- Shredded Parmesan Cheese: Adds a salty, umami richness and a quintessential Italian touch that sets this coleslaw apart.
Expert Tips for the Best Italian Coleslaw
This delicious coleslaw is incredibly versatile and might just become your new favorite side dish with the family!
- Opt for Freshness: Always choose fresh, firm heads of cabbage and bright, crisp carrots. The quality of your ingredients directly impacts the final taste and texture of your coleslaw.
- Pre-packaged Convenience: For busy days, don’t hesitate to use a pre-packaged coleslaw mix. It contains pre-shredded cabbage and carrots, significantly cutting down on prep time without sacrificing much flavor.
- Enhance Color and Nutrition: Feel free to customize your coleslaw by adding other vegetables. Sliced red bell peppers can introduce a sweet crunch, while extra shredded carrots boost both color and nutritional value. Consider adding thinly sliced red onion for a bolder flavor.
- Give it Time to Meld: This is arguably the most crucial tip! Coleslaw almost always tastes better after it has had time to sit. Allowing it to refrigerate for at least a few hours before serving permits the flavors of the dressing, vegetables, and seasonings to fully meld together. This results in a more cohesive, well-rounded, and flavorful dish. If possible, preparing it a day in advance will yield even more spectacular results, as the ingredients have ample time to marinate and infuse.
- Adjust Seasoning to Taste: Before serving, always taste your coleslaw and adjust the salt, pepper, or even a splash more dressing as needed. Different brands of Italian dressing can vary in their intensity, so personal preference is key.
How to Make Italian Coleslaw: Step-by-Step Instructions
- Prepare the Cabbage: Begin by roughly chopping both the green and purple cabbage into thin, manageable strips. Aim for a consistent size to ensure even coating and a pleasant bite.
- Combine Ingredients: In a large mixing bowl, combine the chopped cabbage, shredded carrots, minced garlic, minced onions, black pepper, kosher salt, and shredded Parmesan cheese. Pour in the creamy Italian dressing.
- Toss Thoroughly: Using large tongs or your clean hands, gently toss all the ingredients together until they are fully combined. Ensure every piece of cabbage and carrot is generously coated with the flavorful dressing. This thorough mixing is essential for a delicious, uniform taste.
- Chill Before Serving: Cover the bowl tightly with plastic wrap and refrigerate for at least 20 minutes before serving. As mentioned, allowing it to chill for a few hours or even overnight will significantly enhance the flavors and texture, making for a truly memorable side dish.
This Italian Coleslaw truly is the perfect side dish to serve with ALMOST EVERYTHING!
*This post contains affiliate links. If you purchase something from a link shown here, it helps to maintain the free content that I share.
Looking for more of our easy family dinner ideas?

Gourmet Hot Dogs

Barbecue Tri Tip Roast

Oven Fried Chicken

Red Wine Vinegar Coleslaw
CONNECT WITH YUMMI HAUS!
Be sure to follow me on my social media, so you never miss a post!
Substack, FB, Pinterest, IG, Email Subscription

Rate this Recipe
Zesty & Flavorful Italian Coleslaw
Ingredients
- ½ head green cabbage
- ½ head purple cabbage
- 1 cup shredded carrots
- ½ cup creamy Italian dressing
- ½ cup shredded parmesan cheese
- 1 tbsp minced garlic
- 1 tbsp minced onions
- 2 tsp black pepper
- 1 tsp kosher salt
Instructions
-
Rough chop both the green and purple cabbage into thin strips. Ensure the strips are consistent for optimal texture.
-
In a large bowl, combine the chopped cabbage, shredded carrots, minced garlic, minced onions, black pepper, kosher salt, shredded Parmesan cheese, and creamy Italian dressing. Toss thoroughly until all ingredients are fully combined and evenly coated with the dressing.
-
Cover the bowl and refrigerate the coleslaw for at least 20 minutes before serving. For best flavor and texture, allow it to chill for at least 2 hours, or even overnight.
Nutrition
Nutritional information for the recipe is provided as a courtesy and is approximate. Please double-check with your own dietary calculator for the best accuracy. We at Yummi Haus cannot guarantee the accuracy of the nutritional information given for any recipe on this site.