
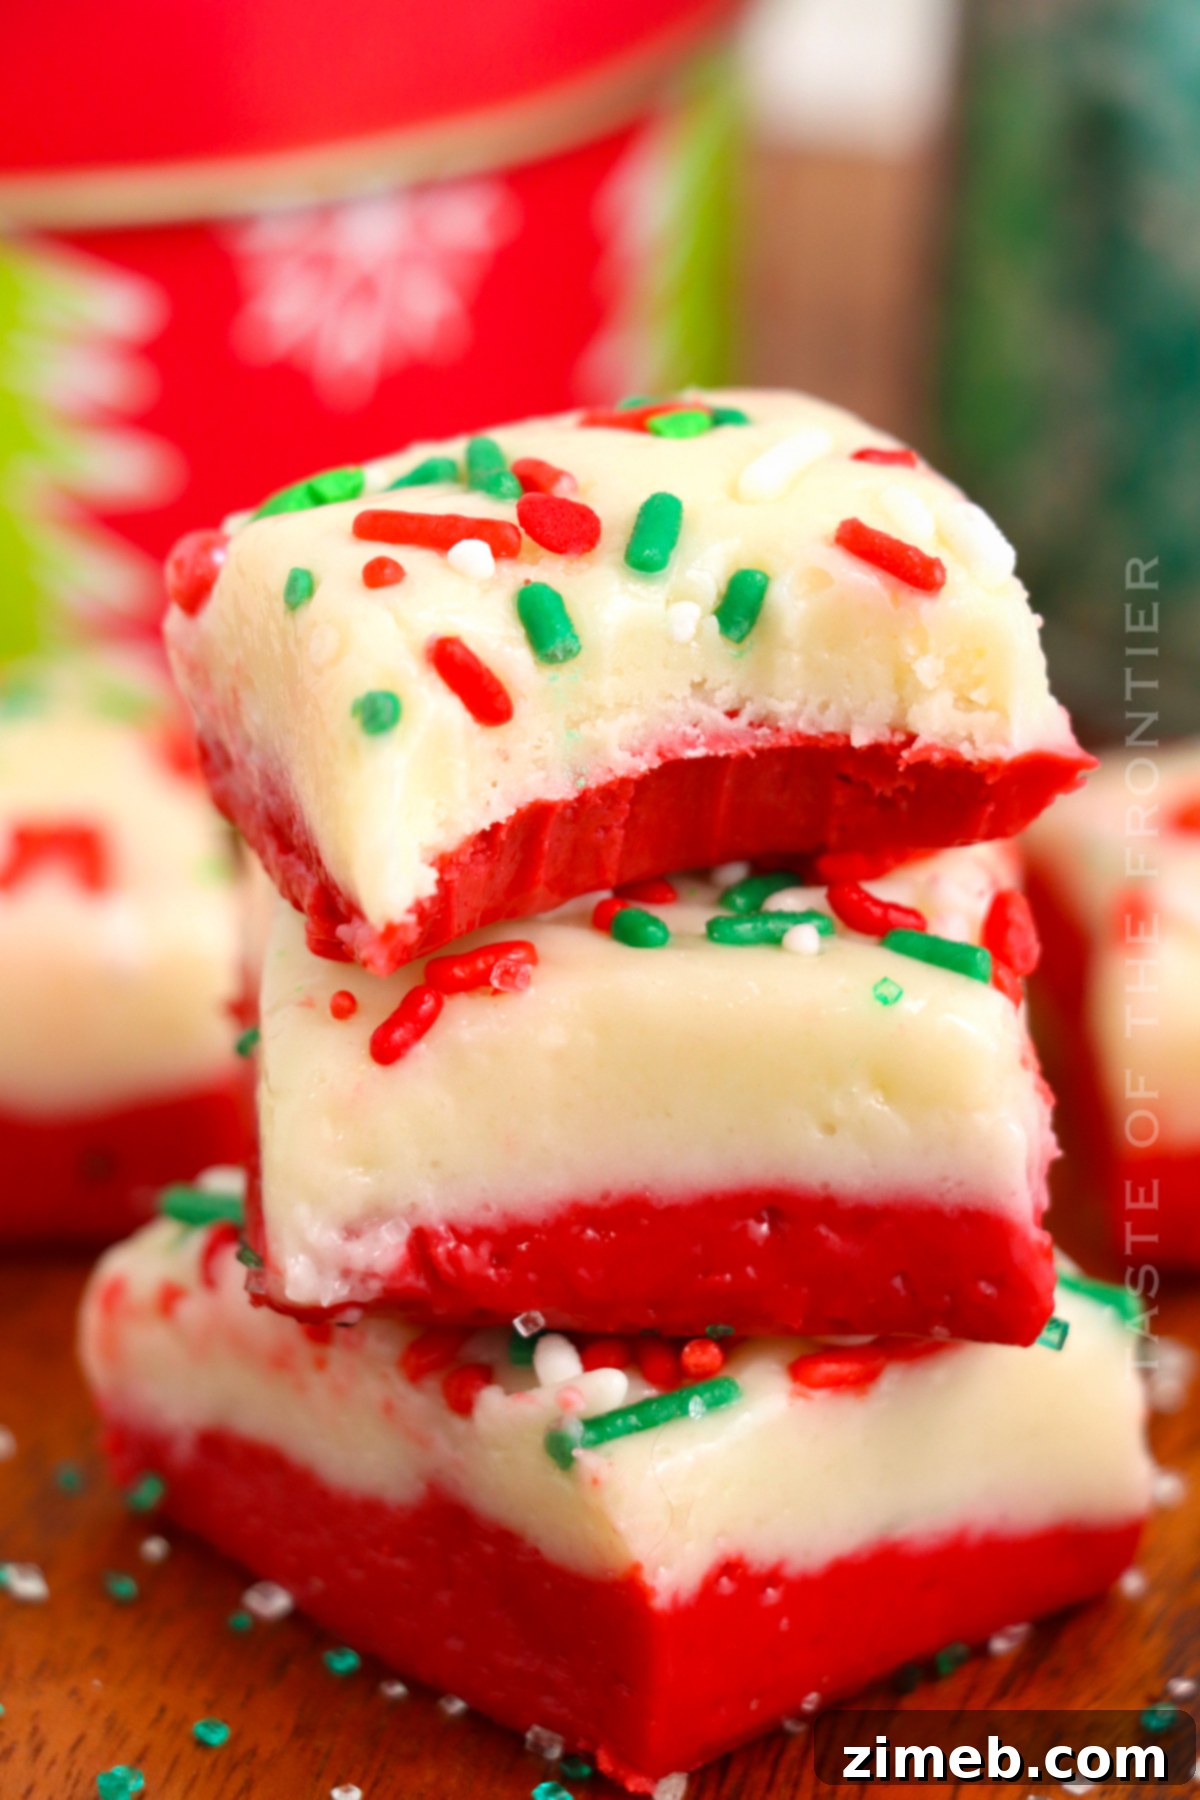
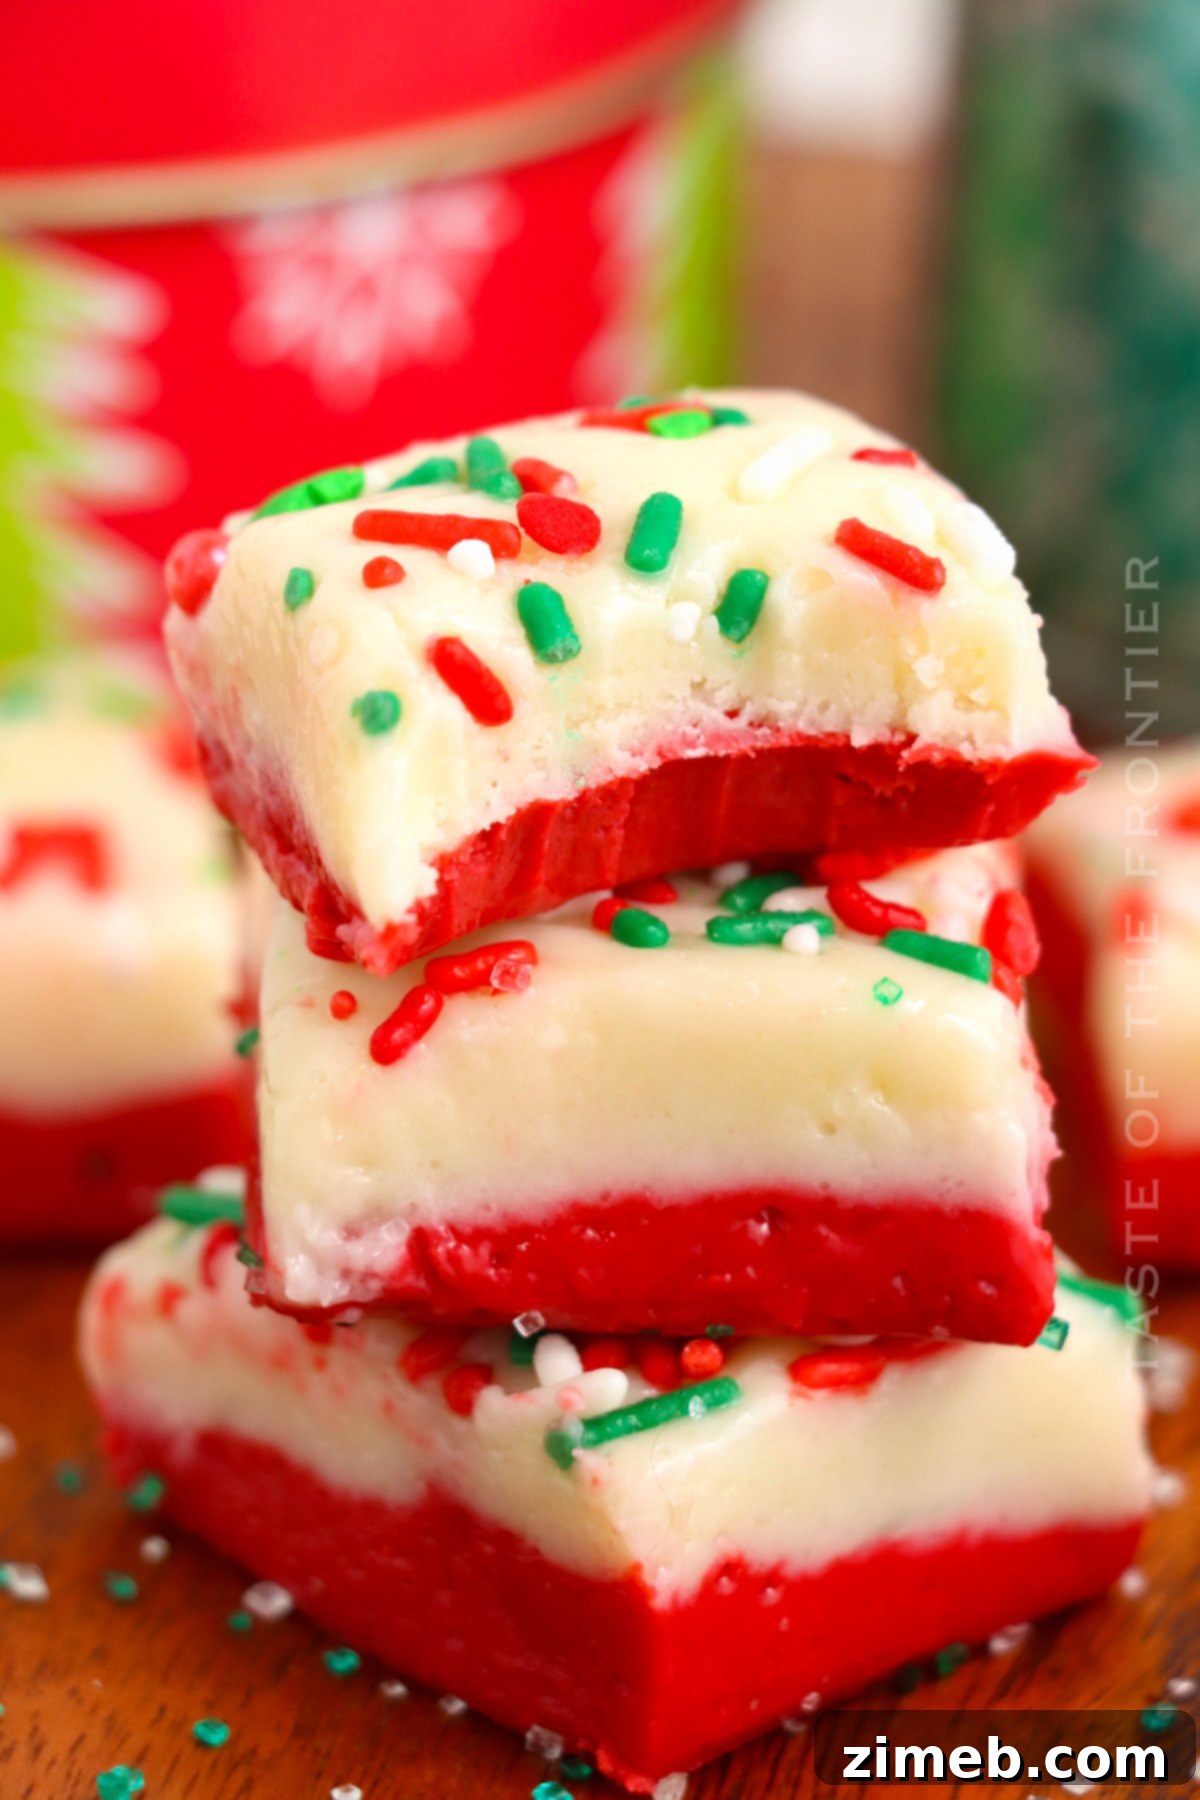
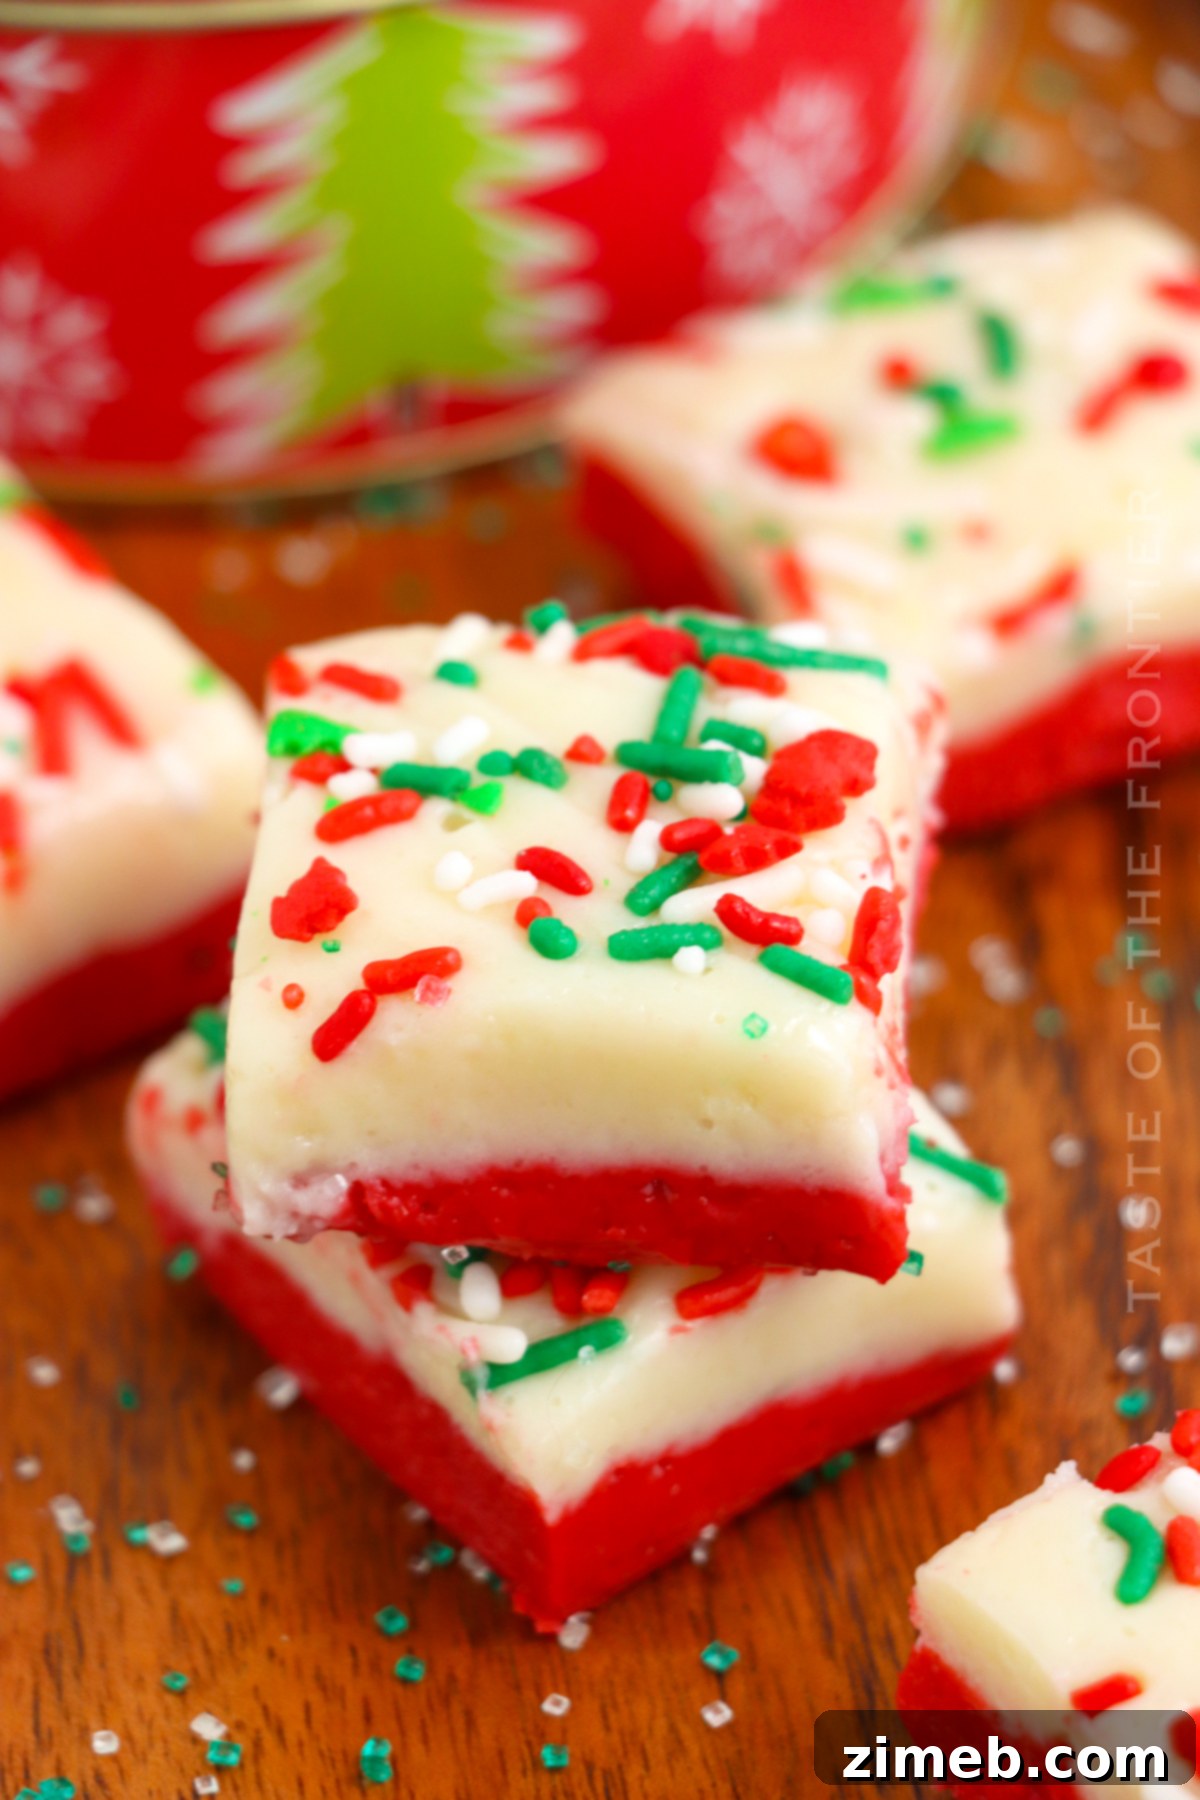
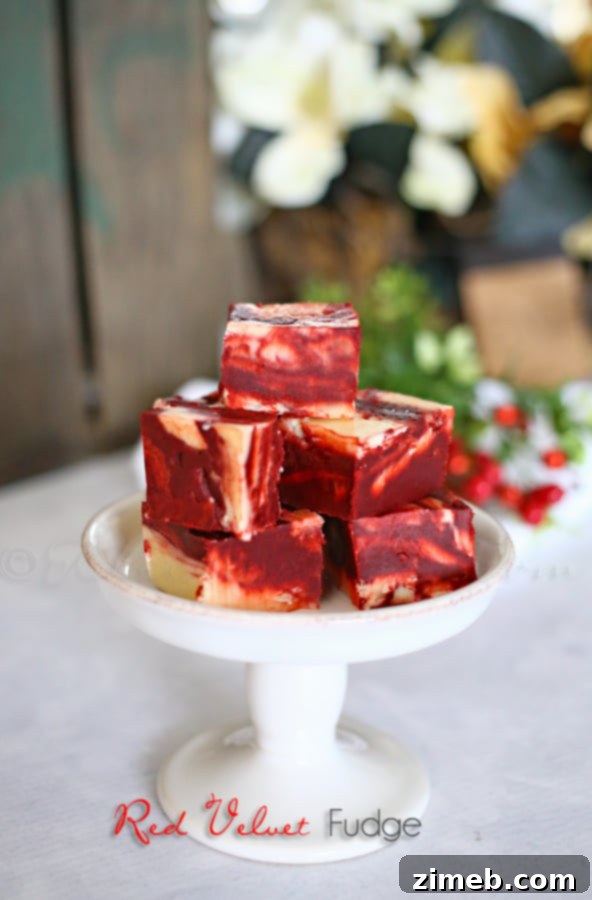
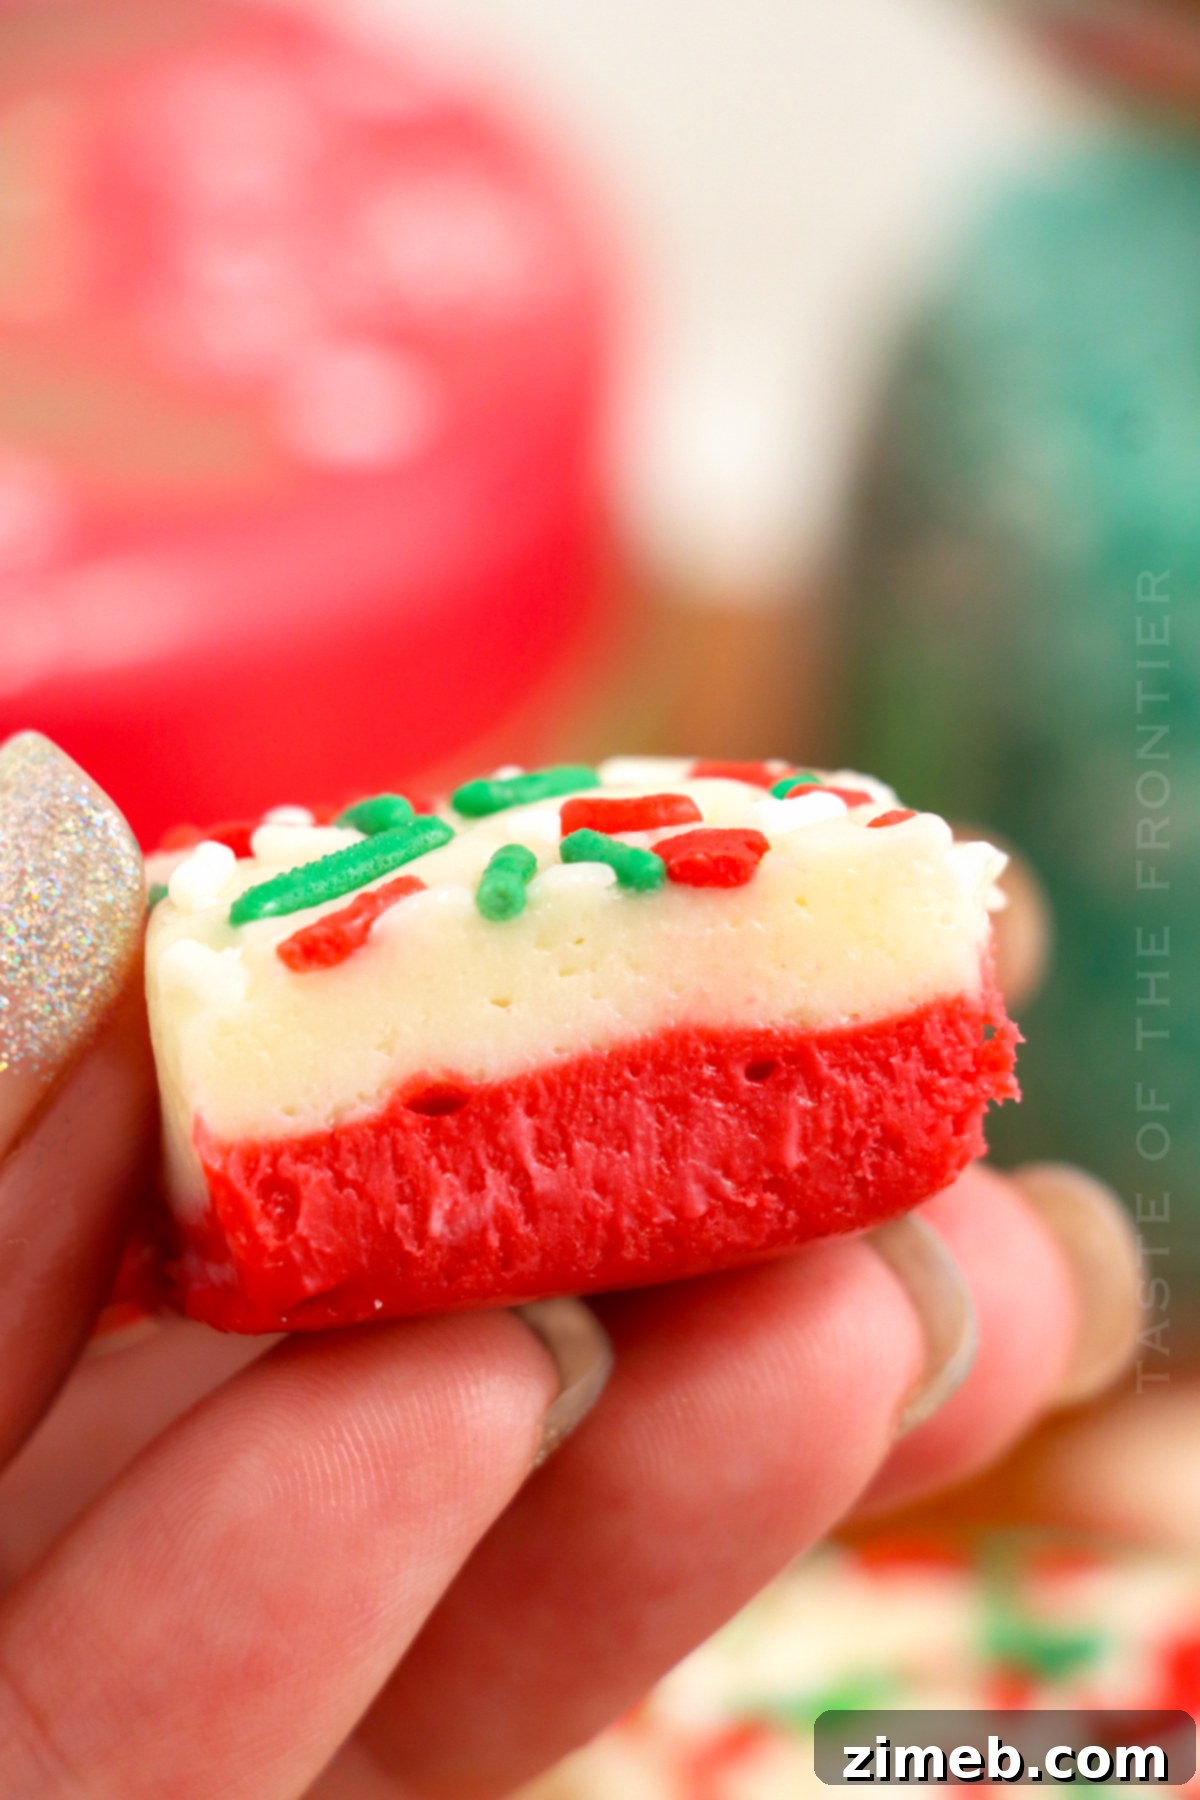
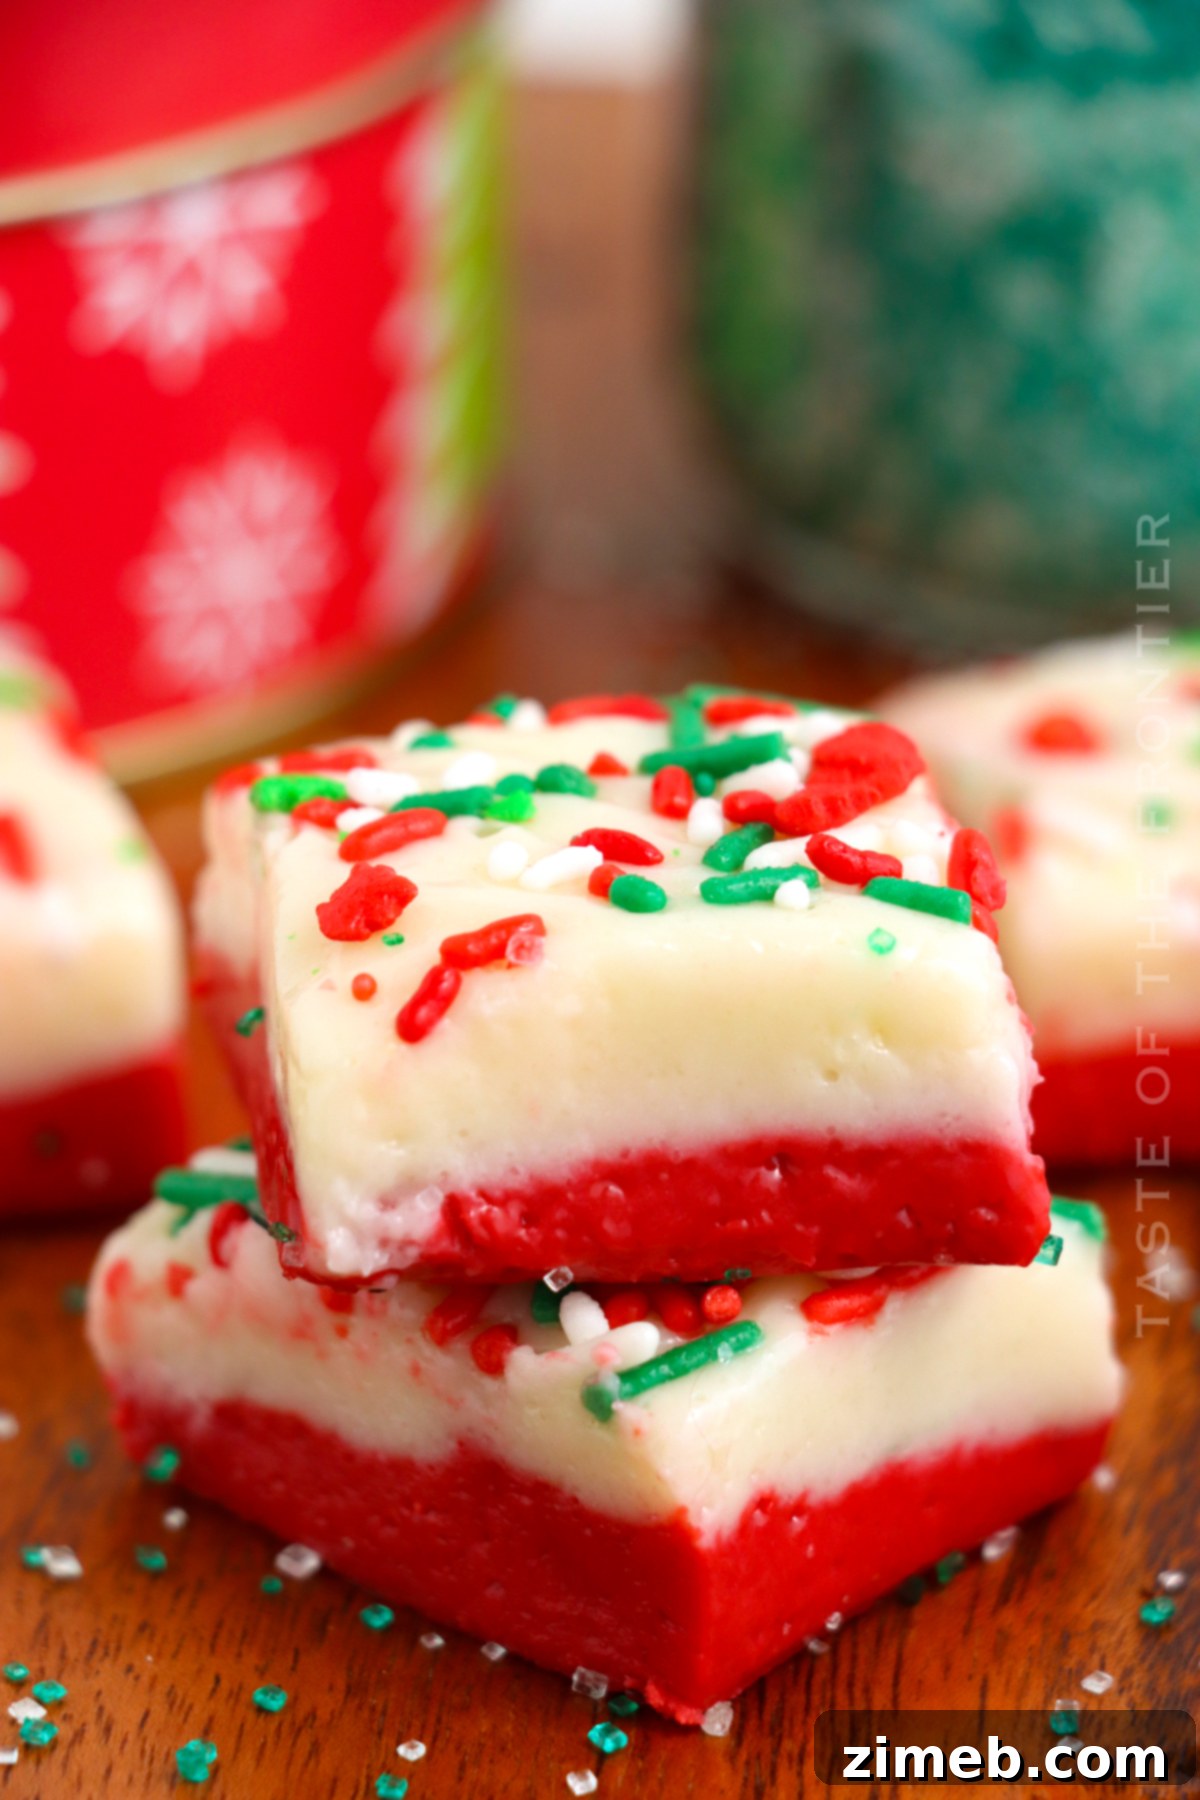
Easy Red Velvet Fudge is made with white chocolate chips, cake mix, and sprinkles for a simple, no-bake holiday treat that everyone loves. This delightful recipe brings a burst of festive color and rich flavor, perfect for any celebration or a cozy night in.
The air is thick with anticipation, and it can only mean one thing: it’s fudge season! This time of year always fills me with a special kind of warmth and enthusiasm, largely because my mom was, without a doubt, the queen of fudge. Her amazing recipe was so renowned that people would line up, eager to get their hands on a plate of her homemade delights. Every bite of fudge transports me back to those cherished memories, bringing a smile to my face as I remember her incredible talent and generosity.
So, when I think of fudge, my thoughts immediately turn to her. It’s a connection that sweetens the experience even more.
Last week, during a day dedicated to her memory, I found myself honoring her in the most fitting way possible: by making some fudge. I usually keep her close in my studio space, a little reminder that she’s with me throughout my workday. But on that particular day, I brought her portrait down to the kitchen, feeling her presence as I worked. My mom typically stuck to classic fudge varieties—rich chocolate, creamy peanut butter, or chocolate swirled with walnuts. These were the flavors that defined my childhood holidays.
I practically lived on those treats during my younger years, so I’m pretty sure she would be incredibly impressed that I ventured outside the traditional box to create this vibrant **Red Velvet Fudge**. And honestly, it’s beyond incredible. As far as fudge goes, this recipe is a showstopper. Let me show you how you can whip up a batch yourself! Trust me, make this for your next holiday gathering or party, and it will be the first plate to be completely devoured. That’s a promise!
The Irresistible Allure of Red Velvet Fudge
Red velvet isn’t just a flavor; it’s an experience. Known for its striking crimson hue, delicate cocoa flavor, and signature tang, red velvet has captivated dessert lovers for generations. When translated into fudge, it creates a treat that is both visually stunning and incredibly delicious. This Red Velvet Fudge captures all the beloved elements of classic red velvet cake in a decadent, bite-sized form. The deep red color, enhanced by festive sprinkles, makes it an ideal addition to any holiday dessert table, bringing a touch of elegance and whimsy. It’s the perfect blend of tradition and a modern twist, making it a standout treat that will surely be remembered.
No-Bake Red Velvet Fudge: A Holiday Essential
One of the greatest advantages of this Red Velvet Fudge recipe is that it’s entirely no-bake. During the bustling holiday season, saving time in the kitchen is a true gift. This microwave fudge recipe eliminates the need for an oven, extensive cooling, or complicated candy thermometers. It comes together quickly with minimal effort, allowing you to spend less time cooking and more time enjoying festive moments with loved ones. It’s the ultimate convenience food that doesn’t compromise on flavor or presentation, making it a stress-free option for busy bakers and last-minute party planners.
Frequently Asked Questions About Fudge
What is the best way to store leftover fudge?
Proper storage is key to maintaining the creamy texture and delicious flavor of your homemade fudge. For best results, keep your Red Velvet Fudge refrigerated for up to 7 days. If you’re storing it in the pan it was made in, make sure to cover it tightly with aluminum foil. This helps to prevent it from drying out and keeps it wonderfully creamy. The dry winter air can quickly deplete the moisture from fudge, so an effective barrier is essential. Alternatively, you can transfer the fudge pieces to an airtight container or a resealable bag. If you plan on stacking multiple layers of fudge, I highly recommend placing a piece of parchment paper between each layer. This simple trick will prevent the pieces from sticking together, making them easier to retrieve and serve when you’re ready to enjoy them.
Can you freeze homemade fudge?
Absolutely, homemade fudge freezes beautifully! Freezing is an excellent option if you want to prepare your fudge ahead of time or simply extend its shelf life. However, to protect it from freezer burn and maintain its quality, proper wrapping is crucial. My preferred method is a double layer of protection: first, wrap the fudge tightly with plastic wrap, ensuring no air gaps. Then, add a second layer of aluminum foil or place the wrapped fudge into a resealable freezer bag. This double layer acts as an effective shield, preventing moisture loss and keeping the fudge fresh and delicious for up to 2-3 months. When you’re ready to enjoy it, simply thaw it in the refrigerator overnight or at room temperature for a few hours.
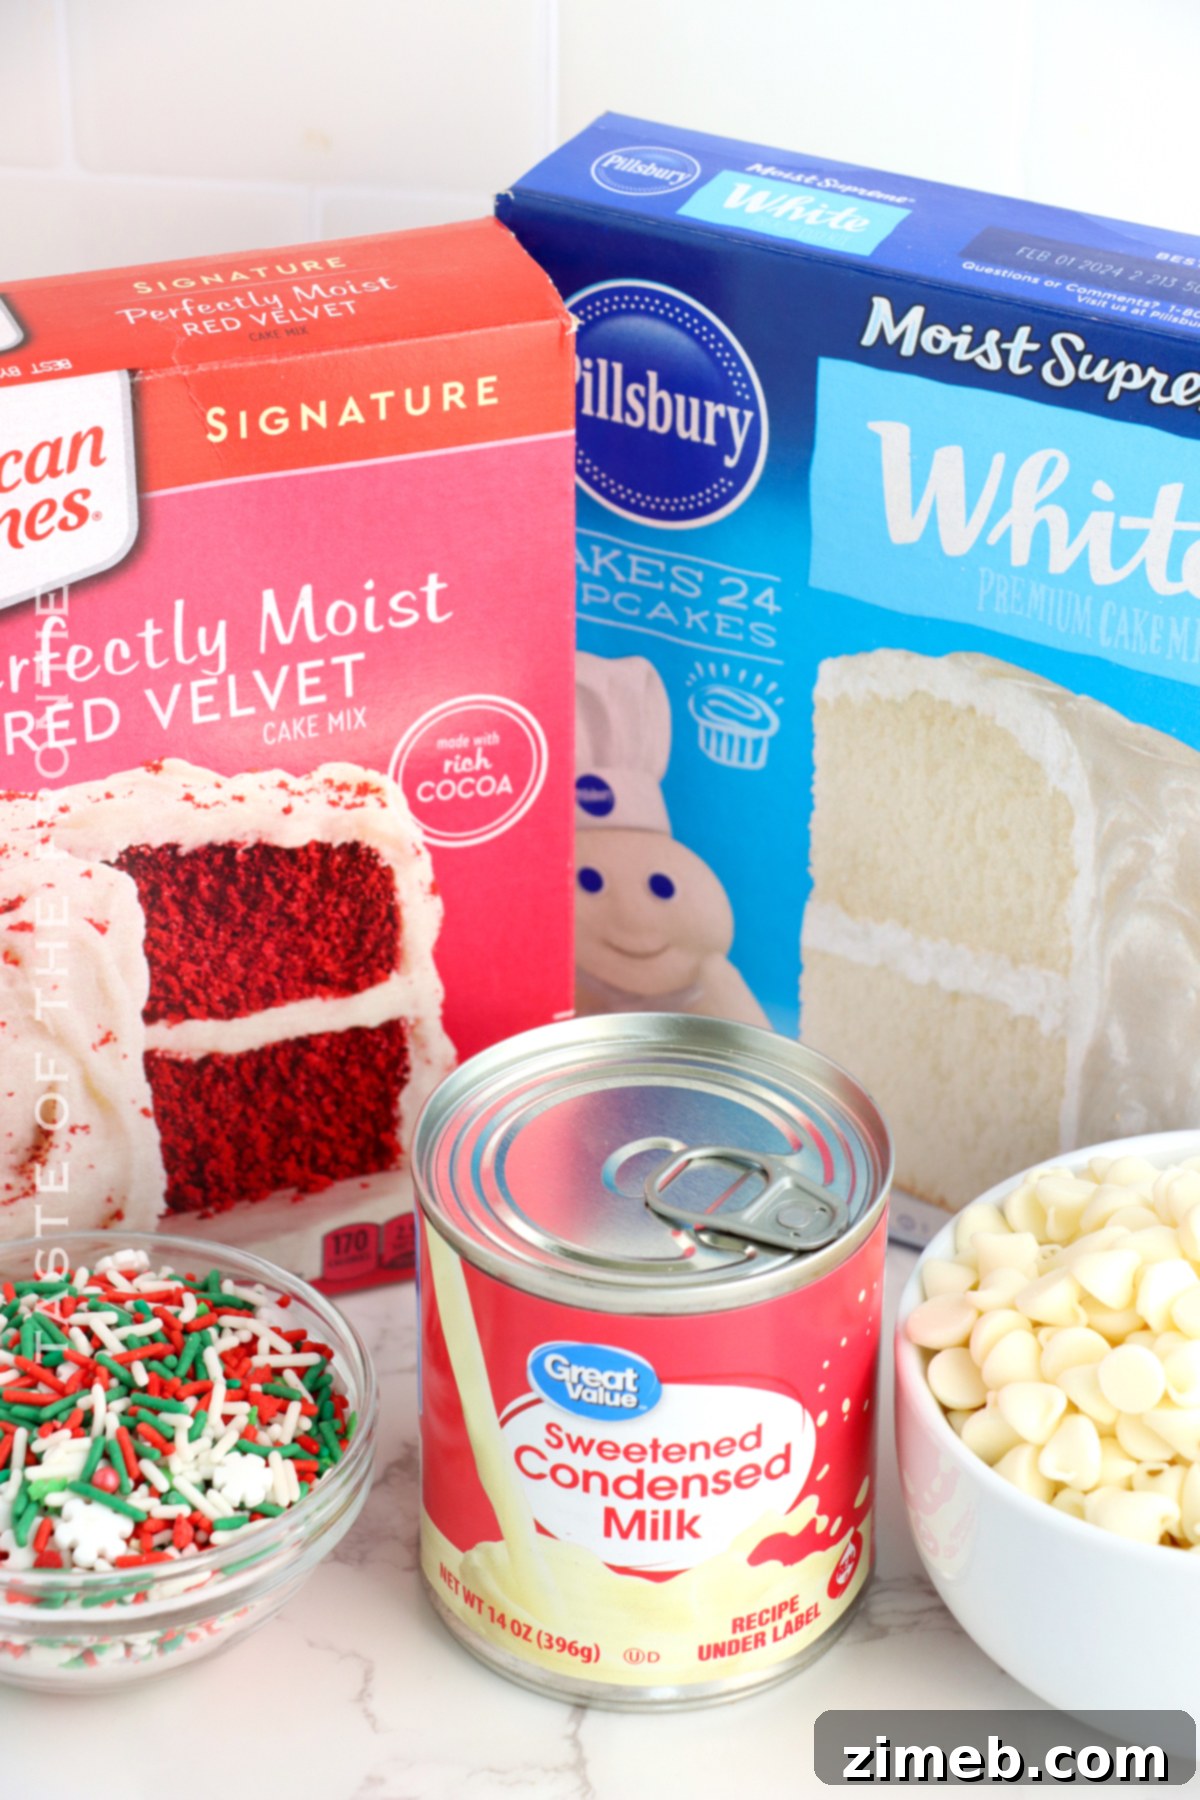
Key Ingredients for Easy Red Velvet Fudge
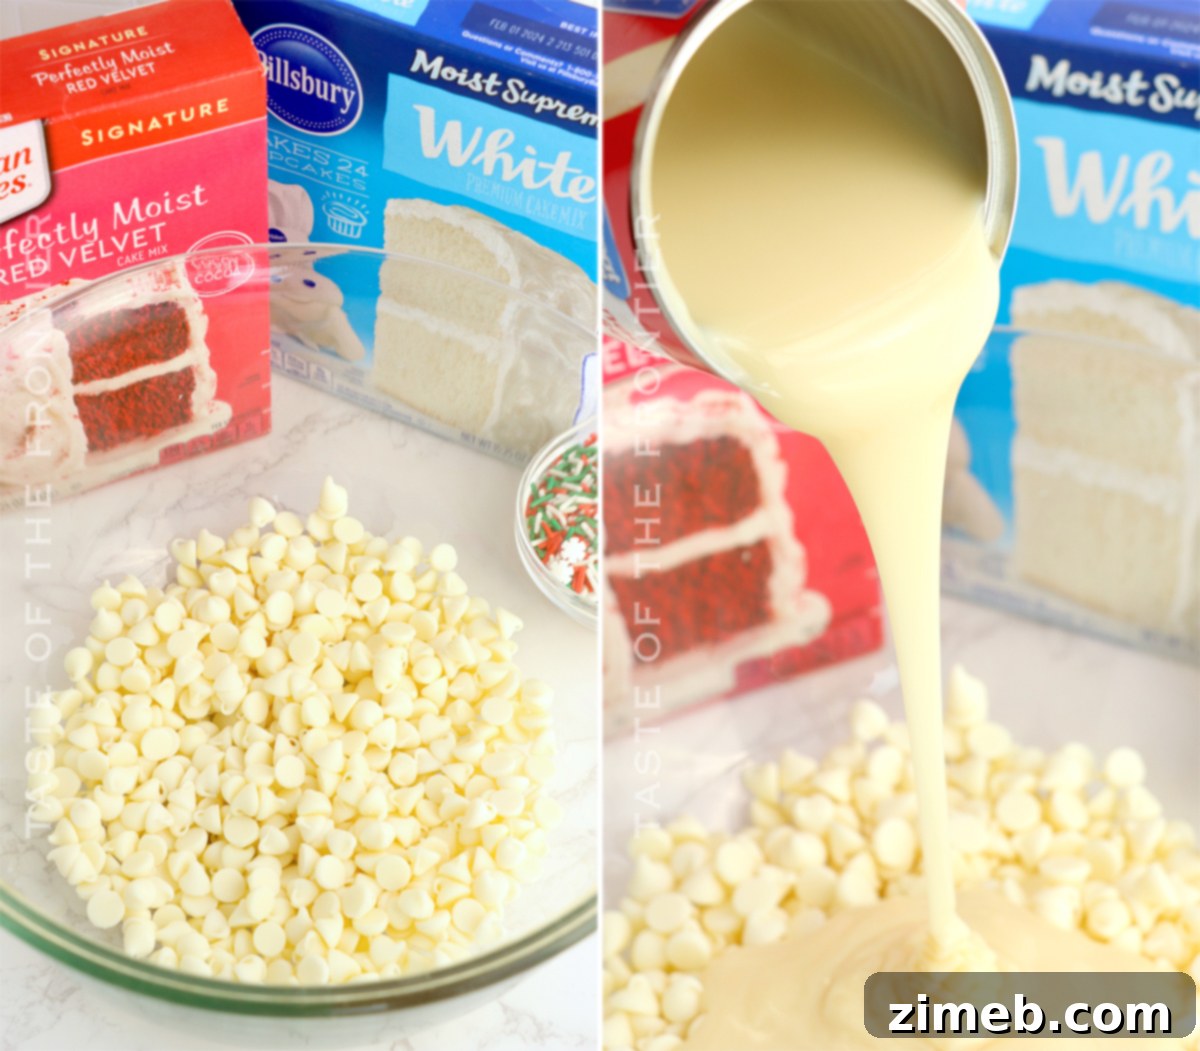
Creating this delicious Red Velvet Fudge requires just a few simple ingredients, many of which you likely already have in your pantry. Each component plays a vital role in achieving that perfect creamy texture and distinctive flavor:
- White Chocolate Chips: These form the creamy base of our fudge. High-quality white chocolate is crucial for a smooth, non-grainy result and provides a sweet canvas for the red velvet flavor.
- Sweetened Condensed Milk: This thick, sugary milk is a magical ingredient in no-bake fudge, providing both sweetness and an incredibly smooth, melt-in-your-mouth consistency. Make sure to use sweetened condensed milk, not evaporated milk, for the correct texture.
- Red Velvet Cake Mix: This is where the signature red velvet flavor and vibrant color come from. The cake mix adds a subtle cocoa note and a unique tang that defines red velvet.
- White Cake Mix: Used for the contrasting white layer, this adds a vanilla-like sweetness and helps create the beautiful two-toned effect.
- Sprinkles: An essential festive touch! Sprinkles add a fun pop of color and a delightful crunch, making the fudge even more appealing, especially for holiday gatherings.
Ensure all your ingredients are fresh for the best possible outcome. A fresh cake mix makes a noticeable difference in flavor and consistency.
Expert Tips for Making Perfect Microwave Fudge
While microwave fudge is incredibly easy to make, a few simple tips can elevate your results from good to absolutely fantastic. Follow these pointers for a flawless batch every time:
- Always Line Your Pan: To simplify both preparation and cleanup, always line your 8×8-inch pan with aluminum foil. Leave an overhang on the sides—these “handles” will make lifting the set fudge out of the pan effortless. You can also lightly spray the foil with cooking spray for extra assurance against sticking.
- Use Fresh Ingredients: The quality of your ingredients directly impacts the final taste and texture of your fudge. Avoid using that forgotten cake mix from the back of your pantry. Fresh cake mix ensures optimal flavor and proper consistency.
- Prevent White Chocolate from Seizing: White chocolate can be temperamental. To prevent it from seizing (turning grainy and clumpy), melt it gently. Always cook at 50% power in the microwave and stir frequently after each 30-second interval. This gradual melting process ensures a smooth, luscious chocolate base.
- Get Creative with Sprinkles: Sprinkles aren’t just for decoration; they add a playful element to your fudge. Don’t be shy about adding a generous amount or mixing different types of sprinkles for a unique and fun visual appeal.
- Slice When Cold: For clean, sharp cuts, always slice your fudge when it is thoroughly chilled, directly from the refrigerator. A sharp, warm knife can also help achieve cleaner edges. This prevents the fudge from squishing and sticking to the knife.
Step-by-Step Guide: How to Make Red Velvet Fudge
Creating this stunning Red Velvet Fudge is surprisingly simple. Follow these detailed steps for a perfect batch:
- Prepare Your Pan: Begin by lining an 8×8 inch square baking pan with aluminum foil, ensuring a generous overhang on all sides. Lightly spray the foil with cooking spray or grease it with a thin layer of butter or shortening. This will make removing and slicing the fudge much easier.
- Melt Chocolate and Condensed Milk: In a large, microwave-safe bowl, combine the white chocolate chips and sweetened condensed milk.
- Microwave with Care: Heat the mixture in the microwave in 30-second intervals at 50% power. After each interval, stir the mixture thoroughly with a spatula. Continue this process until the chocolate is completely melted and the mixture is smooth and well combined, typically taking about 2-3 minutes in total. Be careful not to overheat the chocolate, as this can cause it to seize.
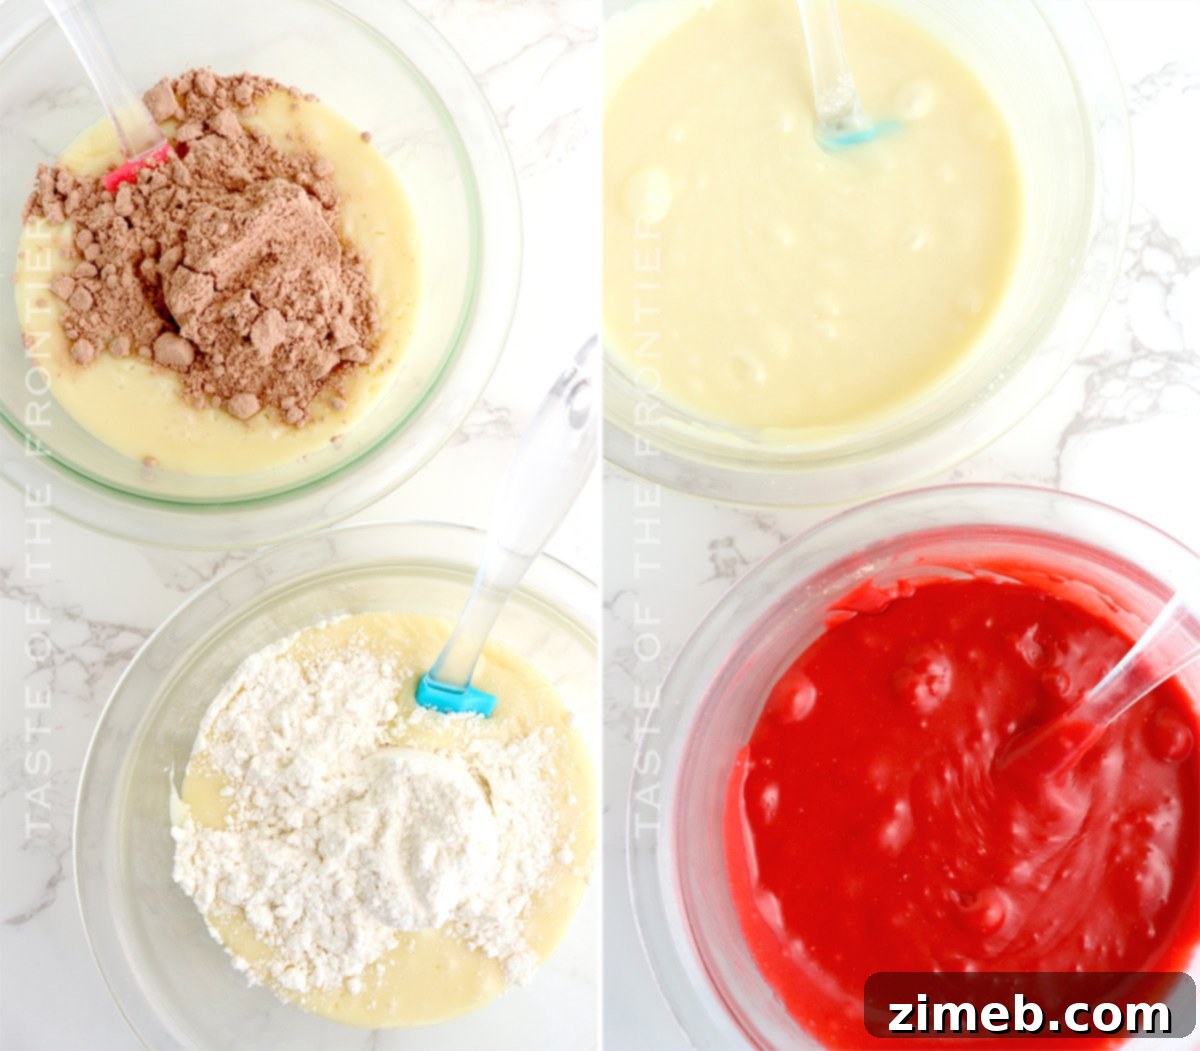
- Divide the Mixture: Carefully divide the melted fudge mixture evenly into two separate bowls.
- Add Cake Mixes: To one bowl, incorporate the red velvet cake mix. To the second bowl, stir in the white cake mix.
- Achieve Smoothness: Stir each mixture vigorously until both are completely smooth and free of any lumps from the cake mix. The red velvet mixture should be a vibrant red, and the white mixture a creamy white.
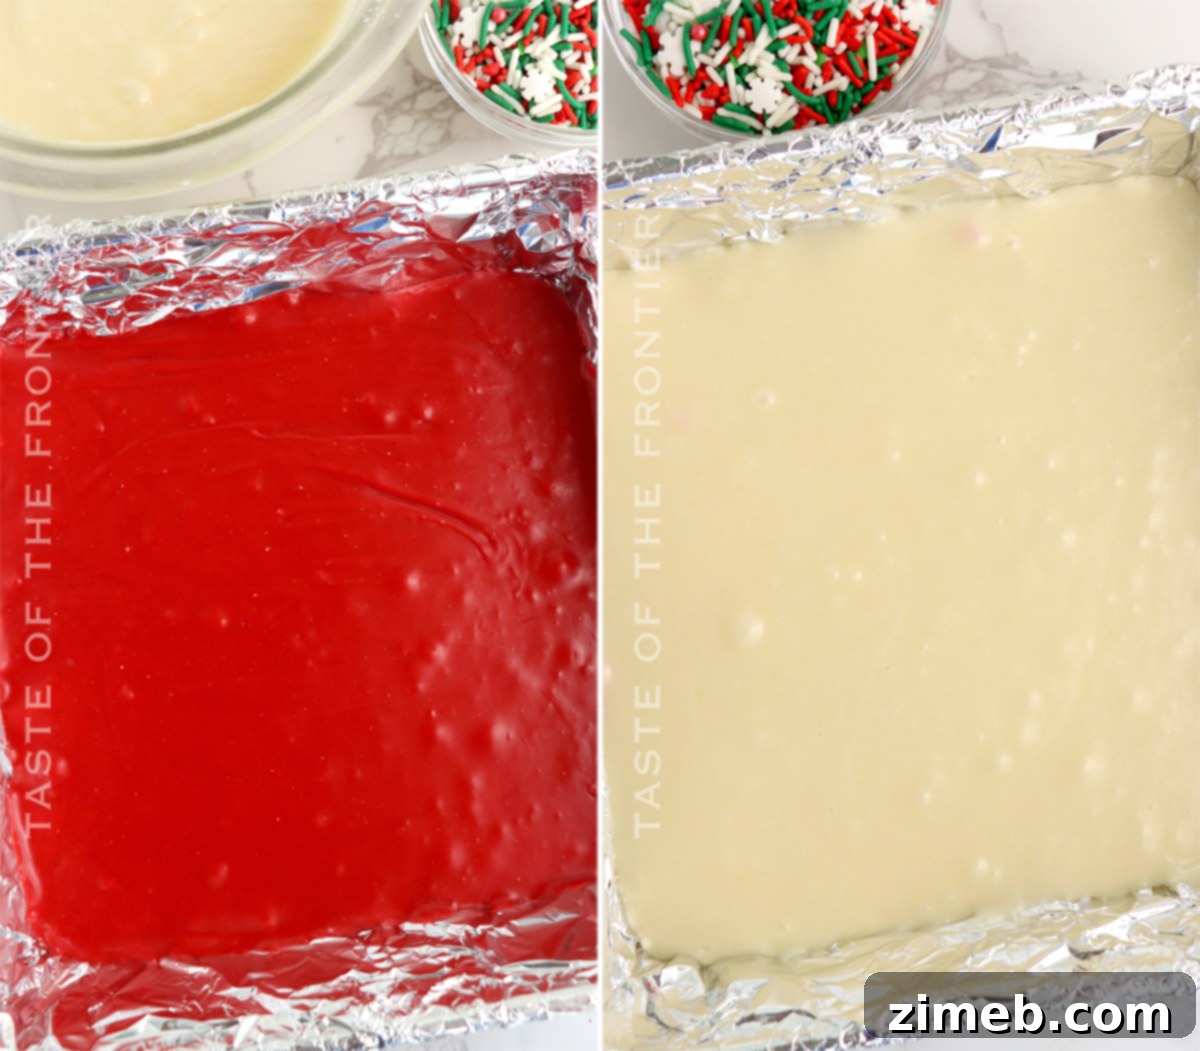
- Form the Red Layer: Pour the red velvet fudge mixture into your prepared 8×8 pan. Gently and evenly spread it across the bottom of the pan to form the first layer. Take care to smooth the surface without disturbing the foil lining.
- Create the White Layer or Marbling: Next, carefully spoon and spread the white fudge mixture over the top of the red layer. If you desire distinct, separate layers as shown in some images, smooth it out very gently, trying not to mix the two colors. For a beautiful marbled effect, as seen in other photos, gently drag a knife or skewer through the two layers a few times. Be careful not to over-mix, as this can blend the colors too much, losing the marbled definition.
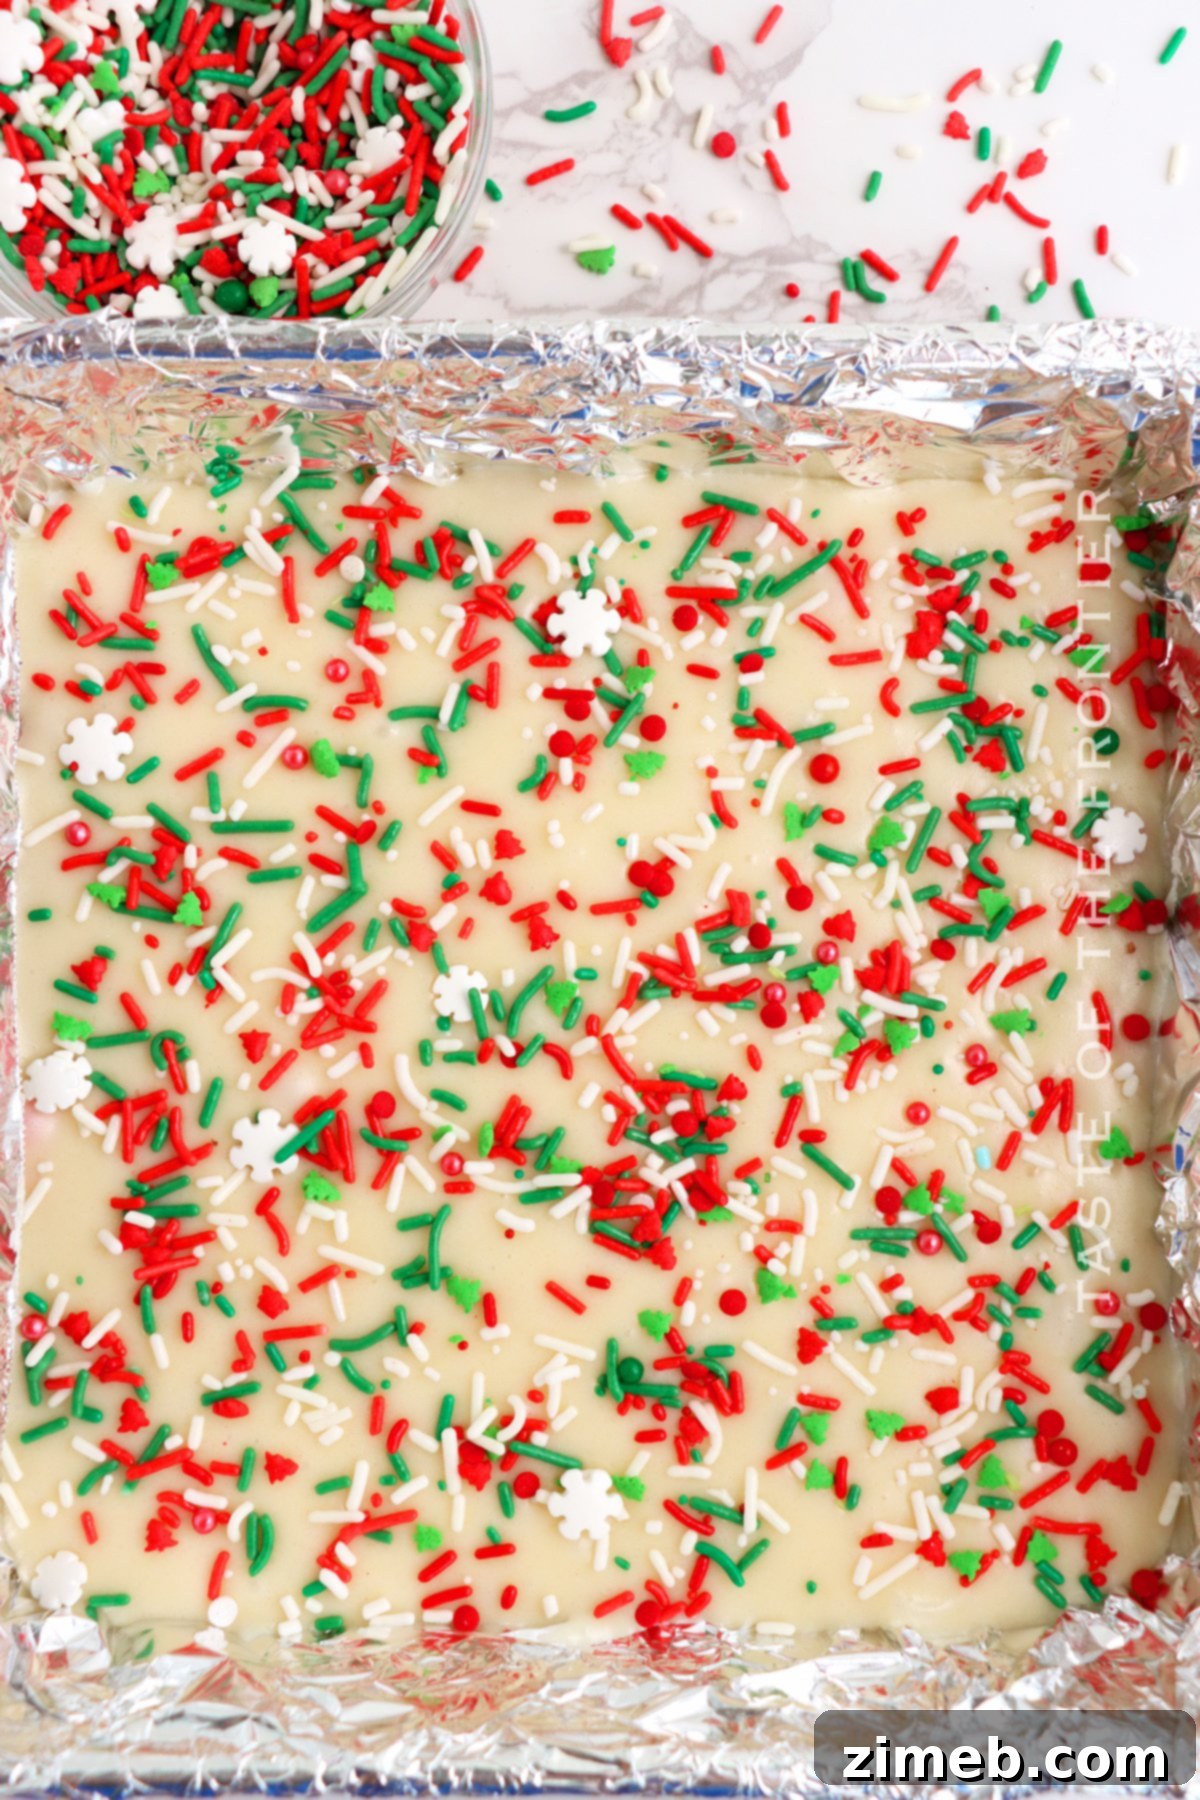
- Decorate with Sprinkles: Evenly scatter your chosen sprinkles over the top of the fudge while it is still soft. Press them lightly into the surface if needed to ensure they adhere well.
- Chill to Set: Place the pan in the refrigerator and chill for at least 1 hour, or until the fudge is completely firm and set. This is crucial for easy slicing.
- Cut and Serve: Once chilled, use the foil overhangs to lift the entire block of fudge out of the pan. Place it on a cutting board, then use a sharp knife (a warm knife can help with cleaner cuts) to slice it into desired squares or rectangles. Serve and enjoy your homemade Red Velvet Fudge!
More Delicious Red Velvet Recipes to Try
If you’re a fan of the classic red velvet flavor, you’ll love exploring these other delightful red velvet-inspired treats. Perfect for any occasion, these recipes showcase the versatility and irresistible charm of red velvet:
- Red Velvet Cream Cheese Brownies
- Chocolate Chip Red Velvet Mini Loaves
- Red Velvet Cake Mix Cookies
- Red Velvet Cupcakes
- Easy Red Velvet Cake Mix Crinkle Cookies
- Red Velvet Cookie Dough
- Frostbitten Red Velvet Brownie Bites
- Red Velvet Bundt Cake
- Valentine Red Velvet Brownies
- Red Velvet Crinkle Cookies
- Red Velvet White Chocolate Chip Cookies
- 3-Layer Red Velvet Cake
Can I use another flavor of cake mix?
Absolutely! This recipe is incredibly versatile and lends itself beautifully to experimentation with different cake mix flavors. While it won’t be “Red Velvet Fudge” at that point, the possibilities are only limited by the variety of cake mixes available to you. Imagine a rich chocolate fudge using chocolate cake mix, a vibrant lemon fudge with lemon cake mix, or even a funfetti fudge with a birthday cake mix. Feel free to get creative and tailor this recipe to your favorite flavors or the theme of your event. Just remember that the color of the fudge will change to reflect the cake mix you choose, so if you’re aiming for a specific hue, you might need to adjust your expectations or add food coloring.
Why did my fudge turn out grainy or watery?
A grainy or watery texture in fudge is often a result of using low-quality chocolate. The composition of cheaper chocolates can cause them to separate or become grainy when melted, especially when combined with other liquids. This is why I strongly encourage you to invest in the best quality white chocolate chips you can afford. Brands like Guittard or Ghirardelli are excellent choices that consistently produce smooth, creamy fudge. Another common culprit for grainy fudge is overheating the chocolate. Always melt white chocolate slowly and at reduced power in the microwave, stirring frequently, to ensure it melts smoothly without scorching or seizing.
Can I use another variety of chocolate chips?
Yes, you can certainly experiment with other varieties of chocolate chips! However, it’s important to note the impact this will have on the appearance of your fudge. If you opt for any type of regular chocolate, such as milk chocolate, semi-sweet, or dark chocolate, your fudge will take on the color of that chocolate. While it will still carry the delightful cake mix flavor you add, you won’t be able to achieve the vibrant color changes that are possible when working with a white chocolate base. White chocolate provides a neutral canvas for coloring, allowing the red velvet cake mix to truly shine. If color isn’t a primary concern, then feel free to swap in your favorite chocolate chips for a different flavor profile.
Can I tint the colors of the white layer?
Yes, you can absolutely tint the white layer to create different colors! This is a fantastic way to customize your fudge for various holidays or themes—imagine a green layer for St. Patrick’s Day or pastel colors for Easter. When adding color to the melted white chocolate mixture, I highly recommend using powdered food coloring instead of liquid drops or gel. Melted white chocolate can react unpredictably to liquid or gel food colorings; sometimes, it can seize up and become clumpy, or the fats can separate, ruining the smooth texture. Powdered food coloring disperses more evenly without introducing excess moisture, helping to maintain the creamy consistency of your fudge. Add a tiny amount at a time and stir well until you achieve your desired shade.
Microwave Fudge Recipe Perfection
This recipe truly highlights the ease and deliciousness of microwave fudge. It’s a testament to how simple ingredients, combined with minimal effort, can yield an extraordinary treat. The microwave method ensures a quick, fuss-free process, making it accessible even for novice bakers. The result is consistently smooth, rich, and flavorful fudge that rivals more traditional, labor-intensive methods. It’s the ultimate hack for satisfying your sweet tooth or preparing a festive dessert in a flash.
Creative Fudge Customization Ideas
This Red Velvet Fudge recipe is a wonderful starting point for endless creativity. My mom and I loved experimenting with different additions to tailor fudge for various friends and family members. Here are some fantastic ways to customize your fudge and make it uniquely yours:
- Sea Salt: A delicate sprinkle of flaky sea salt on top provides a beautiful contrast to the sweetness, enhancing all the flavors in the fudge.
- Flavor Extracts: Add a teaspoon of vanilla extract with a hint of peppermint extract for a festive, cool touch, or a touch of almond extract for a nutty undertone.
- Adult Indulgences: Stir in a tablespoon or two of Irish creme liqueur or rum for an elevated, adult-friendly version. The alcohol cooks out, leaving behind a subtle, sophisticated flavor.
- Marshmallows: Fold in mini marshmallows after mixing in the cake batter for a soft, chewy texture and a classic Rocky Road-style addition.
- Crushed Cookies: Incorporate crushed chocolate sandwich cookies (like Oreos) or shortbread cookies for added texture and a delicious flavor boost.
- Variety of Nuts: Mix in chopped pecans, walnuts, almonds, or pistachios for a satisfying crunch and earthy flavor. Toasting the nuts beforehand can intensify their taste.
- Favorite Candies: Chop up your favorite candies—mini chocolate-covered candies, toffee bits, or even mini peanut butter cups—and fold them into the fudge for an extra layer of sweetness and fun.
- Coconut: Stir in about 1/4 cup of shredded coconut (toasted or untoasted) before spreading the fudge into the pan for a tropical twist and delightful texture.
More Awesome Fudge Recipes to Explore
Once you’ve mastered this Red Velvet Fudge, you might find yourself eager to explore other delightful fudge creations. Here are more fantastic fudge recipes that are sure to please any palate:
- Easy Microwave Reese’s Fudge
- Lemon Oreo Fudge
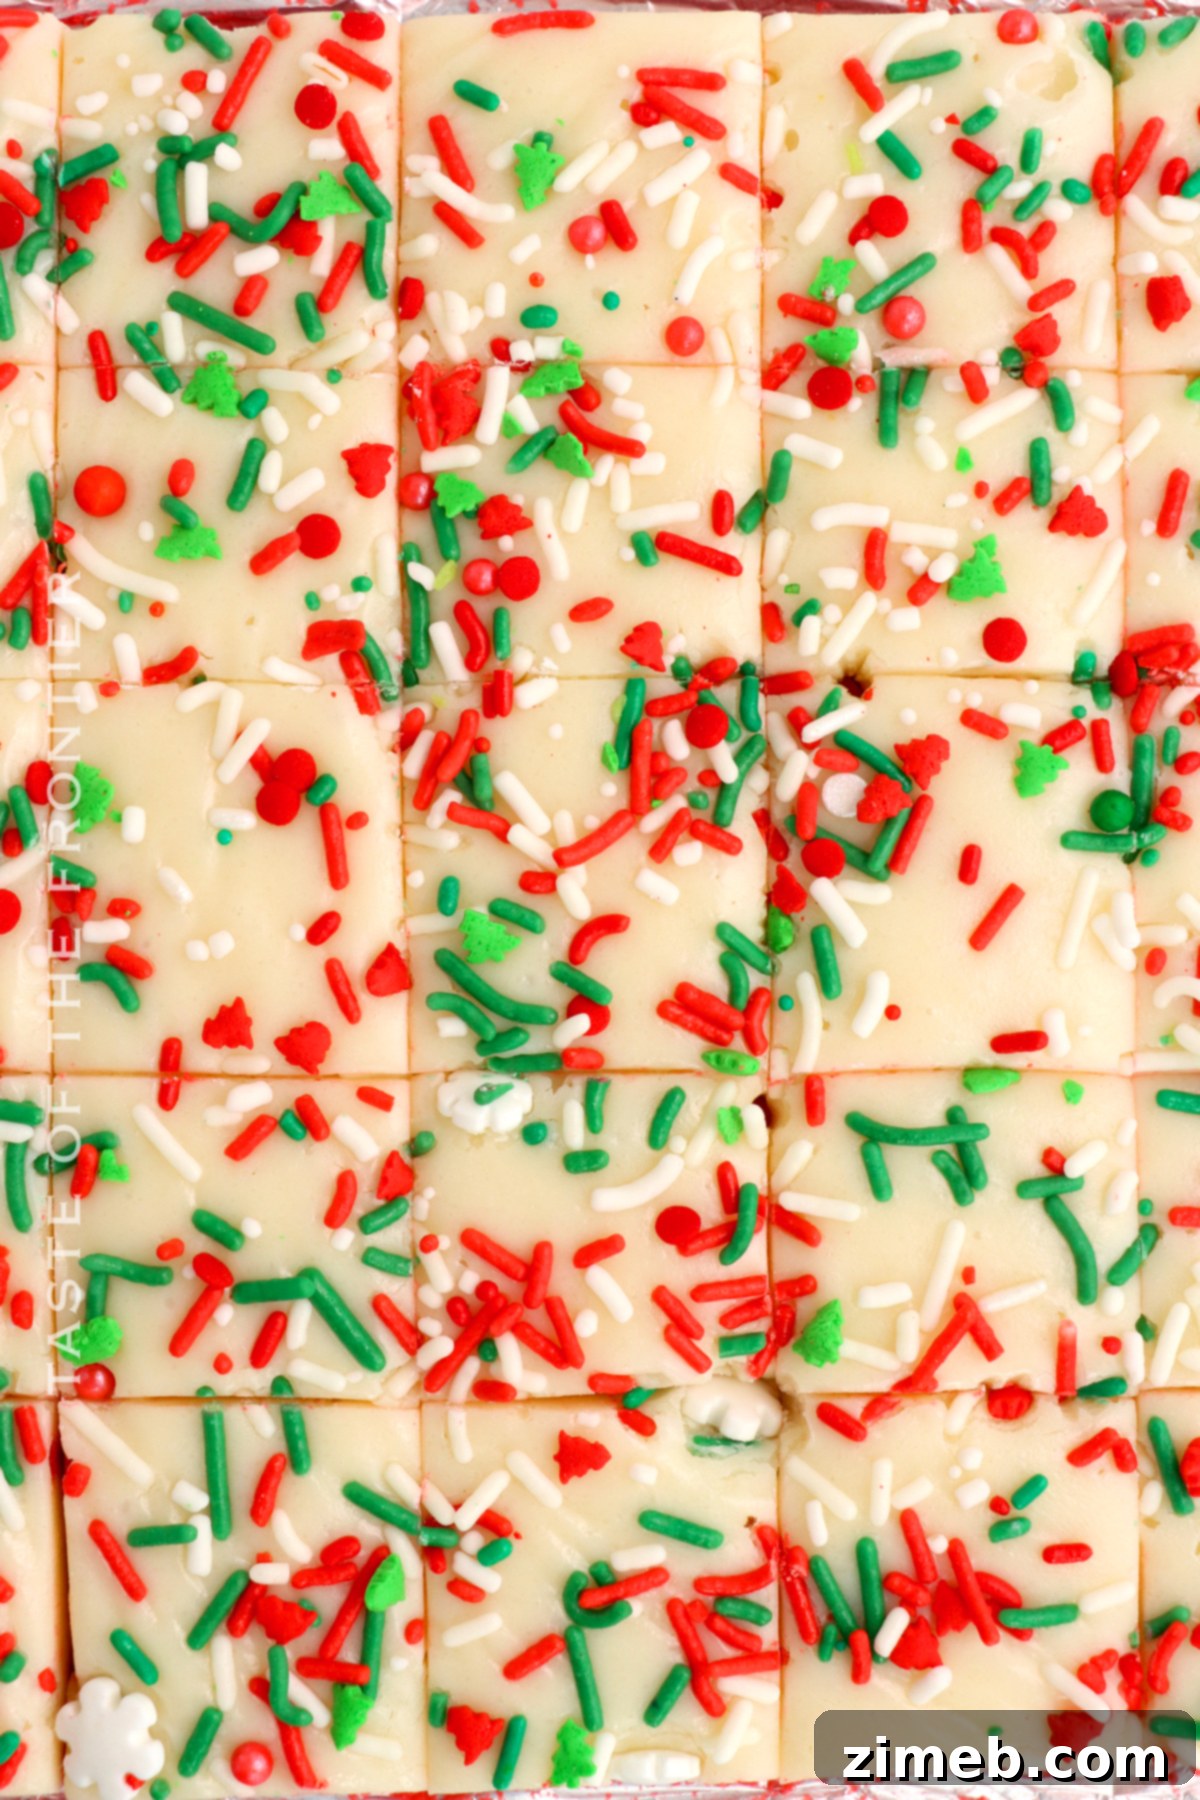
- Easy Snowflake Fudge
- Frosted Sugar Cookie Fudge
- Easy Holiday Fudge
- Mint Milano Fudge
- Rocky Road Fudge
- Holiday Oreo Fudge
- White Chocolate Holiday Fudge
- Sea Salt Fudge
- Keto Fudge
- Christmas Cookie Fudge
- Strawberry Fudge
PIN NOW TO SAVE FOR LATER
Essential Tools for Making Red Velvet Fudge
This Red Velvet Fudge recipe is incredibly straightforward, but having the right tools on hand can make the process even smoother and more enjoyable. Whether you’re a seasoned baker or new to the world of microwave fudge, these items are highly recommended for achieving the best results. You might already own some of these, but if not, they are great additions to any kitchen. (You can also SHOP MY FAVORITES in my store).
- Spatulas: Essential for stirring the fudge mixture and gently spreading it in the pan. Silicone spatulas are ideal as they are heat-resistant and won’t scratch bowls.
- Mixing Bowls: You’ll need at least two microwave-safe bowls – one for melting the chocolate and condensed milk, and two smaller ones for dividing the mixture and adding the cake mixes.
- Serving Platter: A beautiful platter can elevate your presentation, making your fudge an even more appealing addition to any dessert spread.
DON’T MISS MY HOLIDAY E-BOOK!

If you love this easy microwave fudge recipe, you’re going to love these other fudge recipes too. Please click each link below to find the easy, printable recipe!
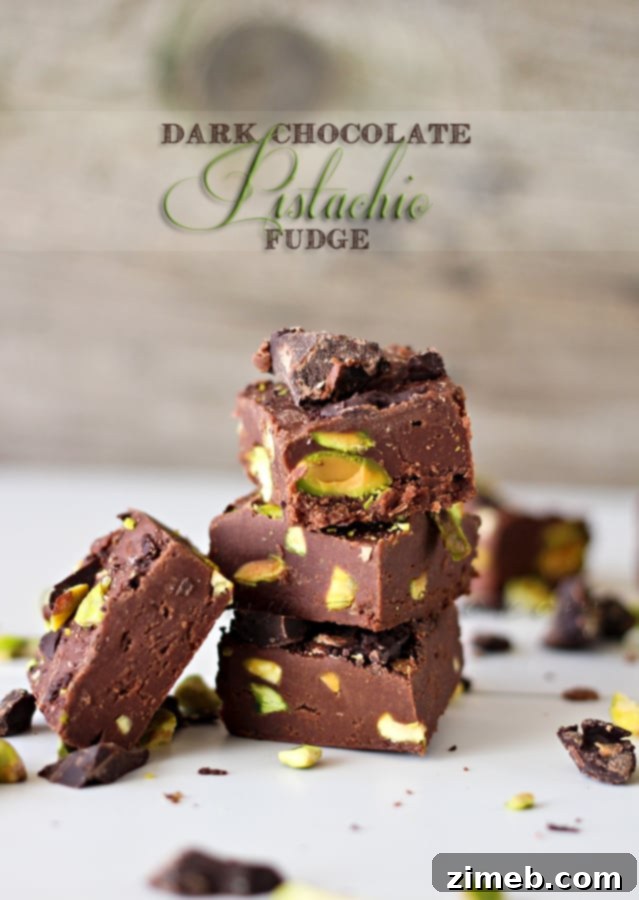
Dark Chocolate Pistachio Fudge
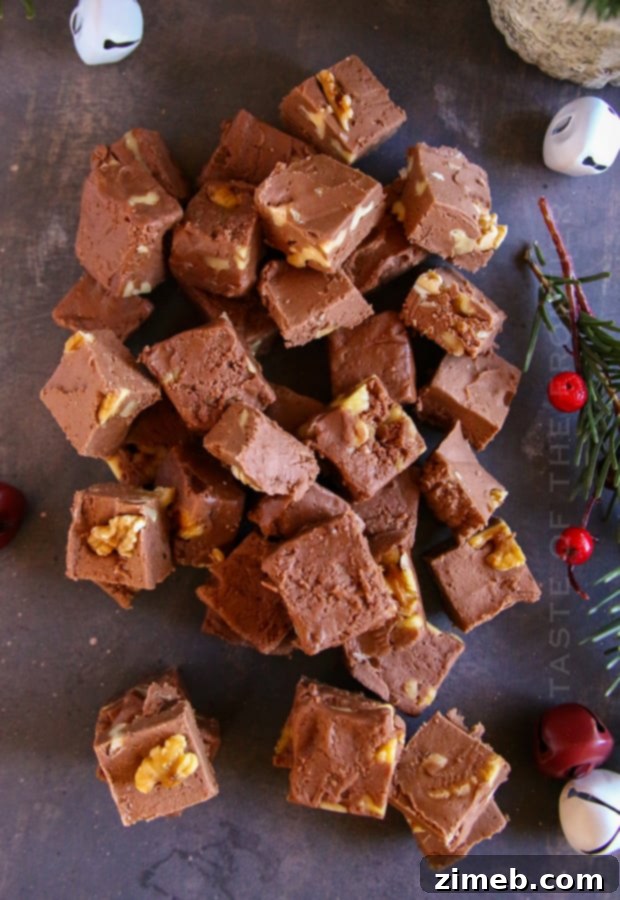
Easy No-Cook Fudge
If you love this recipe for Red Velvet Fudge as much as I do, please take a moment to leave a five-star review below. Your feedback helps other home cooks discover and enjoy this delicious treat! Also, be sure to help me share the joy by sharing this recipe on Facebook and Pinterest!
CONNECT WITH YUMMI HAUS!
Be sure to follow me on my social media, so you never miss a post!
Substack, FB, Pinterest, IG, Email Subscription
Red Velvet Fudge
Course: Dessert
Servings: 25 squares
Easy Red Velvet Fudge is made with white chocolate chips, cake mix, and sprinkles for a simple, no-bake holiday treat that everyone loves.
Prep Time: 10 mins
Chill Time: 1 hr
Total Time: 1 hr 10 mins
Ingredients
- 12 oz white chocolate chips
- 14 oz sweetened condensed milk (1-14 ounce can)
- ⅓ cup red velvet cake mix
- ⅓ cup white cake mix
- Sprinkles
Instructions
- Prepare an 8×8 inch pan by lining it with aluminum foil and spraying it with cooking spray or coating it with butter or shortening.
- Combine the white chocolate chips and the sweetened condensed milk in a large microwave-safe bowl.
- Microwave in 30-second intervals at 50% power until the mixture is melted, stirring after each interval.
- Divide the mixture into two bowls.
- Add the red velvet cake mix to one bowl and the white cake mix to the other.
- Stir in each of the cake mixes until both are smooth.
- Pour the red velvet fudge mixture into the prepared pan. Spread it gently into an even layer.
- Next, add the white fudge mixture over the top of the red layer, carefully smoothing it out. Try not to mix the two if you want distinct layers as shown in the images. If you would like a marbled effect, gently drag a knife through the two layers to mix – but take care not to over-mix.
- Evenly add sprinkles over the top.
- Chill for at least 1 hour or until the fudge is set.
- Lift the fudge out of the pan using the foil overhang, cut, and serve.
Nutrition
Serving: 1g | Calories: 143kcal | Carbohydrates: 20g | Protein: 2g | Fat: 6g | Saturated Fat: 4g | Cholesterol: 8mg | Sodium: 67mg | Potassium: 105mg | Fiber: 0.1g | Sugar: 19g | Vitamin C: 0.5mg | Calcium: 81mg | Iron: 0.2mg | Net Carbohydrates: 20g
Nutritional information for the recipe is provided as a courtesy and is approximate. Please double-check with your own dietary calculator for the best accuracy. We at Yummi Haus cannot guarantee the accuracy of the nutritional information given for any recipe on this site.