
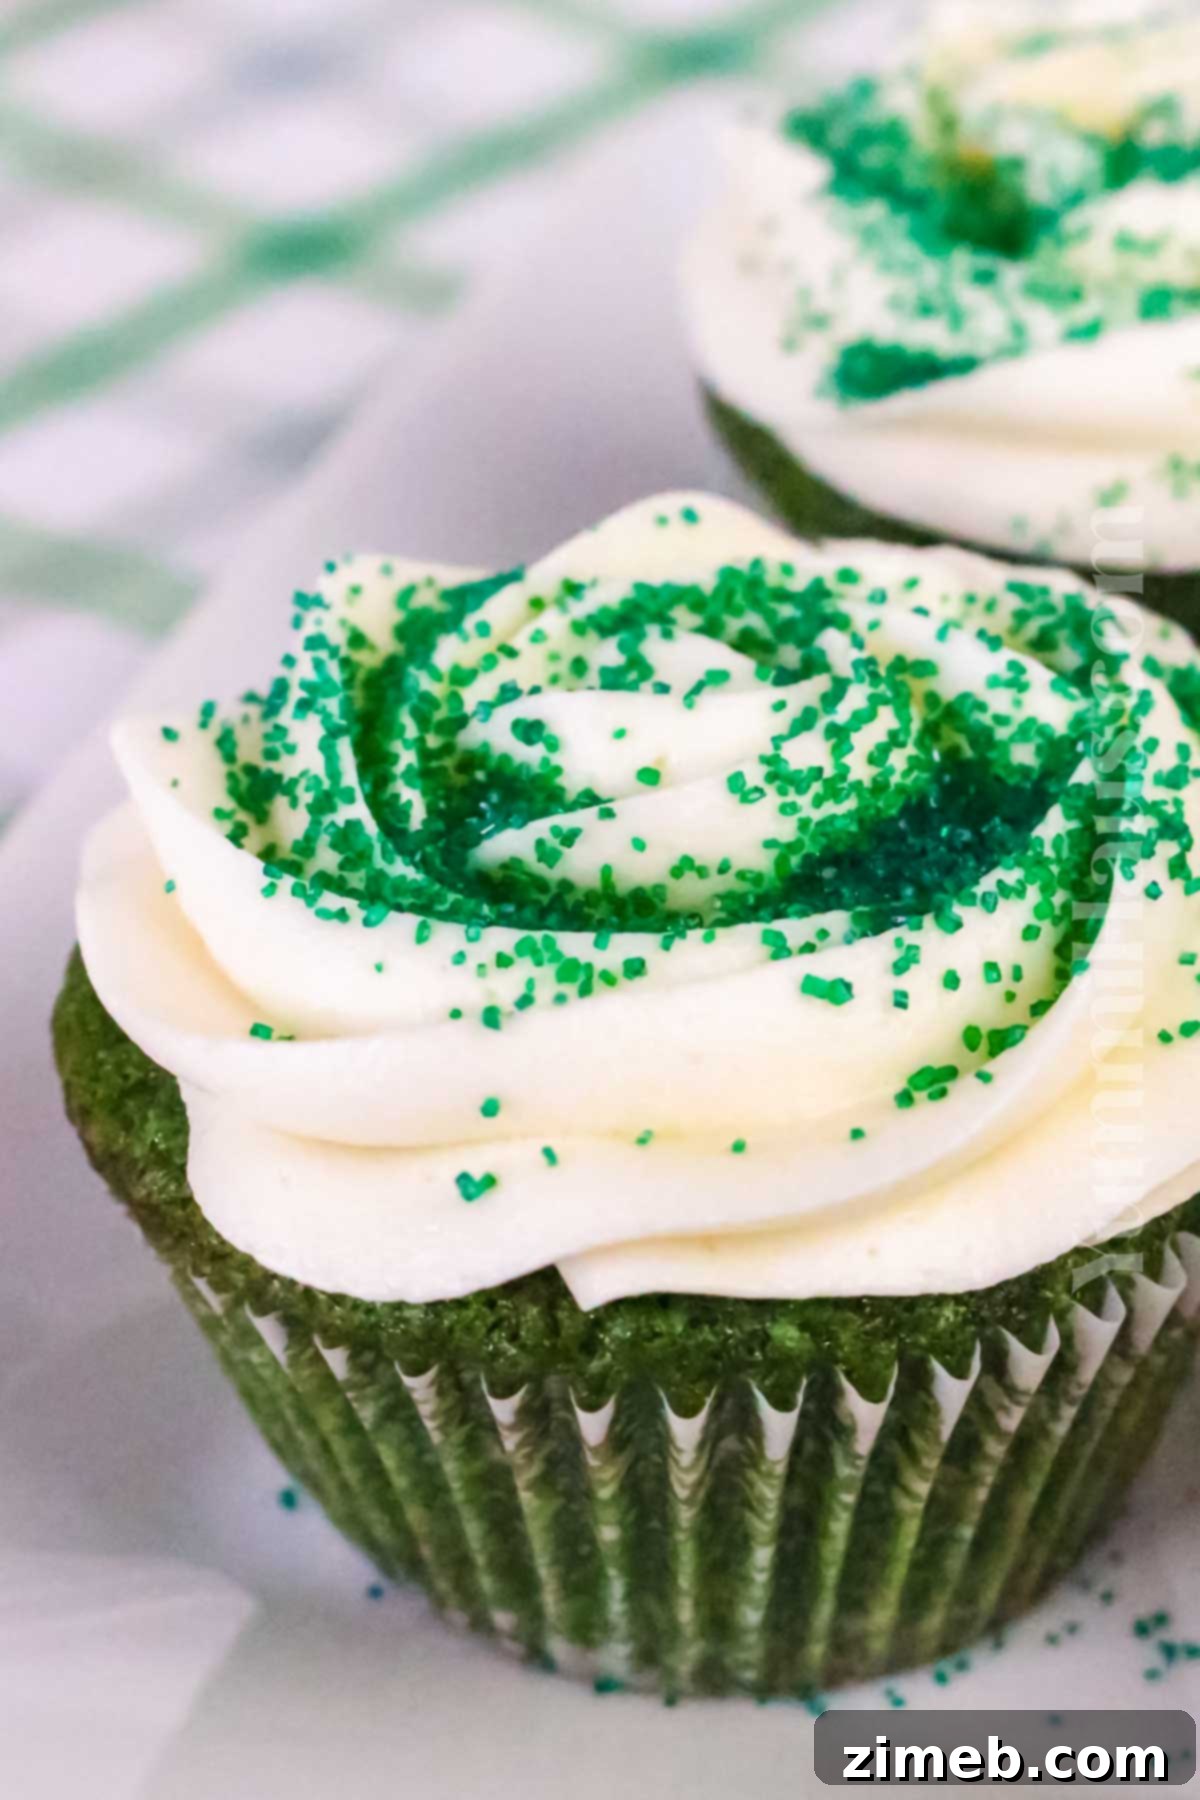
Delightful Green Velvet Cupcakes with Luscious Cream Cheese Frosting
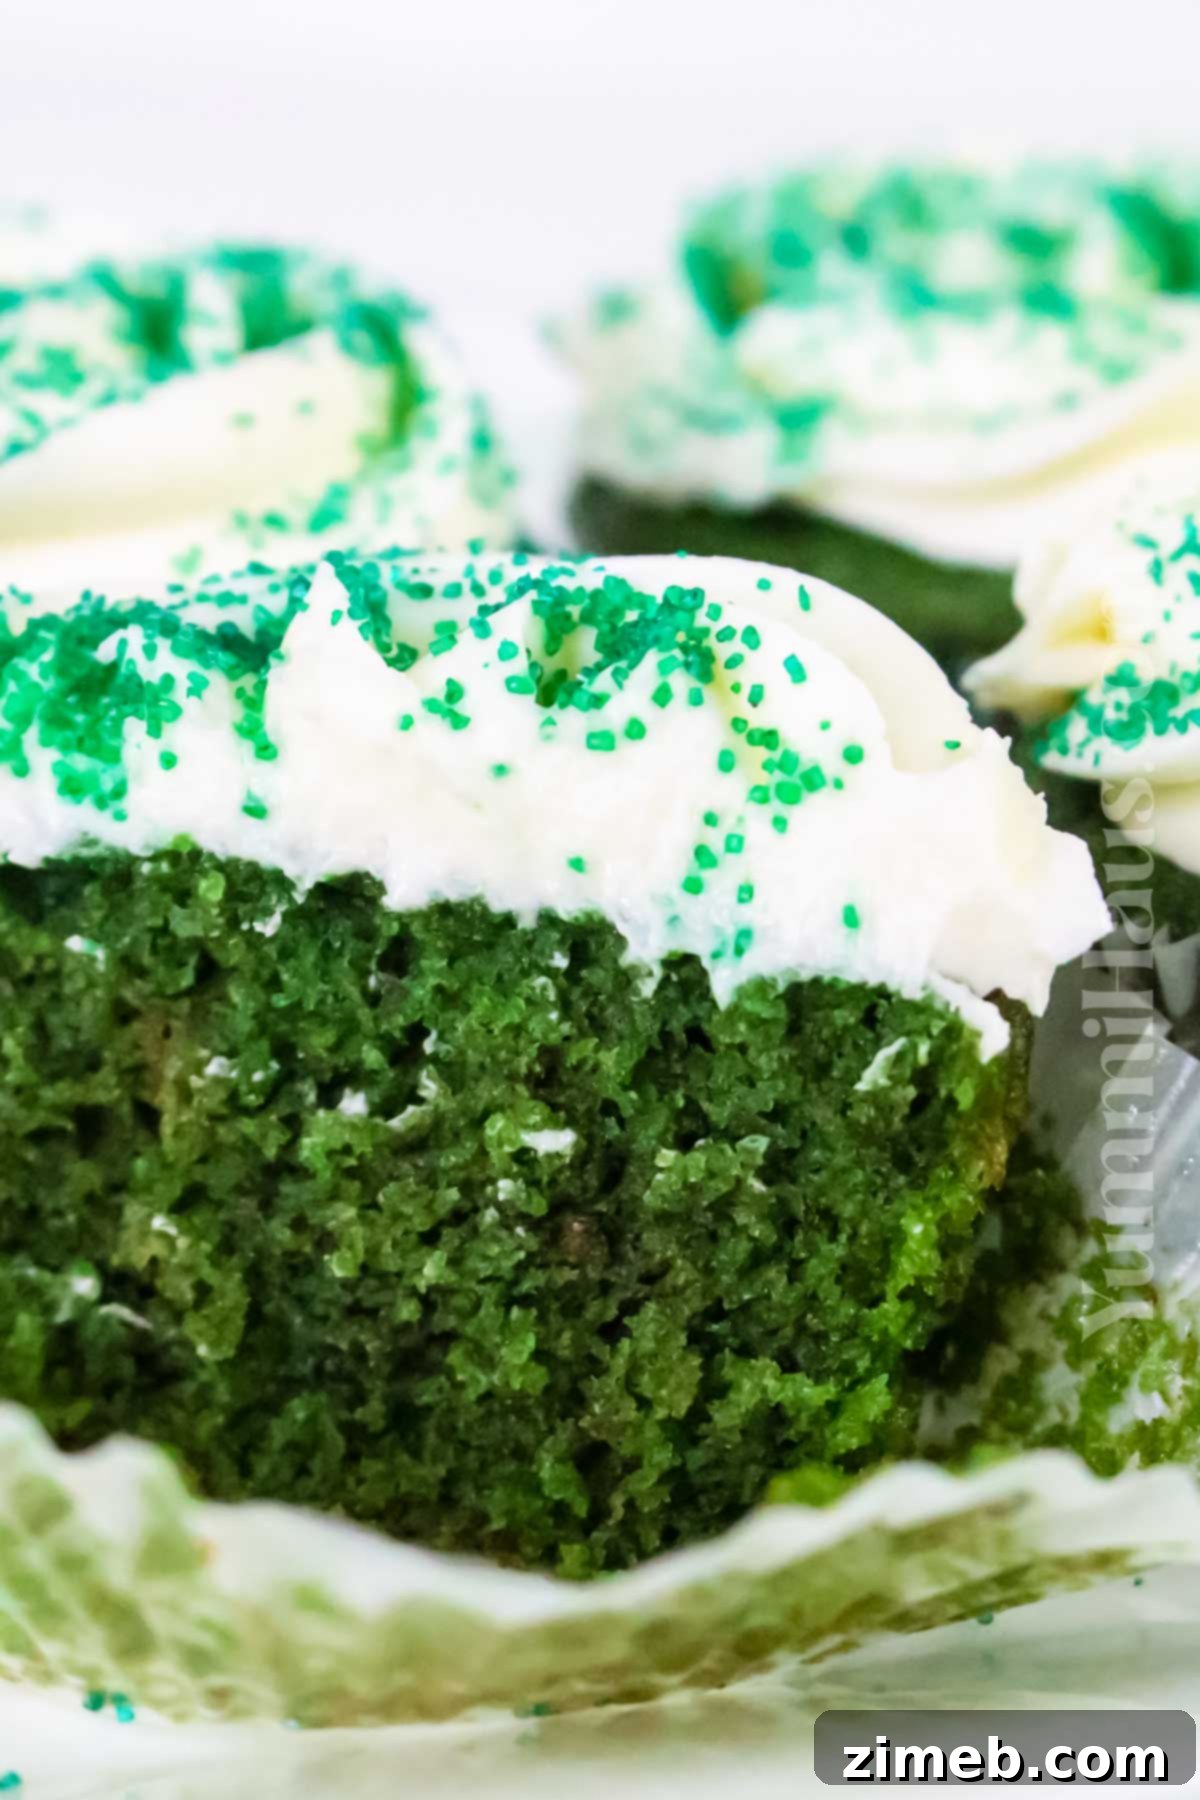
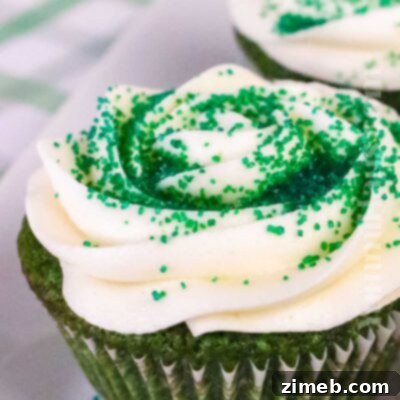
Get ready to add a splash of vibrant color and irresistible flavor to your celebrations with these spectacular Green Velvet Cupcakes. Infused with rich chocolate and sweet vanilla, topped with a velvety smooth, tangy cream cheese frosting, these cupcakes are not just a treat for the taste buds but also a feast for the eyes. Perfect for St. Patrick’s Day festivities, holiday gatherings, or simply when you crave a touch of something extraordinary, this recipe promises moist, fluffy cupcakes in under 40 minutes.
My secret to achieving the softest, most tender, and incredibly moist cupcakes every single time lies in a simple ingredient: white vinegar. This humble addition works wonders by activating the baking soda in the batter, creating a light, airy crumb that melts in your mouth. Don’t worry, you won’t taste the vinegar – only pure cupcake bliss!
Recipe Highlights: What Makes These Cupcakes Special?
Texture: Experience the perfect balance of a fluffy, tender crumb complemented by a rich, buttery, and incredibly smooth cream cheese frosting. Each bite offers a delightful contrast that is simply heavenly.
Taste: These green velvet cupcakes boast a sophisticated flavor profile. You’ll savor deep chocolate notes, fragrant vanilla, and the classic tangy richness of cream cheese and butter, all harmoniously blended for an unforgettable dessert experience.
Ease: Despite being a made-from-scratch recipe, this culinary adventure requires only simple, readily available ingredients and straightforward steps. There’s no need for lengthy chilling times, making it a fantastic project for beginner bakers and a fun activity to share with kids.
Why You’ll Love It: These cupcakes are undeniably fun to create, wonderfully easy to execute, and utterly irresistible once baked. Their charming green hue makes them especially suitable for festive occasions like St. Patrick’s Day, but their delightful taste ensures they’ll be a welcome dessert any time of the year.
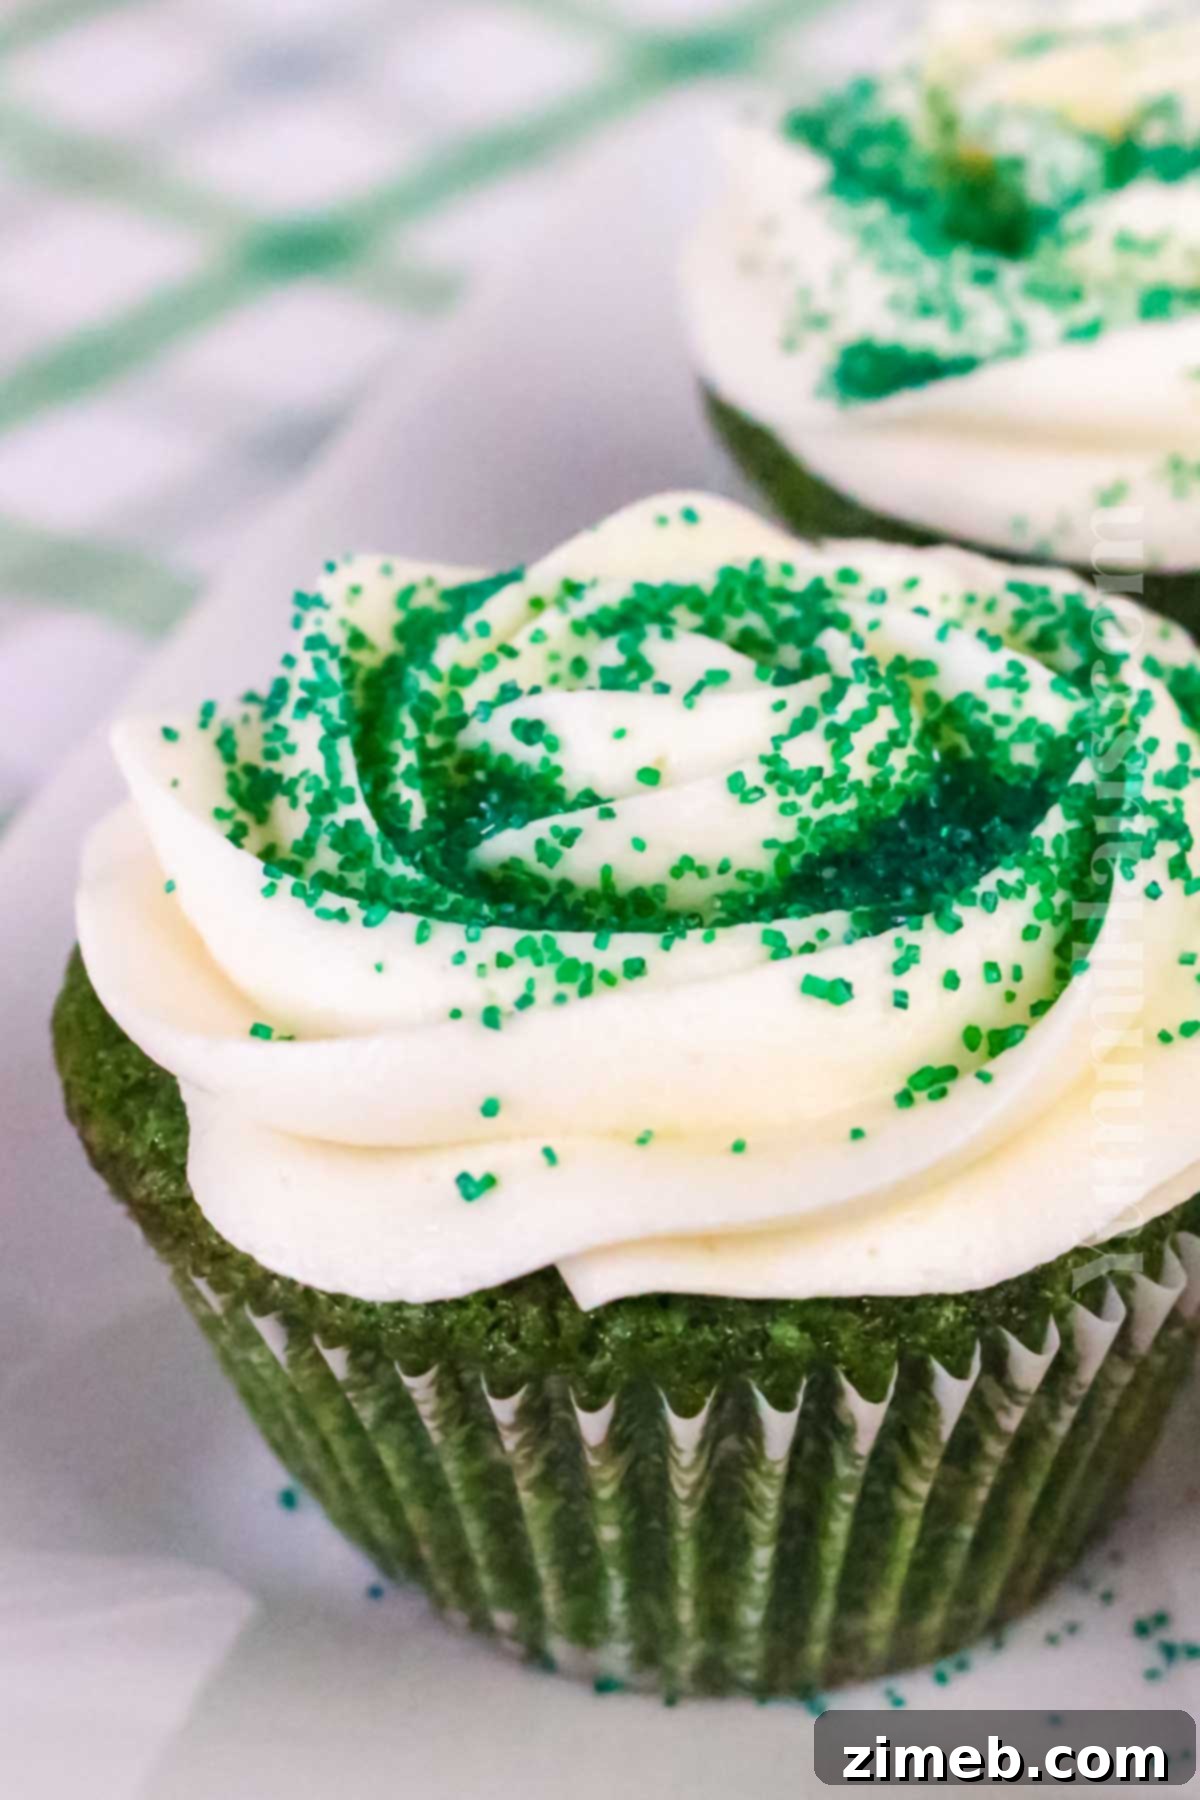
Planning a dazzling St. Patrick’s Day dessert board? These Green Velvet Cupcakes will be the star! Complement them with other delightful treats such as Lucky Charms Treats, Lucky Charms Lush Dessert, a vibrant Rainbow St. Patrick’s Day Cake, chewy Cake Mix Cookie Bars, refreshing Mint Chocolate Chip Cookies, or festive Shamrock M&M’s Popcorn. Each recipe is designed to add joy and flavor to your celebration.
- Recipe Highlights: What Makes These Cupcakes Special?
- What Is Green Velvet?
- Why You’ll Adore This Recipe
- Ingredients You’ll Need
- Essential Kitchen Equipment
- How To Make The Best Green Velvet Cupcakes
- Storage Tips for Freshness
- Substitutions & Creative Variations
- Expert Tips For Perfect Green Velvet Cupcakes
- Frequently Asked Questions
- What Is The Secret To Super Moist Cupcakes?
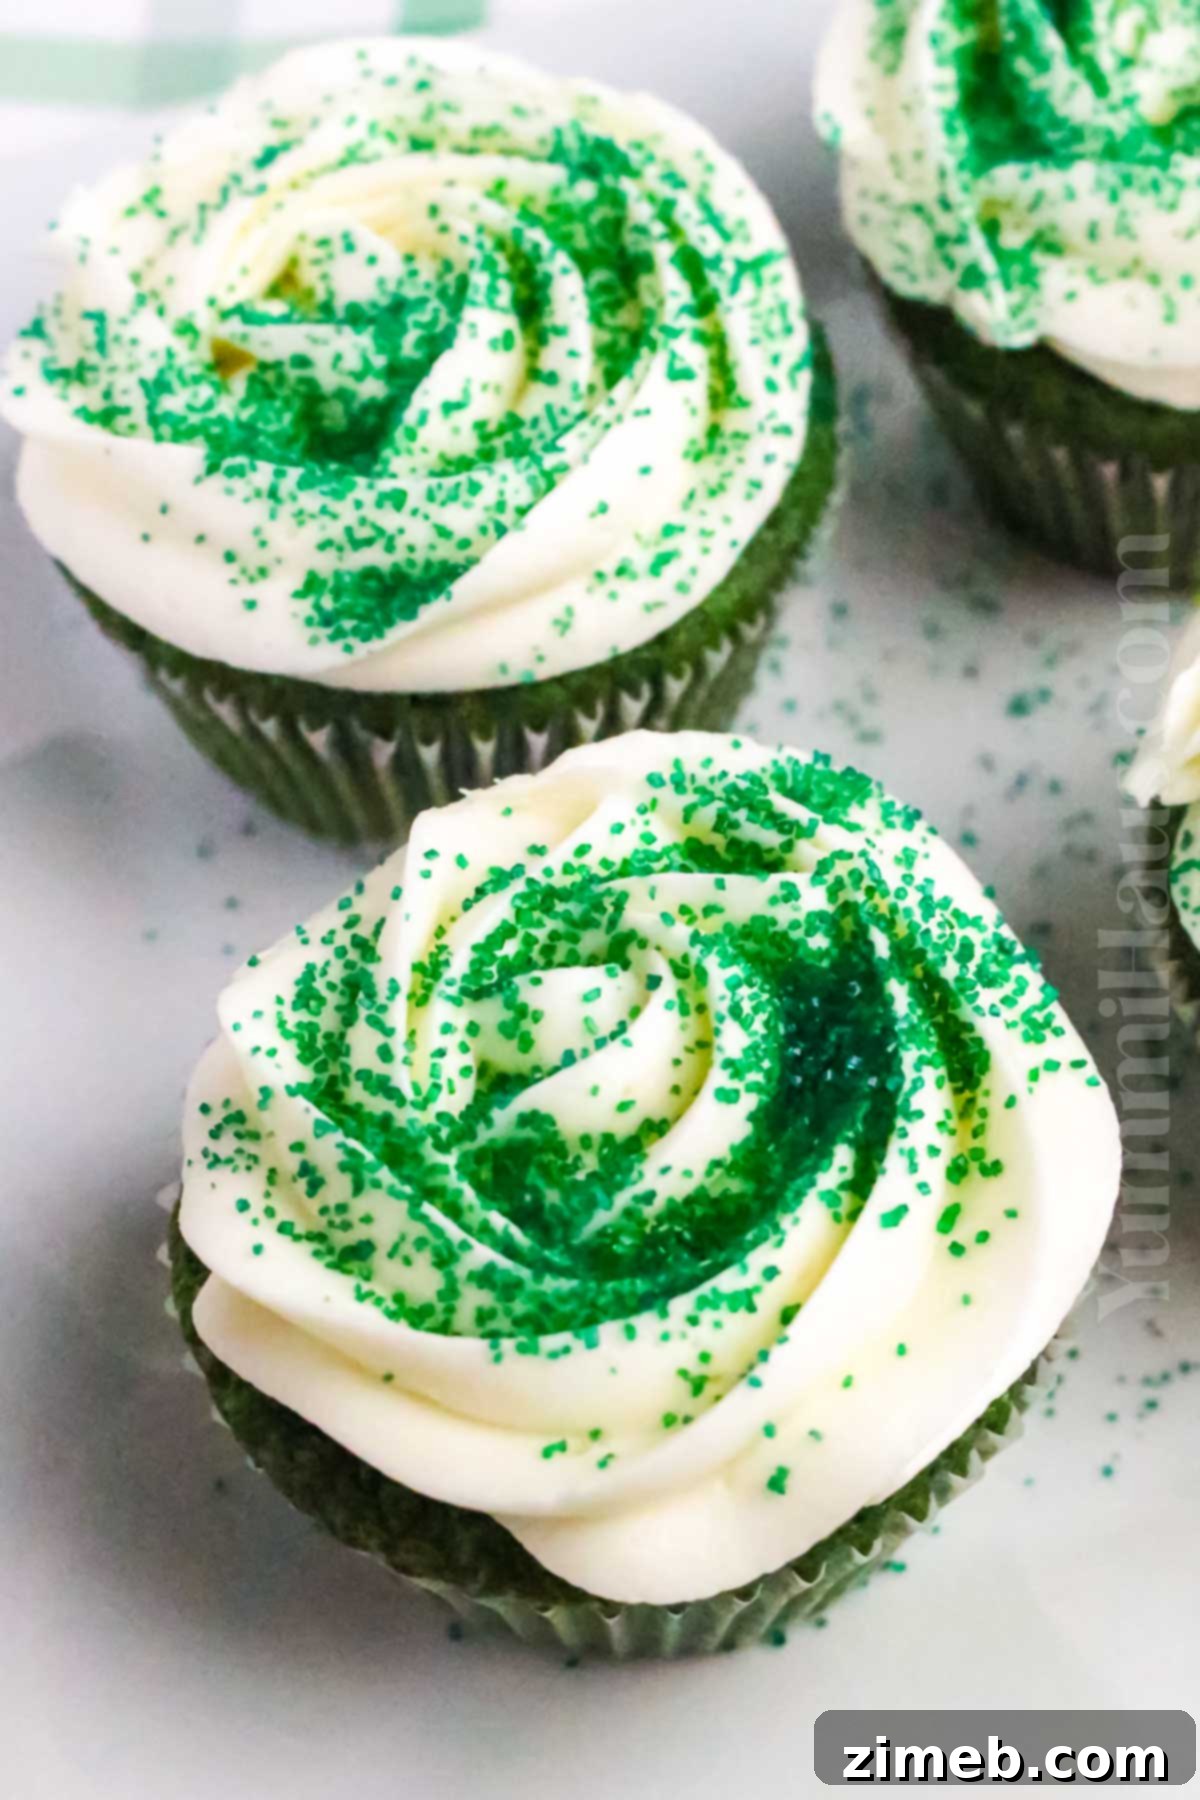
What Is Green Velvet? Unveiling the “Velvet” Secret
Many wonder about the difference between classic Red Velvet and its festive green counterpart. Fundamentally, Green Velvet cupcakes and cakes share the same delectable flavor profile as traditional red velvet cake. Both recipes feature a harmonious blend of vanilla extract, a hint of cocoa powder, and are famously crowned with a luxurious cream cheese frosting.
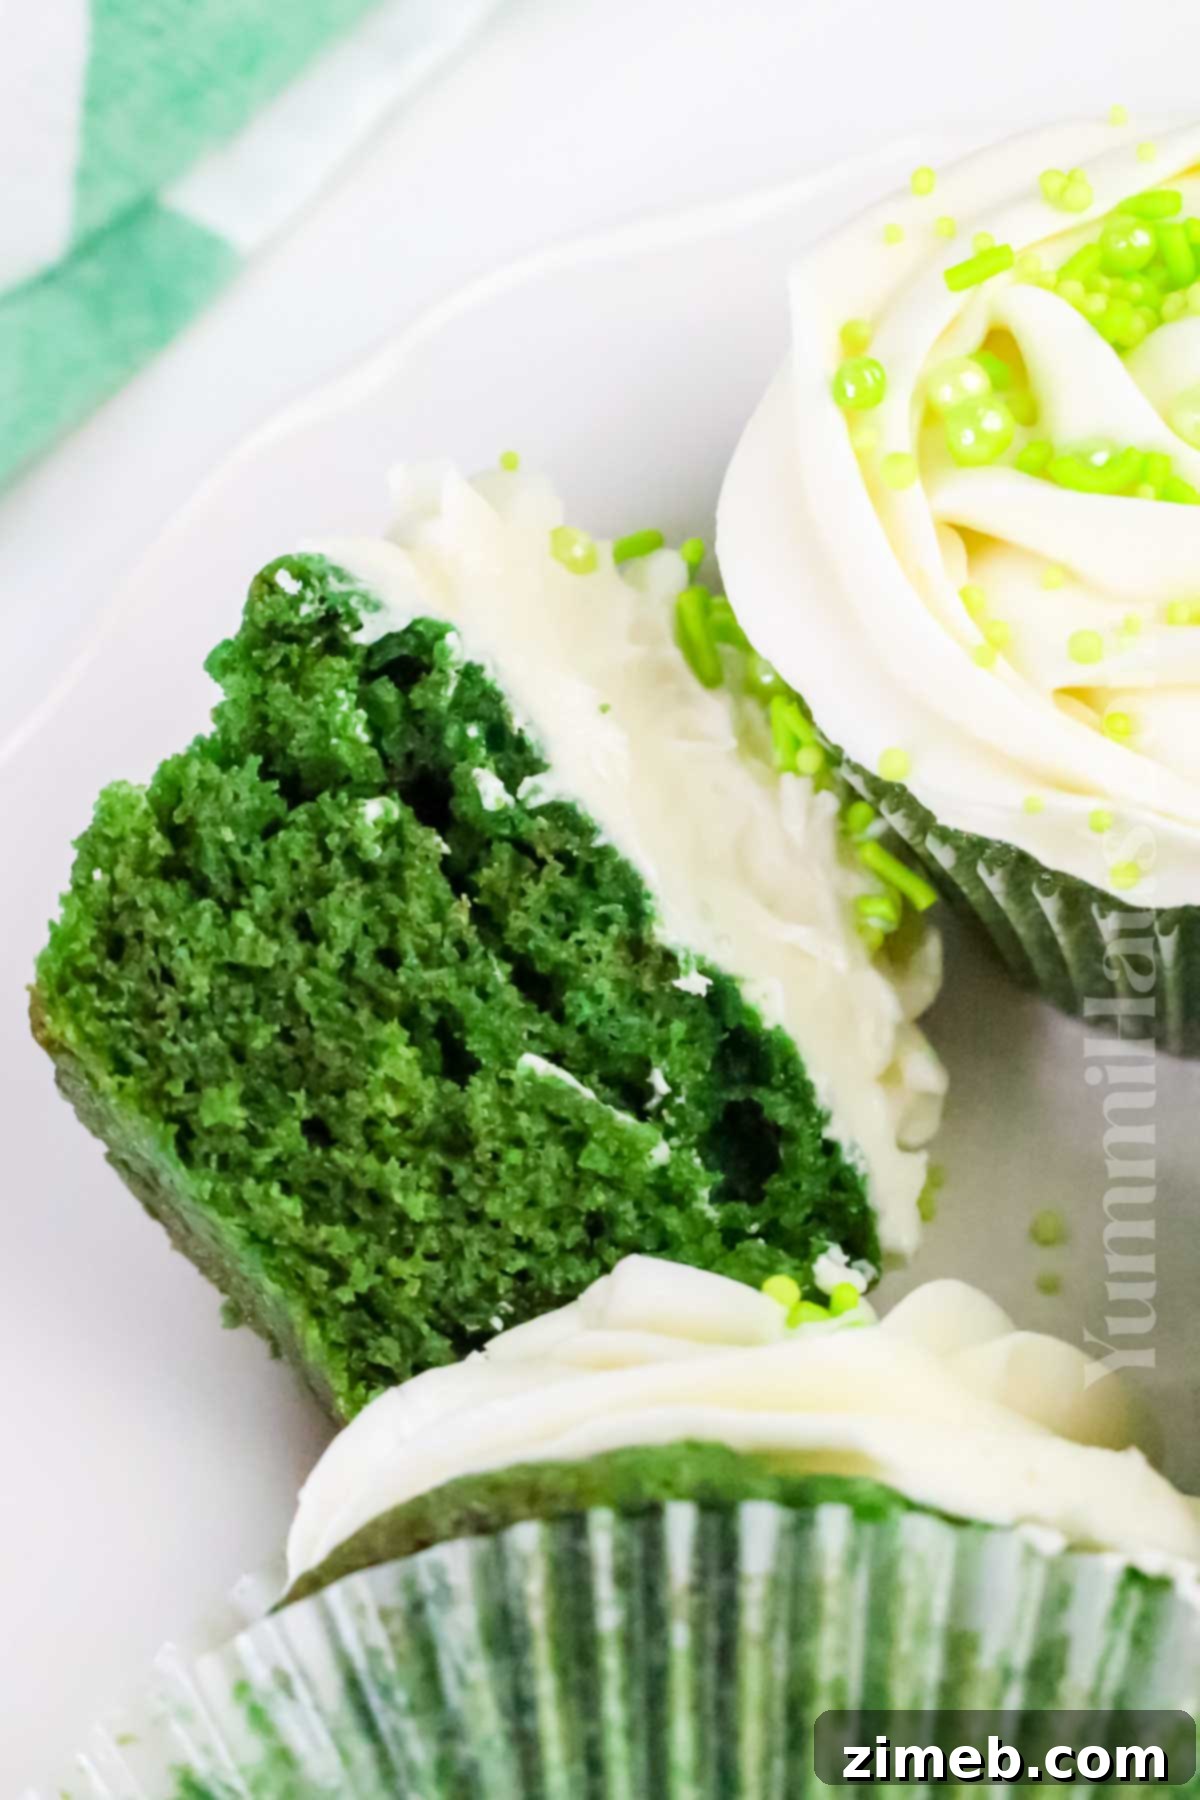
The defining distinction, as you might guess, is the vibrant hue! While red velvet uses red food coloring to achieve its signature deep crimson, green velvet employs green food coloring. This simple switch transforms the appearance, making it a perfectly themed dessert for holidays like St. Patrick’s Day or Christmas. The “velvet” in both names refers to the incredibly soft, fine, and moist crumb texture achieved through the interaction of acidic ingredients (like buttermilk and vinegar) with baking soda, which results in a tender, plush cake.
Why You’ll Adore This Recipe: More Reasons to Bake!
- Perfect for a Crowd: This recipe yields a generous batch of 24 regular-sized cupcakes, making it ideal for parties, potlucks, or family gatherings. You’ll have plenty of cute St. Patrick’s Day cupcakes to share!
- Family-Friendly Fun: Baking these colorful cupcakes is an absolute joy, especially when little hands are involved. Kids will love helping to mix the vibrant green batter and decorate with sprinkles, making it a memorable kitchen adventure.
- Simply Delicious, From Scratch: Prepare to impress with these delicious cupcakes, crafted entirely from scratch using common pantry staples. The satisfaction of baking something so delightful from basic ingredients is truly rewarding.
- Effortless Elegance: Despite their impressive appearance, these cupcakes are surprisingly simple to make, ensuring even novice bakers can achieve stunning results.
- Versatile for Any Occasion: While green makes them perfect for St. Patrick’s Day, their rich flavor and moist texture make them a hit for birthdays, holidays, or any time you need a sweet pick-me-up.
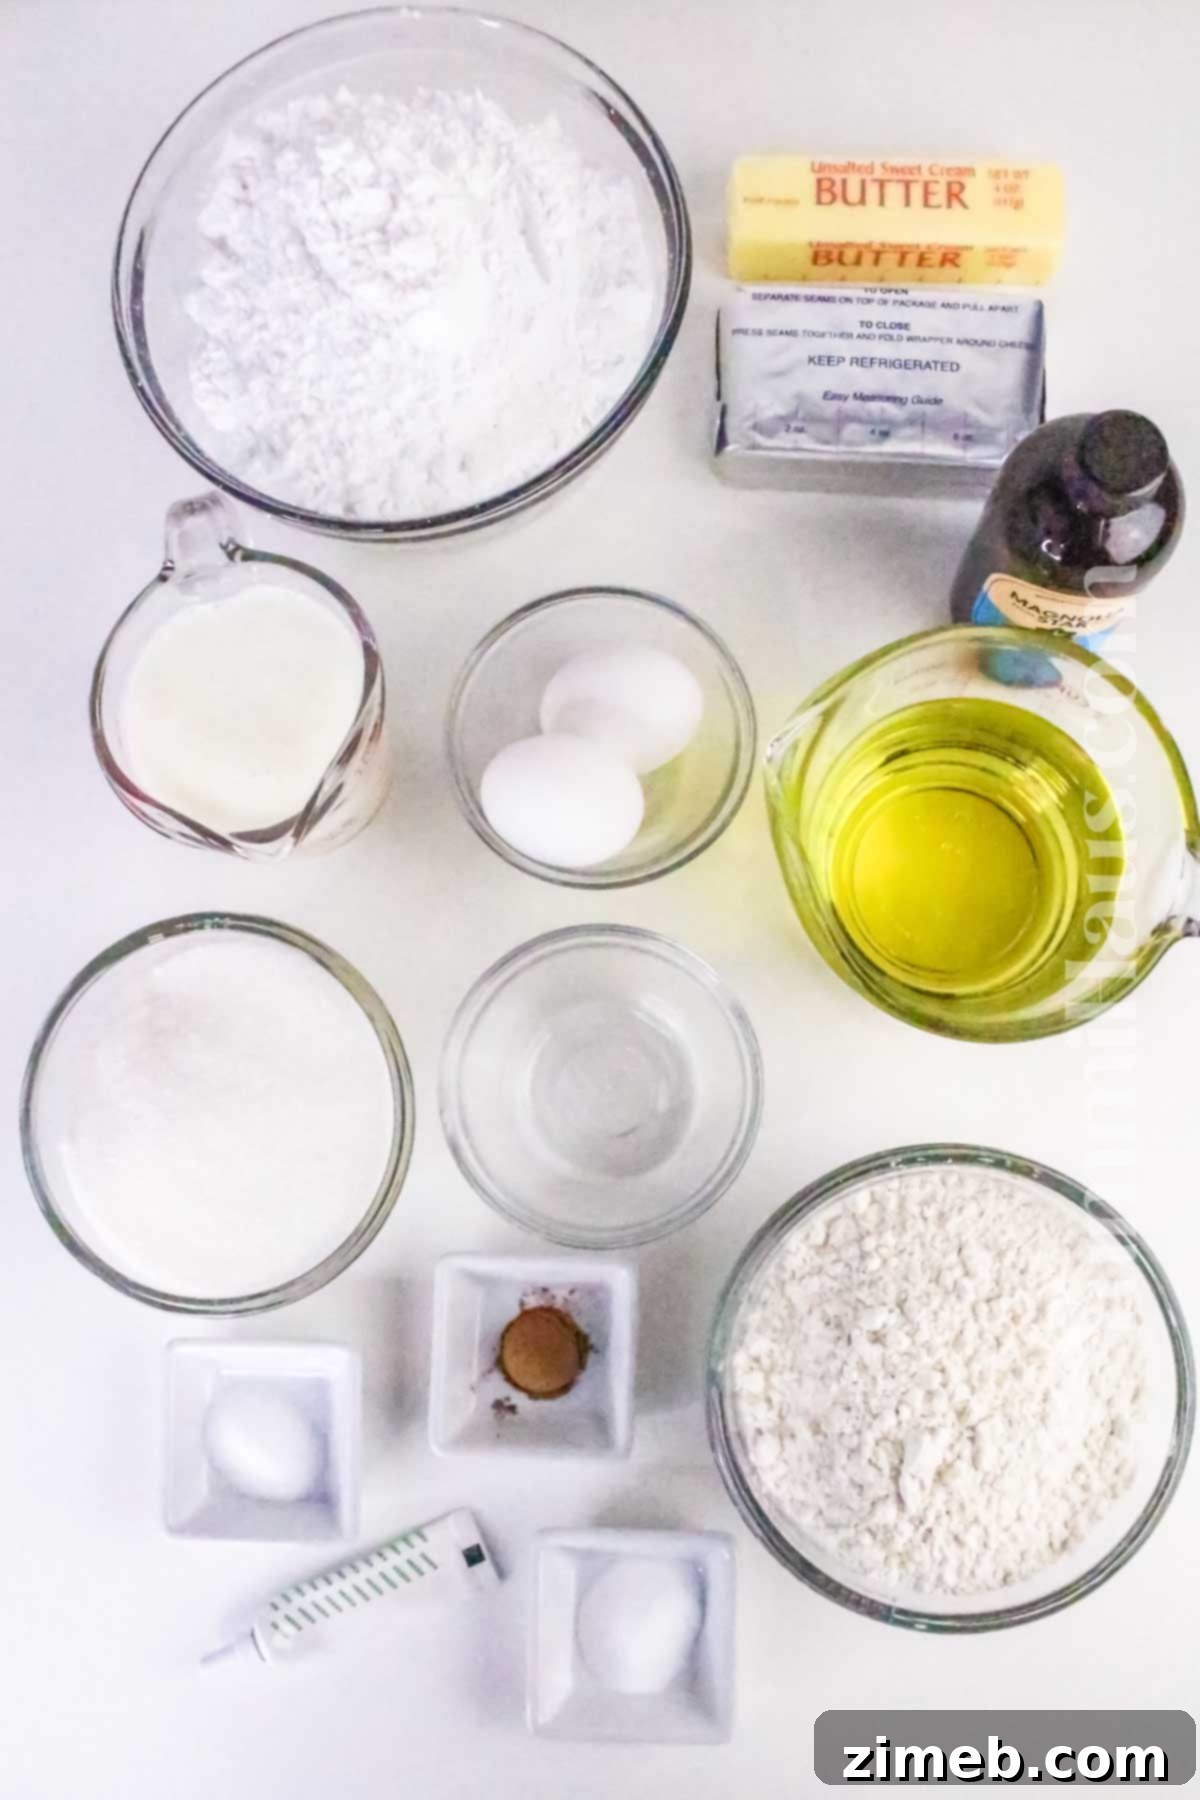
Ingredients You’ll Need: Building Blocks of Flavor
Crafting these amazing green velvet cupcakes involves a thoughtful selection of ingredients that work together to create their signature taste and texture. Here’s a detailed look at what you’ll need:
For the Green Velvet Cupcakes:
- Flour Mixture:
- All-Purpose Flour: The foundation of our cupcake structure. Ensure it’s fresh for optimal results.
- Baking Soda: This leavening agent reacts with the acidic ingredients (buttermilk and vinegar) to create the characteristic light and fluffy “velvet” texture.
- Salt: A pinch of salt enhances all the other flavors, balancing the sweetness and enriching the chocolate notes.
- Granulated Sugar: Not only sweetens the cupcakes but also plays a crucial role in retaining moisture, ensuring a tender crumb that stays fresh longer.
- Cocoa Powder: I recommend using unsweetened cocoa powder. Just a touch adds a delightful chocolatey depth, similar to classic red velvet cupcakes, without overpowering the vibrant green color. It’s more for subtle flavor and slight undertone rather than a dominant chocolate cupcake.
- Eggs: Act as a binder, providing structure and richness, while also helping the cupcakes rise beautifully and maintain a desirable shape.
- Vegetable Oil: Contributes significantly to the cupcakes’ moistness and tenderness. Unlike butter, oil remains liquid at room temperature, keeping the cupcakes soft for longer.
- Buttermilk: Essential for the “velvet” texture. Its acidity reacts with baking soda, producing carbon dioxide for lift, and its fat content contributes to a rich, moist crumb. You can use store-bought full-fat buttermilk or easily make your own by adding a tablespoon of lemon juice or white vinegar to regular milk and letting it sit for 5-10 minutes.
- White Vinegar: Crucial for activating the baking soda, creating that signature fluffy crumb without any detectable vinegar taste in the final product.
- Vanilla Extract: Pure vanilla extract is always recommended for baking to infuse the cupcakes with a warm, aromatic sweetness that complements the chocolate and cream cheese.
- Green Food Coloring: The star ingredient for its festive appeal! You can use either green gel food coloring or liquid food coloring. Gel coloring is often preferred because it’s highly concentrated, meaning you’ll need only a small amount (around 1-1.5 teaspoons) to achieve a vivid, dark green. With liquid food coloring, you might need to use an entire bottle or more to get the desired intensity. Americolor is a popular and reliable brand for gel food coloring.
For the Cream Cheese Frosting:
- Cream Cheese: Softened to room temperature, full-fat cream cheese is key for a truly rich, smooth, and stable frosting. It provides that essential tangy flavor that perfectly balances the sweet cupcakes.
- Unsalted Butter: Also softened to room temperature. Unsalted butter allows you to control the salt content in your frosting, ensuring a perfectly balanced taste. Its creaminess is vital for the frosting’s luxurious texture.
- Vanilla Extract: A generous splash of vanilla extract enhances the overall flavor profile of the frosting, adding warmth and depth.
- Confectioner’s Sugar (Powdered Sugar): This finely milled sugar dissolves easily, creating a silky-smooth frosting texture. You’ll gradually add this, adjusting the amount to achieve your desired sweetness and consistency.
Essential Kitchen Equipment: Tools for Baking Success
Having the right tools on hand will make your green velvet cupcake baking experience smooth and enjoyable. Here’s what you’ll need:
- Cupcake Liners: To ensure easy removal and a clean presentation.
- Cupcake Tin (or Muffin Tins): You’ll likely need several to bake all 24 cupcakes in batches, or use multiple tins simultaneously if you have them.
- Mixing Bowls: At least two – one large for dry ingredients and a medium one for wet ingredients.
- Electric Mixer or Stand Mixer: Essential for thoroughly combining ingredients and achieving a light, airy frosting. A hand mixer works perfectly, but a stand mixer offers convenience.
- Whisk: For combining dry ingredients and initially mixing wet ingredients.
- Rubber Spatula: For scraping down the sides of bowls and gently folding ingredients.
- Optional, Cookie Scoop: A 2-ounce cookie scoop ensures uniform cupcake sizes, leading to even baking and a professional look.
- Optional, Piping Bag and Decorating Tips: For beautifully piped frosting designs. If you don’t have one, a simple Ziploc bag with the corner snipped off or simply spreading with a knife works great too.
- Wire Rack: For cooling the baked cupcakes completely.
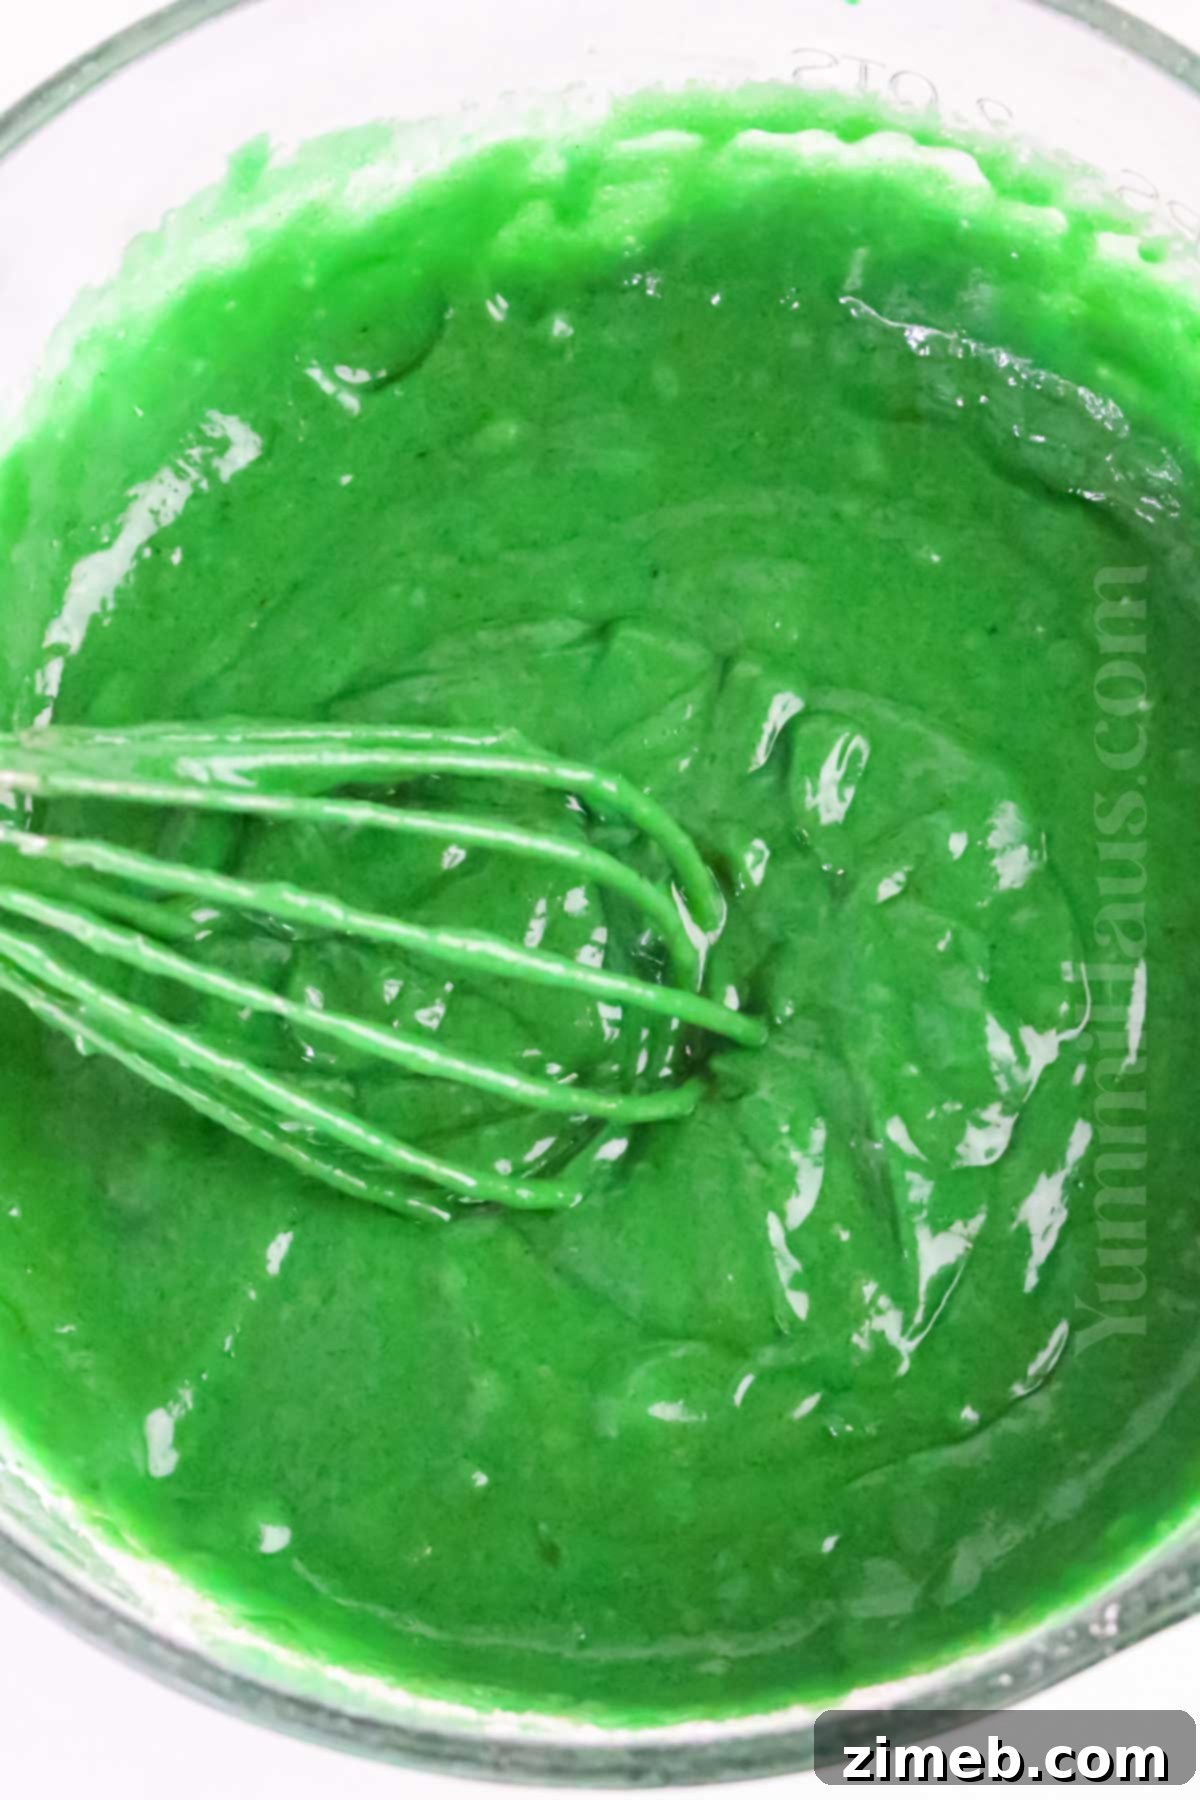
How To Make The Best Green Velvet Cupcakes: Step-by-Step Guide
Step 1: Prepare the Cupcake Batter
- Preheat Oven: Begin by preheating your oven to 350°F (175°C). This ensures the oven is at the correct temperature when your batter is ready, crucial for even baking.
- Prepare Pans: Line your cupcake pans with paper liners. This prevents sticking and makes for easy serving. Set the prepared pans aside.
- Combine Dry Ingredients: In a large mixing bowl, thoroughly whisk together the all-purpose flour, granulated sugar, baking soda, cocoa powder, and salt. Whisking ensures these dry ingredients are well combined and free of lumps.
- Combine Wet Ingredients: In a separate medium-sized bowl, whisk together the eggs, vegetable oil, buttermilk, white vinegar, vanilla extract, and green food coloring. Continue whisking until the mixture is smooth and the color is uniformly vibrant green.
- Combine Wet and Dry: Pour the wet ingredients into the dry ingredients. Stir gently until just combined. Be careful not to over-mix the batter, as over-mixing can develop too much gluten, resulting in tough, dense cupcakes. A few small lumps are perfectly fine!
Step 2: Bake the Perfect Cupcakes
- Fill Liners: Portion the batter evenly into the prepared cupcake liners, filling each one about ¾ full. A cookie scoop is excellent for this, ensuring consistent sizes. You can pour the batter directly or use a scoop.
- Bake: Place the pans in the preheated oven and bake for 18-20 minutes. To check for doneness, insert a toothpick into the center of a cupcake; if it comes out clean, they are ready.
- Cool: Allow the baked cupcakes to rest in the tin for about 5 minutes before carefully transferring them to a wire rack to cool completely. It’s essential that the cupcakes are entirely cool before frosting to prevent the frosting from melting.
Step 3: Create the Cream Cheese Frosting
- Beat Cream Cheese and Butter: In a large mixing bowl, using an electric mixer, beat the softened cream cheese and softened unsalted butter together until the mixture is light, smooth, and creamy. This takes a few minutes and ensures a lump-free frosting.
- Add Vanilla: Stir in the vanilla extract until fully incorporated.
- Gradually Add Sugar: Slowly add the confectioner’s sugar, one cup at a time, beating after each addition until fully combined and smooth. You can adjust the amount of sugar to achieve your desired level of sweetness and frosting consistency. For a thicker frosting, add more sugar; for a slightly thinner one, a splash of milk can be used (though generally not needed with this recipe).
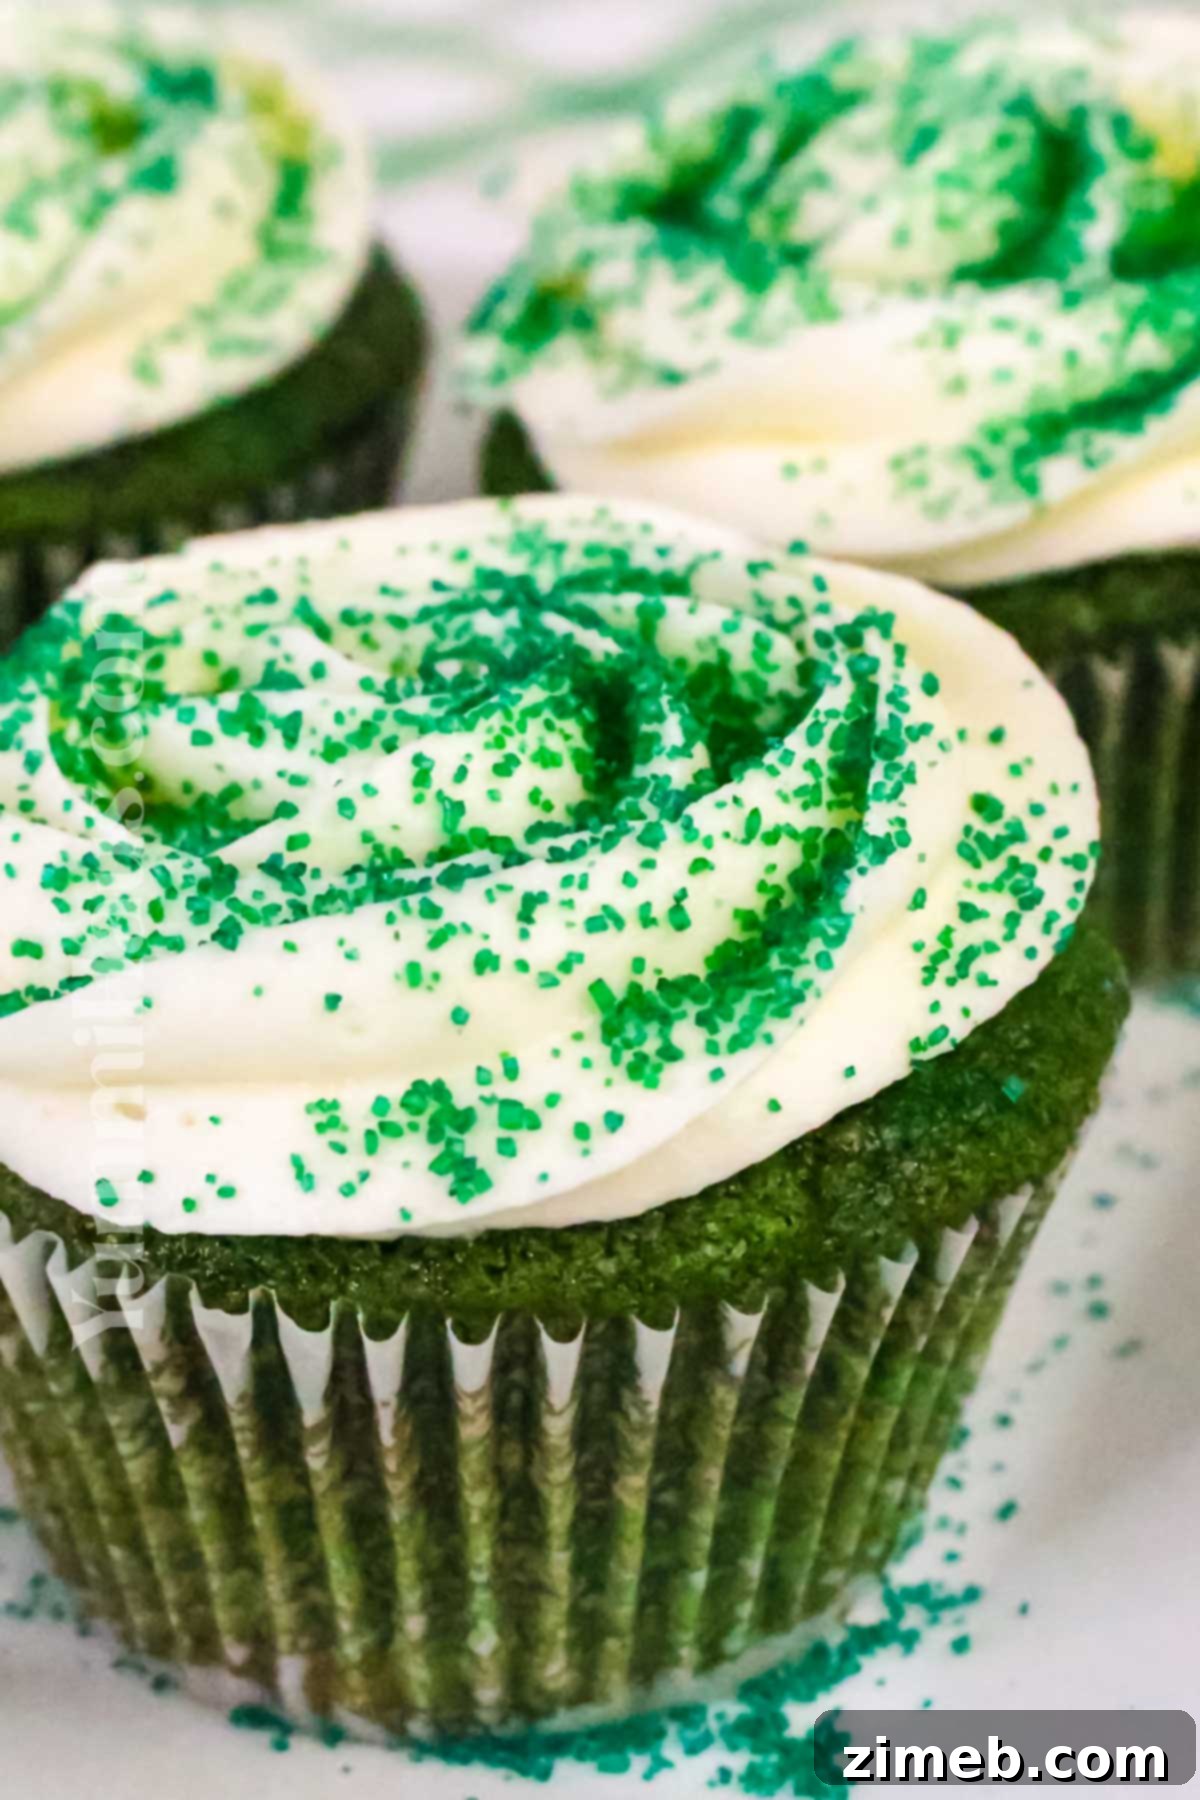
- Decorate: Once your frosting is ready, decorate the cooled cupcakes as desired. This rich cream cheese frosting holds its shape beautifully and can be piped using a pastry bag and tip, or simply spread generously with a knife or spatula. Keep frosted cupcakes cool to maintain their shape and freshness.
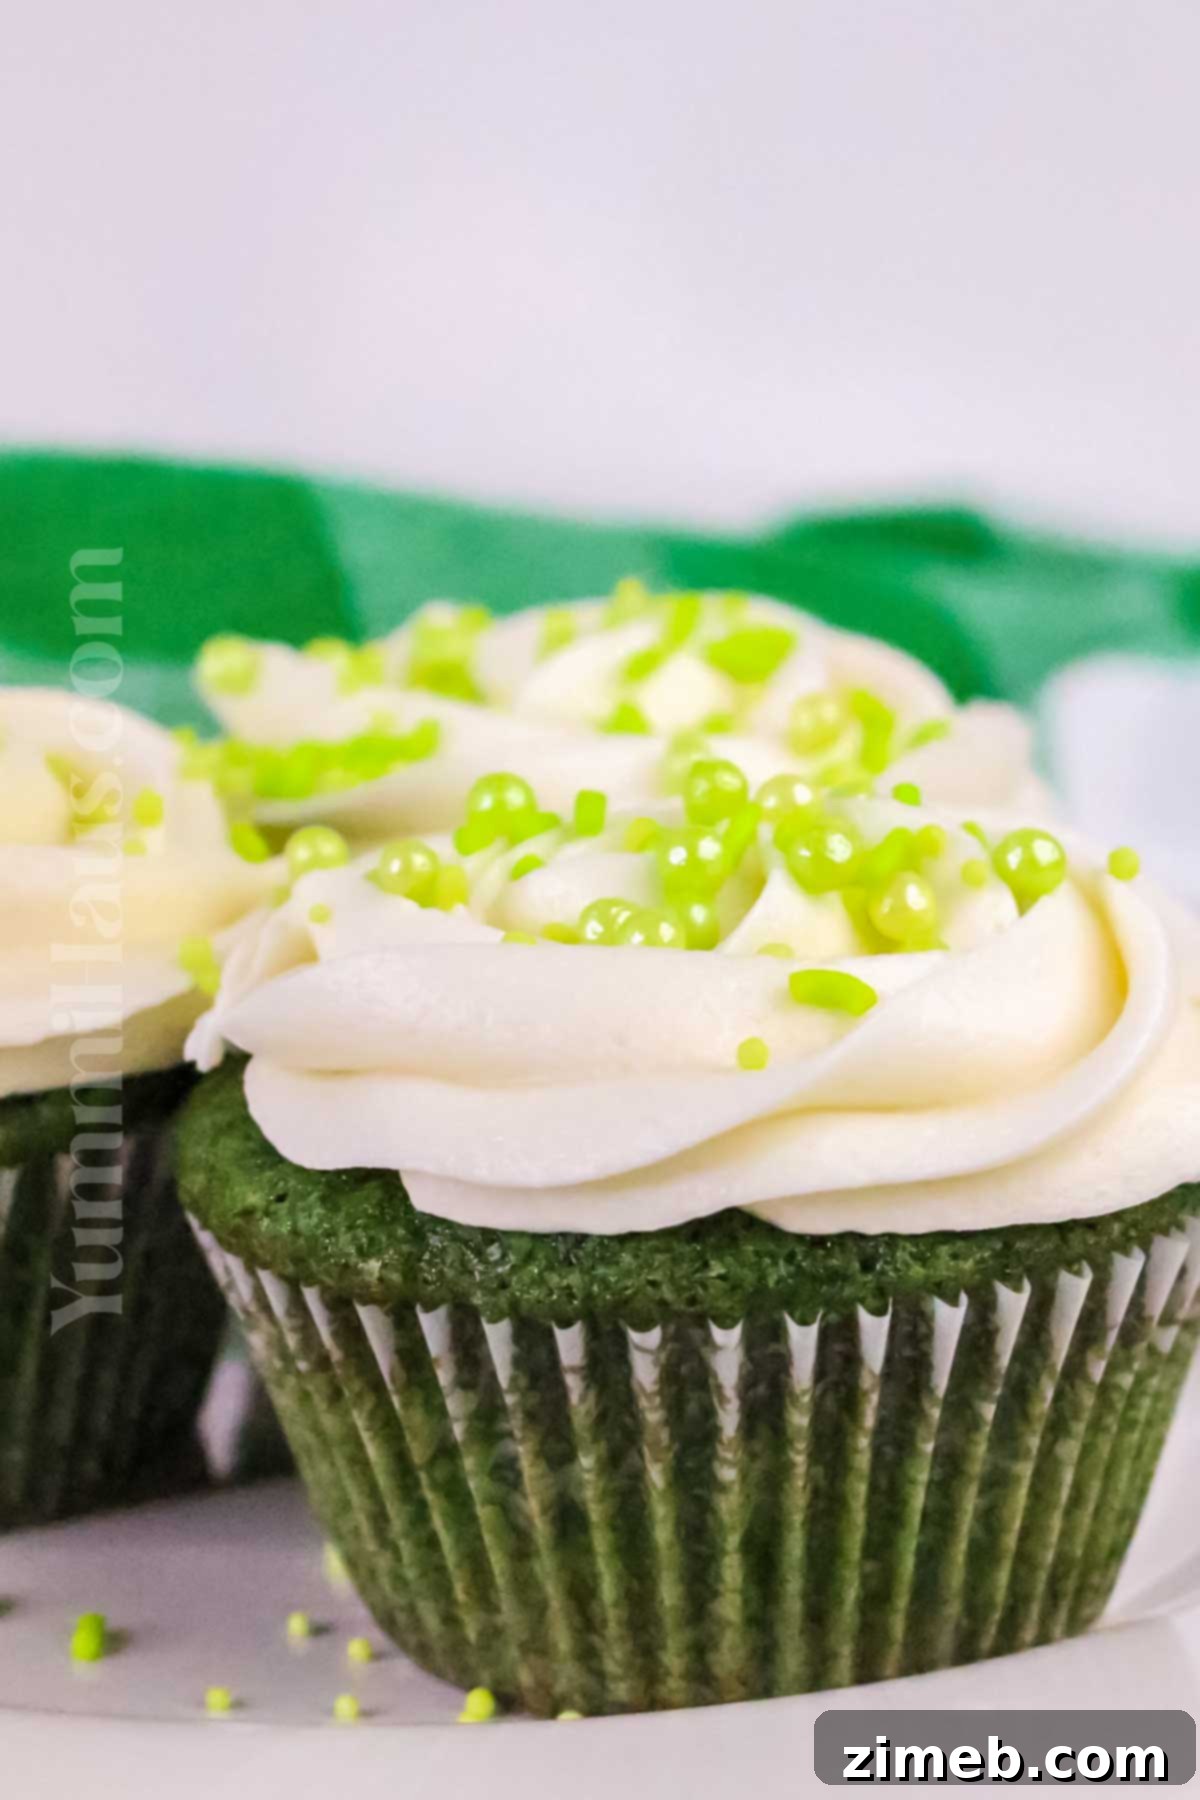
Storage Tips for Freshness and Convenience
To ensure your delicious Green Velvet Cupcakes remain fresh and enjoyable, proper storage is key:
- Room Temperature: Unfrosted cupcakes can be stored in an airtight container at room temperature for 2-3 days. Make sure they are completely cool before storing to prevent condensation.
- Refrigeration (Frosted): Frosted cupcakes, especially with cream cheese frosting, should be refrigerated. Store them in an airtight container for 3-4 days. For the best taste and texture, allow them to come to room temperature for about 30 minutes before serving.
- Freezing Unfrosted Cupcakes: To freeze unfrosted cupcakes, place them in a single layer on a baking sheet and flash freeze for about an hour until firm. Then, individually wrap each cupcake in plastic wrap, transfer them to a freezer-safe bag, and store in the freezer for up to 3 months. Thaw at room temperature before frosting.
- Freezing Frosted Cupcakes: If you need to freeze frosted cupcakes, first flash freeze them on a baking sheet until the frosting is completely solid. This prevents smudging. Once firm, tightly wrap each cupcake in plastic wrap, then place them in a freezer-safe container or bag. They can be stored for up to 2 months. Thaw overnight in the refrigerator, then bring to room temperature before serving.
- Make Ahead: For ultimate convenience, bake the cupcakes and prepare the frosting up to 2 days in advance. Store them separately (cupcakes at room temperature if unfrosted, frosting in the fridge). Assemble and decorate just before serving for the freshest experience.
Substitutions & Creative Variations: Tailor Your Cupcakes
This recipe is wonderfully versatile, allowing for various substitutions and creative twists to suit your preferences or dietary needs:
- For the Cupcakes:
- Flour Alternatives: For an even softer crumb with less gluten development, you can swap half or all of the all-purpose flour for cake flour. If using self-rising flour, omit the baking soda and salt as these are already included.
- Shortcut Option: In a pinch, a good quality green velvet cake mix or even a regular vanilla/white cake mix with added green food coloring can be used as a convenient shortcut. Just follow the package instructions for preparation.
- Moisture Boost: Incorporating Greek yogurt or sour cream into the batter adds a lovely tanginess and further enhances the tenderness and moisture of the cupcakes. This also introduces a richer flavor profile.
- For the Frosting:
- Different Frosting Flavors: While cream cheese frosting is traditional, feel free to swap it with other delightful options. Consider a rich chocolate cream cheese frosting, a classic buttercream (which can also be dyed green), a festive Bailey’s Irish Cream buttercream for an adult twist, a fluffy marshmallow frosting, or a decadent white chocolate frosting (which usually requires cooking). For a lighter option, simply pipe freshly whipped heavy cream.
- Decorations: Elevate your cupcakes with diverse toppings. Try edible gold sanding sugar, charming shamrock sprinkles, a mix of white, green, and gold sprinkles, or fun festive cupcake toppers. Changing the decorations can easily transform these green velvet cupcakes to suit other holidays, like using red and green sprinkles for Christmas!
- Shape and Size Variations: Instead of standard cupcakes, you can bake this recipe as a whole green velvet cake (adjusting baking time) or as adorable mini cupcakes (reducing baking time to around 10-12 minutes).
- Classic Red Velvet: To revert to the classic, simply swap the green food coloring for red food coloring, maintaining all other ingredients and steps.
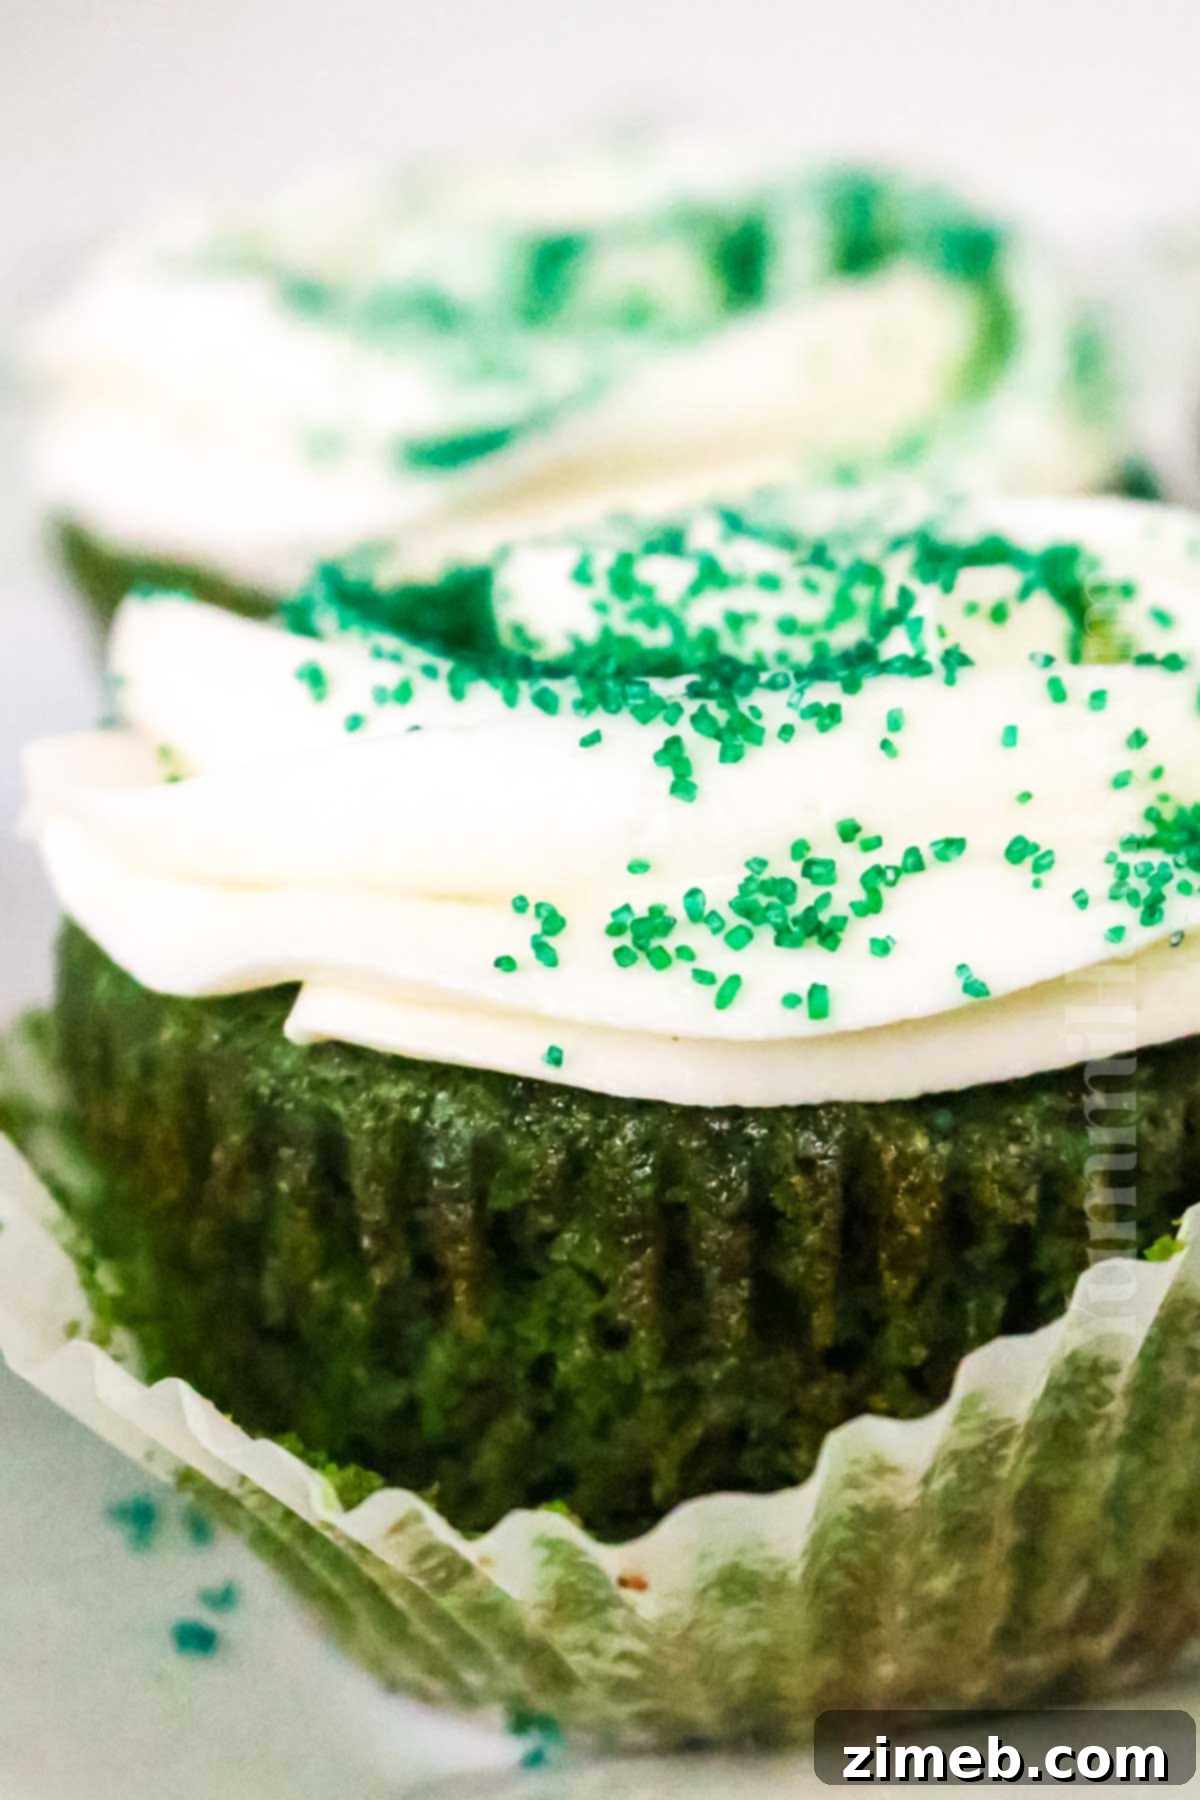
Expert Tips For Perfect Green Velvet Cupcakes Every Time
- Room Temperature Ingredients Are Key: Always ensure your butter, cream cheese, and eggs are at room temperature. Take them out of the fridge 30-45 minutes before you start baking. This allows them to cream together smoothly, creating a uniform batter and a lump-free, airy frosting.
- Don’t Overfill Liners: To prevent overflow and ensure beautiful domes, fill cupcake liners only about two-thirds to three-quarters full. This gives the cupcakes enough space to rise without spilling over.
- Gentle Mixing: When combining wet and dry ingredients for the cupcake batter, mix only until just combined. Over-mixing develops gluten, leading to dense and chewy cupcakes instead of the desired tender, velvet texture. A few small lumps are perfectly acceptable.
- Testing for Doneness: The toothpick test is reliable! Insert a toothpick into the center of a cupcake; if it comes out clean or with a few moist crumbs attached, it’s done. If it comes out with wet batter, bake for a few more minutes.
- Cool Completely: Resist the urge to frost warm cupcakes! The frosting will melt and slide off. Always allow cupcakes to cool completely on a wire rack before applying frosting.
- Whip Your Butter First (Frosting): For an exceptionally light and fluffy cream cheese frosting, beat the softened unsalted butter on medium-high speed for a full 3-5 minutes until it’s pale and airy. Then, add the softened cream cheese and beat until just smooth. Finally, gradually beat in the confectioner’s sugar until you reach your desired consistency. This method incorporates more air, resulting in a superior frosting texture.
- Cube Ingredients for Faster Softening: If you’re short on time, cut your cold butter and cream cheese into small cubes. This increases their surface area, helping them come to room temperature faster.
- High-Quality Food Coloring: For the most vibrant green hue without affecting the batter consistency, opt for a gel food coloring (like Americolor). You’ll use less and achieve a deeper color compared to liquid dyes.
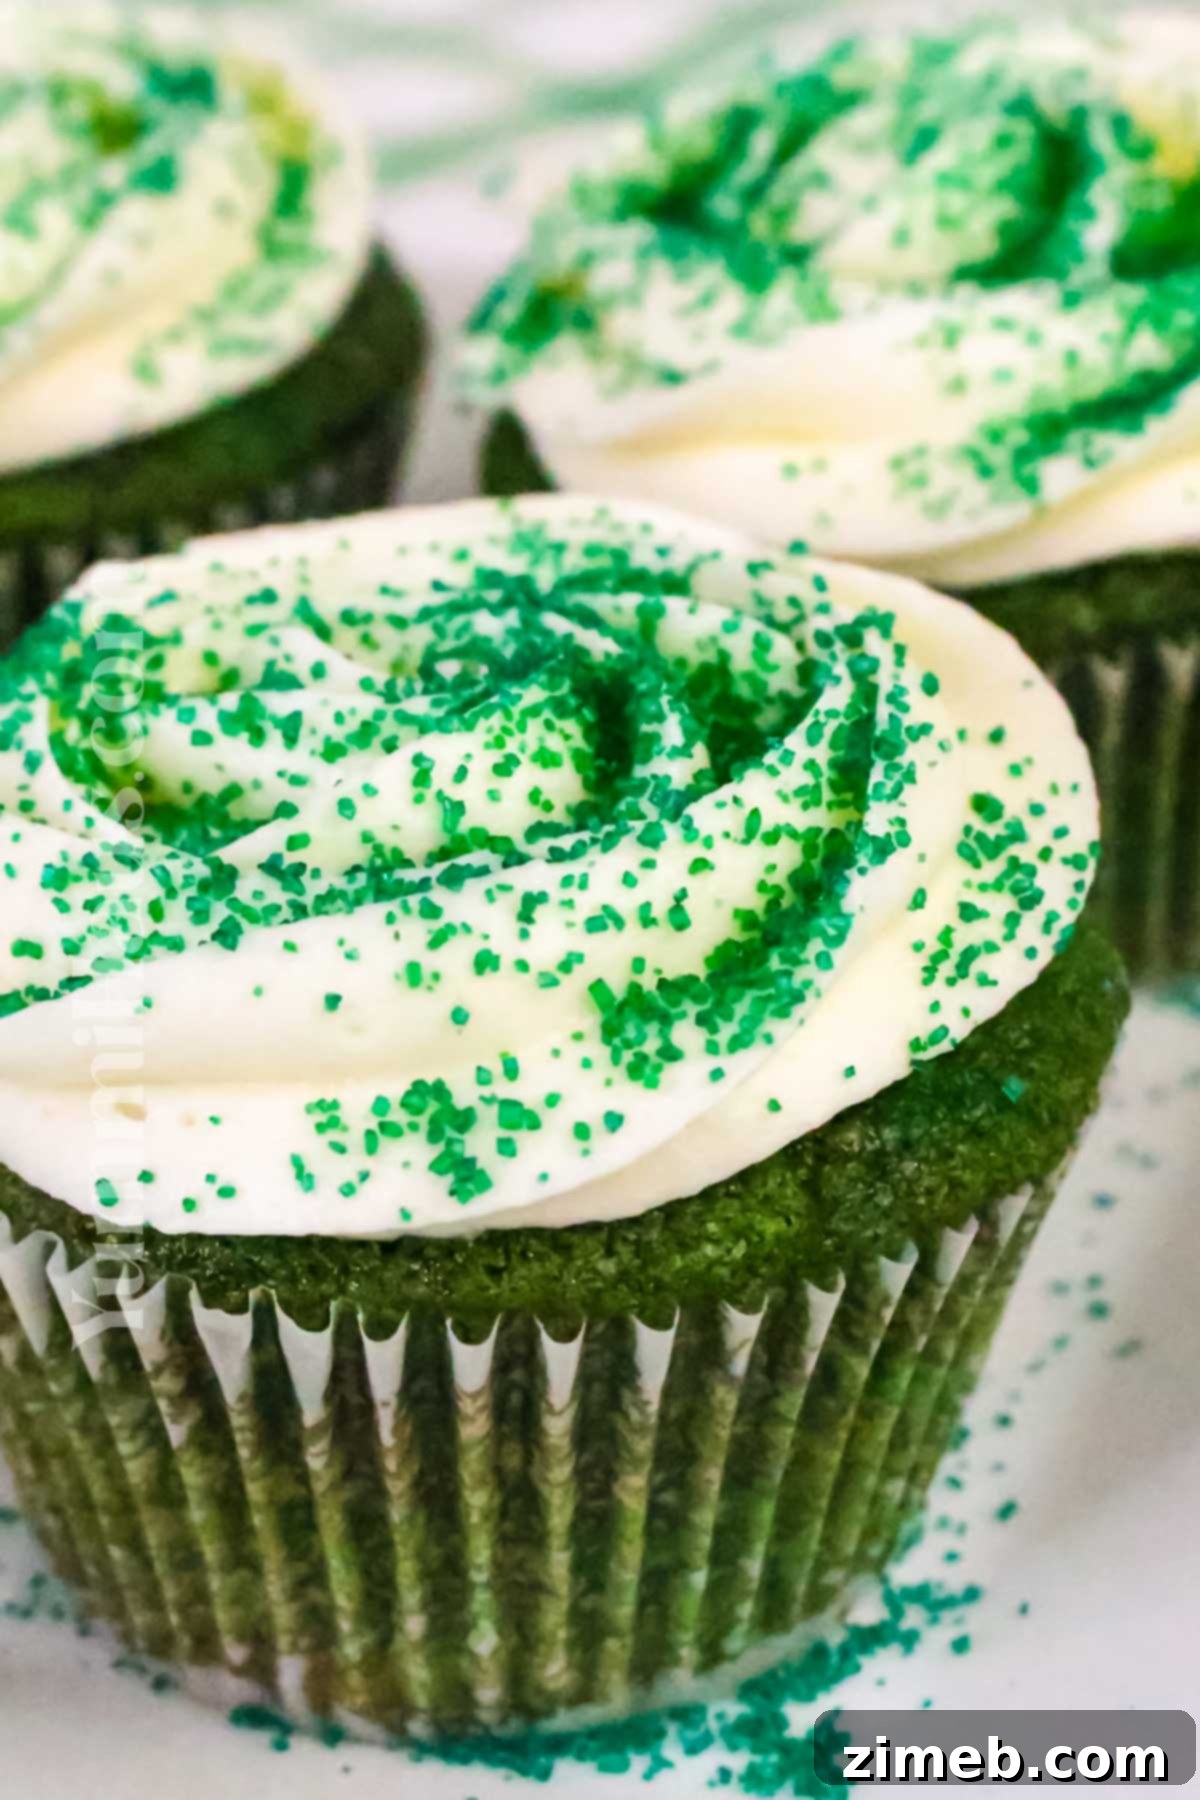
Frequently Asked Questions About Green Velvet Cupcakes
What Is The Secret To Super Moist Cupcakes?
Achieving super moist cupcakes is a culinary art that depends on a few key factors:
- Buttermilk: This acidic dairy product is a game-changer. It not only contributes moisture but also a slight tangy flavor that complements the chocolate and reacts with baking soda to create a tender crumb. Buttermilk works significantly better than regular milk in creating that sought-after “velvet” texture.
- Oil: Using vegetable oil (or another neutral-flavored oil) instead of or in addition to butter is crucial for moisture. Oil remains liquid at room temperature, keeping the cupcakes soft and tender for longer, whereas butter can solidify and make baked goods seem drier.
- Sugar Content: The right amount of sugar is vital not just for sweetness, but also for locking in moisture during the baking process. Sugar is a hygroscopic ingredient, meaning it attracts and holds onto water, contributing to a moist texture. Adding a touch of brown sugar can also boost moisture and introduce a lovely chewiness.
- Gentle Mixing: This cannot be stressed enough. Over-mixing the batter develops too much gluten in the flour, leading to tough and dry cupcakes. Mix only until the ingredients are just combined.
- White Vinegar: My personal secret tip! A small amount of white vinegar activates the baking soda, creating more air bubbles and a beautifully tender, moist crumb. You won’t taste it, but you’ll definitely notice the difference in texture.
- Don’t Overbake: Overbaking is the quickest way to dry out any cupcake. Keep a close eye on your baking time and use the toothpick test; remove them from the oven as soon as they pass.
Can I make these cupcakes ahead of time?
Absolutely! You can bake the cupcakes 1-2 days in advance and store them unfrosted in an airtight container at room temperature. The cream cheese frosting can also be made a day or two ahead and stored in an airtight container in the refrigerator. Just bring the frosting to room temperature and re-whip it slightly before frosting your cooled cupcakes.
How do I get a really vibrant green color?
For the most vibrant green, I highly recommend using gel food coloring. It’s much more concentrated than liquid food coloring, so you’ll need less of it to achieve a deep, rich hue. Brands like Americolor are excellent for this purpose. Add it gradually until you reach your desired shade.
If you love this easy green velvet cupcake recipe, you’re going to love these other festive treats too. Each link below leads to an easy, printable recipe!
Lucky Charm Treats
Lucky Charm Treats are a super fun no-bake dessert made with just 3 ingredients. Loaded with marshmallows, so perfect for St. Patrick’s Day!
Check out this recipe
Rainbow St. Patrick’s Day Cake
Rainbow St. Patrick’s Day Cake is super easy to make & the perfect dessert for your St. Patrick’s Day celebrations! Plus it’s topped with MARSHMALLOWS!
Check out this recipe
Lucky Charms Lush
Lucky Charms Lush is a dreamy, no-bake dessert with layers of creamy pudding, whipped topping, and a crunchy cereal crust. A magically delicious treat perfect for St. Patrick’s Day or any sweet occasion!
Check out this recipe
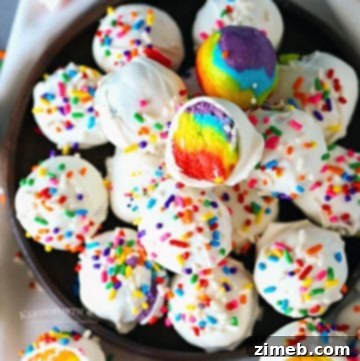
Rainbow Truffles Recipe
This Rainbow Truffles Recipe is the perfect no-bake treat for rainbow lovers! Made with cake mix & cream cheese, they’re easy & so tasty too! Make them for parties, St. Patrick’s Day & more.
Check out this recipe
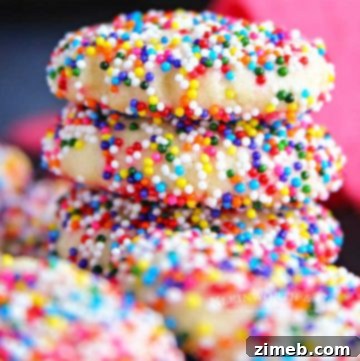
Rainbow Sprinkle Cookies
Rainbow Sprinkle Cookies are a soft and chewy dropped sugar cookie recipe coated in rainbow nonpareils. They’re perfect for any celebration – including St. Patrick’s Day, Mother’s Day, and of course, BIRTHDAYS!
Check out this recipe
More Cupcakes You’ll Love
Strawberry Crunch Cupcakes
Funfetti Cupcakes Recipe
Chocolate Chip Cupcakes
Mint Chocolate Cupcakes
CONNECT WITH YUMMI HAUS!
Be sure to follow me on my social media, so you never miss a post!
Substack, FB, Pinterest, IG, Email Subscription
Rate this Recipe
Green Velvet Cupcakes
Course: Dessert
Servings: 24 servings
Green Velvet Cupcakes are a fun and festive twist on classic red velvet, featuring a rich, fluffy texture and topped with luscious cream cheese frosting. Perfect for St. Patrick’s Day or any special occasion!
Print Recipe
Pin Recipe
Prep Time: 20 mins
Cook Time: 20 mins
Total Time: 40 mins
Ingredients
Cupcakes
- 2 ½ cups all-purpose flour
- 1 ¼ cups granulated sugar
- 1 teaspoon baking soda
- 1 tablespoon cocoa powder
- 1 teaspoon salt
- 2 large eggs
- 1 cup vegetable oil
- 1 cup buttermilk
- 1 tablespoon white vinegar
- 1 teaspoon vanilla extract
- 1 ½ teaspoons green food coloring
Cream Cheese Frosting
- 8 ounces cream cheese (softened)
- ½ cup butter (unsalted – softened)
- 1 teaspoon vanilla extract
- 4 cups confectioner’s sugar (one – 32oz bag)
Instructions
Cupcakes
- Preheat the oven to 350°F (175°C).
- Line the cupcake pans with liners. Set aside.
- Whisk the flour, sugar, baking soda, cocoa powder, and salt in a large bowl.
- Combine the eggs, oil, buttermilk, vinegar, vanilla, and green food coloring in a separate bowl – whisking until smooth.
- Add the wet ingredients to the dry ingredients, stirring until just combined. Don’t over-mix.
- Portion out the batter into the prepared pan, filling each liner about ¾ full.
- Bake for 18-20 minutes, or until a toothpick inserted into the center comes out clean.
- Allow the cupcakes to cool completely before frosting.
Frosting
- Beat the cream cheese and butter together in the mixing bowl until smooth and creamy.
- Stir in the vanilla.
- Slowly add the confectioner’s sugar, beating until fully combined.
- Decorate the cupcakes as desired. This frosting can be piped or spread on – it will hold its shape if kept cool.
Nutrition
Serving: 1 serving | Calories: 321kcal | Carbohydrates: 42g | Protein: 2g | Fat: 16g | Saturated Fat: 3g | Cholesterol: 20mg | Sodium: 223mg | Potassium: 44mg | Fiber: 1g | Sugar: 31g | Calcium: 11mg | Iron: 1mg | Net Carbohydrates: 21g
Nutritional information for the recipe is provided as a courtesy and is approximate. Please double-check with your own dietary calculator for the best accuracy. We at Yummi Haus cannot guarantee the accuracy of the nutritional information given for any recipe on this site.
Love this recipe?
Follow @KleinworthCo for even more tasty recipes!