
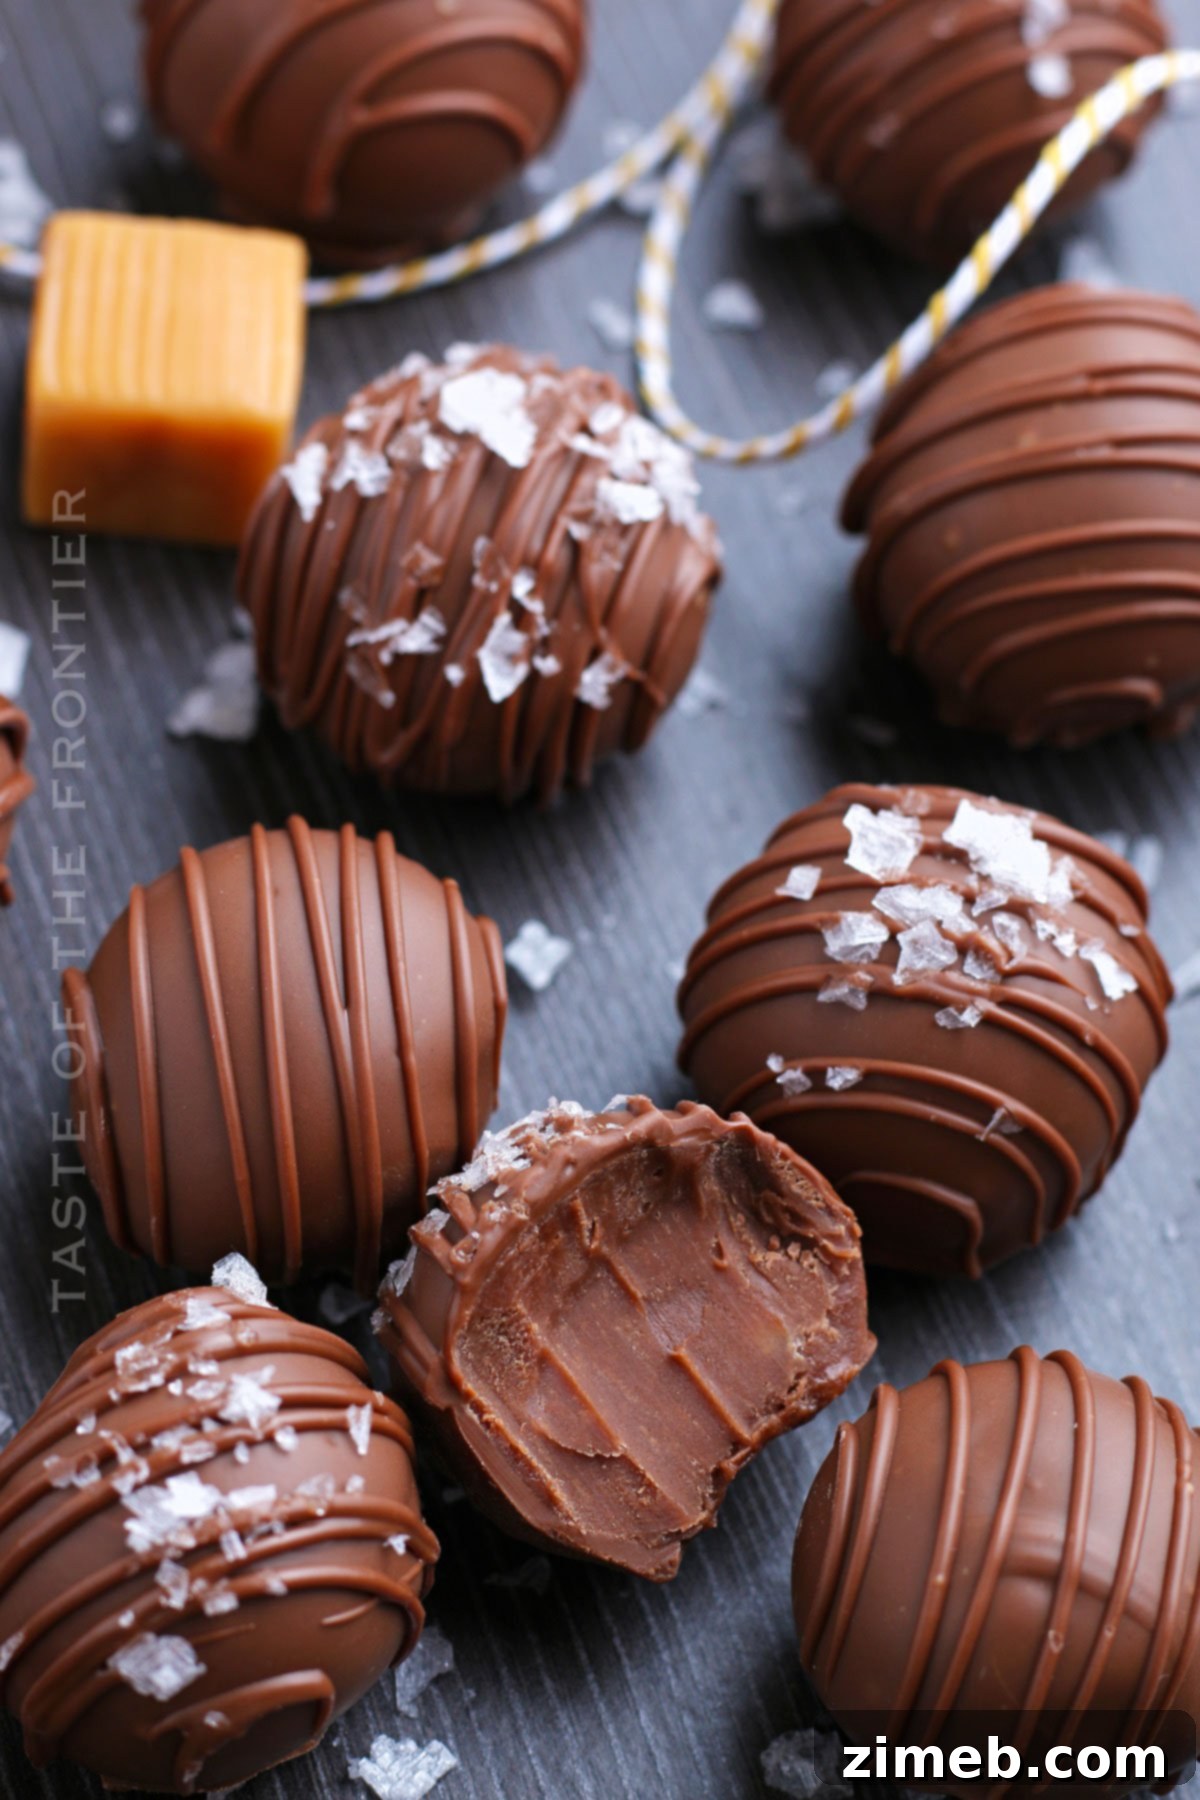
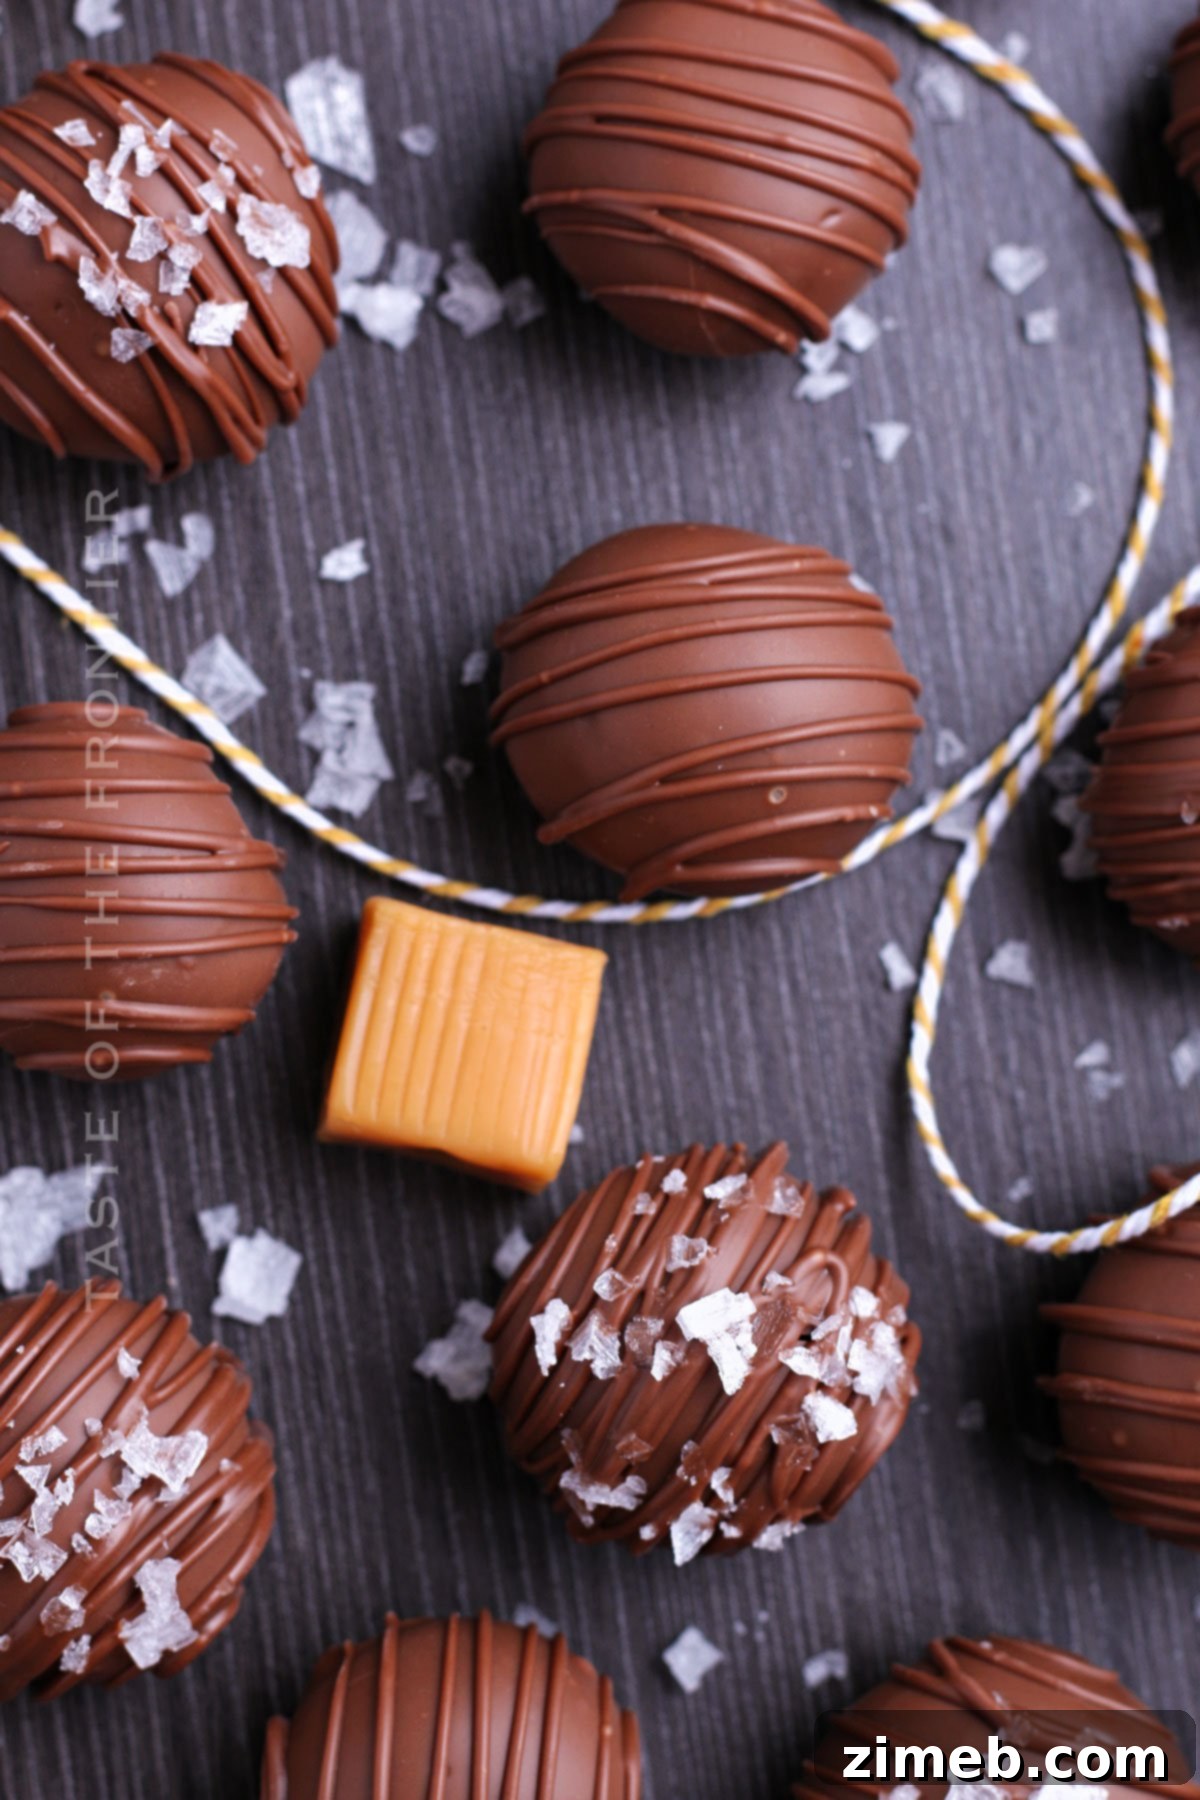
Welcome to the delightful world of homemade treats! These easy-to-make Caramel Truffles are a testament to how simple ingredients can create something truly extraordinary. Each bite offers a rich and creamy experience, thanks to their thick, decadent chocolate caramel filling, encased in a crisp chocolate coating and adorned with delicate flakes of sea salt. It’s the perfect salty-sweet combination that will captivate your taste buds.
Today, I’m thrilled to share a recipe that promises to be a true delight for anyone with a love for confectionery – homemade Caramel Truffles. Truffles hold a special place in my heart; they’re my secret indulgence, the kind of candy I confess to hiding from my kids! There’s something undeniably magical about crafting these small, luxurious bites, and I constantly enjoy exploring new variations.
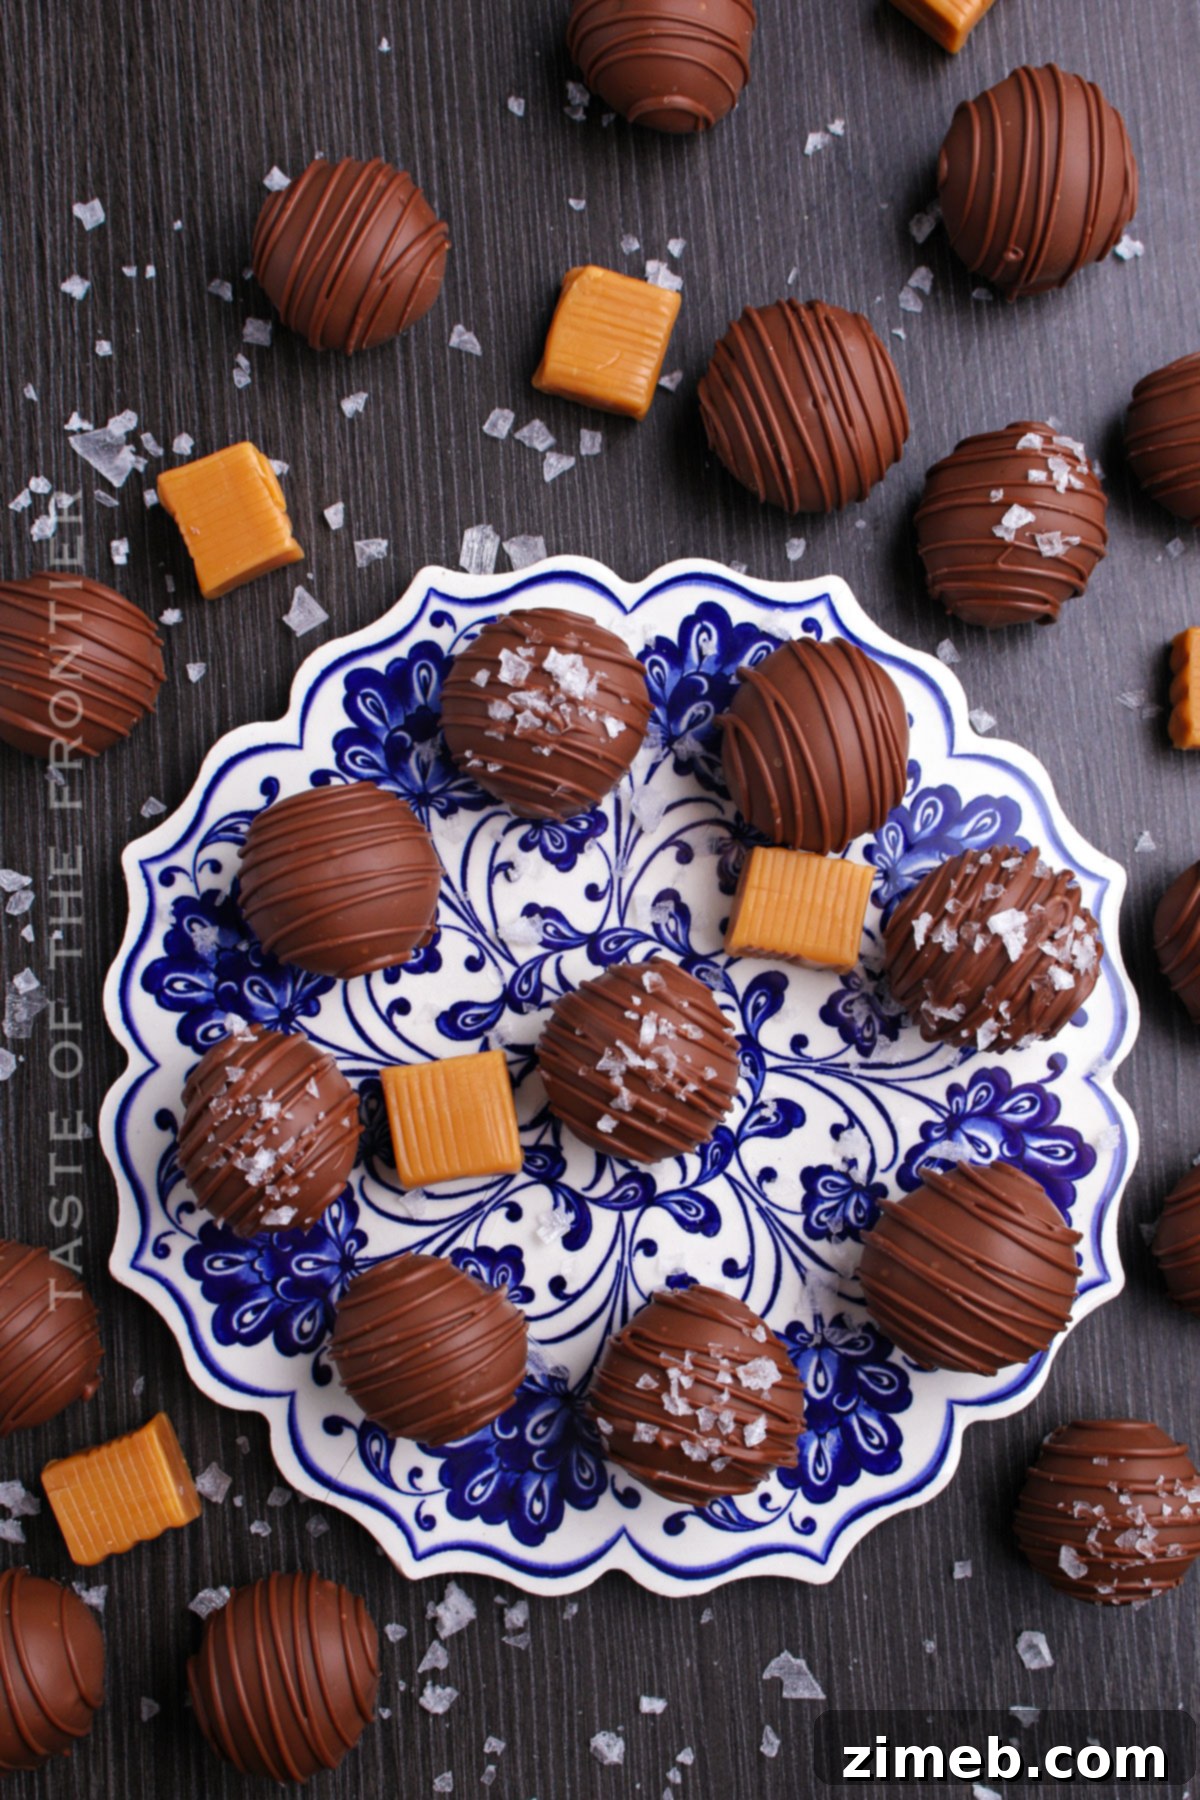
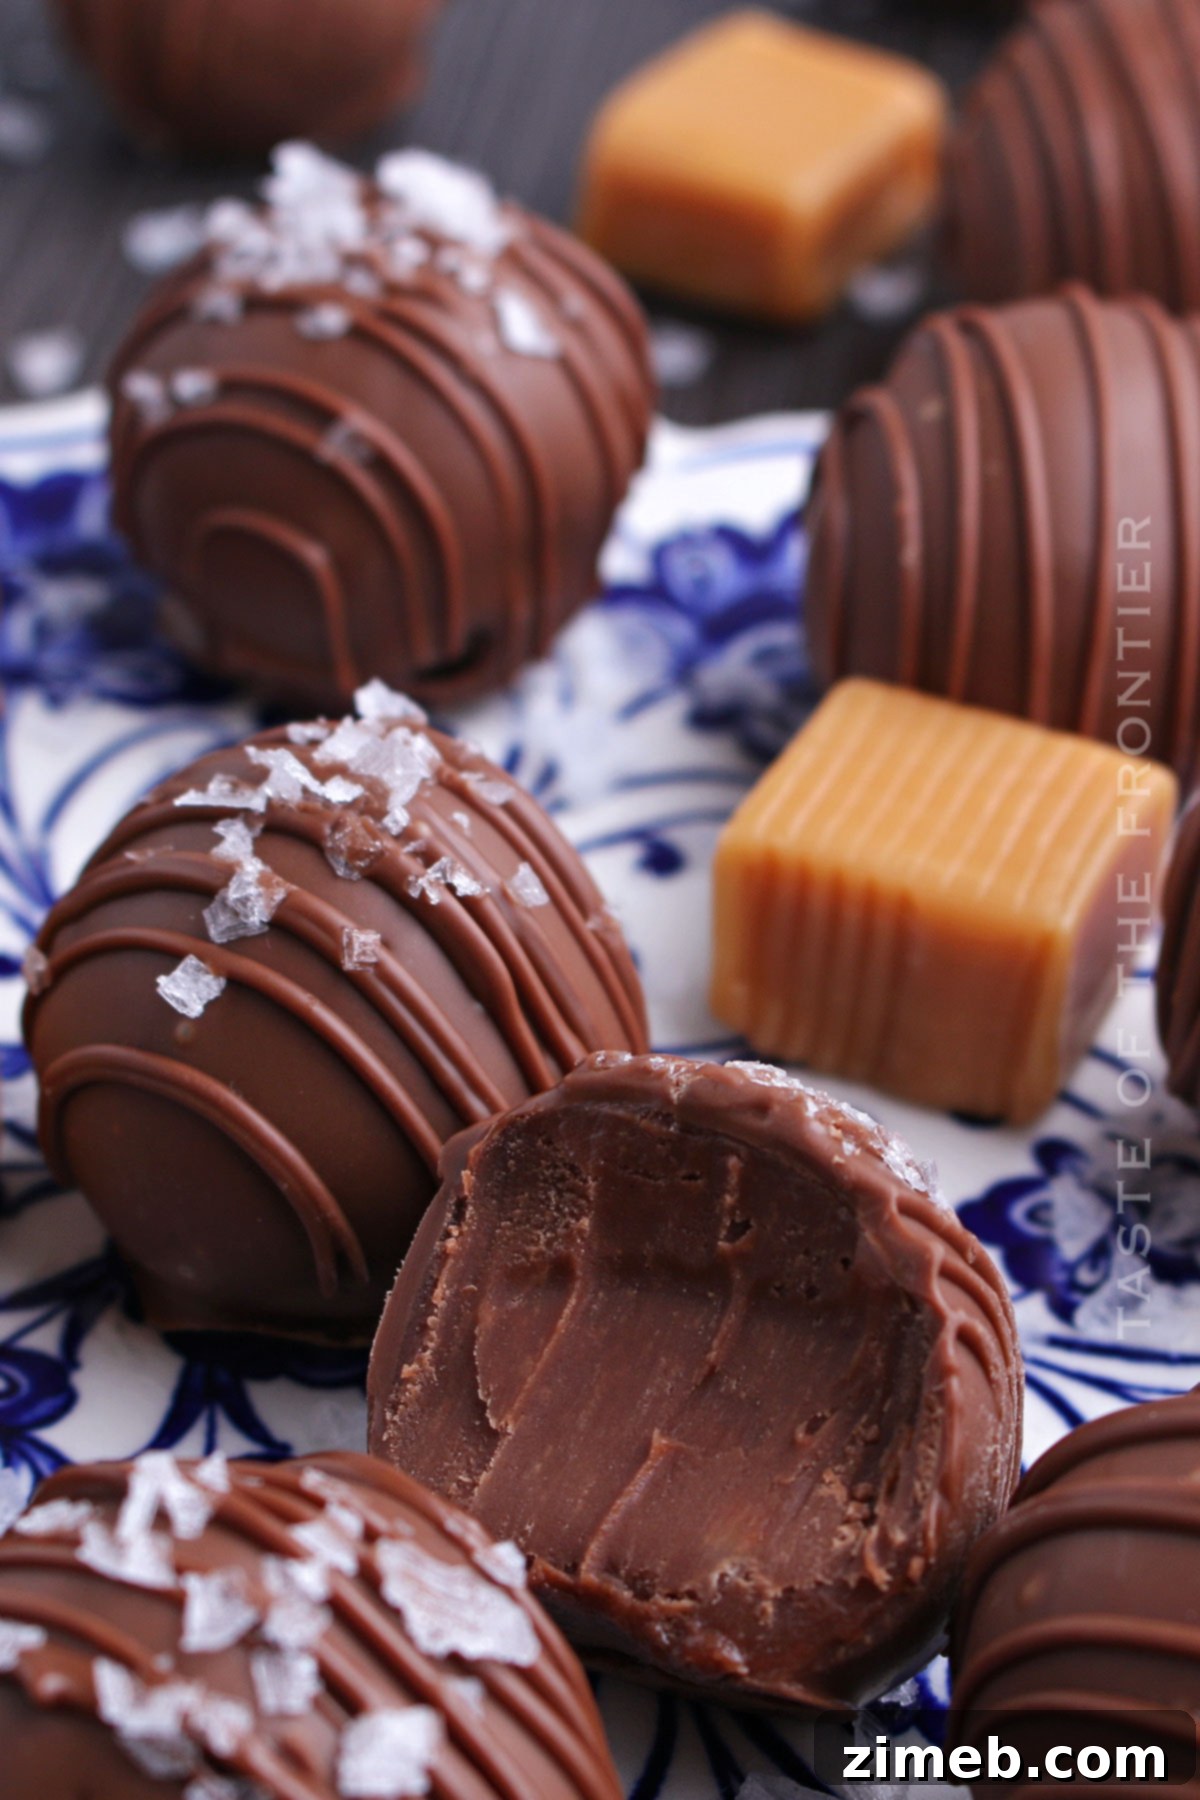
This caramel truffles recipe, in particular, has quickly become a new favorite. Imagine sinking your teeth into a smooth, velvety sphere of rich milk chocolate, only to discover a lusciously creamy, melt-in-your-mouth chocolate caramel center. These truffles are like tiny edible jewels, each one delivering a perfect harmony of sweetness. For an elevated flavor profile, a sprinkle of sea salt adds a sophisticated hint of saltiness, balancing the richness beautifully.
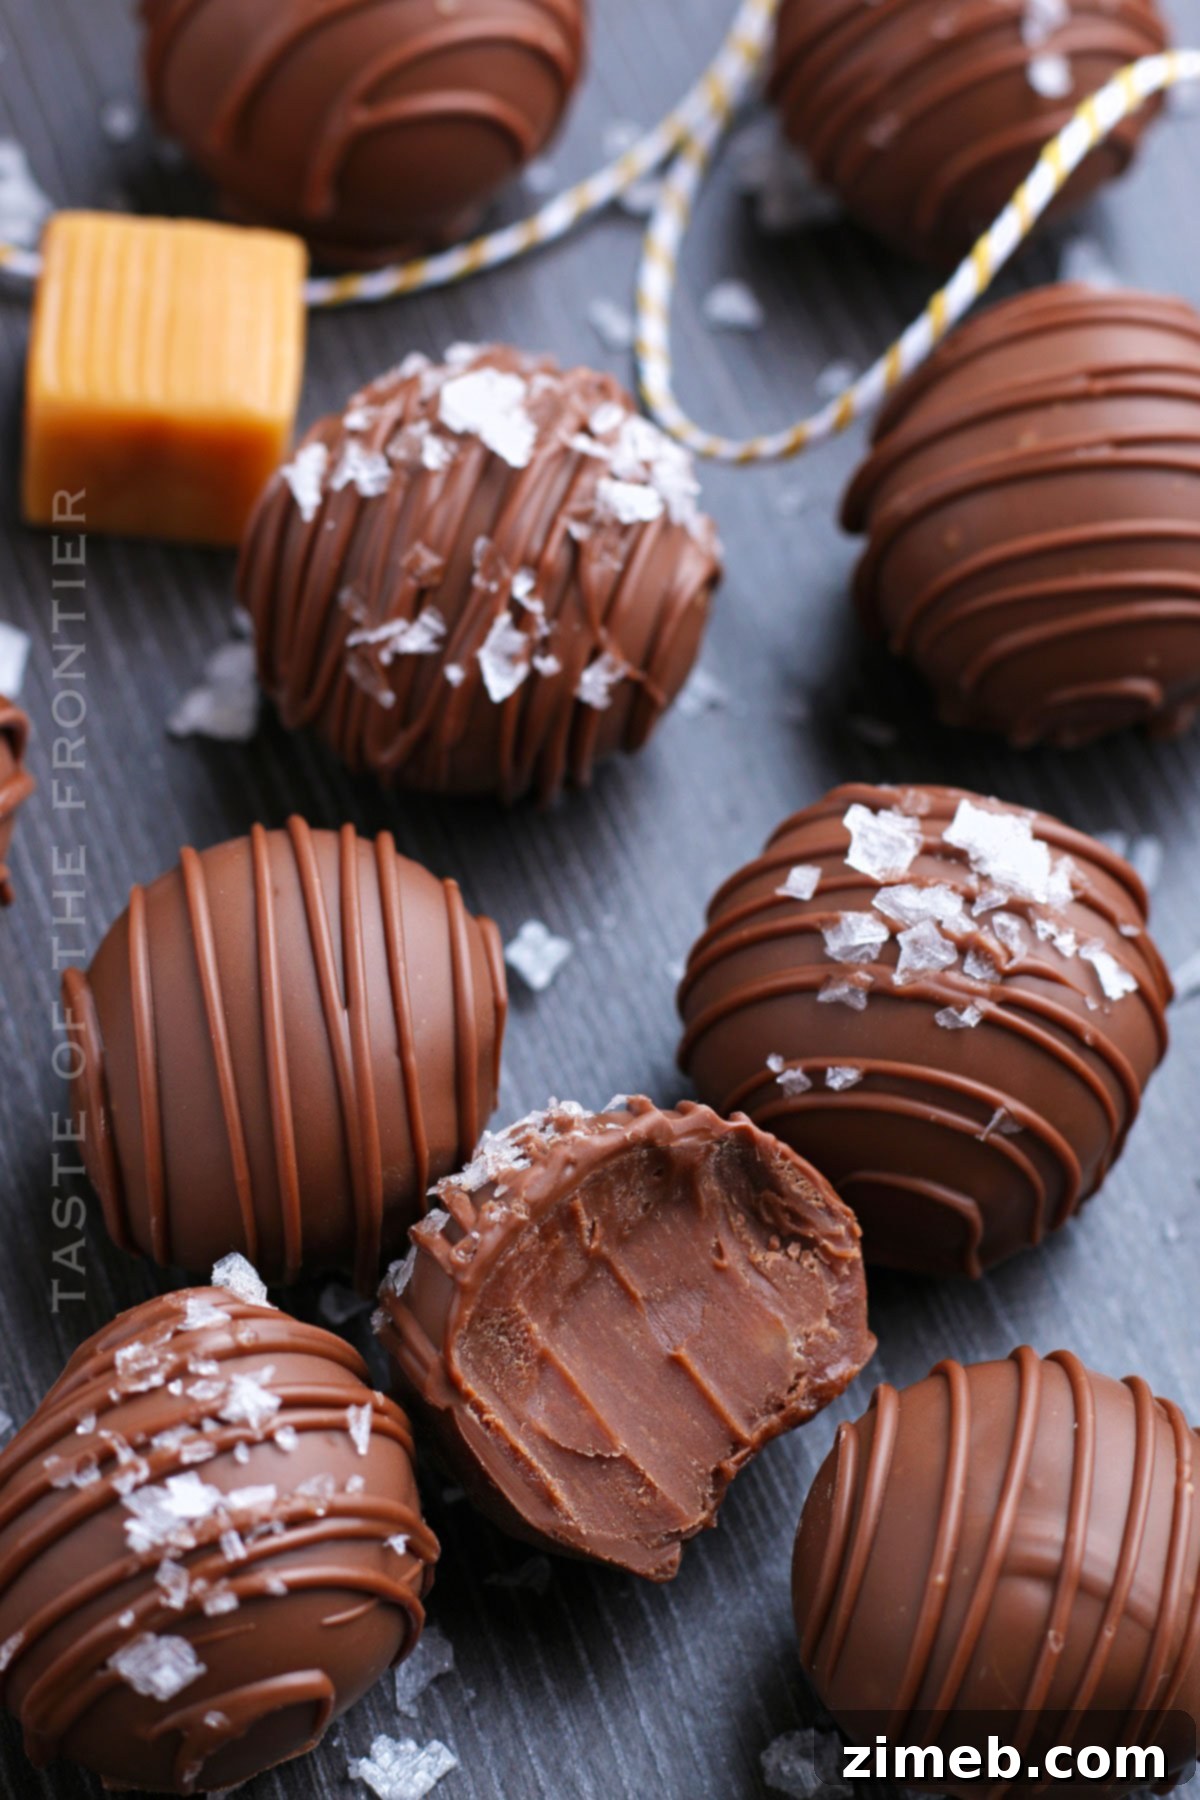
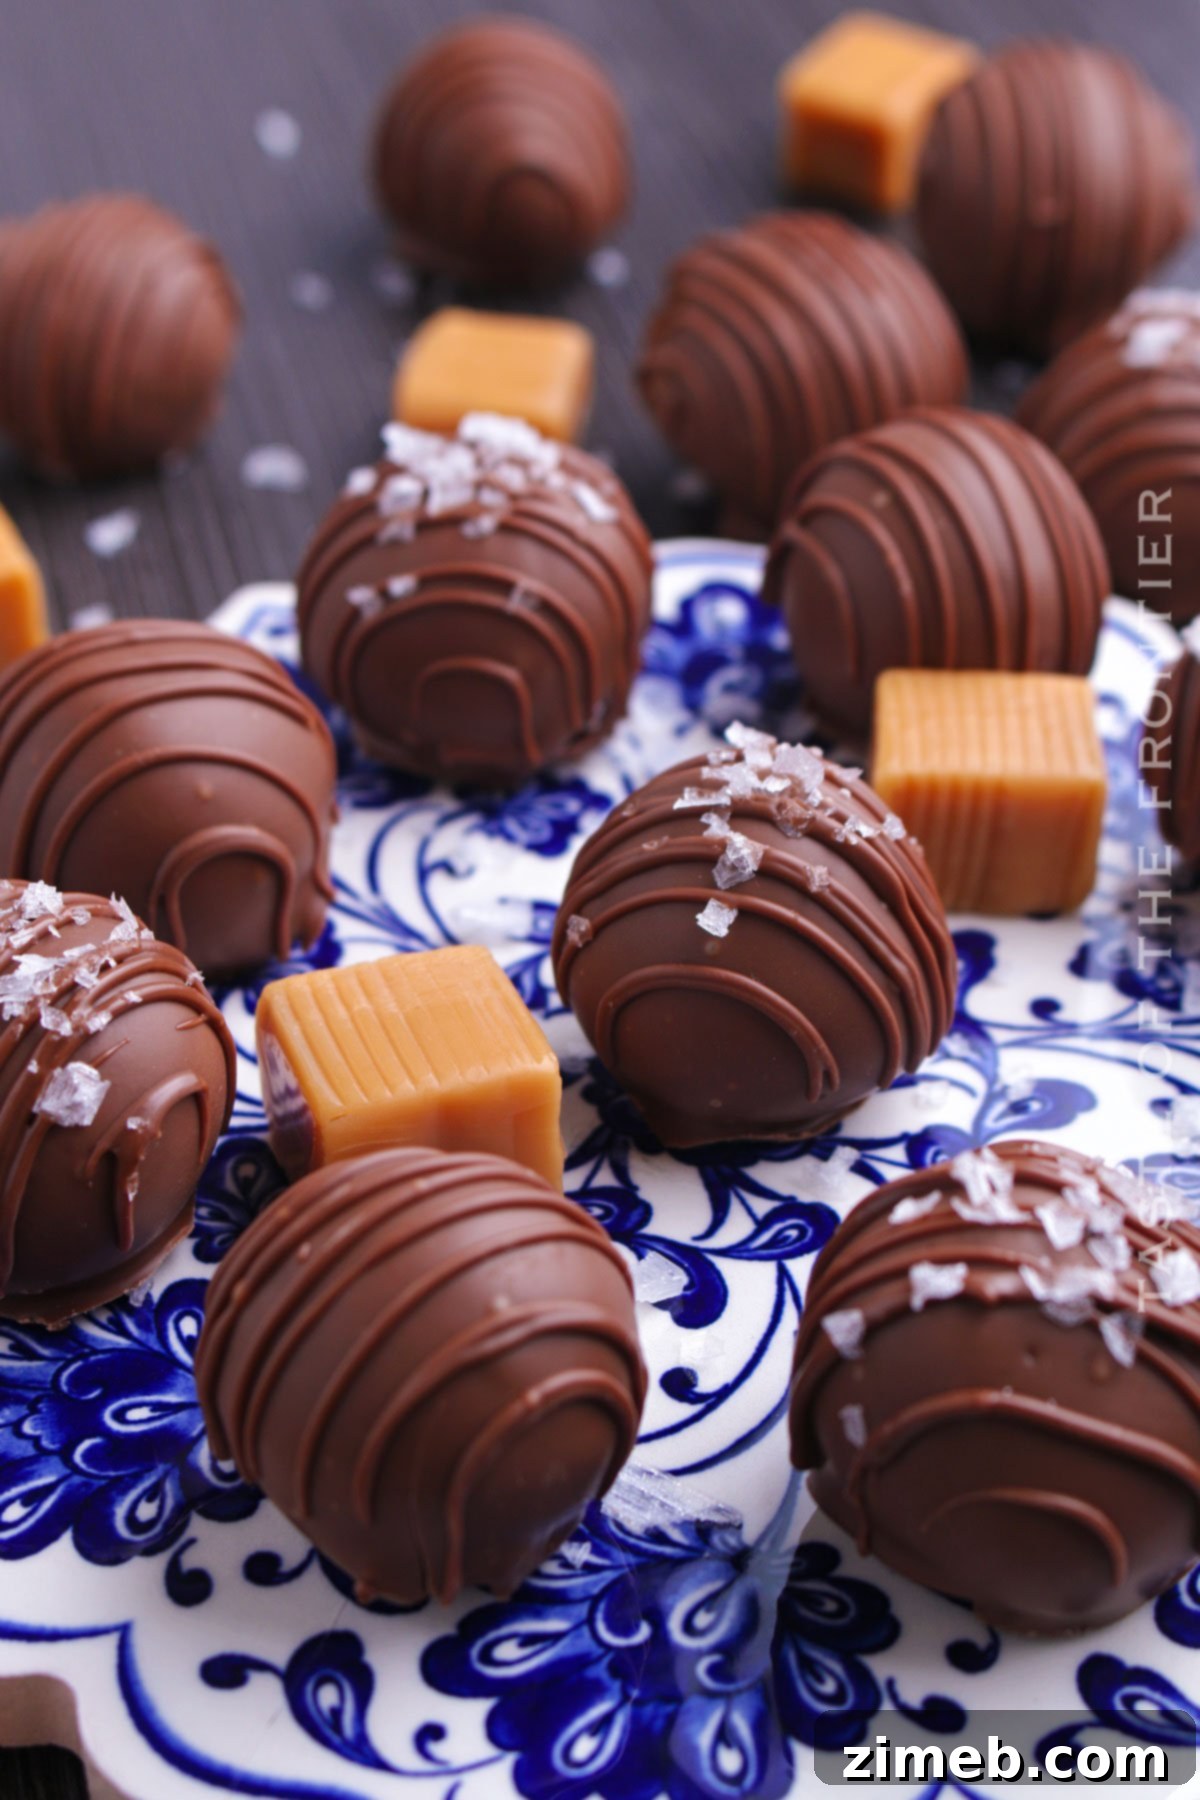
Whether you’re preparing them for a grand celebration, a thoughtful homemade gift, or simply as a well-deserved decadent treat for yourself, these exquisite caramel truffles are guaranteed to impress everyone who tries them!
Embarking on the journey of creating Caramel Truffles at home is a wonderfully rewarding experience that is both engaging and fun. With every step of the process, from melting the chocolate to rolling the perfect spheres, you’ll be building anticipation for the moment you can savor their exquisite taste. The luxurious texture of creamy caramel blends seamlessly with the rich, smooth essence of chocolate, creating a combination that is utterly irresistible. This recipe is designed to be accessible, whether you’re a seasoned baker confident in your confectionary skills or a curious beginner trying your hand at making truffles for the very first time. The straightforward instructions are crafted to ensure delicious and impressive results every time.
So, why not treat yourself and your dearest loved ones to these miniature bites of pure heaven? Gather your ingredients, prepare your kitchen, and get ready for a delightful adventure in treat-making. Enjoy the decadent process of crafting and, most importantly, savoring this incredible salted caramel truffle recipe!
Common Questions About Caramel Truffles
Making truffles might seem intricate, but with a few pointers, you’ll feel like a pro. Here are some common questions and answers to guide you through making the perfect caramel truffles.
Can I Use Dark Chocolate Instead of Milk Chocolate?
Absolutely! Substituting dark chocolate for milk chocolate will impart a more intense and sophisticated cocoa flavor to your truffles, appealing to those who prefer a less sweet profile. It’s important to note, however, that dark chocolate typically has a different fat content than milk chocolate, which can affect its melting behavior and the final consistency of your truffle coating. Dark chocolate tends to be thicker when melted, so you might need to adjust by adding a tiny bit of coconut oil or shortening to achieve a smoother, thinner coating if desired. Ultimately, your personal preference dictates the choice. If your heart desires rich, deep dark chocolate truffles, then embrace that choice and enjoy your personalized creation!
Is Heavy Cream Necessary for the Recipe?
Yes, heavy cream is genuinely essential for achieving the signature creamy, luscious texture in the caramel filling. Its high-fat content emulsifies beautifully with the chocolate and caramels, preventing a grainy texture and ensuring a velvety smooth consistency. While some have explored alternatives, it’s a key ingredient for the best results. For those looking for a dairy-free option, you might consider experimenting with full-fat coconut whipping cream, but please be aware that this will likely alter both the flavor profile and the final texture significantly. I haven’t personally tested this variation, so results may vary. It does sound like a delicious experiment, though!
How Can I Prevent My Truffles from Becoming Too Soft?
To ensure your truffles maintain their perfect shape and firm texture, thorough chilling is absolutely crucial at multiple stages. The caramel-chocolate mixture must be completely firm before you attempt to cut and roll it. Similarly, the rolled caramel balls need a solid chill before they are dipped in melted chocolate. If the centers are too soft, they will quickly lose their shape and cause the chocolate coating to crack or melt. Don’t rush these chilling steps; they are vital for achieving professional-looking and tasting truffles. A quick dip in the chocolate and immediate return to the cold will also help the coating set quickly and maintain the truffle’s integrity. These seemingly small details often make the biggest difference in the final outcome.
Storage Guidelines for Caramel Truffles
One of the best things about these caramel truffles is their versatility in serving temperature. I personally adore eating them straight out of the fridge, as the cold chocolate offers a satisfying snap and a firmer texture. However, they are equally delightful at room temperature, transforming into a soft and exquisitely creamy caramel indulgence. A perfectly soft and yielding caramel truffle is truly a beautiful thing to experience!
Refrigerator Storage:
For optimal freshness and texture, store your homemade caramel truffles in an airtight container in the refrigerator. When properly stored, they will maintain their delicious quality for up to 2-3 weeks, making them a fantastic make-ahead treat for any occasion.
Freezer Storage:
If you wish to extend their shelf life even further, these truffles freeze beautifully. Place them in a single layer on a parchment-lined baking sheet until solid, then transfer them to a freezer-safe, airtight container or bag. They can be frozen for several months. For the best flavor and texture, allow them to come to room temperature for about 30 minutes before serving. This gentle thawing will restore their creamy center and decadent taste.
Expert Tips for Perfect Caramel Truffles
Crafting homemade truffles doesn’t have to be a daunting task. This recipe is wonderfully simple, and with these expert tips, you’ll find the entire process enjoyable and the results absolutely stunning. Let’s make sure your journey to deliciousness is smooth and successful!
- Choose Quality Chocolate: The foundation of exceptional truffles lies in high-quality ingredients. Opt for good-quality chocolate chips or melting wafers for both the filling and the coating. Better chocolate equals better flavor and a smoother, more appealing texture.
- Thorough Chilling is Key: Don’t underestimate the power of chilling. Ensure your truffle mixture is thoroughly firm before you begin shaping. This not only makes handling easier but also prevents the truffles from melting too quickly when dipped.
- Swift Dipping Technique: When dipping your truffles, work quickly! The goal is to coat them in melted chocolate without allowing the caramel filling to soften excessively. Use two forks or a specialized dipping tool for easy transfer and minimal mess.
- Immediate Salt Application: If you’re using sea salt for garnish, sprinkle it immediately after dipping each truffle. The melted chocolate acts as a natural adhesive, ensuring the salt flakes stick perfectly before the chocolate sets.
- Experiment with Coatings: While chocolate is classic, don’t hesitate to get creative. Roll some truffles in high-quality cocoa powder for a classic, sophisticated finish. Finely chopped nuts (like pecans or almonds), shredded coconut, or even a drizzle of contrasting white chocolate can add wonderful texture and visual appeal.
- Temperature Control for Dipping Chocolate: For a truly professional finish and to prevent bloom (white streaks on chocolate), try to keep your melted chocolate at the right temperature. If using candy melts, follow package instructions. For couverture chocolate, temper it for a glossy, stable coating.
- Portioning for Uniformity: When cutting the caramel mixture, try to make each piece as uniform as possible. This ensures all your truffles are roughly the same size, making them look more appealing and allowing them to set evenly.
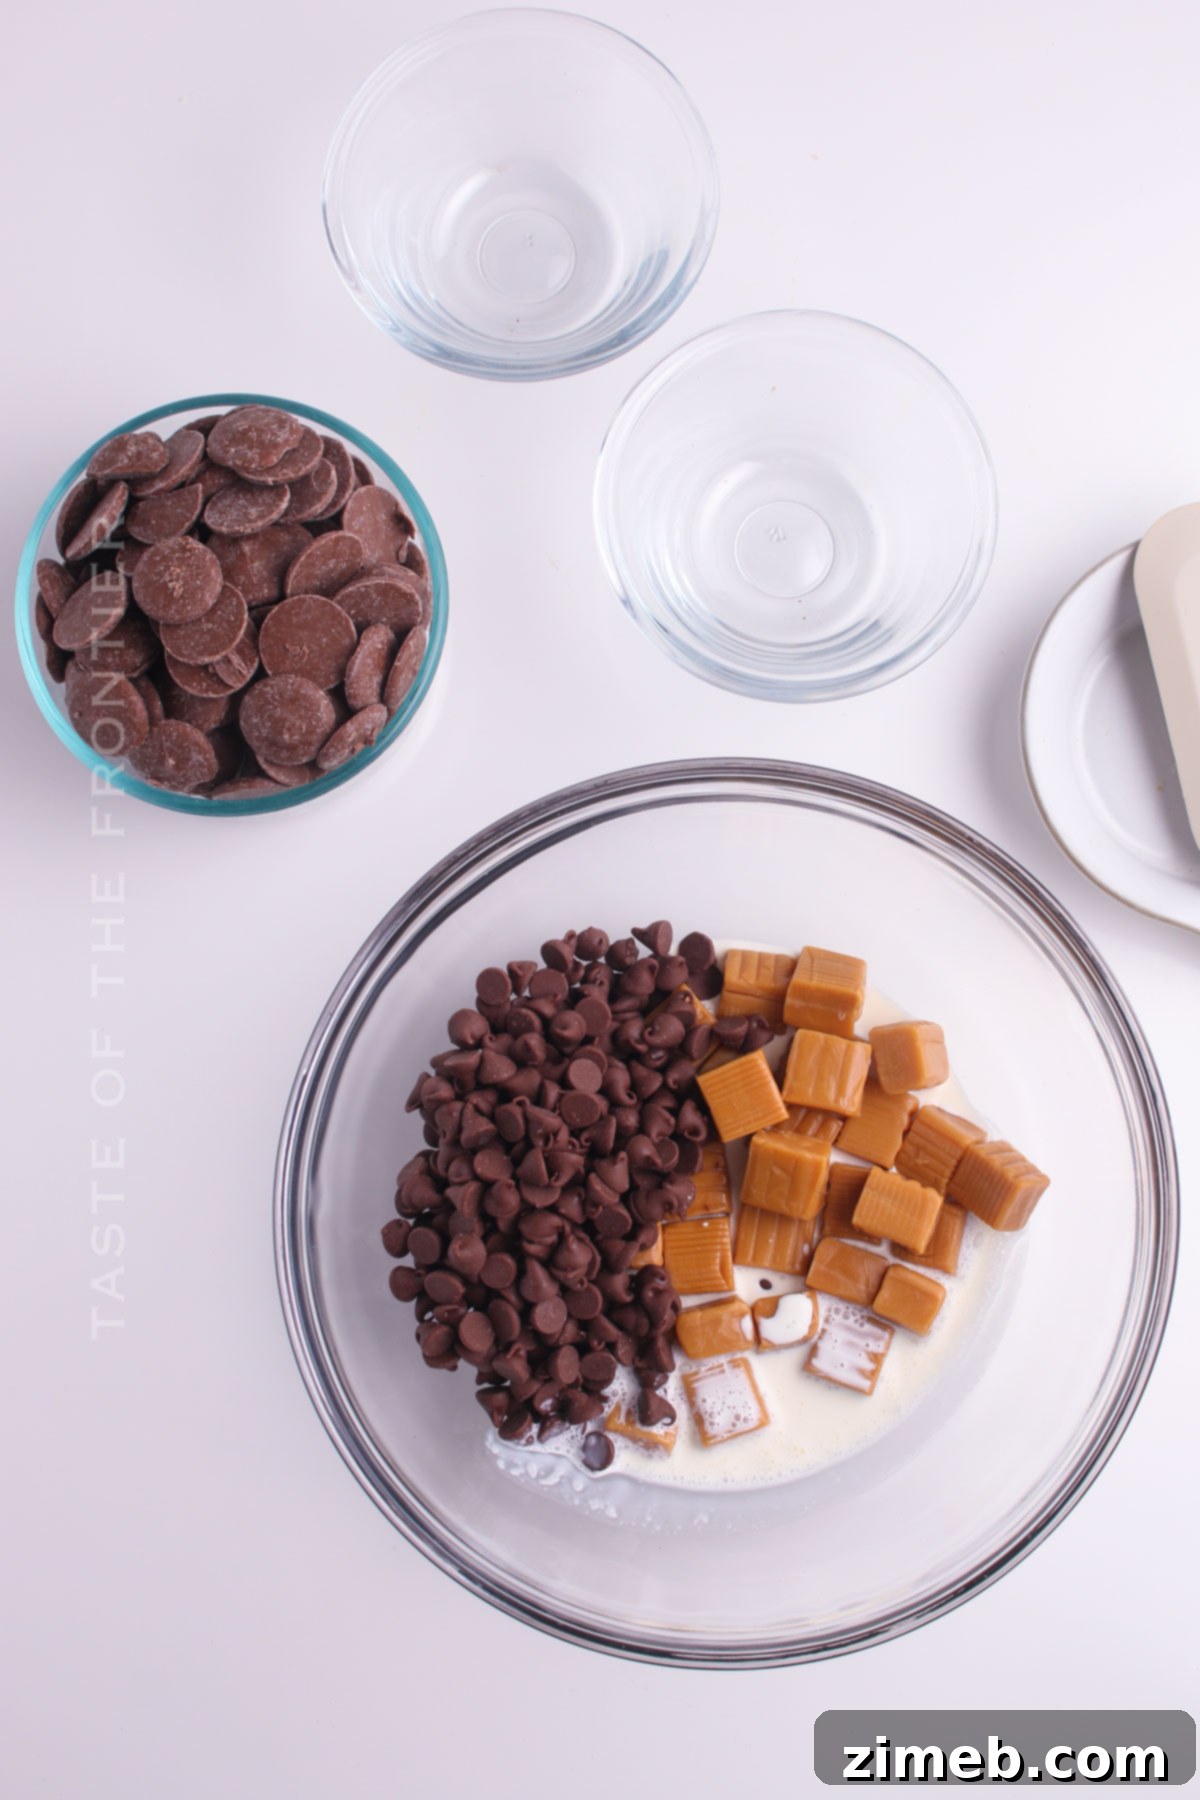
Ingredients for Decadent Caramel Truffles
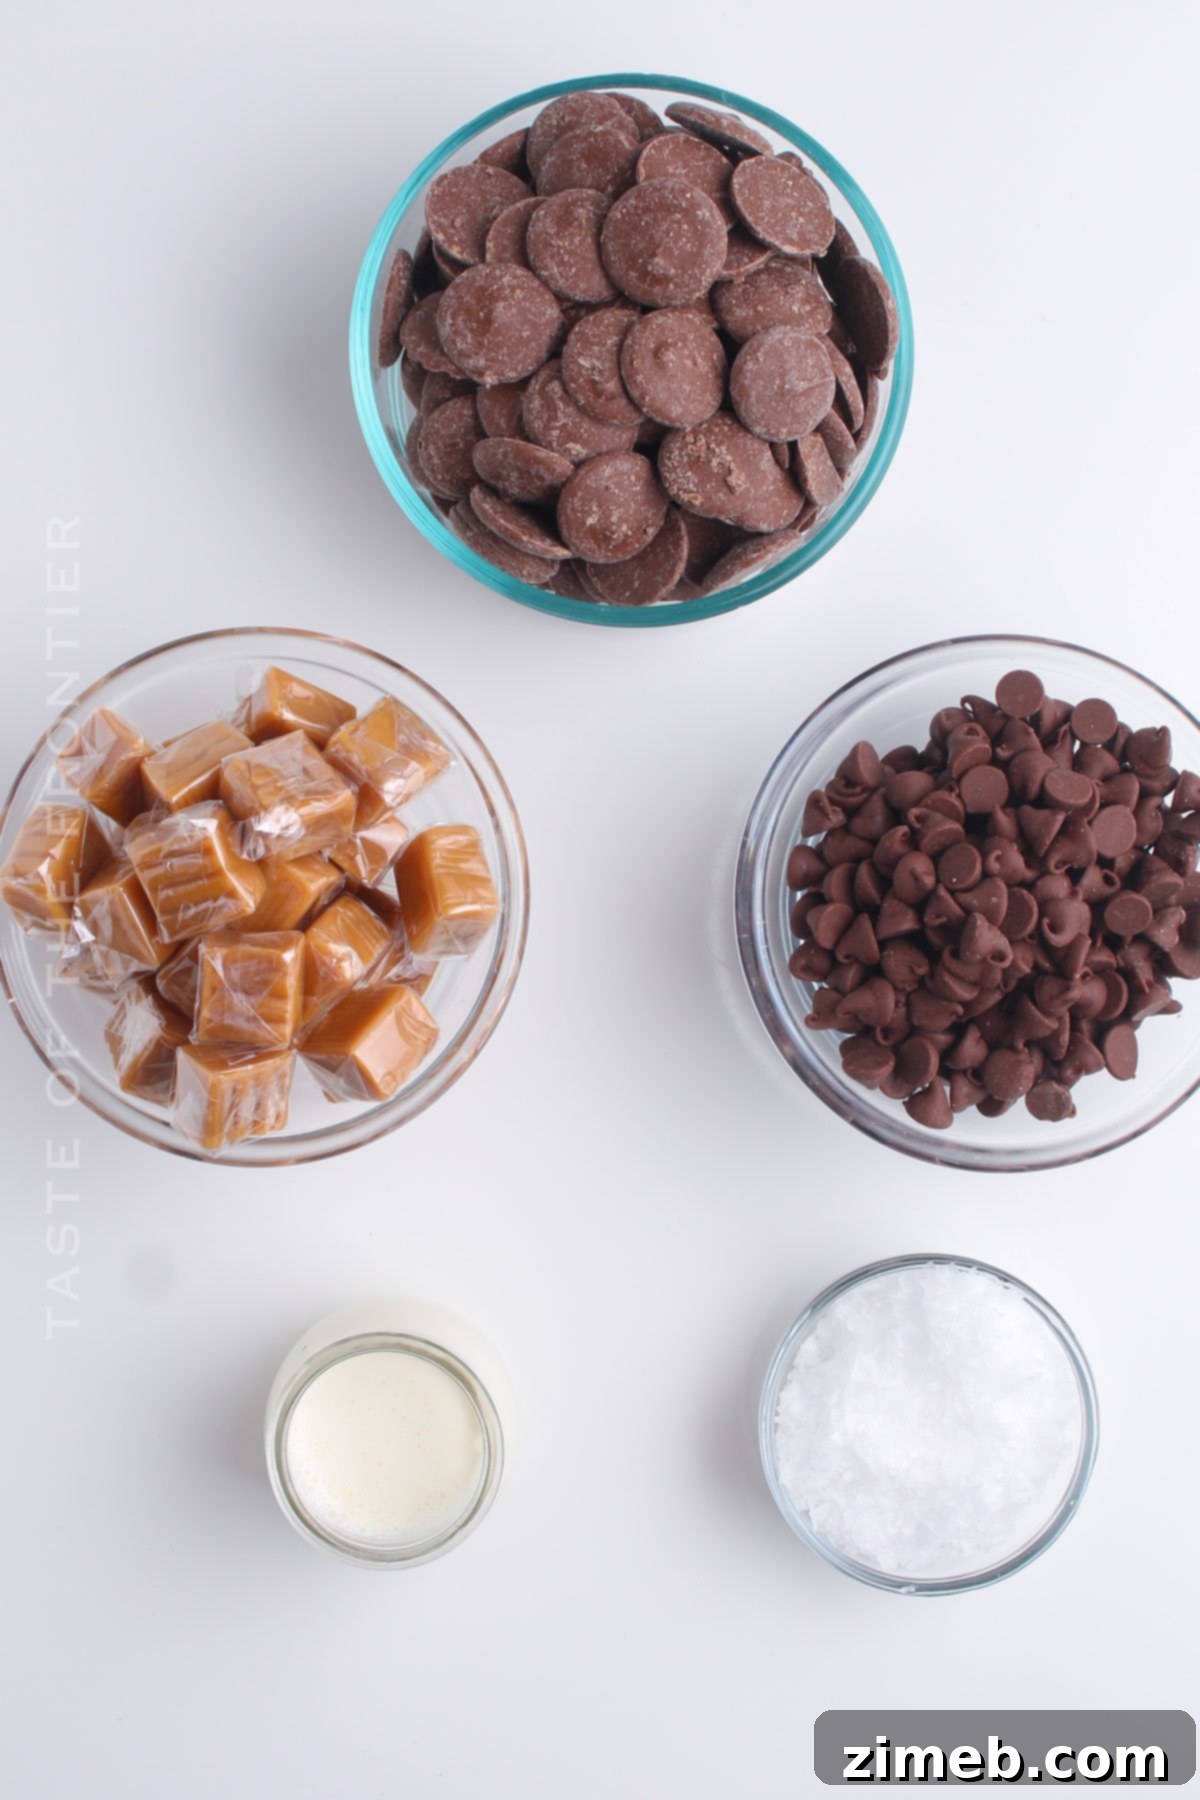
The beauty of making treats yourself lies in the control you have over the ingredients. With this recipe, you’re not just getting amazing flavor; you’re also using wholesome, real ingredients, free from artificial flavors. That’s the secret to their irresistible taste and delightful quality. Making them at home simply ensures they taste better!
- Caramels: You’ll need unwrapped soft caramels, readily available in most grocery stores. These form the sweet, chewy heart of our truffles.
- Milk Chocolate Chips: These provide a creamy, sweet chocolate base for the filling. Choose a brand you love for the best flavor. For a more sophisticated taste, consider high-quality milk chocolate chips.
- Heavy Whipping Cream: Essential for achieving the rich, velvety smooth texture of the caramel filling. Do not substitute with lighter creams, as the fat content is crucial.
- Chocolate Candy Melts or Almond Bark: This will be your outer coating. Candy melts are designed to melt smoothly and set quickly with a hard, shiny finish, making them ideal for dipping truffles. Almond bark is a great alternative that also works wonderfully.
- Sea Salt (optional): Flaked sea salt is highly recommended for garnishing. It adds that perfect touch of salty contrast, elevating the overall flavor profile of the truffles.
How to Make Irresistible Caramel Truffles
You are going to absolutely adore this process, from the simple melting of ingredients to the final elegant display of your handcrafted truffles. By the end, you’ll have an array of beautifully shaped, decadent truffles lined up on a platter, ready to be devoured. Make sure to keep this recipe handy; you’ll undoubtedly want to make them again very soon!
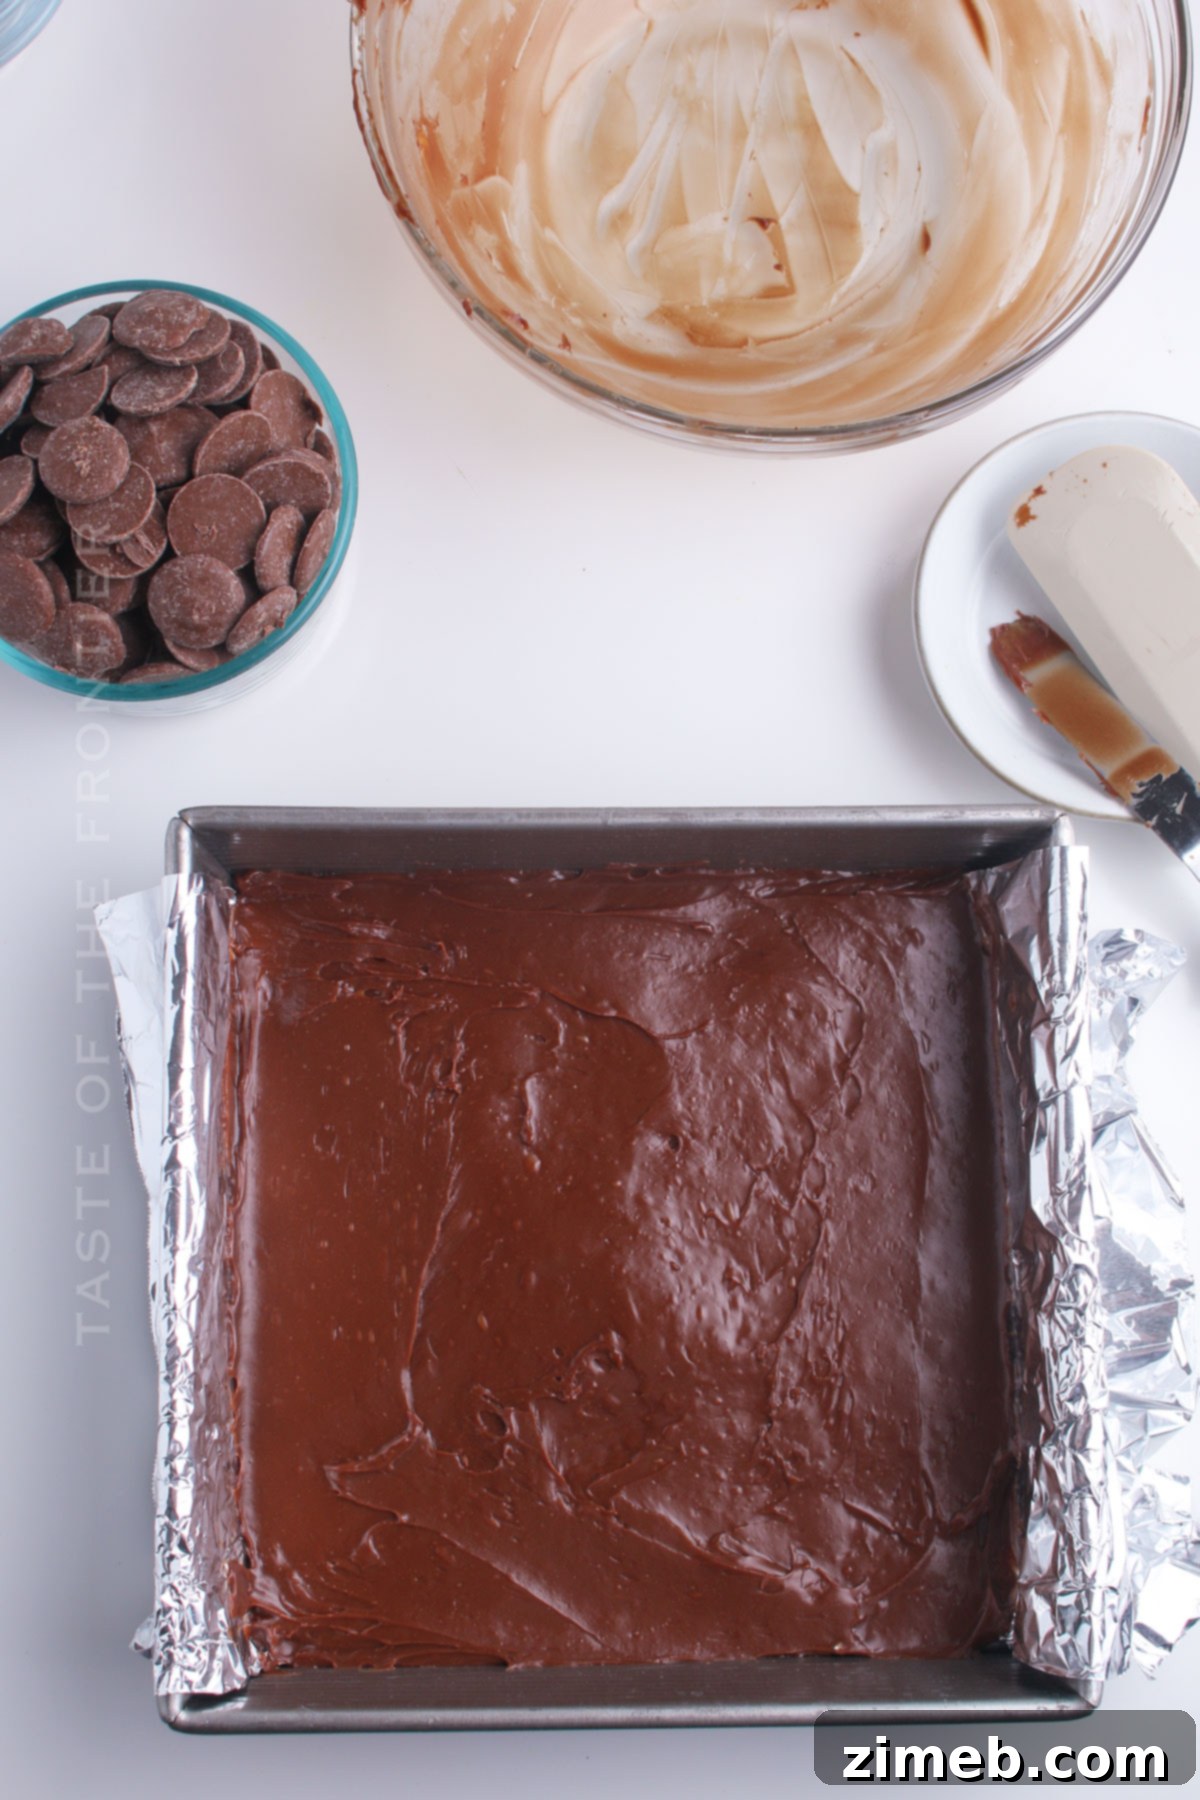
- Prepare the Pan: Begin by lining a square 8×8 inch pan with either parchment paper or aluminum foil. Ensure there’s enough excess material overlapping the sides to create “handles,” which will make it much easier to lift the firm caramel mixture out of the pan later.
- Melt Ingredients for Filling: In a microwave-safe bowl, combine the unwrapped caramels, milk chocolate chips, and heavy cream.
- Microwave and Stir: Heat the mixture in the microwave for 1 minute. Remove and stir thoroughly. Continue heating in short intervals of 10-15 seconds, stirring after each, until the caramels and chocolate chips are almost completely melted.
- Achieve Smoothness: Once almost melted, remove the bowl from the microwave and continue stirring vigorously until the mixture is perfectly smooth and lump-free.
- Spread the Filling: Pour the smooth caramel-chocolate mixture evenly into your prepared 8×8 inch pan. Use a spatula to spread it to the edges, ensuring a consistent thickness.
- Initial Chill: Place the pan in the refrigerator and chill for at least 1 hour, or until the mixture is completely firm to the touch. This step is crucial for easy handling.
- Remove from Pan: Once firm, use the parchment paper or foil handles to carefully lift the chilled caramel block from the pan and transfer it onto a clean cutting board.
- Prepare Baking Sheets: Line two separate baking sheets with fresh parchment paper. These will be used for rolling and then for dipping the truffles.
- Cut into Pieces: Using a sharp knife, cut the caramel block into approximately 30 evenly sized pieces. A hot knife can make this step easier.
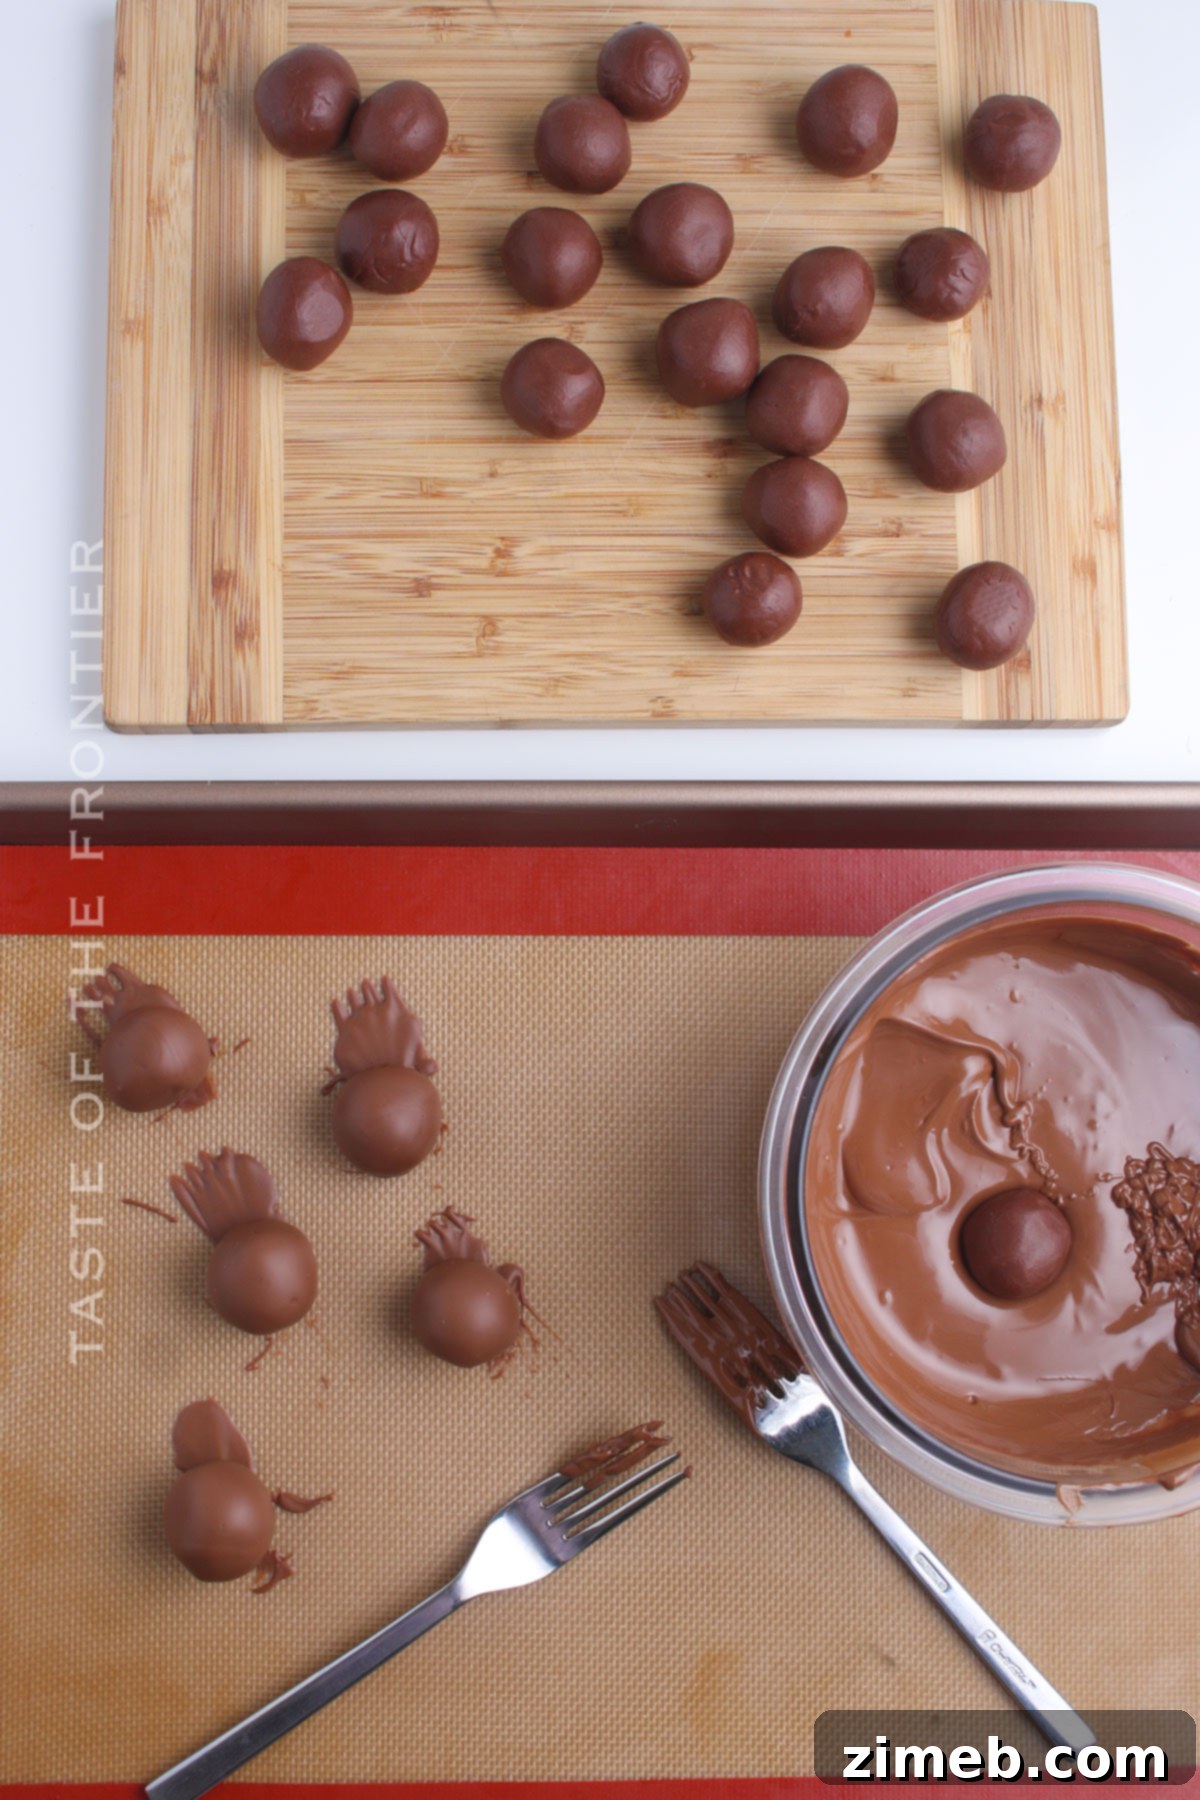
- Roll into Balls: Take each piece and gently roll it between your palms to form a smooth ball. Place the rolled truffles onto one of the prepared baking sheets.
- Second Chill: Return the baking sheet with the rolled truffle balls to the refrigerator to chill for another 1 hour, or until they are very firm. This prevents them from melting when dipped.
- Melt Chocolate Coating: Add the chocolate candy melts (or almond bark) to a microwave-safe bowl. Microwave for 1 minute, stir, then continue heating in 10-15 second intervals, stirring well after each, until the chocolate is almost entirely melted.
- Final Stir for Coating: Remove from the microwave and stir until the chocolate is completely smooth and glossy, with no lumps remaining.
- Dip Truffles in Batches: To keep the truffles firm, work with only 4 or 5 at a time, leaving the remaining ones in the refrigerator until ready to dip.
- Dip and Coat: Using two forks (or a dipping tool), gently lower one truffle into the melted chocolate, coating it completely. Lift the truffle and tap the fork gently against the side of the bowl to allow any excess chocolate to drip off, ensuring a thin, even coating. Use the second fork to carefully slide the coated truffle onto the second prepared baking sheet.
- Add Sea Salt: If using, immediately sprinkle flaked sea salt over the wet chocolate coating of each truffle. The salt will adhere beautifully before the chocolate sets.
- Final Chill: Once all truffles are coated, return them to the refrigerator to chill until the chocolate coating is completely firm and set.
- Store: Transfer the firm truffles to an airtight container and store them in the refrigerator. They will remain fresh and delicious for up to 2-3 weeks.
- Serve: For the best tasting experience, allow the truffles to come to room temperature for about 15-20 minutes before serving.
Essential Kitchen Supplies for Caramel Truffles
These salted caramel truffles are truly one of the most delightful treats you’ll taste all year—no exaggeration! With the right tools, the process becomes even more enjoyable and efficient. Get excited, because you’ll be enjoying your very own batch of these decadent delights incredibly soon!
- Large Bowl: For mixing the caramel and chocolate filling ingredients.
- Microwave-Safe Bowls: Several are useful for melting the filling ingredients and the chocolate coating.
- 8×8 Inch Pan: A square pan of this size is perfect for chilling the caramel mixture before cutting.
- Foil or Plastic Wrap: For lining the pan, ensuring easy removal of the chilled mixture.
- Baking Sheets: Two are needed – one for the rolled truffles and another for the dipped truffles to set.
- Parchment Paper: Crucial for lining pans and baking sheets to prevent sticking and aid in easy cleanup.
- Forks for Dipping or Chocolate Dipping Tool Set: These tools make dipping the truffles in chocolate much cleaner and easier, ensuring an even coating.
- Piping Bag(optional): Useful if you want to add a decorative chocolate drizzle or other fine details.
- Sharp Knife: For cutting the chilled caramel mixture into uniform pieces.
- Spatula: For spreading the caramel mixture evenly in the pan and for stirring.
What to Serve With Caramel Truffles
These exquisite caramel truffles are wonderfully versatile and can be enjoyed in many ways. While they are undoubtedly a star as a standalone treat, their rich flavor pairs beautifully with various beverages and can elevate any dessert spread.
- Hot Beverages: Enjoy these truffles alongside a warm, robust cup of coffee, a soothing hot tea (especially a black tea or Earl Grey), or a luxurious mug of hot cocoa. The bitterness of coffee or tea can beautifully cut through the sweetness of the truffles.
- Wine Pairings: For a more sophisticated pairing, consider serving them with a glass of dessert wine, such as a rich Port, a sweet Sherry, or even a sparkling Moscato. The notes of the wine can complement the chocolate and caramel perfectly.
- After-Dinner Treat: Offer them as a delightful petit four after a festive dinner party.
- Dessert Platter: Incorporate them into a decadent dessert platter alongside fresh berries, cheeses, or other small pastries for an impressive spread.
- With Ice Cream: Chop them roughly and sprinkle them over a scoop of vanilla bean or coffee ice cream for an extra layer of indulgence.
Why You Should Make These Caramel Truffles
With their natural, high-quality ingredients and astonishingly rich flavor, the reasons to make these caramel truffles seem self-evident. But just in case you need a little more persuasion, here’s why these delightful treats are an absolute must-make!
- Unmatched Indulgence: They are perfect for satisfying sweet cravings with their incredibly rich, luxurious, and indulgent flavor. Each truffle is a concentrated burst of chocolate and caramel bliss.
- Impressive Homemade Gifts: These truffles make fantastic homemade gifts for friends, family, and colleagues. Beautifully packaged, they convey thoughtfulness and culinary effort.
- Rewarding Culinary Experience: They are incredibly fun and rewarding to make, especially for special occasions or when you’re looking for a delightful kitchen project. The process itself is a treat!
- Endless Customization: These are a truly versatile treat. You can easily experiment with different chocolate coatings (dark, white, milk), various toppings, or even add flavor extracts to create a personalized confectionery masterpiece.
- No-Bake Simplicity: Forget about heating up the oven! This is an easy no-bake recipe, which means less time baking and more time enjoying.
- Perfect for Any Occasion: From casual gatherings to elegant parties, these truffles fit right in. They are sophisticated enough for formal events but simple enough for an everyday treat.
Variations and Creative Add-Ins for Caramel Truffles
The beauty of homemade truffles lies in their adaptability. While this recipe is perfect as is, it also serves as a fantastic canvas for your culinary creativity. If you have any brilliant ideas for decadent ingredients or flavor twists, please share them in the comments below! The more ideas, the merrier, right?
- Classic Cocoa Roll: For a sophisticated and classic touch, roll some truffles in a fine, unsweetened cocoa powder instead of, or in addition to, the chocolate coating.
- Flavor Extracts: Enhance the depth of flavor by adding a drop of pure vanilla extract, almond extract, or even a hint of rum or coffee extract to the caramel mixture before chilling.
- Crunchy Textures: Mix in a small amount of finely crushed nuts (like pecans, walnuts, or hazelnuts) or crispy rice cereal into the caramel filling for an exciting textural contrast.
- Sweetened Coating: Blend a bit of organic raw cane sugar or finely granulated sugar into your cocoa powder coating for an extra sweet sparkle and texture.
- White Chocolate Twist: For a delightful visual and taste contrast, use white chocolate for a different twist on the traditional milk chocolate shell. You can also drizzle white chocolate over dark chocolate-coated truffles for an elegant swirl.
- Spiced Caramel: Infuse your caramel with warm spices like a pinch of cinnamon, nutmeg, or even a tiny dash of cayenne pepper for a subtle heat.
- Coconut Lover’s Dream: Roll the freshly dipped truffles in finely shredded coconut for a tropical touch.
- Espresso Infusion: Add a teaspoon of instant espresso powder to the chocolate caramel mixture to deepen the chocolate flavor and add a subtle coffee kick.
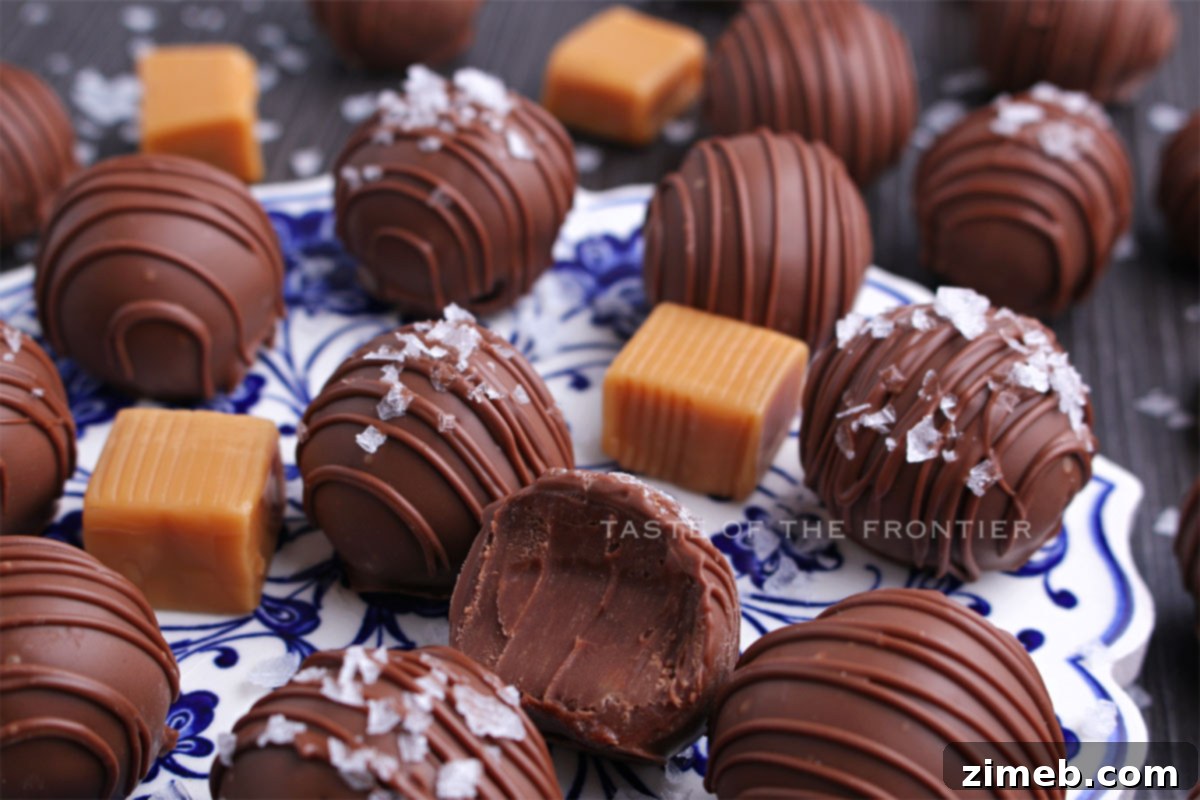
If you adore this easy truffle recipe, you’ll certainly love exploring these other delightful truffle creations too. Please click each link below to discover their easy and printable recipes!
Oreo Balls – Oreo Truffles
Oreo Balls – Oreo Truffles are an incredibly easy no-bake treat made with just 3 simple ingredients. They can be beautifully decorated for any holiday and truly taste SO GOOD!
Check out this recipe
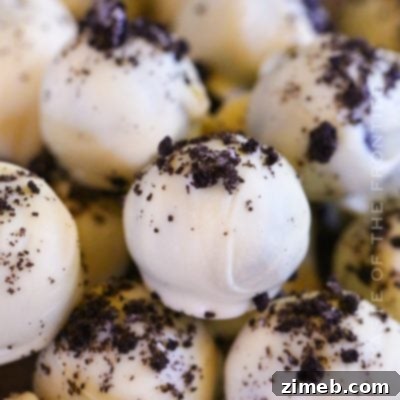
Red Velvet Truffles
This red velvet truffles recipe offers an easy way to bring together all the beloved flavors of red velvet cake using only a few basic ingredients.
Check out this recipe
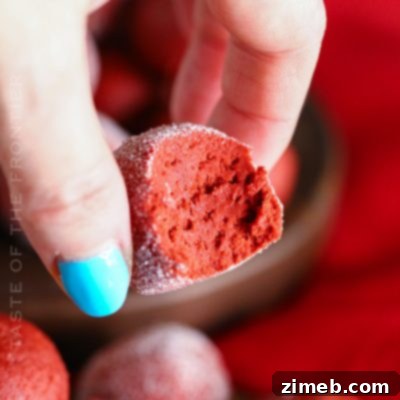
Sugar Cookie Truffles
Sugar Cookie Truffles are the ultimate no-bake holiday treat. With only 4 ingredients, this simple dessert is perfect for parties, edible gifts, and so much more!
Check out this recipe
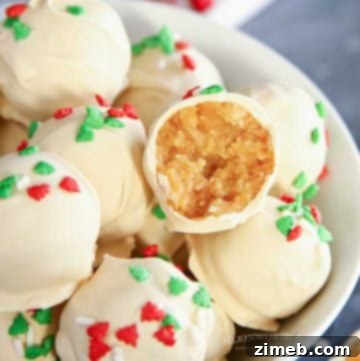
Easy Chocolate Truffles
This easy chocolate truffles recipe is rich, decadent, and utterly delicious, requiring just a handful of ingredients. It’s perfect for any occasion – be it a holiday, a friend’s birthday, or simply ‘just because’.
Check out this recipe
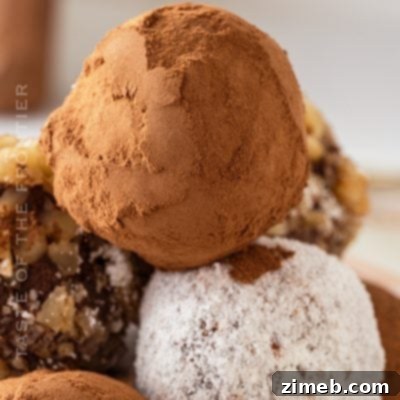
Chocolate Chip Cookie Truffles
Chocolate Chip Cookie Truffles are a simple 4-ingredient chocolate dessert made with crushed chocolate chip cookies. They are perfect for holidays, thoughtful gifts, and lively parties.
Check out this recipe

More Great Chocolate Caramel Goodies
If you’re a fan of the irresistible combination of chocolate and caramel, you’ll definitely want to explore these other fantastic recipes. Each one offers a unique and delicious way to enjoy this classic pairing!
- Easy Chocolate Caramel Candy
- No Bake Chocolate Caramel Oat Bars
- Turtle Ice Cream
- Salted Caramel Skillet Cookie
CONNECT WITH YUMMI HAUS!
Be sure to follow me on my social media, so you never miss a post!
Substack, FB, Pinterest, IG, Email Subscription

Caramel Truffles
These easy-to-make Caramel Truffles are rich and creamy with a thick, decadent chocolate caramel filling, a hard chocolate coating, and decorated with flaked sea salt! The perfect salty-sweet combo.
Course: Dessert
Servings: 26 truffles
Prep Time: 30 mins
Chill Time: 3 hrs
Total Time: 3 hrs 30 mins
Ingredients
For the Truffle Filling:
- 28 unwrapped caramels
- 1 cup milk chocolate chips
- ¼ cup heavy whipping cream
For the Coating & Garnish:
- 12 oz chocolate candy melts or chocolate almond bark (1 bag)
- Flaked sea salt (optional for garnish)
Instructions
- Line a square 8×8 pan with parchment paper or foil, ensuring excess overhangs the sides for easy removal.
- Add the caramels, chocolate chips, and heavy cream to a microwave-safe bowl.
- Microwave for 1 minute, then stir. Continue heating in 10-15 second intervals until the caramels and chocolate chips are almost melted.
- Remove from the microwave and stir until the mixture is completely smooth.
- Spread the mixture evenly into the prepared pan.
- Chill in the refrigerator for 1 hour or until firm.
- Once firm, use the parchment paper or foil overhang to lift the caramel mixture from the pan and place it on a cutting board.
- Cover two baking sheets with parchment paper.
- Using a sharp knife, cut the caramel into 30 pieces.
- Roll each piece into a ball and place them on one of the prepared baking sheets.
- Return the rolled truffles to the refrigerator to chill for another 1 hour or until firm.
- Add the chocolate candy melts to a microwave-safe bowl. Microwave for 1 minute, stir, and continue heating in 10-15 second intervals until the chocolate is almost melted.
- Remove from the microwave and stir until the chocolate is smooth.
- Work with 4 or 5 truffles at a time, keeping the rest in the refrigerator to stay firm.
- Using two forks, dip a truffle into the melted chocolate, allowing any excess chocolate to drip off. Use the second fork to gently remove the truffle and place it onto the second prepared baking sheet.
- Immediately sprinkle with sea salt, if desired, while the chocolate is still wet.
- Once all truffles are coated, return them to the refrigerator to chill until the chocolate coating is firm.
- Transfer to an airtight container and store in the refrigerator for up to 2-3 weeks.
- Serve at room temperature for the best creamy texture.
Notes
- To add a decorative chocolate drizzle, transfer the slightly cooled melted chocolate into a disposable piping bag. Snip a tiny end off the bag and drizzle the chocolate over each truffle.
- Flaked sea salt is highly recommended for an amazing salty-sweet balance.
- For more precise control during drizzling, you can fit the piping bag with a narrow decorating tip.
Nutrition
Serving: 1g | Calories: 162kcal | Carbohydrates: 21g | Protein: 1g | Fat: 8g | Saturated Fat: 2g | Cholesterol: 3mg | Sodium: 39mg | Potassium: 45mg | Sugar: 19g | Vitamin C: 0.1mg | Calcium: 21mg | Iron: 0.02mg | Net Carbohydrates: 13g
Nutritional information for the recipe is provided as a courtesy and is approximate. Please double-check with your own dietary calculator for the best accuracy. We at Yummi Haus cannot guarantee the accuracy of the nutritional information given for any recipe on this site.
Love this recipe?
Follow @KleinworthCo for even more tasty recipes!