

Unleash Your Creativity: Design a Dazzling St. Patrick’s Day Shirt with Cricut Explore Air 2 and Glitter Iron-On Vinyl!
St. Patrick’s Day is truly one of my favorite holidays, a vibrant celebration brimming with rich Irish culture, delicious traditional recipes, and, of course, a festive splash of green! There’s something undeniably special about embracing the spirit of the Emerald Isle, whether it’s by donning shamrock-themed attire or preparing a hearty Irish stew. This year, my excitement for the holiday was amplified by the arrival of my new Cricut Explore Air 2! This incredible machine has revolutionized my crafting, making it incredibly simple to create personalized iron-on shirts – a core reason I was so eager to get my hands on one. I’ve long admired the stunning Cricut projects shared by fellow crafters, and I was absolutely thrilled to dive in and create some unique pieces for myself and my family. Join me as I walk you through the surprisingly straightforward process of crafting a custom St. Patrick’s Day shirt that sparkles with Irish pride!
Craft Your Own Dazzling Hashtag Irish St. Patrick’s Day Shirt
This post contains some affiliate links. Click here to read my full disclosure policy.
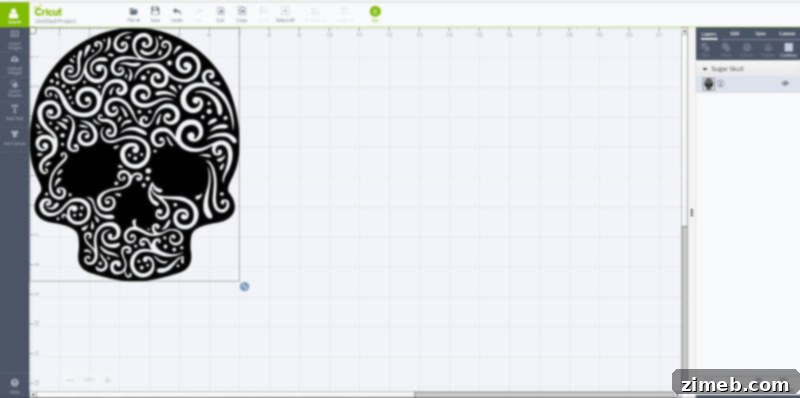
My journey into personalized apparel creation began with a couple of shirts for myself. As a huge enthusiast of sugar skulls, I was delighted to find an exquisite cut file within the vast library of the Cricut Design Space. The sheer abundance of designs available is astounding; it’s almost overwhelming trying to pick just one to start with! However, once you make your selection, the process becomes incredibly fluid and enjoyable. Simply insert your chosen design onto the virtual mat, and you’re practically ready to cut. It truly is that straightforward, transforming an idea into a tangible creation in minutes. The Cricut Design Space is not just a repository of images; it’s a dynamic platform where creativity truly takes flight, allowing even novice crafters to produce professional-looking results with ease.
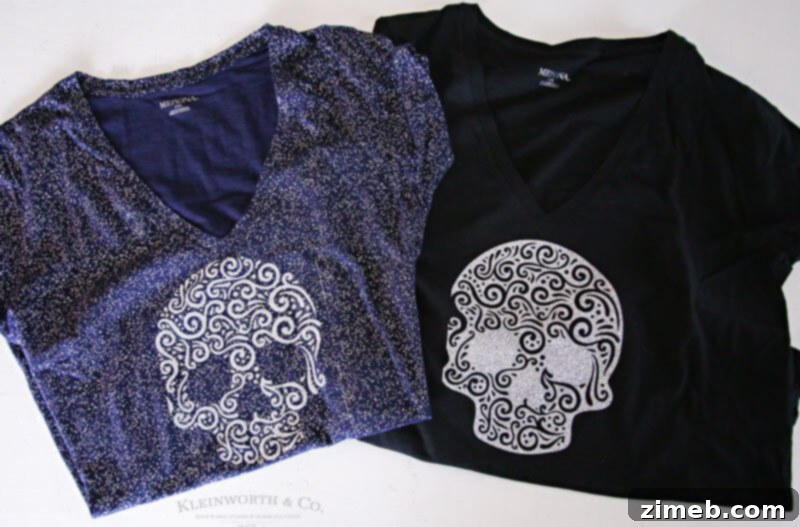
After successfully creating my first shirt, I was captivated by the unique potential of the “negative space” – the vinyl I had just removed from around the design. It struck me that this could form another equally stunning design! I immediately laid it out on a second shirt and carefully ironed it on. The results were absolutely fantastic, transforming what would have been waste into another beautiful, unique garment. This discovery truly highlighted the versatility and creative depth that crafting with Cricut offers, proving that sometimes, the most unexpected elements can lead to brilliant outcomes. Seeing how wonderfully my initial shirts turned out, my daughters were instantly inspired and began eagerly requesting custom creations for themselves. Naturally, with St. Patrick’s Day just around the corner, our creative focus quickly shifted to designing some festive shirts to celebrate the occasion, embracing the holiday spirit with personalized style.
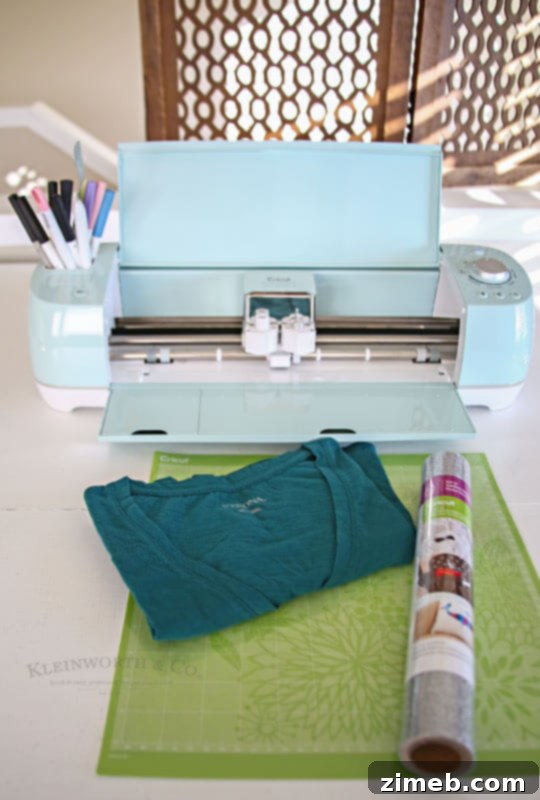
To embark on our festive St. Patrick’s Day shirt project, we gathered a few essential supplies. At the heart of it all was my trusty Cricut Explore Air 2, an ingenious machine renowned for its cutting precision and user-friendly interface. The “Air” in its name signifies its fantastic Bluetooth connectivity, allowing seamless communication with my computer – a feature that adds incredible convenience to the crafting process, freeing up workspace from cumbersome wires. For the base, we selected a vibrant green t-shirt, the quintessential color for St. Patrick’s Day, providing a perfect backdrop for our sparkling design. To add that perfect festive sparkle, we chose a brilliant silver iron-on glitter vinyl, which truly makes the design pop and catches the light beautifully. Finally, a standard grip cutting mat was essential to secure the vinyl during the cutting process, ensuring a clean and accurate result every time, preventing any movement that could compromise the design’s integrity. These carefully chosen materials set the stage for a truly dazzling St. Patrick’s Day creation.
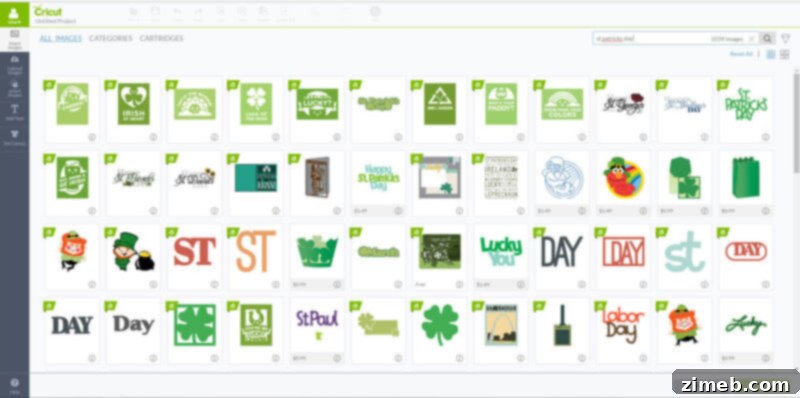
Our first step was to delve into the expansive Cricut Design Space. This online platform is an absolute treasure trove for crafters, serving as the ideal starting point for any project. We spent time browsing through countless images, fonts, and ready-to-make projects, drawing immense inspiration for future endeavors. The Design Space is intuitive and offers a wealth of creative possibilities, making it easy to find just the right element for your vision, or even spark new ideas you hadn’t considered. You can search by theme, holiday, or even specific design styles, ensuring that whether you’re looking for a classic shamrock or a quirky leprechaun, you’ll find an abundance of options. The sheer variety ensures that you can always find something perfectly suited to your project, or even get a head start on designs for other upcoming holidays and special occasions, truly unleashing your inner artist!
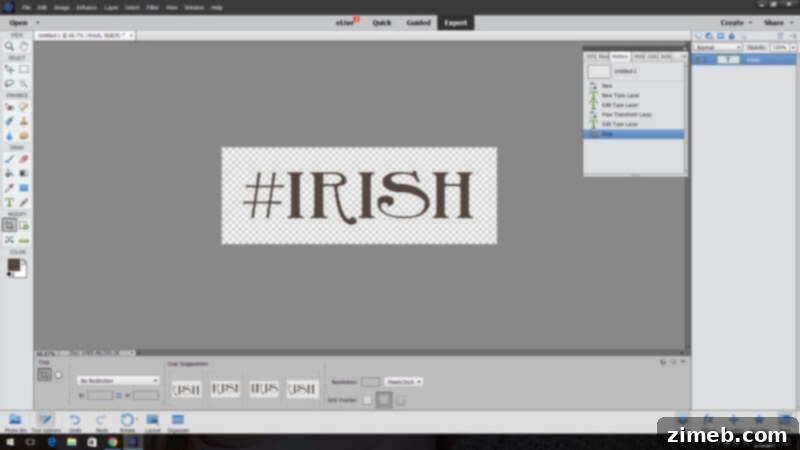
Interestingly, my daughter had a very specific vision for her shirt: she preferred a simple, bold text design over a graphic image. While the Design Space offers extensive font options, for a truly unique look and precise control over the layout, we opted to create a custom text image using external photo editing software. This allowed us complete creative control over the font style, spacing (kerning and leading), and the overall aesthetic of her “Hashtag Irish” message, ensuring it was exactly as she envisioned, with a personalized flair that might be harder to achieve directly within Design Space’s text tools. Once our custom text image was finalized and saved as a compatible file format (like PNG or JPG), it was ready to be uploaded into the Cricut Design Space, seamlessly bridging the gap between external creative tools and the Cricut’s powerful cutting capabilities. This flexibility is a key advantage of the Cricut ecosystem, empowering users to integrate their own unique designs.

DOWNLOAD TEXT IMAGE HERE
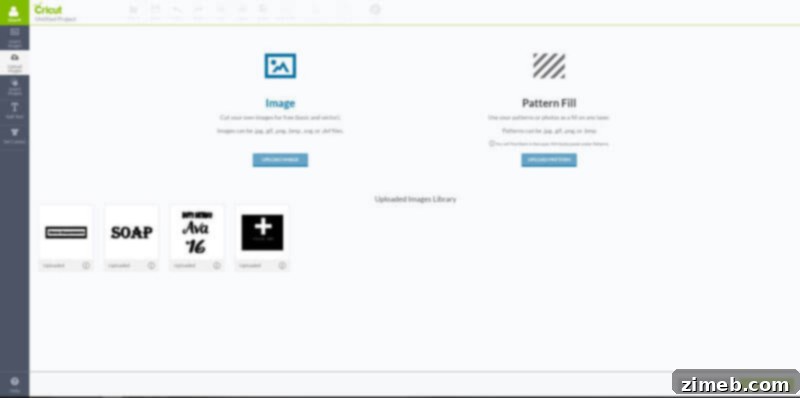
With our custom text ready, the next step was to upload it directly into the Design Space. This straightforward process allows you to bring any image you’ve created or found externally into your Cricut projects, expanding your creative horizons beyond the pre-existing library. Just follow the on-screen prompts to browse for your file and begin the upload, which will then guide you through preparing it for cutting.
Step-by-Step Guide: Creating Your Custom Glitter St. Patrick’s Day Shirt
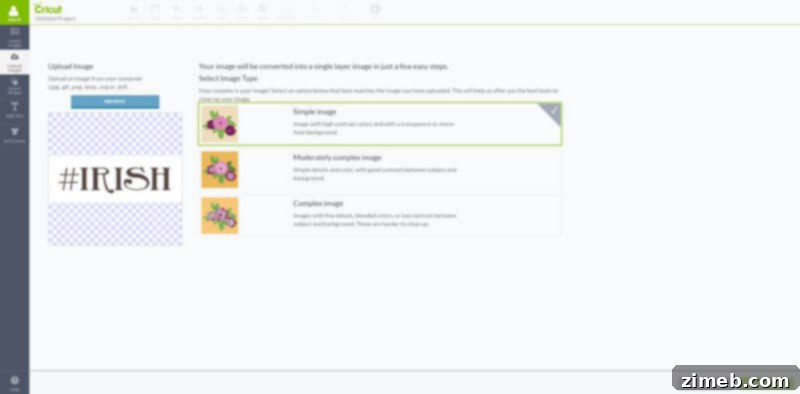
Once your image is uploaded, you’ll be prompted to select the image type. For most clean-cut designs like our text, choosing the ‘Simple image’ option is ideal. This setting is perfect for images with high contrast and a limited number of colors, ensuring the Cricut identifies the clear cut lines effectively without trying to interpret complex gradients or multiple shades. This makes the subsequent steps much easier and yields a cleaner cut. After selecting, simply click ‘Continue’ to move to the next screen.
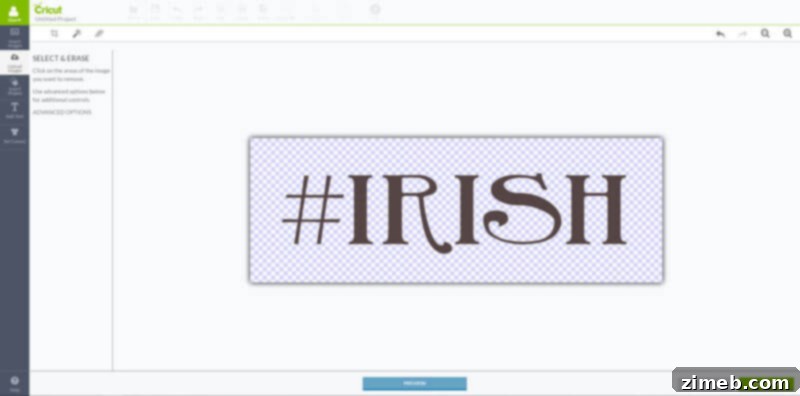
This is where you refine your design for cutting. Use the ‘Select & Erase’ tool (often represented by a magic wand icon) to click on any areas of your image that you want the Cricut to cut *out* – essentially, anything you want to be transparent or removed. For our text design, this meant clicking on the background surrounding the letters and any inner loops (like the center of an ‘A’ or ‘O’). This process essentially tells the Cricut precisely where to cut and where to leave the vinyl intact, creating your desired stencil or design. A good practice is to zoom in to ensure all tiny details are correctly selected or deselected. Once all unwanted areas are transparent, proceed to the next step.
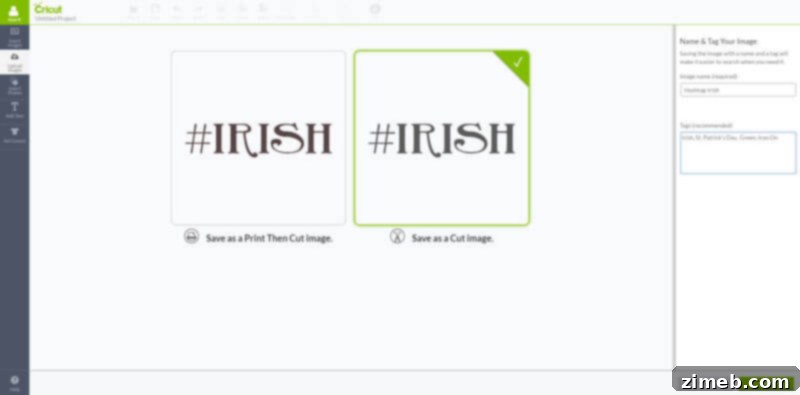
After refining your cut lines and ensuring your design looks perfect, you’ll be given the option to save your image. Select ‘Save as a Cut Image.’ This action transforms your uploaded graphic into a ready-to-cut design that the Cricut machine can interpret, instructing it on exactly where to make its precise cuts. Giving it a descriptive name at this stage, such as “Hashtag Irish St Patricks Day Text,” will also help you locate it easily for future projects within your personal library in Design Space. Click ‘Save’ to confirm your selection and store your new cut image.
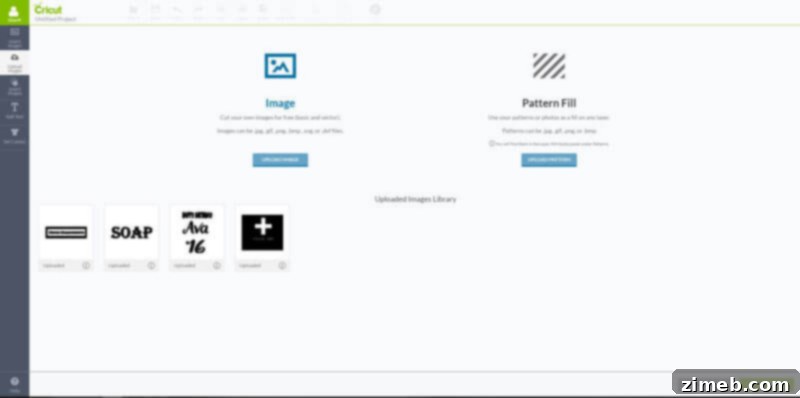
Now, navigate back to your main canvas in Design Space. From your uploaded images library, which you can usually find by clicking the ‘Upload’ button on the left sidebar and then ‘View Uploaded Images,’ select the newly saved cut image you just prepared. With the image highlighted, click ‘Insert Images’ to place it onto your digital workspace. This is where you’ll begin the exciting process of manipulating its size and position to fit your chosen t-shirt perfectly, laying the groundwork for your physical creation.
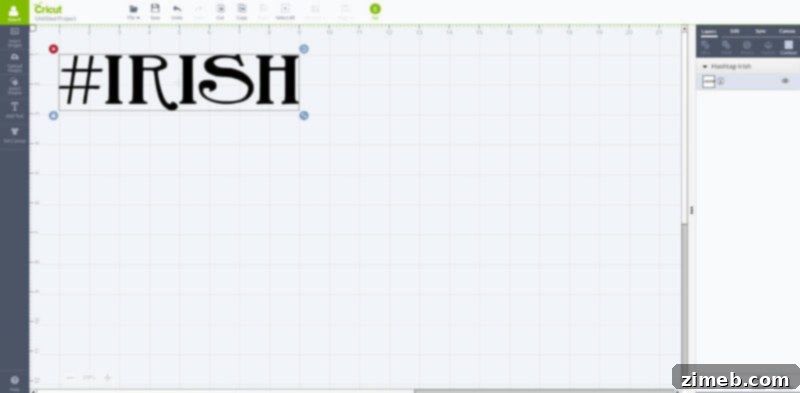
Once your design is on the canvas, you have complete control. You can freely move it around the mat and use the corner handles to drag and resize it to your desired dimensions. For a t-shirt, it’s always a good idea to measure the printable area on your shirt beforehand to ensure your design is proportionate and aesthetically pleasing. You can also use the size input boxes at the top of the screen for precise measurements. Once you’re satisfied with the size and placement on the virtual mat, click the ‘Make It’ (or ‘GO’) button, which will take you to the cutting preview screen, showing how your design will be arranged on the mat.
Crucial Steps for a Flawless Iron-On Application
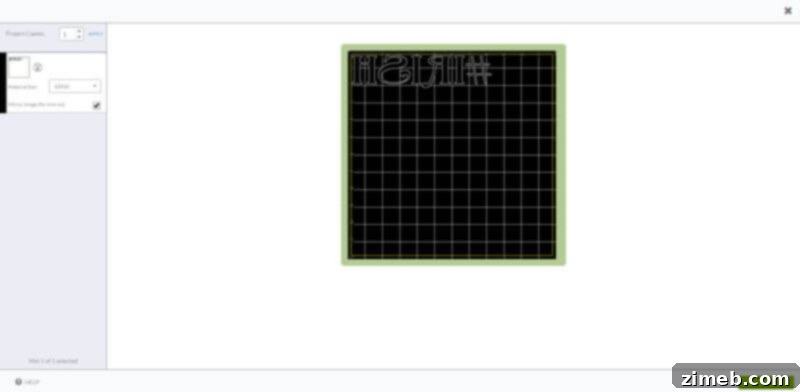
For all iron-on vinyl projects, this step is absolutely critical: you MUST select ‘Mirror Image’. Because iron-on vinyl is placed shiny-side down on the cutting mat and then heat-transferred, the design needs to be cut in reverse so that it appears correctly, facing the right direction, when you iron it onto your shirt. Forgetting this simple yet crucial step is a common beginner mistake that can unfortunately lead to a backward design and wasted material. Always double-check that the “Mirror” toggle is switched ON for your iron-on mat. Once mirrored, click ‘Continue’ to proceed to the material settings, confident that your design is ready for perfect application.
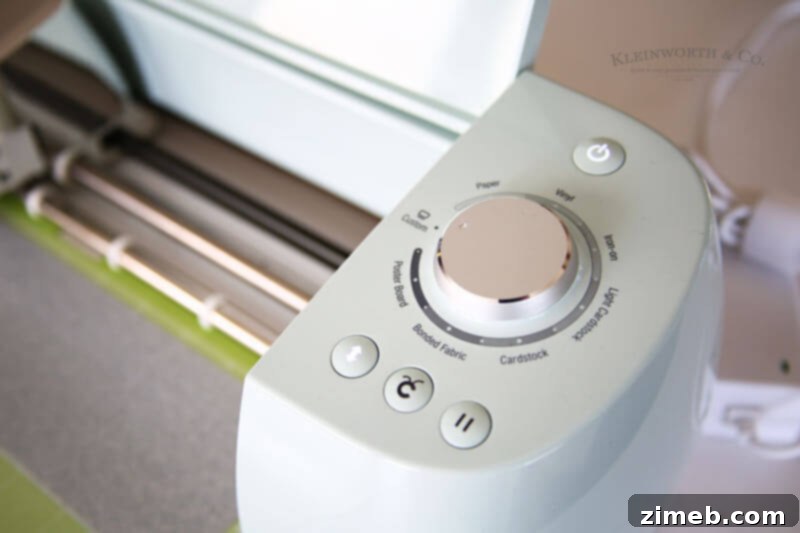
Next, you’ll need to adjust the dial on your Cricut Explore Air 2. While there’s a convenient ‘Iron-On’ setting for standard heat transfer vinyl, for glitter iron-on vinyl, it’s best practice to set the dial to ‘Custom’. Glitter vinyl is inherently thicker and contains embedded glitter particles, which means it requires a slightly different pressure and often a multi-pass cut setting to ensure a clean, precise cut without damaging the material or dulling your blade prematurely. This custom setting allows for fine-tuning the cut for optimal results.
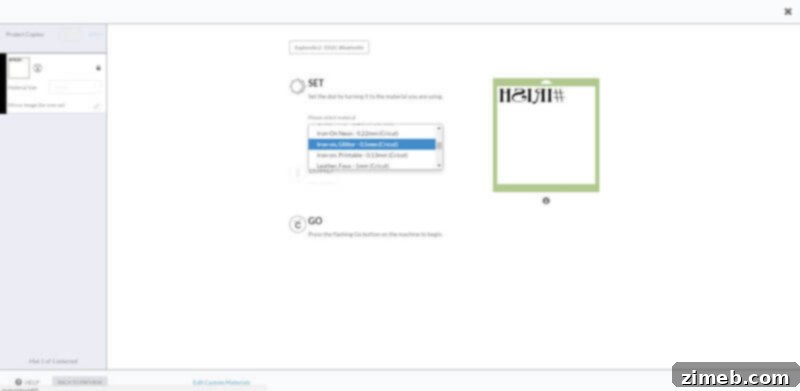
With your machine dial physically set to ‘Custom,’ a dropdown menu will conveniently appear on your computer screen within Design Space. From this extensive list of materials, carefully select ‘Glitter Iron-On Vinyl.’ This crucial step ensures your Cricut uses the precise pressure and speed settings specifically calibrated for this particular material, guaranteeing a flawless cut. Now, take your glitter vinyl and place it shiny side down (the clear carrier sheet facing up) onto your cutting mat. Smooth it out thoroughly to prevent any air bubbles or wrinkles, which could affect the cut. Gently feed the mat into your Cricut machine, ensuring it’s properly aligned, and then press the flashing ‘Go’ button. It’s always mesmerizing to watch the Cricut work its magic, cutting your intricate design with remarkable precision and efficiency!
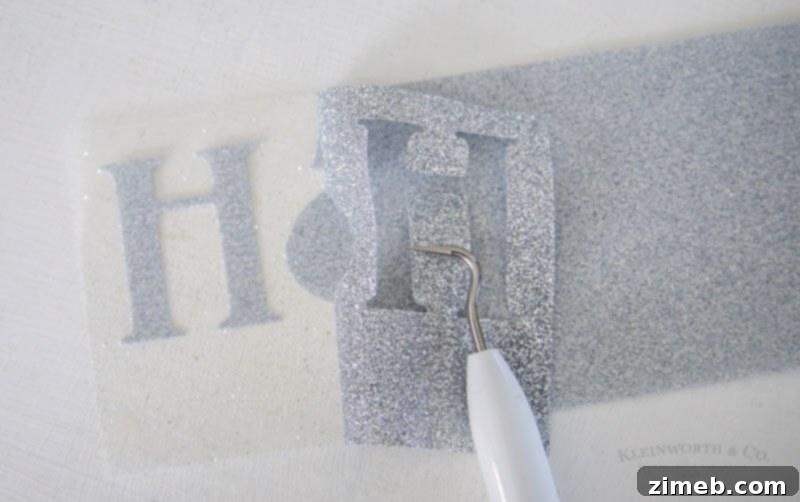
Once the cutting is complete, carefully remove the vinyl sheet from the cutting mat. This is where the weeding process begins – a step that can be surprisingly therapeutic and satisfying. Using your specialized weeding tool (a small hook or tweezer-like tool), meticulously remove all the excess vinyl that is not part of your design. This includes the background around your letters or images, as well as any small inner pieces (like the centers of letters such as ‘A’, ‘O’, ‘P’, or intricate details within a graphic). Take your time with this step, working slowly and deliberately, to ensure you don’t accidentally pull off any part of your intended design. What you’ll be left with is just your beautiful design, perfectly cut and adhered to the clear, shiny transfer paper backing, ready for its final application to your chosen garment. Proper weeding ensures a crisp, clean final product.
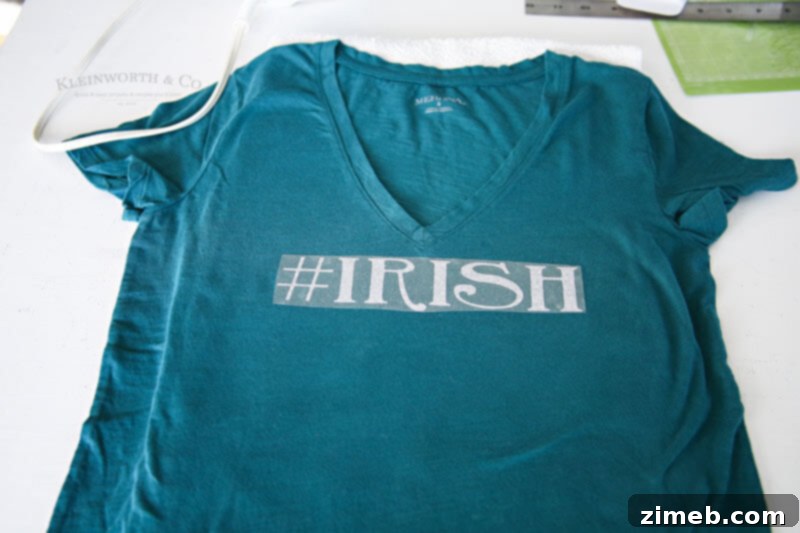
Now for the exciting transfer! First, prepare your t-shirt by running a warm iron over the fabric for a few seconds. This crucial pre-heating step accomplishes several things: it pre-shrinks the fabric slightly, removes any residual moisture that could interfere with adhesion, and smooths out wrinkles, creating an ideal, flat surface for optimal vinyl application. Next, carefully position your weeded vinyl design (still on its clear backing) onto the shirt exactly where you want it to appear. Use a ruler or measuring tape to ensure it’s centered and straight. Once perfectly placed, cover the entire design with a thin pressing cloth (a piece of clean cotton fabric, parchment paper, or a Teflon sheet works wonderfully) to protect both the glitter vinyl and your iron from direct contact. Press down firmly with a hot iron (set to the cotton/linen setting, no steam), applying even pressure over the entire image for about 25-30 seconds. Avoid sliding the iron, instead, lift and repress it section by section to ensure consistent heat distribution. Then, turn the garment inside out and iron the back side of the design for another 25-30 seconds. Allow the shirt to cool completely – this is a crucial step for a ‘cool peel’ vinyl like glitter iron-on. Once thoroughly cooled to the touch, carefully and slowly peel back the clear plastic carrier sheet at a 45-degree angle. If any part of the design lifts with the plastic, simply lay the plastic back down, re-iron that specific section, and let it cool again before attempting to peel. With a little patience and attention to detail, you’ll be left with your stunning, personalized St. Patrick’s Day shirt, ready to wear and impress!

The creative potential with iron-on vinyl is truly boundless. You’ll be absolutely amazed by the incredible spectrum of colors and finishes available – from classic matte and vibrant glossy to shimmering metallics, playful holographic, and, of course, the dazzling glitter iron-on vinyl we used today. Each type opens up a world of new possibilities for personalized apparel, home decor, gifts, and so much more. Imagine custom tote bags, unique throw pillows, personalized baby bodysuits, or even bespoke hats – all created with the same simple techniques. This expansive selection makes every new project an exciting adventure, allowing you to perfectly match your vision with the right texture and sparkle. Honestly, it makes me giddy just thinking about all the custom items I can create, celebrating every holiday and special moment with a handmade touch!
Your Perfect St. Patrick’s Day Style is Ready!

I am absolutely smitten with how this shirt turned out – it’s just so perfectly festive and fun, radiating Irish charm with every sparkle! In fact, I love it so much that I might just have to pick up another green t-shirt for myself and craft a matching one. It’s incredibly cute and perfectly captures the spirit of St. Patrick’s Day, don’t you agree?! Creating custom shirts like this for holidays or special occasions is such a rewarding experience, allowing you to express your personality and celebrate in truly unique style. It’s amazing what you can achieve with a little creativity and the incredible capabilities of your Cricut machine!
Unlock More Creative Potential with Your Cricut Explore Air 2!
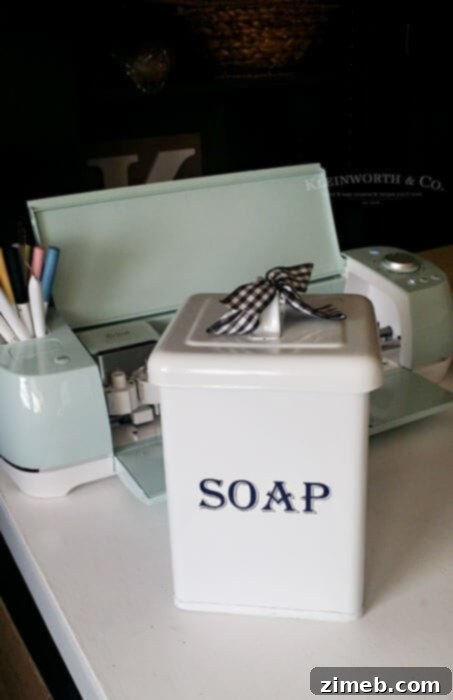
Vintage Soap Canister Cricut Tutorial
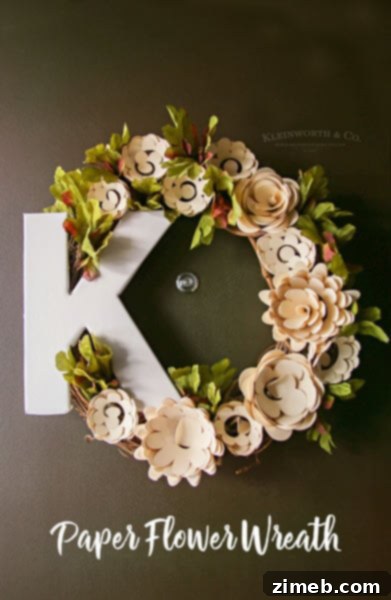
Paper Flower Wreath Tutorial
For even more inspiring ideas and creative ventures, be sure to explore these fantastic projects from fellow bloggers, showcasing the diverse applications of the Cricut machine:
How to Use the Cricut Pen from Printable Crush
Cricut Monogram Tutorial from Frugal Coupon Living
This content is a sponsored conversation written by me on behalf of Cricut. All opinions and the creative text expressed herein are entirely my own, reflecting my genuine experience and enthusiasm for their products.