
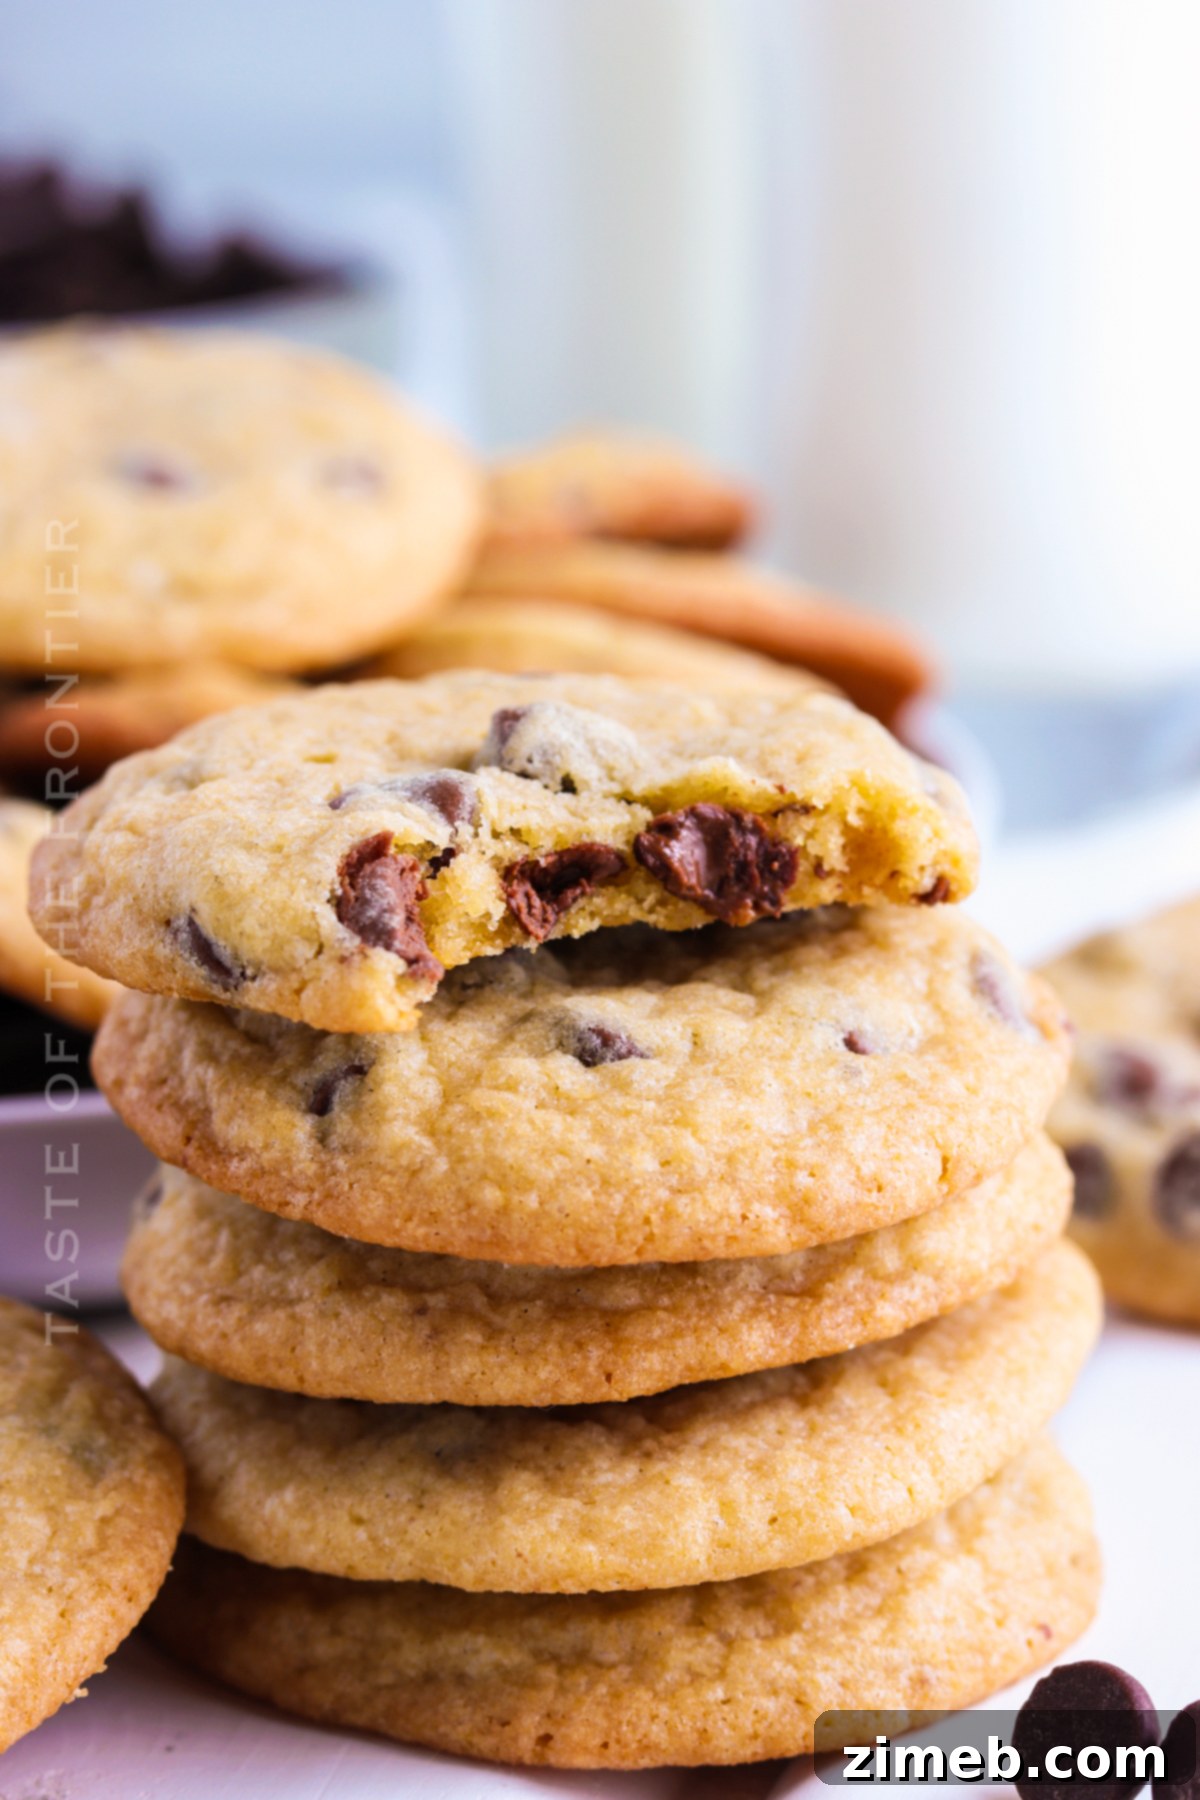
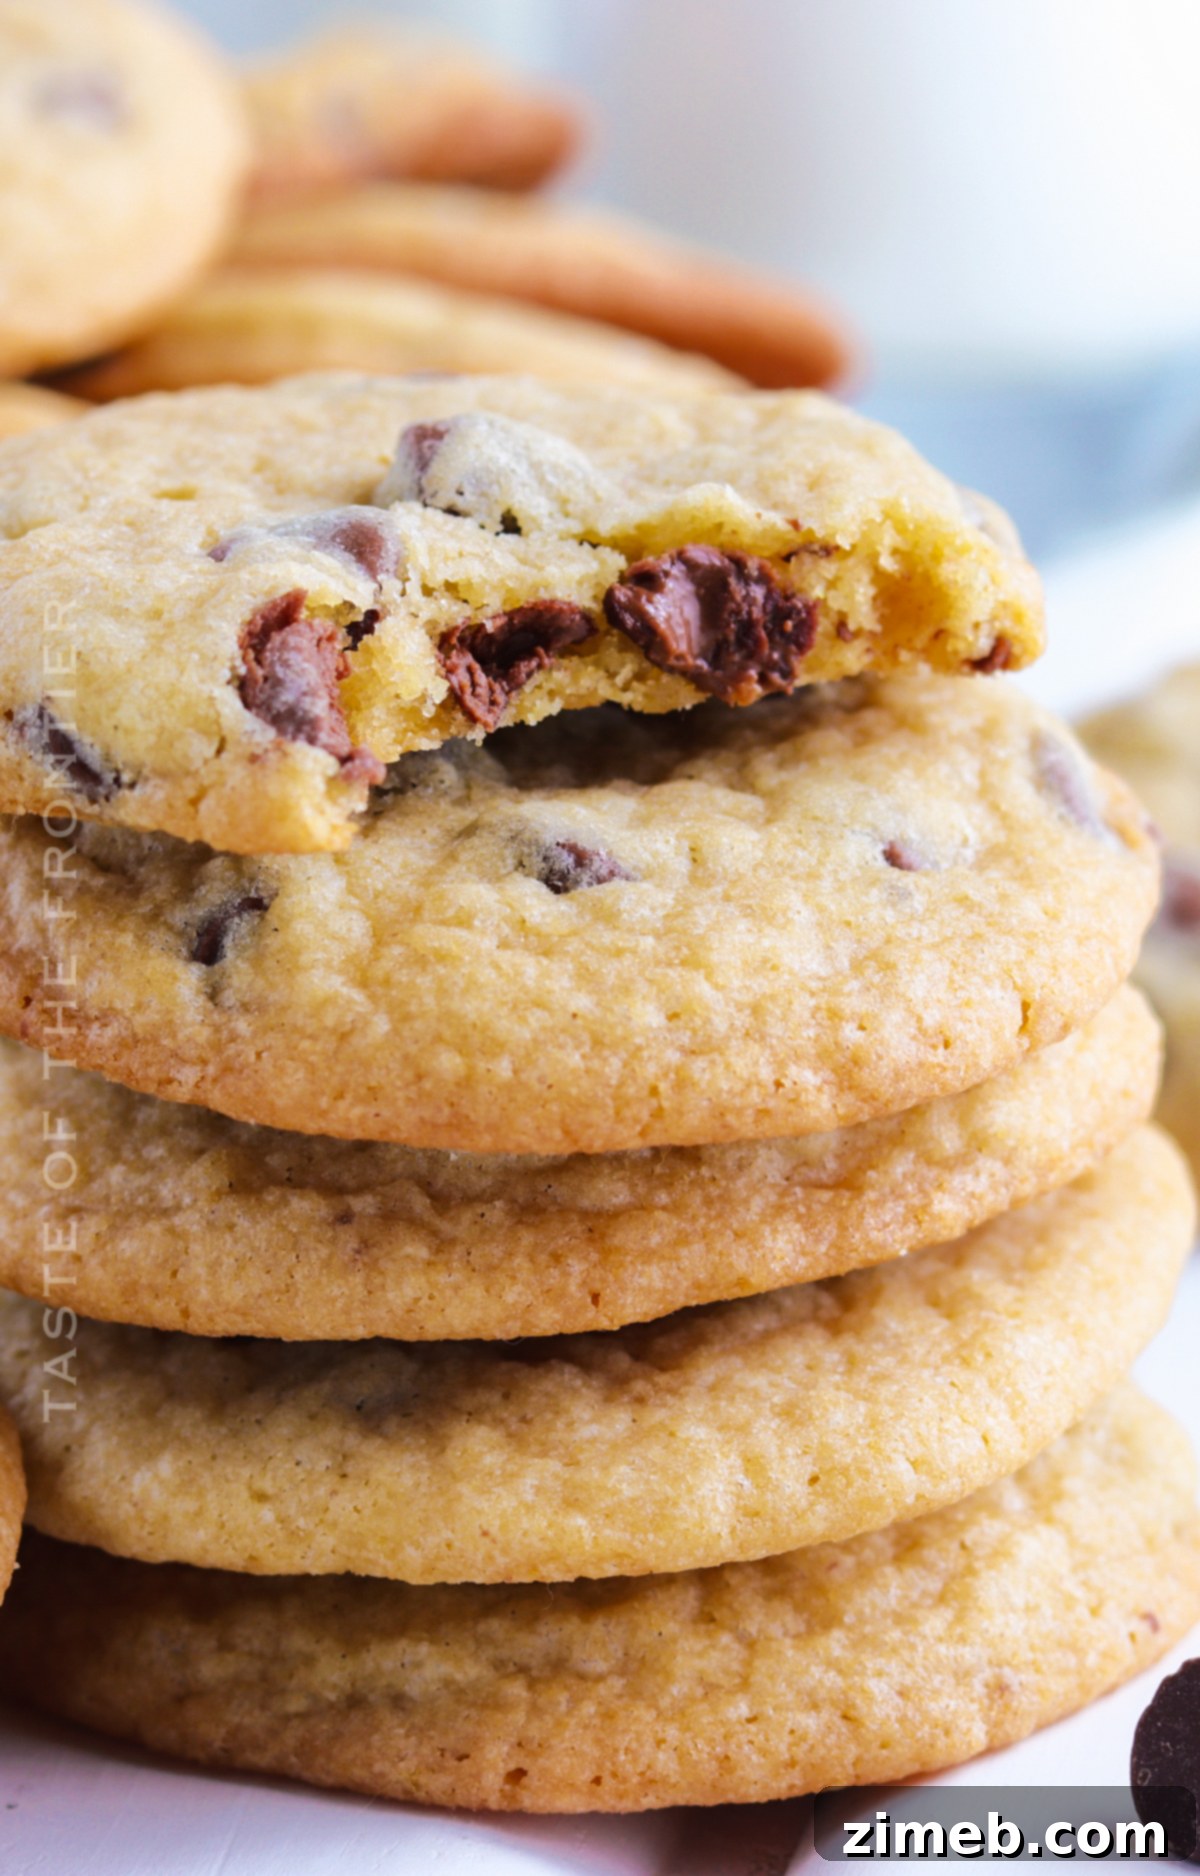
Indulge in the ultimate homemade treat with this incredible copycat Mrs. Fields Chocolate Chip Cookies recipe! Designed for perfection, these cookies are wonderfully soft, delightfully chewy, and surprisingly require absolutely no chill time. Get ready to bake bakery-quality cookies right in your own kitchen – it doesn’t get much better than this!
Mrs. Fields Chocolate Chip Cookies hold a special place in the hearts of cookie lovers everywhere, renowned for their signature soft, chewy texture and rich chocolate flavor. For many, these iconic cookies evoke a sense of warmth and nostalgia. However, access to a Mrs. Fields store isn’t always convenient, making that immediate craving a challenge to satisfy.
Fortunately, our meticulously crafted copycat recipe brings the magic of Mrs. Fields’ famous chocolate chip cookies directly to your home. We’ve perfected the balance of ingredients and technique to deliver cookies that are virtually indistinguishable from the original. The best part? This recipe is a dream for impatient bakers – it requires no chill time for the dough! That means you can go from craving to fresh-baked deliciousness in under 30 minutes. Whether you’re longing for the authentic taste of Mrs. Fields’ chocolate chip cookies or simply eager to try your hand at baking an extraordinary batch, this recipe is your golden ticket.
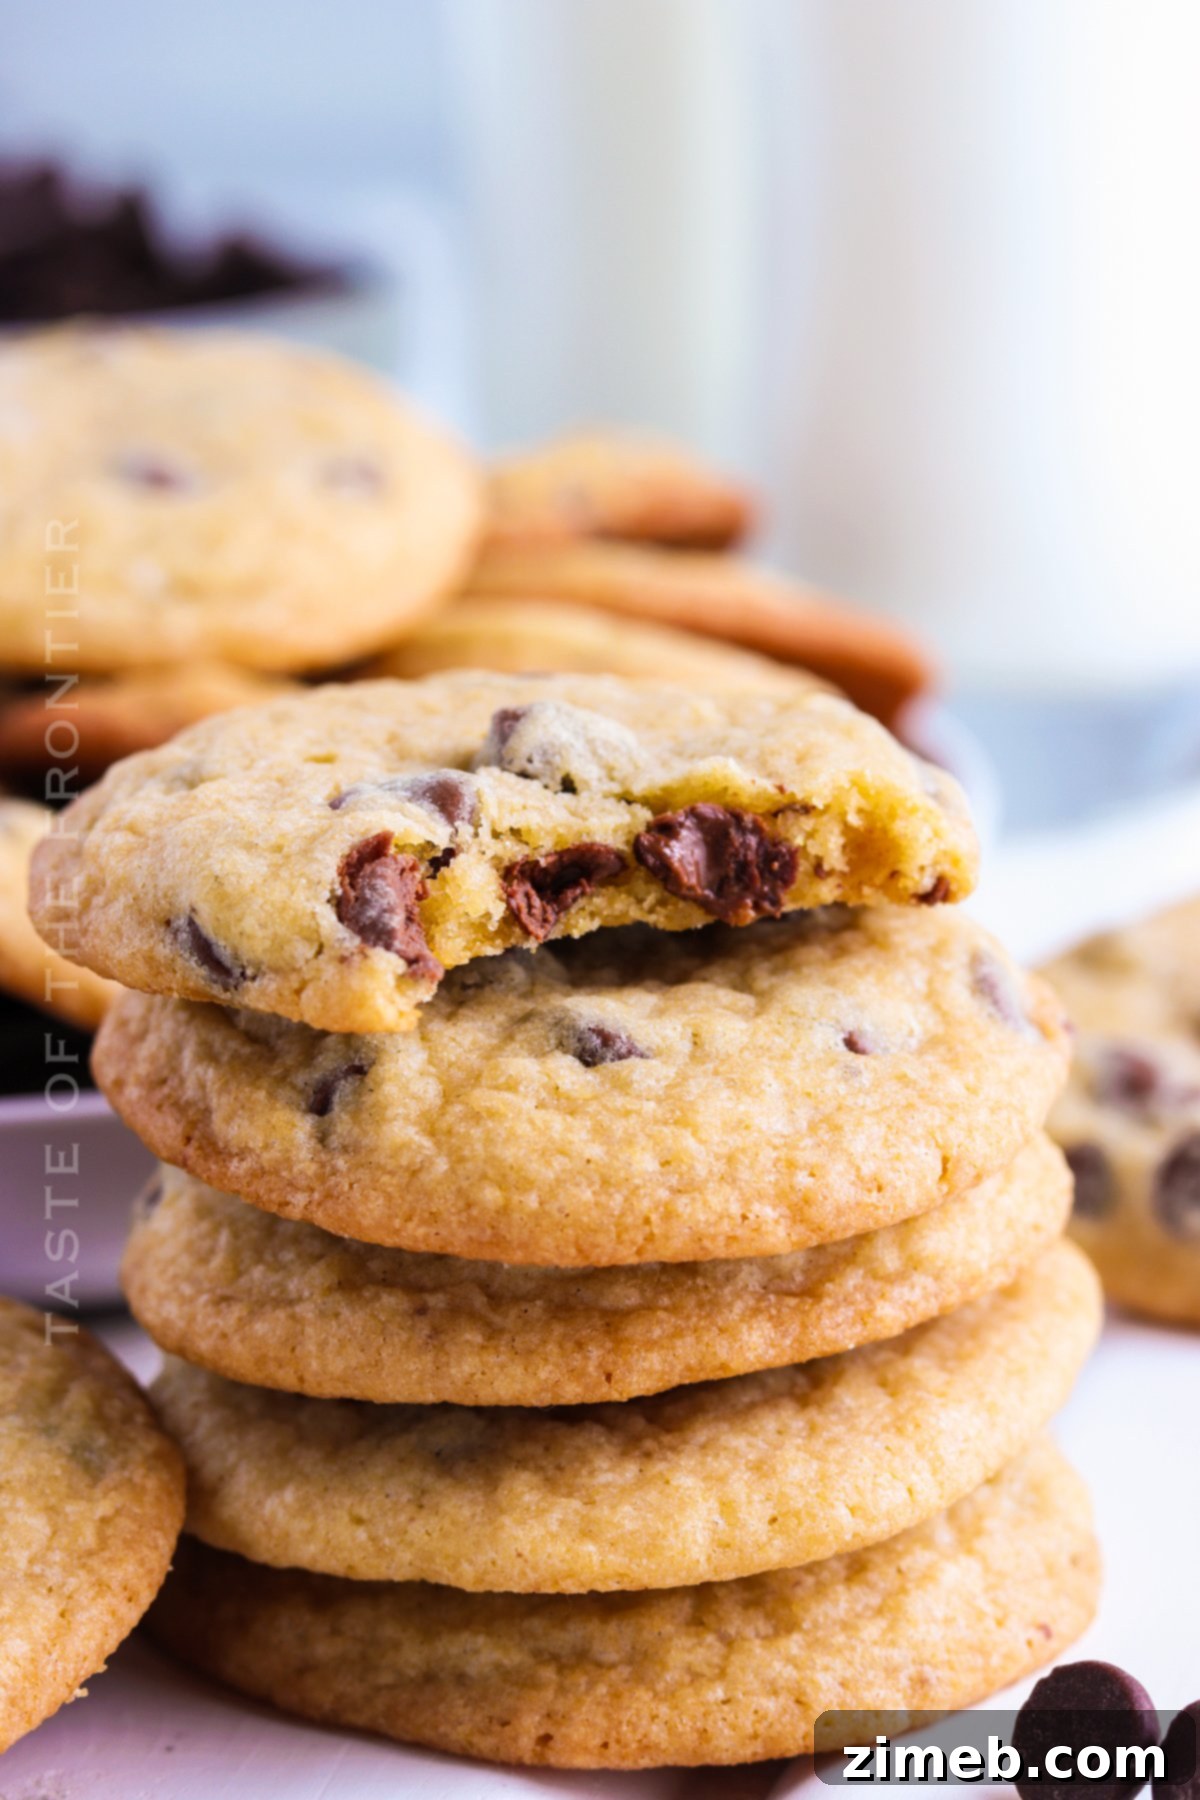
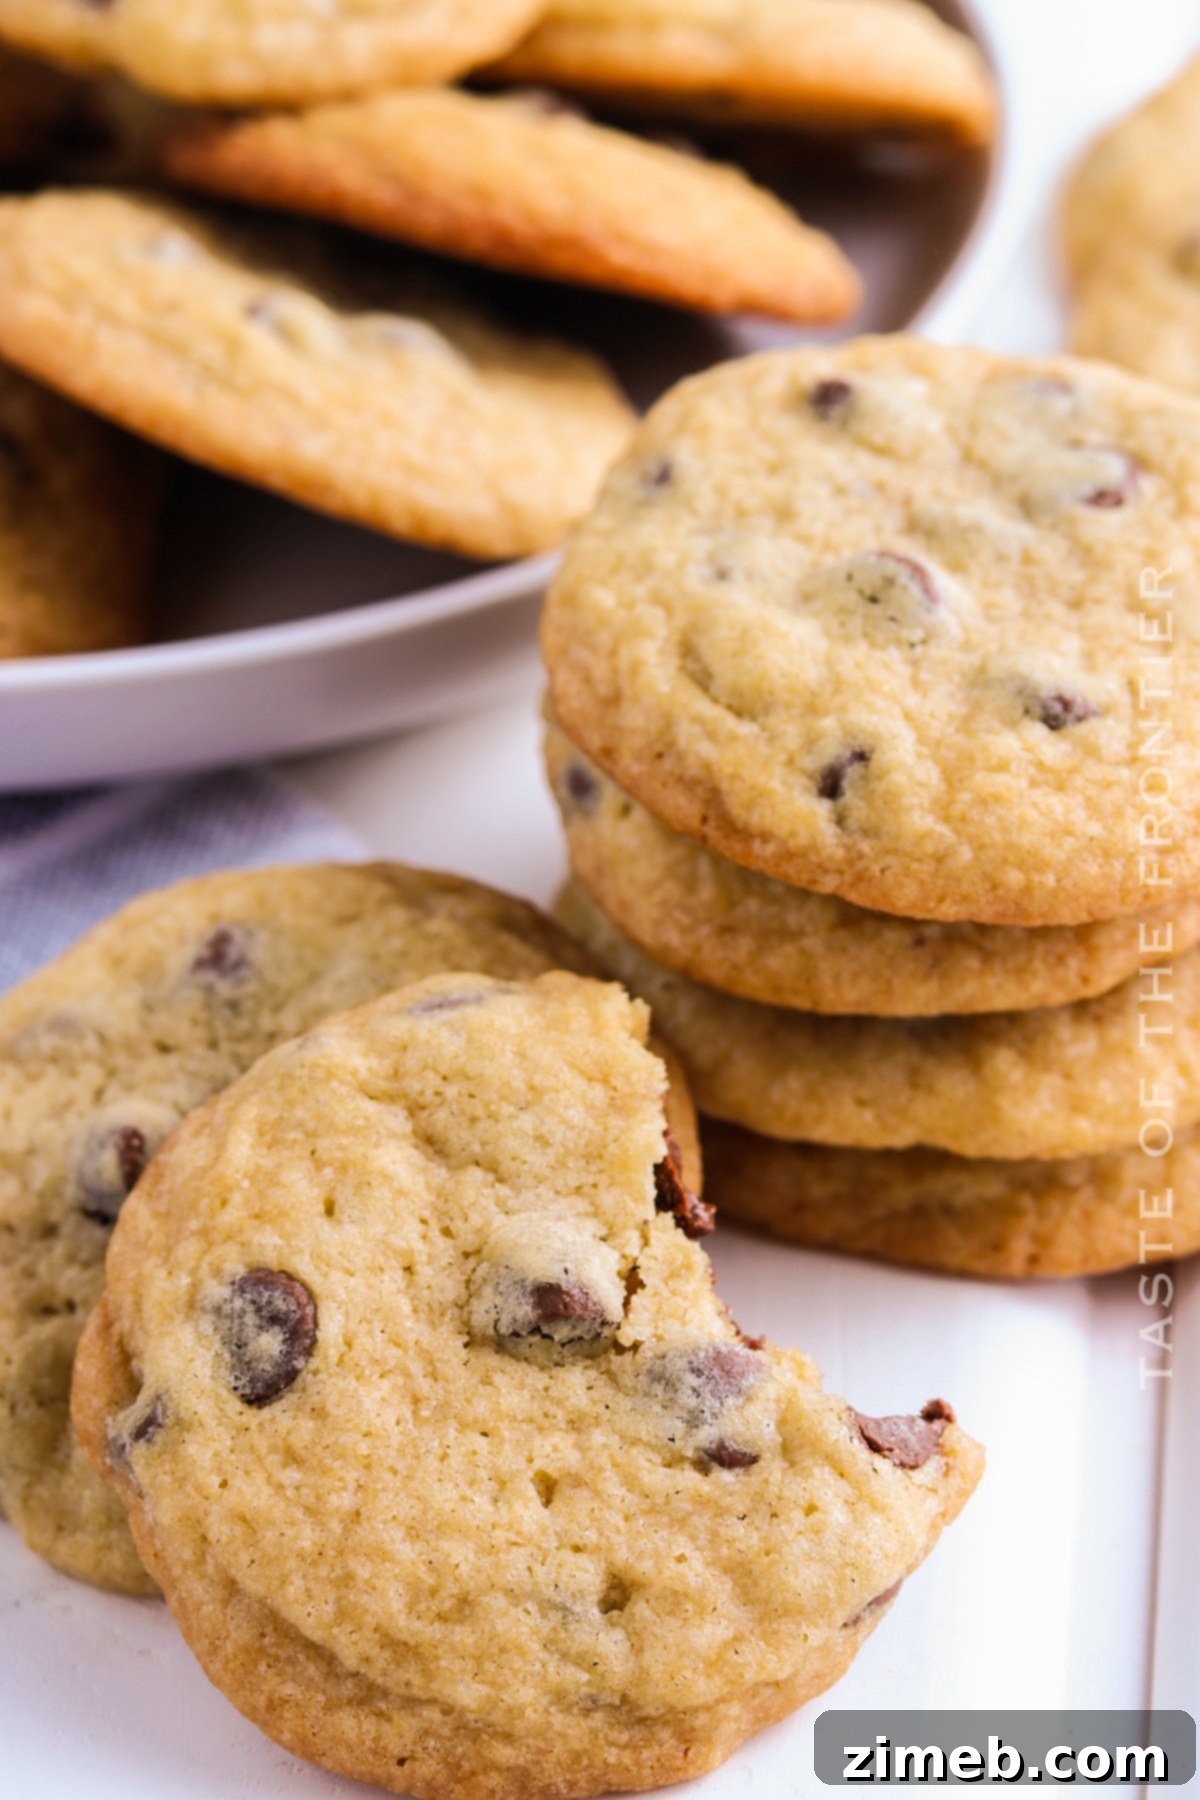
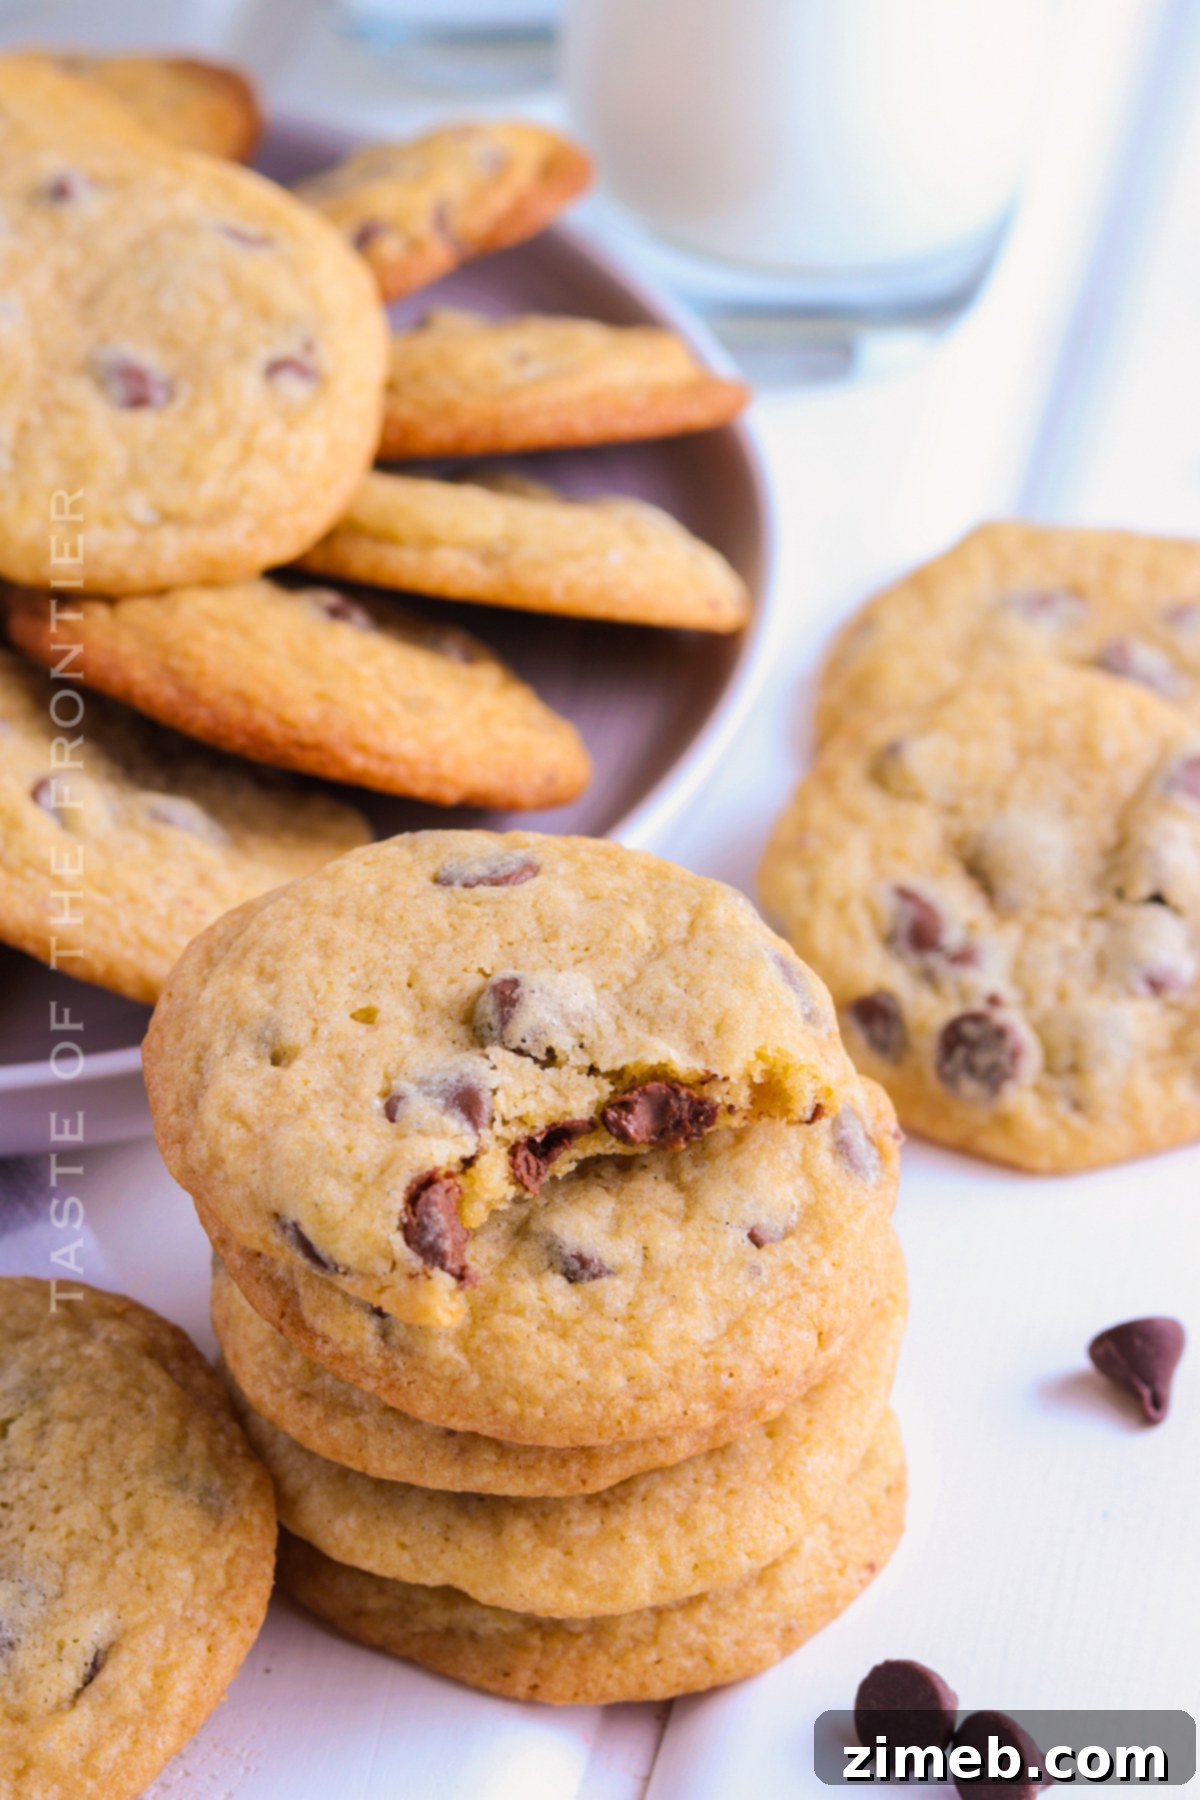
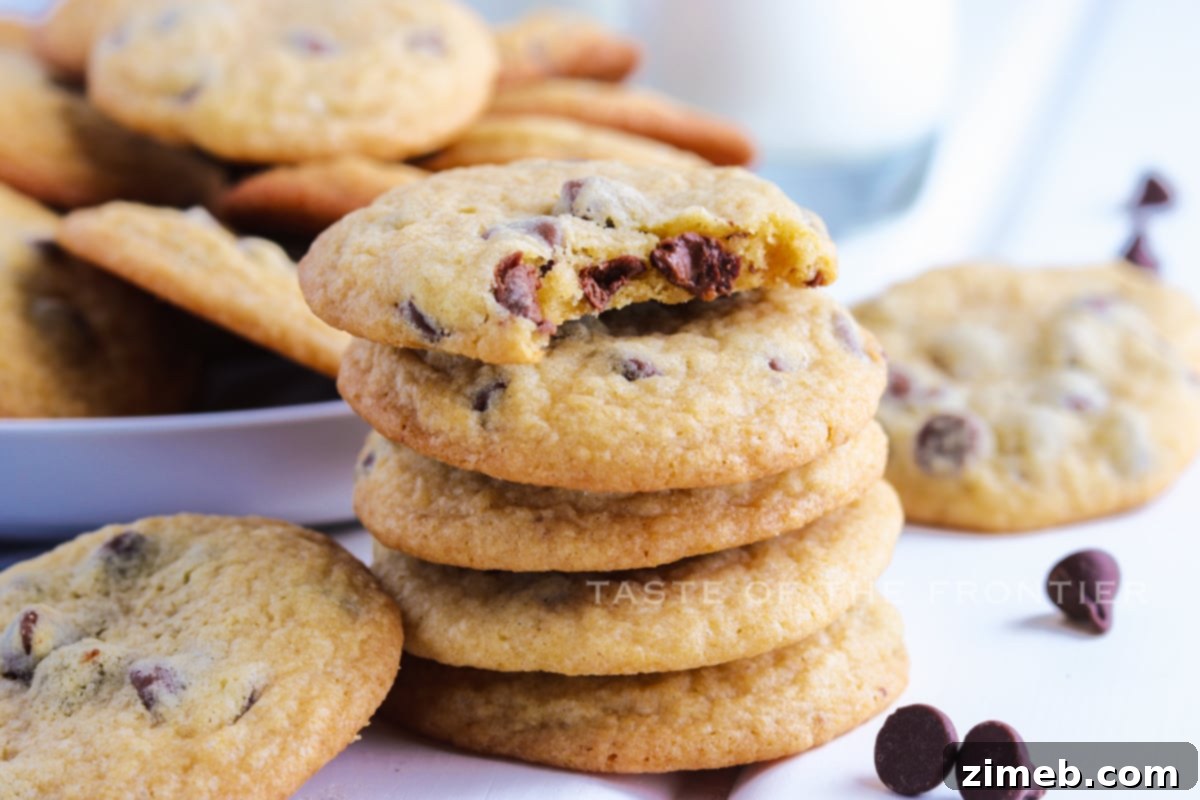
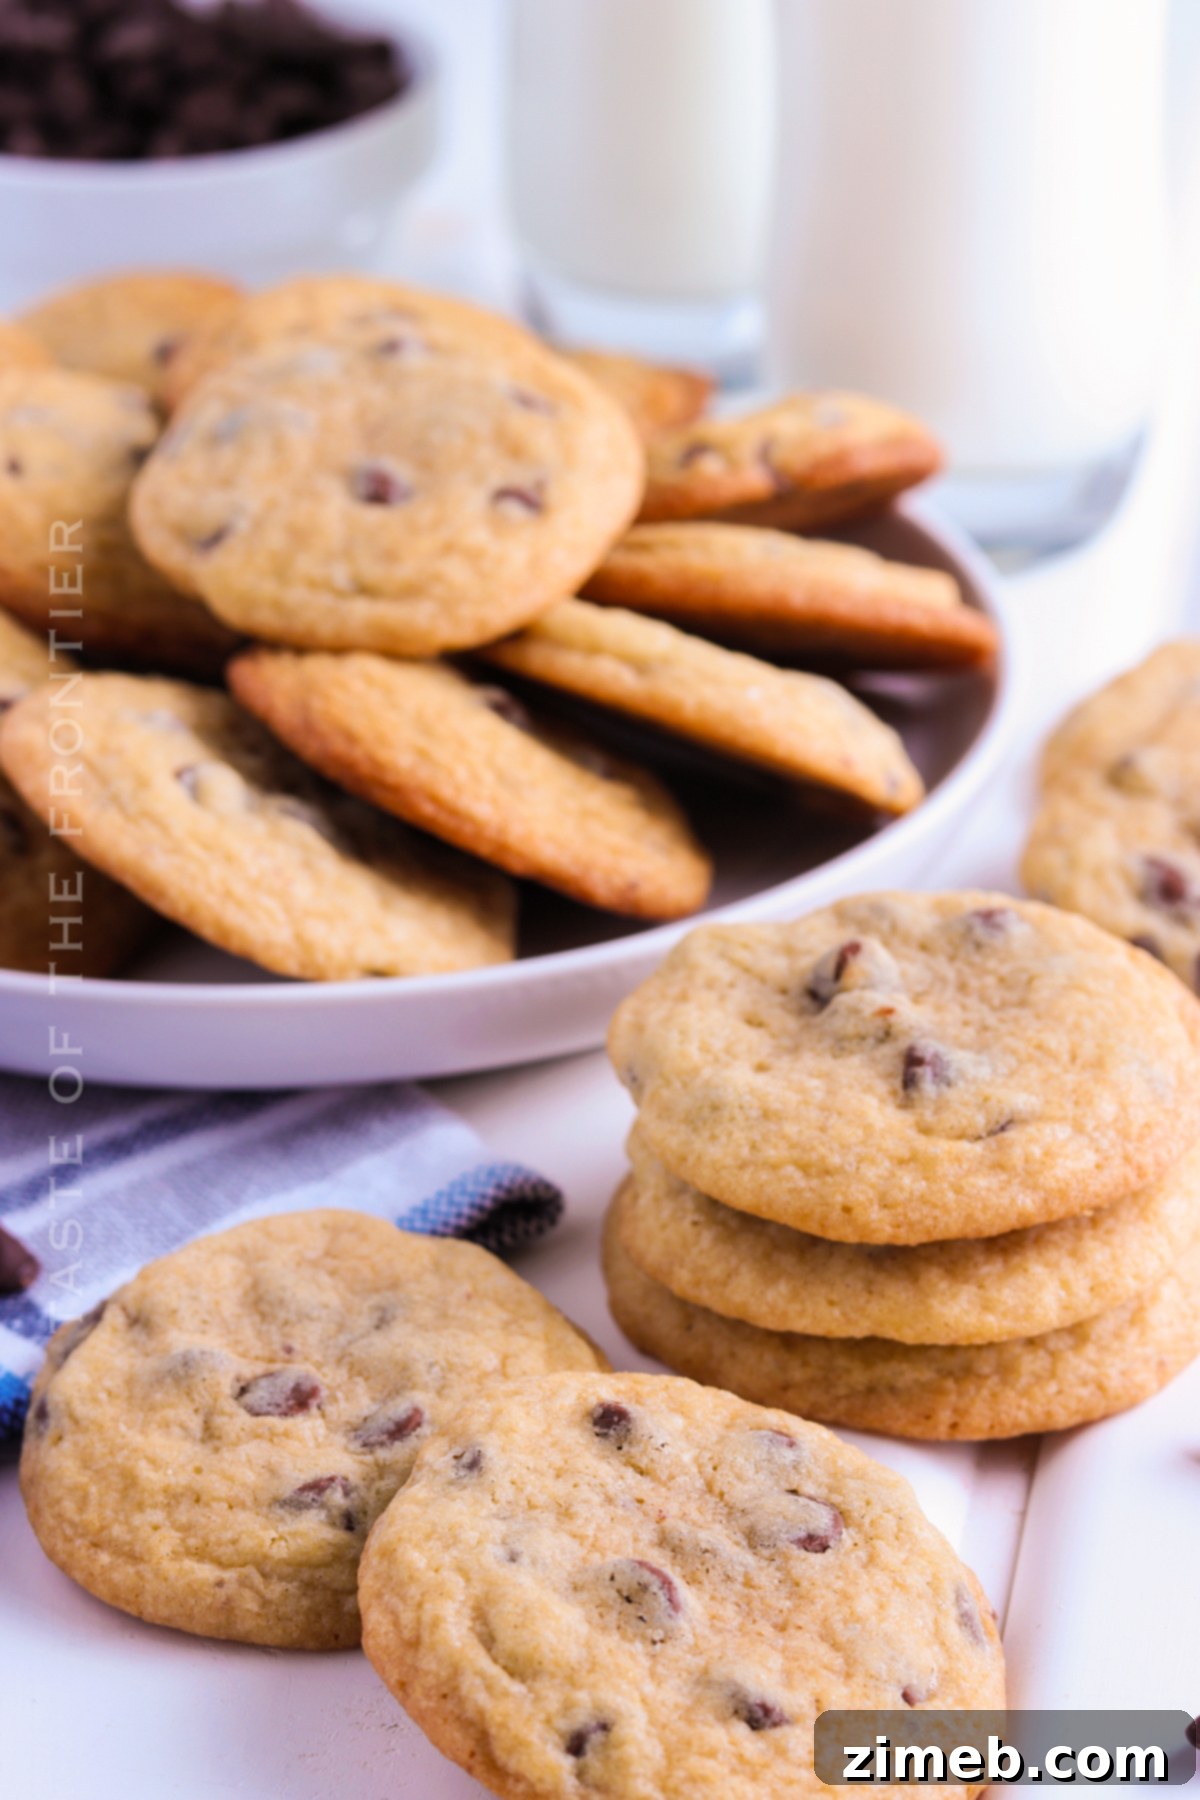
This remarkable copycat recipe for Mrs. Fields Chocolate Chip Cookies consistently produces cookies that are exquisitely soft and delightfully chewy on the inside, with a subtle, delicate crispness around the edges – precisely mimicking the beloved original. It’s a texture profile that’s truly addictive!
But beyond the perfect texture, my absolute favorite feature of this recipe is the absence of any dough chilling requirement. This eliminates the waiting game, allowing you to have warm, fragrant Mrs. Fields-style chocolate chip cookies emerging from your oven in record time. When a cookie craving strikes, there’s no need to delay instant gratification. With this recipe, you can enjoy these irresistible cookies in less than half an hour, making it perfect for last-minute treats or a spontaneous baking session.
Frequently Asked Questions About Mrs. Fields Chocolate Chip Cookies
Here, we address some common queries about Mrs. Fields, baking tips, and specific details regarding this fantastic copycat chocolate chip cookie recipe.
About the Iconic Mrs. Fields Cookies Brand
Mrs. Fields is a celebrated brand synonymous with freshly baked cookies, brownies, and a variety of other delectable treats. The company’s origins trace back to 1977 when it was founded by the visionary Debbi Fields. From its humble beginnings, Mrs. Fields has grown into a widely recognized name, with numerous locations across the United States and several international markets.
The brand is most famous for its signature cookies, which come in a delightful assortment of flavors. While the classic chocolate chip reigns supreme, other popular varieties include rich oatmeal raisin and creamy peanut butter. Beyond their renowned cookies, Mrs. Fields also offers an extensive selection of other baked goods, such as fluffy muffins, delicate scones, and charming cupcakes, catering to every sweet tooth. This commitment to quality and variety has solidified Mrs. Fields’ reputation as a go-to destination for gourmet desserts.
In addition to individual treats, Mrs. Fields provides a wonderful array of gifts and gift baskets, perfect for any occasion. These thoughtful presents can be sent to friends, family, or business associates and often feature beautifully arranged cookie tins, charming mug sets, and convenient gift cards. The company also facilitates corporate gifting programs, making it simple for businesses to show appreciation to their employees or clients with a touch of sweetness.
If you’re in search of a truly delicious and satisfying treat, Mrs. Fields offers an unparalleled experience. With its wide selection of cookies, brownies, and other baked delights, there’s undoubtedly something to captivate everyone’s palate. Moreover, their diverse range of gifts and gift baskets ensures you can easily find the ideal present for any celebration or gesture of kindness.
For more detailed information about their products and company history, we invite you to visit the official Mrs. Fields website.
Does Using Salted or Unsalted Butter Affect This Recipe?
The choice between salted and unsalted butter in baking often comes down to personal preference and how much control you want over the salt content in your final product. Unsalted butter is generally favored by professional bakers because it allows for precise control over the amount of salt in the recipe. If you prefer a cookie with a pure, unadulterated sweetness, unsalted butter is the way to go.
However, many home bakers, including myself, find that salted butter can add a wonderful depth of flavor, providing a subtle contrast that cuts through the sweetness. This slight saltiness can truly enhance the overall taste of your chocolate chip cookies, making them more complex and satisfying. I personally love that touch of extra salt that salted butter provides, especially in this recipe, as it beautifully complements the rich chocolate and sweet dough.
During busy times, particularly around the holidays, I often use whatever butter I have on hand without much concern. The beauty of this recipe is its flexibility. While unsalted butter offers more control, salted butter will still yield delicious results, often adding a delightful, nuanced flavor that many enjoy. Don’t stress too much over it; both options will lead to fantastic cookies!
Can I Use Imitation Vanilla Extract in These Cookies?
Absolutely, you can use imitation vanilla extract as a more economical alternative to pure vanilla extract in this recipe. In recent times, pure vanilla extract has seen price fluctuations due to high demand and varying supply, making imitation vanilla a budget-friendly and accessible choice for many bakers.
While imitation vanilla offers a similar flavor profile, pure vanilla extract provides a more complex and robust aroma. For those who enjoy the deep, rich notes of real vanilla and want to save on cost, making your own homemade vanilla extract is a fantastic option. The process is simple: carefully split three to five high-quality vanilla beans lengthwise and submerge them in a bottle of vodka (or another neutral spirit) in a clean mason jar. Store this mixture in a cool, dark place, shaking it gently every few days. Over several weeks to months, the alcohol will gradually extract the vanillin from the beans, turning a beautiful dark brown color as it develops a rich, authentic vanilla flavor. Once fully infused, use it just as you would any store-bought vanilla extract. Homemade vanilla lasts indefinitely if stored properly in a cool, dry place, providing a continuous supply of superior flavor for all your baking needs.
What Does “Creaming Butter and Sugar Together” Mean?
Creaming butter and sugar together is a fundamental step in many cookie recipes, including this Mrs. Fields copycat, and it’s absolutely crucial for achieving a light, airy, and fluffy cookie texture. This technique involves beating softened butter and granulated and brown sugars until the mixture becomes pale, light, and significantly increased in volume. The magic happens as the sharp sugar crystals cut into the butter, creating tiny air pockets. These air pockets are vital because they trap air, which then expands during baking, giving your cookies their desirable structure and preventing them from becoming dense or flat.
To execute this step perfectly, it’s essential to start with butter that is properly softened – not melted, but pliable enough to indent with a finger. Add your softened butter, granulated sugar, and packed brown sugar to a large mixing bowl. Using an electric mixer, start on low speed to combine, then increase to medium speed. Beat the mixture for about 2-3 minutes. You’ll know it’s ready when the mixture is noticeably lighter in color, fluffy in texture, and resembles whipped cream. It should hold soft, firm peaks when you lift the beaters. Be vigilant not to overmix at this stage; excessive beating can warm the butter too much, causing it to separate and become oily, which results in the loss of those precious incorporated air bubbles. Overmixing will lead to a dense, greasy cookie rather than the desired light and chewy texture. This careful creaming process lays the foundation for truly exceptional chocolate chip cookies.
Why Should I Be Careful Not to Overmix Wet and Dry Ingredients?
Once you’ve perfectly creamed your butter and sugars, the next critical phase in cookie baking is incorporating the dry ingredients. At this point, you’ve already worked diligently to infuse those valuable microscopic air bubbles into your butter, which are essential for creating a light and fluffy cookie. When you add the flour mixture (which typically includes flour, baking soda, and salt), the key is to mix just until everything is combined – no more. Overmixing at this stage activates the gluten in the flour.
Gluten, when overdeveloped, can make baked goods tough and chewy, much like bread dough. In cookies, this means you risk losing the delicate tenderness that we aim for. More importantly, aggressive or prolonged mixing can deflate those hard-won air bubbles from the creaming stage, leading to a denser, more oily dough. The result will be flat, tough, and less airy cookies that lack the signature soft and chewy texture characteristic of Mrs. Fields’ masterpieces. Therefore, always mix the dry ingredients into the wet until *just* combined, with perhaps a few streaks of flour remaining, before gently folding in your chocolate chips.
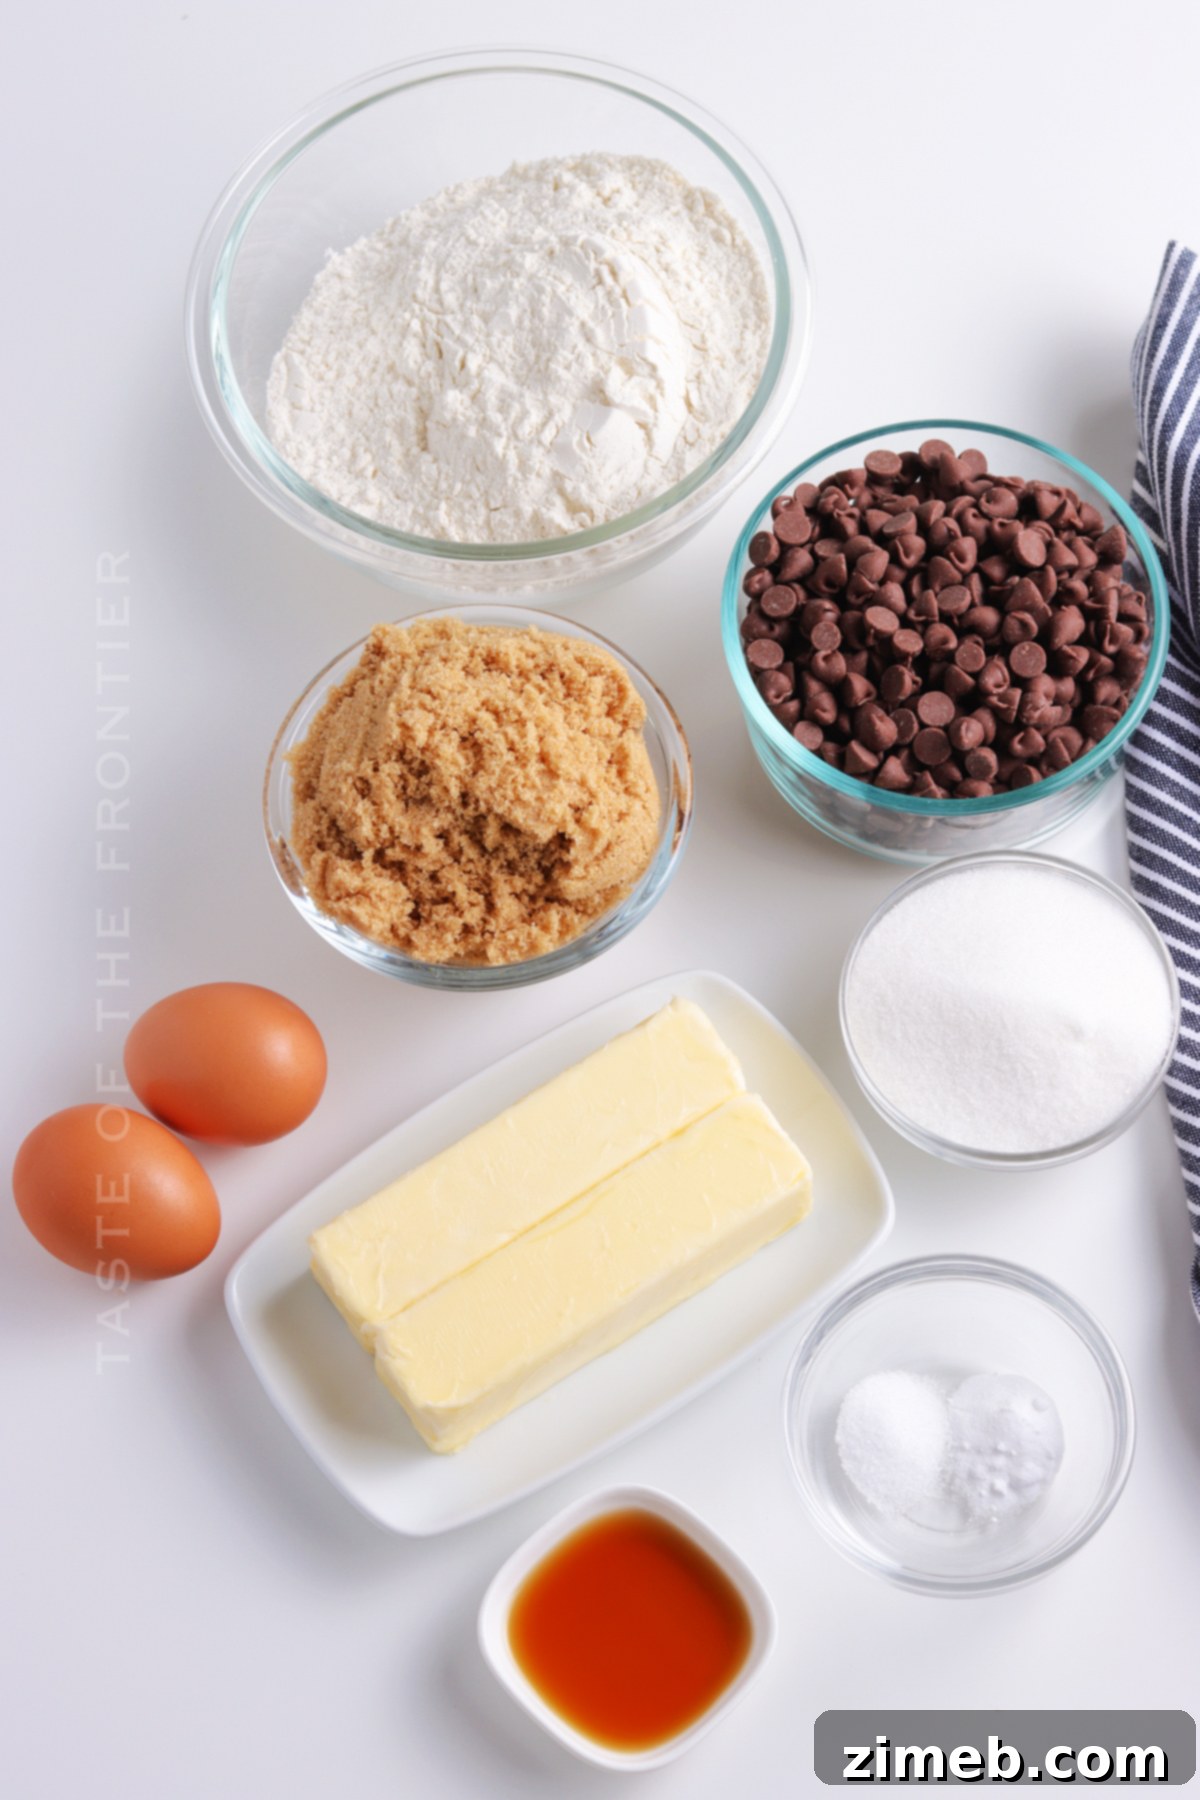
Key Ingredients for Mrs. Fields Chocolate Chip Cookies
To create these delightful copycat Mrs. Fields chocolate chip cookies, gather the following essential ingredients:
- All-purpose flour
- Salt
- Baking soda
- Unsalted butter – softened (room temperature is key for creaming!)
- Brown sugar – firmly packed
- Granulated sugar
- Large eggs – ensure they are at room temperature for better emulsion
- Vanilla extract
- Chocolate chips (semi-sweet or milk chocolate, depending on your preference)
How Many Cookies Does This Recipe Yield?
This fantastic recipe is designed to produce a generous batch of Mrs. Fields-style chocolate chip cookies, yielding approximately four dozen (48) perfectly sized treats. This makes it ideal for sharing with family and friends, bringing to potlucks, or simply ensuring you have plenty of cookies on hand to satisfy those ongoing cravings.
Should you wish to adjust the quantity, the ingredient measurements are conveniently scalable. You can easily halve the recipe if you desire a smaller batch, perhaps for a quick weeknight dessert, or double it to prepare an impressive quantity for larger gatherings or holiday gifts. The mathematical ratios remain straightforward, ensuring consistent delicious results no matter the batch size.
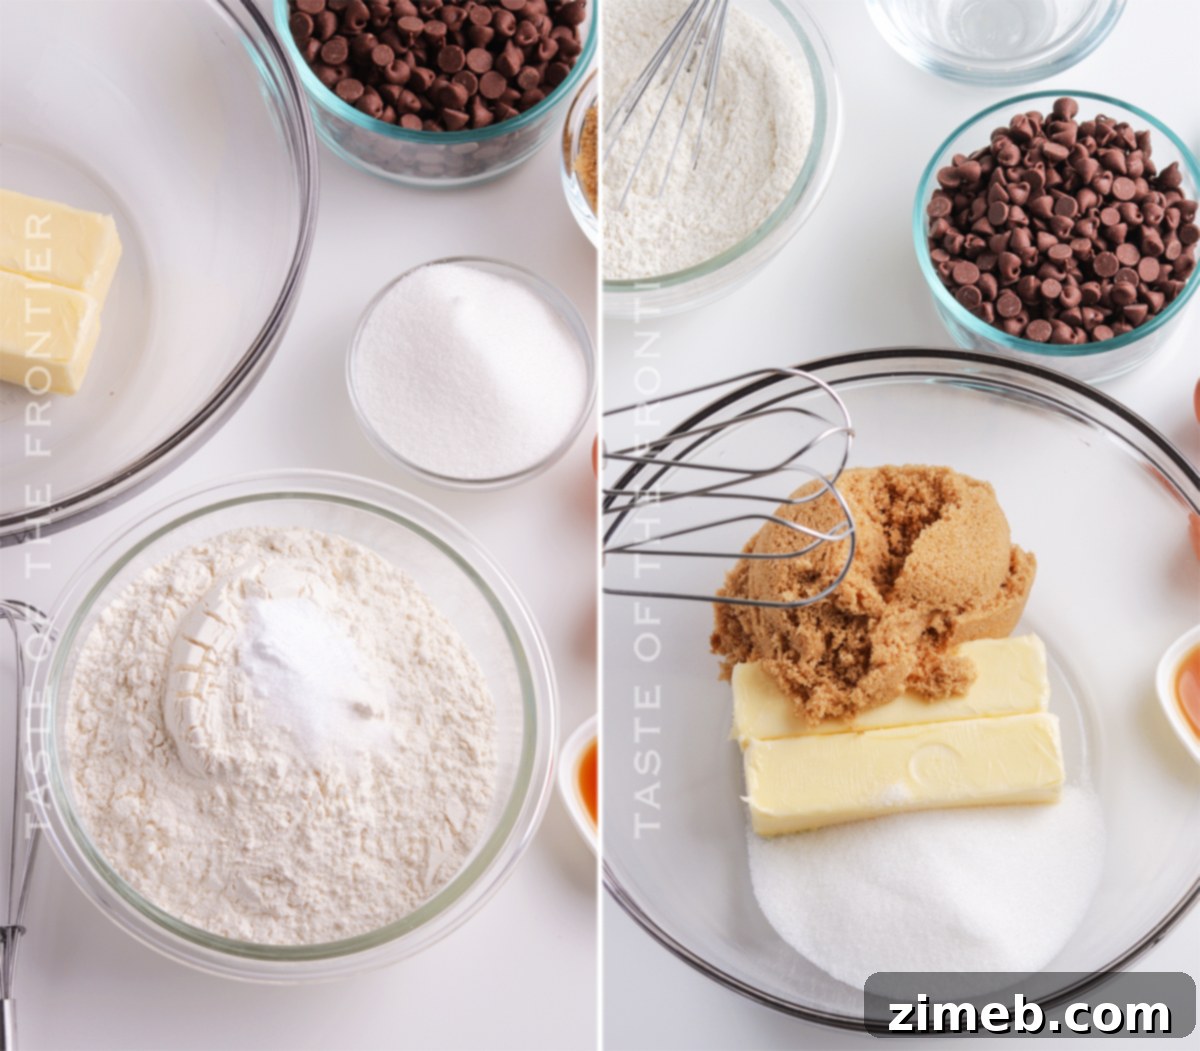
Step-by-Step: How to Make Mrs. Fields Chocolate Chip Cookies
Follow these simple instructions to bake your very own batch of irresistible Mrs. Fields Chocolate Chip Cookies:
- Prepare Oven and Baking Sheets: Preheat your oven to 350 degrees F (175 degrees C). Line several baking sheets with parchment paper or silicone baking mats. This prevents sticking and ensures even baking. Set them aside.
- Combine Dry Ingredients: In a medium-sized bowl, whisk together the all-purpose flour, baking soda, and salt. Whisking ensures these dry ingredients are evenly distributed, which is crucial for uniform leavening.
- Cream Wet Ingredients: In a large mixing bowl (preferably using an electric stand mixer or hand mixer), cream together the softened unsalted butter, granulated sugar, and packed brown sugar. Beat on medium speed for 2-3 minutes until the mixture is light, fluffy, and pale in color.
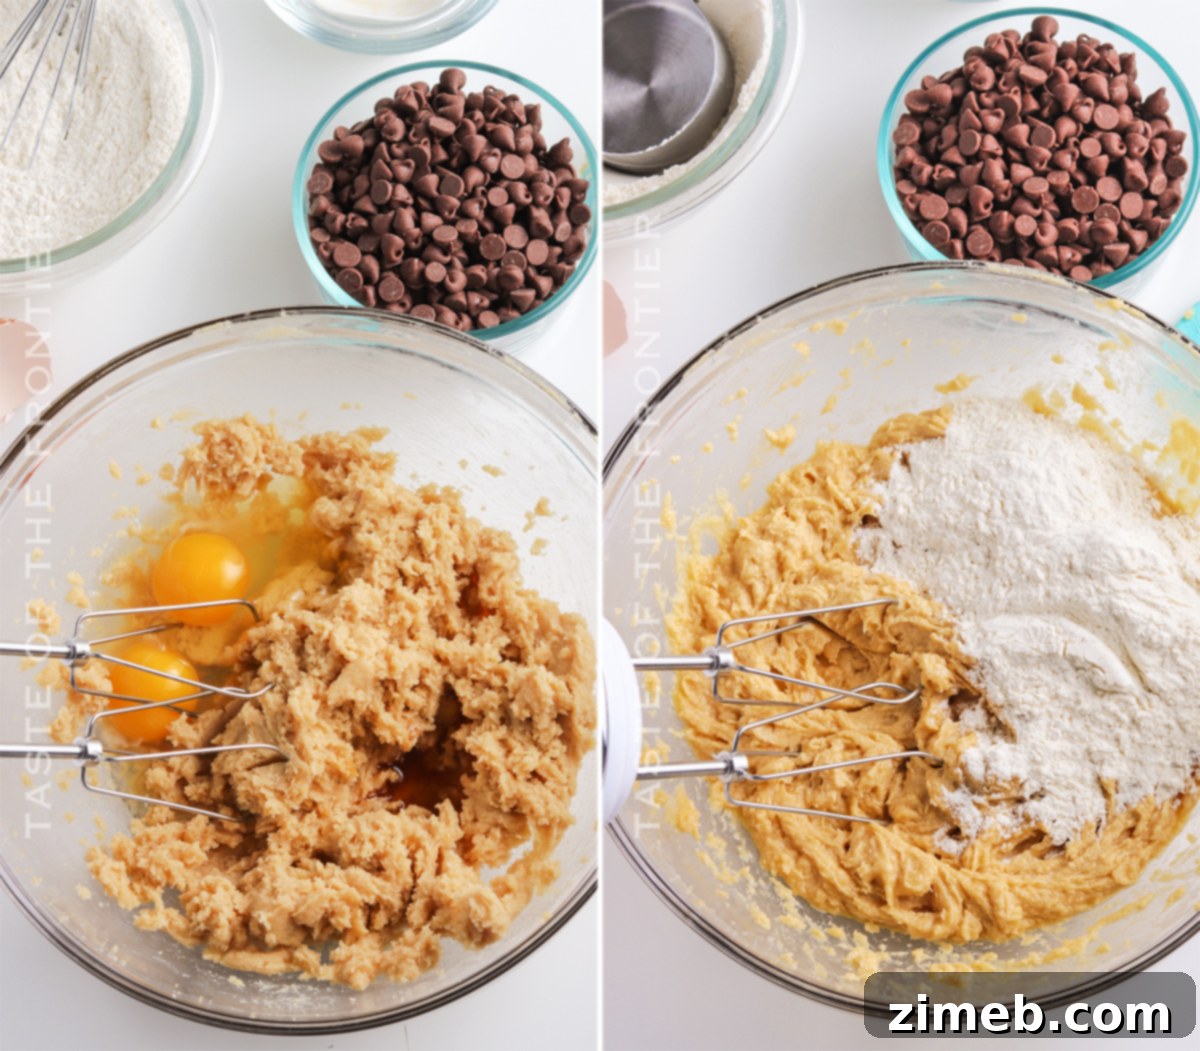
- Add Eggs and Vanilla: Beat in the room temperature large eggs one at a time, mixing well after each addition. Stir in the vanilla extract until just combined. Scrape down the sides of the bowl to ensure everything is fully incorporated.
- Incorporate Dry into Wet: Gradually add the whisked flour mixture to the wet ingredients. Mix on low speed until just combined. It’s important not to overmix at this stage; overmixing can develop too much gluten, leading to tough cookies. Stop as soon as no dry streaks of flour remain.
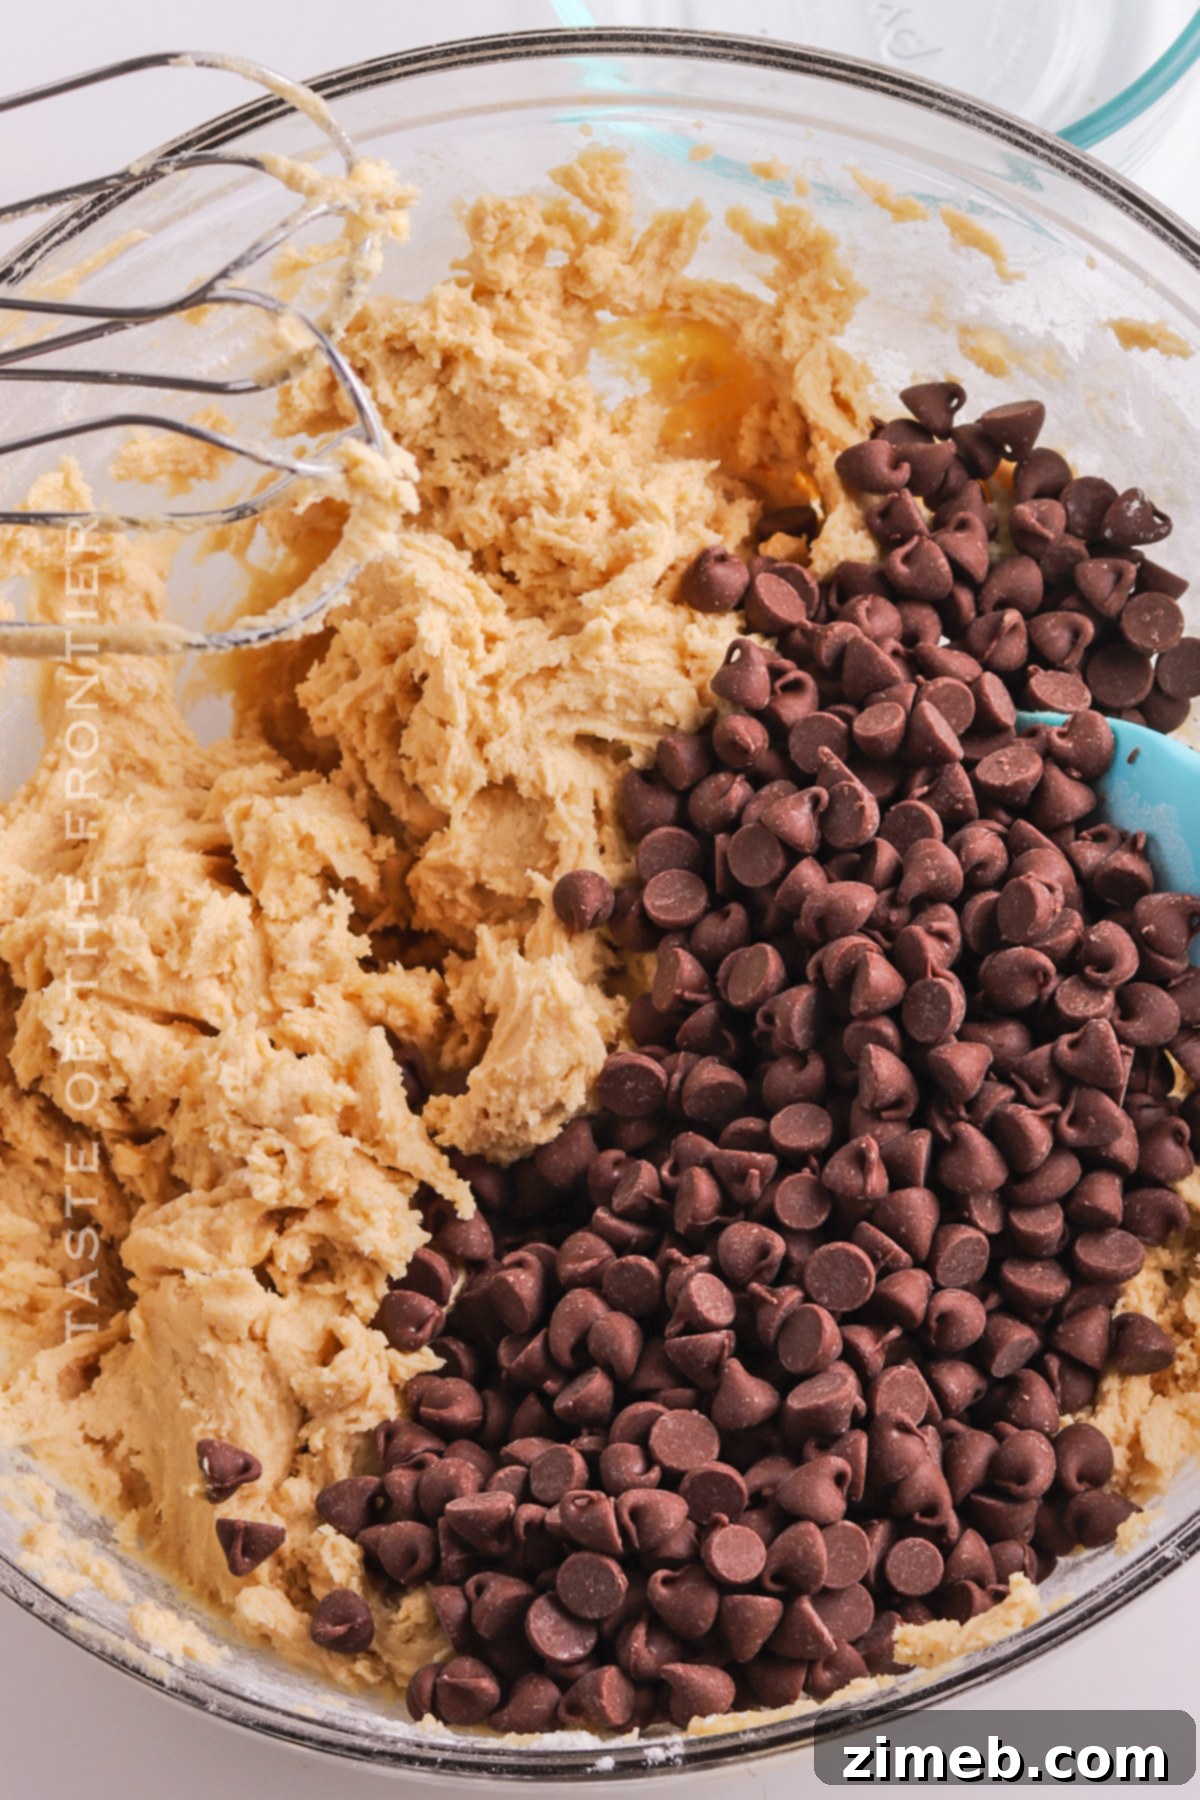
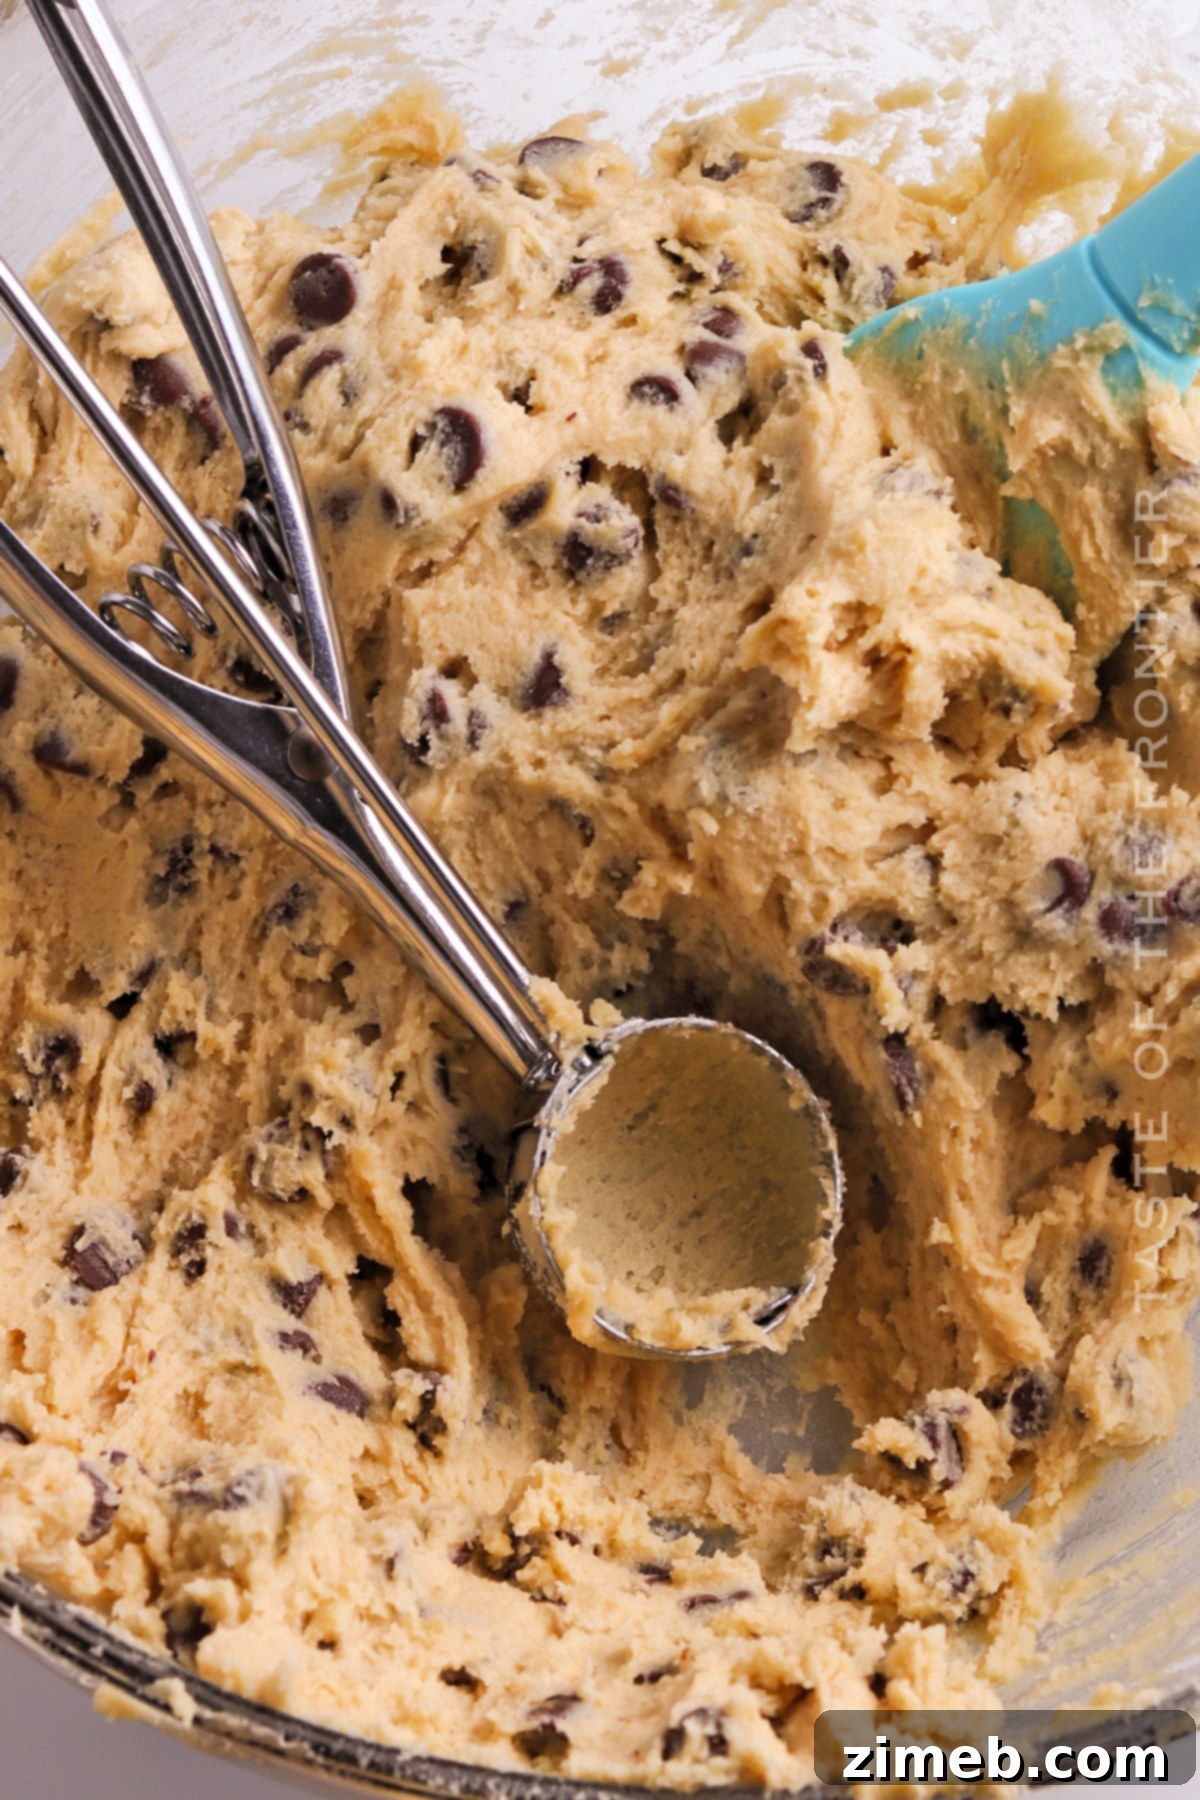
- Fold in Chocolate Chips: Gently fold in your chosen chocolate chips (semi-sweet or milk) using a spatula until they are evenly distributed throughout the dough.
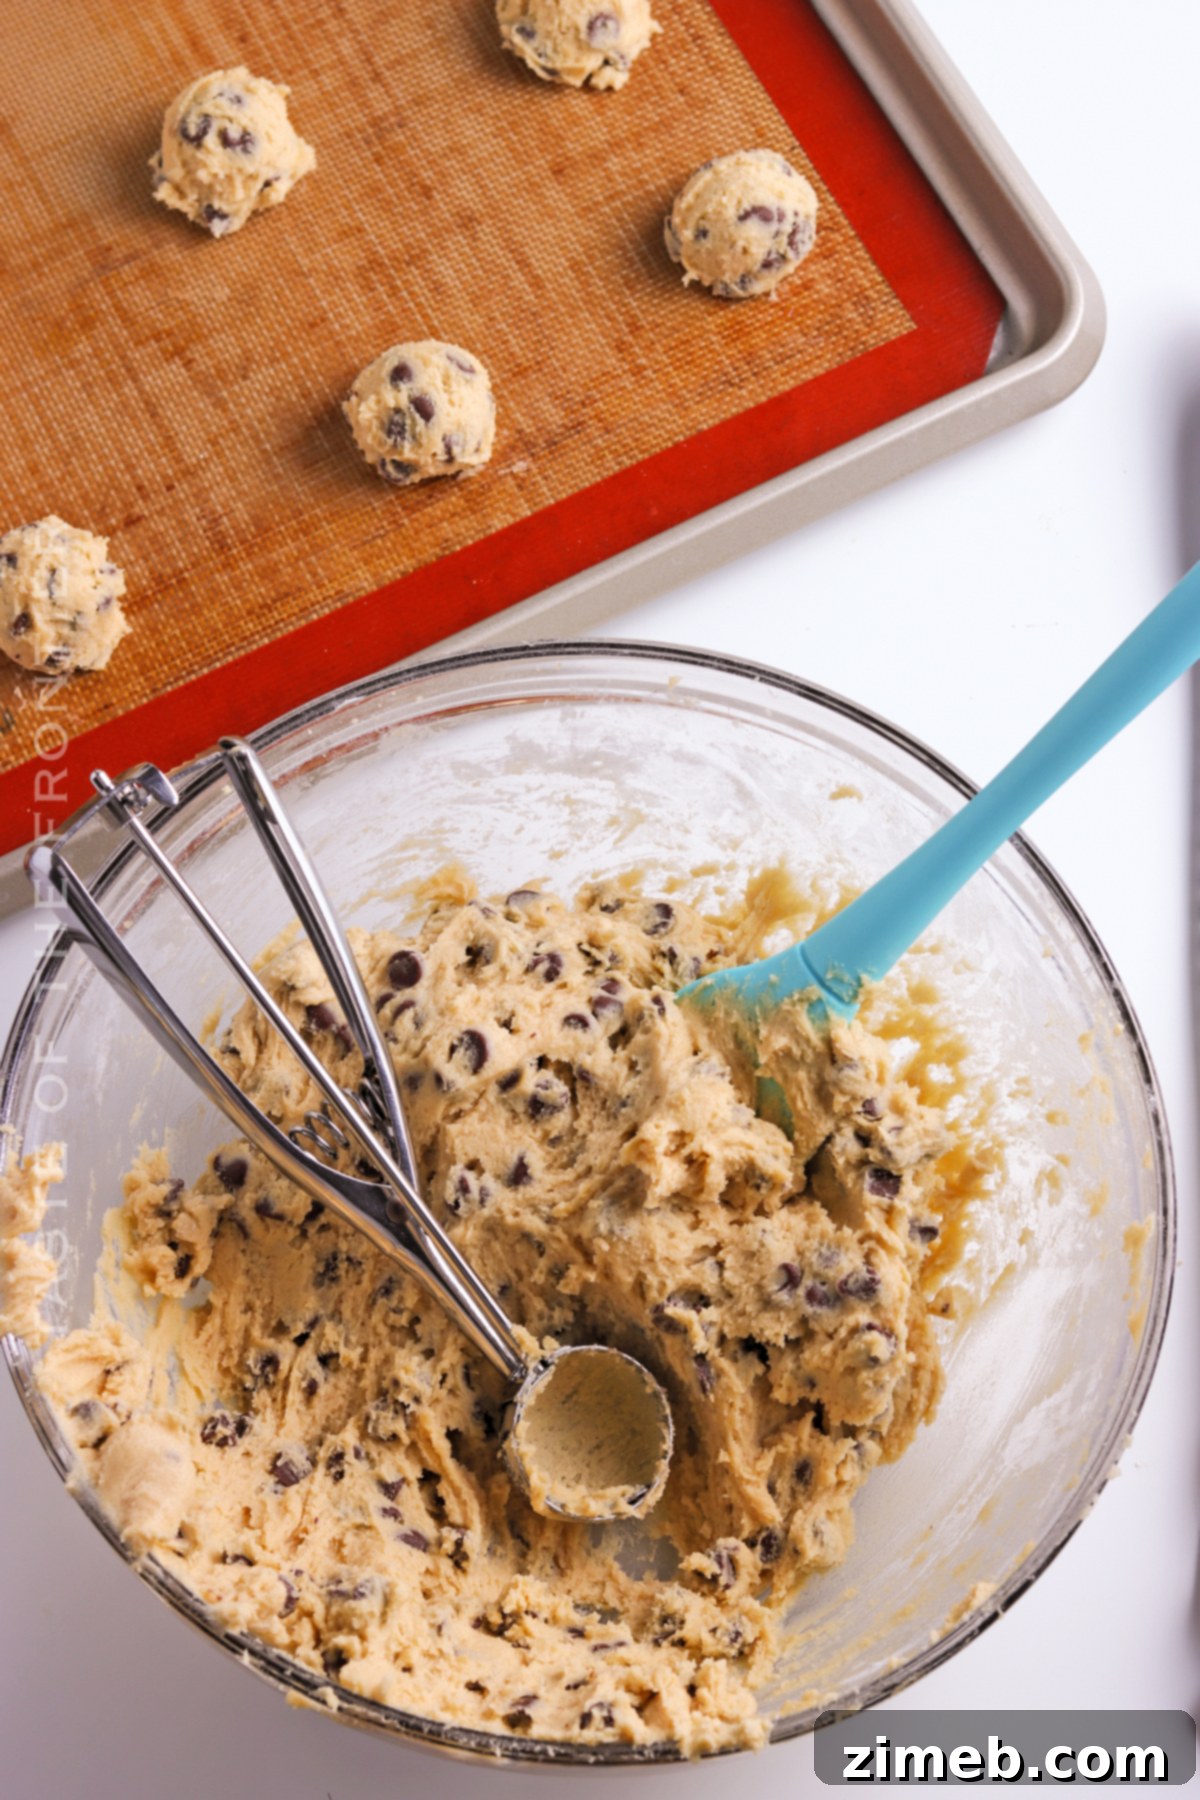
- Scoop and Bake: Using a cookie dough scoop (about 1.5-2 tablespoons per cookie) or a regular tablespoon, portion out the dough and place it onto your prepared baking sheets, ensuring they are about 2 inches apart to allow for spreading.
- Bake to Perfection: Bake in the preheated oven for 8-10 minutes. For soft, chewy cookies, remove them when the edges are lightly golden brown but the centers still look slightly underbaked. If you prefer a crispier cookie, bake for an extra minute or two.
- Cooling: Let the cookies cool on the baking sheet for 5 minutes before transferring them to a wire rack to cool completely. This helps them set and prevents them from breaking.
- Storage: Once completely cooled, store your delicious cookies in an airtight container at room temperature to maintain their freshness and chewiness.
Can I Freeze Half of the Dough for Later?
Absolutely! Freezing cookie dough is an excellent way to prepare ahead and ensure you always have fresh-baked cookies within reach. Most cookie dough recipes, including this Mrs. Fields copycat, freeze exceptionally well. To freeze, simply scoop the dough into individual portions (as if you were going to bake them), place them on a parchment-lined baking sheet, and freeze until solid. Once frozen, transfer the dough balls to a freezer-safe zip-top bag or airtight container, removing as much air as possible. You can expect the frozen dough to maintain its quality for up to three months. When you’re ready to bake, you can either thaw the dough in the refrigerator overnight or bake directly from frozen, adding a few extra minutes to the baking time until the cookies are golden brown and cooked through.
Why is it Important to Pack Brown Sugar When Measuring?
Packing brown sugar when measuring is a fundamental technique that ensures accuracy and consistency in your baking. Unlike granulated sugar, brown sugar contains molasses, which gives it a moist, clumpy texture. If you simply scoop brown sugar into a measuring cup without packing it down, you’ll leave numerous air pockets within the cup. These air pockets mean you’re not actually adding the full, intended amount of brown sugar specified in the recipe. The amount of air pockets will vary each time you scoop, leading to inconsistent results in your cookies.
When you firmly pack the brown sugar into the measuring cup, you eliminate these air gaps, ensuring that you’re adding the precise quantity of sugar required. This consistency is crucial because brown sugar contributes not only sweetness but also moisture, chewiness, and a distinctive caramel flavor to your cookies. An insufficient amount can lead to cookies that are less moist, less chewy, and possibly spread differently. Therefore, even if a recipe doesn’t explicitly state “packed brown sugar,” it’s a best practice to always pack it firmly into the measuring cup to achieve reliable and delicious baking outcomes every time.
Should I Use Light or Dark Brown Sugar in This Recipe?
Both light and dark brown sugar can be used successfully in this Mrs. Fields copycat recipe, and the choice largely depends on your desired depth of flavor and moisture. Light brown sugar contains less molasses than dark brown sugar, resulting in a milder caramel flavor and slightly less moisture. This is often my preferred choice for most recipes because I frequently make my own brown sugar at home using light brown sugar as a base, providing a consistent and familiar flavor profile.
Dark brown sugar, with its higher molasses content, offers a more pronounced, richer caramel flavor and contributes additional moisture to your baked goods. If you prefer a cookie with a deeper, more robust molasses note and an even chewier texture, dark brown sugar would be an excellent choice. Rest assured, either variety will produce delicious results, so feel free to use whichever you prefer or have on hand.
If you’re interested in making your own, you can easily create homemade brown sugar with my detailed Homemade Brown Sugar recipe.
How to Properly Store These Chocolate Chip Cookies
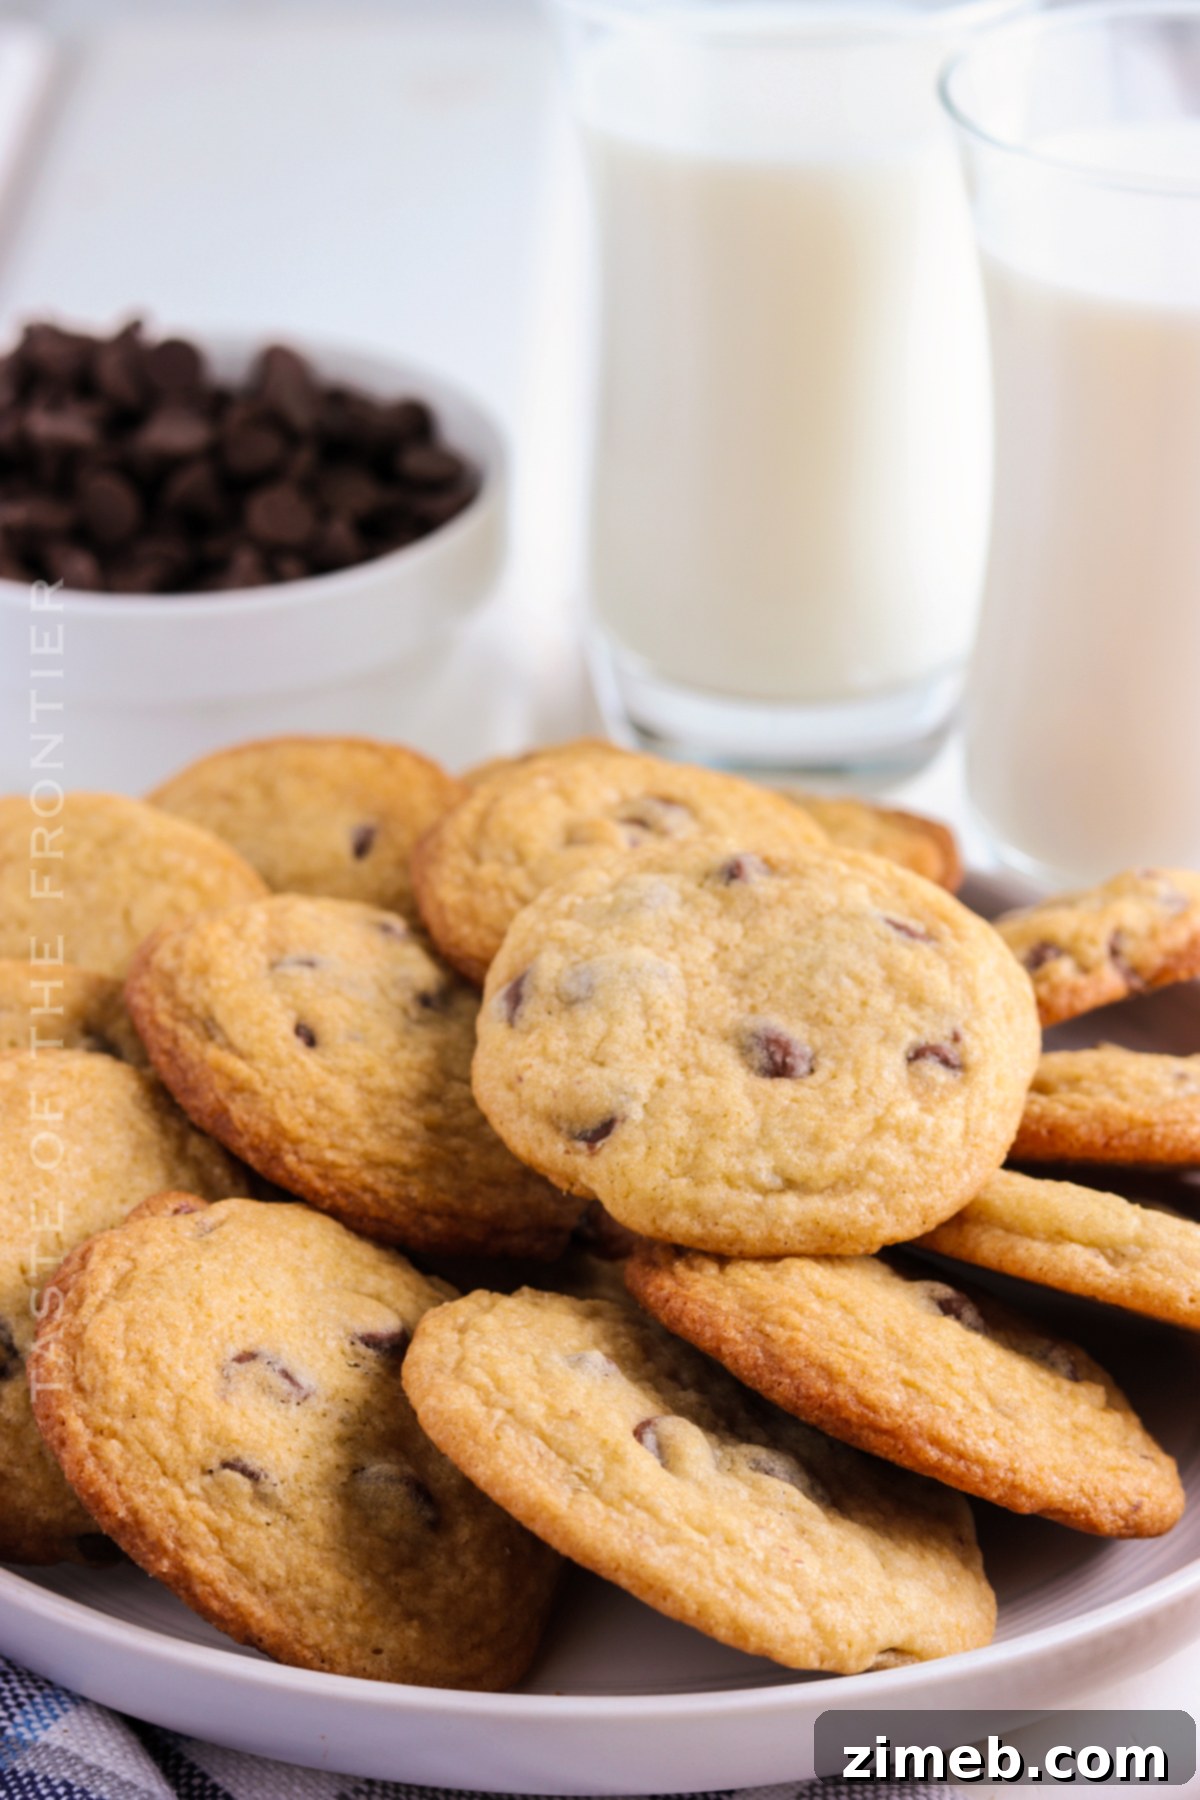
To ensure your delicious copycat Mrs. Fields chocolate chip cookies remain soft, chewy, and fresh for as long as possible, proper storage is key. Once they have cooled completely on a wire rack, transfer them to an airtight container. Stored at room temperature, these cookies will retain their quality for up to 1 week. For optimal freshness, you can also place a slice of bread in the container; the cookies will absorb moisture from the bread, helping them stay soft.
If you wish to extend their shelf life significantly, both the dough and the baked cookies can be frozen. For baked cookies, individually wrap each cookie tightly in plastic wrap to prevent freezer burn, then place them all into a freezer-safe bag or container. This method allows them to be stored for up to 3 months. When you’re ready to enjoy them, simply thaw at room temperature or gently warm them in the microwave for a few seconds for that fresh-from-the-oven experience. Proper wrapping is crucial to prevent them from drying out and losing their delightful texture.
Can I Add Other Ingredients to the Cookie Dough?
Absolutely! This Mrs. Fields copycat chocolate chip cookie recipe provides a fantastic base for culinary creativity and experimentation. Chocolate chip cookies are incredibly versatile and welcome a variety of delicious additions. Feel free to customize your batch by incorporating your favorite mix-ins.
Consider adding chopped nuts like walnuts, pecans, or almonds for extra crunch and a nutty flavor. Dried fruits such as cranberries, raisins, or chopped apricots can introduce a lovely chewiness and tart sweetness. You could also experiment with different types of chocolate chips – white chocolate, dark chocolate, or even butterscotch chips – to create unique flavor combinations. For a touch of spice, a pinch of cinnamon or a dash of espresso powder can elevate the taste. Get creative and explore! The possibilities are endless, and you might just discover your new favorite cookie variation.
Can These Baked Cookies Be Frozen?
Yes, baked Mrs. Fields chocolate chip cookies freeze remarkably well, allowing you to enjoy them fresh-tasting for an extended period. To freeze baked cookies, first ensure they are completely cooled to room temperature. Then, wrap each cookie individually in plastic wrap. This crucial step prevents freezer burn and helps maintain their moisture and texture. After wrapping, place all the individually wrapped cookies into a heavy-duty freezer-safe bag or an airtight container. When stored properly, these baked cookies will keep in the freezer for up to 3 months. When you’re ready for a treat, simply take them out, let them thaw at room temperature for a few minutes, or warm them briefly in the microwave for a wonderfully soft and gooey experience.
Can This Recipe Be Doubled?
Absolutely! This Mrs. Fields chocolate chip cookie recipe is perfectly suited for doubling, and it’s a practice we frequently employ in our own kitchen. The dough holds up beautifully when the quantities are scaled up, meaning you can confidently make a larger batch without compromising on texture or flavor. Doubling this recipe is especially encouraged when you’re planning to give these delectable cookies as gifts, prepare for a party, or simply want to stock up your freezer with ready-to-bake dough. It’s an efficient way to satisfy more sweet cravings or spread joy with homemade treats.
Discover More Recipes Featuring Delicious Chocolate Chips
If you’re a true chocolate chip enthusiast, you’ll love exploring these other fantastic recipes that make the most of this beloved ingredient. From classic cookies to delightful desserts, there’s something here for every chocolate chip craving:
- 80 Chocolate Chip Cookie Recipes
- Bakery-Style Jumbo Chocolate Chip Muffins
- Santa’s Favorite Chocolate Chip Cookies
- Chocolate Chip Cookie Bars
- Mint Chocolate Chip Cake
- Mini Peanut Butter Chocolate Chip Cookies
- Chocolate Chip Dessert Dip
- Chocolate Chip Cookie Dough
- Mint Chocolate Chip Skillet Cookie
- Mint Chocolate Chip Ice Cream
- Molasses Oatmeal Chocolate Chip Cookies
Do I Need to Chill the Cookie Dough Before Baking?
One of the most appealing aspects of this Mrs. Fields chocolate chip cookie copycat recipe is that it is a genuine no-chill recipe. This means you can skip the often-tedious step of refrigerating the dough for hours before baking. As soon as your dough is mixed, you can proceed directly to scooping and baking the cookies.
This convenience is a huge advantage, especially when you’re pressed for time or simply can’t wait to sink your teeth into warm, fresh cookies. The carefully balanced ratio of fats and liquids in this particular recipe ensures that the cookies will still spread perfectly and achieve that desirable soft and chewy texture without the need for chilling. It’s the ideal solution for satisfying those sudden cookie cravings without any unnecessary delays.
Essential Baking Tools for Perfect Chocolate Chip Cookies
This recipe for super soft and chewy Mrs. Fields-style chocolate chip cookies is not only incredibly easy and delicious but also highly accessible. Chances are, you already have most of the necessary tools on hand. However, if you’re new to baking or looking to upgrade your kitchen gadgets, having the right equipment can make the process even more enjoyable and ensure consistently perfect results. I’ve compiled a list of my absolute must-have items for creating this simple yet spectacular cookie recipe:
- Stand or Hand Mixer: Essential for creaming butter and sugar to achieve that airy texture.
- Quality Baking Sheets: For even heat distribution and consistent baking.
- Accurate Measuring Cups: Precision is key in baking!
- Reliable Measuring Spoons: Especially important for leavening agents like baking soda.
- Cookie Scoop: Guarantees uniform cookie size for even baking and a professional look.
- Heat-Resistant Spatula: Perfect for scraping down bowls and folding in chocolate chips gently.
- Vanilla Extract (or powdered vanilla): For that unmistakable rich flavor.
If you adore this incredible Mrs. Fields Chocolate Chip Cookies – Copycat recipe, you’ll be thrilled to discover these other delightful cookie creations. Click each link below to access the easy, printable recipes and expand your baking repertoire!
Check out this recipe
Check out this recipe
Check out this recipe

Check out this recipe
Check out this recipe
Check out this recipe

Check out this recipe

Check out this recipe
Check out this recipe
Other Creative Copycat Recipes to Try
If you enjoy recreating your favorite bakery and store-bought treats at home, you’ll love these other popular copycat recipes. Perfect your baking skills and delight in making these iconic goodies from scratch!
- Copycat DoubleTree Hotel Cookies
- Samoa Cookies (Girl Scout Copycat)
- Lofthouse Sugar Cookies – Copycat Recipe
- Star Crunch Cookies (Copycat)
- Frosted Animal Cookies (Homemade Version)
- Homemade Crunch Bars
- Chocolate Malted Crunch Ice Cream
- Copycat Girl Scout Lemonades Cookies
- Do-Si-Dos Copycat Recipe
- Thin Mint Cookies (Copycat)
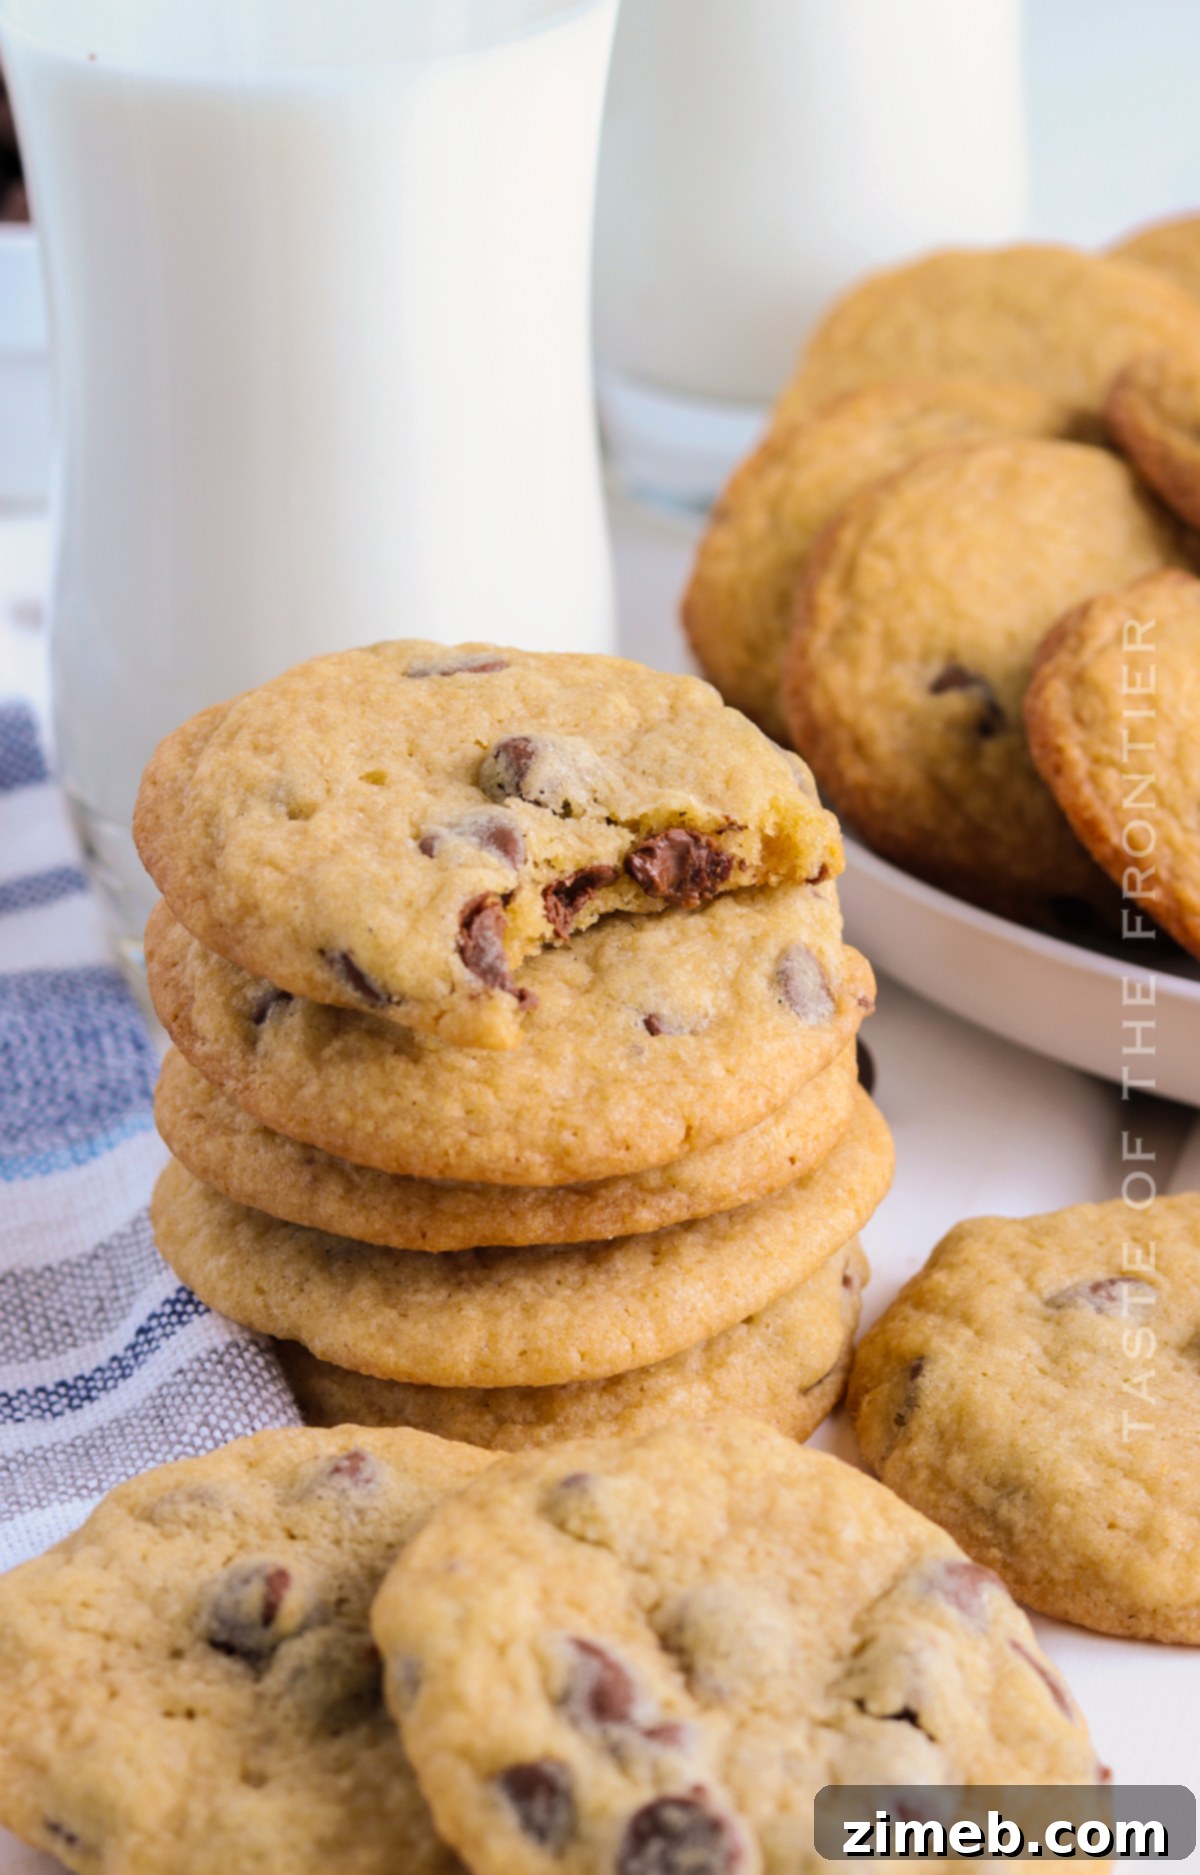
If you’ve enjoyed baking and tasting this spectacular copycat recipe for Mrs. Fields Chocolate Chip Cookies as much as I have, please consider leaving a five-star review below! Your feedback is greatly appreciated. Don’t forget to help us spread the word by sharing this recipe with your friends and family on Facebook and Pinterest!
CONNECT WITH YUMMI HAUS!
Be sure to follow me on my social media channels, so you never miss a delicious post or baking tip!
Substack, Facebook, Pinterest, Instagram, Email Subscription
PIN THIS RECIPE TO SAVE FOR LATER!
Rate this Recipe
Mrs. Fields Chocolate Chip Cookies (Copycat)
Ingredients
- 2 ½ cups all-purpose flour
- ½ teaspoon salt
- ½ teaspoon baking soda
- 1 cup unsalted butter softened (2 sticks )
- 1 cup brown sugar packed
- ½ cup granulated sugar
- 2 large eggs room temperature
- 2 teaspoons vanilla extract
- 12 ounces chocolate chips semi-sweet or milk
Instructions
-
Preheat the oven to 350 degrees F.
-
Line baking sheets with parchment paper or silicone mat. Set aside.
-
In a medium bowl, whisk together the flour, baking soda, and salt.
-
In a large bowl, cream together the butter, granulated sugar, and brown sugar until fluffy.
-
Add in the eggs and vanilla extract and mix until well combined.
-
Gradually add the flour mixture and mix until combined. Don’t overmix though.
-
Fold in the chocolate chips until mixed throughout.
-
Divide the batter using a cookie dough scoop or tablespoon and place portions on a prepared baking sheet about 2 inches apart.
-
Bake for 8-10 minutes for soft cookies, longer for crispy.
-
Remove from the oven and place the cookies on wire rack to cool.
-
Store in airtight container.
Nutrition
Nutritional information for the recipe is provided as a courtesy and is approximate. Please double-check with your own dietary calculator for the best accuracy. We at Yummi Haus cannot guarantee the accuracy of the nutritional information given for any recipe on this site.