
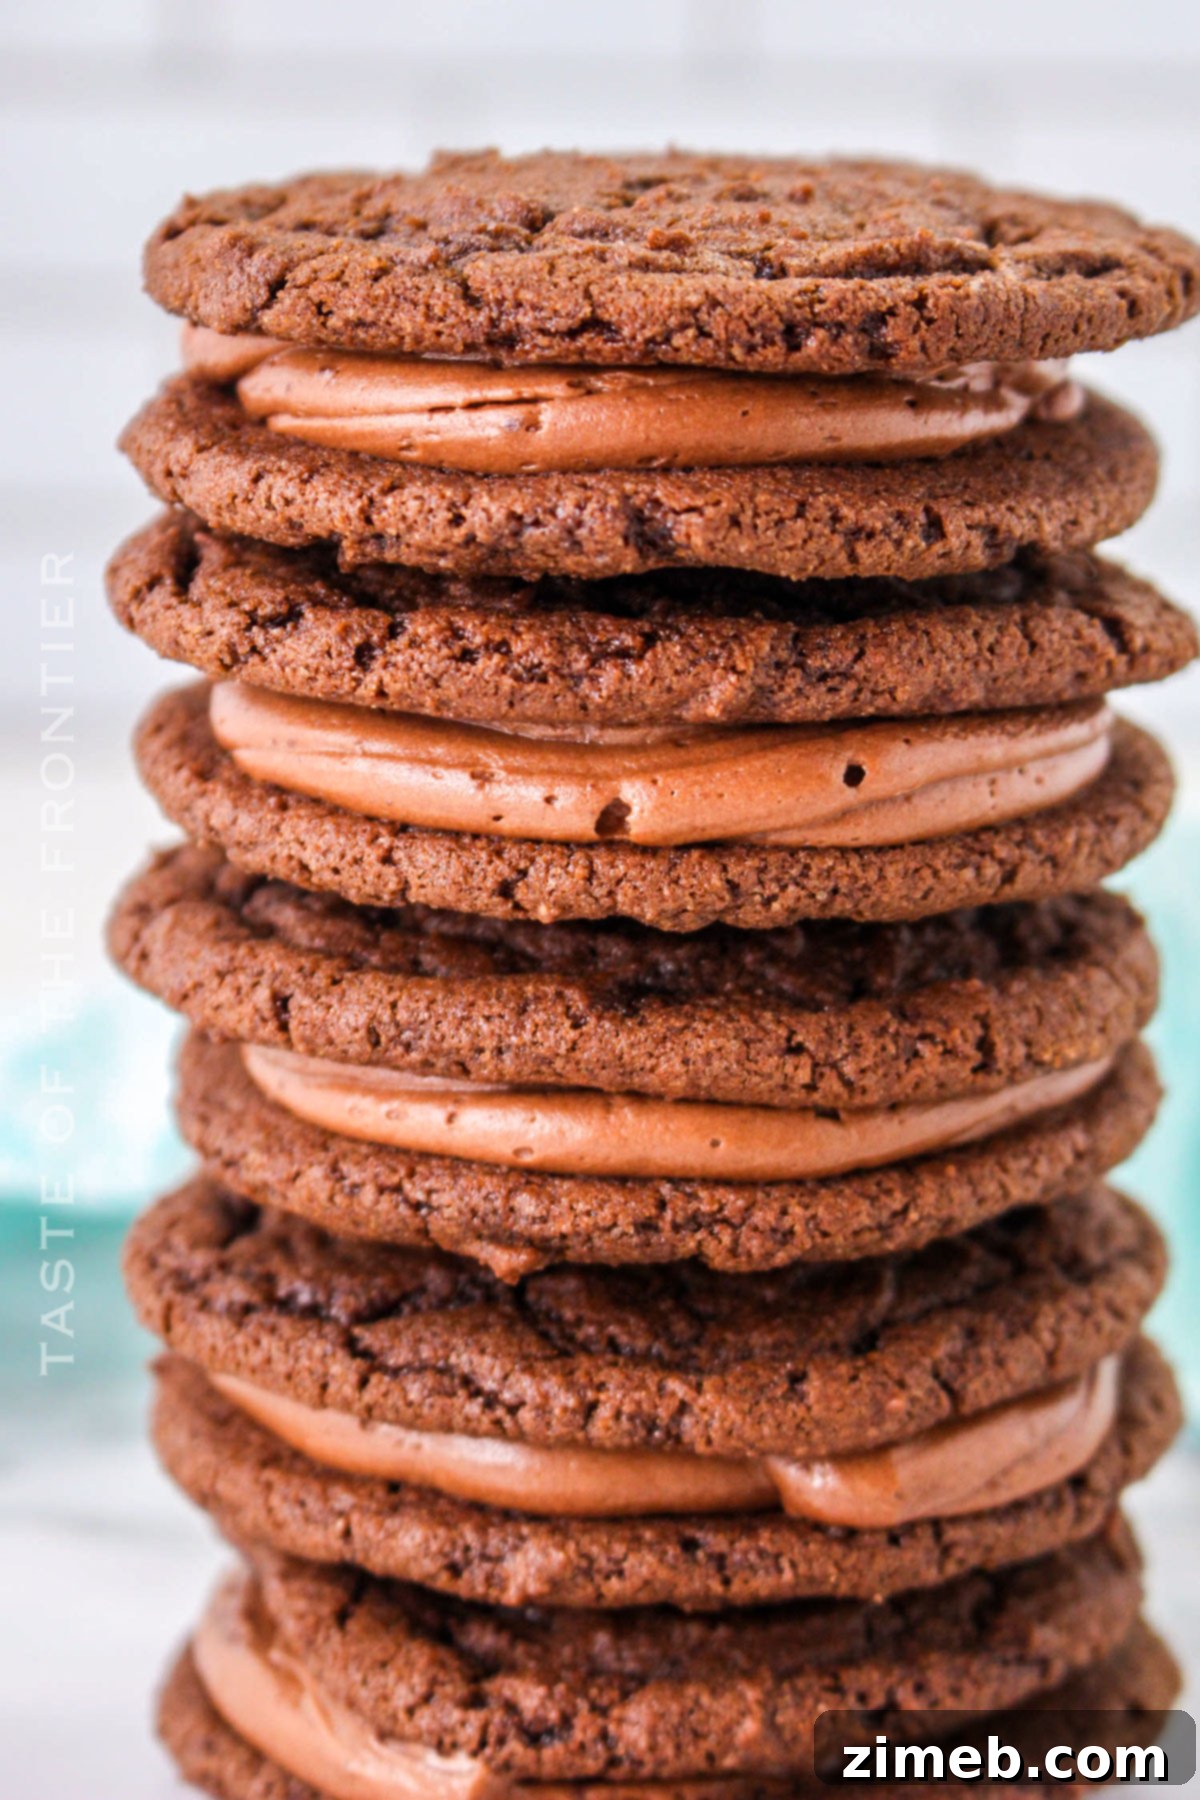
Indulge in the ultimate homemade treat with these decadent **Chocolate Sandwich Cookies**, featuring perfectly sweet and chewy chocolate cookies generously filled with a luscious, creamy chocolate center.
Are you ready to embark on a baking adventure that promises to deliver a new family favorite? Today, we’re diving into the delightful world of **Chocolate Sandwich Cookies** – an irresistible confection that masterfully combines the deep, rich essence of chocolate with a dreamy, melt-in-your-mouth filling. These aren’t just cookies; they’re a symphony of textures and flavors, designed to captivate any chocolate enthusiast.
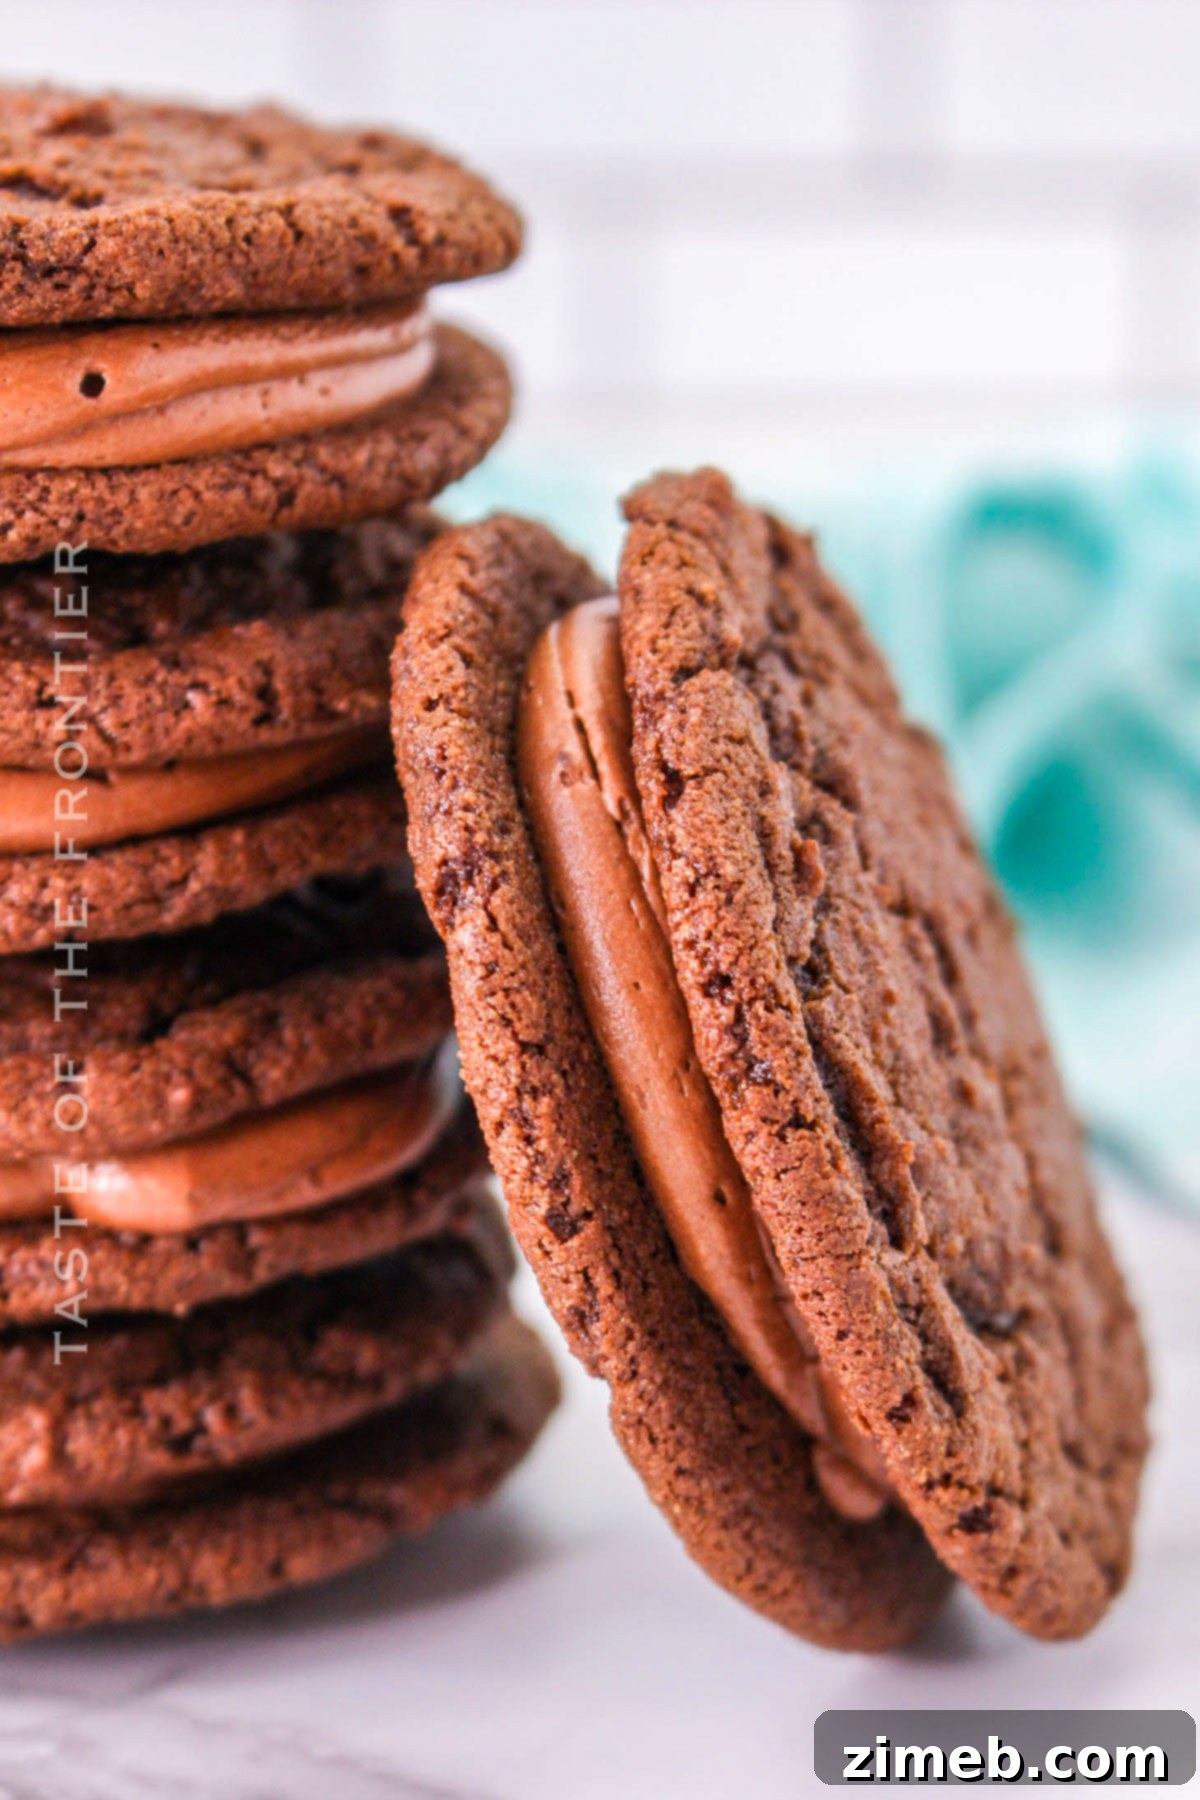
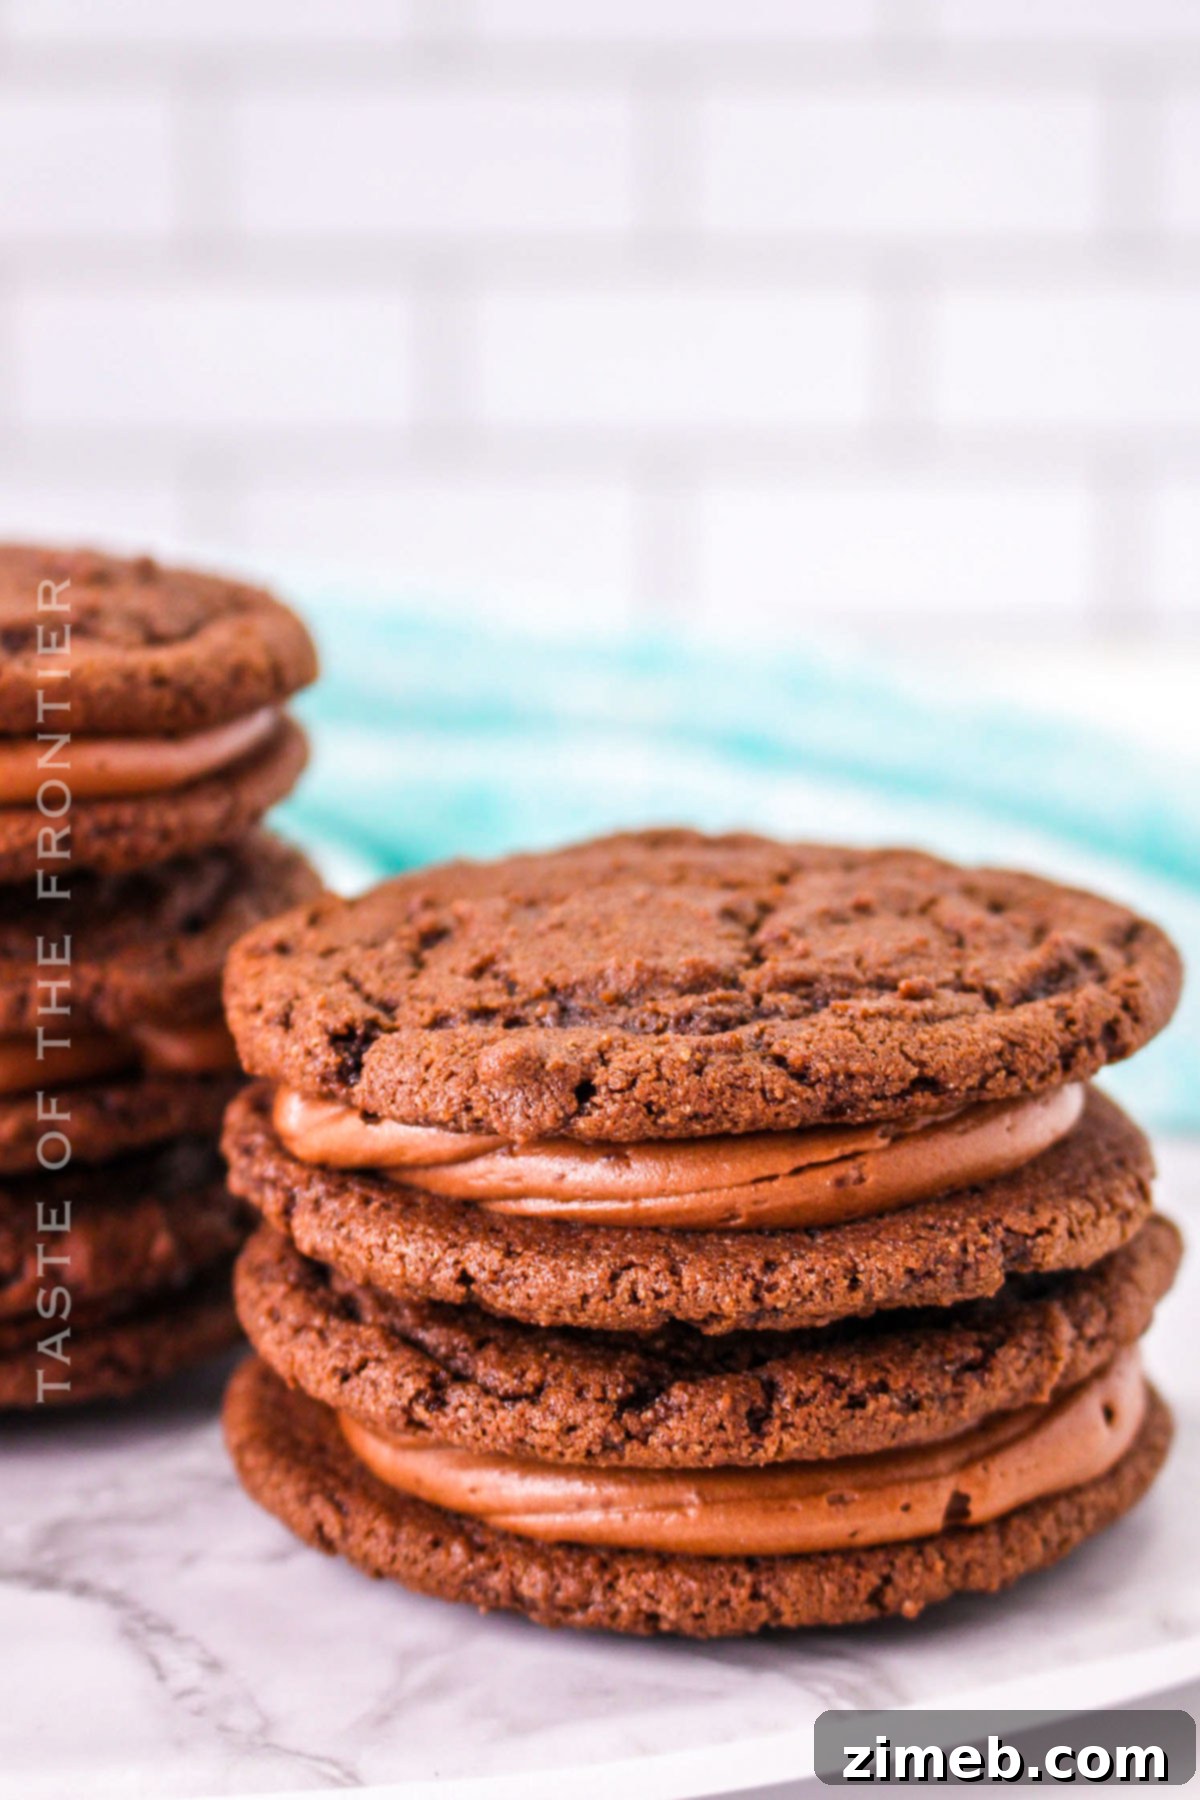
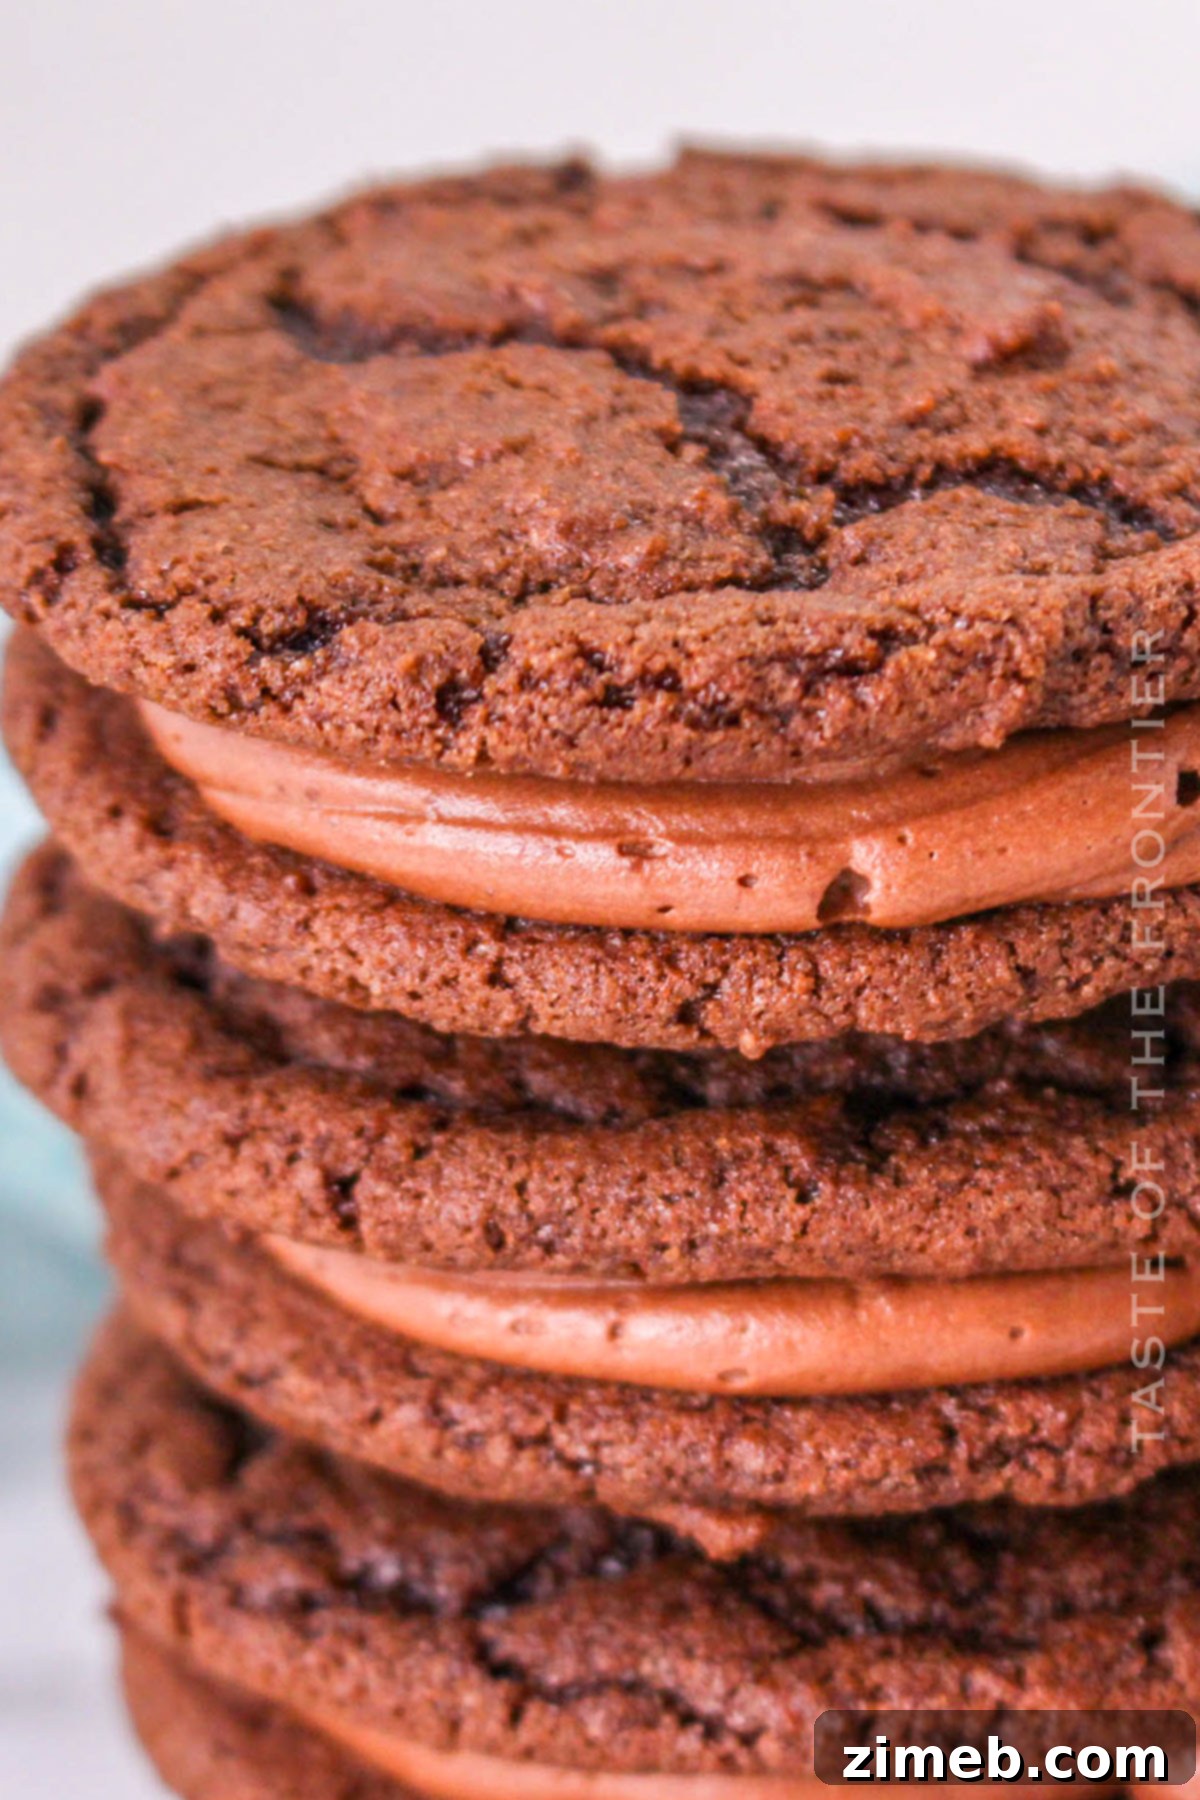
Imagine this culinary masterpiece: two exquisitely chewy chocolate wafers, baked to perfection, embracing a smooth, velvety chocolate buttercream filling. Each bite is an experience, a perfect harmony of intense chocolate cookie and sweet, creamy filling, just begging to be savored alongside a frosty glass of milk or your preferred warm beverage. These aren’t just cookies; they’re a moment of pure bliss, offering an escape into a world of rich, satisfying flavor.
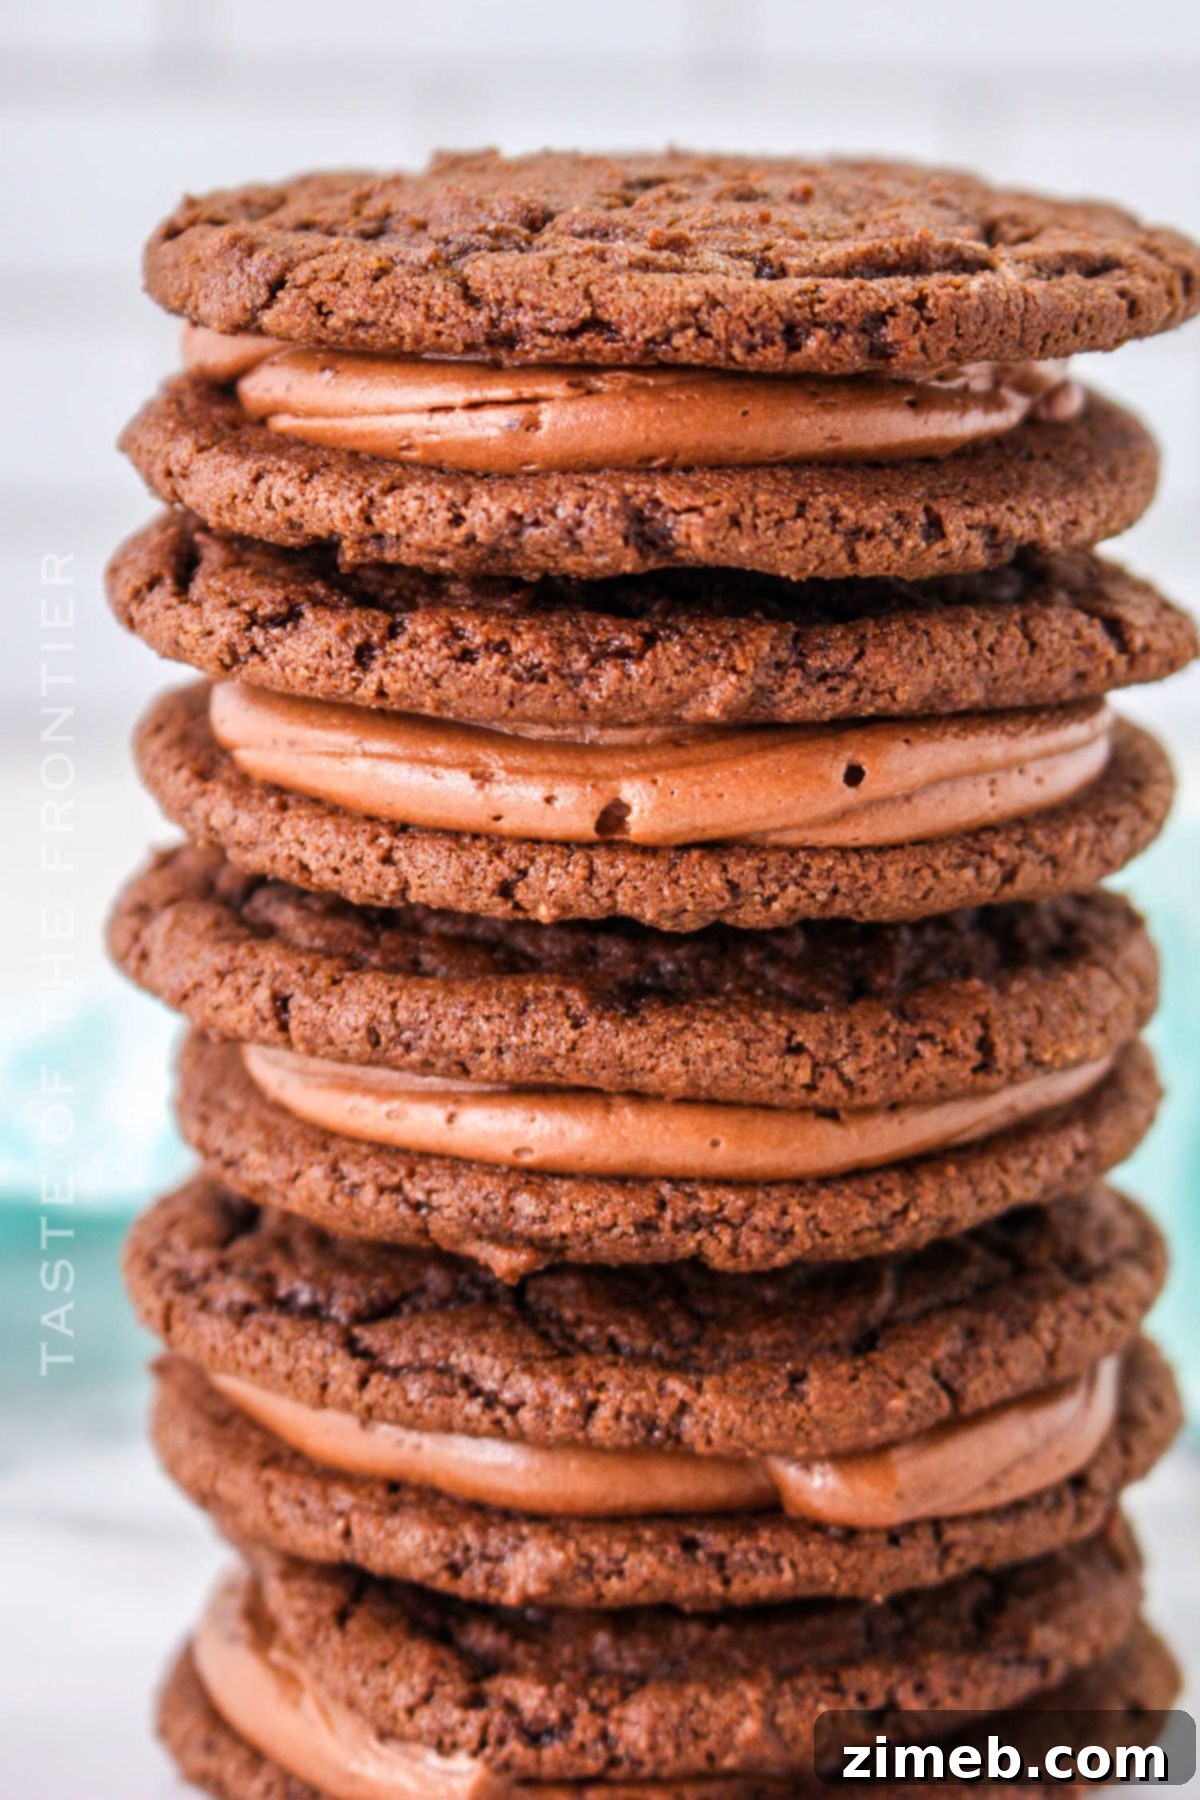
Whether you’re packing them into school lunches for a special surprise, presenting them at a social gathering, or simply enjoying a cozy night in, these **homemade chocolate sandwich cookies** are more than just a tasty treat; they’re a bite of pure, unadulterated joy. They serve as a delightful dessert for any occasion, from casual family dinners to elegant holiday parties, always leaving a lasting impression.
In the vast universe of homemade baked goods, **Chocolate Sandwich Cookies** stand out, reigning supreme with their ideal balance of soft chewiness, profound chocolate flavor, and sheer delightful appeal. Their classic charm combined with their utterly satisfying taste makes them a standout choice for any baker looking to impress.
This recipe is accessible to everyone, from seasoned pastry chefs to those just beginning their journey in the kitchen. The process is straightforward, and the results are consistently spectacular, guaranteed to elicit smiles and happy sighs from everyone who tastes them. They are a testament to the simple power of chocolate to bring comfort and happiness.
So, gather your high-quality ingredients, preheat your oven with anticipation, and prepare to whip up a batch of these truly scrumptious **chocolate-filled cookies**. Don’t forget to share your delightful cookie creations with friends and family, or showcase your baking triumph on social media. Bask in the well-deserved glory of your baking success and savor every moment of this indulgent journey. These cookies are perfect for making memories and spreading happiness.
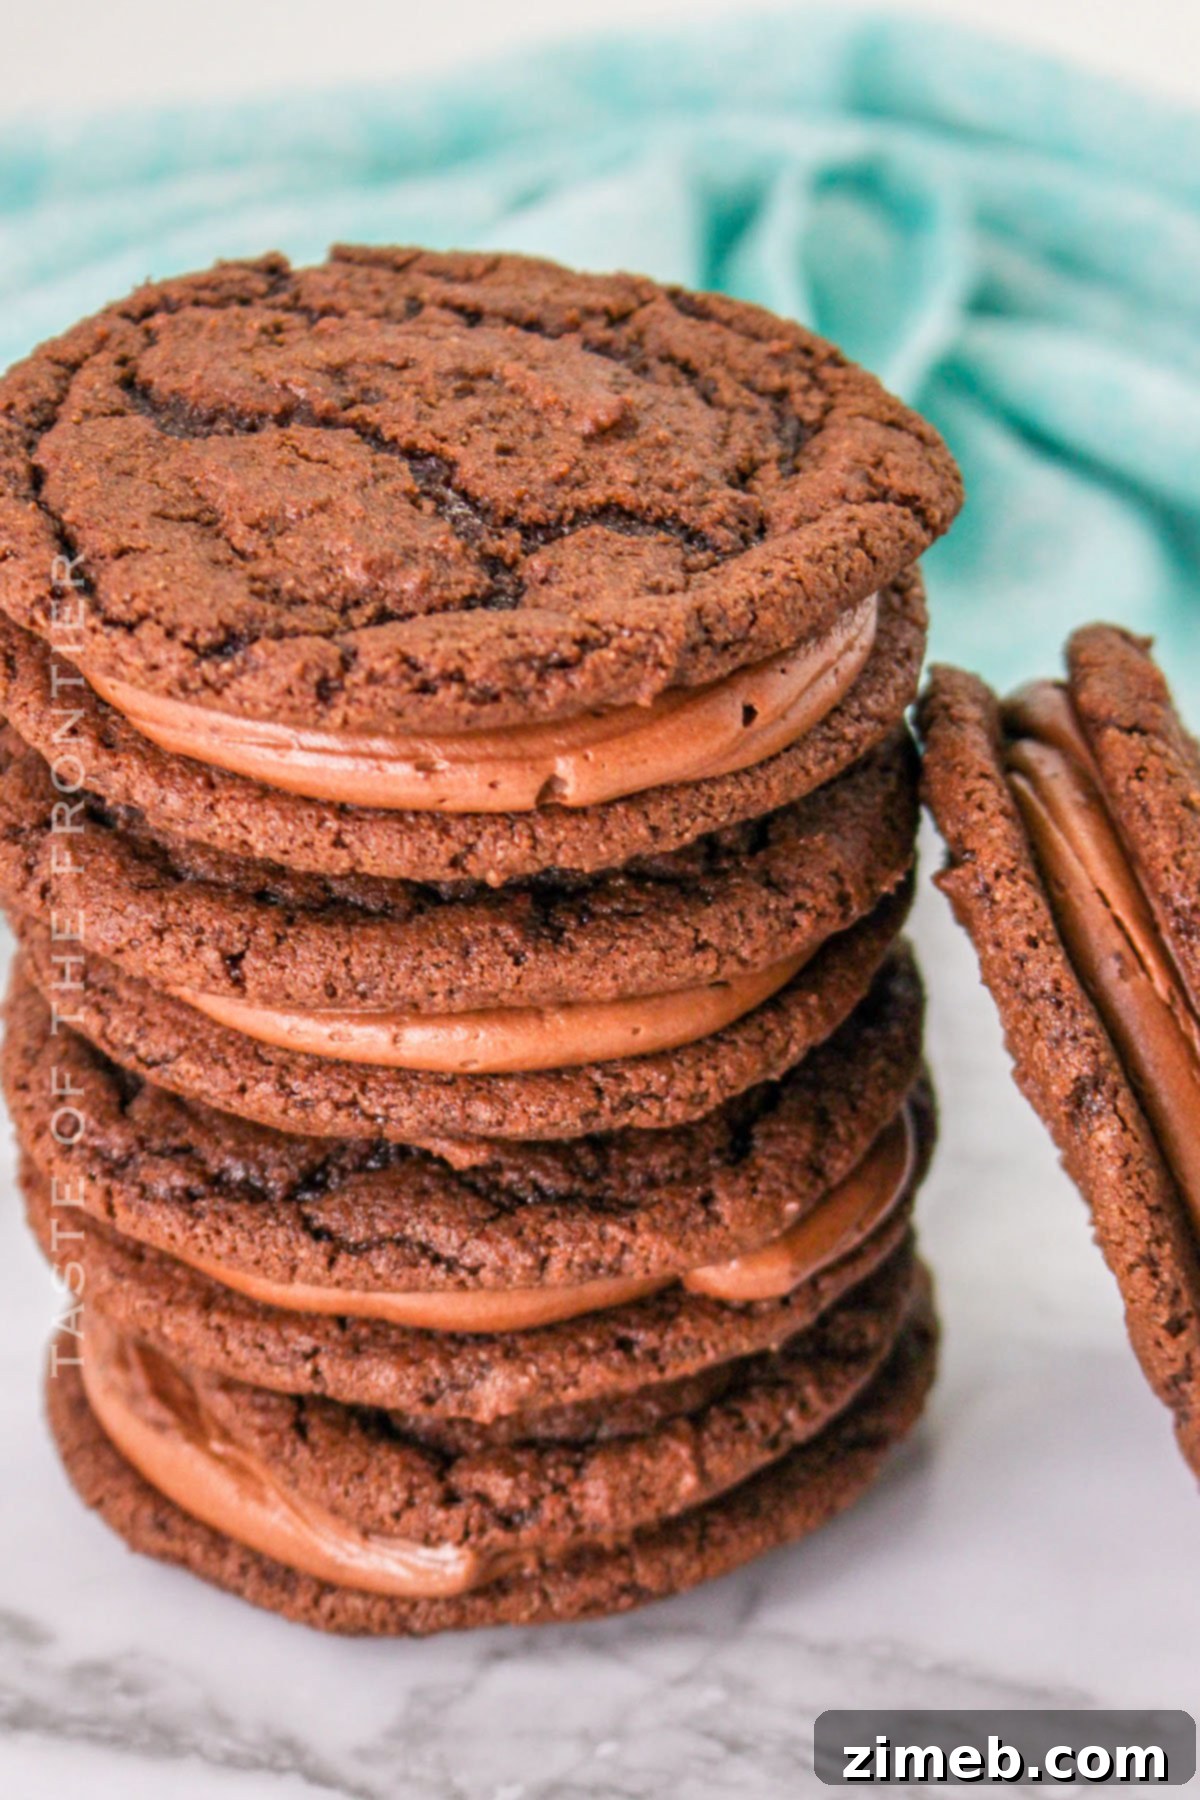
Common Questions About Crafting the Best Chocolate Sandwich Cookies
Can I Substitute Brown Sugar for Granulated Sugar in the Cookie Dough?
Yes, absolutely! Using brown sugar instead of granulated sugar can profoundly alter the character of your **chocolate cookies**. Brown sugar contributes a deeper, more molasses-rich flavor and typically results in a chewier, softer cookie texture due to its moisture content. Granulated sugar, on the other hand, often leads to a crispier cookie with a more uniform spread. If you’re feeling adventurous, try baking a batch with each type of sugar and compare the delightful differences side-by-side! I’m genuinely interested to hear about your findings!
It’s important to remember that this substitution will result in a cookie that differs slightly from the ones pictured here, mainly in texture and flavor nuances. The brown sugar’s moisture can also affect how much your cookies spread during baking, so keep an eye on them.
Is Margarine an Acceptable Substitute for Butter in This Recipe?
While margarine can certainly be employed as a substitute for butter in most baking recipes, it’s worth noting that butter generally delivers superior flavor and texture results in **chocolate sandwich cookies**. The rich, dairy notes of real butter are hard to replicate and contribute significantly to the overall decadence of the cookie and filling. Just as with sugar, substituting margarine will likely alter the final texture of your cookies. They might spread more or less than expected, and you could end up with a more cake-like consistency rather than the desired chewy texture. For the best possible flavor and consistency, butter is always my recommendation!
Tips for Achieving Perfectly Crisp Chocolate Sandwich Cookies
If your preference leans towards a crispier cookie base for your **chocolate sandwich cookies**, there are a couple of excellent techniques you can employ. Firstly, ensure you allow the baked cookies to cool completely on a wire rack. This critical step prevents residual heat from creating steam, which can lead to soggy bottoms. Air circulation around the cookies is key. If, after cooling, they aren’t quite as crisp as you’d like, consider extending the baking time for your next batch by an additional 1-2 minutes. Keep a close eye on them to prevent burning, but this slight increase often does the trick to achieve that satisfying snap.
Optimal Storage for Chocolate Sandwich Cookies to Maintain Freshness
These particular **chocolate sandwich cookies** are more than just a treat; they’re an experience that everyone will fondly remember. They are not only soft, flavorful, and incredibly delicious but also inherently fun to prepare and eat. For all the chocolate lovers out there, these are a dream come true!
Refrigerator Storage for Filled Cookies
To preserve the freshness and creamy texture of your filled chocolate sandwich cookies, store them in an airtight container in the refrigerator. When properly stored, they will remain wonderfully delicious for up to 5 days. This also helps the filling set beautifully, preventing any squishing.
Freezer Storage for Extended Freshness
For longer-term enjoyment, you have two excellent options: freeze the unbaked cookie dough or the fully baked and assembled cookies. When freezing dough, wrap it tightly in plastic wrap and then place it in a freezer-safe bag. For baked cookies, arrange them in a single layer on a baking sheet to freeze solid, then transfer to an airtight container or freezer bag, separating layers with parchment paper. Thaw either the dough or baked cookies as needed, and enjoy a delicious treat whenever that chocolate craving strikes!
Essential Baking Tips for Perfect Chocolate Sandwich Cookies
I’ve compiled a few crucial pointers to ensure that this **sandwich cookie recipe** turns out flawlessly every single time. My goal is for this recipe to ascend to the very top of your list of favorite homemade treats!
- Cream Butter and Sugar Thoroughly: For the ultimate tender and chewy cookie, make sure to cream your room-temperature butter and granulated sugar together at medium speed. Beat them until the mixture becomes visibly light, fluffy, and pale, which typically takes around 5-6 minutes. This process incorporates air, creating a wonderfully tender cookie crust.
- Sift Dry Ingredients: To prevent any unwelcome lumps in your smooth **chocolate cookie dough** and ensure even distribution of leavening agents, always sift your all-purpose flour and unsweetened cocoa powder together. This small step makes a big difference in the final texture of your cookies.
- Chill the Dough: Don’t skip this critical step! Chilling the cookie dough for at least 30 minutes (or even longer) is essential for easier handling. More importantly, it helps prevent the cookies from spreading too much during baking, ensuring they maintain their beautiful, thick shape perfect for sandwiching.
- Use a Cookie Scoop: For consistently sized cookies that bake evenly and look professional, a medium cookie scoop is your best friend. This ensures each cookie is uniform, leading to perfect matching pairs for your sandwich creations.
- Parchment-Lined Baking Sheets: Always bake your cookies on a parchment-lined baking sheet. This ensures even baking, prevents sticking, and makes cleanup incredibly easy. Alternatively, silicone baking mats work wonders too.
- Room Temperature Ingredients: Beyond just butter and eggs, ensure all ingredients are at room temperature. This allows them to emulsify better, creating a smoother, more uniform dough and filling.
- Don’t Overbake: Keep a close watch on your cookies in the oven. Overbaking can lead to dry, hard cookies. Bake just until the sides are set and the tops appear slightly crinkled. They will continue to firm up as they cool.
High-Quality Ingredients for Your Decadent Chocolate Sandwich Cookies
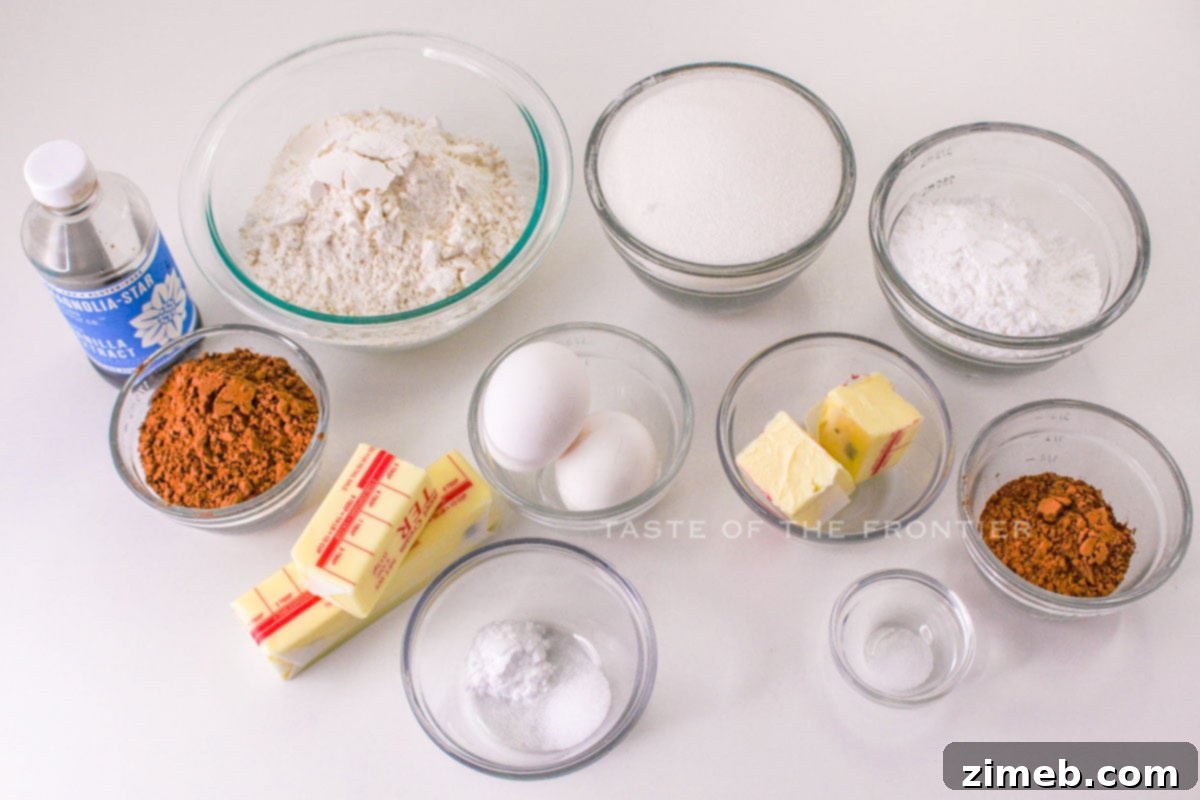
Creating these remarkably chewy **double chocolate cookies** doesn’t require an extensive or exotic list of ingredients. In fact, the beauty of this recipe lies in its simplicity and the use of everyday pantry staples, proving that simple and tasty is indeed the best way to enjoy a cookie!
- All-purpose flour: The fundamental structure for our cookies.
- Unsweetened cocoa powder: The star ingredient, providing that deep, rich chocolate flavor. Opt for a good quality cocoa powder for the best results.
- Baking soda: Our leavening agent, ensuring a tender and slightly risen cookie.
- Salt: Essential for balancing the sweetness and enhancing the chocolate flavor.
- Room temperature butter: Crucial for creaming properly, leading to a light and fluffy dough and a smooth filling.
- Granulated sugar: Provides sweetness and contributes to the cookie’s texture.
- Room temperature eggs: Help bind the ingredients, add moisture, and contribute to the cookie’s structure and richness.
- Vanilla extract: A flavor enhancer that complements the chocolate beautifully.
- Confectioner’s sugar (for the filling): Also known as powdered sugar, this creates the silky-smooth texture of our creamy filling.
Ensuring your butter and eggs are at room temperature is especially vital for the dough and the filling, as it allows for proper emulsification and a smoother consistency.

Step-by-Step Guide: How to Make Decadent Chocolate Sandwich Cookies
You are going to absolutely adore the transformative power of the creamy chocolate filling in these cookies. This isn’t just an average cookie; it’s an elevated dessert experience! Simply follow these detailed steps, and you’ll discover how surprisingly easy it is to create these show-stopping treats in your own kitchen.
- Preheat Oven and Prep Baking Sheets: Begin by preheating your oven to 350 degrees Fahrenheit (175°C). Line large-rimmed baking sheets with parchment paper or silicone baking mats to ensure non-stick baking and easy cleanup. Set them aside for when your dough is ready.
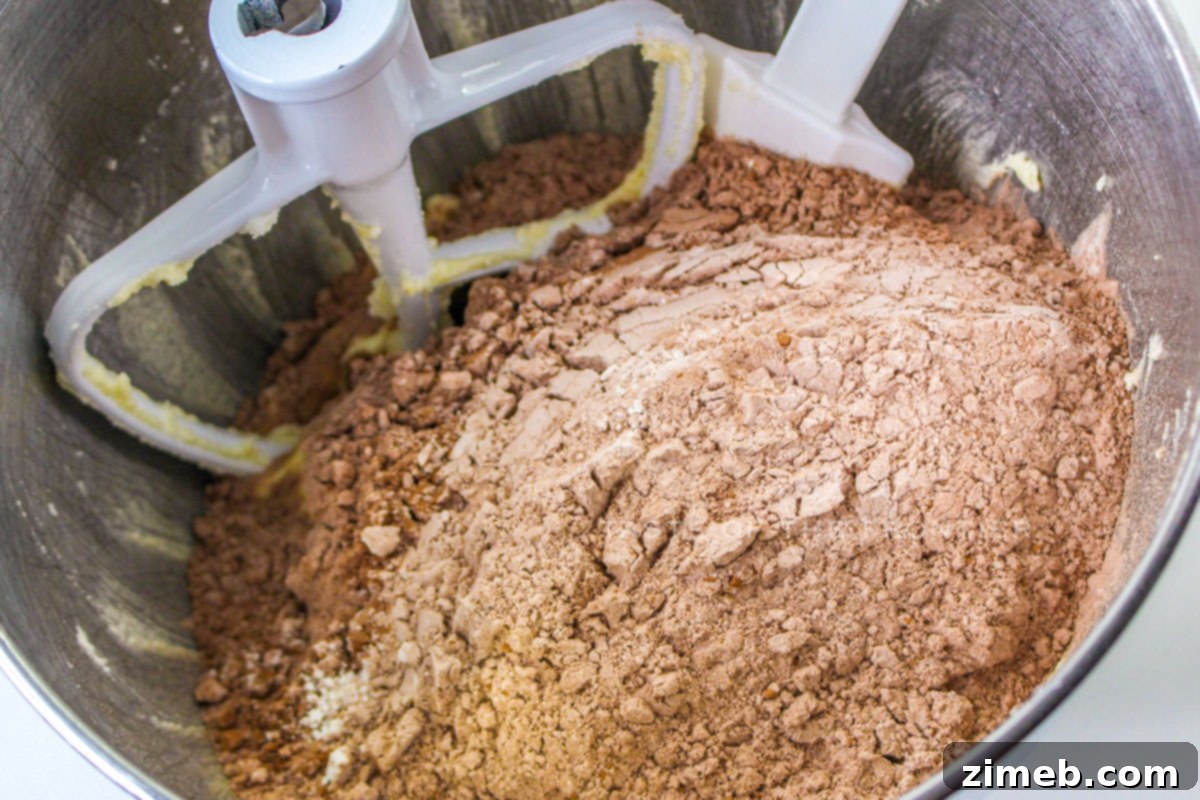
- Combine Dry Ingredients: In a medium-sized bowl, whisk together the all-purpose flour, unsweetened cocoa powder, baking soda, and salt. Whisking ensures these ingredients are thoroughly combined and helps to prevent lumps in your dough. Set this bowl aside.
- Cream Butter and Sugar: In a large mixing bowl, using an electric mixer (either stand or hand-held) fitted with a paddle attachment, beat the softened room-temperature butter and granulated sugar together. Beat at medium speed for about 6 minutes, or until the mixture is visibly light, fluffy, and pale in color. This process is crucial for a tender cookie.
- Add Eggs and Vanilla: Scrape down the sides of the bowl with a spatula to ensure everything is incorporated. Then, add the room-temperature eggs, one at a time, mixing well after each addition. Stir in the vanilla extract, beating until the mixture is beautifully incorporated and creamy. Continue to scrape down the sides as needed to ensure an even mix.
- Incorporate Dry into Wet Ingredients: Gradually add the whisked flour mixture to the wet batter. Beat on low speed just until the dry ingredients are fully blended into the wet, being careful not to overmix. Overmixing can lead to tough cookies.
- Scoop and Space Dough: Using a medium cookie scoop, drop rounded mounds of the cookie dough onto your prepared baking sheets. Arrange them about 2 inches apart to allow for proper spreading during baking.
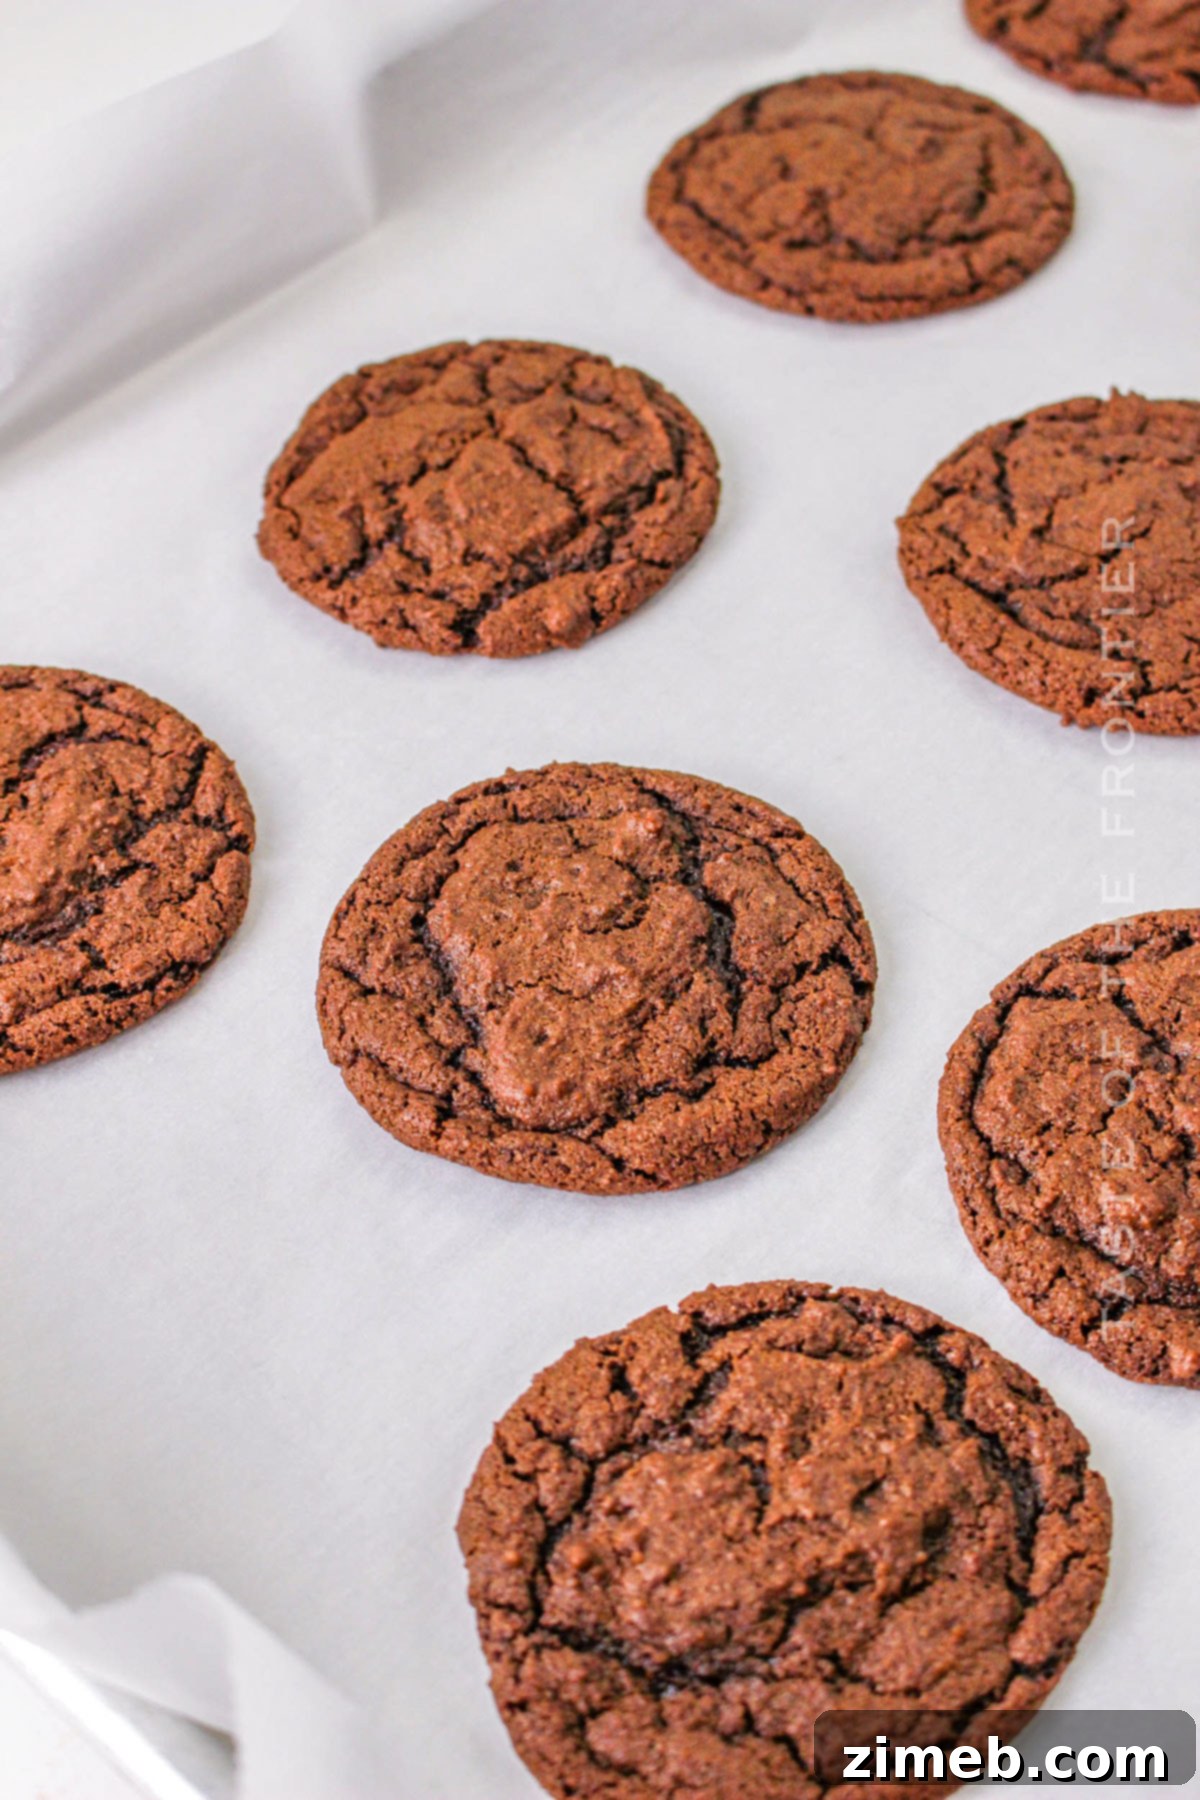
- Bake and Cool Cookies: Bake the cookies for approximately 10 to 12 minutes, or until the edges are set and the tops show a slight crinkle. The centers may still appear slightly soft, but they will firm up as they cool. Remove from the oven and let the cookies cool completely on the baking sheets. This prevents them from becoming soggy.
- Prepare the Filling Base: Once the cookies are entirely cool, begin preparing the creamy chocolate filling. In a clean mixing bowl, beat the softened room-temperature butter until it is light and creamy.
- Mix in Filling Ingredients: Slowly and gradually mix in the confectioner’s sugar, unsweetened cocoa powder, vanilla extract, and a pinch of salt. Start on low speed to avoid a cloud of powdered sugar. Once the dry ingredients are mostly incorporated, increase the mixer speed to medium-high and beat until the filling is wonderfully whipped, light, and perfectly creamy.
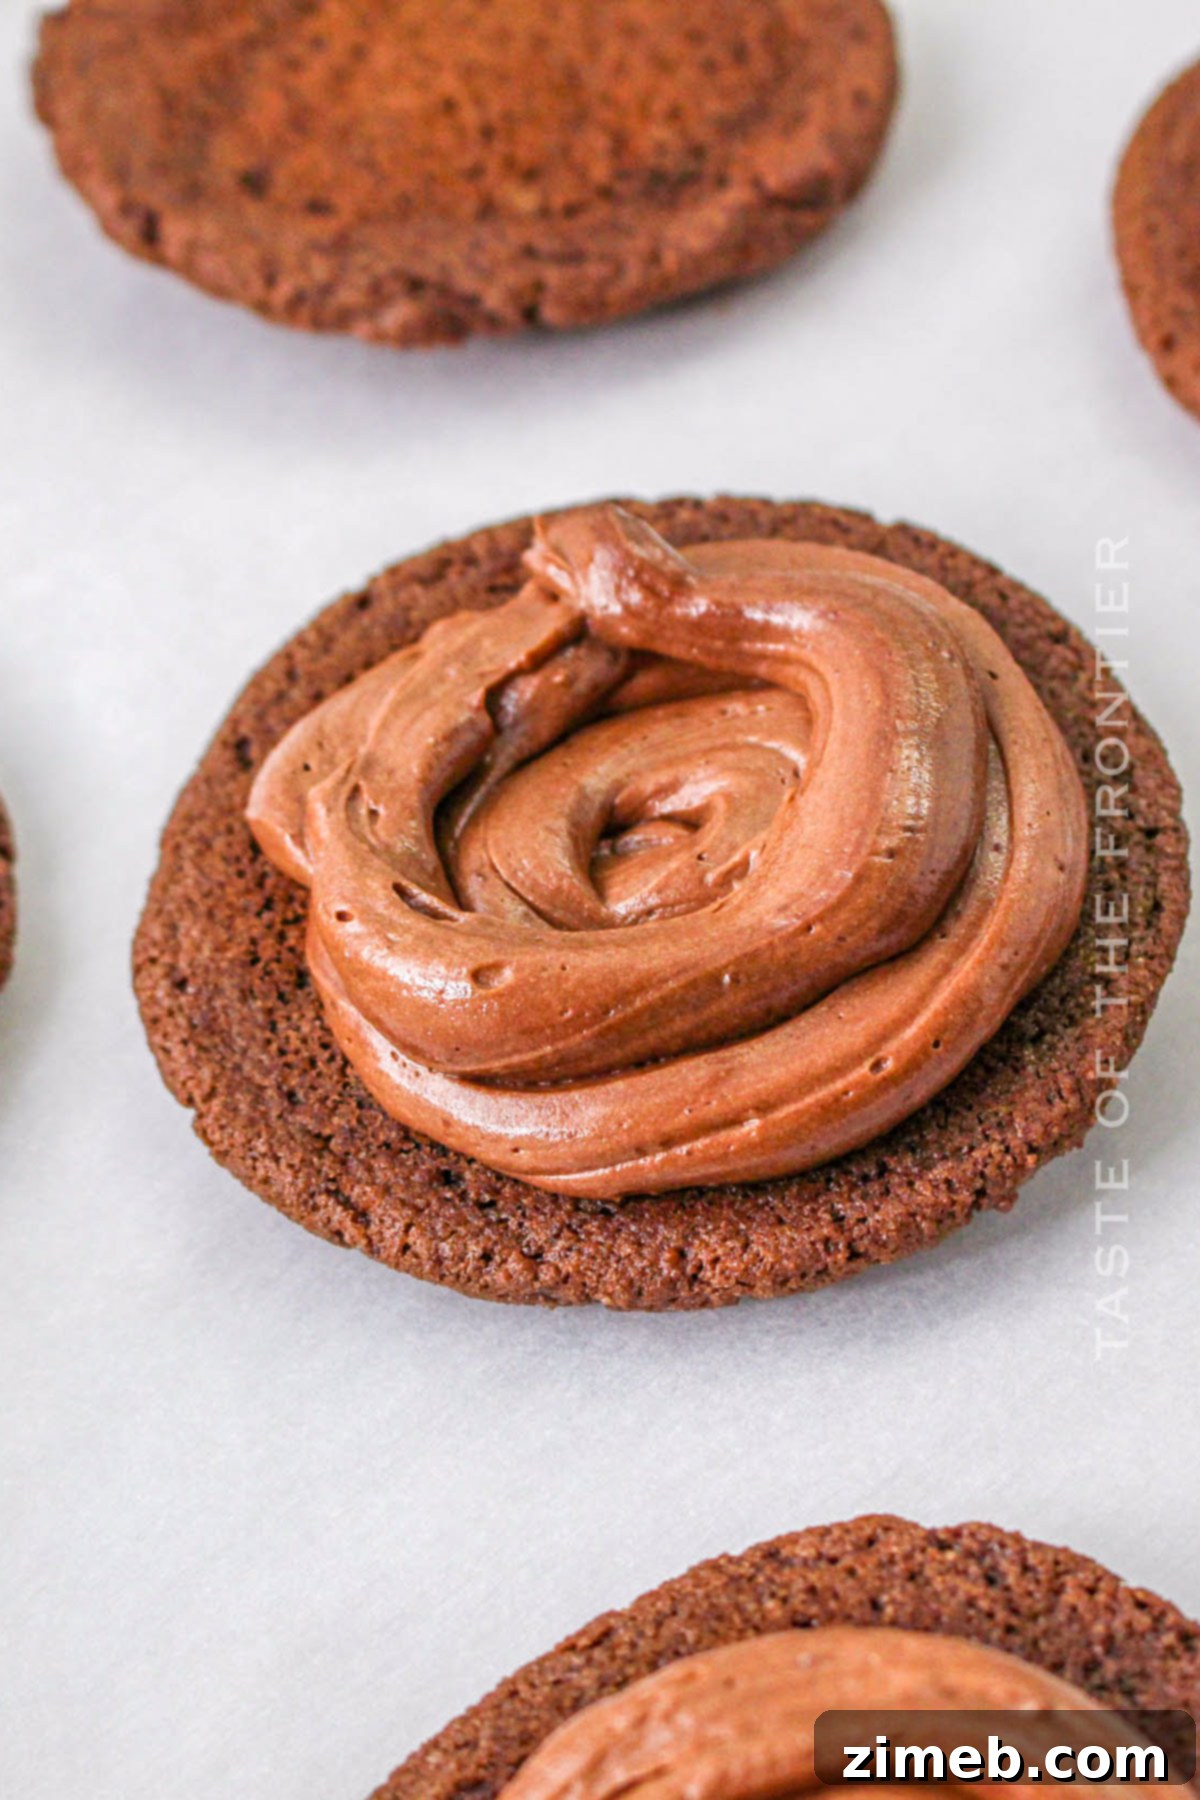
- Transfer Filling to Piping Bag: Scoop the prepared chocolate filling into a piping bag. If you don’t have a piping bag, a sturdy Ziploc bag with one corner snipped off will work just as well.
- Assemble the Sandwich Cookies: Pipe a generous dollop of the creamy filling onto the flat side of one cooled cookie. Gently place another cooled cookie on top, flat side down, and twist it slightly to evenly spread the filling to the edges. Repeat with the remaining cookies and filling.
- Chill to Set: For best results and a firm filling, refrigerate the assembled cookies until the filling has fully set. This makes them easier to handle and improves their texture.
- Store Properly: Store the completed **chocolate sandwich cookies** in an airtight container in the refrigerator to maintain their freshness and prevent the filling from softening too much.
Essential Kitchen Supplies for Making Chocolate Sandwich Cookies
Baking is a wonderful opportunity to create lasting memories, especially when you get the whole family involved. There’s truly nothing better than bonding in the kitchen over delicious treats – it’s a significant reason why I’m so passionate about what I do!
- Large and medium mixing bowls: Essential for separating wet and dry ingredients and for preparing the filling. Having multiple bowls streamlines the baking process.
- Electric mixer with a paddle attachment: A stand mixer or a powerful hand mixer is invaluable for creaming butter and sugar to perfection, and for whipping the creamy filling.
- Baking sheets: Large, sturdy baking sheets are necessary to bake multiple batches of cookies efficiently.
- Parchment paper or silicone baking mats: These non-stick liners ensure even baking, prevent cookies from sticking, and make cleanup a breeze.
- Wire rack for cooling: Crucial for allowing air to circulate around the cookies, ensuring they cool completely and prevent sogginess.
- Piping bag or ziplock bag for the filling: A piping bag (with or without a decorative tip) helps neatly and evenly apply the creamy filling. A heavy-duty resealable plastic bag with a corner snipped off works just as well.
- Cookie Scoop: An indispensable tool for creating uniform cookie sizes, which ensures consistent baking and perfectly matched cookie halves for your sandwiches.
- Rubber Spatula: For scraping down the sides of your mixing bowl and ensuring all ingredients are thoroughly combined.
- Whisk: For combining dry ingredients evenly.
- Measuring cups and spoons: Accuracy in measuring ingredients is key to successful baking.
Perfect Pairings: What to Serve with Chocolate Sandwich Cookies
These delightful **homemade chocolate sandwich cookies** are fantastic on their own, but pairing them with the right beverage or accompaniment can elevate the experience even further. Their rich, deep chocolate flavor makes them incredibly versatile.
- Hot Beverages: A classic pairing! Enjoy them with a steaming cup of **hot cocoa**, a rich and frothy cappuccino, a warm latte, or even a strong black coffee to cut through the sweetness.
- Cold Beverages: The timeless combination of a **cold glass of milk** (dairy or plant-based) is simply unbeatable. For a refreshing twist, try them with an iced coffee or a decadent chocolate milkshake.
- Fruit: To balance the richness of the cookies, consider serving them alongside a vibrant **fruit salad** featuring berries, sliced bananas, or oranges. The fresh, tangy notes of fruit provide a wonderful contrast.
- Dessert Spreads: Offer a small dish of whipped cream or a berry compote on the side for an extra touch of indulgence.
- Ice Cream: For an ultimate dessert experience, crumble a few cookies over a scoop of vanilla bean or coffee ice cream.
Why These Chocolate Sandwich Cookies Deserve a Spot in Your Recipe Box
Sometimes, the occasion simply calls for something a little out of the ordinary, a step beyond the everyday. While the beloved **classic chocolate chip cookie** will always hold a special place in our hearts and remain a reliable go-to, every so often, a touch of variety is precisely what’s needed to reignite our culinary spark. These chocolate sandwich cookies offer just that!
- Ultimate Chocolate Indulgence: They are perfectly designed to satisfy even the most intense **chocolate cravings**, delivering a deep, rich chocolate flavor in both the cookie and the filling.
- Wonderful Family Activity: This recipe is incredibly **fun to make with kids**, providing a fantastic opportunity for family baking sessions where everyone can get involved, from mixing the dough to assembling the sandwiches.
- Endlessly Customizable: These are a truly **versatile treat**! You can easily customize them with different fillings (think peanut butter, mint, or caramel) or even experiment with variations of the cookie flavor for endless possibilities.
- Perfect for Sharing and Gifting: Their attractive appearance and irresistible taste make them ideal for **gifting or sharing** at holiday parties, potlucks, birthdays, or any gathering where a homemade touch is appreciated. They always disappear quickly!
- Comfort Food: There’s a profound comfort in a homemade cookie, and these chocolate sandwich cookies deliver warmth and nostalgia with every bite.
Exciting Variations and Creative Add-Ins for Your Chocolate Sandwich Cookies
The beauty of homemade baking lies in the freedom to experiment and personalize! If you discover any ingenious ways to adapt or enhance this **chocolate sandwich cookie recipe**, please don’t hesitate to share your culinary creations and new ideas in the comments below. That collaborative spirit is truly one of the most enjoyable aspects of all this!
- Extra Chocolatey Dough: For an even more intense chocolate experience, gently fold in a cup of **semisweet chocolate chips** or chunks into the cookie dough before chilling and baking. This adds delightful pockets of melted chocolate.
- Twist on the Filling: Venture beyond classic chocolate filling! Experiment with a creamy **peanut butter filling**, a fluffy marshmallow creme filling, a tangy cream cheese frosting, or even a rich caramel buttercream for a unique flavor profile.
- Decadent Chocolate Dip: Elevate the elegance of your sandwich cookies by dipping half of each assembled cookie in a smooth, **melted chocolate** (dark, milk, or white chocolate) and allowing it to set. This adds an extra layer of chocolatey goodness and a beautiful finish.
- Colorful Embellishments: Add a festive touch by sprinkling the exposed edges of the creamy filling with **colorful sprinkles**, finely crushed nuts (like pecans or hazelnuts), mini chocolate chips, or even a dusting of cocoa powder for a sophisticated look.
- Espresso Powder Boost: A teaspoon of espresso powder added to the cookie dough or even the filling can deepen the chocolate flavor without making it taste like coffee. It simply enhances the richness of the chocolate.
- Minty Fresh: Add a few drops of peppermint extract to the chocolate filling for a refreshing mint chocolate sandwich cookie. Green food coloring can also be added for a festive look.

Rate this Recipe
Decadent Chocolate Sandwich Cookies
Ingredients
For the Chocolate Cookies
- 2 cups all-purpose flour
- ¾ cup unsweetened cocoa powder
- 1 teaspoon baking soda
- ½ teaspoon salt
- 1 ¼ cups unsalted butter room temperature
- 2 cups granulated sugar
- 2 large eggs room temperature
- 2 teaspoons pure vanilla extract
For the Creamy Chocolate Filling
- 1 ¼ cups unsalted butter room temperature
- 1 cup confectioner’s sugar spooned and leveled
- ¼ cup unsweetened cocoa powder
- ¼ teaspoon pure vanilla extract
- Pinch salt
Optional Garnish
- Sprinkles
Instructions
-
Preheat your oven to 350°F (175°C). Line large baking sheets with parchment paper and set aside.
-
In a medium bowl, whisk together the flour, cocoa powder, baking soda, and salt. Set the dry ingredients aside.
-
In a large mixing bowl, using an electric mixer, beat the room temperature butter and granulated sugar together until the mixture is light, fluffy, and pale, which typically takes about 6 minutes.
-
Add the room temperature eggs one at a time, mixing well after each addition. Stir in the vanilla extract, beating until fully incorporated and creamy. Remember to scrape down the sides of the bowl as needed.
-
Gradually add the whisked flour mixture to the wet batter. Beat on low speed just until the ingredients are blended and no dry streaks remain. Avoid overmixing.
-
Using a medium cookie scoop, drop rounded portions of the dough onto the prepared baking sheets, spacing them about 2 inches apart.
-
Bake the cookies for 10 to 12 minutes, or until their edges are set and the tops appear slightly crinkled. Let the cookies cool completely on the baking sheets before handling.
-
While the cookies cool, prepare the filling. In a clean mixing bowl, beat the softened room temperature butter until it is light and creamy.
-
Slowly mix in the confectioner’s sugar, cocoa powder, vanilla extract, and a pinch of salt. Once the dry ingredients are mostly incorporated, increase the speed and beat until the filling is wonderfully whipped, smooth, and creamy.
-
Transfer the prepared filling into a piping bag with the end snipped (or a Ziploc bag with a corner cut off).
-
Pipe a generous amount of filling onto the flat side of one cooled cookie. Place another cooled cookie on top, flat side down, and gently twist slightly to spread the filling evenly to the edges.
-
Refrigerate the assembled cookies until the filling has set firmly. This helps them hold their shape.
-
Store your delicious chocolate sandwich cookies in an airtight container in the refrigerator for optimal freshness.
Nutrition Information
Nutritional information for this recipe is provided as a courtesy and is an approximate estimate. Please double-check with your own preferred dietary calculator for the most accurate information. We at Yummi Haus cannot guarantee the accuracy of the nutritional information given for any recipe on this site. Factors like specific ingredient brands, exact measurements, and optional additions can alter nutritional values.
Baking these **decadent chocolate sandwich cookies** is more than just following a recipe; it’s an invitation to create joy, share warmth, and indulge in the simple, profound pleasure of homemade treats. With their rich chocolate flavor, tender cookies, and creamy filling, they are truly an unforgettable dessert that will bring smiles to faces and sweetness to any occasion. Happy baking!