
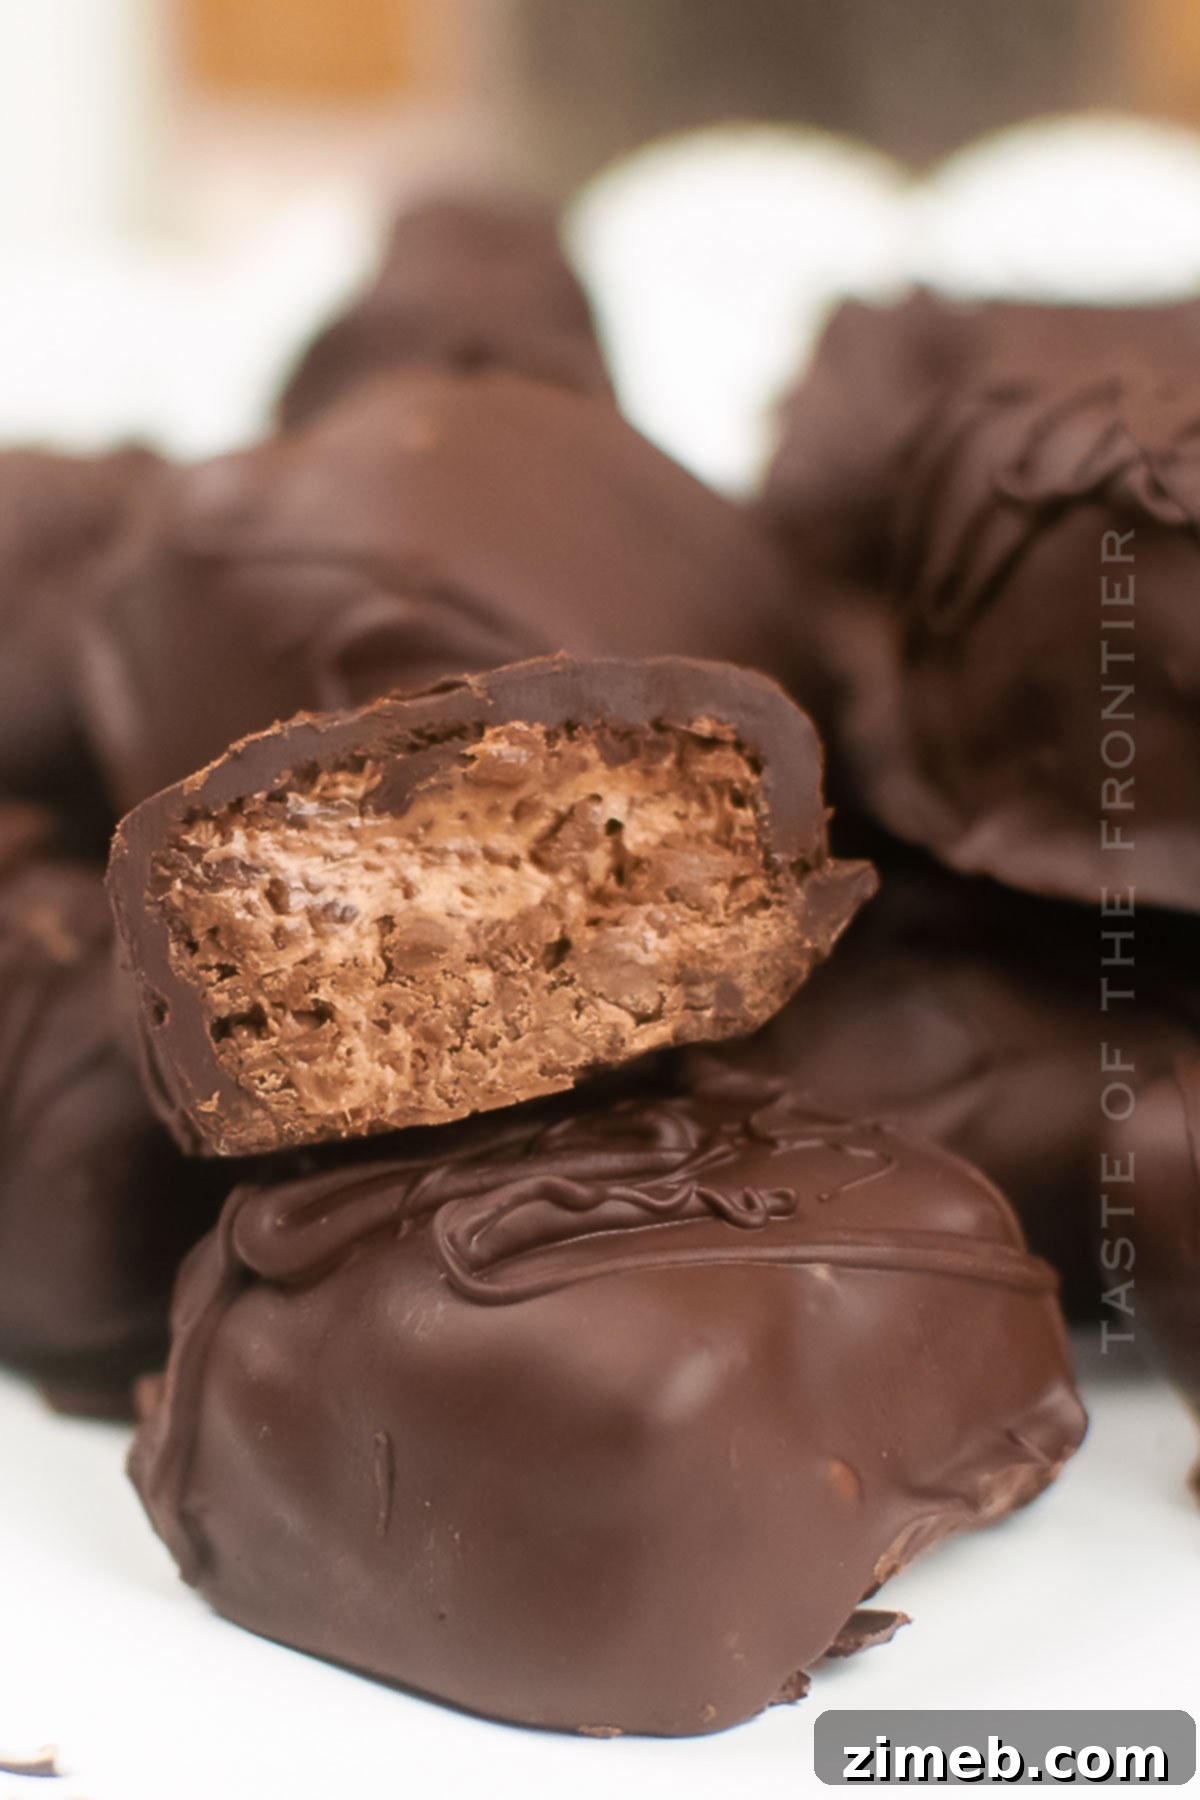
Cool Whip Candy, also known as homemade 3 Musketeers Bars, offers a delightful and surprisingly simple way to satisfy your deepest chocolate cravings. Dive into this easy recipe and discover a treat that’s as fun to make as it is to eat!
Do you ever find yourself yearning for something sweet, a decadent chocolate treat, but lack the time or energy for an elaborate baking project? If so, you’re in the right place! Get ready to embrace the magic of Cool Whip Candy – your new go-to solution for those moments of sweet indulgence. This incredible recipe is not just another dessert; it’s a spot-on copycat version of the beloved 3 Musketeers candy bars, and I’m absolutely thrilled to share all its secrets with you.
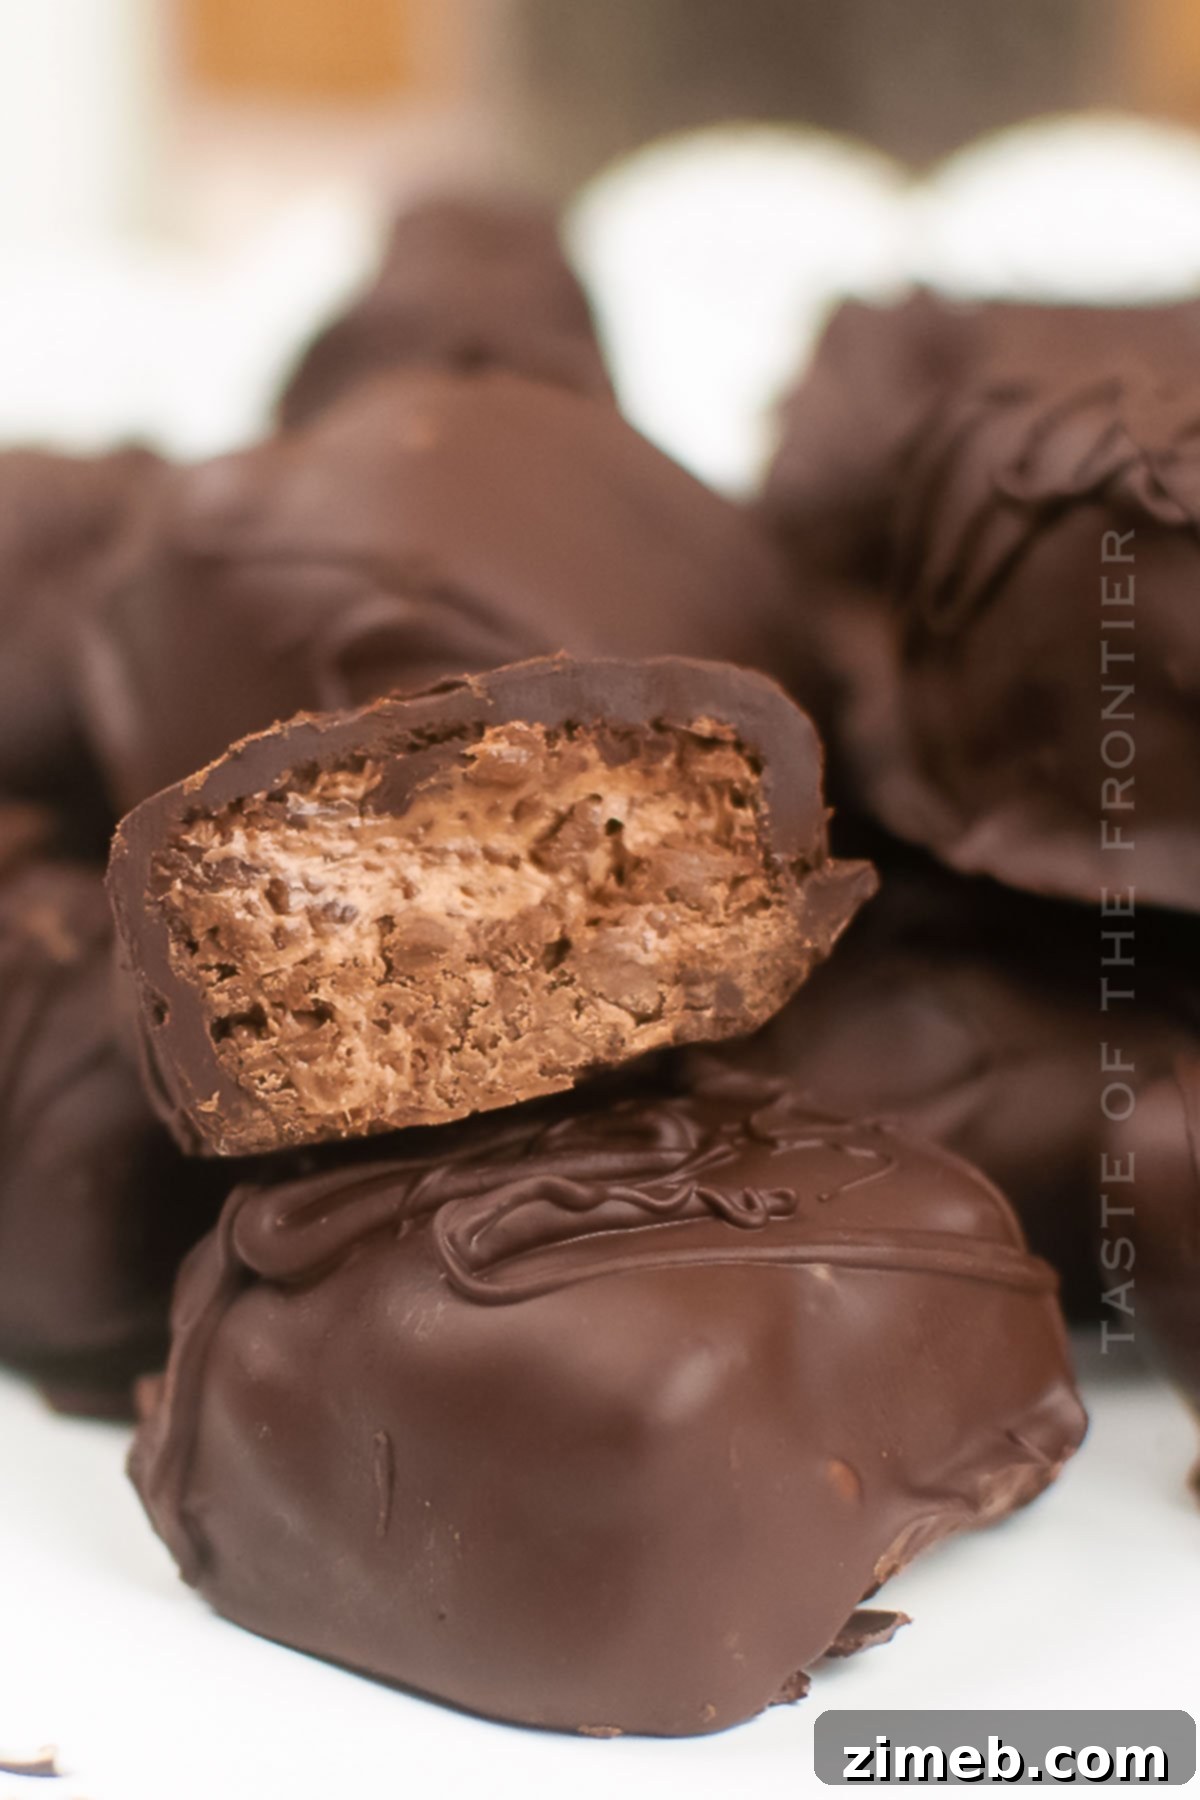
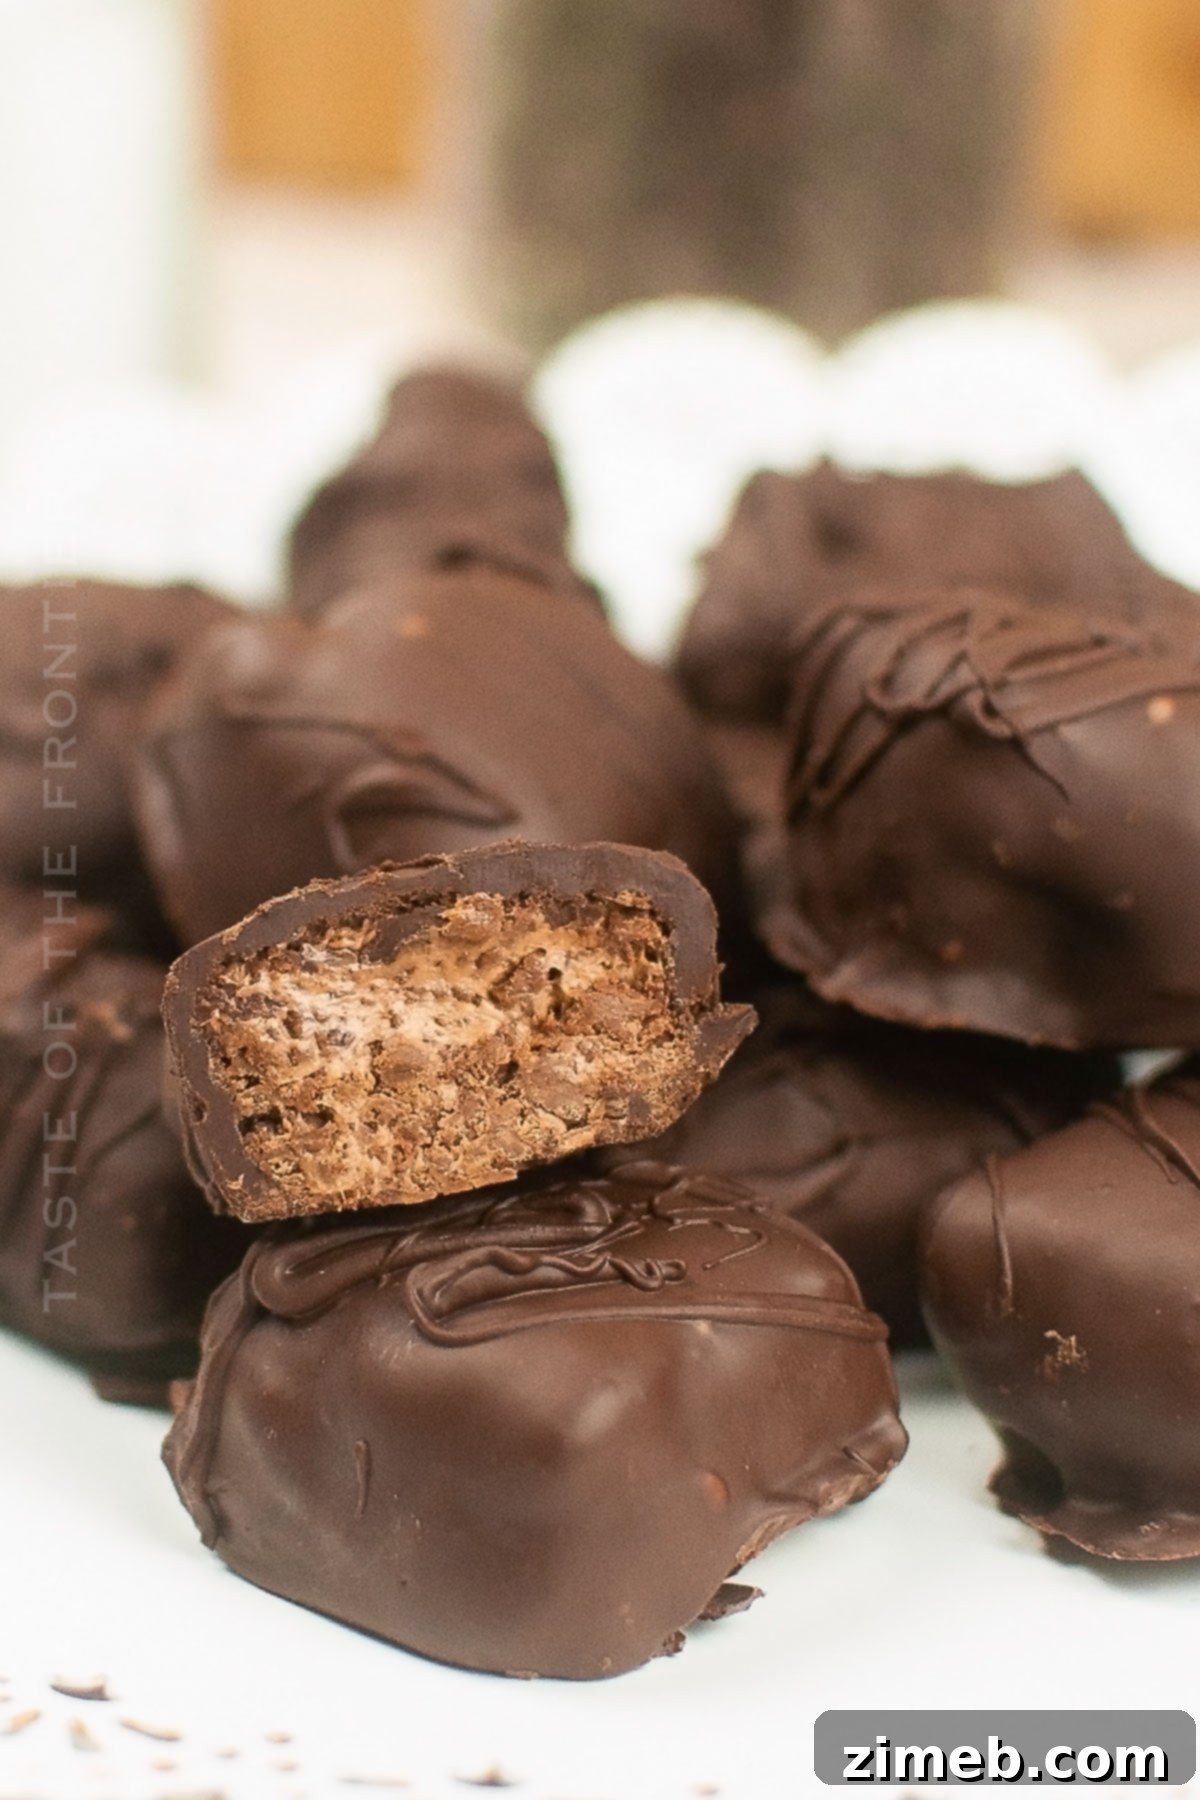
Imagine biting into a rich, glossy chocolate shell, only to discover a miraculously fluffy, airy, and melt-in-your-mouth nougat-like center. Yes, it’s every bit as dreamy as it sounds, and the best part is how incredibly effortless it is to whip up right in your own kitchen. Keep reading, and I promise you’ll be utterly captivated by this easy homemade candy recipe, just as I am!
This Cool Whip Candy isn’t merely a dessert; it’s an experience. It delivers a perfect harmony of creamy, light, and intensely chocolatey flavors that will leave you wondering how you ever managed without it. What makes it even better? This is one of those fantastic recipes that doesn’t demand any advanced culinary skills or fancy equipment. If you can melt chocolate and stir, you can make these delightful treats!
If you find yourself as smitten with this recipe as I am – and I’m confident you will – don’t forget to save the recipe card for future cravings. You might even consider making a double batch, because these disappear fast! And, of course, if you give this recipe a try, or experiment with any variations, I’d absolutely love to hear about your experience in the comments below. Your feedback helps inspire me and other home bakers!
What Makes This Cool Whip Candy So Special?
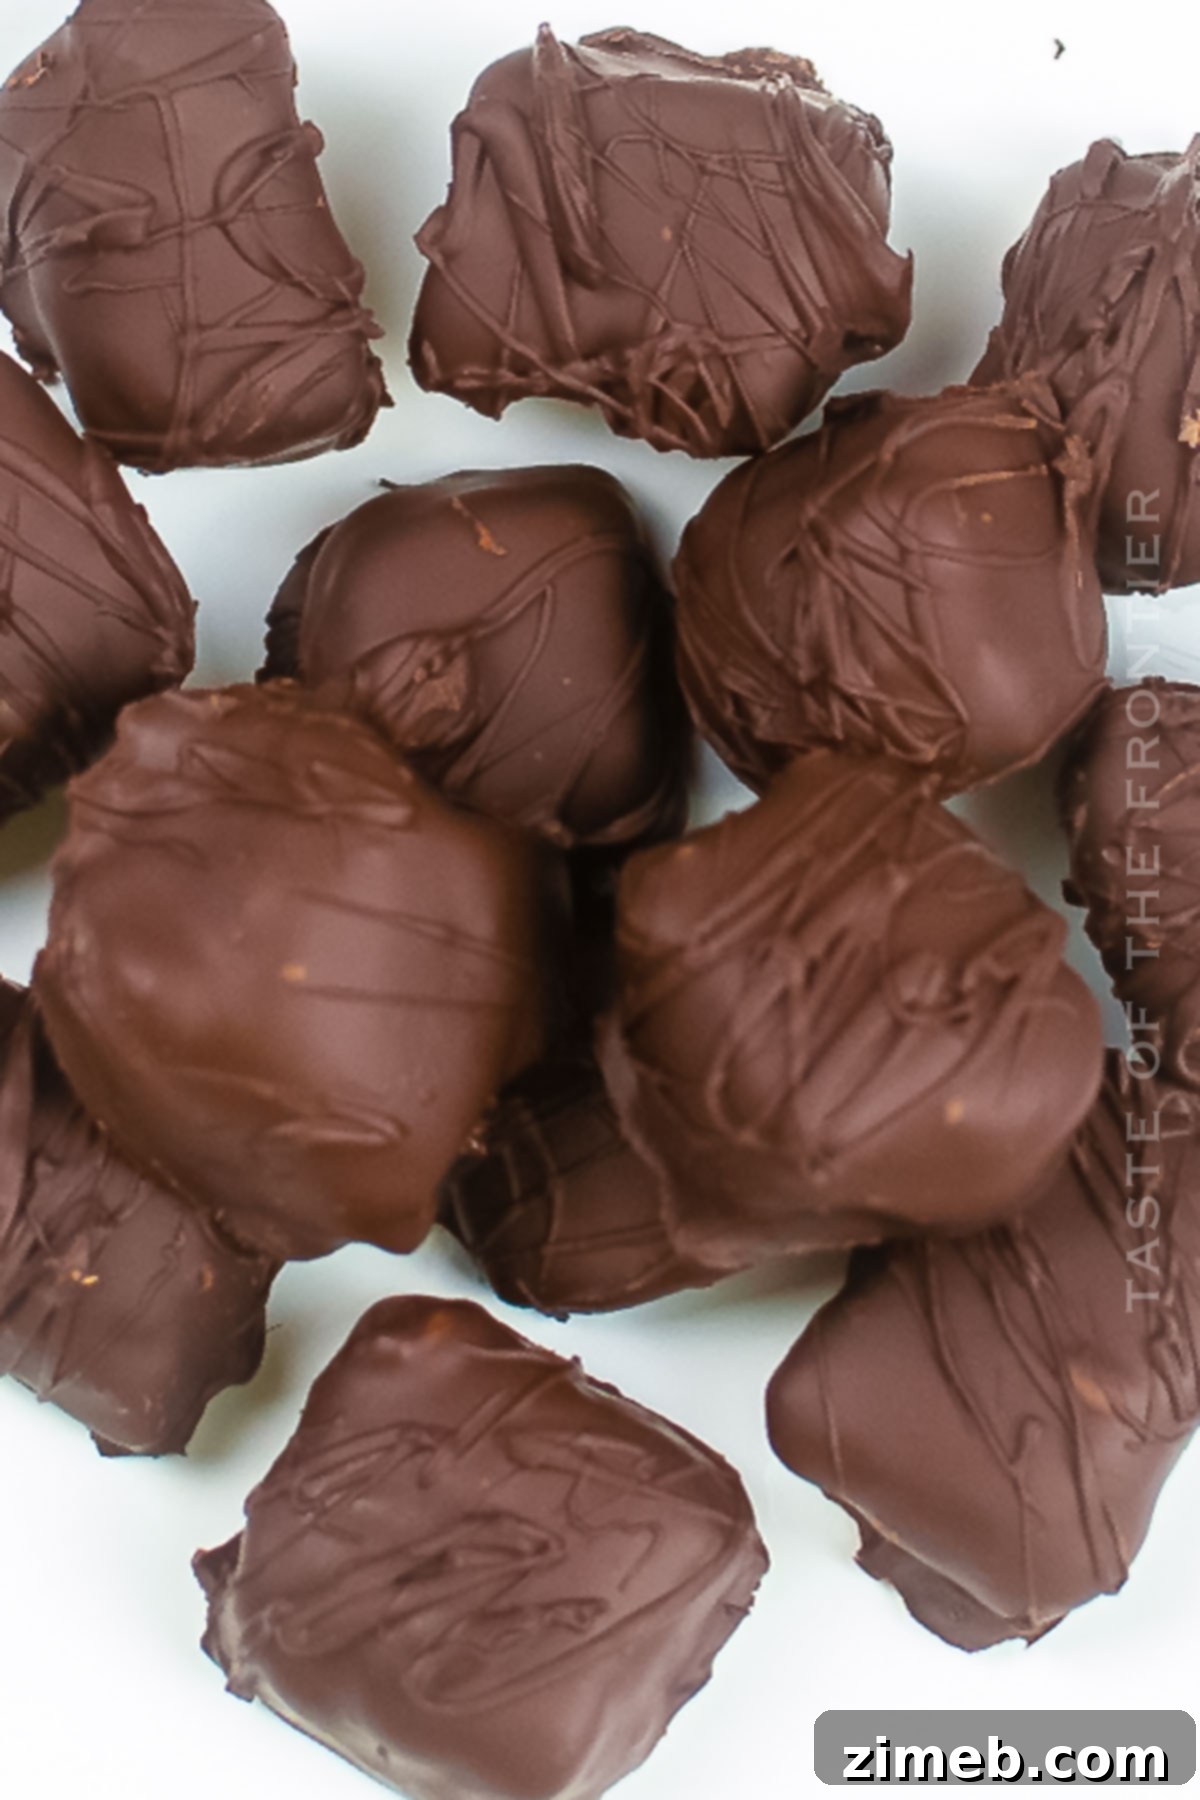
This particular homemade candy truly stands out for several reasons. Firstly, its simplicity is unmatched. With just three core ingredients and a handful of straightforward steps, even novice candy makers can achieve professional-looking and tasting results. Secondly, the texture is simply divine. The whipped topping creates an incredibly light and airy center that perfectly mimics the iconic nougat of a 3 Musketeers bar, but with an even more delicate feel.
Finally, there’s the sheer joy of creating something so delicious from scratch. There’s a unique satisfaction in presenting a tray of these homemade chocolate-covered delights, knowing they were made with love and minimal effort. It’s a recipe that promises maximum reward for minimal fuss.
Common Questions About Cool Whip Candy
Let’s address some of the most frequently asked questions about making these delectable Cool Whip Candies. Knowing these tips and tricks will ensure your candy-making journey is smooth and successful.
How Close Does it Taste to Real 3 Musketeers Bars?
Honestly, the resemblance is uncanny! This simple recipe yields a fluffy, aerated center enveloped in a crisp, sweet chocolate shell, making it an incredibly close mimic of your favorite store-bought 3 Musketeers candy bar. Many people find the texture to be even more delicate and enjoyable than the original. The magic truly happens when the cool whip is folded into the melted chocolate, creating that signature light and airy consistency. You be the judge, but I actually believe this homemade version often surpasses the original in terms of fresh flavor and satisfying texture. There’s just something inherently special about a treat made with care at home!
Can I Use Dark Chocolate Instead of Milk Chocolate?
Absolutely! Using dark chocolate would introduce a more intense, robust, and slightly bitter flavor, which pairs wonderfully with the sweet, airy filling. If you find milk chocolate to be a tad too sweet for your palate, dark chocolate or even a high-quality semi-sweet chocolate is an excellent alternative for both the interior mix and the outer coating. Just be aware that different types of chocolate, due to their varying cocoa and fat content, will melt and behave slightly differently. Dark chocolate often requires a bit more careful melting to prevent seizing, so always melt slowly and stir frequently to achieve a smooth, pourable consistency.
Can I Use a Hand Mixer to Blend the Chocolate and Cool Whip?
You certainly can use a hand mixer, especially if you want to ensure the mixture is incredibly smooth and uniform. However, for this particular small-batch Cool Whip candy, a simple wooden spoon or a firm rubber spatula will do the job perfectly well. Sometimes, the most basic kitchen tools are the most effective for the task at hand. The goal is to gently fold the ingredients together until just combined, maintaining that light and fluffy texture, which can be easily achieved with a spatula without over-mixing.
Can I Use Homemade Whipped Cream Instead of Cool Whip?
While Cool Whip is specifically designed to be stable and hold its shape, making it ideal for this recipe, you *could* try homemade whipped cream. However, you would need to use a stabilized whipped cream recipe (often involving gelatin or cream cheese) to prevent the candy from becoming too soft and weeping liquid. Regular whipped cream will not yield the same firm, yet fluffy, nougat-like texture after freezing and will likely deflate and become watery. For best results and the signature 3 Musketeers texture, Cool Whip is highly recommended.
Storage Tips for Cool Whip Candy
These delectable candies are truly at their peak when stored correctly. The cold not only helps them set beautifully but also enhances the rich chocolate flavor and crisp texture. Who doesn’t appreciate chocolate with a slight chill? It hardens the shell and allows the creamy center to melt slowly in your mouth, extending that moment of pure enjoyment!
Refrigerator:
For optimal freshness and texture, place your finished Cool Whip Candy in an airtight container and store it in the refrigerator. They will maintain their delicious quality for up to two weeks. However, let’s be realistic – with a taste this good, they’ll almost certainly be devoured long before that!
Freezer:
If you’re planning ahead or want to savor these treats for an extended period, the freezer is your friend. Wrap each individual piece of candy tightly in a layer of plastic wrap, then transfer them to freezer-safe bags or an airtight container. Stored properly, they’ll remain fresh and incredibly amazing for up to three months. Simply thaw for a few minutes before serving, or enjoy them straight from the freezer for a different kind of chilled delight!
Pro Tips for Perfect Cool Whip Candy
I have so many cherished memories of making homemade candy with my grandparents, from rich chocolates to smooth caramels. This recipe offers a wonderful opportunity to create your own sweet memories with family and friends. Here are some pro tips to ensure your Cool Whip Candy turns out perfect every time:
- Quality Matters: Always opt for good quality chocolate chips or melting chocolate. Better chocolate equals better flavor and a smoother melt, which will significantly elevate the taste of your finished candy.
- Preparation is Key: Before you even start melting chocolate, make sure your baking dish is lined with parchment paper. This simple step is an absolute lifesaver, ensuring that your candy filling can be easily removed without sticking, and makes cleanup a breeze.
- Uniformity for the Perfect Bite: For the most appealing presentation and consistent texture, aim to cut your candy filling into one-inch squares. This creates uniform, bite-sized desserts that are easy to dip and lovely to serve.
- Extra Toppings for a Professional Touch: Don’t let that remaining melted chocolate go to waste! A quick drizzle over the dipped bars adds an elegant, professional finish and an extra layer of chocolatey goodness. Consider a sprinkle of sea salt for a gourmet touch.
- Chill Time is Crucial: Resist the urge to rush the freezing step. Allowing the filling to chill thoroughly ensures it’s firm enough to cut cleanly and holds its shape beautifully when dipped in warm chocolate.
Ingredients You’ll Need
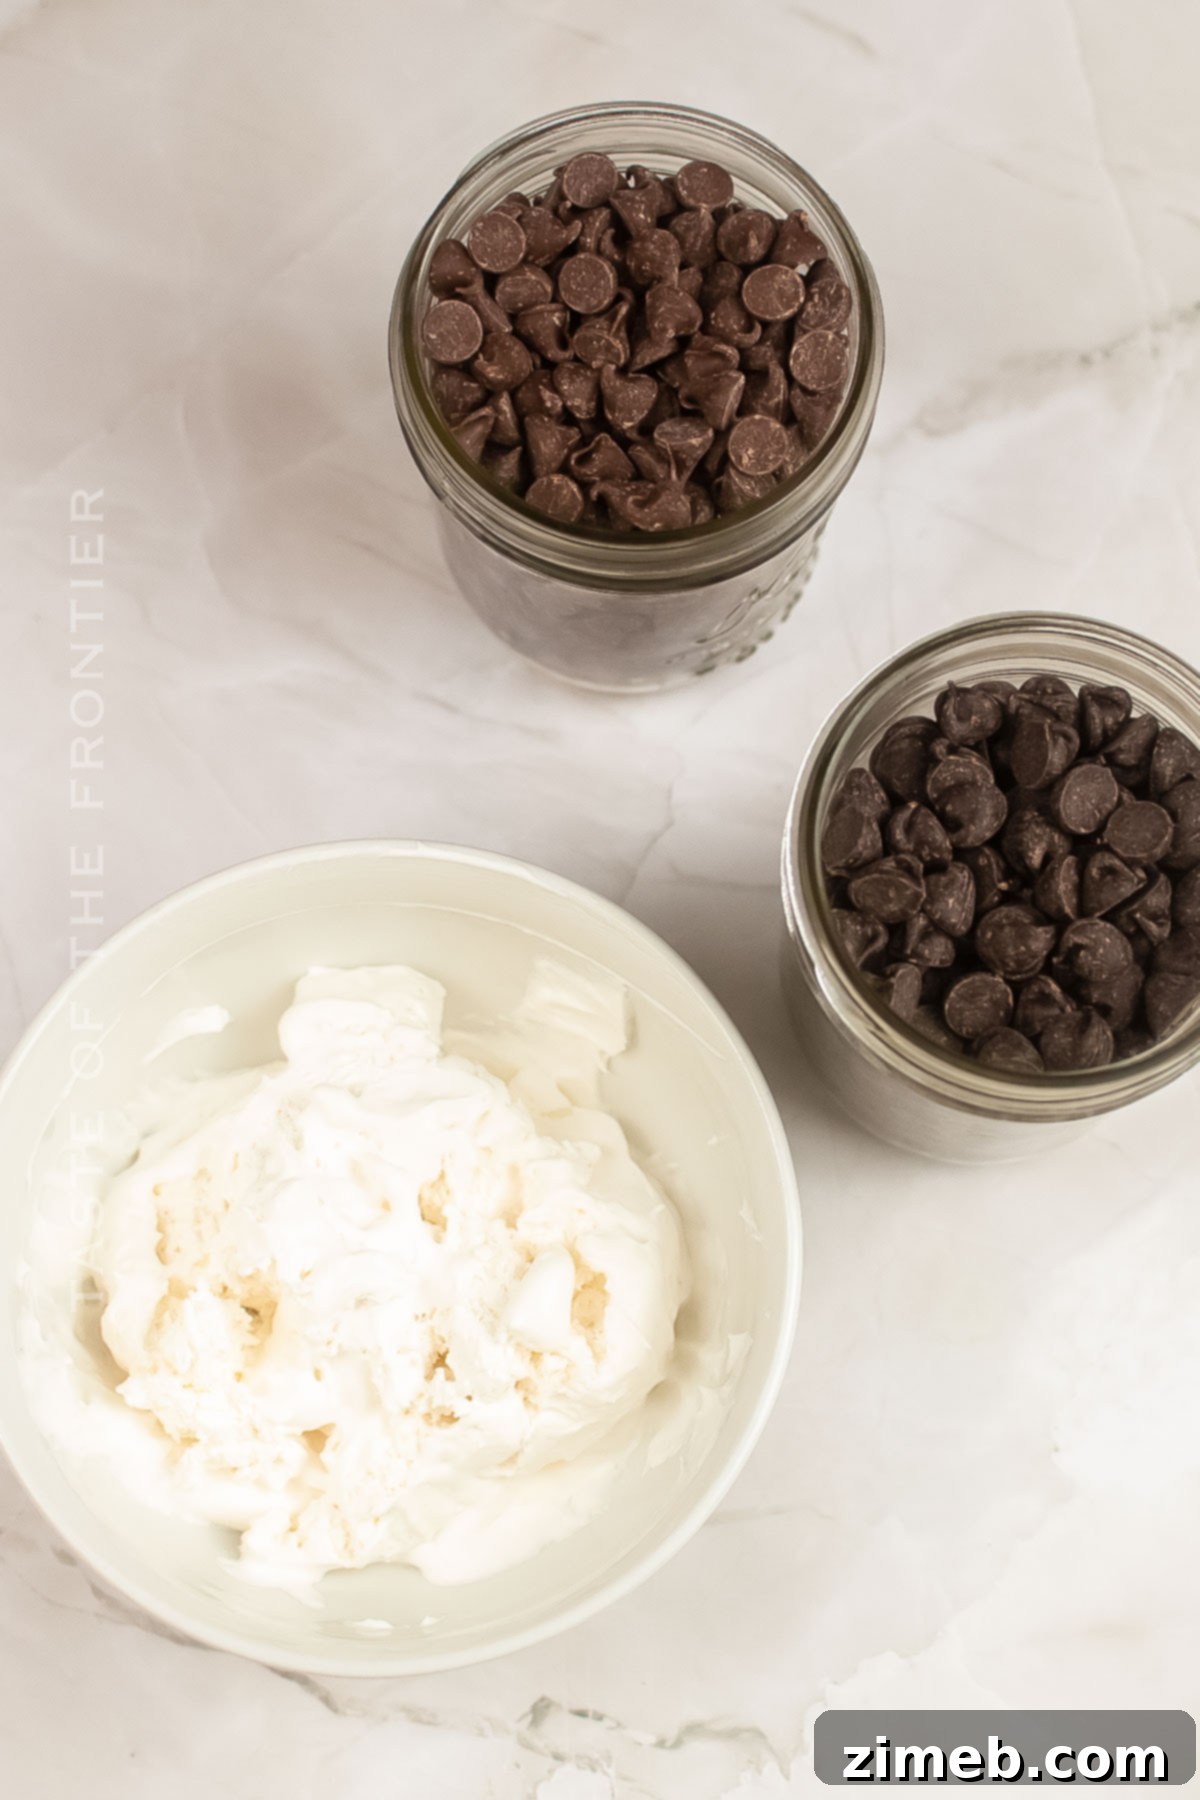
Prepare to be amazed at how such incredible homemade candies can come from such a short and simple list of ingredients! Truly, who knew making amazing homemade candy could be this quick and easy, right? These three components are all you need to create confectionery magic:
- Milk Chocolate Chips: These will form the delicious, sweet base of your fluffy filling. Choose a good quality brand for the best flavor.
- Semi-Sweet Chocolate Chips: Used for the irresistible outer coating, offering a balanced chocolate flavor that complements the sweet interior.
- Cool Whip (thawed): The secret ingredient that gives our candy its signature light, airy, and melt-in-your-mouth texture, mimicking the nougat of a 3 Musketeers bar. Ensure it’s fully thawed for easy blending.
How to Make Cool Whip Candy: Step-by-Step
Making these copycat 3 Musketeers bars is a breeze! While you could certainly use a double boiler on the stove for melting chocolate, I find the microwave method to be much faster and simpler. And in my cookbook, simple is always best!
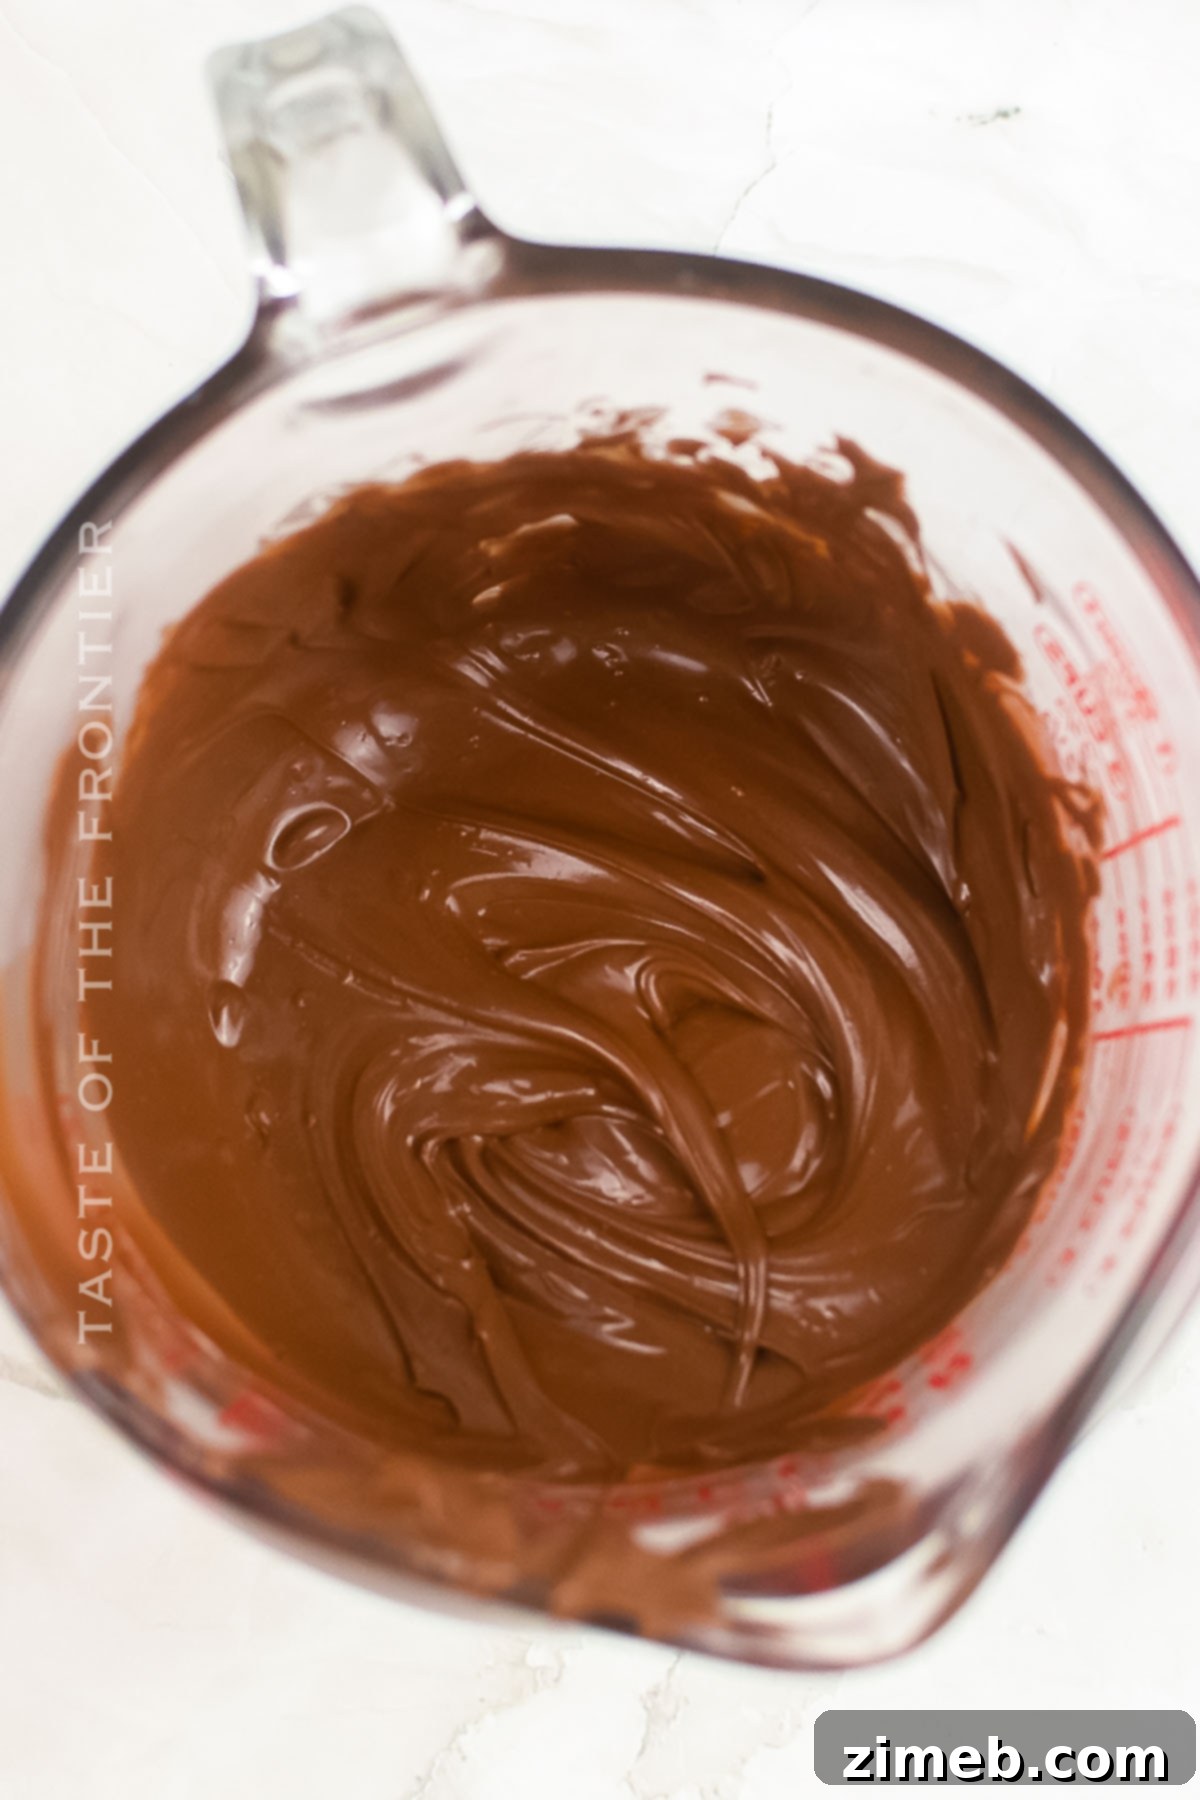
- Melt the First Batch of Chocolate: Place the milk chocolate chips in a microwave-safe dish. Microwave for 45 seconds, then remove and stir vigorously until smooth. If there are still lumps, continue microwaving in 20-second intervals, stirring thoroughly after each, until the chocolate is completely smooth and melted. Be careful not to overheat it. Allow this melted chocolate to cool slightly for about 10 minutes before proceeding. This prevents it from melting the Cool Whip too quickly.
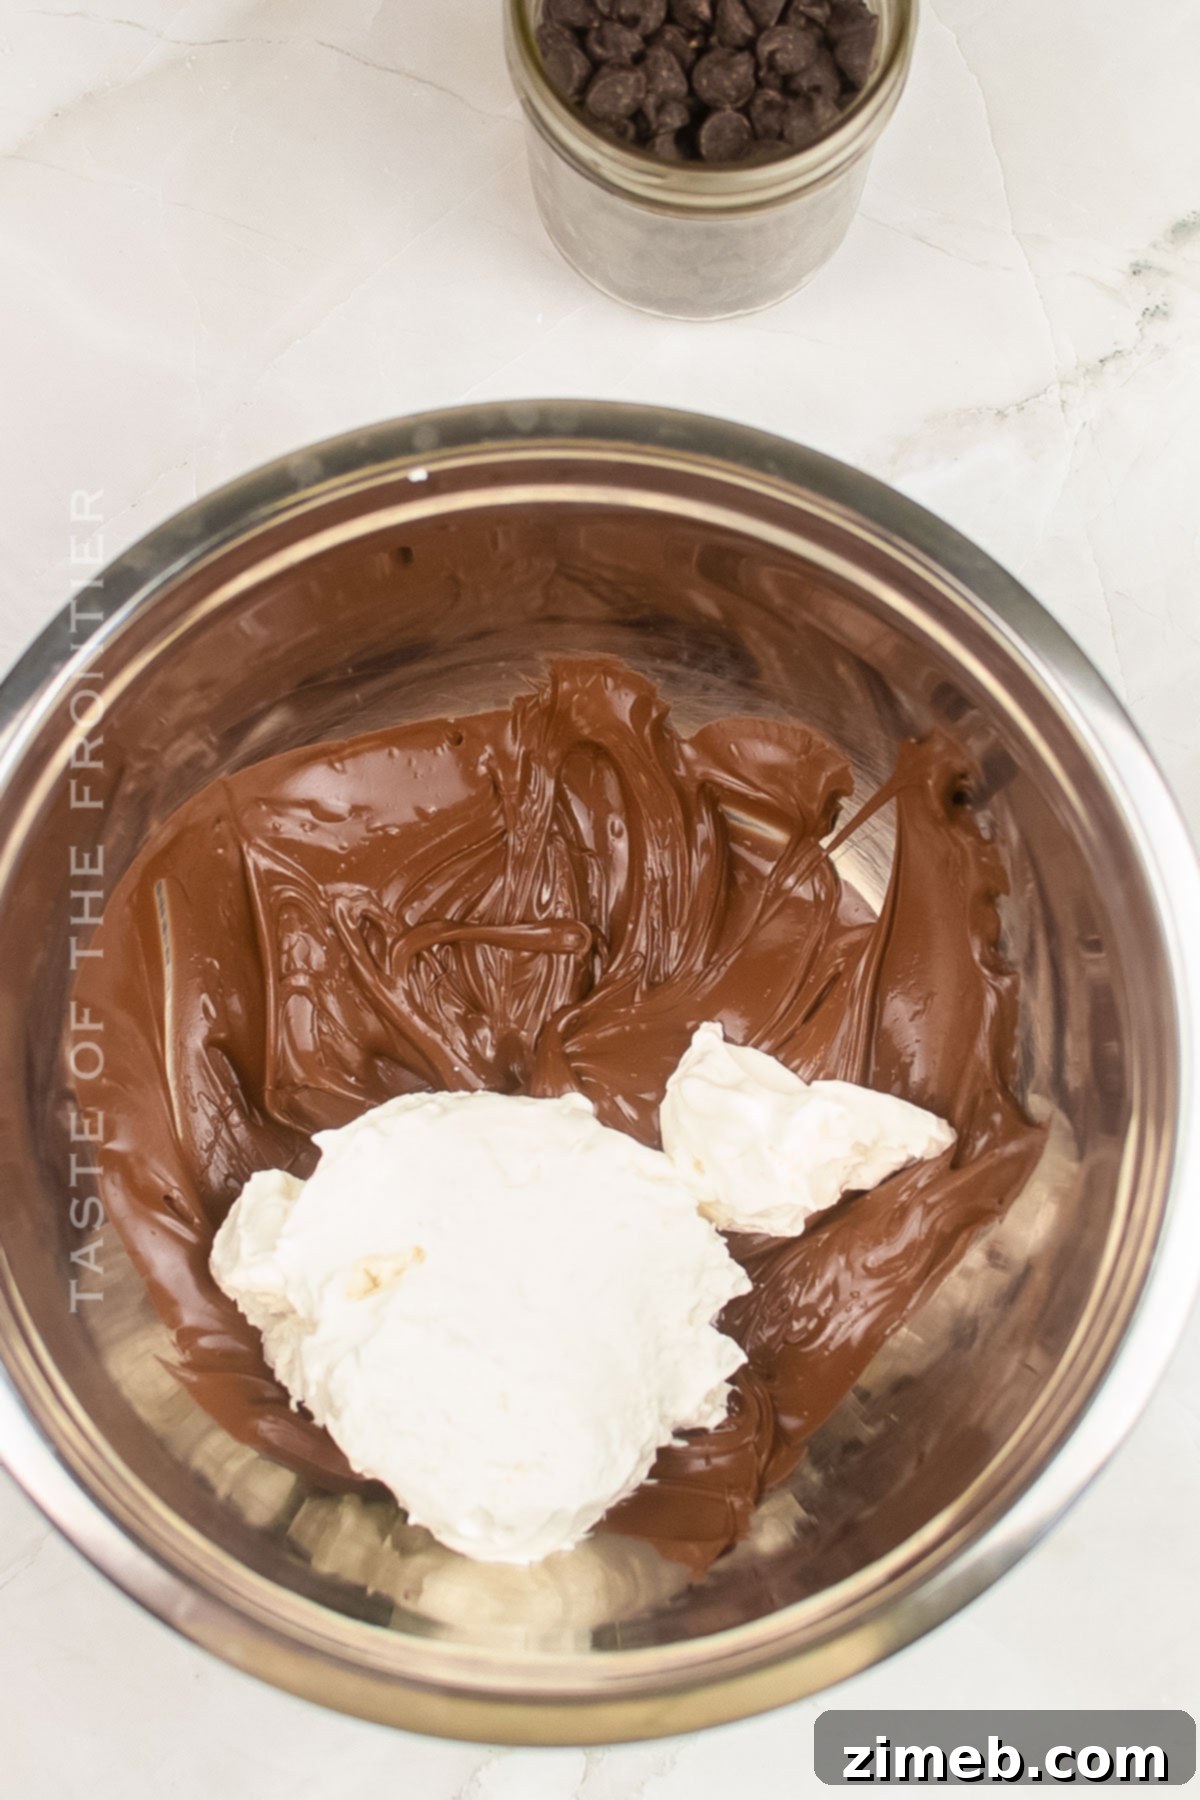
- Create the Nougat-Like Filling: In a separate mixing bowl, gently combine the thawed Cool Whip and the slightly cooled melted milk chocolate. Using a wooden spoon or a firm rubber spatula, work the ingredients together with a folding motion until they are fully incorporated and the mixture is uniform. A few small chocolate chunks are perfectly acceptable and can add a nice texture; however, you can continue to mix until it reaches your desired consistency – a light, airy, chocolate cloud.
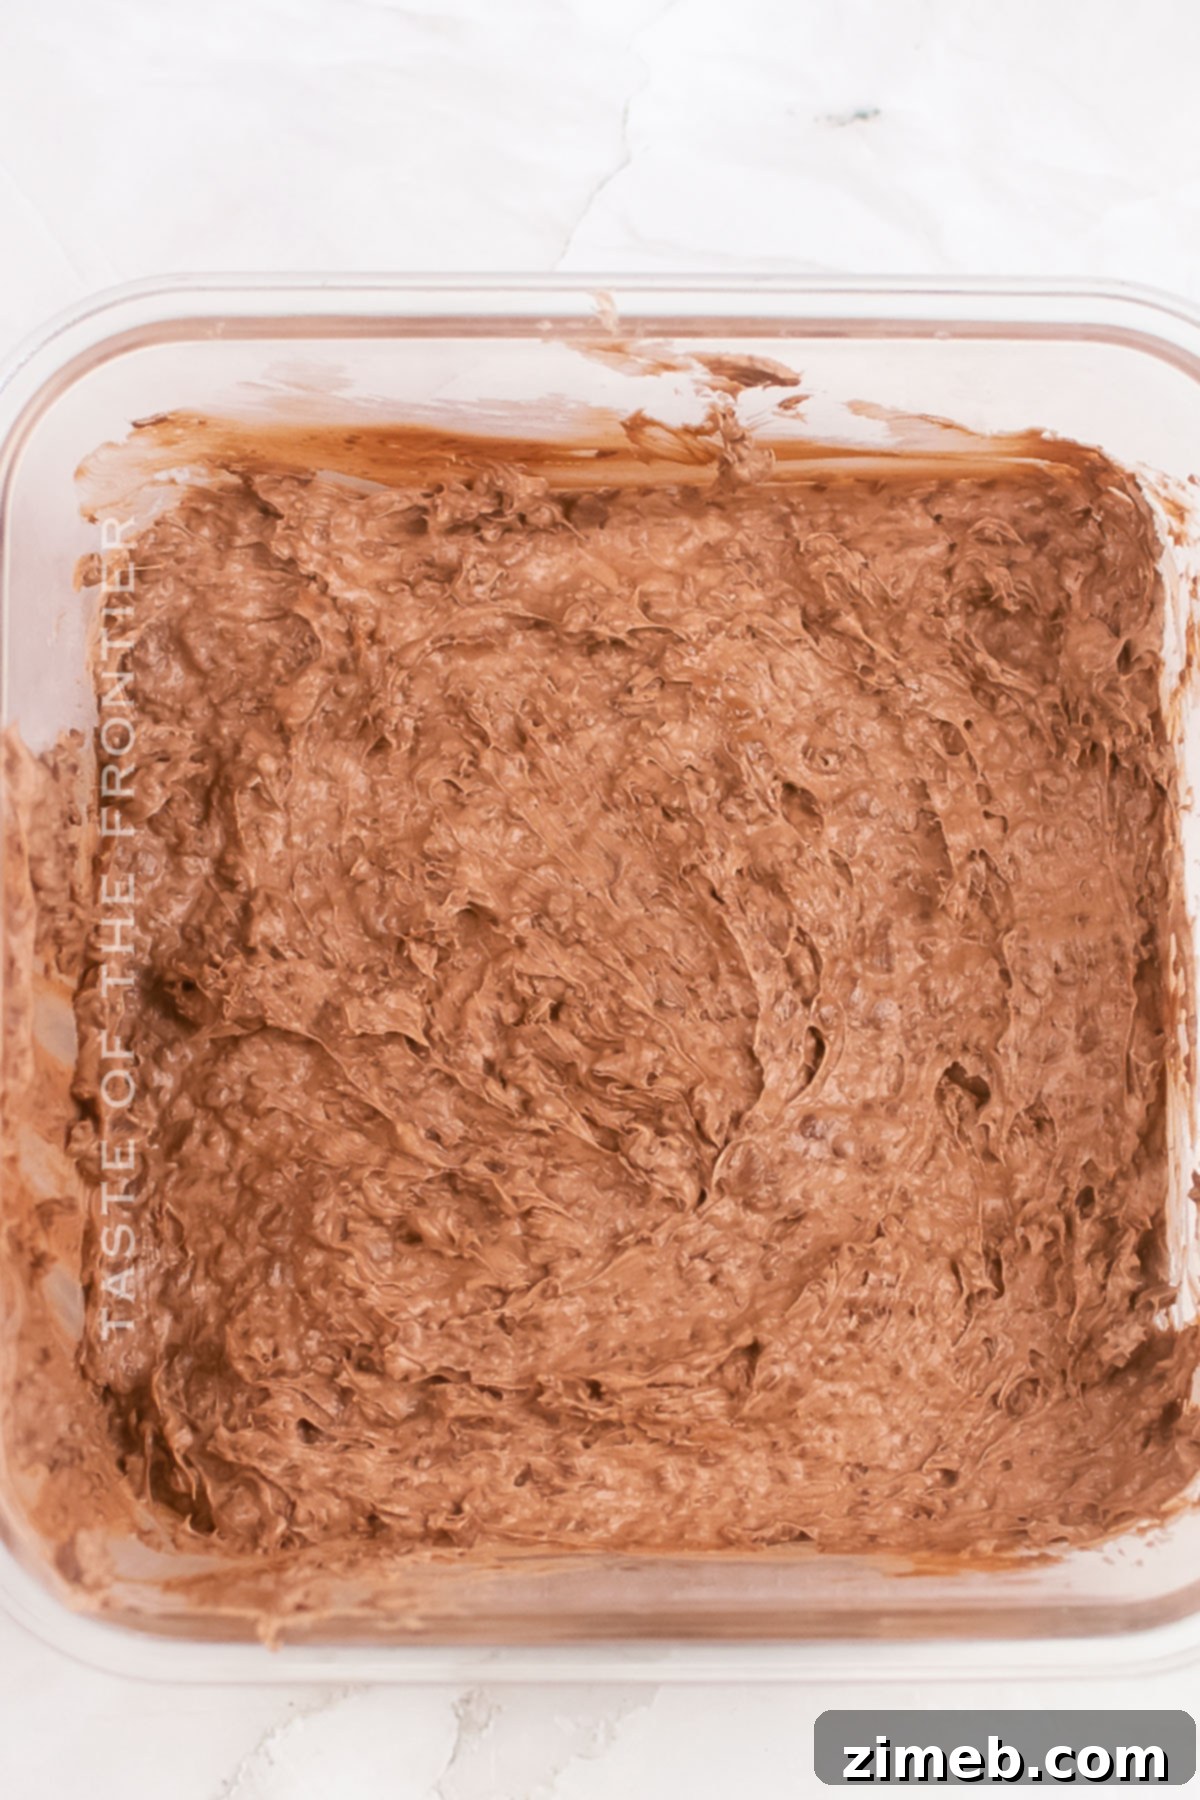
- Shape and Chill the Filling: Pour the chocolate-Cool Whip mixture into your prepared baking dish (lined with parchment paper). Use your spatula to spread and press the mixture out into an even layer, aiming for your desired thickness. A thinner layer will result in more delicate bars, while a thicker one will give a more substantial bite.
- First Freeze: Place the dish into the freezer for approximately 20 minutes. This chilling period is essential for firming up the filling, making it easy to handle and cut.
- Remove and Cut: Once firm, remove the dish from the freezer. Carefully lift the parchment paper, with the solidified filling, out of the dish in one piece. Transfer it to a clean cutting board.
- Portion the Candy: Using a sharp knife, cut the filling into 16 uniform pieces. This size is ideal for dipping and creates perfect individual candy bars.
- Melt the Second Batch of Chocolate: Melt the semi-sweet chocolate chips using the same microwave method as you did for the milk chocolate in step 1. Ensure it’s smooth and slightly cooled.
- Dip the Pieces: One by one, dip each piece of the chilled filling into the melted semi-sweet chocolate, ensuring it’s fully coated. Use a fork or a dipping tool to carefully lift the candy, allowing any excess chocolate to drip off.
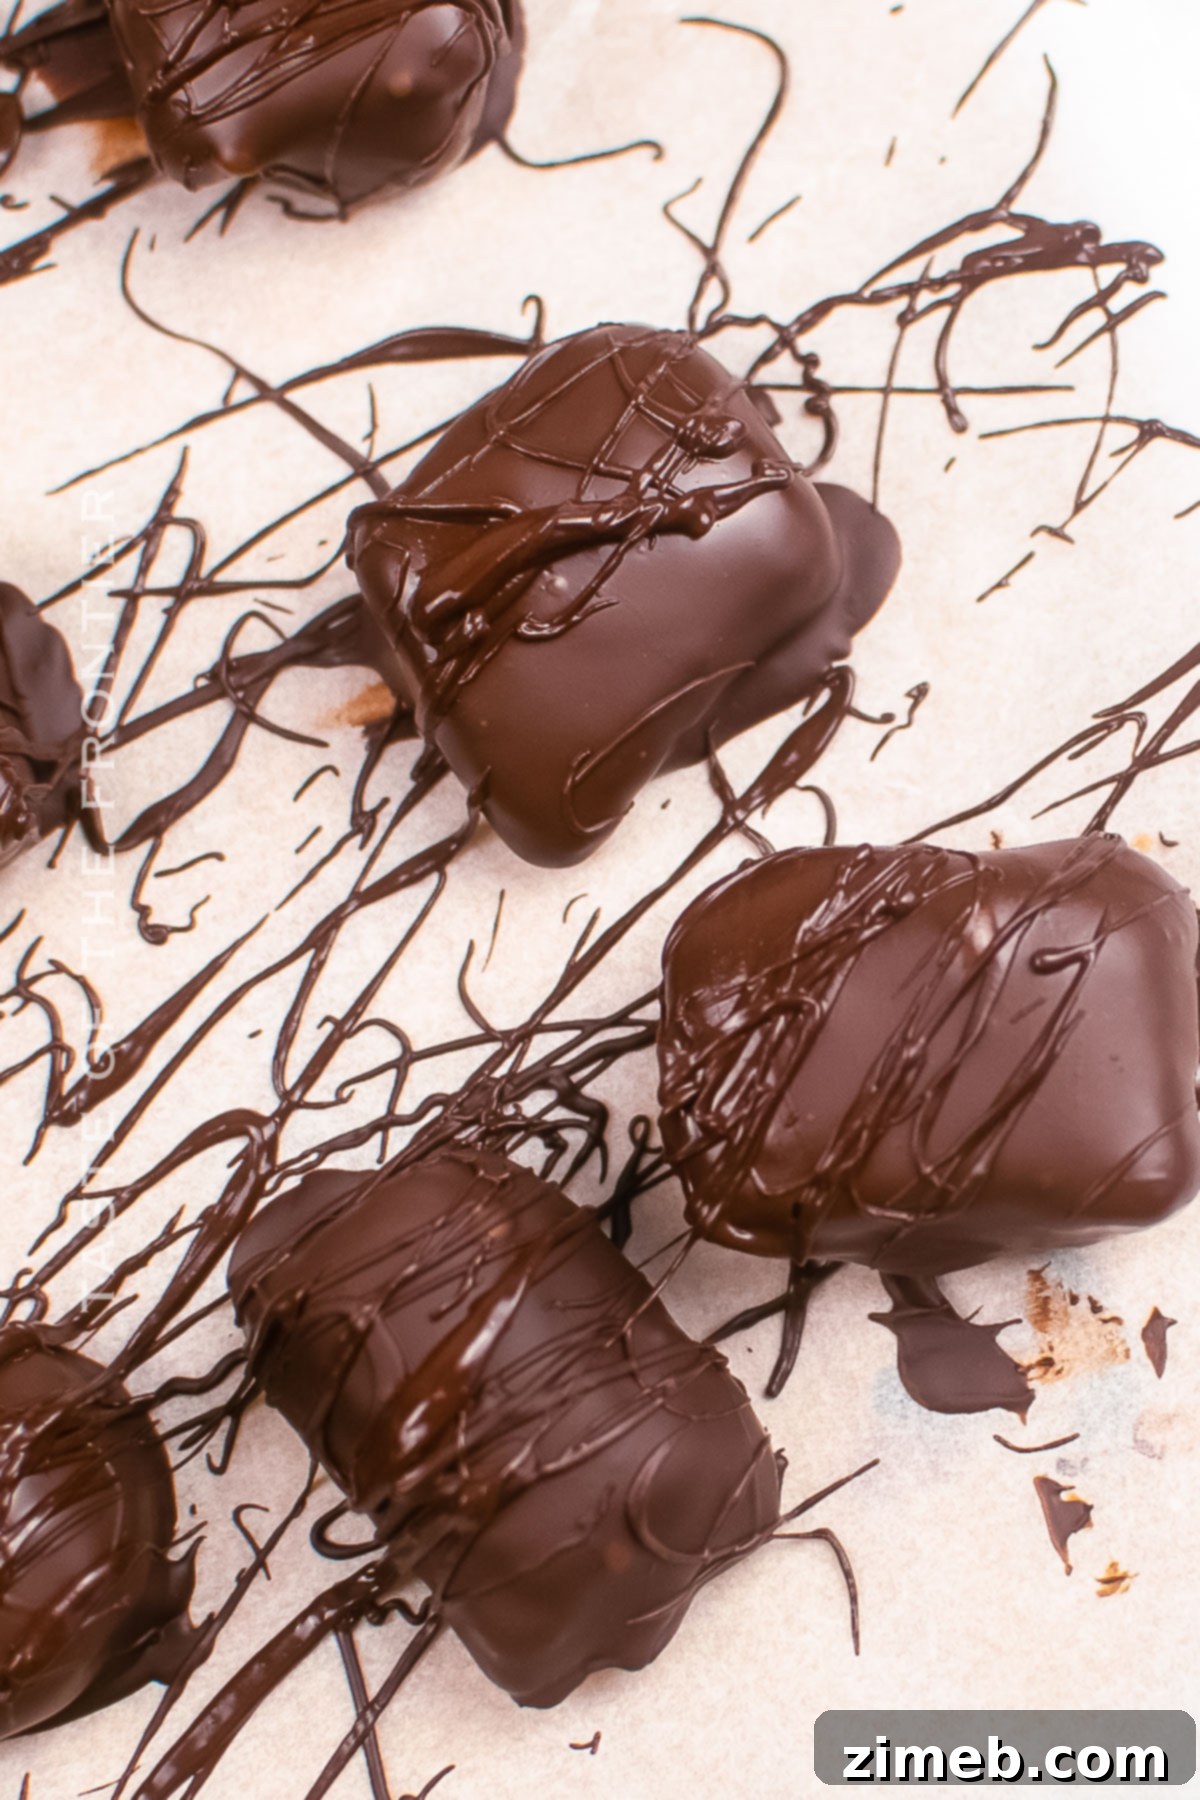
- Decorate and Set: Place the chocolate-covered pieces onto a fresh piece of parchment paper. If you have any remaining melted chocolate, drizzle it artfully over the top of each bar for a decorative touch and extra flavor.
- Final Chill: Allow the chocolate coating to solidify completely. You can speed this up by placing the parchment paper with the dipped candies back into the refrigerator or freezer for a few minutes. Once firm, they are ready to serve or transfer to an airtight container for storage.
Essential Kitchen Supplies You’ll Need for Cool Whip Candy
You don’t need a full candy-making laboratory for this recipe, just a few basic kitchen tools. The parchment paper, in particular, will be your best friend here, ensuring a mess-free process and easy removal of your delicious creations!
- Large Microwave-Safe Bowl: Perfect for melting your chocolate chips quickly and efficiently.
- Square Baking Dish (8×8 or 9×9 inch): Ideal for shaping your candy filling into an even layer before cutting.
- Wooden Spoon or Firm Rubber Spatula: For gently folding the Cool Whip and chocolate together, maintaining the airy texture.
- Parchment Paper: A true lifesaver! It prevents sticking, keeps your surfaces clean, and makes removing the solidified candy filling incredibly easy. It will peel right off!
- Sharp Knife: Essential for neatly cutting the chilled filling into uniform pieces.
- Airtight Container: For storing your finished Cool Whip Candies in the refrigerator or freezer, keeping them fresh and delicious.
What to Serve With Cool Whip Candy
While these Cool Whip Candies are absolutely delightful on their own, pairing them with the right accompaniments can elevate the experience even further. I feel like ice cream is a classic standby for desserts like this, and for good reason, right? Who doesn’t love the timeless combination of rich chocolate with a creamy frozen treat?
- Extra Whipped Cream: Because when it comes to creamy indulgence, why not double down? A dollop of fresh whipped cream alongside these candies adds another layer of luxuriousness.
- A Scoop of Ice Cream: A classic scoop of vanilla ice cream, or even a complementary flavor like mint chip or coffee ice cream, pairs perfectly with these chocolate treats.
- Coffee or Tea: For the adults, a hot cup of freshly brewed coffee or a soothing mug of tea provides the ideal balance to the sweetness of the candy. It’s the perfect indulgent pick-me-up or after-dinner delight.
- A Glass of Milk: For a simpler, nostalgic pairing, a cold glass of milk cuts through the richness and makes these candies feel like an extra special childhood treat.
Why You Should Make This Cool Whip Candy
Once you see all your perfectly shaped, chocolate-coated candies lined up on the parchment paper, I think you’ll be incredibly impressed with your culinary prowess. And the best part? It all comes with such minimal effort! This recipe is a must-try for many reasons:
- Effortless Creation: Forget about candy thermometers, complex techniques, or any special, expensive equipment. This recipe is designed for ease, making homemade candy accessible to everyone.
- Deliciously Irresistible: These homemade bars are so incredibly good, with their airy texture and rich chocolate flavor, that you’ll quickly forget all about the convenience of store-bought versions.
- Incredibly Versatile: This recipe serves as a fantastic base for endless customization. Feel free to experiment with different flavor extracts, a variety of chocolate types (like white chocolate or even flavored melting wafers), or even a touch of spice.
- A Guaranteed Crowd-Pleaser: Whether you’re preparing for your next party, looking for a special treat during the holiday season, or simply believe you deserve a little indulgence, these candies are sure to be a hit with everyone who tries them.
Variations and Creative Add-Ins for Cool Whip Candy
This recipe is a fantastic canvas for your creativity! Don’t be shy about experimenting with different extracts, adding a sprinkle of garnish, or introducing new textures to truly make these candies your own. Go wild and discover your new favorite flavor combinations!
- Peppermint Cool Whip Candy: (My Personal Favorite!) For a festive and refreshing twist, add a few drops of high-quality peppermint extract to your Cool Whip and melted milk chocolate mixture. The cool mint with the rich chocolate is an unbeatable combination, especially perfect for the holiday season.
- Peanut Butter Swirl: Layer in some creamy peanut butter by swirling it through the chocolate-Cool Whip mixture before chilling, or create a thin peanut butter layer in the middle of your filling. This adds a delightful nutty flavor and a different kind of creaminess.
- White Chocolate Delight: For a lighter, sweeter flavor profile, switch out either the milk chocolate or the semi-sweet chocolate for white chocolate. You could even use white chocolate for the filling and dark chocolate for the coating, or vice-versa, for a striking visual contrast.
- Nutty Crunch: Incorporate some finely chopped almonds, walnuts, pecans, or even peanuts into the filling or sprinkle them over the wet chocolate coating for an added layer of delightful crunch and flavor.
- Espresso Kick: Add a teaspoon of espresso powder to your melted chocolate for a sophisticated mocha flavor that enhances the chocolate’s depth.
- Zesty Citrus: A touch of orange or lemon zest folded into the Cool Whip mixture can add a bright, refreshing counterpoint to the rich chocolate.
- Coconut Dream: Mix in some shredded coconut into the filling or sprinkle it on top of the melted chocolate for a tropical twist.
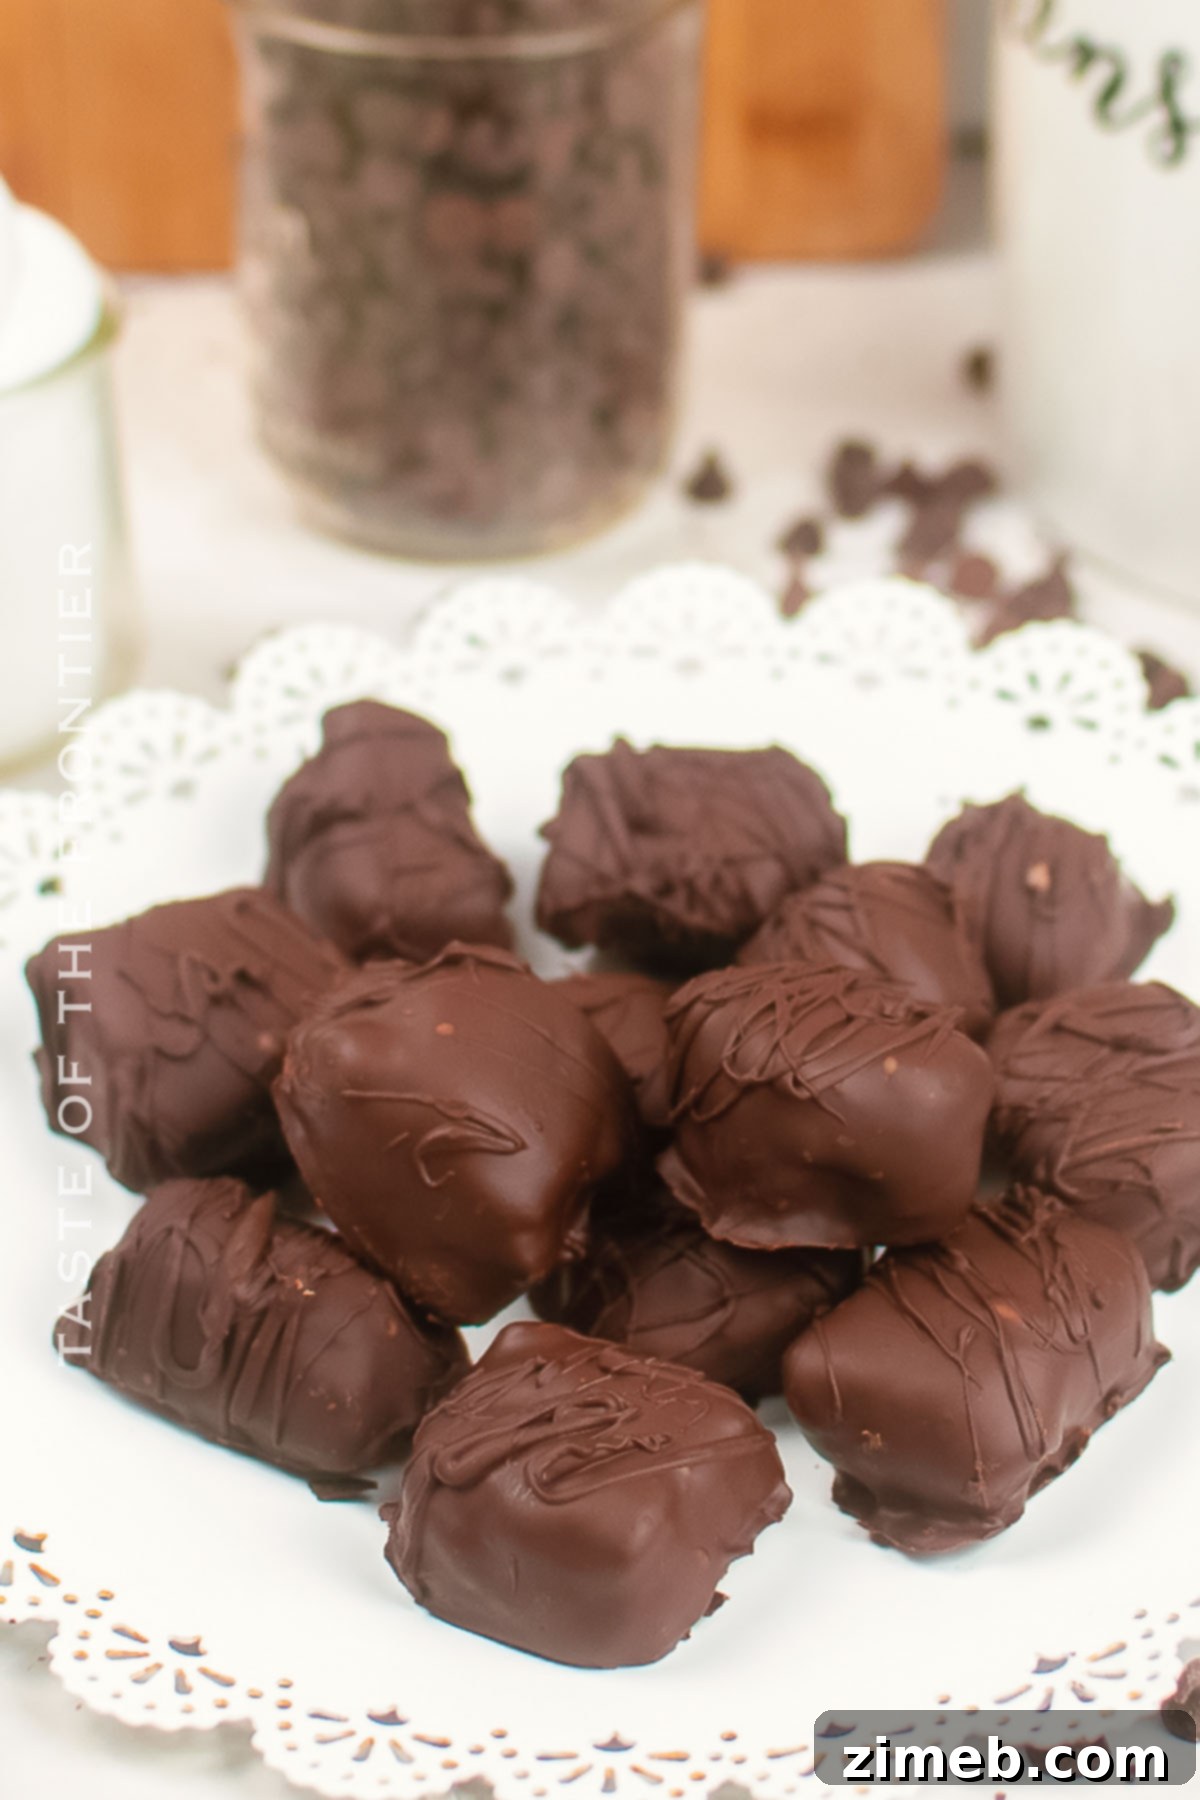
If you loved discovering this easy homemade candy recipe, you’re absolutely going to adore these other fantastic copycat treats and simple sweet recipes. Please click each link below to find the easy, printable recipe and continue your journey into homemade deliciousness!
Check out this recipe
Check out this recipe

Check out this recipe
Check out this recipe
Check out this recipe

More Great Homemade Candy Recipes
If you’re eager to explore more delightful homemade candy creations, look no further! These recipes are sure to satisfy any sweet tooth:
Divinity Candy – A classic, airy, and melt-in-your-mouth Southern confection.
Easy Homemade Gumdrops – Chewy, fruity, and incredibly fun to make with simple ingredients.
Microwave Peanut Brittle – A quick and crunchy treat that’s surprisingly easy to make in the microwave.
Best Homemade Caramel Recipe – Rich, buttery, and utterly irresistible, perfect for various uses or enjoying on its own.
If you’ve fallen in love with this recipe for homemade Cool Whip Candy as much as I have, please consider leaving a five-star review below. Your feedback means the world to me and helps other dessert enthusiasts discover this amazing treat! Also, don’t forget to help me spread the sweet joy by sharing this recipe on Facebook and Pinterest!
CONNECT WITH YUMMI HAUS!
Be sure to follow me on my social media channels, so you never miss a post or a delicious new recipe!
Substack, FB, Pinterest, IG, Email Subscription


Rate this Recipe
Cool Whip Candy
Ingredients
- 2 cups milk chocolate chips
- 2 cups semi-sweet chocolate chips
- 4 ounces cool whip – whipped topping – thawed – 1/2 tub
Instructions
-
Melt the milk chocolate chips in a microwave-safe dish for 45 seconds. Stir until smooth and then melt for 20 seconds at a time until completely smooth. Let cool for 10 minutes.
-
In a mixing bowl, combine the cool whip and melted milk chocolate. Work the ingredients together with a wooden spoon or firm rubber spatula until fully incorporated. Some chunks are ok, you can choose to work the mixture until it reaches your desired consistency.
-
Pour the mixture into a dish and press it out into an even layer, to your desired thickness.
-
Place it in the freezer for 20 minutes.
-
Remove it from the freezer, and carefully remove the filling from the dish in one piece.
-
Cut the filling into 16 pieces.
-
Melt the semi-sweet chocolate chips the same way you did the milk chocolate.
-
Dip the pieces of filling into the semi-sweet chocolate.
-
Lay flat on a piece of parchment and the drizzle remaining chocolate over each bar.
-
Allow the chocolate to solidify before serving or transferring to an airtight container.
Equipment
-
microwave-safe dish
Nutrition
Nutritional information for the recipe is provided as a courtesy and is approximate. Please double-check with your own dietary calculator for the best accuracy. We at Yummi Haus cannot guarantee the accuracy of the nutritional information given for any recipe on this site.