
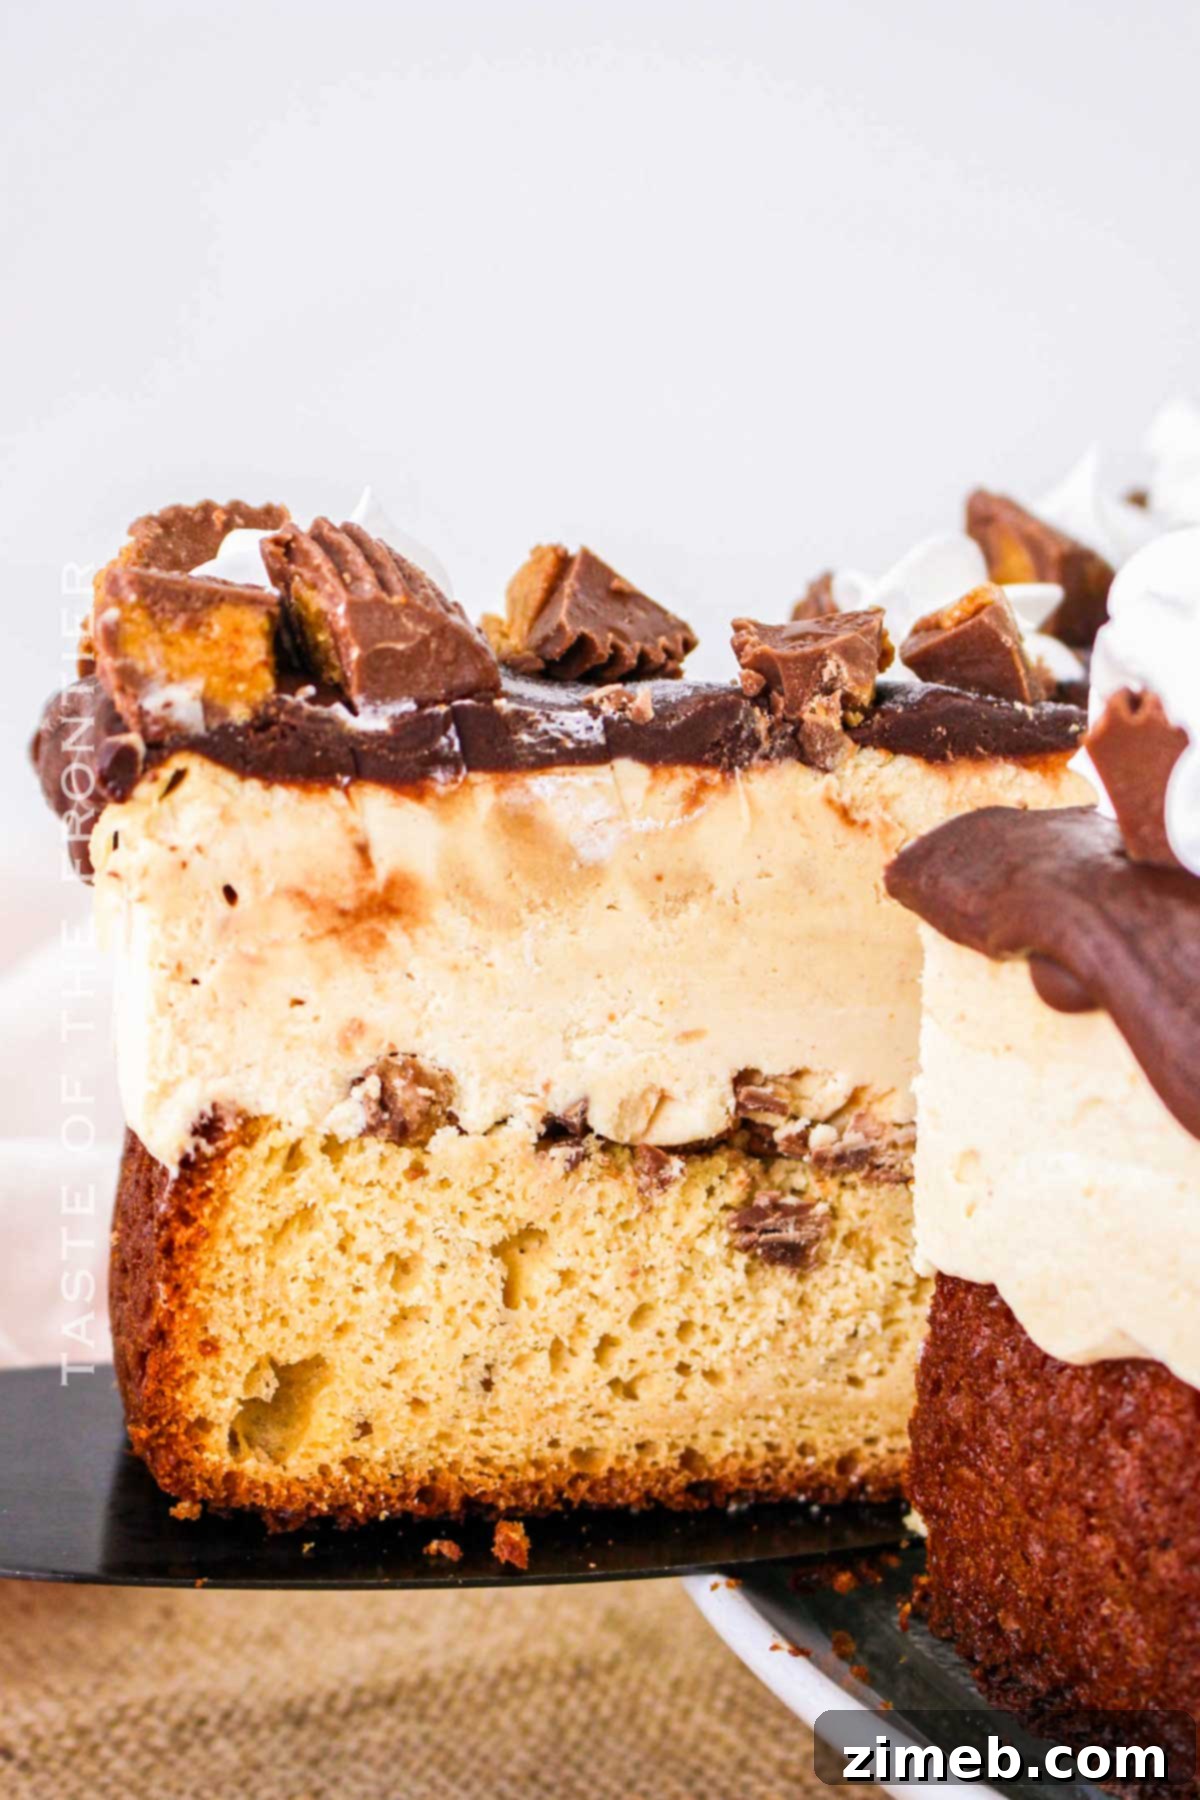
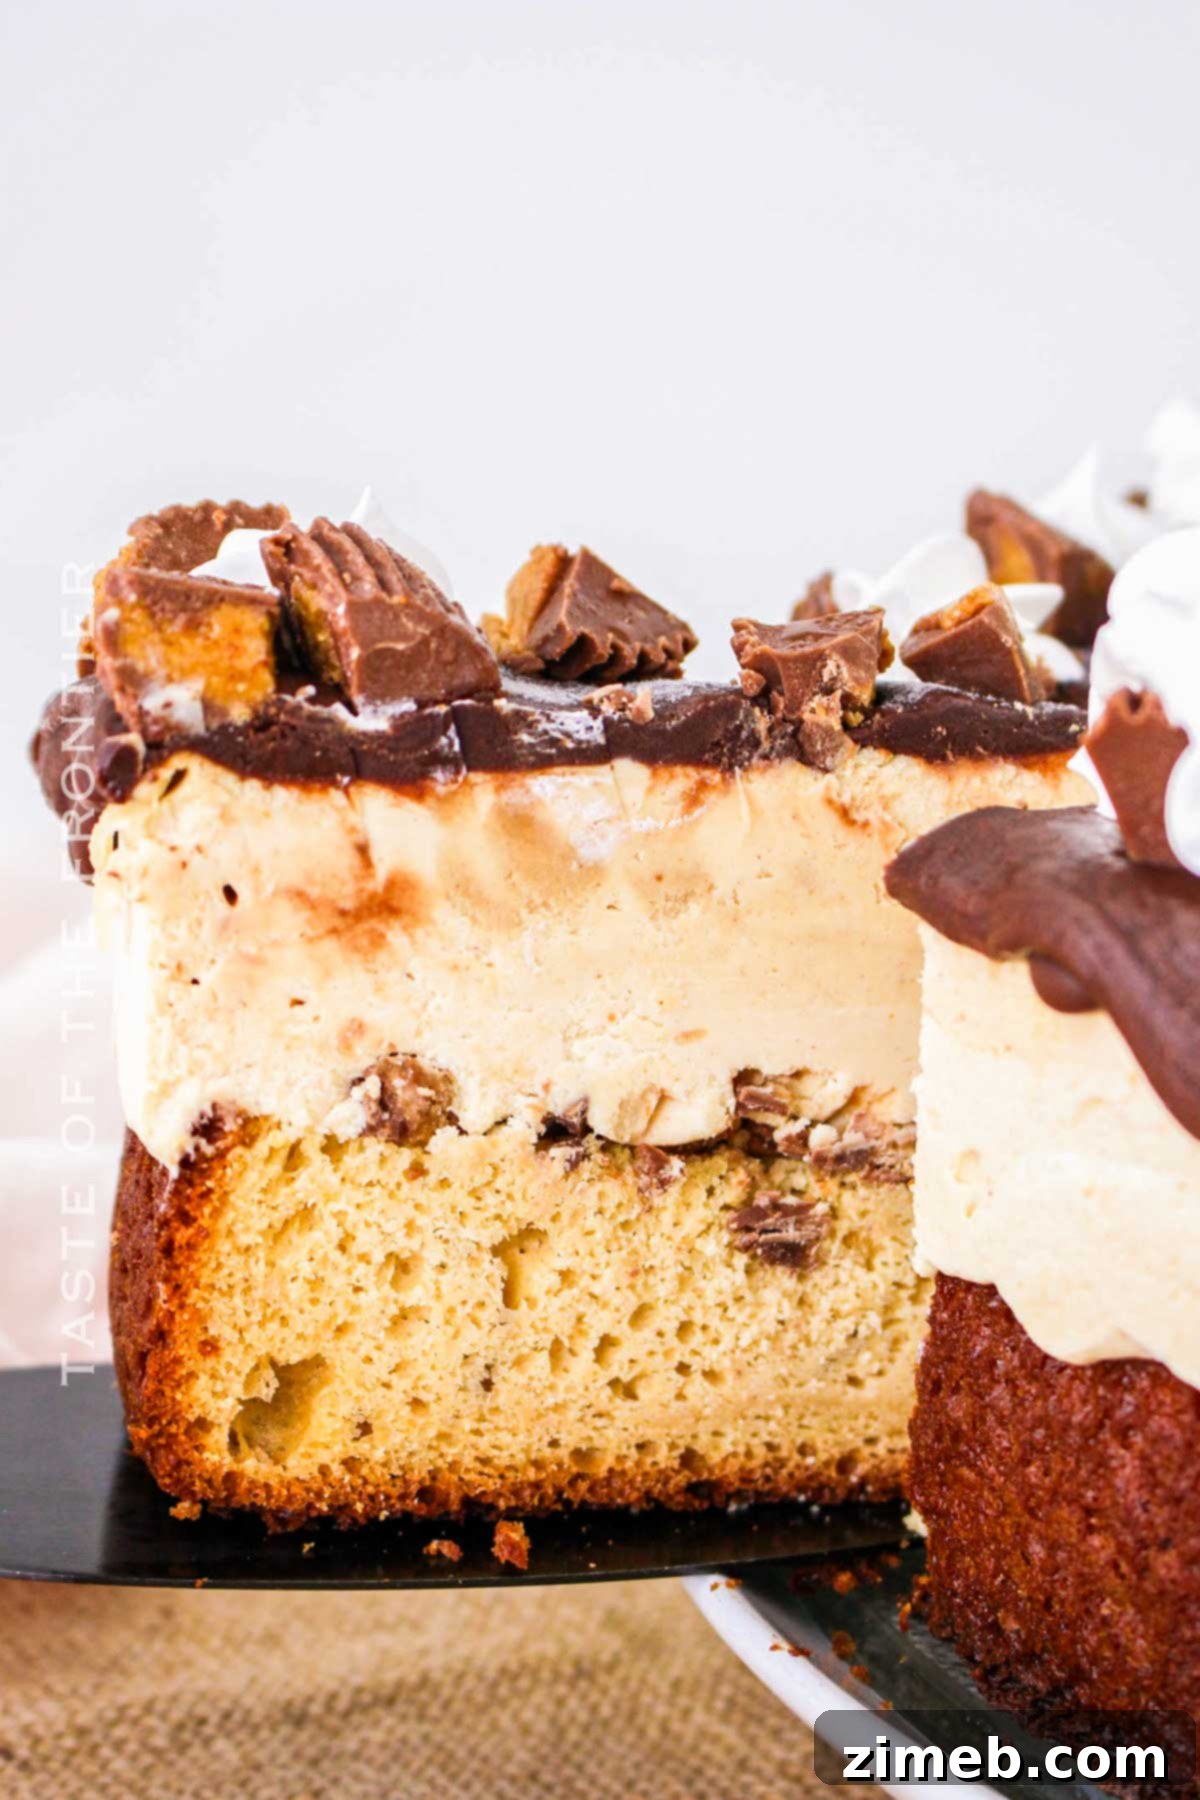
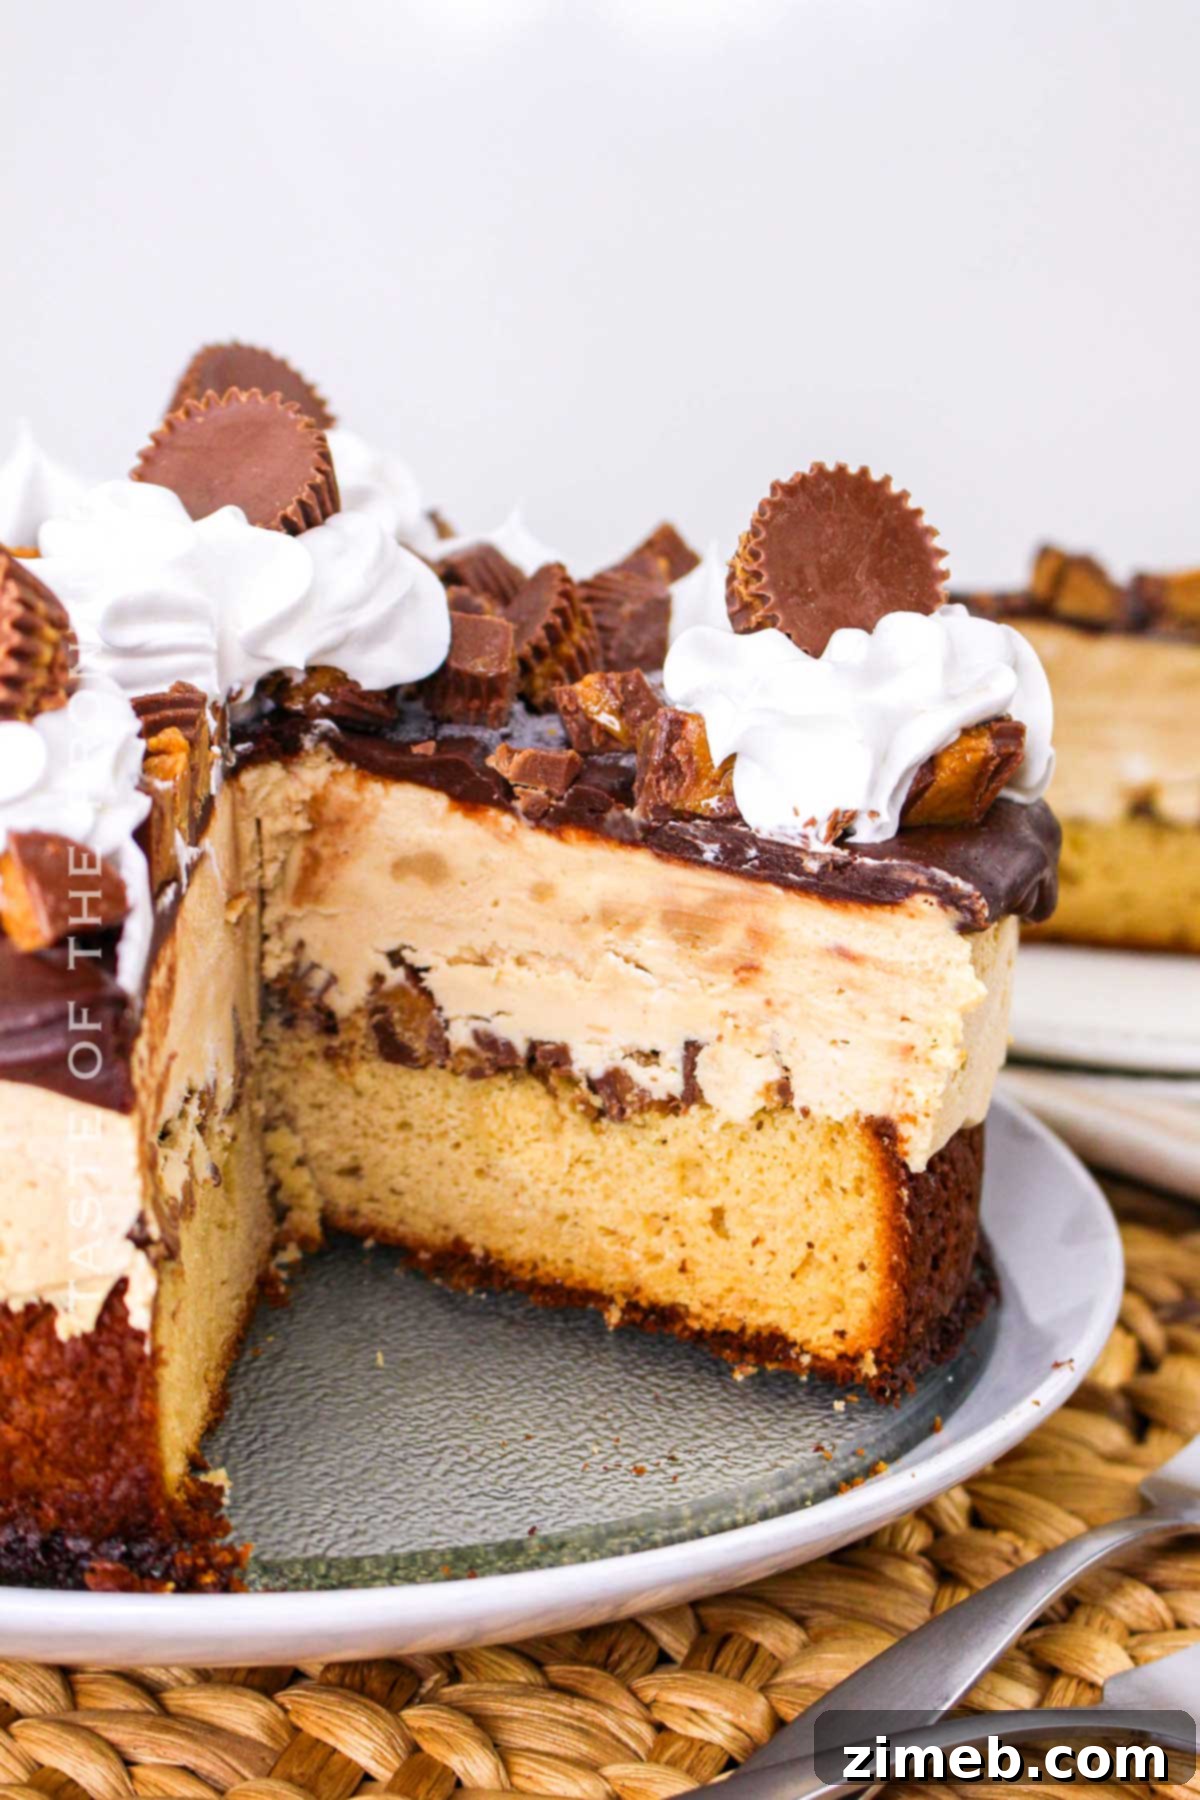
Indulge in the ultimate dessert experience with this unbelievably decadent Peanut Butter Ice Cream Cake. Imagine layers of moist, fluffy peanut butter cake, generously studded with chopped peanut butter cups, perfectly complemented by a creamy, homemade peanut butter ice cream layer. All of this gloriousness is then enrobed in a rich, velvety chocolate ganache, creating a symphony of flavors and textures that will captivate your taste buds. This isn’t just a dessert; it’s a celebration of all things sweet and utterly irresistible.
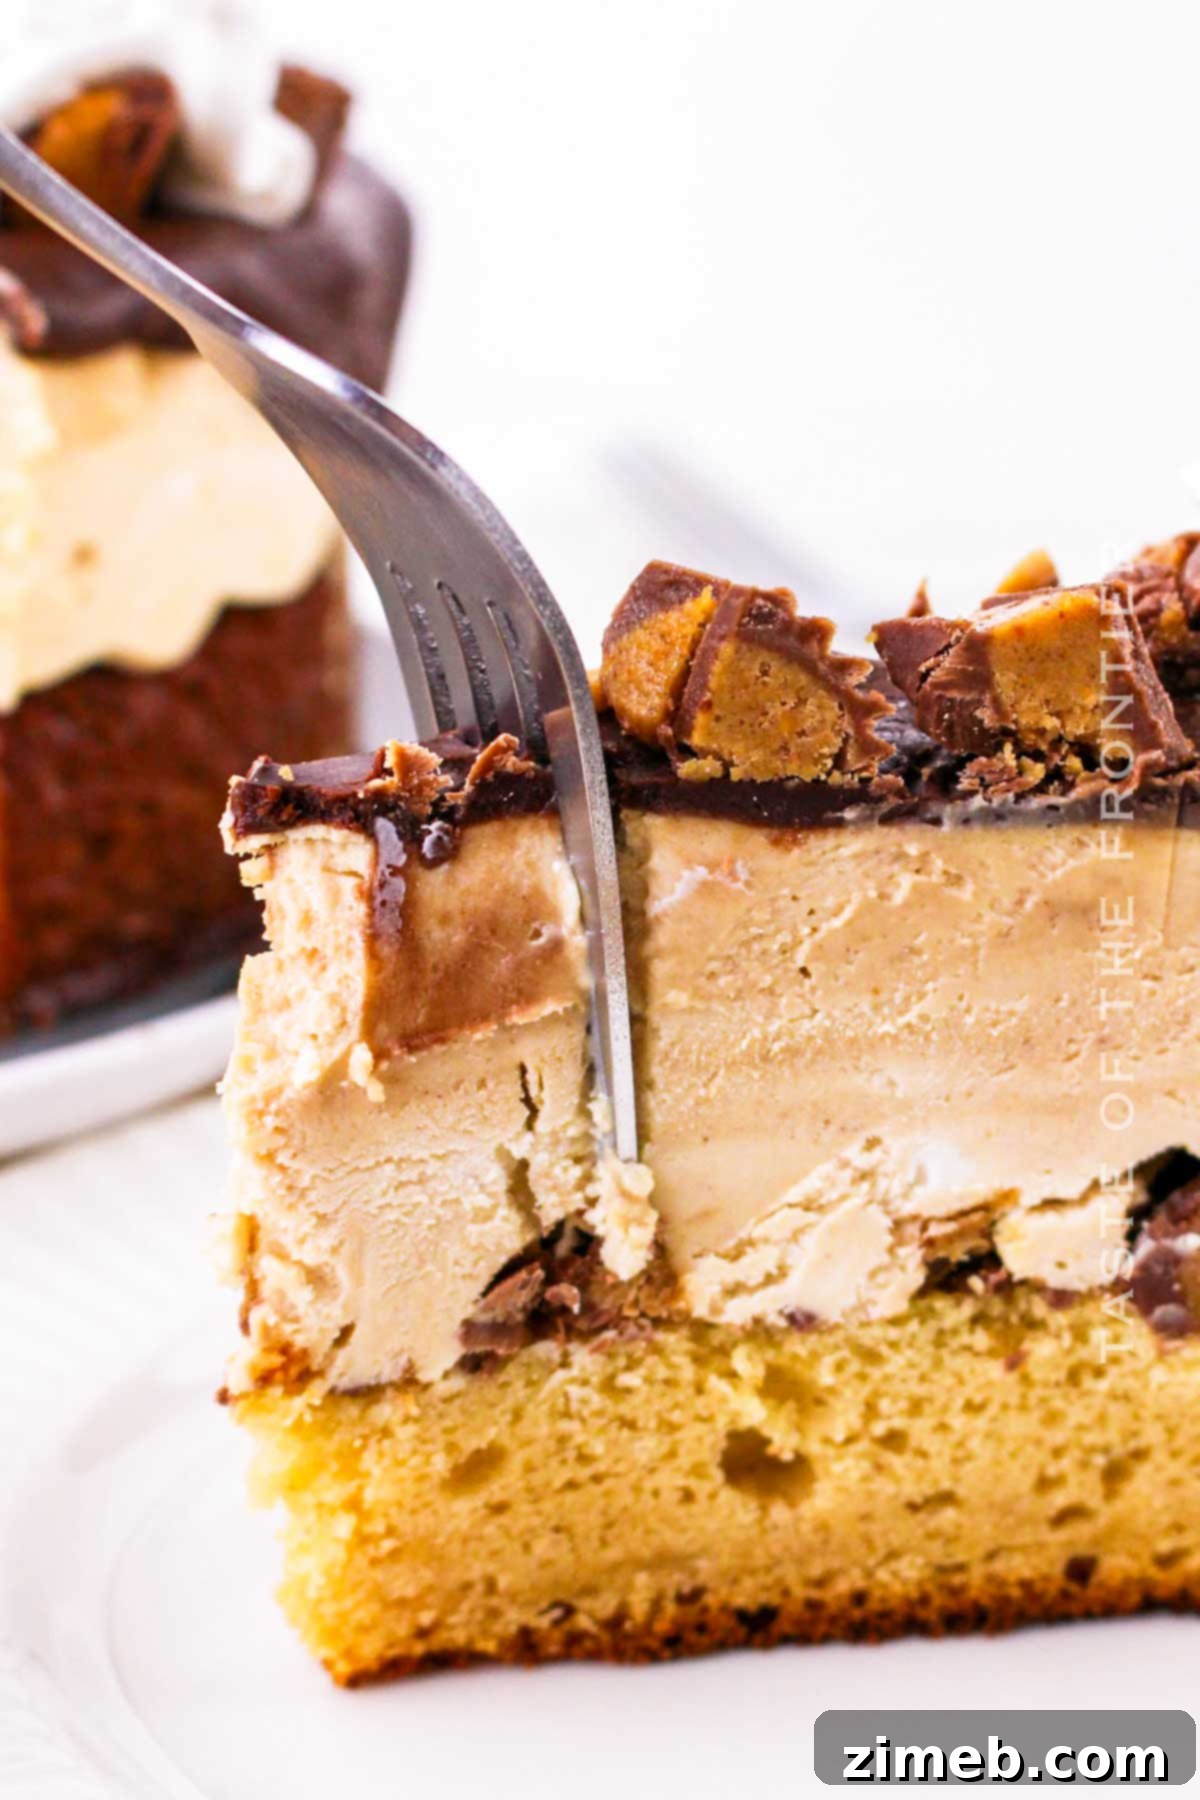
This show-stopping Peanut Butter Cup Ice Cream Cake is a true masterpiece of confectionery, featuring a harmonious blend of beloved flavors. Each bite delivers a delightful contrast: the tender crumb of the peanut butter cake, the cool creaminess of the no-churn ice cream, and the luxurious smoothness of the chocolate topping, all punctuated by delightful chunks of real peanut butter cups. It’s an unforgettable treat designed to impress, perfect for any special gathering or simply to elevate an ordinary day into something extraordinary.
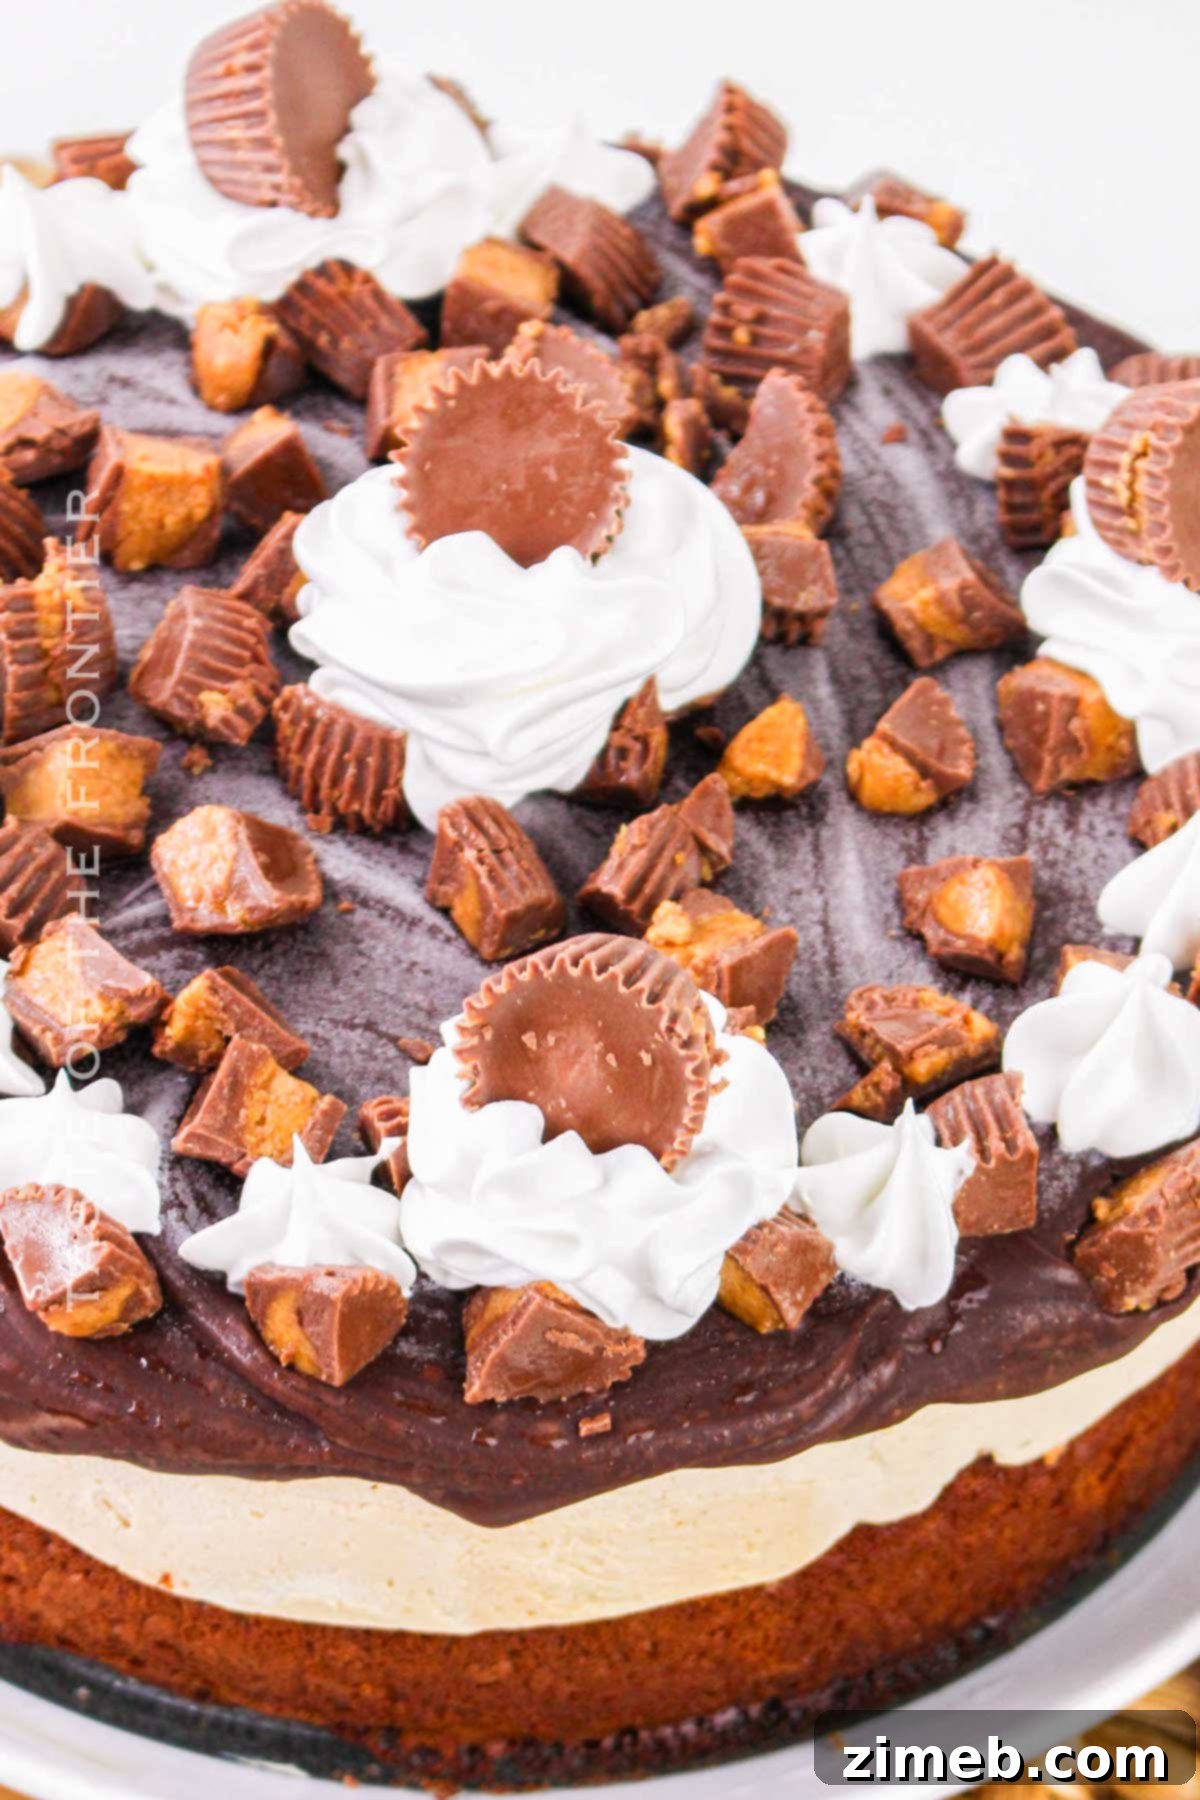
To truly crown this magnificent dessert, it’s finished with a cloud-like whipped topping and an extra scattering of peanut butter cups. Whether you’re planning a grand birthday celebration, a festive holiday meal, or simply craving a refreshing dessert on a warm summer evening, this Peanut Butter Cup Ice Cream Cake is a sophisticated yet fun choice that promises to be a crowd-pleaser. It effortlessly combines the beloved flavors of peanut butter and chocolate into a single, sensational creation.
Why You’ll Adore This Peanut Butter Ice Cream Cake Recipe
This isn’t just another dessert recipe; it’s an experience waiting to happen. Here’s why this Peanut Butter Cup Ice Cream Cake will become your new go-to:
- No-Churn Ice Cream for Ultimate Convenience: Say goodbye to expensive ice cream makers and lengthy churning processes! This recipe utilizes a brilliant no-churn method for the ice cream layer, making it incredibly accessible for home bakers of all skill levels. You get to enjoy the superior taste of homemade ice cream without any specialized equipment, ensuring a rich and creamy texture every time. Plus, ditching store-bought ice cream means you control the ingredients and achieve a truly bespoke flavor profile.
- A Match Made in Dessert Heaven: This cake brings together the undeniable magic of peanut butter, the comforting indulgence of cake, the refreshing chill of ice cream, and the luxurious touch of chocolate. Each component works in perfect harmony, creating an irresistible treat. The classic combination of peanut butter and chocolate is elevated further by the cool, creamy ice cream and the moist cake base, resulting in a well-balanced flavor experience that’s never overwhelming, just perfectly decadent.
- Surprisingly Simple to Prepare: Don’t let the multi-layered presentation fool you! While it might sound intimidating to bake a cake, make ice cream from scratch, and assemble it all, this recipe is actually very straightforward. With a manageable prep time of just 30 minutes, much of the process involves waiting for layers to freeze, making it a surprisingly easy project even for novice bakers. The steps are clearly defined, ensuring a smooth and enjoyable baking journey.
- Ideal for Make-Ahead Planning: Planning a party or a family gathering? This ice cream cake needs proper chilling time, making it an excellent candidate for advance preparation. You can assemble it 1-2 days before your event, allowing the layers to set perfectly and the flavors to meld beautifully. This not only saves you precious time on the day of the celebration but also ensures a perfectly firm and delicious cake ready to be sliced and enjoyed by 8 to 10 delighted guests. Prepare for rave reviews!
- Budget-Friendly Homemade Indulgence: Creating homemade ice cream cakes is significantly more economical than purchasing them from a specialty store. You get to enjoy premium ingredients and a superior taste without the hefty price tag. This makes it a fantastic option for family desserts or children’s birthday parties, where it’s almost guaranteed to be the star attraction on any menu.
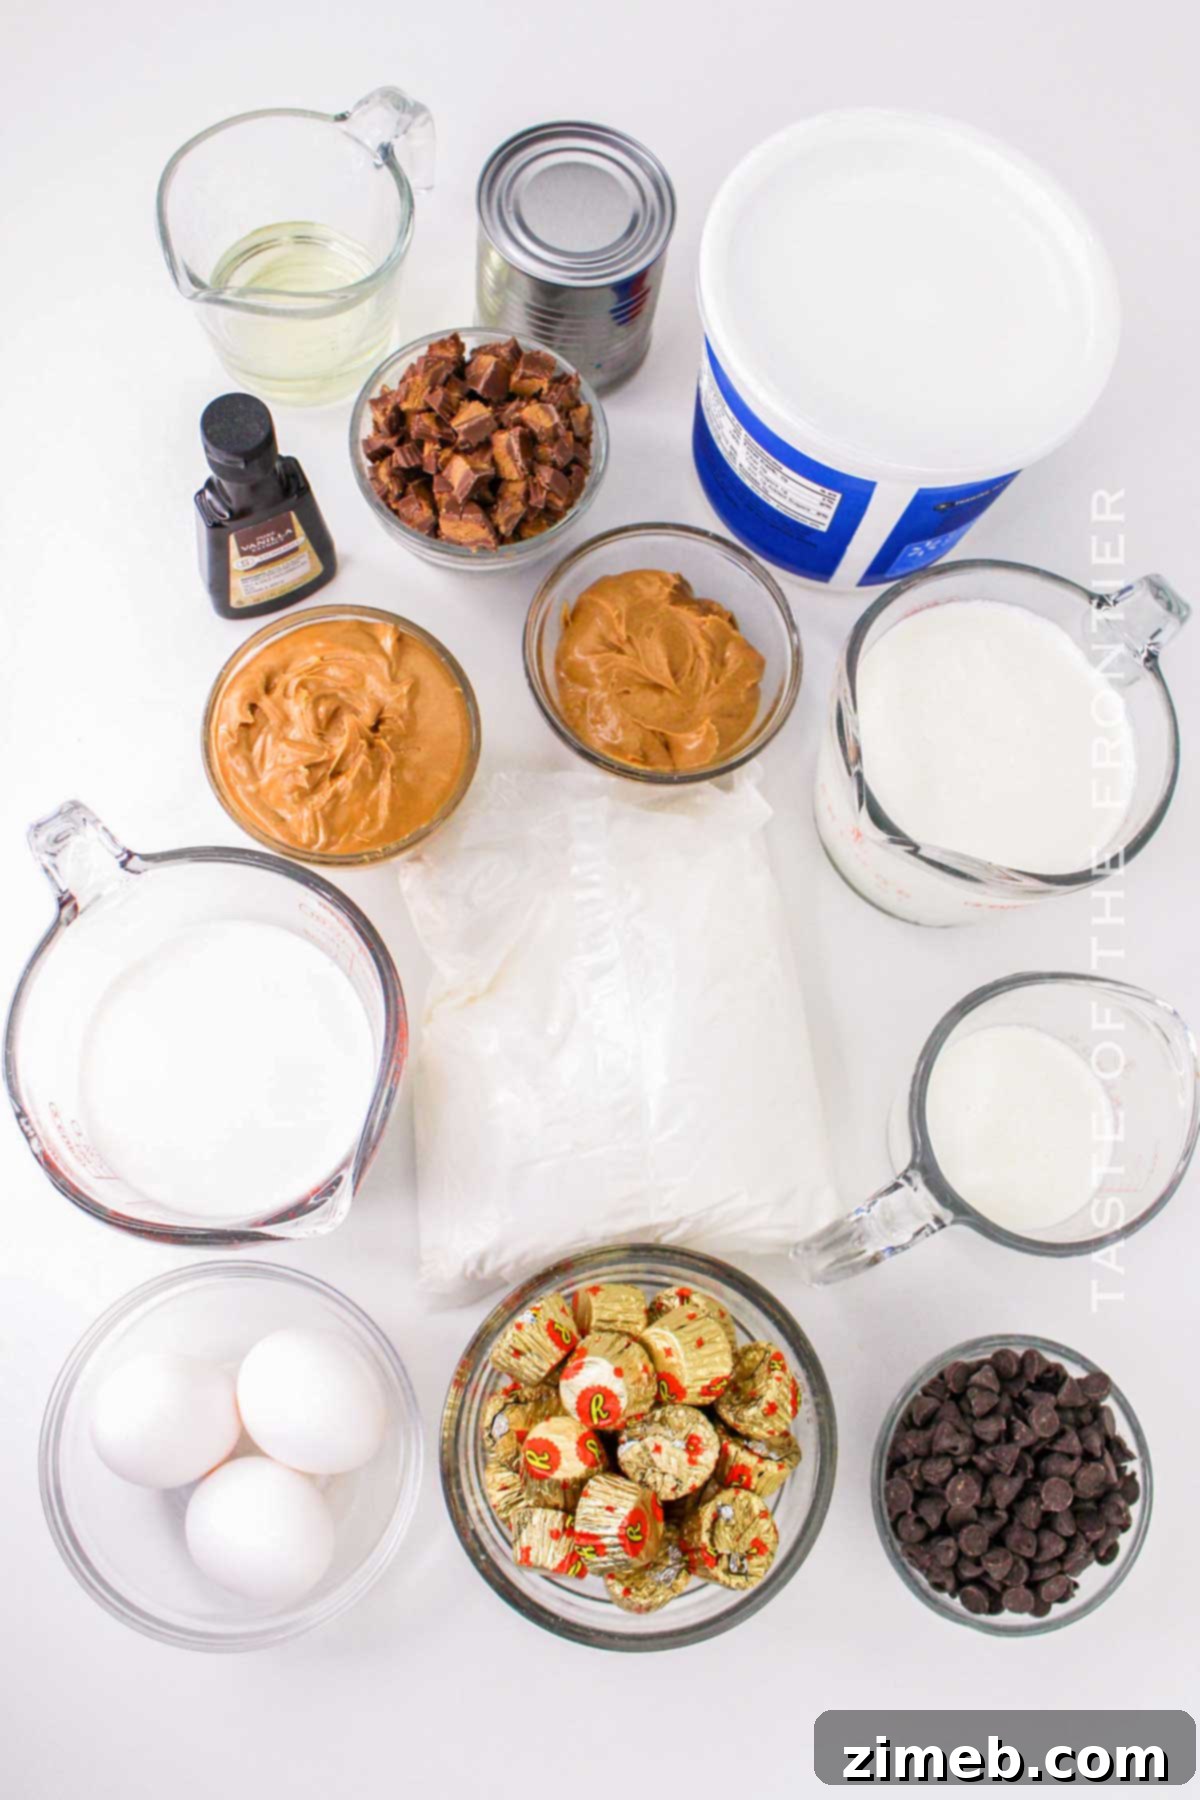
Essential Ingredients for Your Peanut Butter Ice Cream Cake
While the shopping list for this exceptional dessert might appear a little long, rest assured that all the ingredients are readily available and straightforward. We focus on creating most elements from scratch for the best flavor, utilizing a convenient cake mix as a clever shortcut to save you time without compromising on the delightful taste.
For the Moist Peanut Butter Cake Layer
- Yellow Cake Mix: This is our secret weapon for efficiency! Using a high-quality yellow cake mix dramatically cuts down on prep time while still delivering a deliciously moist and flavorful base for our ice cream cake. If you’re feeling adventurous or want to play with flavors, easy substitutions include vanilla or even chocolate cake mixes for a richer profile. For a completely different texture, consider swapping the cake for a crushed cookie crust.
- Full-Fat Milk: Essential for adding significant moisture and richness to the boxed cake mix, ensuring your cake layer is incredibly tender and never dry. Nonfat milk tends to yield a less desirable texture in baked goods, so stick with full-fat for optimal results.
- Vegetable Oil: A key ingredient to guarantee a wonderfully moist and fluffy cake crumb. It helps keep the cake soft and tender, providing the perfect foundation for the creamy ice cream layer. Neutral oils like canola or sunflower are ideal.
- Creamy Peanut Butter (or Crunchy for Texture): This is where the magic happens! Opt for creamy peanut butter for a smooth integration of flavor into the cake batter. If you love an extra textural element, a crunchy variety works beautifully too. It’s crucial to avoid natural peanut butter brands, as their oil separation can lead to a grainy or dry texture once baked.
- Large Eggs: Eggs serve multiple purposes here: they enhance the overall flavor, contribute to the cake’s structure, and add binding, ensuring a well-formed and stable cake layer that can withstand the freezing process.
- Chopped Peanut Butter Cups: Approximately 1 cup of chopped peanut butter cups is folded into the cake batter for bursts of peanut butter and chocolate in every bite. Reese’s peanut butter cups are arguably the best choice for this task, lending their iconic flavor and making this cake truly live up to its “Reese’s” potential.
For the Velvety Peanut Butter Ice Cream Layer
This is a wonderfully simple ice cream recipe that yields incredibly rich, homemade vanilla ice cream with just four core ingredients:
- Heavy Cream: The foundation of our no-churn ice cream. When whipped, heavy cream creates the airy, stable base that gives homemade ice cream its luxurious texture. Keep some extra on hand if you plan to make a homemade whipped cream topping.
- Sweetened Condensed Milk: This “secret ingredient” is the key to achieving the perfect sweetness and velvety smoothness in our homemade ice cream without needing an ice cream machine. It provides the necessary sugar and prevents ice crystal formation. Unsweetened condensed milk can be used, but you may need to adjust sweetness with a little powdered sugar.
- Creamy Peanut Butter: Just like with the cake layer, creamy peanut butter is essential here for infusing that unmistakable flavor. Again, crunchy peanut butter is a valid and delightful alternative if you desire added texture.
- Vanilla Extract: A splash of vanilla extract elevates the overall flavor profile, adding a warm, aromatic depth that beautifully complements the rich peanut butter and sweet cream.
For the Irresistible Chocolate Ganache Topping
- Semi-Sweet or Milk Chocolate Chips: The choice is yours! Semi-sweet chocolate provides a balanced sweetness and deep chocolate flavor, while milk chocolate will yield a milder, creamier ganache. These chips, when combined with heavy cream, will melt into a luscious, pourable ganache.
- Heavy Cream: The second essential component for ganache. When heated and poured over chocolate, it creates a stable emulsion, resulting in a glossy, smooth, and utterly delicious topping.
- Chopped Peanut Butter Cups: These are added to the *cooled* ganache for an extra textural surprise and a visual pop. We don’t melt them; rather, they provide delightful little pockets of peanut butter and chocolate flavor within the ganache.
For Decoration and Extra Flair
- Whipped Topping: Whether you prefer the convenience of store-bought options like Cool Whip or the fresh taste of homemade whipped cream, this adds a beautiful, airy finish. For homemade, simply whip heavy cream with a touch of powdered sugar until soft or stiff peaks form. Remember to thaw any frozen whipped topping beforehand.
- Additional Peanut Butter Cups, M&Ms, or Reese’s Pieces: These are your final flourish! Scatter them generously over the whipped topping or directly on the ganache for an extra visual appeal and an intensified burst of flavor and texture. Feel free to mix and match for a personalized touch.
Essential Kitchen Equipment for Your Ice Cream Cake
Having the right tools can make all the difference in ensuring a smooth and successful baking experience. Here’s what you’ll need:
- A 9-inch springform cake pan: This specialized pan is truly invaluable for ice cream cakes. Its removable sides allow for incredibly easy release of the frozen cake without damaging its delicate layers, and it stores exceptionally well in the freezer.
- Hand or stand mixer: Whether you prefer the control of a hand mixer or the convenience of a stand mixer, this tool is crucial for effortlessly whipping heavy cream to stiff peaks and mixing your cake batter until perfectly smooth.
- Offset spatula: An offset spatula with its angled blade is your best friend for smoothly and evenly spreading the ice cream and ganache layers. It allows for precise application and helps achieve that professional, polished finish.
Crafting Your Peanut Butter Cups Ice Cream Cake: A Step-by-Step Guide
Creating this magnificent ice cream cake is simpler than you might imagine, unfolding in distinct layers. The key to success lies in patience and ensuring each layer is properly frozen before proceeding to the next. This ensures structural integrity and a beautiful presentation.
First Layer: The Perfect Peanut Butter Cake Base
- Begin by preheating your oven to 350°F (175°C). Prepare your 9-inch springform cake pan by greasing it thoroughly and lining the bottom with parchment paper. This crucial step prevents sticking and ensures an easy release later.
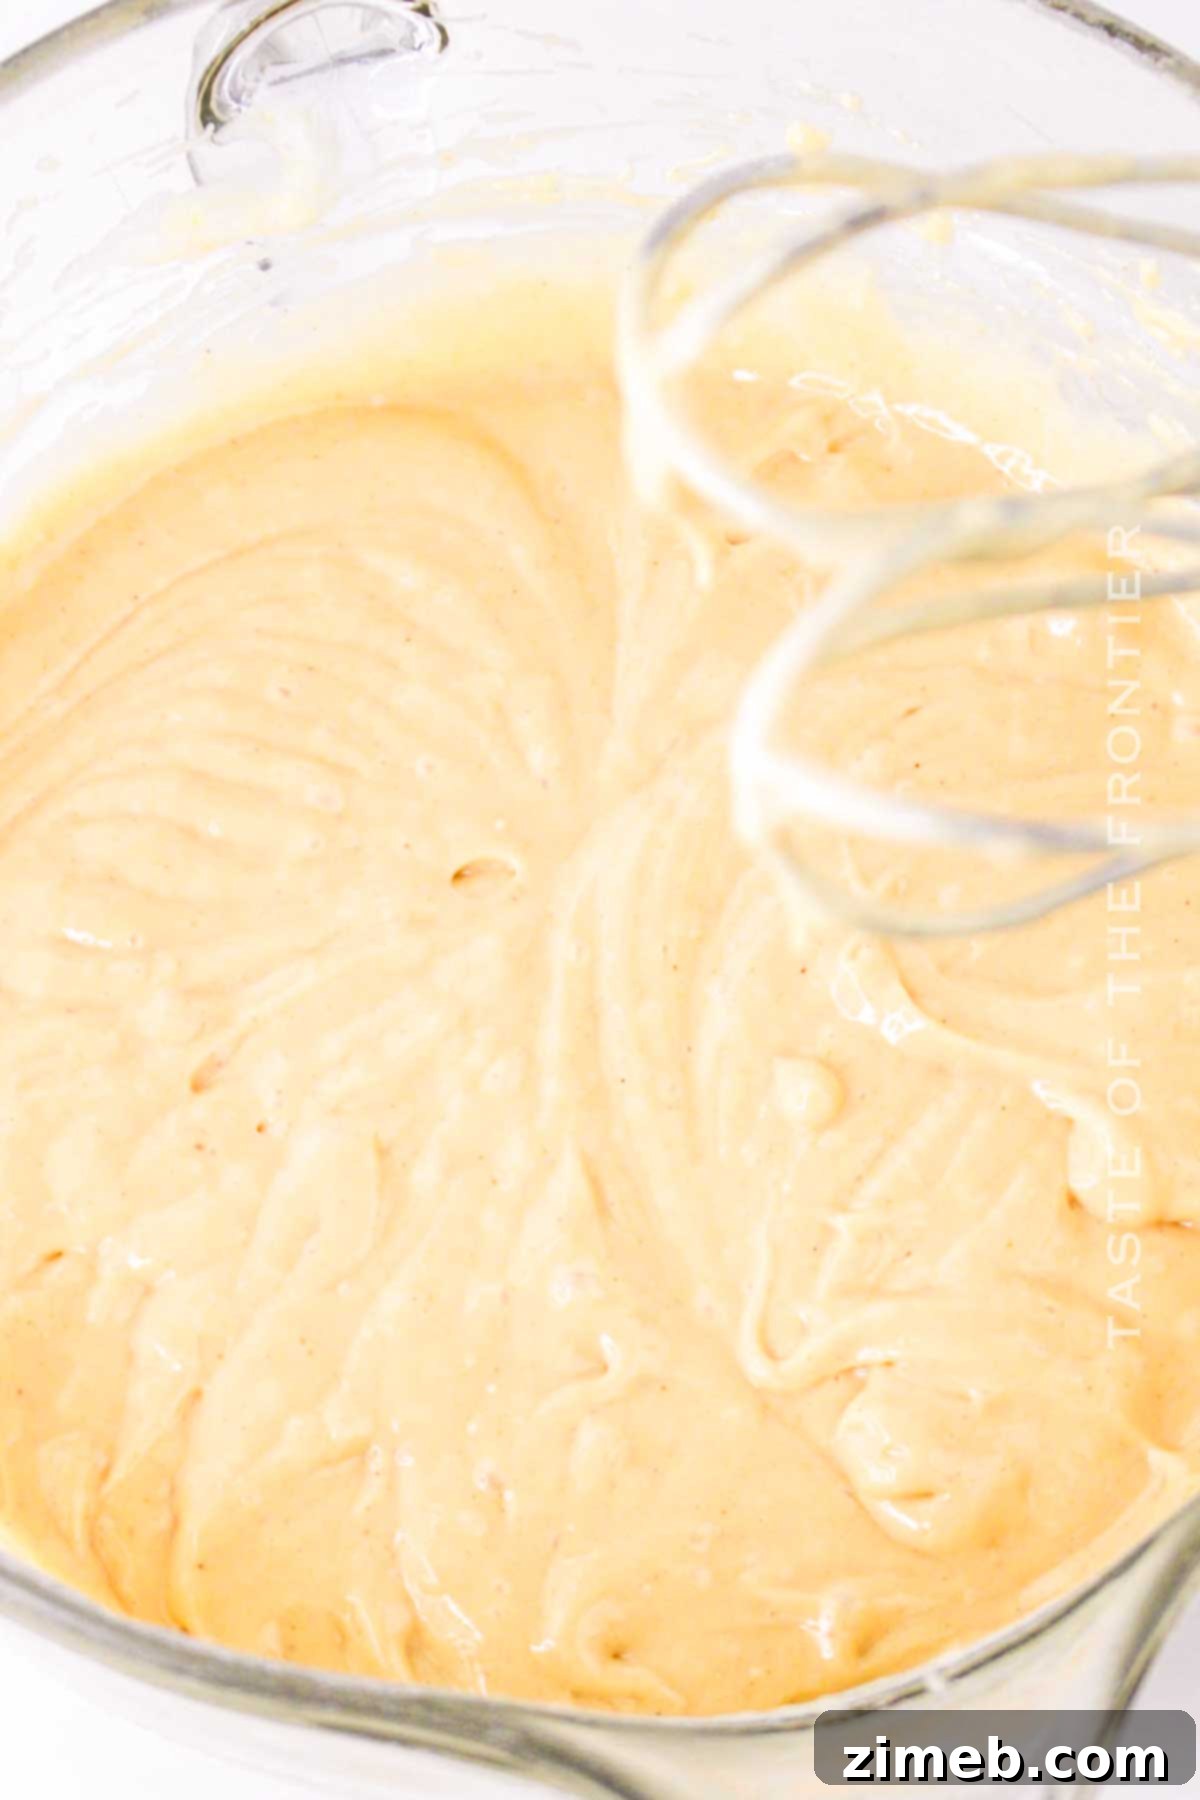
- In a large mixing bowl, combine the yellow cake mix, milk, vegetable oil, creamy peanut butter, and large eggs.
- Using your hand or stand mixer, beat the ingredients on low speed for 30 seconds to moisten everything. Then, increase the speed to medium and continue beating for an additional 60-90 seconds. Make sure to scrape down the sides of the bowl periodically to incorporate all ingredients fully and achieve a smooth, lump-free batter.
- Carefully transfer the prepared batter into your greased and parchment-lined springform pan, spreading it evenly.
- Bake for 25-30 minutes. You’ll know the cake is perfectly done when a toothpick inserted into the center comes out clean or with only a few moist crumbs attached. Avoid overbaking to maintain its tender texture.
- Once baked, allow the cake to cool completely on a wire rack, which typically takes 1-2 hours. Rushing this step can lead to a crumbly cake.
- After the cake has cooled, evenly distribute the chopped peanut butter cups over its surface. This layer of candy adds extra flavor and texture. Then, place the entire cake in the freezer for at least 30 minutes to firm up before adding the ice cream layer.
Second Layer: Rich, Homemade Peanut Butter Ice Cream
- In a large, chilled mixing bowl, whip the heavy cream using your mixer until stiff peaks form. This means the cream will hold its shape when the beater is lifted.
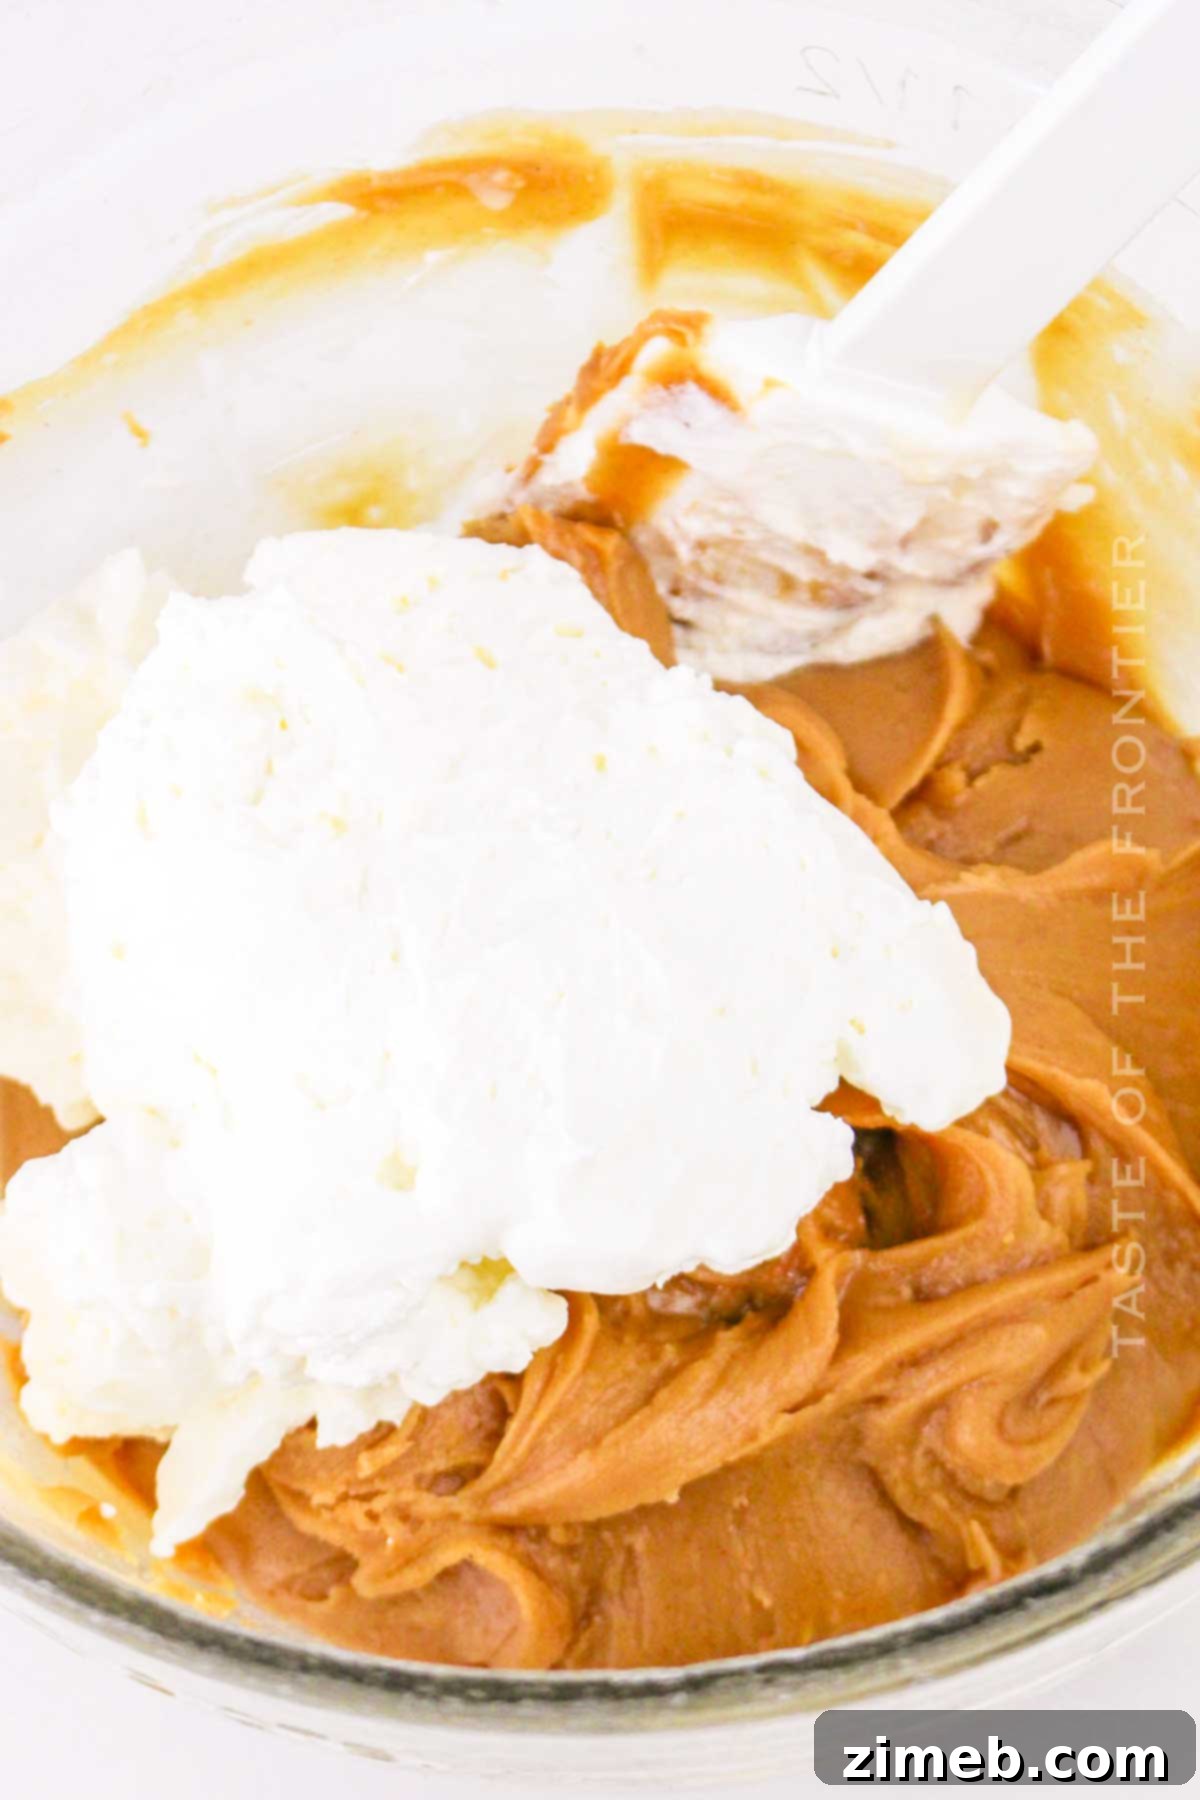
- In a separate mixing bowl, combine the sweetened condensed milk, creamy peanut butter, and vanilla extract. Mix these ingredients until they are thoroughly smooth and well combined, creating a thick, flavorful base.
- Gently fold the whipped cream into the peanut butter mixture. Use a spatula and a light hand to preserve the airiness of the whipped cream, ensuring a smooth and fluffy ice cream texture. Continue folding until just combined, avoiding overmixing.
- Carefully spread the peanut butter ice cream mixture over the chilled cake layer in the springform pan, using an offset spatula to create an even, smooth top.
- Return the cake to the freezer for a minimum of 4 hours, or ideally, overnight. This extended freezing time is crucial for the ice cream to set completely and achieve its firm, scoopable consistency.
Third Layer: The Luxurious Chocolate Ganache
- Place your chosen chocolate chips (semi-sweet or milk) into a heatproof bowl.
- In a small saucepan, gently heat the heavy cream over medium heat until it just begins to simmer, with small bubbles forming around the edges. Do not bring it to a rolling boil.
- Pour the hot cream over the chocolate chips. Let it sit undisturbed for 2 minutes; this allows the chocolate to melt without scorching. After 2 minutes, stir the mixture gently with a spatula or whisk until it becomes completely smooth and glossy, forming a rich ganache.
- Allow the ganache to cool slightly to a lukewarm temperature. It should still be pourable but not scalding hot, which could melt the ice cream.
- Carefully remove the frozen cake from the freezer. To ease removal, run a thin knife along the inner edge of the springform pan before releasing the side.
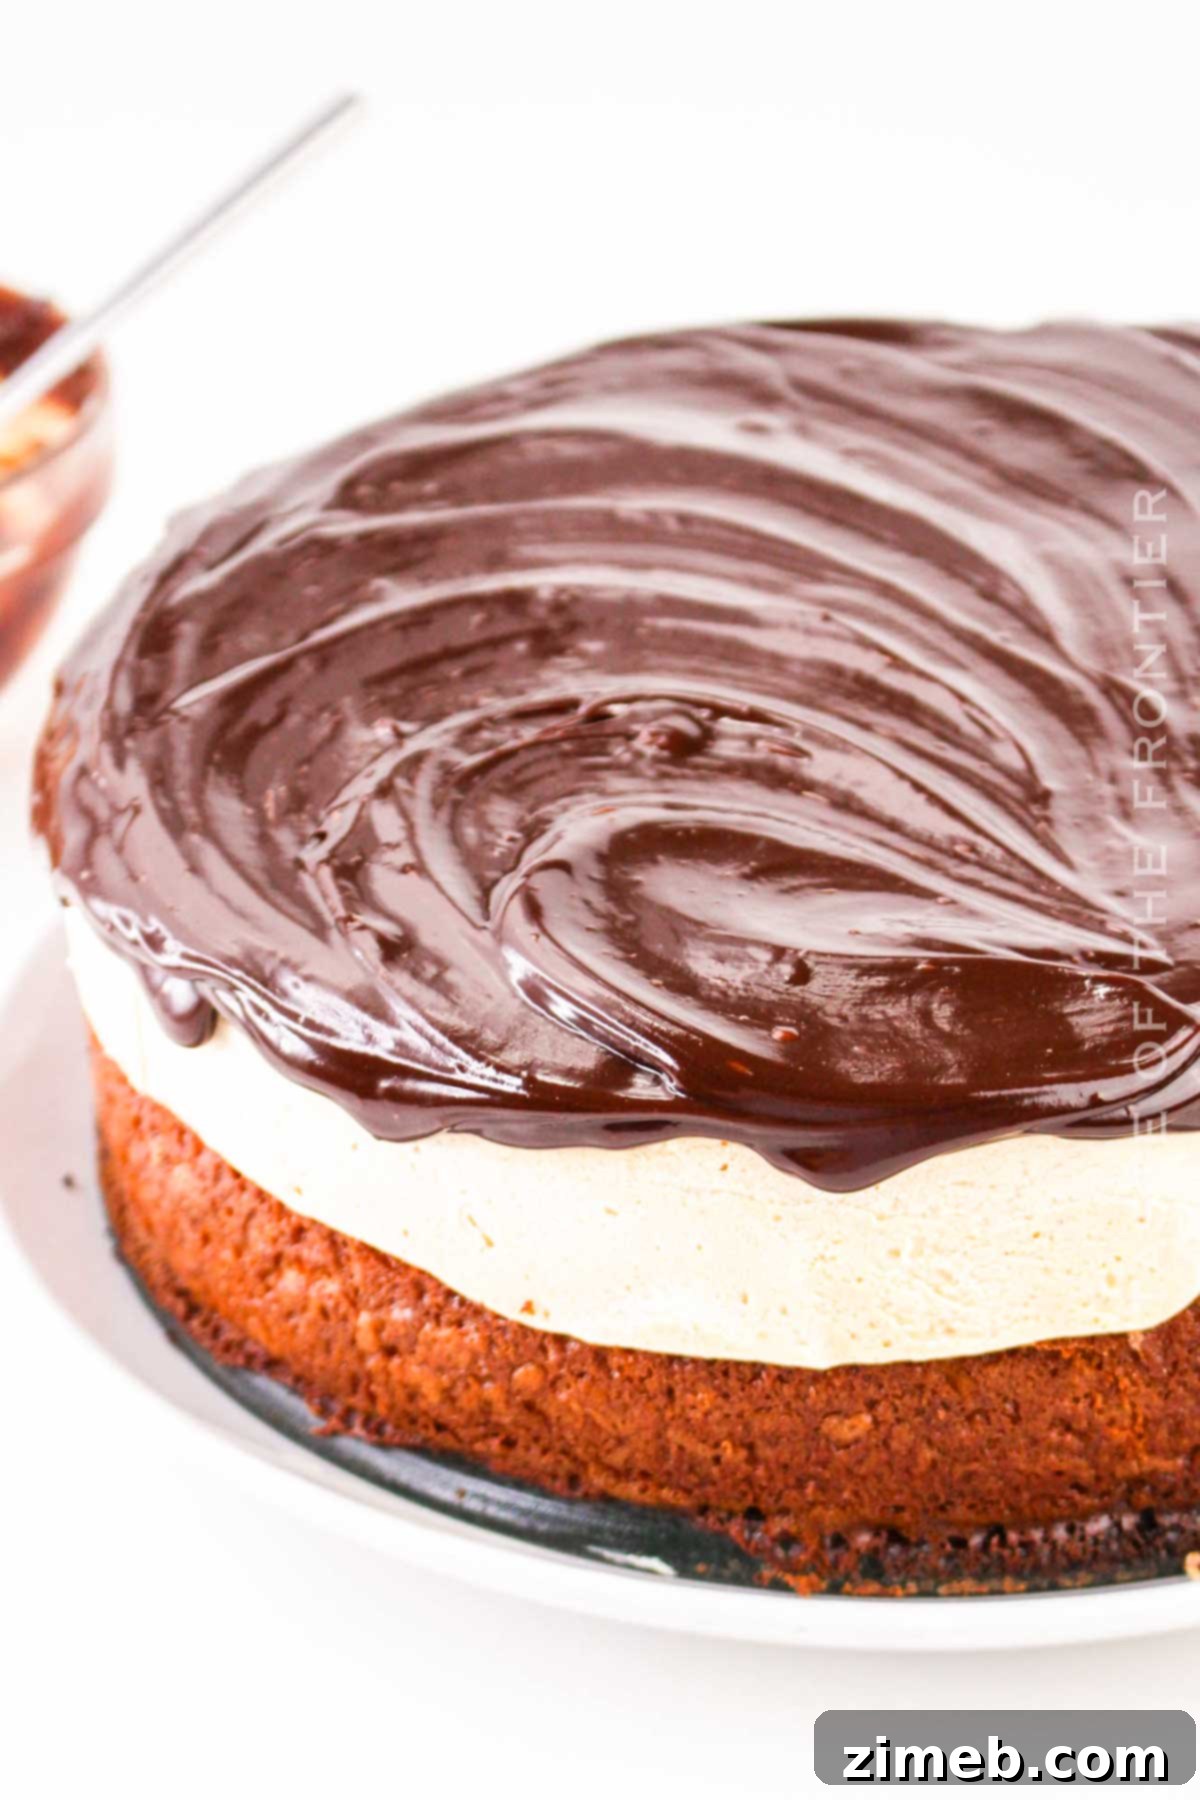
- Pour the slightly cooled ganache evenly over the frozen peanut butter ice cream layer, spreading it gently with an offset spatula if needed.
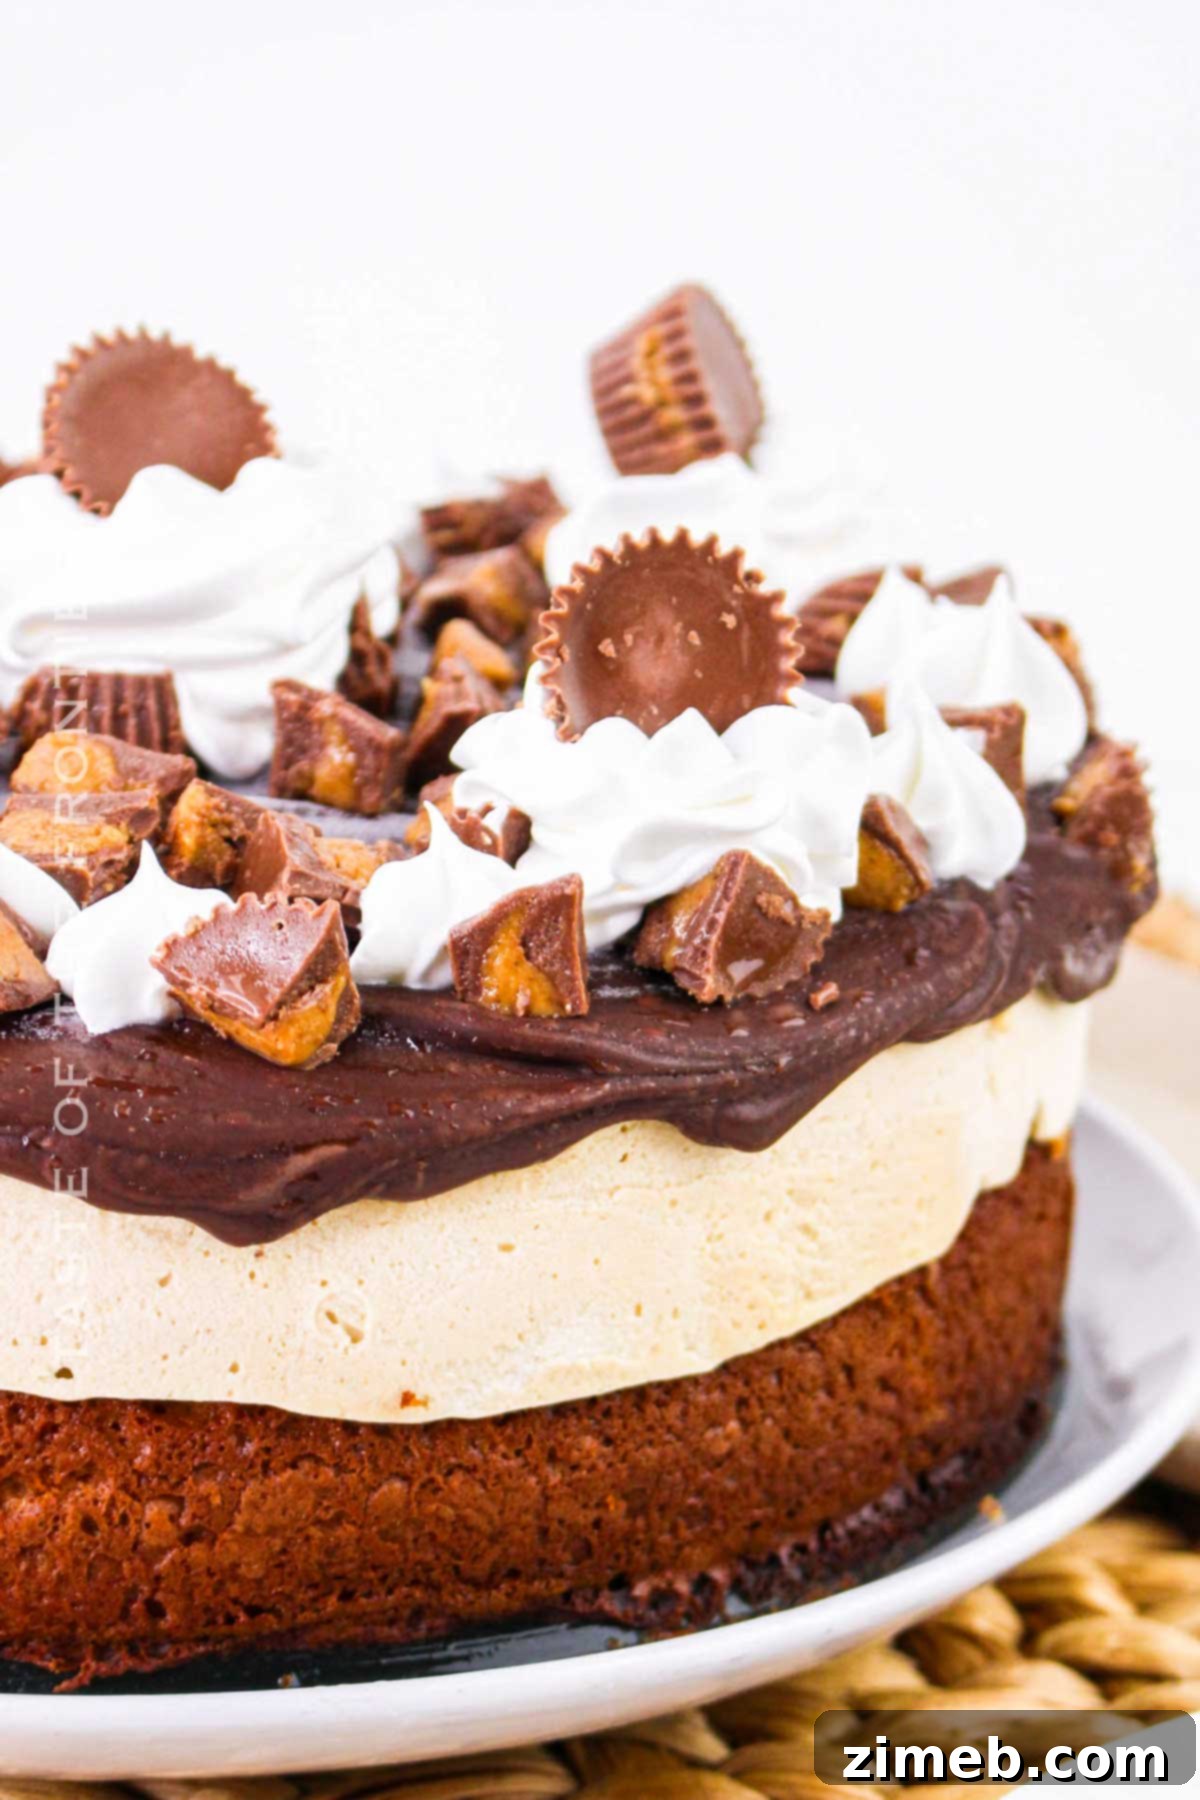
- Immediately sprinkle the remaining chopped peanut butter cups over the still-wet ganache for a beautiful finish and added texture.
- Return the entire cake to the freezer for at least another hour, or until the chocolate ganache has completely set and is firm to the touch.
Decorate and Serve Your Masterpiece
- Optional Decoration: For an extra festive touch, adorn the top of your cake with a generous layer of whipped topping and additional whole or chopped peanut butter cups, M&M’s, or Reese’s pieces. Once decorated, return the cake to the freezer until you are ready to serve.
- Serving Preparation: To serve, remove the cake from the freezer and let it sit at room temperature for about 5-10 minutes. This brief softening period makes slicing much easier.
- Clean Slicing: Release the sides of the springform pan. For perfectly clean slices, dip a sharp knife into hot water, wipe it clean, and then make your cut. Repeat for each slice.
- Enjoy Immediately: Once sliced, serve your decadent Peanut Butter Cup Ice Cream Cake without delay to enjoy its perfect temperature and texture.
How to Properly Store Your Peanut Butter Ice Cream Cake
To preserve the exquisite taste and texture of your homemade Peanut Butter Cup Ice Cream Cake, proper storage is essential. This cake stores remarkably well in the freezer for up to a week, allowing you to enjoy slices of this decadent treat whenever a craving strikes.
To prevent freezer burn and maintain freshness, ensure the cake is tightly wrapped. You can use several layers of plastic wrap, followed by aluminum foil, or place it in an airtight freezer-safe container with a lid. This barrier is crucial for protecting the delicate flavors and preventing ice crystals from forming on the surface.
If you’re uncertain about your topping choices or want to offer variety, consider freezing the ice cream cake without the final whipped topping and additional embellishments. When it’s time to serve, you can then add different toppings to individual slices, catering to various preferences and creating a personalized dessert experience for each guest!
It’s important to remember that as a homemade ice cream cake, it lacks the artificial stabilizers and additives (like Xanthan gum) often found in commercial ice cream cakes that help them maintain their shape at room temperature. Therefore, once removed from the freezer, it will begin to melt relatively quickly. For best results, serve promptly after a brief softening period.
Exciting Substitutions & Creative Variations
This Peanut Butter Cup Ice Cream Cake is wonderfully adaptable! Feel free to experiment with these delicious substitutions and variations to tailor it to your taste or dietary needs:
- Oreo Cookie Crust: For a delightful no-bake base, combine finely crushed Oreos (including the cream filling) with melted butter. Press this mixture firmly into the bottom of your springform pan and chill. To crush Oreo cookies into fine crumbs, you can easily use a rolling pin, a food processor, or a blender. This creates a rich, chocolatey foundation that pairs perfectly with peanut butter.
- Salty Pretzel Crust: Craving a sweet and salty crunch? Create a unique crust by blending mini pretzels until fine crumbs, then mixing them with melted butter. This simple, original crust offers a fantastic contrast to the sweetness of the cake and ice cream.
- Extra Peanut Butter Crust: For the ultimate peanut butter lover, ditch the traditional crust and make a no-bake peanut butter crust using crushed Nutter Butter Cookies combined with melted butter. What could be better than more peanut butter? This takes the flavor profile to an entirely new level!
- Chocolate Peanut Butter Cup Ice Cream Cake: To intensify the chocolate element, make a chocolate peanut butter ice cream cake! You can achieve this by making chocolate ice cream for the second layer (by adding cocoa powder to your no-churn base) or by using a chocolate cake mix or scratch-made chocolate cake for the base layer. If making the cake batter from scratch, simply incorporate a few tablespoons of high-quality cocoa powder for a deep, rich flavor.
- The Secret Ingredient: Coffee: A small amount of strong brewed coffee or espresso powder in the cake layer isn’t for flavor (unless you want it!) but acts as a secret ingredient that enhances the chocolate flavor and traps moisture, resulting in an even more incredibly moist cake.
- Homemade Peanut Butter Drizzle: Elevate your presentation and flavor by making a simple peanut butter topping with creamy peanut butter and a touch of maple syrup. Drizzle this delightful sauce artistically over the finished cake just before serving.
- Crunchy Chocolate Shell Topping: For a fun textural contrast, create a chocolate shell. Melt chocolate chips with a tablespoon or two of coconut oil. Pour this mixture over the frozen cake. As it chills, the chocolate will firm up, forming a satisfyingly crunchy crust that cracks beautifully with each bite.
- Hot Fudge Indulgence: Instead of ganache, consider a warm, gooey hot fudge topping. You can use a high-quality store-bought jar or prepare one from scratch. Hot fudge also works wonderfully as an additional layer between the cake and ice cream, adding another dimension of flavor.
- Peanut Butter Cup Overload: If you truly adore peanut butter cups, don’t just put them on top! Chop extra and fold them directly into the ice cream layer before freezing. Every scoop will then contain delightful chunks of your favorite candy.
- Sweet and Salty Perfection: For those who appreciate the dynamic duo of sweet and salty, sprinkle a pinch of coarse sea salt over the chocolate ganache. Alternatively, incorporate salted peanuts or crushed salted pretzels on top for an irresistible flavor combination and satisfying crunch.
Expert Tips for the Best Peanut Butter Ice Cream Cake
Achieving a professional-looking and tasting ice cream cake is within your reach with these helpful tips and tricks:
- Chill Your Mixing Bowl: Before you start whipping your heavy cream for the ice cream, place your mixing bowl (and even the whisk attachments) in the freezer for about 15-20 minutes. A super-cold bowl helps the heavy cream whip up faster and hold its stiff peaks longer, ensuring a stable and airy ice cream base.
- Choose a Neutral Vegetable Oil: When preparing the cake layer, opt for a neutral-flavored vegetable oil like canola, sunflower, or grapeseed oil. While coconut oil is a fantastic ingredient, its distinct flavor can sometimes overpower the delicate balance of your ice cream cake.
- The Hot Knife Trick for Perfect Slices: To achieve beautifully clean, effortless slices that don’t drag or tear the layers, use a hot knife. Dip a sharp, thin-bladed knife into a tall glass of hot water for a few seconds, then wipe it dry before each cut. The warm blade glides through the frozen cake like butter.
- Slightly Softened Ice Cream for Easy Spreading: When layering the ice cream, a slightly softened ice cream mixture will spread more evenly and smoothly over the cake layer, preventing gaps or uneven distribution. If your ice cream mixture is too firm, let it sit out of the freezer for a few minutes before spreading, or quickly warm your offset spatula in hot water for a smoother application.
- Utilize a Metal Spatula: While silicone spatulas are great for mixing, a metal offset spatula is superior for evening out and smoothing layers of ice cream and ganache. Its rigidity and thin edge allow for precise and clean finishes.
- Expedite Your Baking with Shortcuts: If you’re really pressed for time or need a last-minute dessert, significantly cut down the cooking time! Skip the baked cake and opt for a no-bake crust made from crushed Oreos. For the ice cream layer, you can even use good quality store-bought ice cream or assemble with ice cream sandwiches. Such a cake only requires assembly and topping, making it a fun, quick, and satisfying dessert.
- Master the Drizzle Technique: To create an elegant drizzle of sauce or melted topping over your ice cream cake, pour the liquid into a small plastic bag (like a Ziploc). Snip off a tiny corner of the bag, and then gently squeeze to create a controlled, fine stream for your drizzle.
- Handle Ice Cream with Care: When folding ingredients into your whipped cream base for the ice cream layer, remember to work gently and avoid rushing. Overmixing can deflate the cream, leading to a less airy and icy texture. Fold just until combined.
- Microwave Shortcut for Ganache: For an amazingly quick chocolate ganache, you can heat the heavy cream in the microwave until hot (but not boiling). Then, simply pour it over the chocolate chips and let it sit. The residual heat will melt the chocolate naturally, and a gentle stir will bring it all together.
- Cake-Free Ice Cream Delight: If you prefer an ice cream-centric dessert without a traditional cake base, you can make the ice cream layer your first layer. In this scenario, instead of parchment paper, line your springform pan with plastic wrap, allowing for easy removal and serving of a purely ice cream-based dessert.
If you absolutely adore this decadent Peanut Butter Ice Cream Cake recipe, you’re sure to fall in love with these other delightful peanut butter treats too. Click each link below to explore the easy, printable recipes and expand your peanut butter repertoire!
Check out this recipe
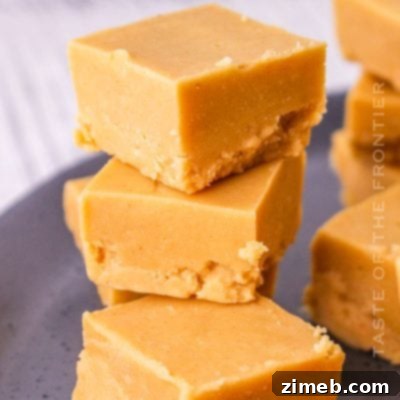
Check out this recipe
Check out this recipe
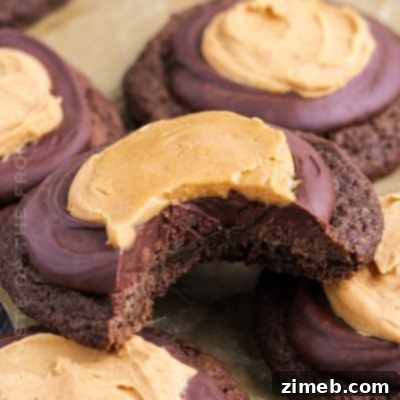
Check out this recipe
Check out this recipe
Even More Great Peanut Butter Cup Recipes to Explore!
If you can’t get enough of that magical peanut butter and chocolate combination, here are more fantastic recipes featuring peanut butter cups:
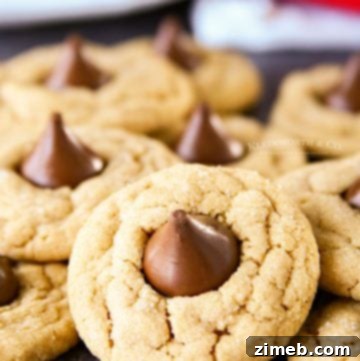
Peanut Butter Cup Cookies
Creamy Peanut Butter Pie
Easy Microwave Reese’s Fudge
Peanut Butter Cookie Cups
CONNECT WITH YUMMI HAUS!
Be sure to follow me on my social media, so you never miss a post!
Substack, FB, Pinterest, IG, Email Subscription
Rate this Recipe
Peanut Butter Cup Ice Cream Cake
Ingredients
Peanut Butter Cake Layer
- 15.25 oz yellow cake mix
- 1¼ cup milk
- ⅓ cup vegetable oil
- ½ cup peanut butter creamy
- 3 large eggs
- 1 cup peanut butter cups chopped
Peanut Butter Ice Cream Layer
- 2 cups heavy cream
- 14 oz sweetened condensed milk – 1 can
- 1 cup peanut butter creamy
- 1 teaspoon vanilla extract
Chocolate Ganache Topping
- 1 cup semi-sweet chocolate chips
- ½ cup heavy cream
- ½ cup peanut butter cups chopped
Decorate
Whipped topping
Additional peanut butter cups
Instructions
Cake Layer
-
Preheat the oven to 350°F (175°C). Grease a 9-inch springform cake pan and line with parchment paper.
-
Combine the cake mix with the milk, oil, peanut butter, and eggs in a large mixing bowl. Beat on low for 30 seconds, then increase the speed to medium and beat for another 60-90 seconds to ensure the ingredients are well mixed, scraping down the sides of the bowl as needed.
-
Transfer the batter to the prepared springform pan.
-
Bake for 25-30 minutes, or until a toothpick inserted into the center comes out clean or with a few crumbs attached.
-
Allow the cake to cool completely, usually 1-2 hours.
-
Top the cake with the chopped peanut butter cups before placing the cake into the freezer to firm up.
Ice Cream Layer
-
Whip the heavy cream in a large, chilled mixing bowl until stiff peaks form.
-
Mix the sweetened condensed milk, peanut butter, and vanilla extract in a separate mixing bowl, until smooth.
-
Gently fold the whipped cream into the peanut butter mixture until well combined, being careful not to deflate the cream.
-
Spread the peanut butter ice cream mixture evenly over the prepared cake, smoothing the top with a spatula.
-
Freeze for at least 4 hours, or preferably overnight, until firm.
Chocolate Ganache
-
Place the chocolate chips in a heatproof bowl.
-
Heat the heavy cream in a small saucepan over medium heat until it just begins to simmer around the edges.
-
Pour the hot cream over the chocolate chips and allow it to sit for 2 minutes – untouched. Then, stir until smooth and glossy.
-
Allow the ganache to cool slightly to a lukewarm temperature.
-
Remove the cake from the freezer and run a knife around the edge before releasing the side of the springform pan.
-
Pour the ganache over the frozen peanut butter ice cream layer, spreading evenly if needed.
-
Top the ganache with the chopped peanut butter cups immediately.
-
Return the cake to the freezer for another hour, or until the ganache is fully set.
Optional: Decorate the top of the cake with whipped topping and additional peanut butter cups. Freeze until ready to serve.
To serve, remove the cake from the freezer and let it sit at room temperature for a few minutes to soften slightly.
Equipment
-
9″ springform pan
Nutrition
Nutritional information for the recipe is provided as a courtesy and is approximate. Please double-check with your own dietary calculator for the best accuracy. We at Yummi Haus cannot guarantee the accuracy of the nutritional information given for any recipe on this site.