
This shop has been compensated by Collective Bias, Inc. and its advertiser. All opinions are mine alone. #ProjectAmazing #CollectiveBias
Transform Your Home with Unique DIY Tin Fish Art for Coastal Decor
Are you longing for the serene beauty of the coast, even if you live miles away from the nearest beach? Do you adore unique, handcrafted art that tells a story and brings a breath of fresh air into your living spaces? If so, this **Tin Fish Art** project is precisely what you need! This simple yet incredibly rewarding homemade art endeavor is perfect for families looking for a creative outlet with the kids, or for anyone who dreams of infusing their home with charming coastal decor and one-of-a-kind wall art. It’s an ideal way to add a touch of personality and a serene oceanic vibe to any room, particularly those often-overlooked areas like stairwells.
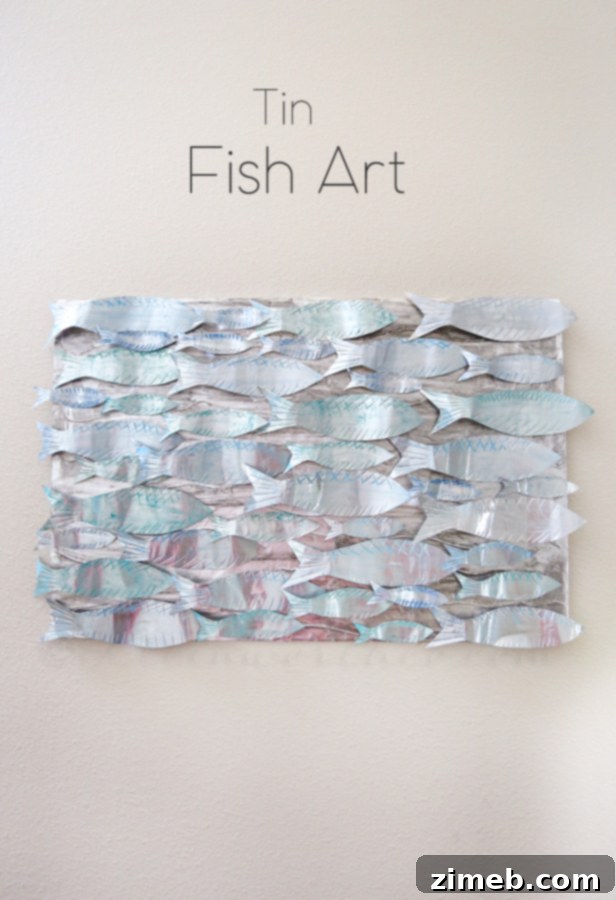
Bringing the Beach Home: Our Inspiration for Coastal Wall Decor
Our home has always been a sanctuary themed around the beach, a constant reminder of our beloved Southern California roots. Living far from the familiar shores of So Cal, we often miss the sun-kissed sands and the rhythmic sounds of the surf. To bridge that distance, we strive to make our home reflect our sand and surf personalities, creating a tranquil oasis where we can always feel connected to the ocean. The stairwell, often a utilitarian space, felt like the perfect canvas for a creative upgrade. It was begging for something distinctive and playful. I envisioned a funky **tin fish art piece** that would not only add significant visual interest but also serve as a delightful conversation starter, brightening an area that’s frequently forgotten in home decorating plans. This project allowed us to extend our coastal theme into every corner of the house, transforming a simple passageway into a gallery of ocean-inspired craftsmanship.
Gathering Your Supplies for a Unique Ocean-Inspired Craft
Embarking on this artistic journey requires a few readily available materials. The beauty of this project lies in its simplicity and the tactile nature of its components. Here’s what you’ll need to create your captivating tin fish masterpiece:
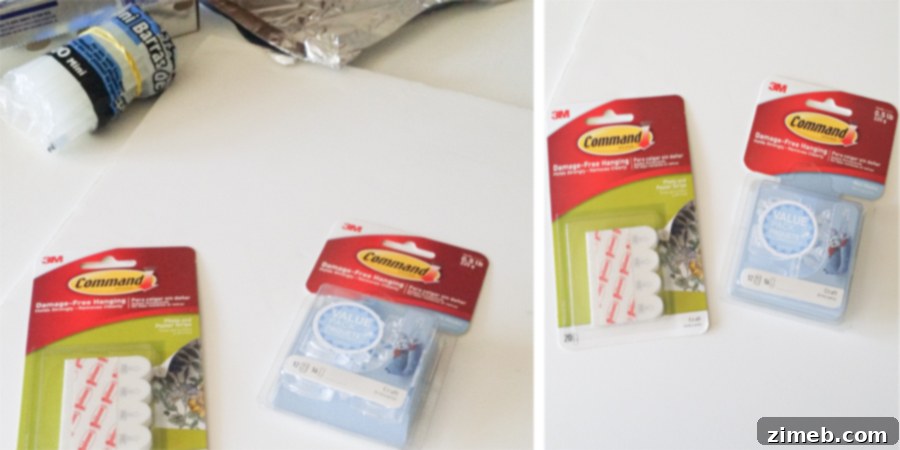
I started with a sturdy foam board as the base, reliable **Command™ Hooks** and **Command™ Strips** for secure, damage-free hanging, a hot glue gun for creating unique textures, and a roll of aluminum foil. Additionally, for the fish themselves, I used a specific gauge of aluminum, paints for detailing, and a few crafting tools.
Crafting the Oceanic Background: Texture and Depth
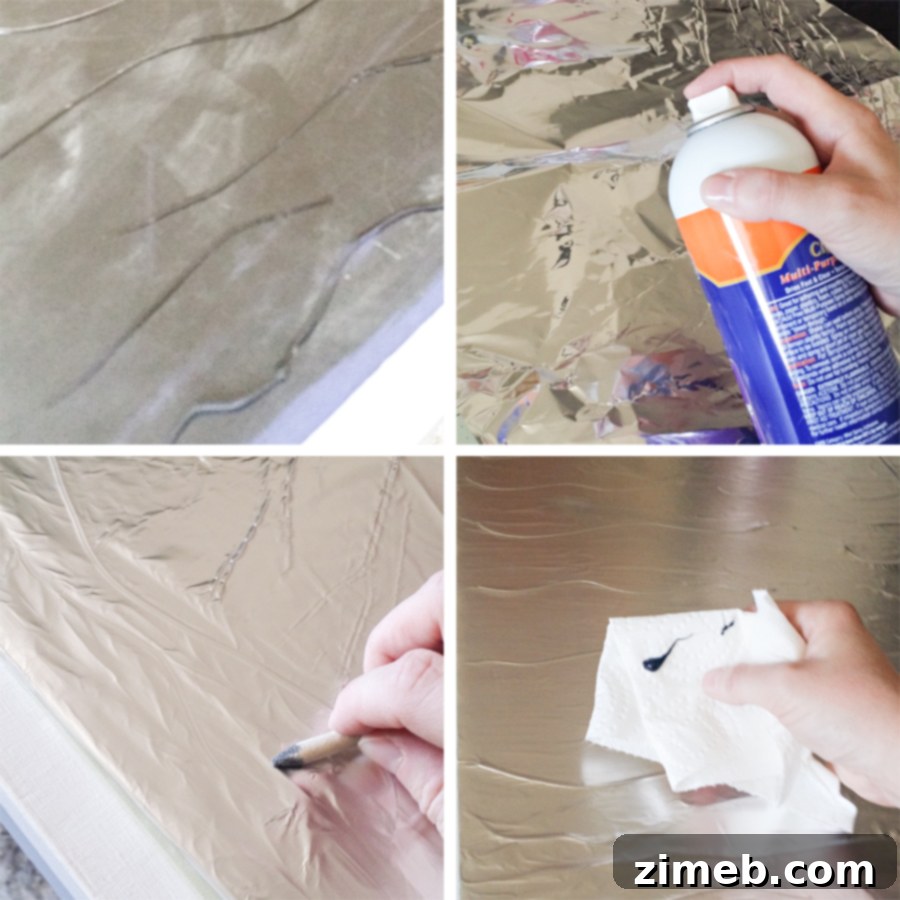
The first step in bringing our coastal vision to life was creating a dynamic background for our fish. I wanted something that mimicked the subtle movement of water, evoking a sense of calm and fluidity. I began by taking my hot glue gun and applying it directly to the foam board, creating a series of random, undulating wave patterns. There’s no need for precision here; the beauty is in the organic, imperfect squiggles, which will later translate into fascinating textures. This informal approach makes the project incredibly approachable for all skill levels, even for kids who love to get creative.
Once the hot glue waves had dried, I generously sprayed the back side of a sheet of aluminum foil with spray adhesive. This ensures a strong, lasting bond. I then carefully laid the foil over the entire foam board, pressing it down firmly, allowing the foil to conform to the raised hot glue patterns beneath it. The next crucial step was to use an art smudger (a soft, blunt tool, or even your finger wrapped in a cloth) to gently but thoroughly rub the foil. This process reveals and accentuates all the intricate textures created by the hot glue, making the “waves” pop out beautifully. To further enhance this effect and add depth, I took a small amount of black acrylic paint and lightly rubbed it into all the fine details and indentations on the foil. The black paint settles into the crevices, making the raised areas stand out more prominently and giving the background a rich, aged, almost metallic appearance that perfectly complements the coastal theme. This layering of texture and subtle color transforms a simple foam board into an intriguing work of art, ready to host our vibrant fish.
Designing Your Metal Fish: Playful Shapes and Intricate Details
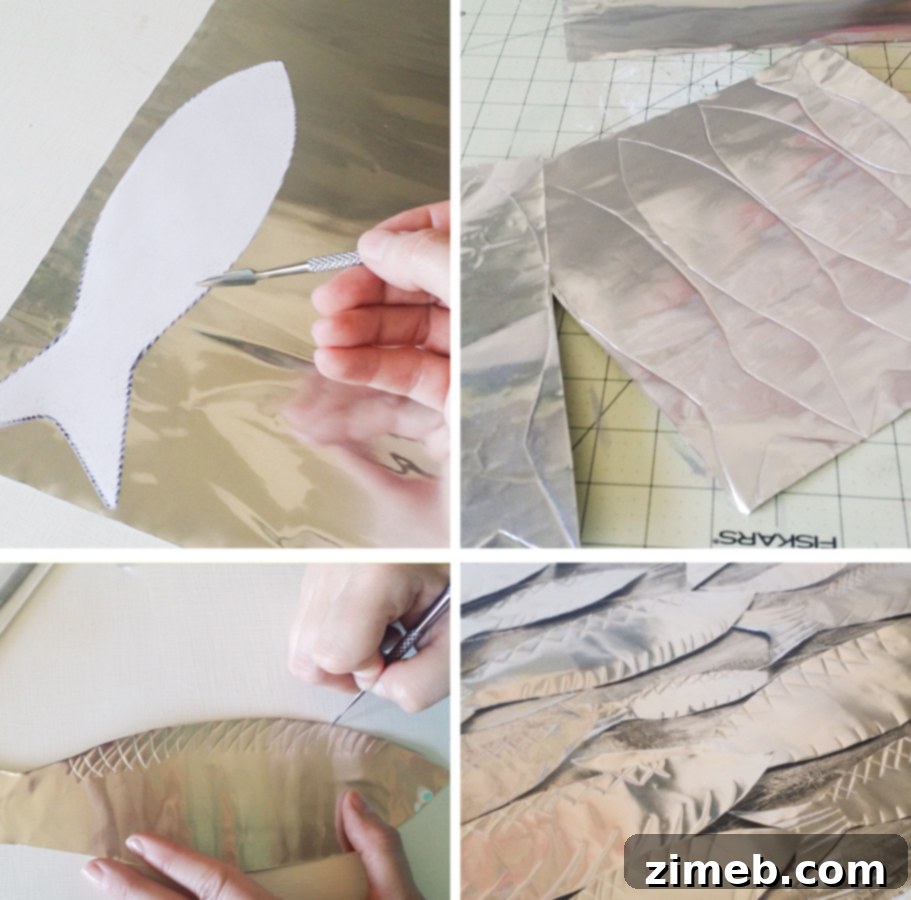
With our stunning ocean-inspired background complete, it was time to bring our aquatic inhabitants to life. The next phase involved crafting the individual tin fish that would populate our underwater scene. I started by cutting out various fish shapes from paper or cardstock to serve as templates. These templates allowed for consistency while still offering a range of sizes and silhouettes, ensuring a dynamic and visually interesting school of fish. I then carefully traced these shapes onto 36 gauge aluminum. This particular type of aluminum is a fantastic material for crafting: it’s significantly thicker and more durable than regular kitchen-grade tin foil, yet it remains soft and pliable enough to be easily cut and manipulated without sharp edges, making it remarkably safe to work with, even for younger crafters. It’s the same versatile material often used in art classes, known for its workability and distinctive metallic sheen.
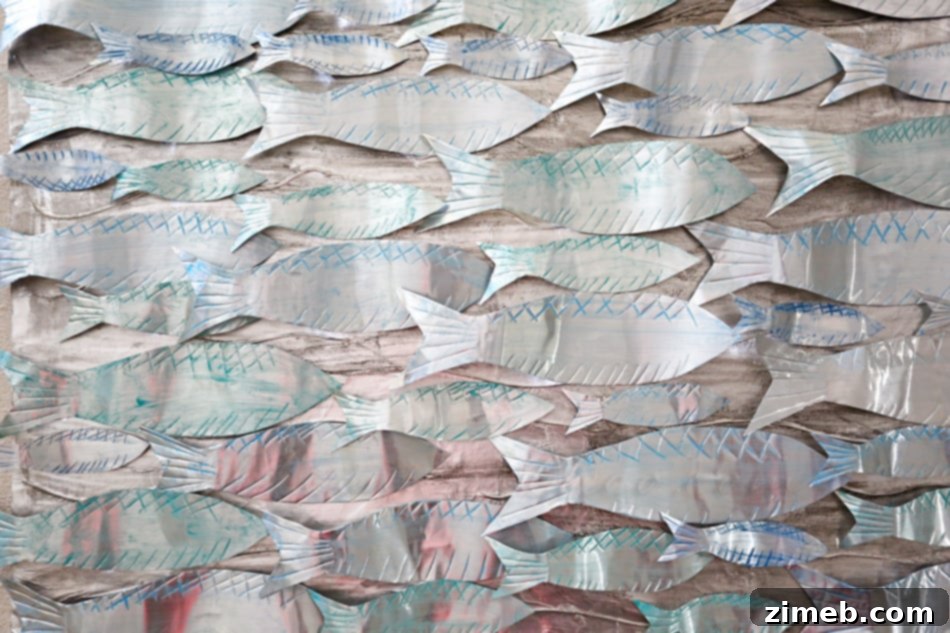
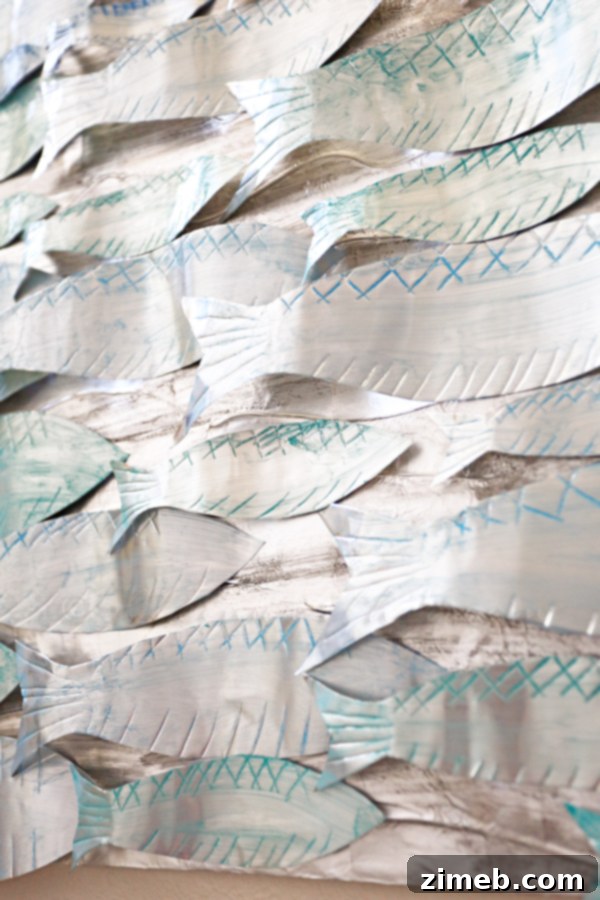
Once all my indentations were made from tracing the shapes, I meticulously cut out each fish. The creative possibilities are endless here; you can make your fish sleek and streamlined, or whimsical and round. For this project, we ended up with nearly 50 individual fish in various sizes, creating a bustling, vibrant school ready to swim across our textured background. To add further character and intricate detail to each fish, I took some metal carving tools. These tools allowed me to score delicate patterns onto the surface of the aluminum – think scales, fins, eyes, or even abstract designs. This process not only adds visual interest but also creates subtle depressions that will later hold color, enhancing the three-dimensional effect of each fish. This step is where you can truly let your imagination swim free, giving each fish its own unique personality and texture.
Adding a Splash of Color: Bringing Your Fish to Life
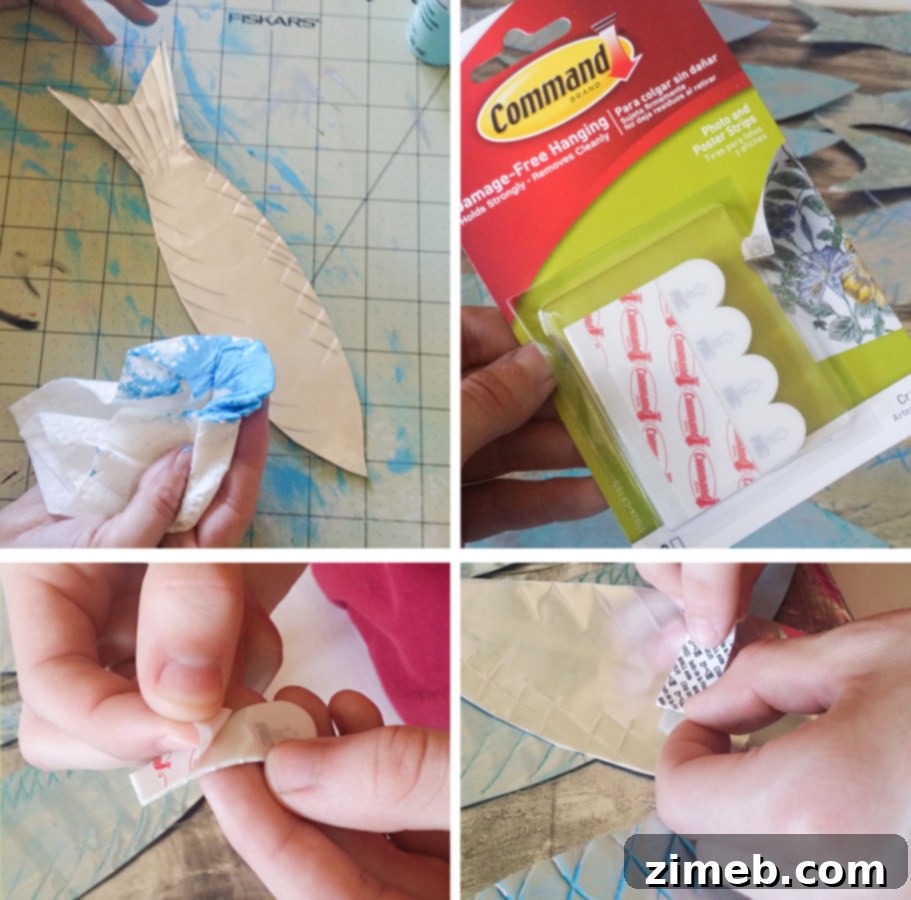
After meticulously cutting and scoring the metallic fish, the next exciting step was to introduce a vibrant palette of colors, reminiscent of the ocean’s depths. I applied the same artistic technique used for the background to these individual fish. Using a small amount of green and blue paint – colors specifically chosen to evoke the serene and lively hues of the ocean – I gently rubbed the paint over the surface of each aluminum fish. The magic happens as the paint settles beautifully into the delicate indentations and scored patterns created earlier. This method ensures that the raised metallic areas retain their shimmering quality while the recessed details are highlighted with captivating bursts of color, adding immense depth and realism to each marine creature. The interplay of the metallic sheen and the subtle wash of color truly brings each fish to life, making them appear as if they’re glistening under the water’s surface.
Assembling Your Masterpiece: A School of Fish Comes Together
Once the paint on the fish had dried, it was time for the final assembly – bringing the entire oceanic scene together. For this crucial step, I relied on **Command™ Strips** because of their unparalleled ability to hold strongly yet remove cleanly without damaging surfaces. I carefully attached each individual fish to the textured foam board background using these strips, arranging them in a fluid, random pattern. The goal was to create the illusion of a lively school of fish swimming freely, so I varied their directions, spacing, and slight overlaps. This organic arrangement adds to the dynamic visual appeal of the artwork, making it feel less static and more like a captured moment from the ocean. To prepare the entire art piece for hanging, I securely added a couple of strong wire loops on the back of the foam board. These loops provide a reliable and discreet way to suspend our finished creation, ensuring it hangs perfectly balanced on the wall.
Hanging with Ease: The Damage-Free Solution
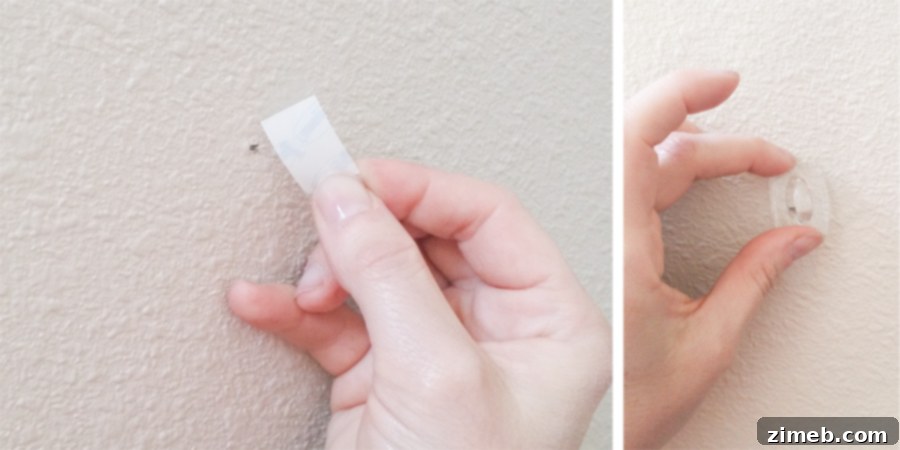
The final, and perhaps most satisfying, step was to hang our exquisite tin fish art. Choosing the right hanging solution was paramount, especially since we wanted to preserve the pristine condition of our newly decorated walls. We opted for **Command™ Hooks** in clear, a perfect choice for their discreet appearance and superior performance. The process was incredibly straightforward: first, we marked the desired spot on the stairwell wall where our art piece would hang, ensuring it was at the ideal height and perfectly centered. Next, we applied the adhesive strip firmly to the wall, followed by attaching the clear Command™ Hook. Within minutes, our stunning piece of DIY coastal decor was ready to be displayed. I absolutely love using Command™ Hooks because they offer a completely damage-free solution. This is a huge advantage for me, as I’m always hesitant to put unnecessary holes in the walls of our brand new home. These hooks provide an incredibly strong hold, ensuring our artwork stays securely in place, yet they remove cleanly when it’s time for a change, leaving no sticky residue or unsightly marks behind. It’s truly a win-win situation for anyone who values both aesthetic appeal and wall preservation.
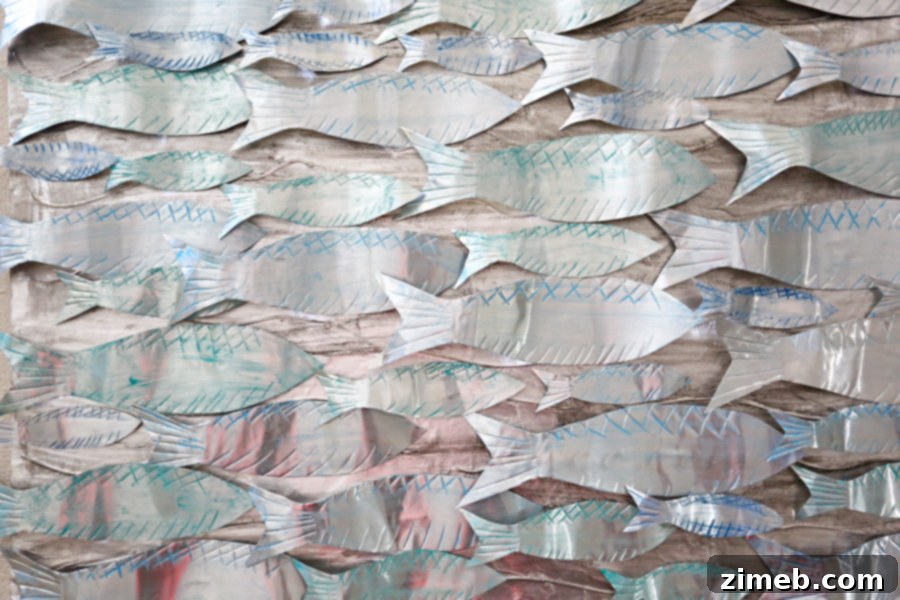
Now we finally have some fun, ocean-inspired art for the stairs, transforming a simple passage into a captivating visual journey!
Unleash Your Creativity with Command™ Products
This project truly showcases the versatility and reliability of **Command™ Hooks** and strips. They make complex installations simple and ensure that your creative endeavors can be displayed beautifully without any long-term commitment to wall damage. What innovative projects could you imagine bringing to life using these fantastic products? The possibilities are endless, from organizing your craft room to creating gallery walls or even seasonal decor displays. Don’t forget to visit the 3M website for more inspiring and amazing project ideas that will help you transform your home with ease and style!
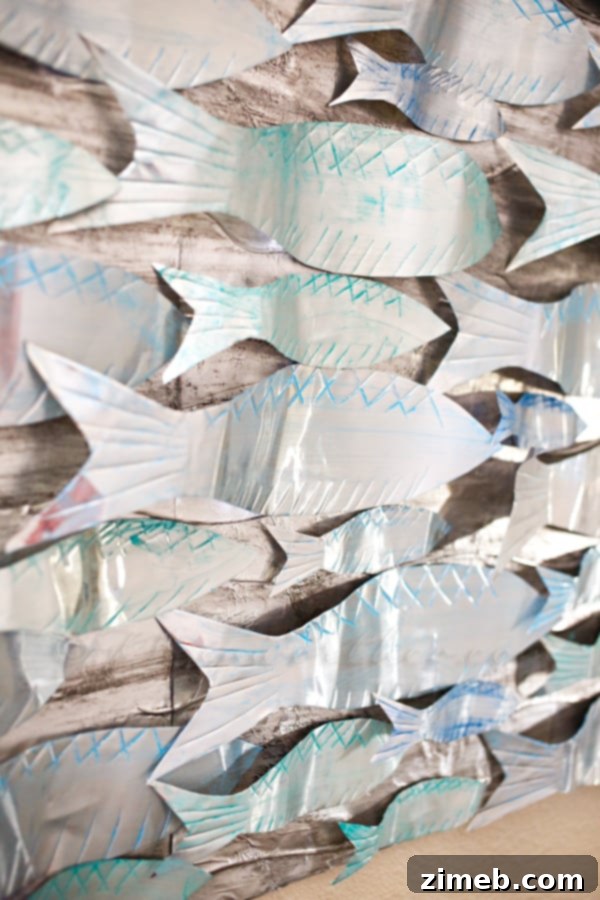
I just LOVE the intricate little details and the incredibly unique nature of this project. There’s an unparalleled joy in taking an idea from imagination and bringing it to tangible form, especially when the result is something so visually appealing and personally meaningful. The interplay of the textured background with the vibrant metallic fish creates an art piece that is both sophisticated and whimsical, perfectly embodying the spirit of coastal living. It truly gives me that cool, beachy feel of home, a constant source of calm and inspiration every time I walk by.
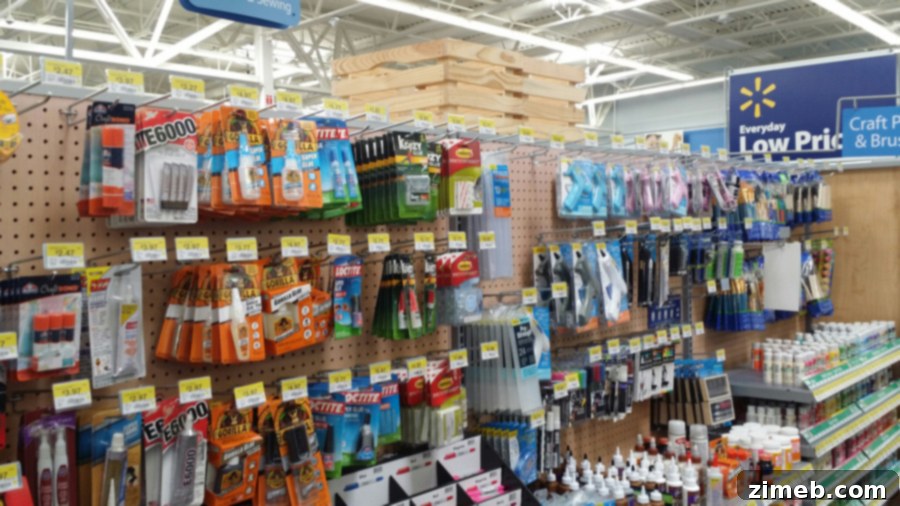
You can pick up your 3M Command™ and Scotch® Brand products in the craft aisle at Walmart, making it super convenient to start your next DIY adventure!
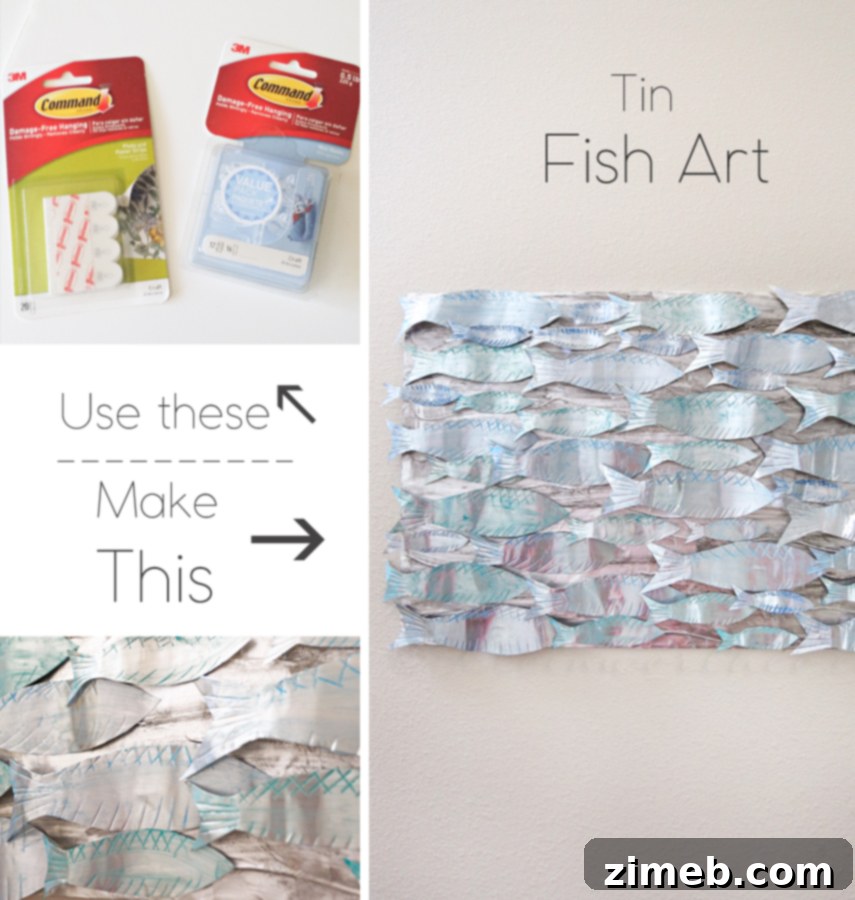
Definitely gives me the cool, beachy feel of home, making every glance a mini-vacation.
Want to see more of my fun projects for the home?
If you’re inspired by this project and looking for more creative ways to enhance your living space with handmade charm, explore some of my other popular DIY home decor tutorials. Each project offers a unique way to personalize your surroundings and express your style, whether you’re drawn to coastal themes or practical home improvements.
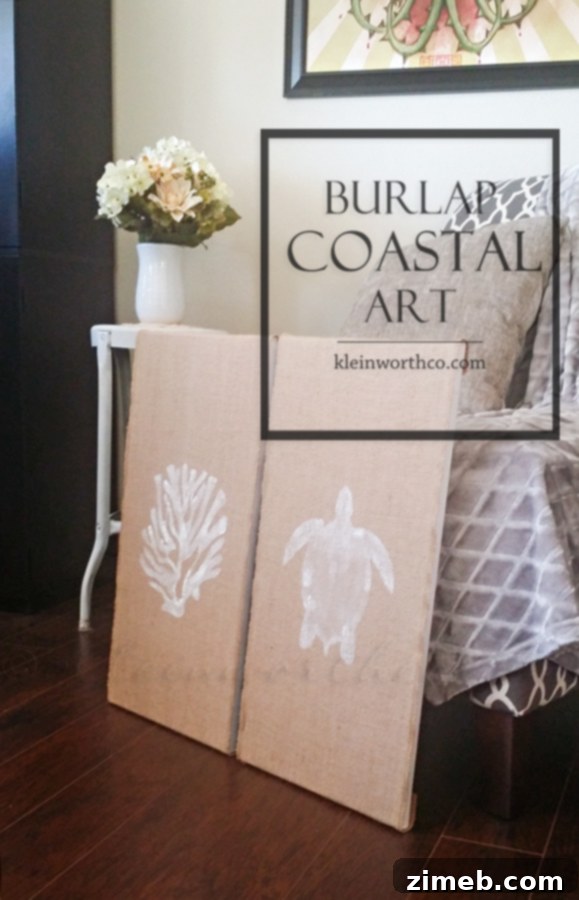
Burlap Coastal Art
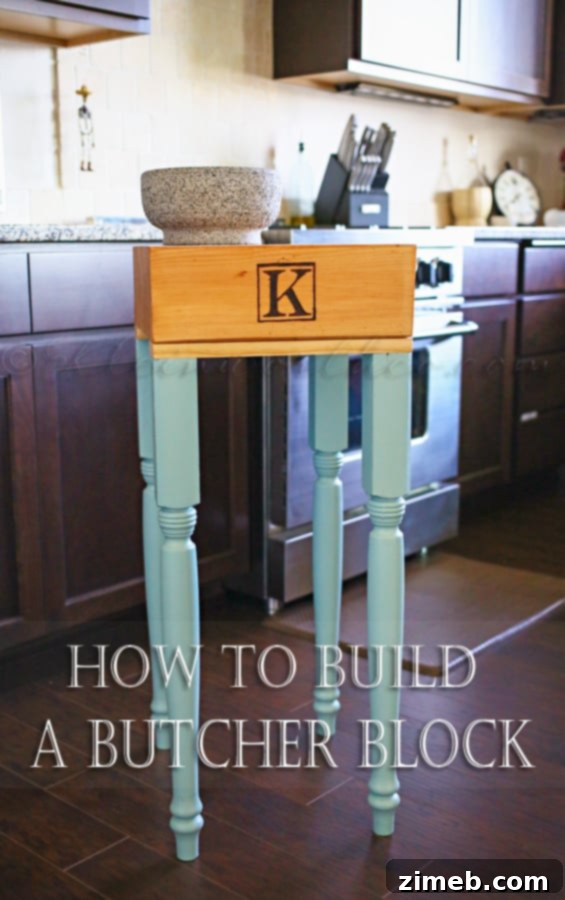
How to Build a Butcher Block
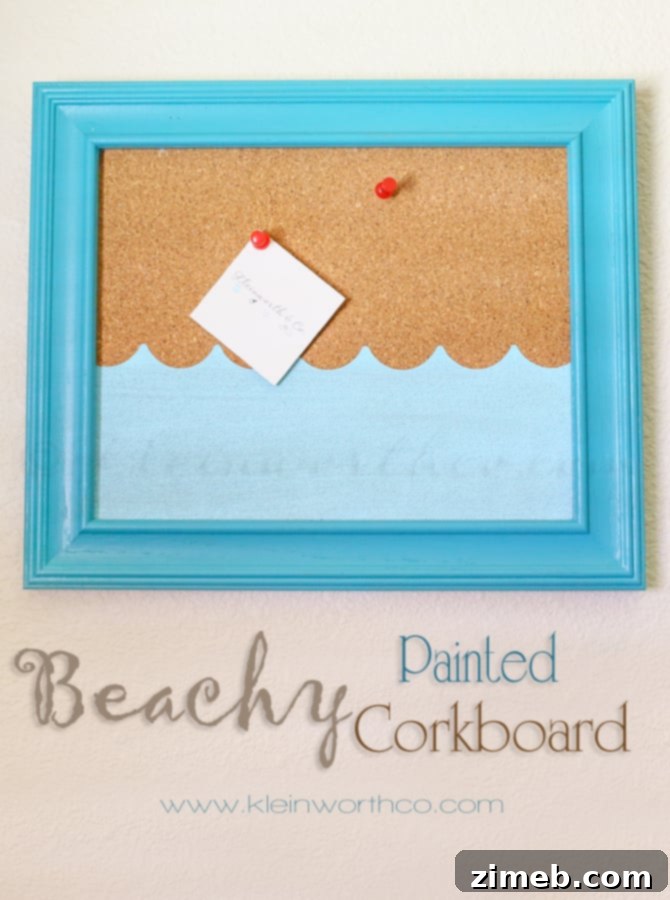
Beachy Painted Corkboard
To see where I am linking today- visit HERE