
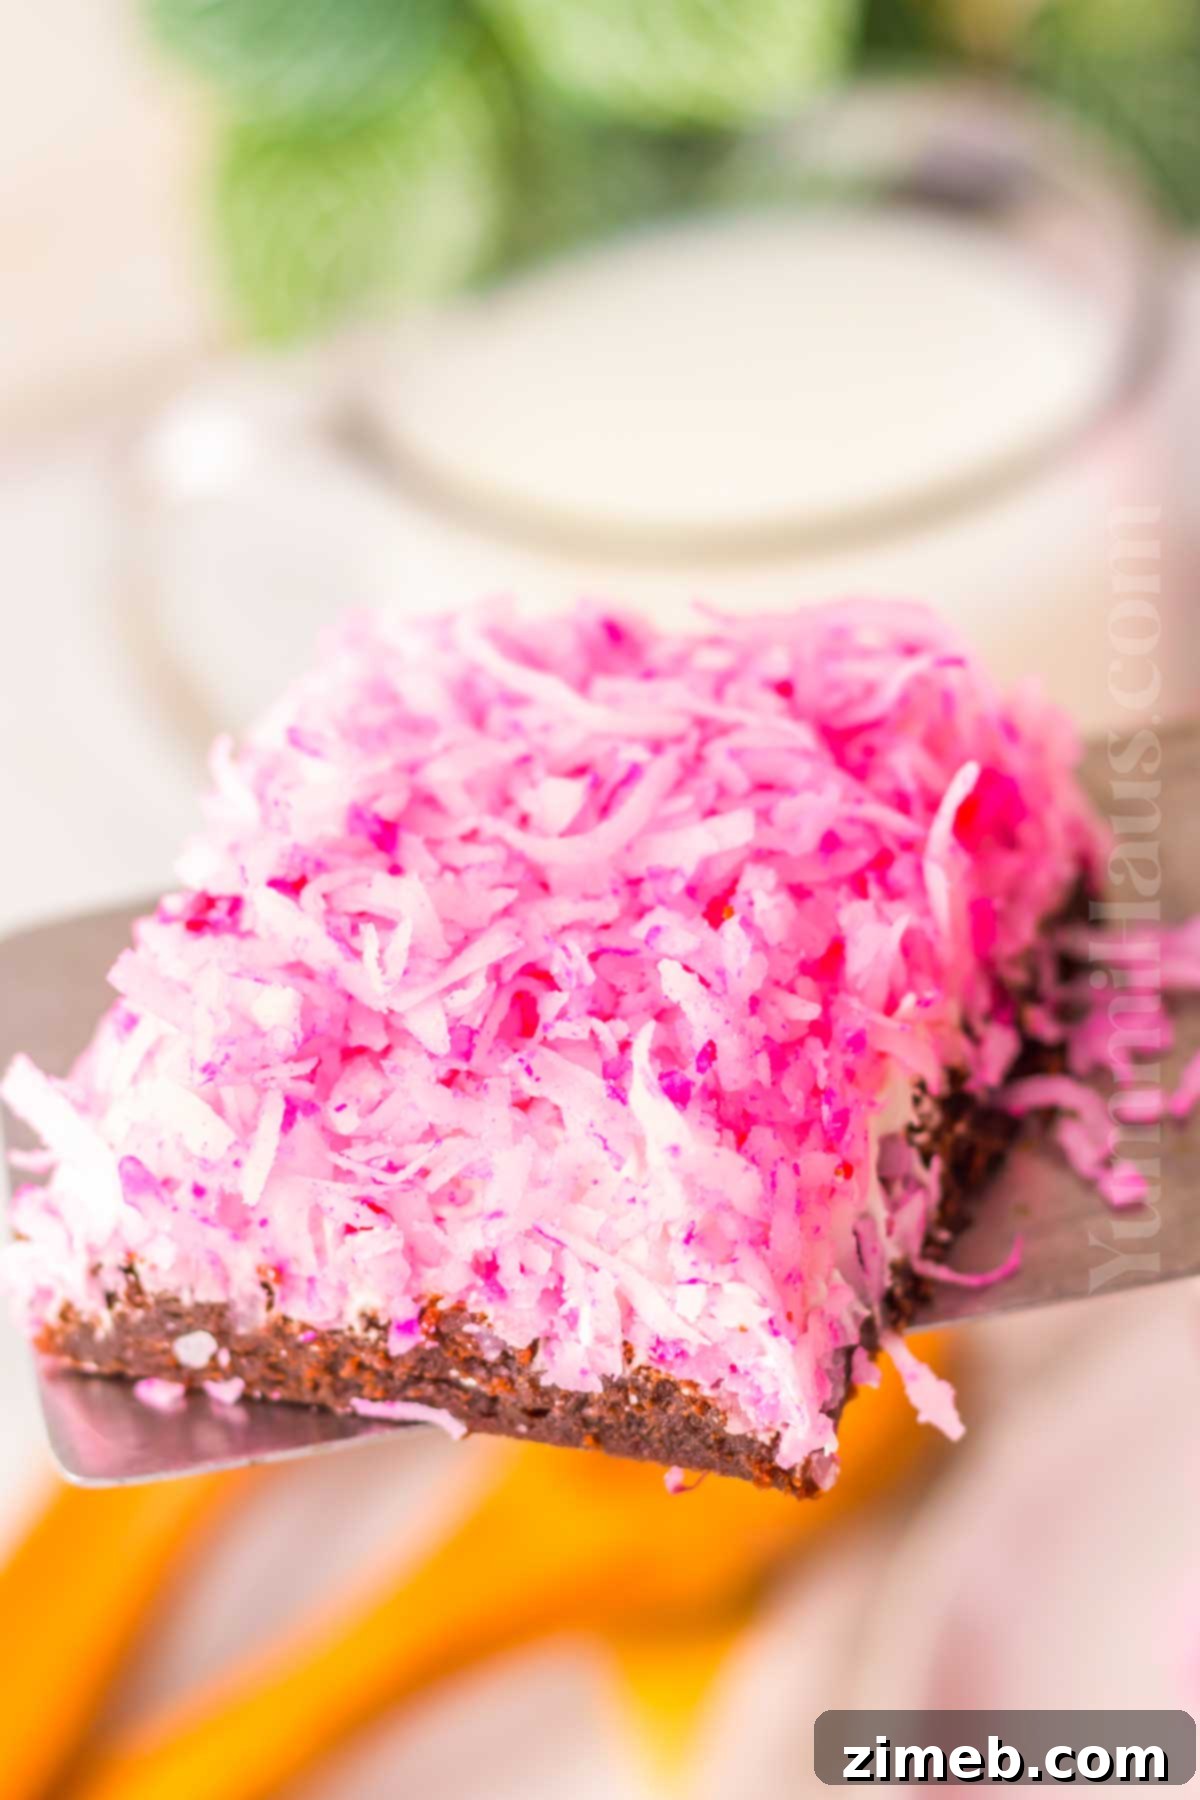
Step into a world of sweet nostalgia with these incredible Sno Ball Brownies! Imagine the rich, fudgy delight of a classic chocolate brownie elevated to an iconic status, topped with a fluffy, vibrant pink marshmallow-coconut frosting. This recipe effortlessly blends the comforting familiarity of homemade brownies with the whimsical charm of a beloved childhood treat – the Hostess Sno Ball.
For many, the mention of Hostess Sno Balls evokes vivid memories of those delectable snack cakes: a pillowy sphere of chocolate cake, generously filled with creamy white icing, and enveloped in a dreamy marshmallow coating, all dusted with bright pink, sweetened flaked coconut. They were an irresistible indulgence, a burst of sweetness that transported us back to simpler times.
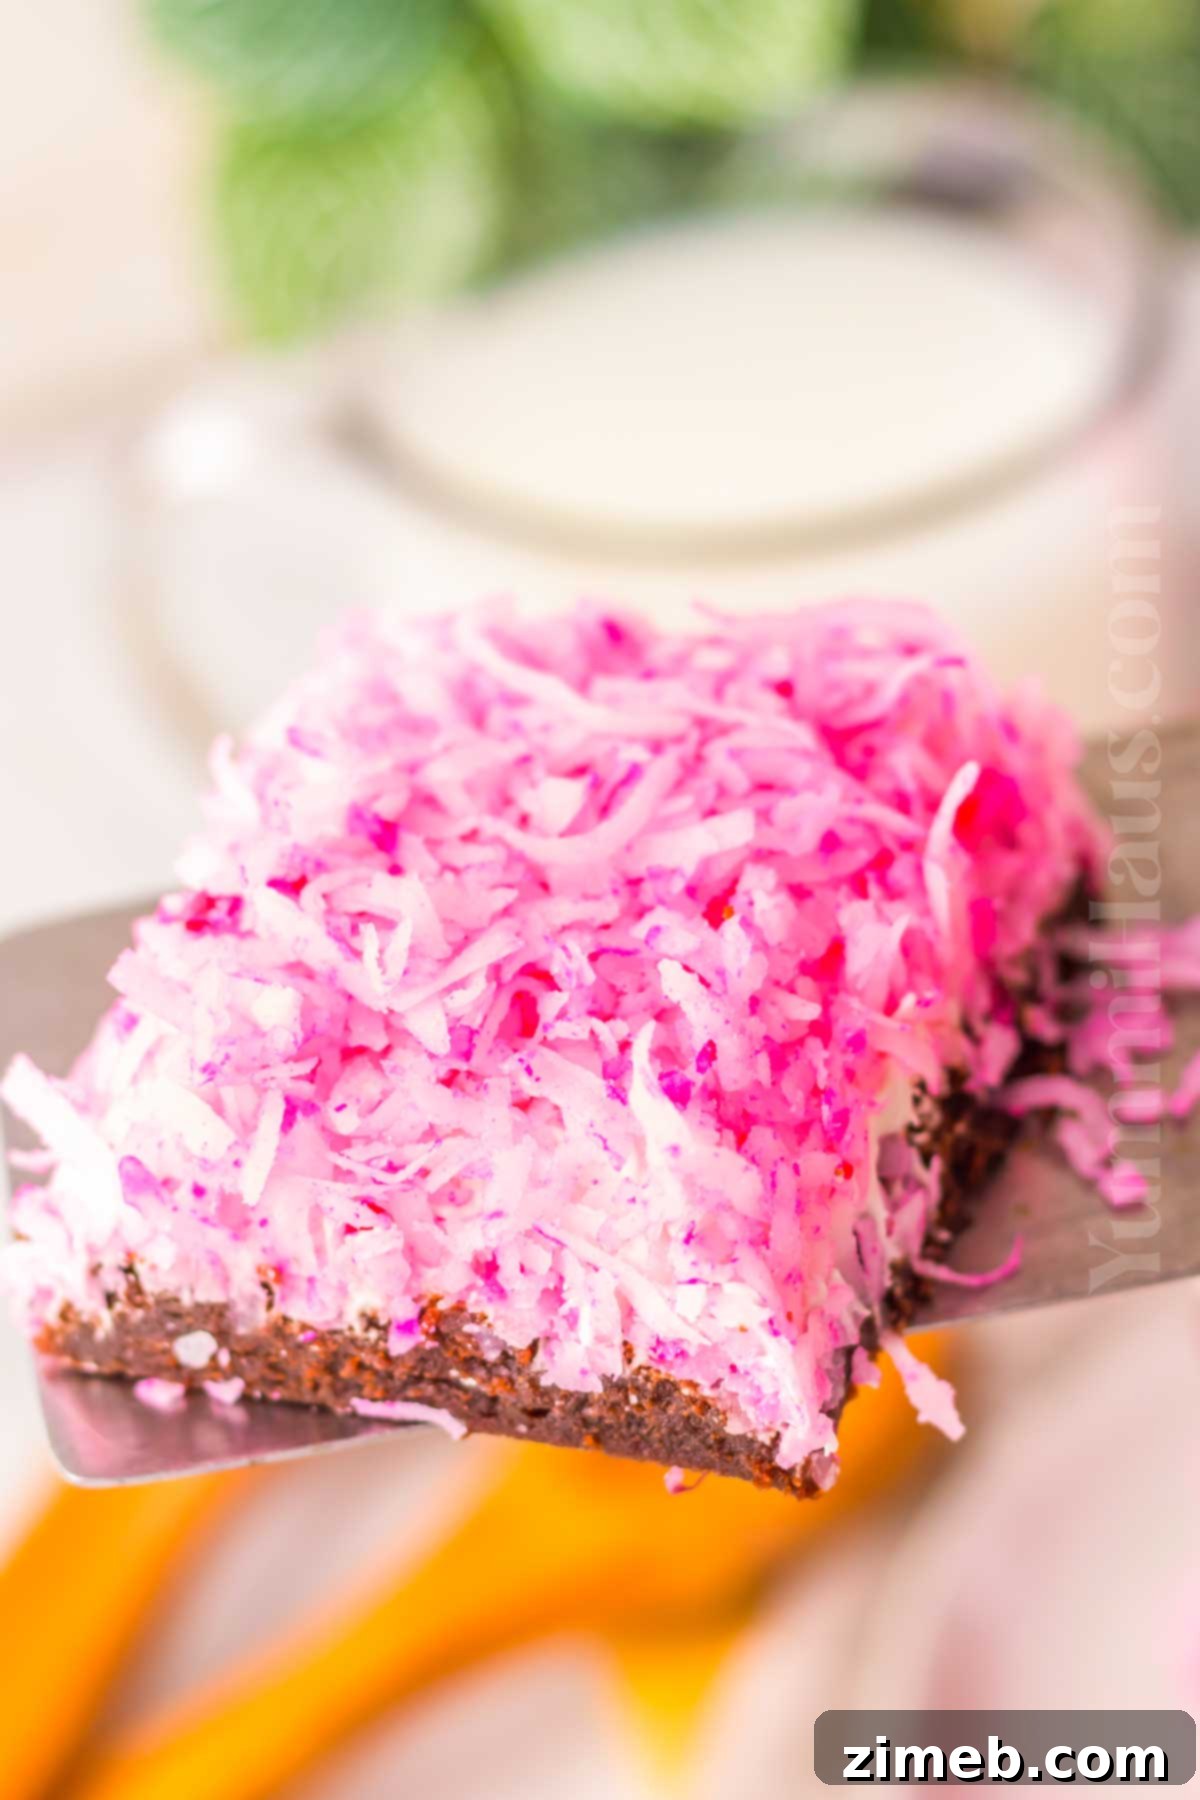
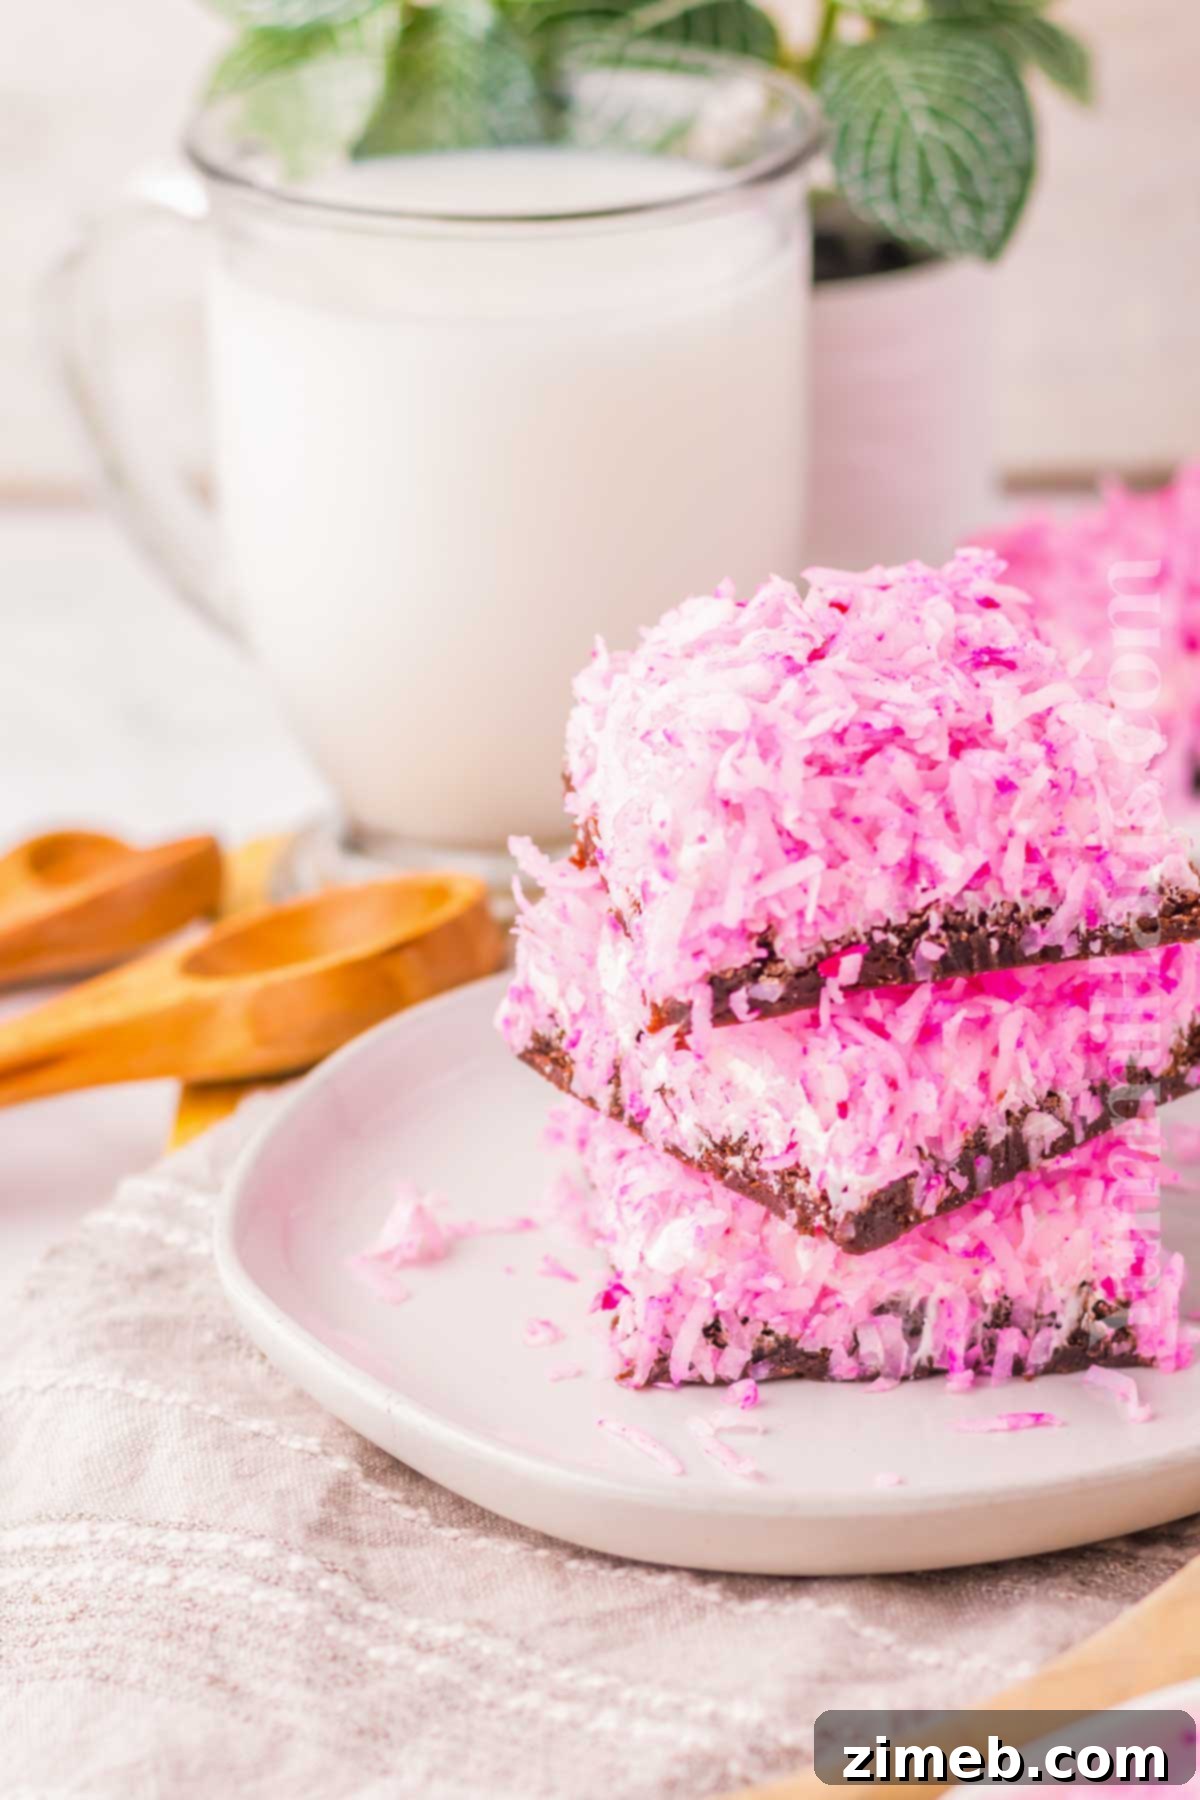
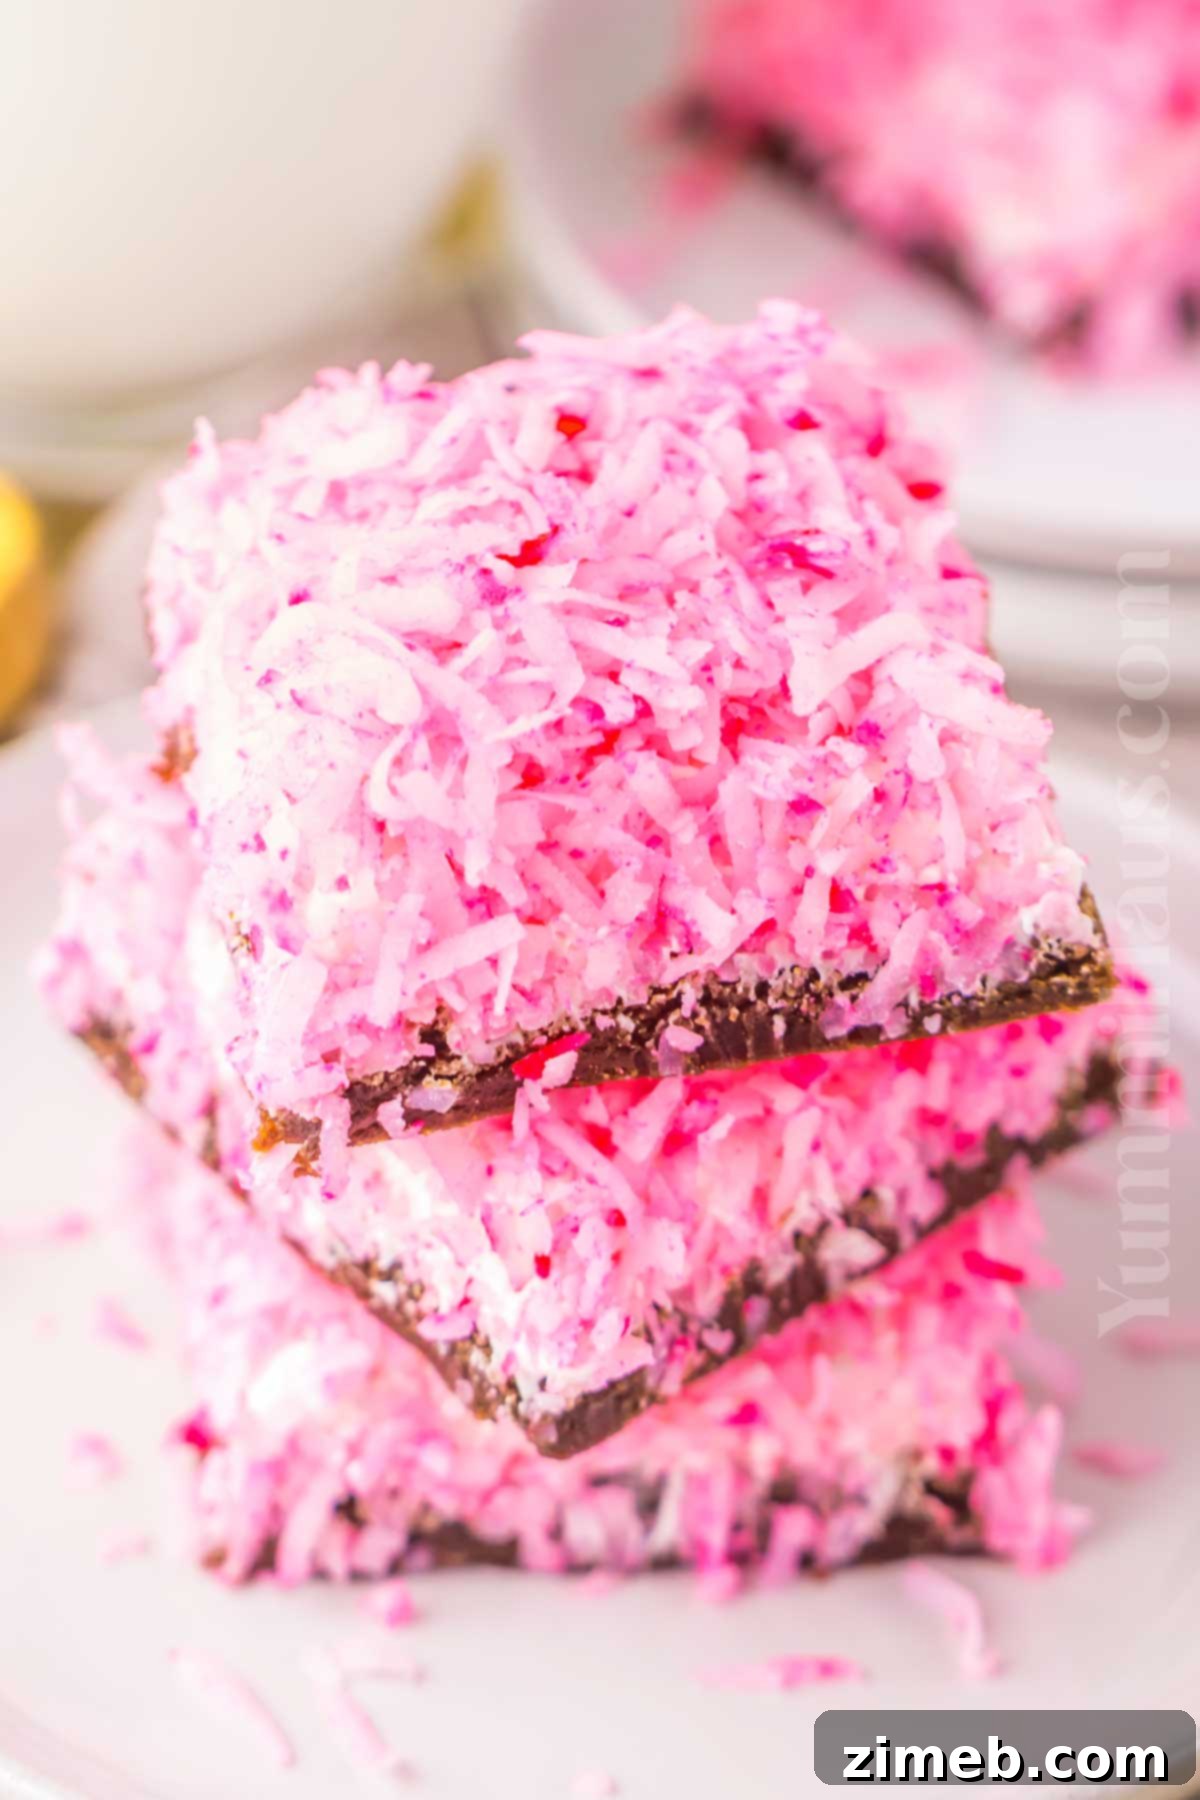
Our Sno Ball Brownies recipe captures that exact magic in an easier-to-make bar form. Each bite features a dense, chewy chocolate brownie base, crowned with a thick layer of ethereal marshmallow frosting, and finished with a generous sprinkle of vibrant, tinted coconut. It’s a spectacular dessert that’s sure to impress with its stunning appearance and irresistible flavor, making it perfect for any occasion – from casual family nights to festive gatherings. Get ready to bake a batch of pure joy and create new, delicious memories!
Why You’ll Love These Sno Ball Brownies
These Sno Ball Brownies are more than just a dessert; they’re an experience. Here’s why this recipe will quickly become a favorite in your kitchen:
- Effortless Decadence: Achieve perfectly fudgy brownies with minimal effort, thanks to the clever use of a store-bought mix. This shortcut saves time without compromising on that essential rich chocolate flavor.
- Quick & Easy Preparation: With straightforward steps and readily available ingredients, this recipe boasts minimal prep time, allowing you to whip up a show-stopping dessert even on busy days.
- Nostalgic Flavor, Elevated: We promise these are even better than the original Hostess Sno Ball snack cakes! The combination of a rich brownie base and fresh, fluffy topping creates a superior texture and depth of flavor.
- Perfect for Sharing: The generous batch size is ideal for family gatherings, potlucks, birthday parties, or any event where you need a crowd-pleasing treat.
- Visually Stunning: The vibrant pink coconut against the white marshmallow frosting and dark brownie base makes for an eye-catching dessert that will be the star of any dessert table.
- Versatile and Customizable: While the classic pink coconut is a must for the Sno Ball look, you can easily adapt the colors or add other mix-ins to suit your preferences or holiday themes.
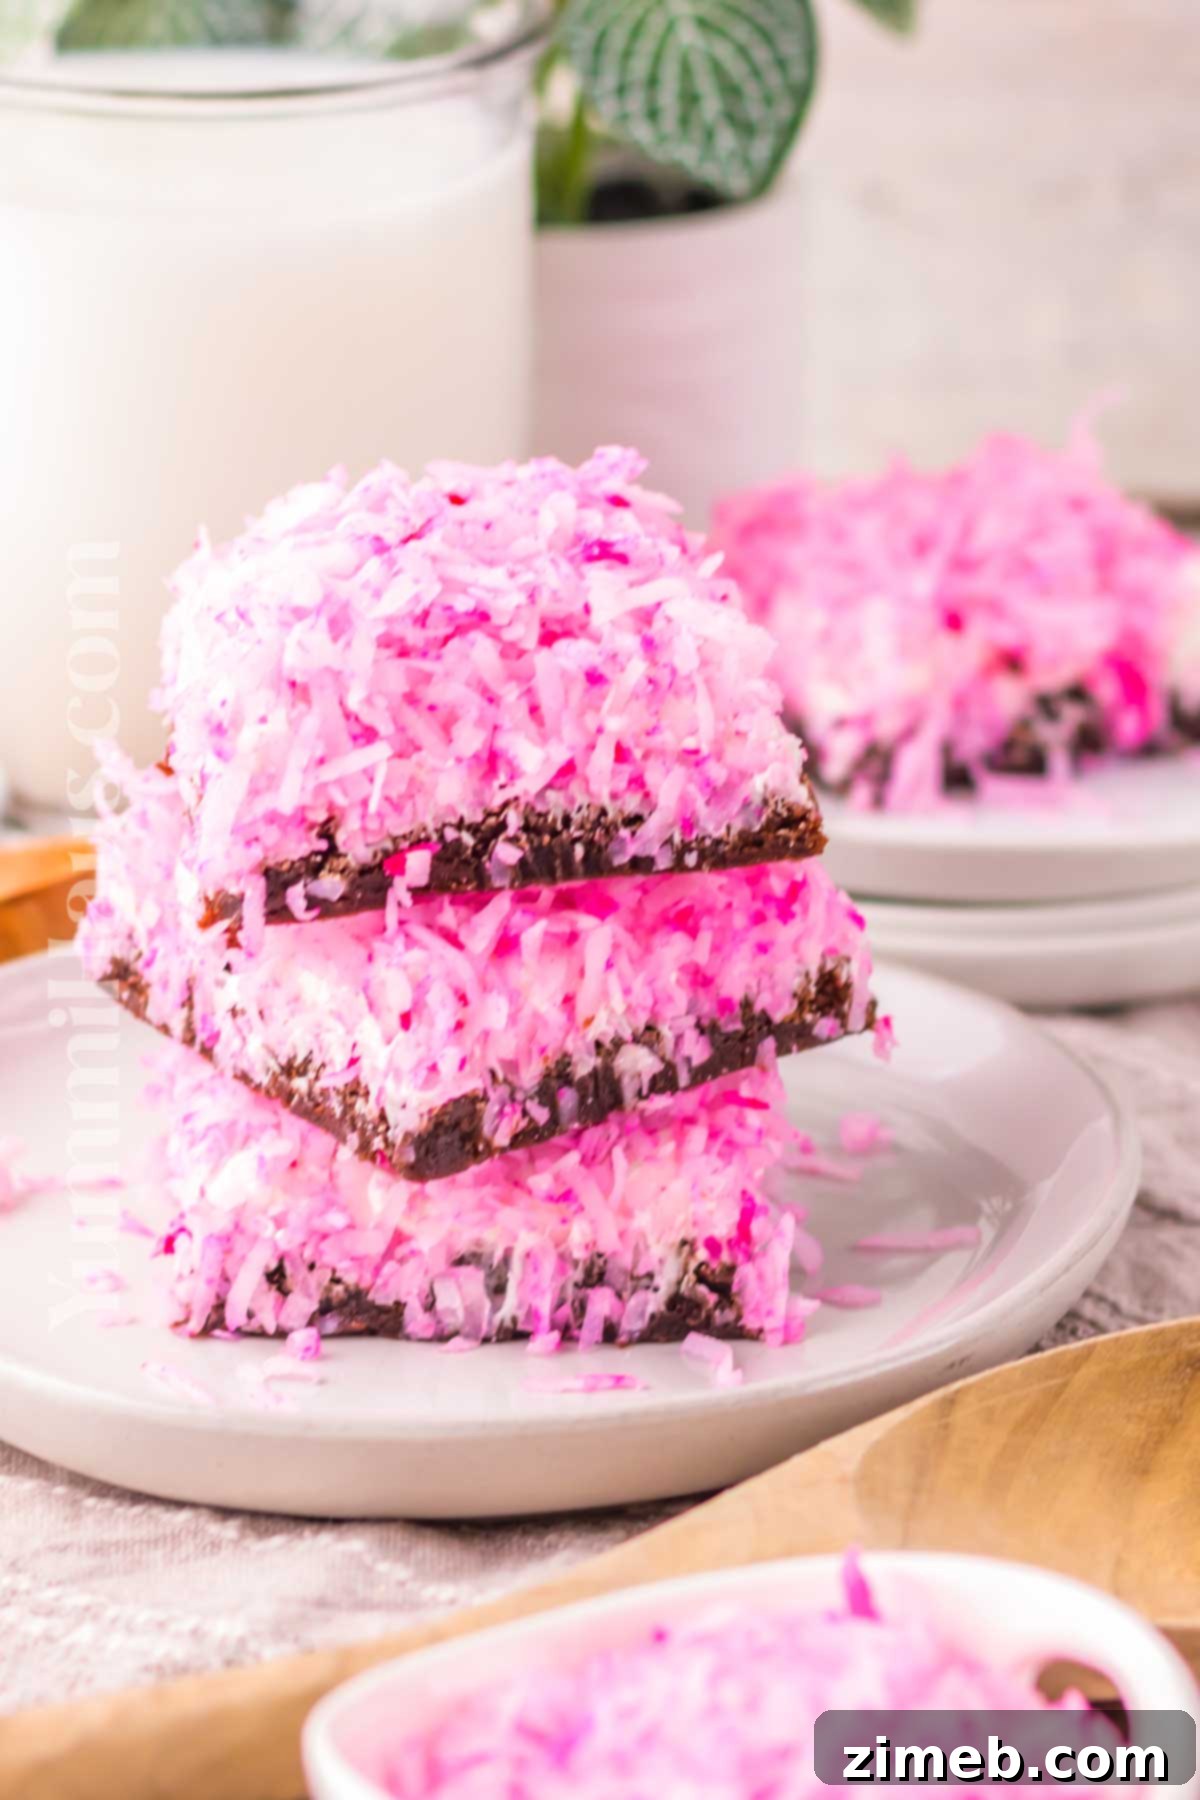
Essential Ingredients for Sno Ball Brownies
Crafting these delightful Sno Ball Brownies requires just a few key ingredients. Here’s a detailed look at what you’ll need and some helpful notes to ensure your dessert turns out perfectly.
For the Brownie Base
- Brownie Mix: We recommend using one family-size box of your favorite brownie mix (typically around 18 ounces). This provides a quick and consistent base. Choose a mix known for its fudgy texture for the best results.
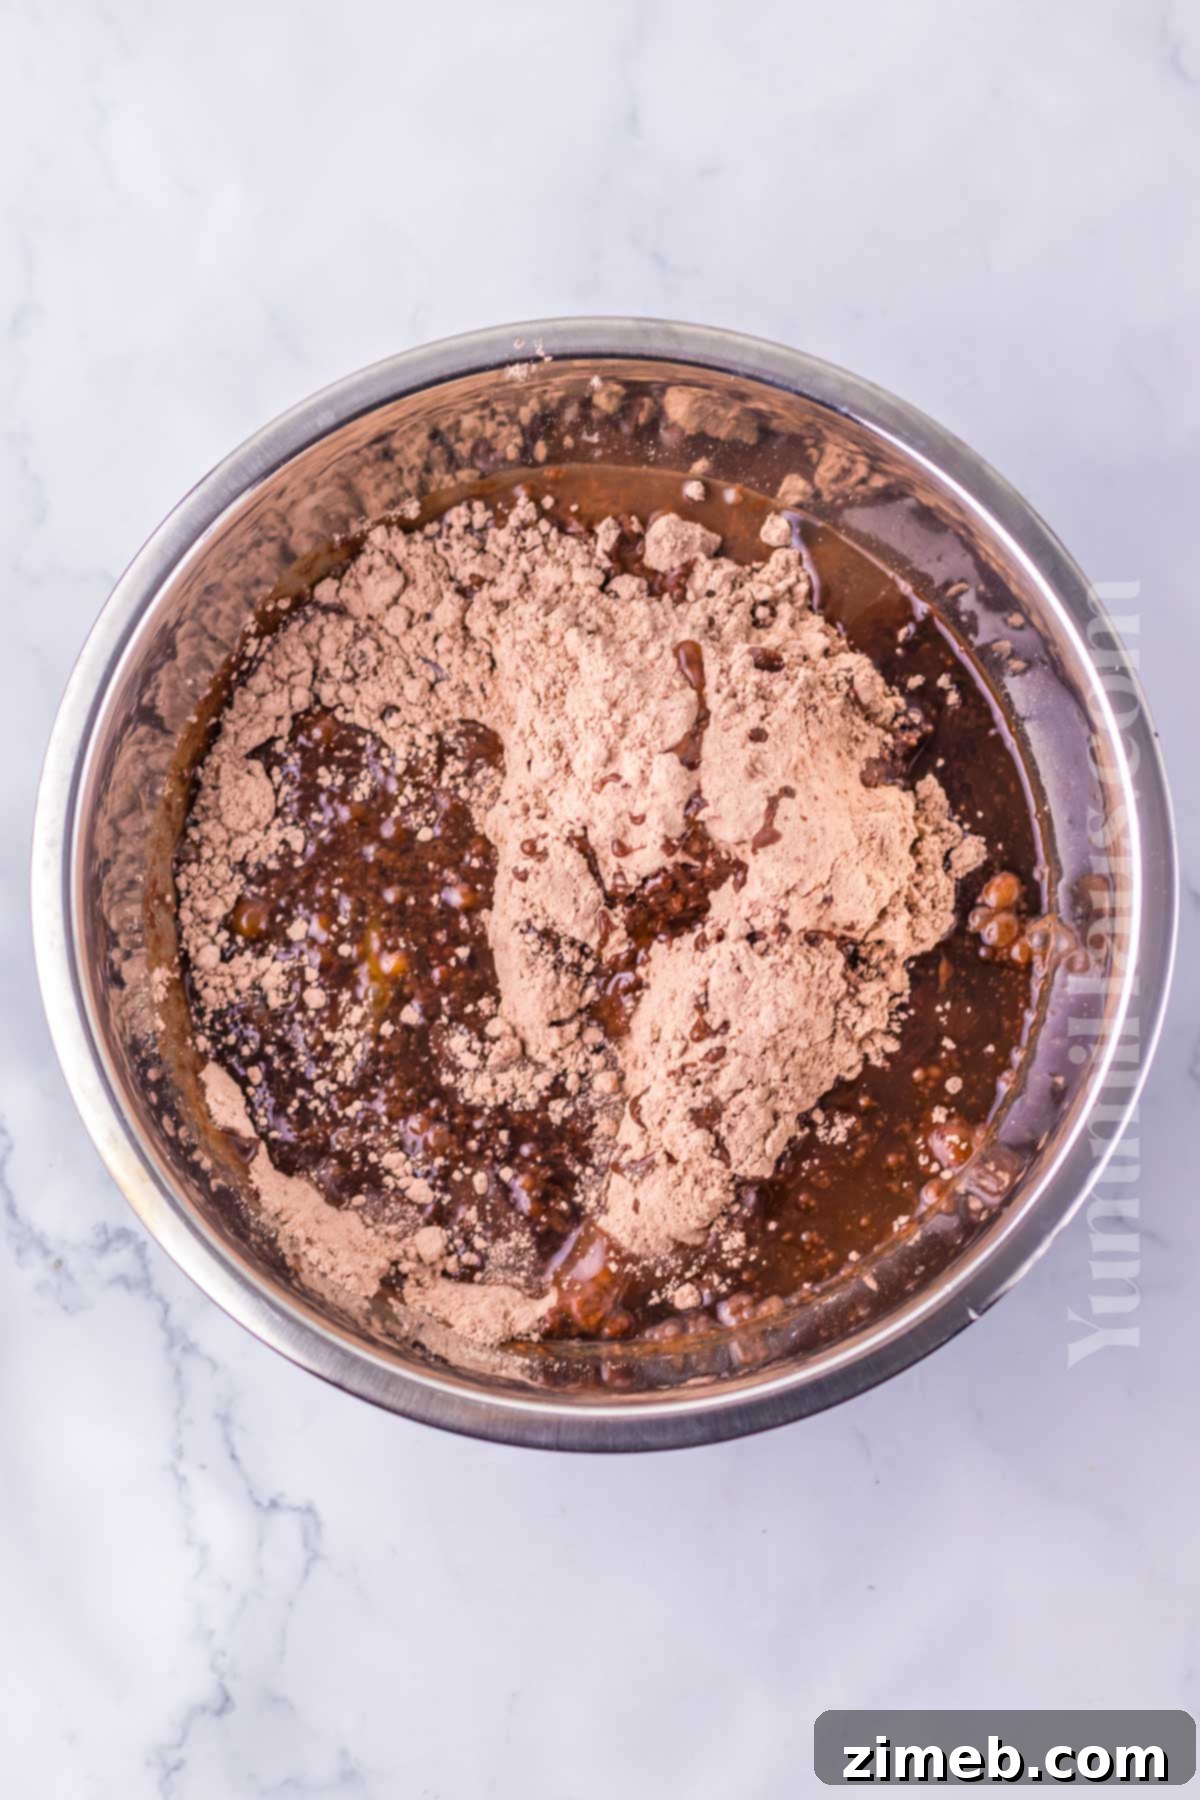
- Eggs, Oil, and Water: You will follow the specific quantities for these ingredients as directed on the back of your chosen brownie mix box. Different brands may require slightly different amounts, so always refer to the package instructions for a 9×13 inch baking dish. Using the recommended fat (oil) helps achieve that desirable moist and chewy brownie.
For the Fluffy Marshmallow & Coconut Topping
- Marshmallow Fluff or Marshmallow Creme: Both options work wonderfully, but they offer slightly different textures. Marshmallow fluff is generally lighter and airier, while marshmallow creme can be a bit denser. One standard jar (typically 7 ounces) will be sufficient. If you only have marshmallow cream, you can beat it with a dash of vanilla extract and a tablespoon or two of powdered sugar to achieve a fluffier consistency.
- Vanilla Frosting: Use a store-bought regular vanilla cake frosting (one 16-ounce container). Choose a good quality frosting for the best flavor and smooth consistency. This forms the base of our fluffy topping, providing a stable and sweet complement to the marshmallow.
- Shredded Coconut: Opt for sweetened shredded coconut, as this adds to the classic Sno Ball sweetness and texture. If the flakes seem too large for your liking, you can pulse them briefly in a food processor to create a finer texture, which helps the color distribute more evenly.
- Pink Food Coloring: A few drops of pink or hot pink food coloring are all you need to achieve that iconic vibrant hue for the coconut. Gel food coloring often provides a richer color with less liquid, but liquid drops work just fine. Start with 2-3 drops and add more gradually until you reach your desired shade.
Essential Kitchen Equipment
Gathering your tools before you start baking will ensure a smooth and enjoyable process for making these Sno Ball Brownies:
- 9×13 Inch Baking Dish: This is the ideal size for a standard family-size brownie mix. Lining it with parchment paper and greasing it with cooking spray will make for effortless brownie removal.
- Mixing Bowls: You’ll need at least two: one for preparing the brownie batter and another for combining the marshmallow frosting and tinting the coconut.
- Spatula or Off-Set Spatula: Essential for evenly spreading the marshmallow topping over your cooled brownies.
- Whisk or Electric Mixer (Optional): While not strictly necessary if using a brownie mix, an electric mixer can ensure a perfectly smooth frosting.
- Food Processor (Optional): If you prefer a finer texture for your shredded coconut, a food processor can quickly pulse it down to your desired size.
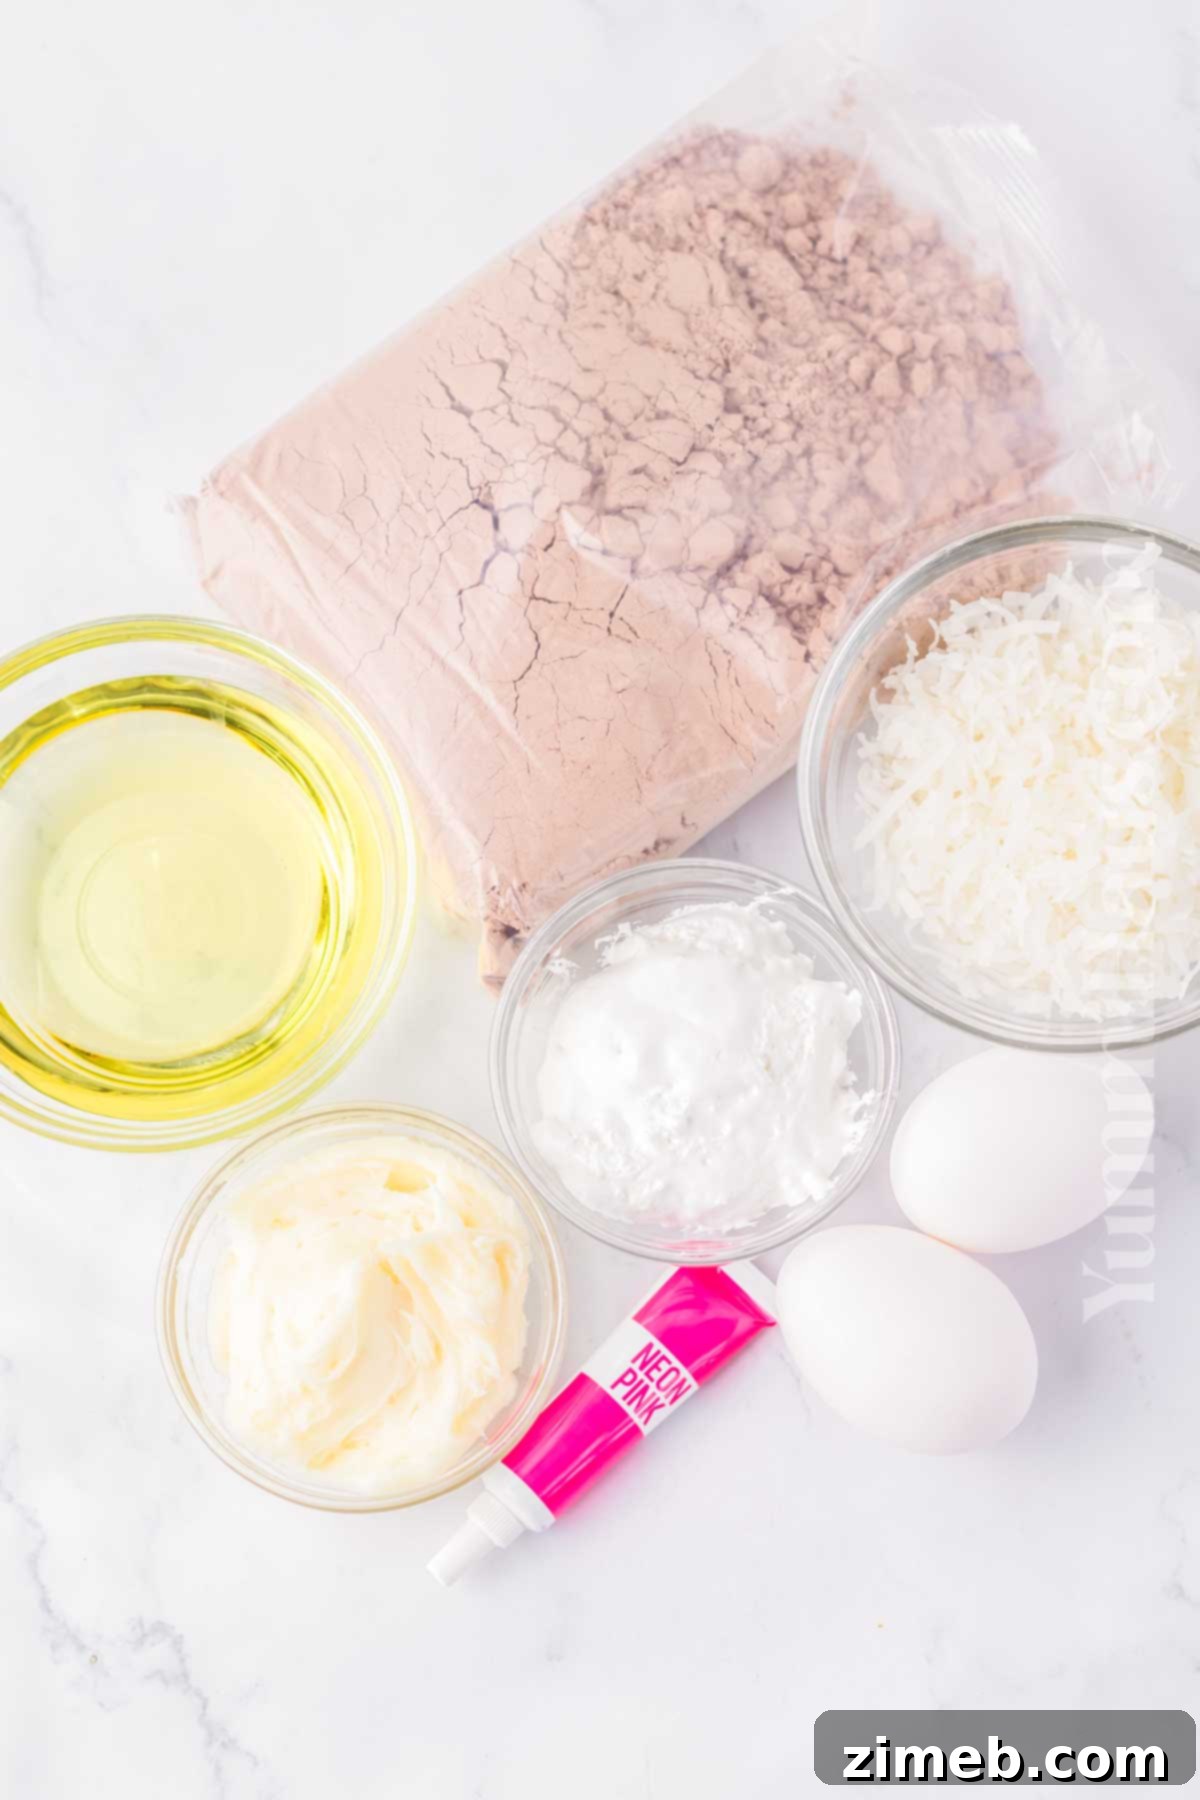
How To Make Irresistible Sno Ball Brownies
Creating these delightful Sno Ball Brownies is a fun and straightforward process. Follow these simple steps for a truly memorable dessert.
Step 1: Bake The Perfect Brownie Base
- Prepare Your Pan: Line a 9×13 inch baking dish with parchment paper, leaving an overhang on the sides to create “handles.” Lightly grease the parchment paper with cooking spray to prevent sticking. This simple step makes removing the brownies much easier later on.
- Mix the Brownie Batter: Follow the instructions on the back of your chosen brownie mix box precisely. You’ll typically combine the mix with eggs, oil, and water. Ensure you’re following the directions for a 9×13 inch pan, as cooking times and ingredient amounts can vary by brand. Mix until just combined; be careful not to overmix, which can lead to dry brownies.
- Bake to Perfection: Pour the prepared batter evenly into your lined and greased pan. Bake for 25-30 minutes, or according to your brownie mix’s package directions. To test for doneness, insert a toothpick into the center of the brownies; it should come out with just a few moist crumbs attached, or clean. Avoid overbaking, which can result in dry, crumbly brownies.
- Cool Completely: This step is crucial! Once baked, allow the brownies to cool completely in the pan on a wire rack before attempting to add the topping. Trying to frost warm brownies will lead to a melted, messy marshmallow layer. Patience is key here.
Step 2: Create the Iconic Sno Ball Topping
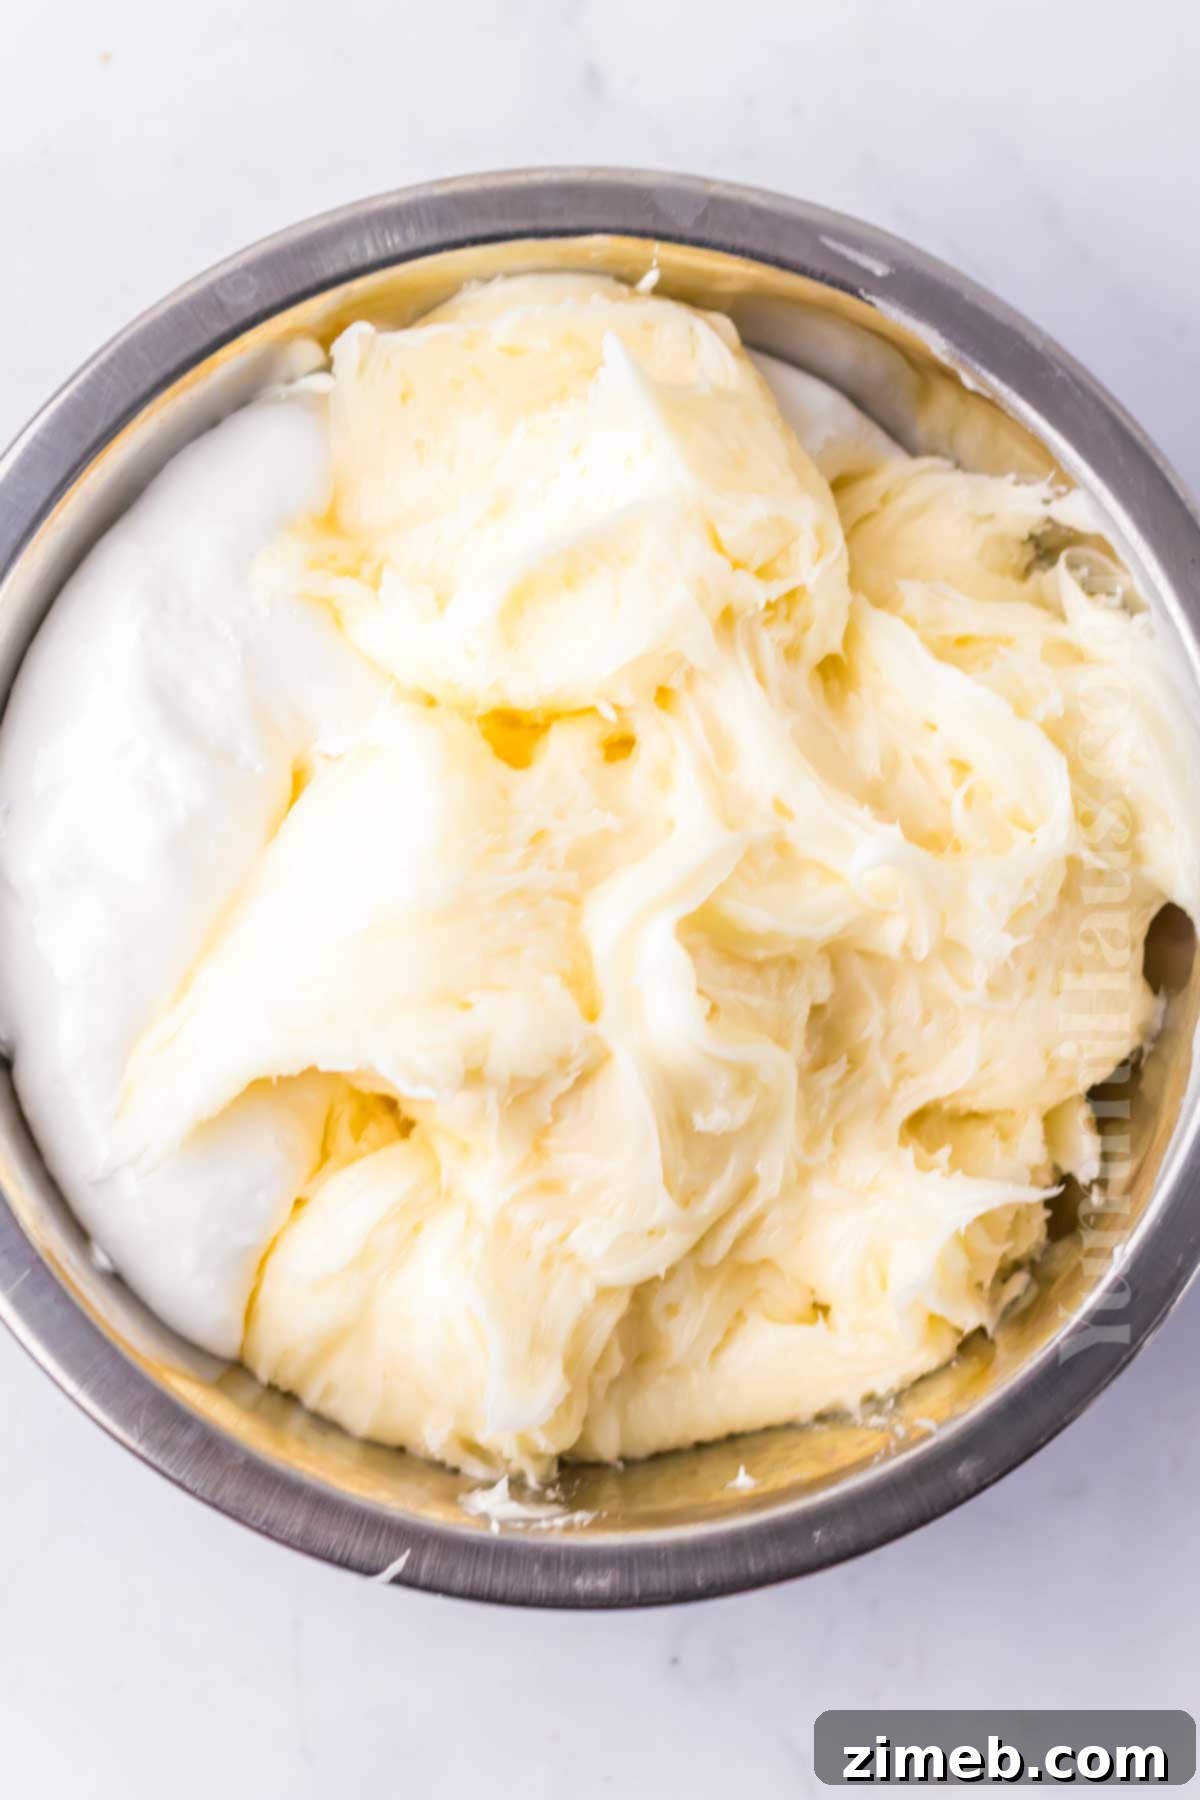
- Combine the Frosting Base: In a medium-sized mixing bowl, combine the marshmallow fluff (or marshmallow creme) and the vanilla frosting. Stir them together with a spatula or whisk until they are thoroughly blended and smooth. The mixture should be light and airy.
- Spread the Marshmallow Layer: Once your brownies are completely cool, gently spread the marshmallow-frosting mixture evenly over the entire surface. An offset spatula works wonderfully for achieving a smooth, uniform layer.
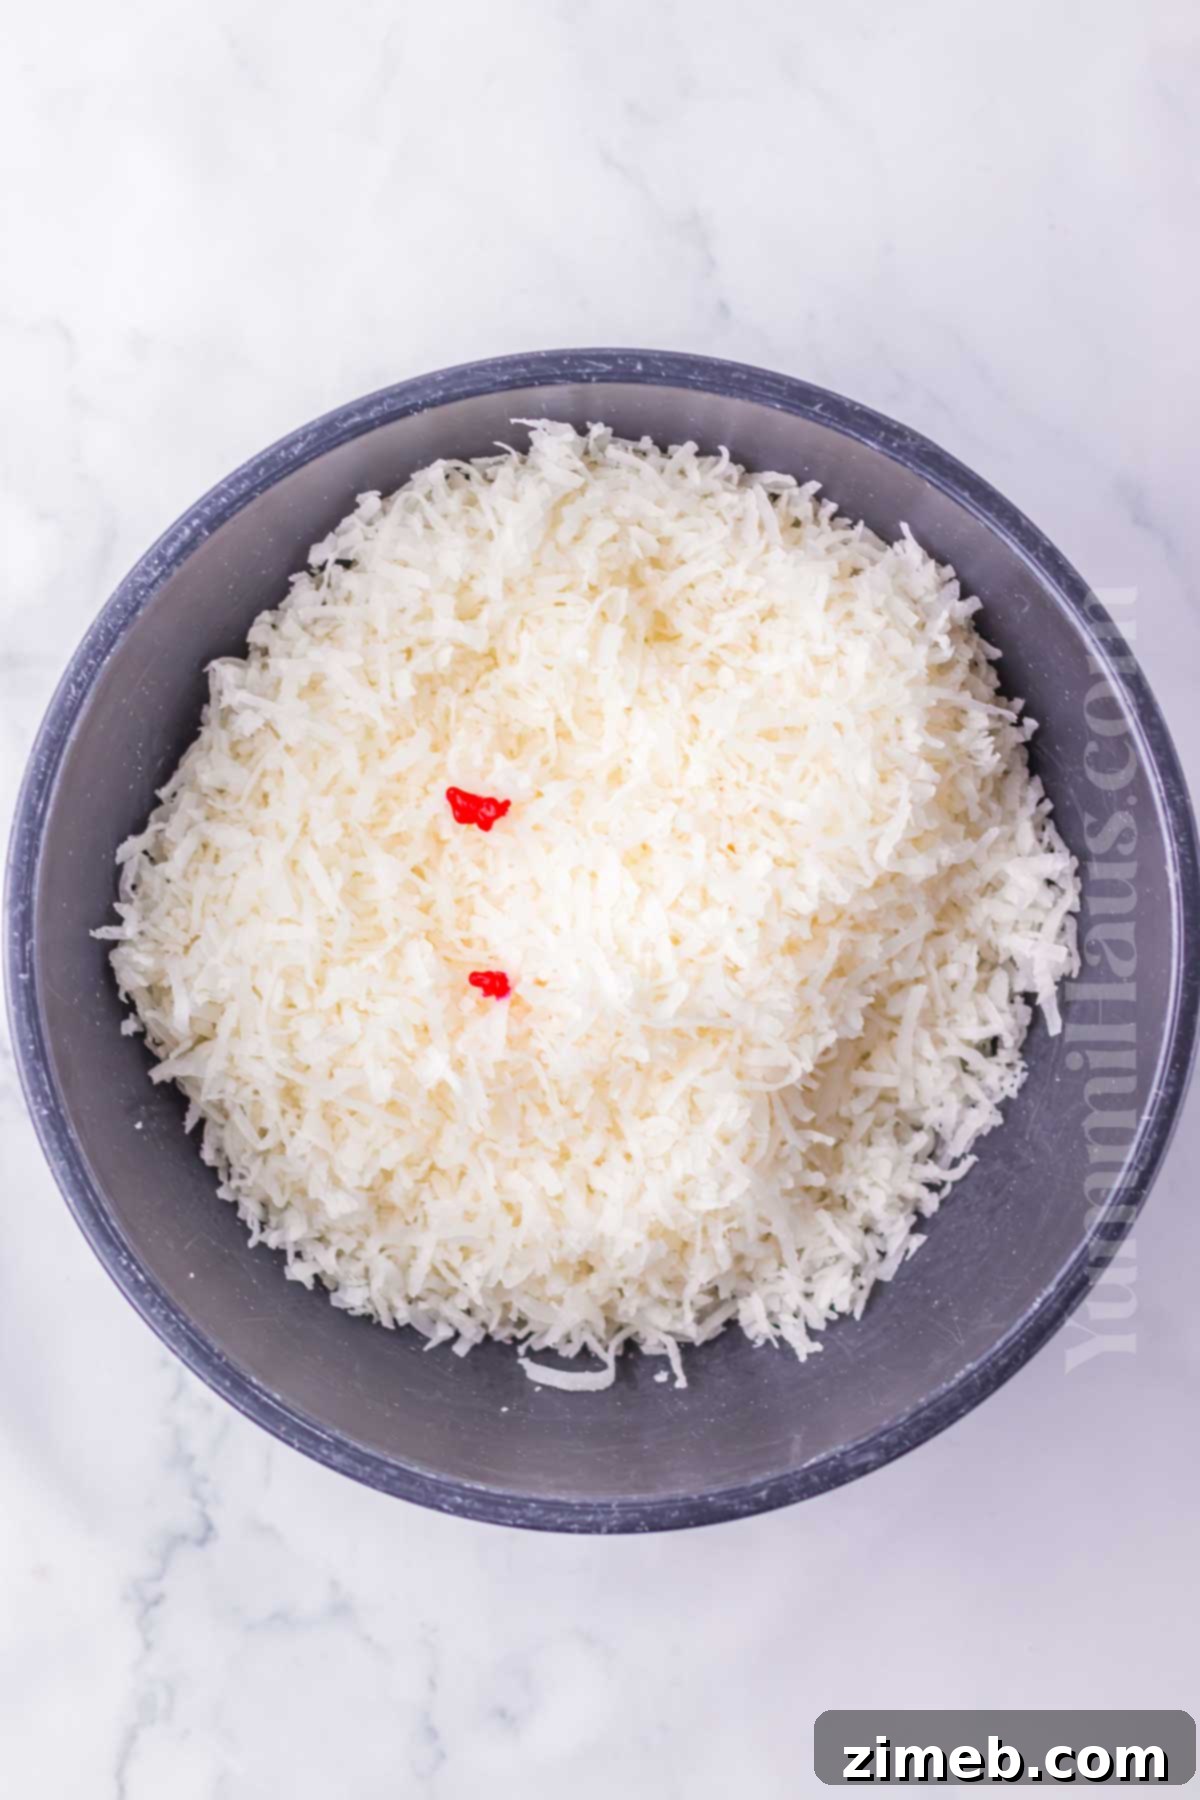
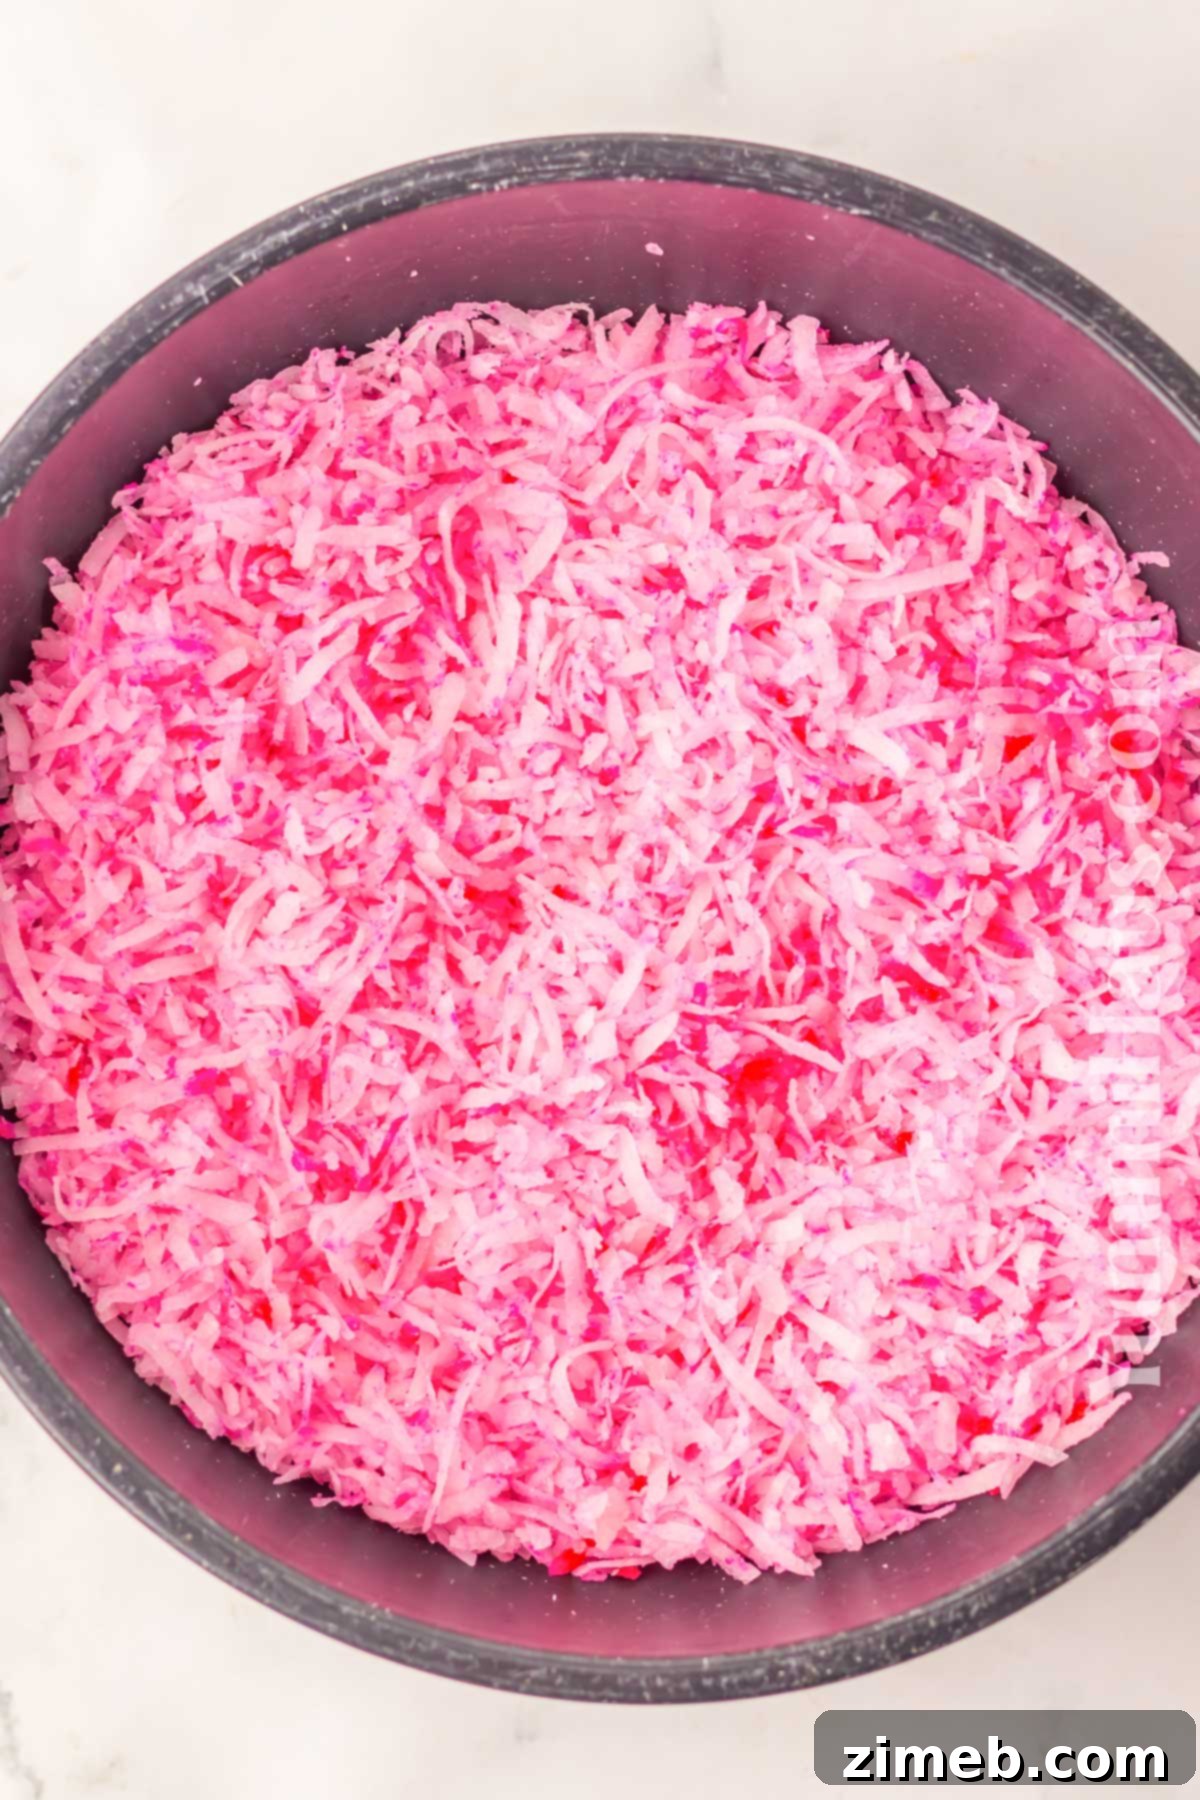
- Tint the Coconut: In a small separate bowl, combine the sweetened shredded coconut with a few drops of pink (or hot pink) food coloring. Use a fork to stir and gently toss the coconut until the color is evenly distributed and the coconut is vibrant pink. Start with 2-3 drops and add more if you desire a deeper shade.
- Apply the Pink Coconut: Generously sprinkle the tinted pink coconut over the top of the marshmallow fluff layer. Gently press the coconut into the frosting with your hand or a clean spatula to help it adhere and ensure every brownie piece gets a good coating.
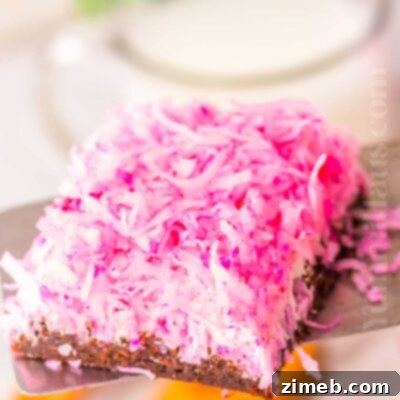
- Chill, Cut, and Serve: For best results and easier cutting, refrigerate the Sno Ball Brownies for at least 30 minutes to allow the topping to set. Once chilled, lift the brownies out of the dish using the parchment paper overhang. Place them on a cutting board, cut into squares, and serve. A glass of cold milk is the perfect accompaniment!
Storage Solutions for Your Sno Ball Brownies
To maintain their fresh taste and perfect texture, these delightful Sno Ball Brownies should be refrigerated. Store them in an airtight container for 3-4 days. This keeps the marshmallow topping firm and the brownies moist.
You can enjoy these brownies straight from the refrigerator for a firm, cool treat, or allow them to come to room temperature for about 15-20 minutes for a softer, slightly more yielding texture. Either way, they are absolutely delicious!
Fun Substitutions & Creative Variations
While the classic Sno Ball Brownie is perfect as is, feel free to get creative and customize this recipe to your liking. Here are some ideas for substitutions and variations:
- Topping Alternatives: Instead of pink coconut, consider topping your brownies with mini meringue shells for a delicate crunch, or a sprinkle of colorful M&Ms for added texture and chocolate.
- Colorful Coconut: The traditional Sno Ball is pink, but there’s no rule against experimenting! Use ANY food coloring to tint your coconut – blue, green, lavender, or even a mix of multiple colors for different holidays or themes.
- Homemade Marshmallow Frosting: If you prefer a homemade touch, you can prepare a classic marshmallow buttercream from scratch. This would involve butter, powdered sugar, marshmallow fluff, and vanilla extract, yielding an even richer topping.
- Different Frosting Flavors: While vanilla is classic, feel free to use your favorite frosting flavor as the base, such as cream cheese frosting or even a chocolate frosting for an extra chocolatey kick. A little vanilla extract can still be added for depth of flavor.
- Brownie Mix-Ins: Elevate your brownie base by mixing in additional ingredients before baking. Consider folding in chocolate chips, white chocolate chunks, chopped nuts (like walnuts or pecans), or even a swirl of peanut butter. A dash of extra cocoa powder can deepen the chocolate flavor.
- From-Scratch Brownies: For those who love to bake from scratch, prepare your favorite homemade fudgy brownie recipe. Key ingredients typically include unsalted butter, cocoa powder, granulated sugar, eggs, vanilla extract, all-purpose flour, and sometimes melted chocolate.
- Enhanced Coconut Adhesion: If you find the food coloring struggles to adhere to the coconut, you can optionally mix a tiny amount of cornstarch into the coconut and coloring mixture. This creates a slightly drier coating that clings better, though it’s usually not necessary for sweetened shredded coconut.
- Mini Sno Ball Bites: Cut your brownies into smaller, bite-sized pieces for easy snacking or party platters.
Expert Tips for Perfect Sno Ball Brownies
Achieving bakery-quality Sno Ball Brownies is easier than you think with these helpful tips:
- Parchment Paper is Your Friend: Always line your baking pan with parchment paper, allowing it to overhang on the sides. This creates convenient “handles” that let you easily lift the entire slab of cooled brownies out of the pan, making cutting and serving a breeze.
- Warm Marshmallow Fluff for Easy Spreading: Marshmallow fluff can be quite sticky and challenging to scoop. If it’s too stiff, microwave the entire jar (without the lid!) for 10-15 seconds. This will slightly warm and loosen it, making it much easier to mix with the frosting and spread smoothly.
- Patience with Cooling: Resist the temptation to frost warm brownies. The marshmallow topping will melt and slide right off. Ensure your brownies are completely cooled to room temperature before applying the frosting for a clean, stable layer.
- Use a Fork for Even Coconut Tinting: When mixing the food coloring into the shredded coconut, a fork works best. It helps to separate the strands and ensures the color is evenly distributed without clumping, giving you that uniform vibrant pink.
- Gentle Pressure for Adhesion: After sprinkling the pink coconut, lightly press it down onto the marshmallow frosting. This gentle pressure helps the coconut adhere firmly to the sticky topping, preventing it from falling off when you cut or serve the brownies.
Frequently Asked Questions About Brownies & Sno Balls
Here are answers to some common questions that arise when baking brownies and discussing the iconic Sno Ball treat.
Why Are Brownies Chewy?
Chewy brownies are highly sought after, and their texture is often attributed to a few key ingredients and techniques. The presence of brown sugar contributes significantly to chewiness because of its molasses content, which adds moisture and creates a denser, more pliable crumb. Eggs also play a vital role; they act as a binder and contribute to the structure and chewiness. However, it’s a delicate balance: while eggs add chew, too many can make your brownies taste rubbery or overly cake-like. Additionally, using a higher ratio of fat to flour, and often a lower baking temperature for a slightly longer time, can promote that desirable chewy consistency by preventing excessive cake-like rise.
Why Do Brownies Crumble?
Crumbly brownies are often a sign of insufficient moisture or overbaking. If your brownie batter lacks enough wet ingredients like water, oil, milk, or eggs, the final product will be dry and brittle. Similarly, an excess of flour can absorb too much moisture, leading to a dry and crumbly texture. The most common culprit, however, is overbaking. When brownies bake for too long, the moisture evaporates, causing them to lose their soft, fudgy, or cakey texture and become dry and prone to crumbling. To prevent this, always follow the instructions on your brownie mix box or a trusted homemade recipe, ensuring the correct balance of wet and dry ingredients, and keep a close eye on baking times, removing the brownies as soon as a toothpick comes out with just moist crumbs.
Why Are Sno Balls Pink?
The iconic pink color of Hostess Sno Balls is largely a branding choice that has become a beloved tradition. When Hostess began mass-producing Sno Balls, they decided to feature the bright pink topping, and it quickly became their signature look. There isn’t one specific historical reason beyond market differentiation and appeal. While pink is the most recognizable color, Hostess has also released Sno Balls in various other colors like chocolate, blue, green, and lavender to celebrate different seasons, holidays, or special promotions, adding a festive touch to their classic snack cake lineup.
Who Invented Sno Balls?
Sno Balls, as a confection, first appeared in America after World War II. However, they weren’t initially in their now-famous form. Hostess, the well-known bakery brand, picked them up for mass production around 1947. At this time, they were simply ball-shaped chocolate cakes without the creamy filling or the distinctive pink marshmallow and coconut topping. The beloved white icing filling and the iconic pink food coloring were added later, in the 1950s, transforming them into the nostalgic treat we recognize today. Interestingly, in Louisiana, the term “snoballs” also refers to a completely different, but equally popular, sweet treat: finely shaved ice served with flavored syrup, often tinted pink as well!
We hope you thoroughly enjoy creating and devouring these nostalgic Sno Ball Brownies. They’re truly a simple pleasure that brings a touch of childhood magic to any day. If you’re a fan of coconut, be sure to explore more delightful recipes that feature this tropical ingredient!
Check out this recipe
Check out this recipe
Check out this recipe
Check out this recipe
Check out this recipe
More Great Bar Recipes
100-Hour Brownies
Kitchen Sink Brownies
Lemon Cookie Bars Recipe
Red Velvet Cream Cheese Brownies
CONNECT WITH YUMMI HAUS!
Be sure to follow me on my social media, so you never miss a post!
Substack, FB, Pinterest, IG, Email Subscription
Snoball Brownies
Ingredients
- 18 oz brownie mix 1 family-size box + eggs, oil, and water for brownie mix (qty depends on the brand and directions on the back of the box)
- 7 oz marshmallow fluff
- 16 oz vanilla frosting
- 7 oz shredded coconut sweetened
- 8 drops pink food coloring
Instructions
Brownies
-
Prepare the brownies according to the instructions on the back of the box. You want to make them per the directions for a 9×13 baking dish. The exact directions will vary depending on the brand of brownies you choose. Once baked – cool completely before adding the snoball topping.
Topping
-
Combine the marshmallow fluff and frosting in a medium mixing bowl. Stir together.
-
Spread the fluff mixture over the top of the cooled brownies.
-
Combine the coconut and food coloring in a small bowl. Stir until the coconut is tinted pink and the color is even throughout. (start with just 2-3 drops and increase as needed)
-
Add this tinted coconut over the top of the fluff. Press in gently to help it stick into the topping.
-
Remove the brownies from the dish. Cut and serve.
Notes
Bake with foil or parchment lining the pan to make removal easy. Just lift the brownies out.
If you microwave the marshmallow fluff for 10-15 seconds it will be easier to scoop out of the jar.
Nutrition
Nutritional information for the recipe is provided as a courtesy and is approximate. Please double-check with your own dietary calculator for the best accuracy. We at Yummi Haus cannot guarantee the accuracy of the nutritional information given for any recipe on this site.