
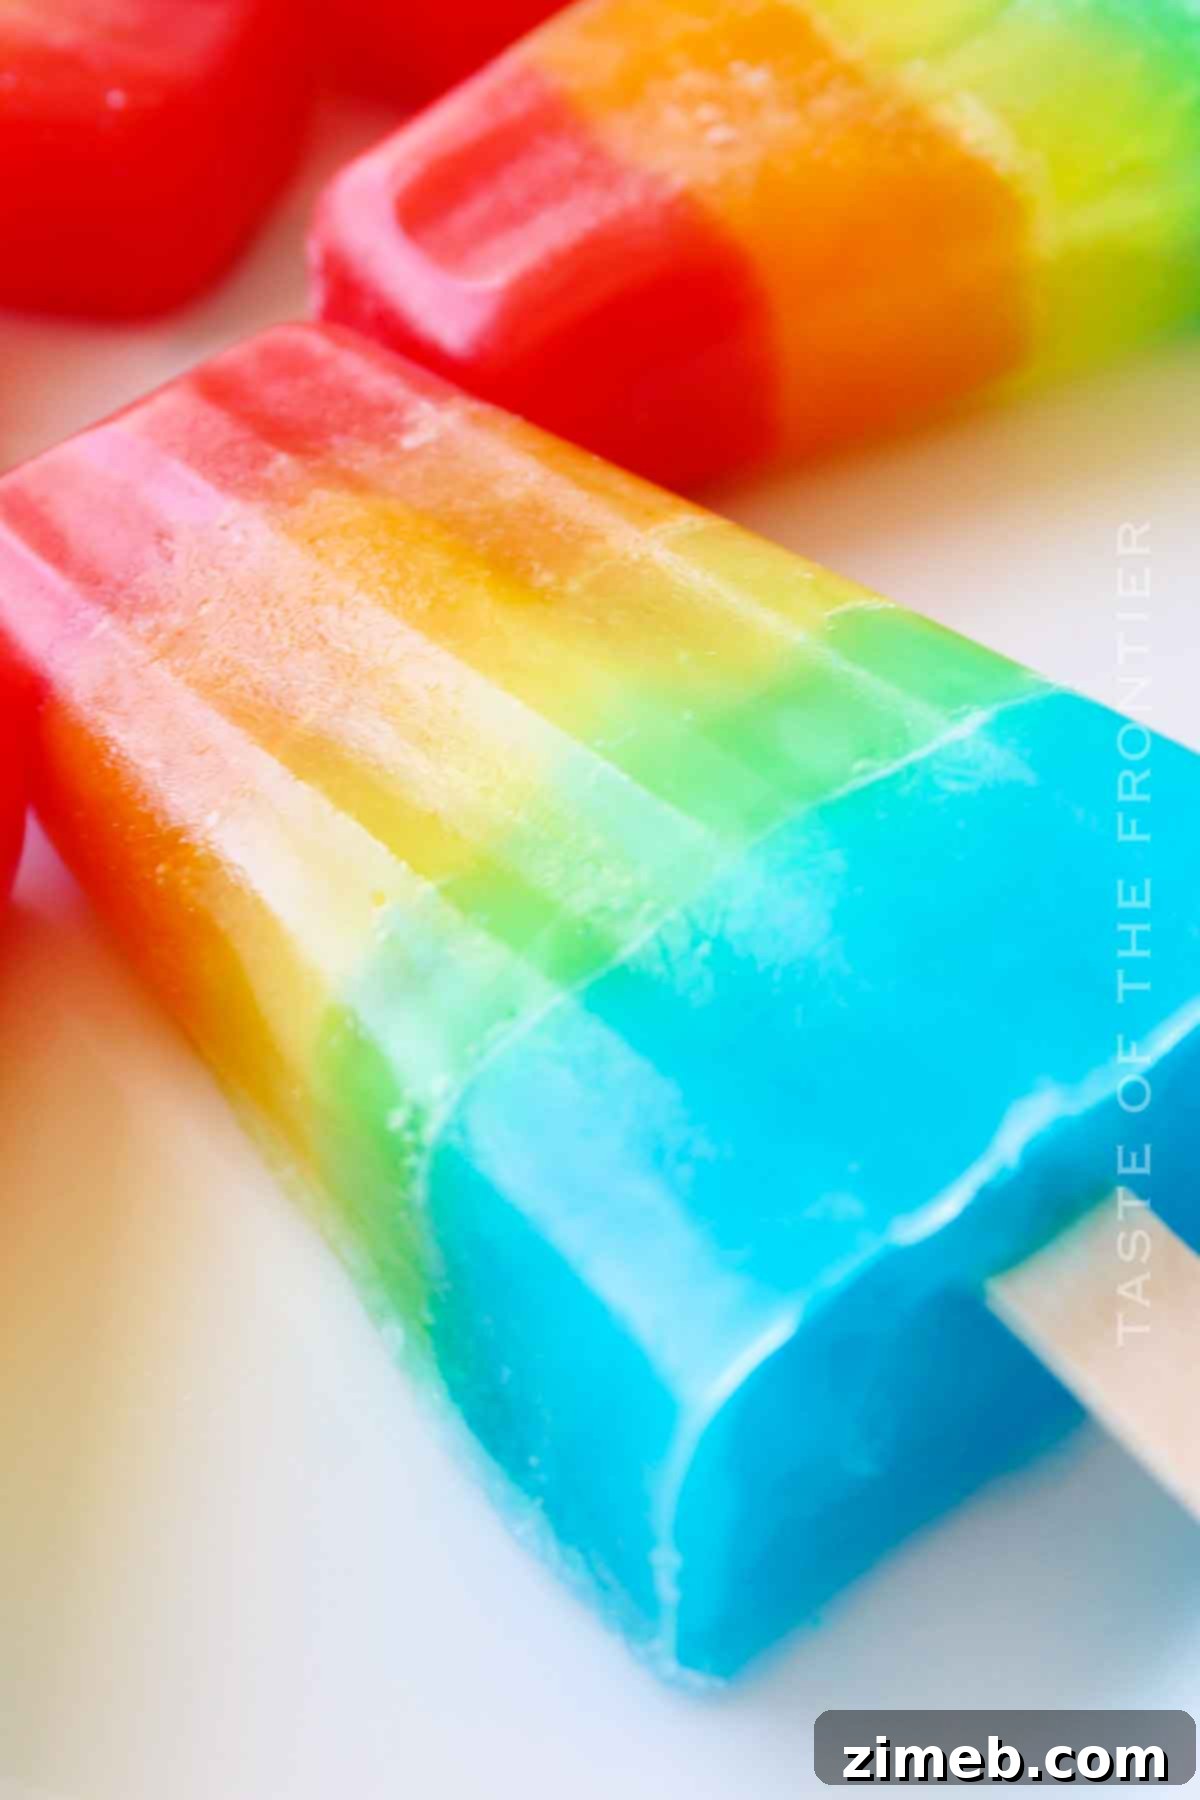
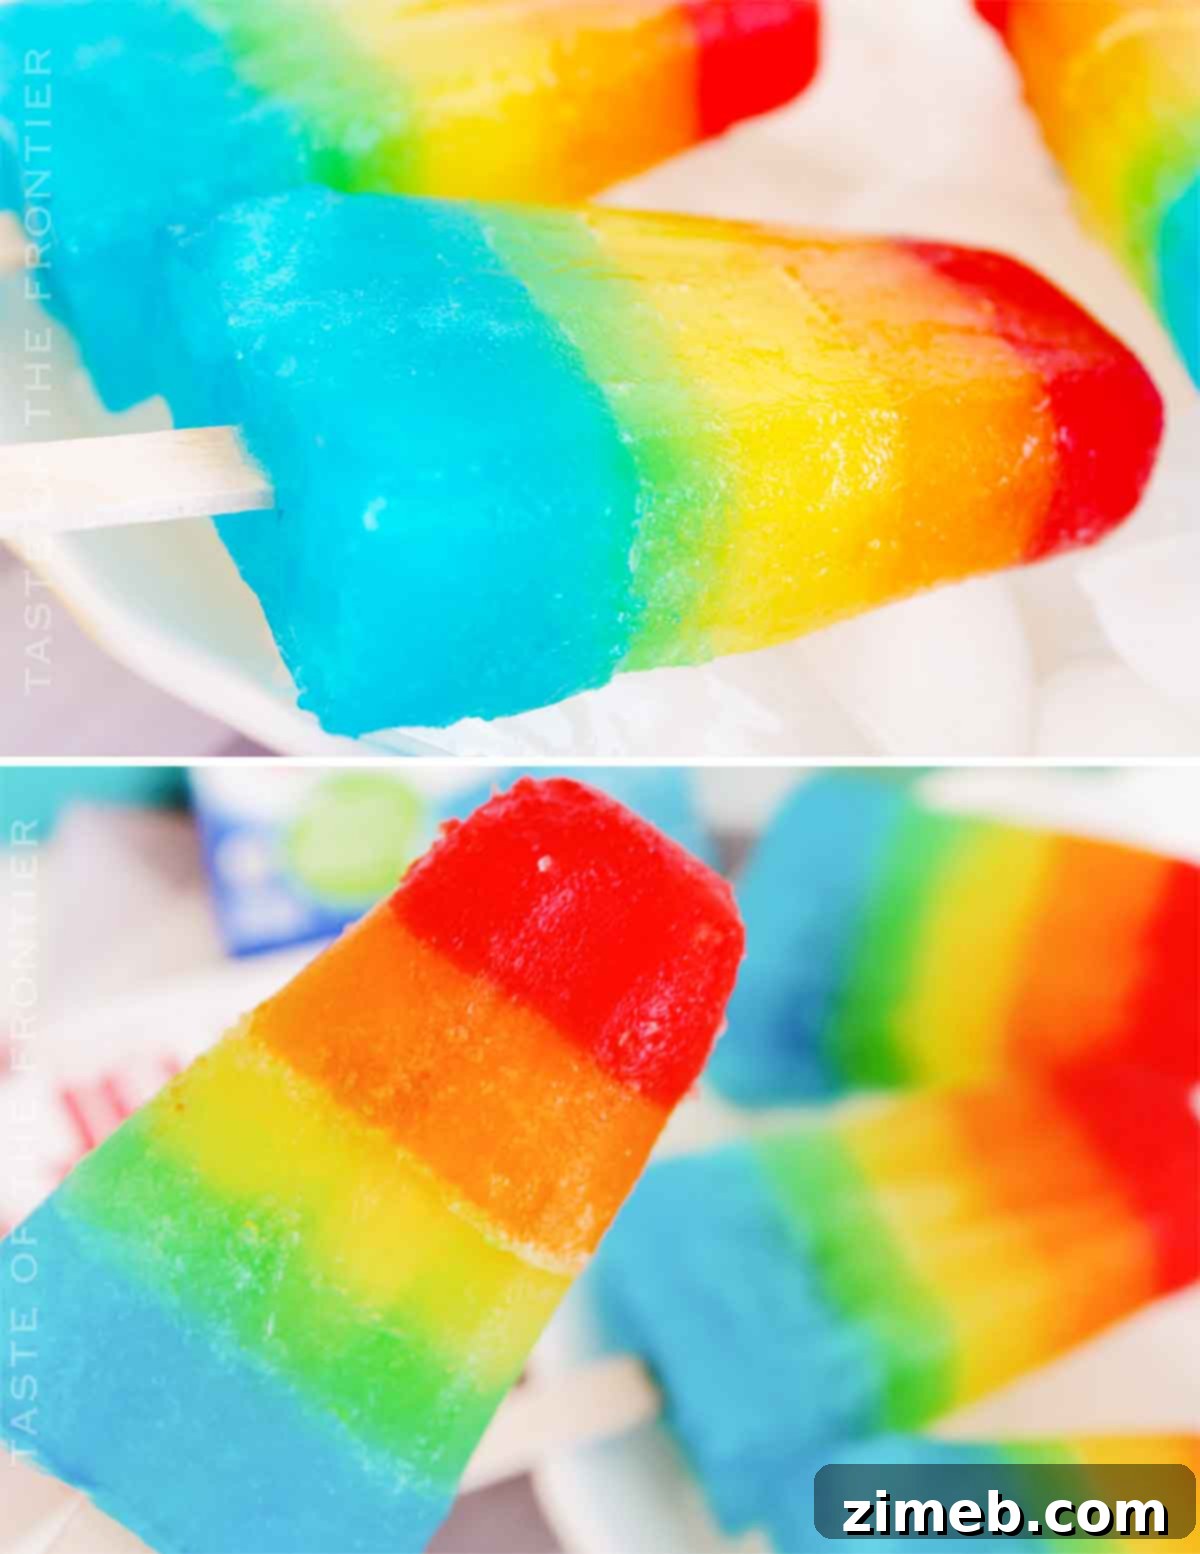
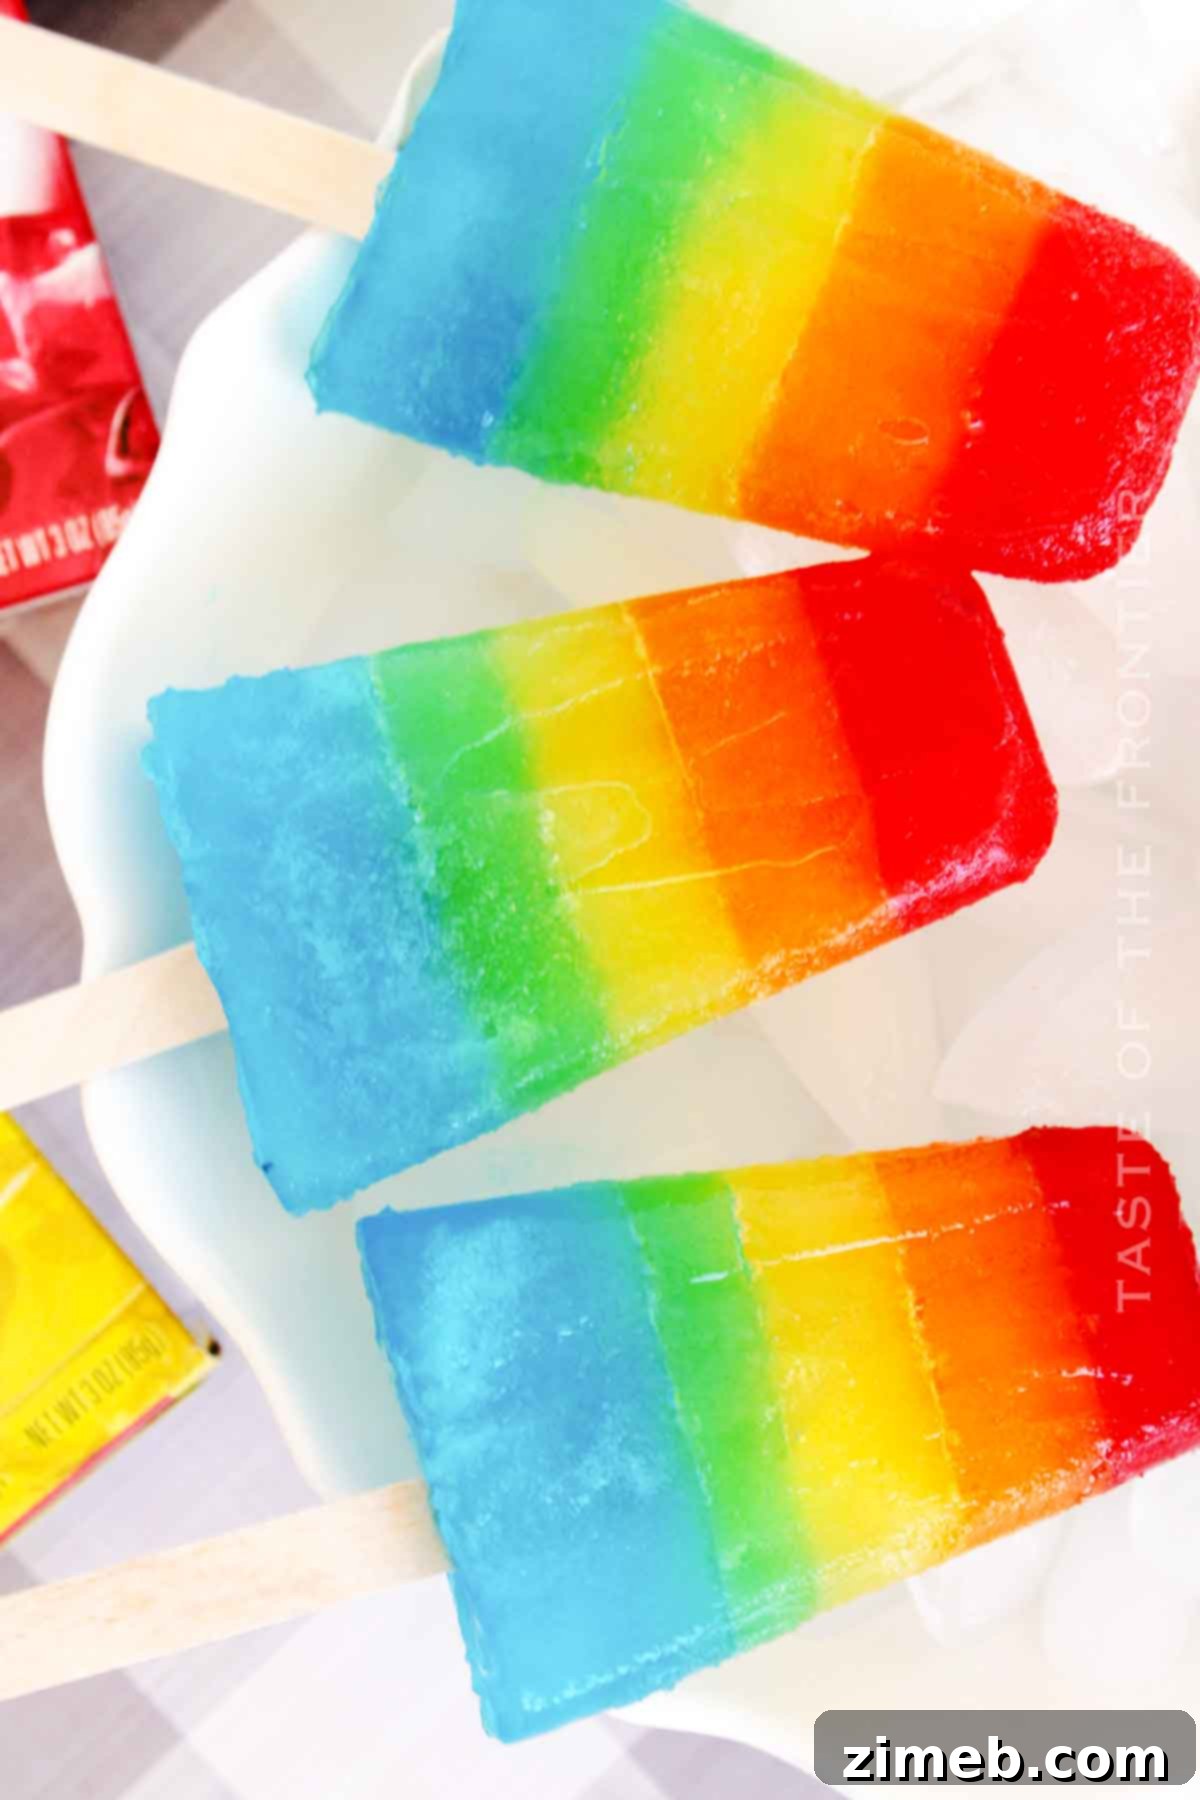
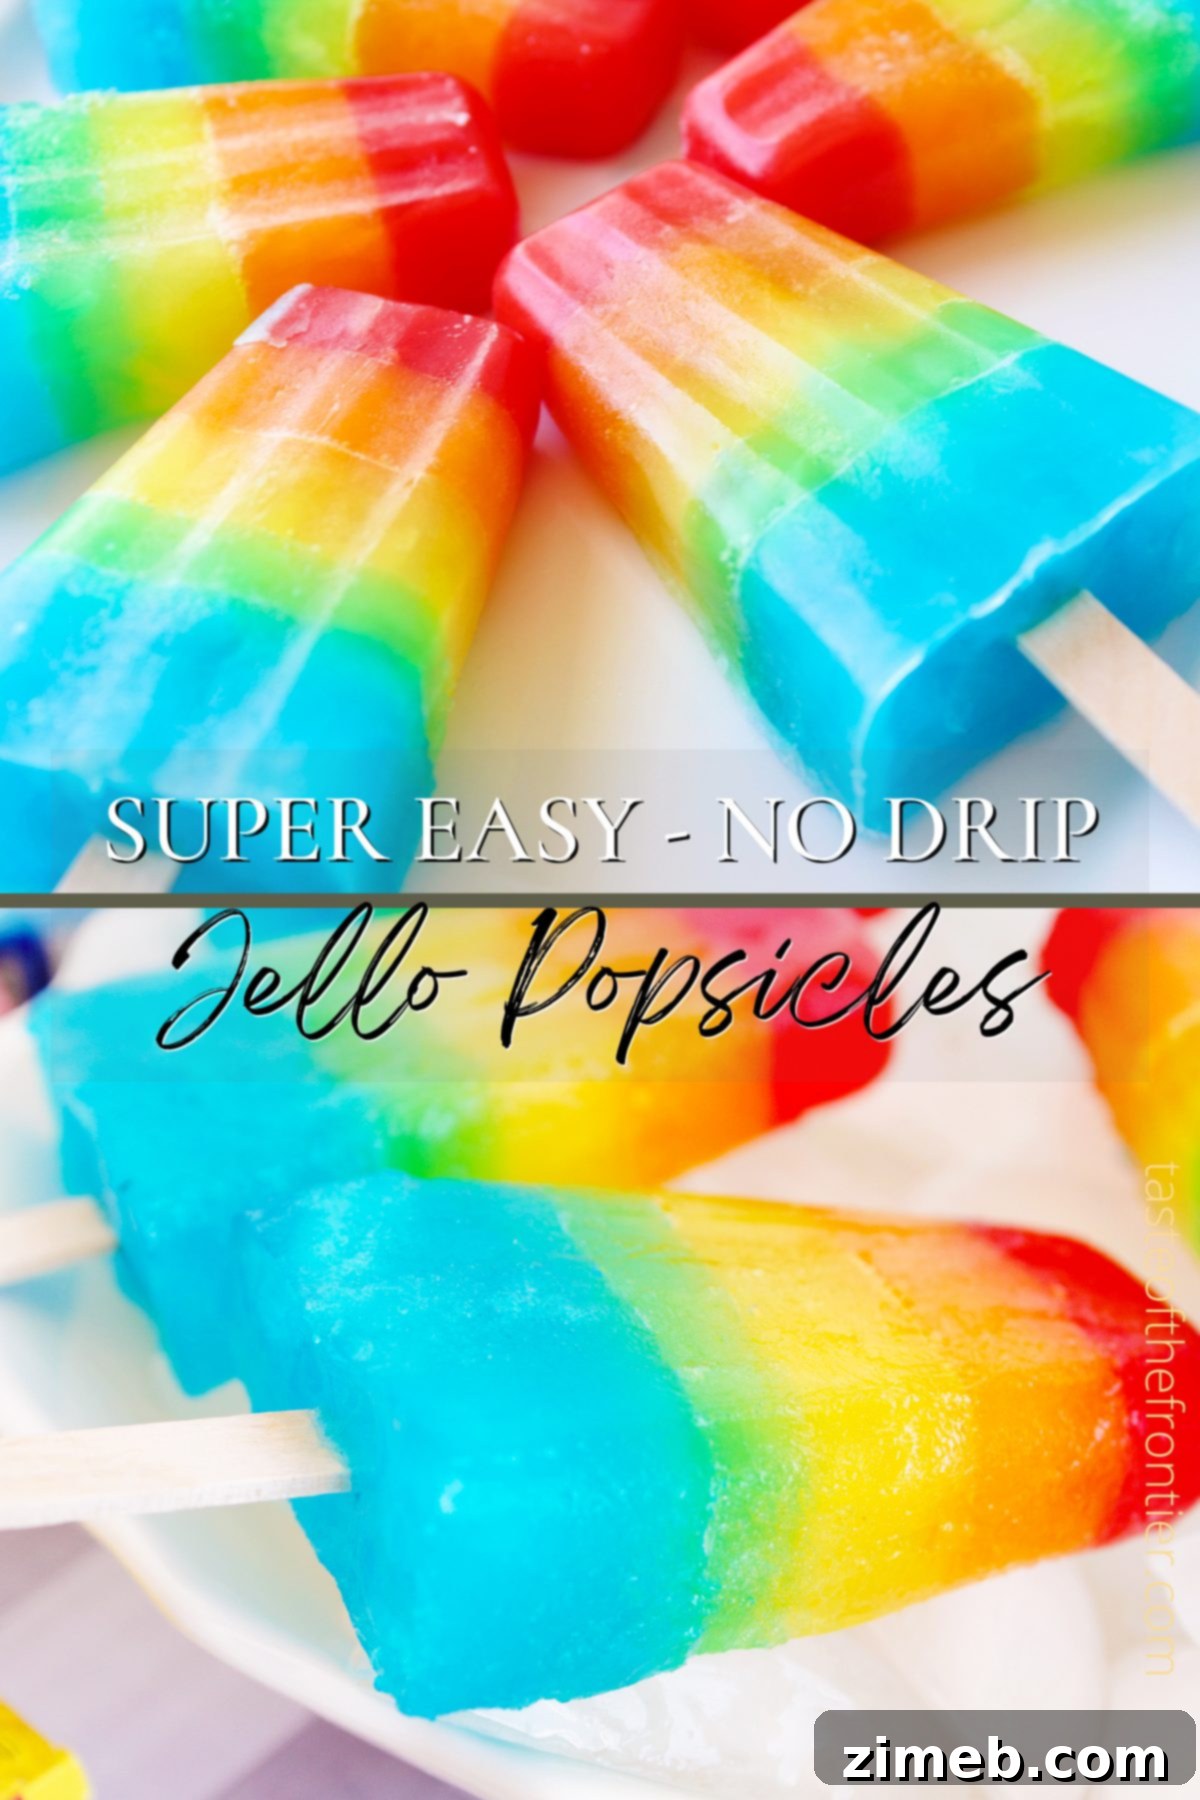
Jello Popsicles are the ultimate no-drip frozen treat, perfect for cooling down on warm summer days. Easy to make and incredibly versatile, these vibrant popsicles can be customized with a rainbow of colors and flavors to delight kids and adults alike at any gathering.
There’s an undeniable magic to summertime, filled with sunshine, laughter, and the refreshing taste of icy treats. While store-bought options abound, nothing quite compares to the joy of homemade Jello Popsicles. These delightful frozen desserts are more than just a sweet snack; they’re a colorful expression of summer fun, offering a burst of fruity flavor with every lick. What makes them truly special? Their unique “no-drip” quality, thanks to the gelatin base, means less mess for little hands and more enjoyment for everyone.
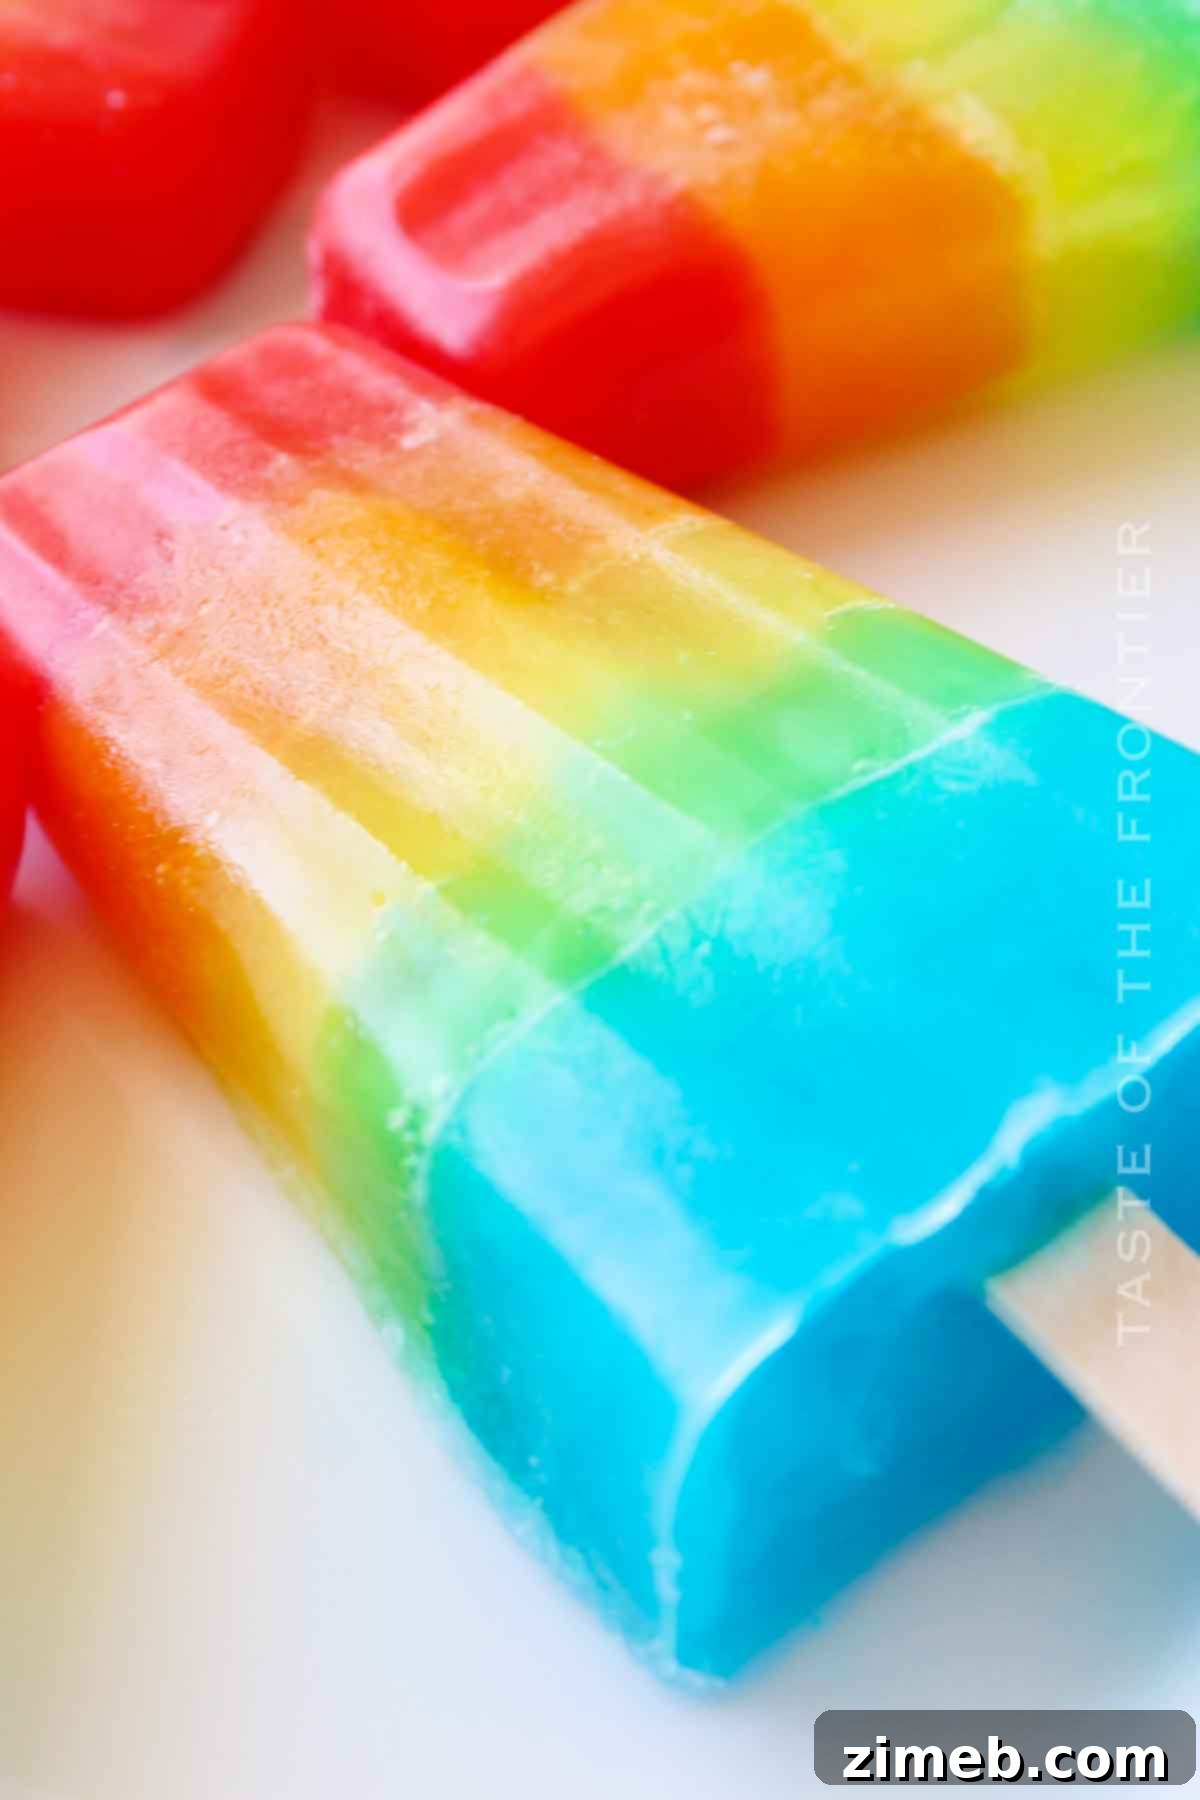
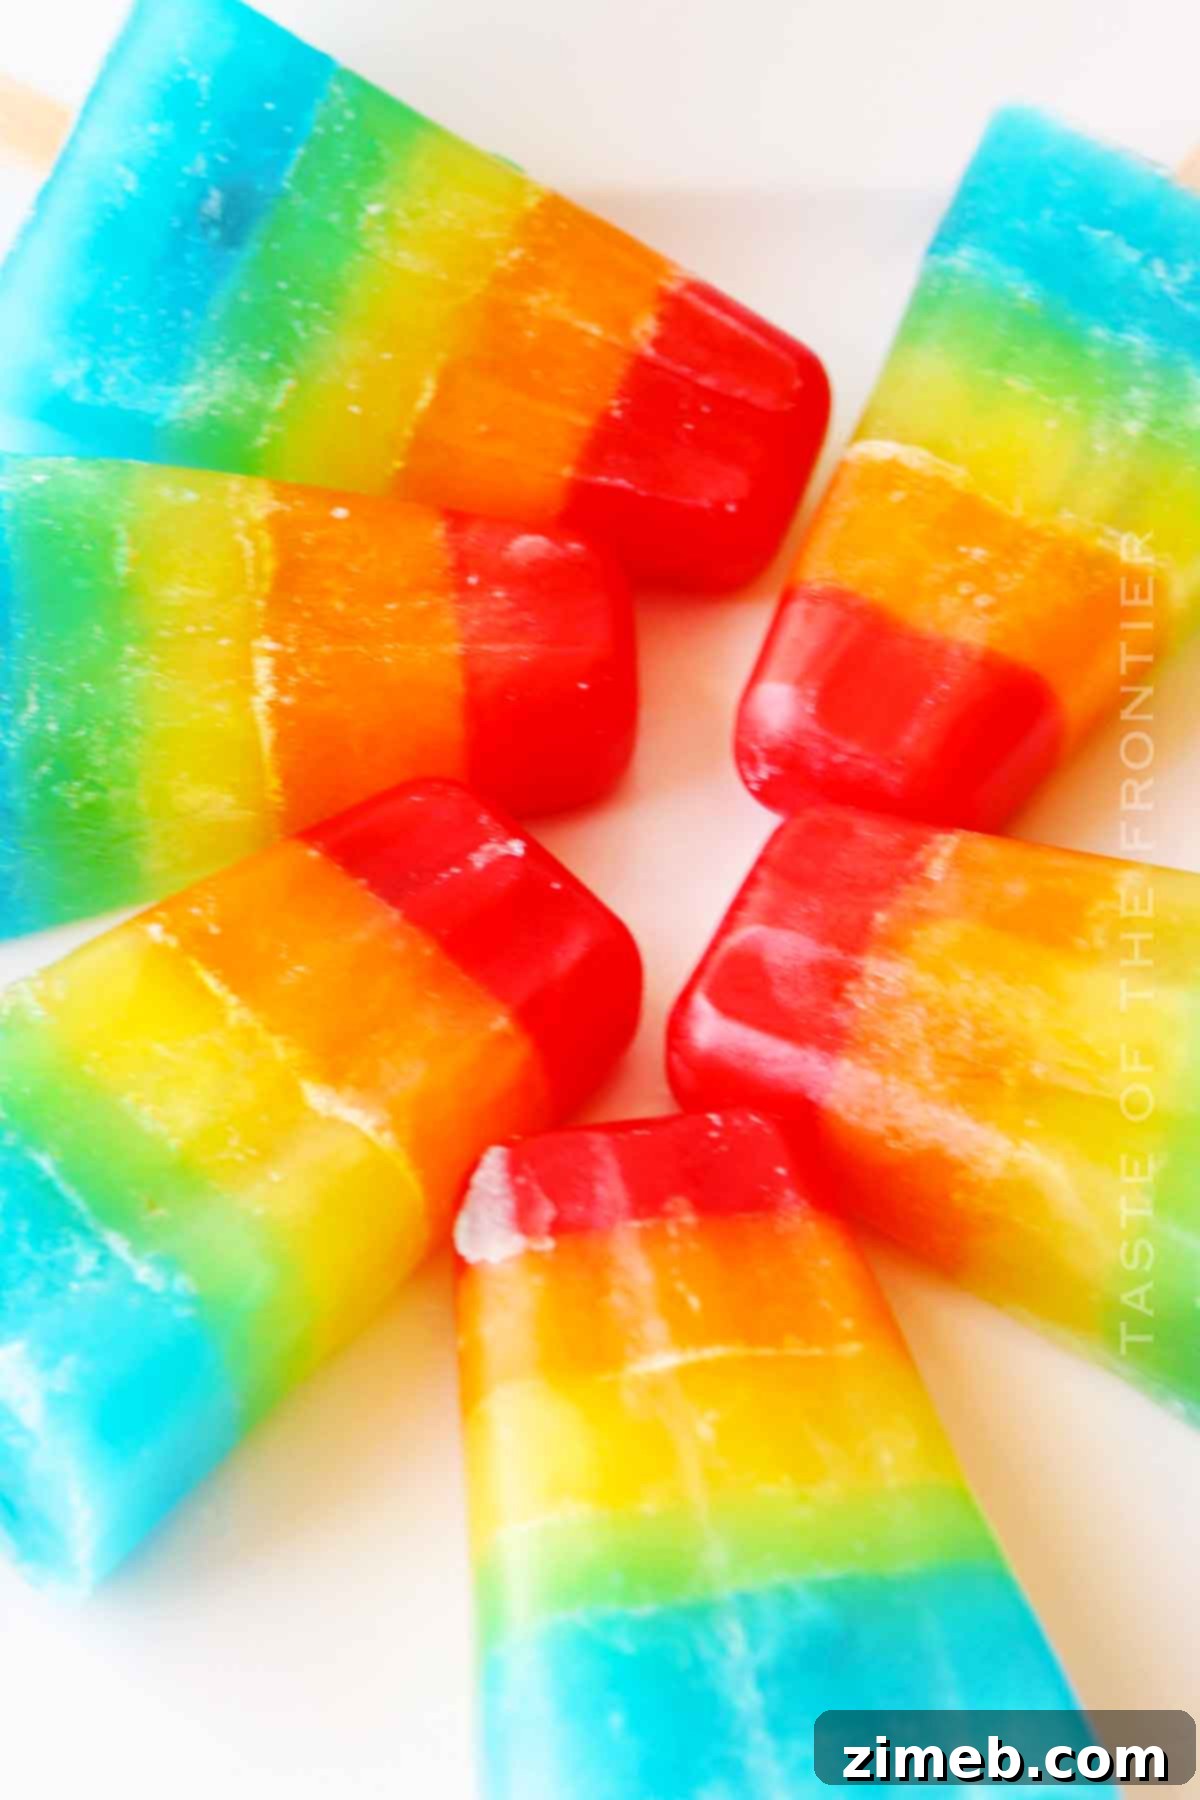
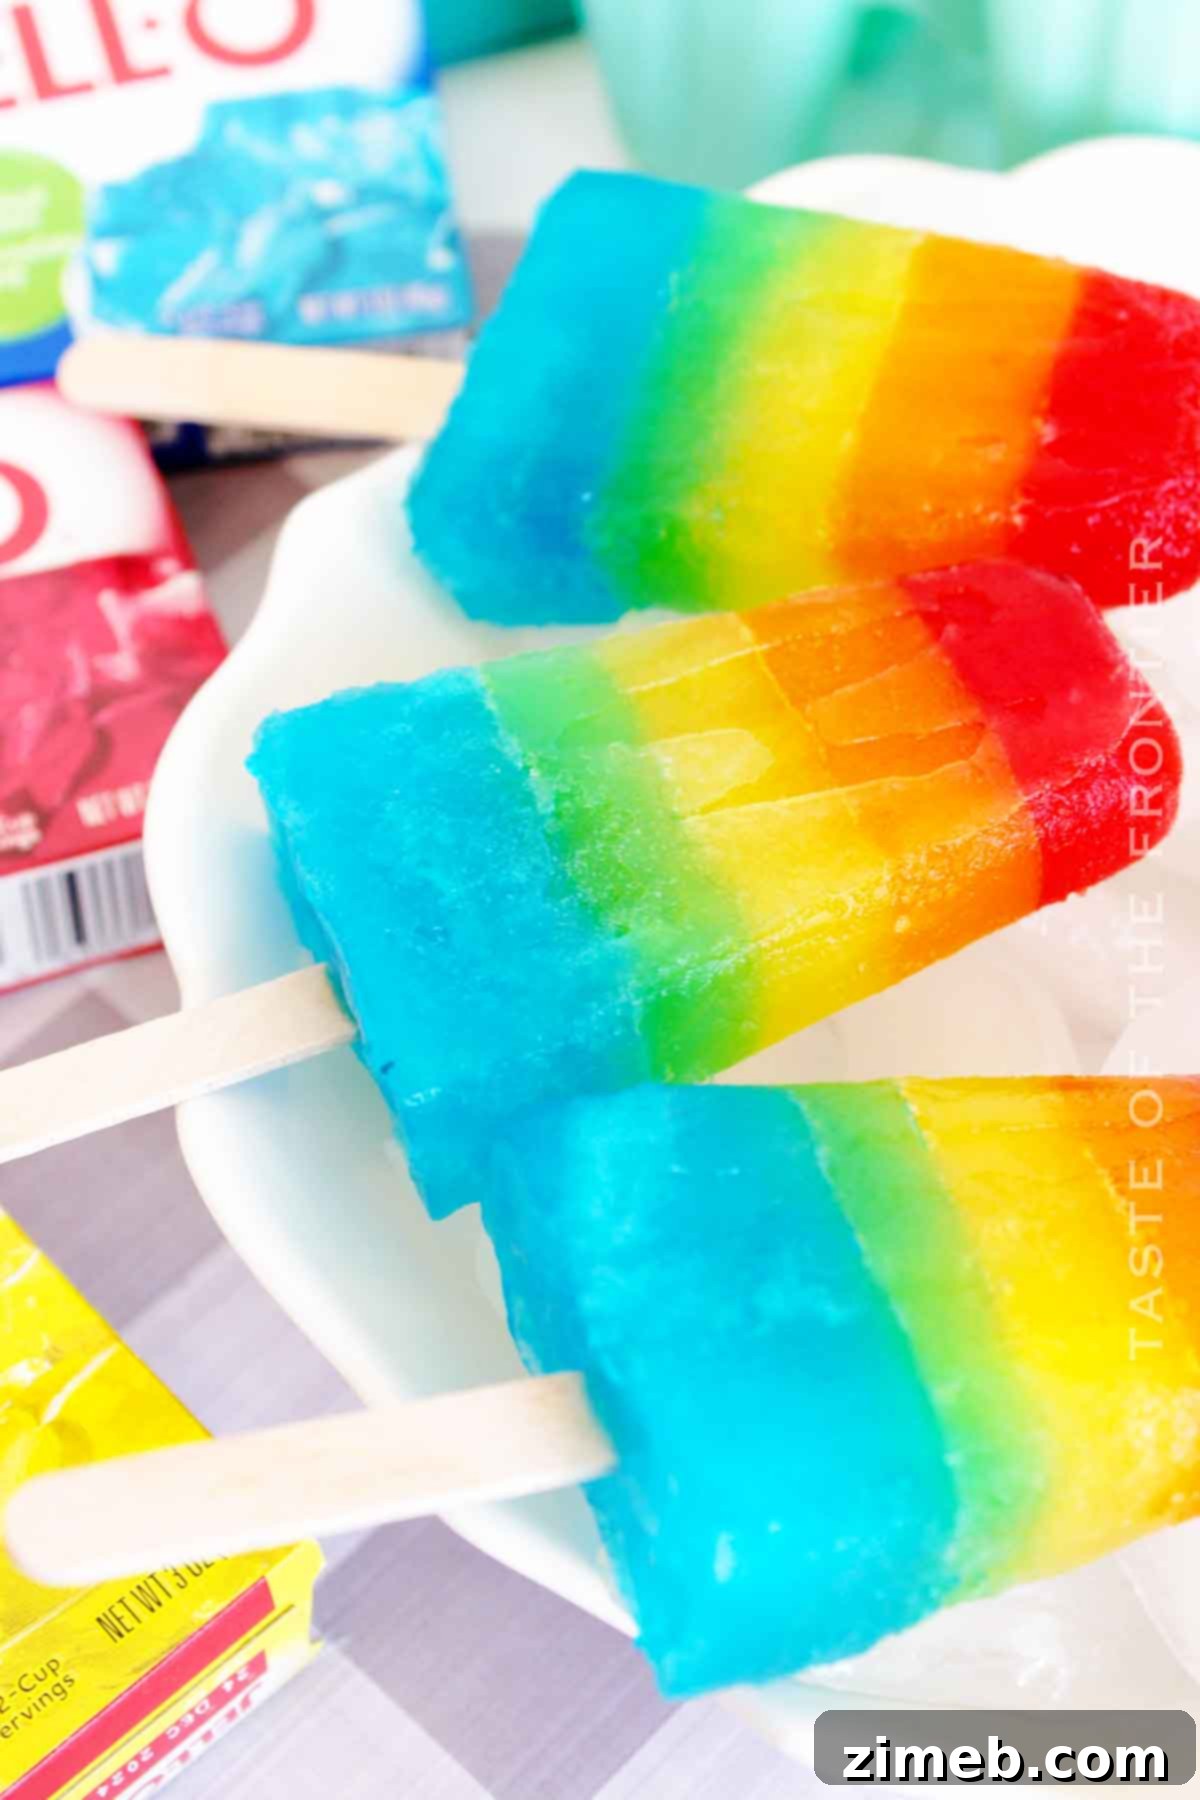
Imagine a vibrant spectrum of colors cascading from your freezer, each one a promise of delicious coolness. From classic cherry red to zesty lime green, the possibilities for creating a stunning rainbow of treats are endless. This recipe simplifies the art of making layered popsicles, ensuring distinct, beautiful stripes that are as appealing to the eye as they are to the palate. With a minimal list of ingredients and straightforward steps, you can easily whip up a batch that will instantly become a hit at any summer celebration, backyard BBQ, or just a quiet afternoon cooldown.
Forget the sticky mess often associated with traditional ice pops. Jello Popsicles offer a cleaner, more enjoyable experience, making them a fantastic choice for families with young children. The gelatin helps the popsicles hold their shape longer, melting into a more controlled, jello-like consistency rather than a watery puddle. This innovative twist on a classic treat ensures that the fun lasts longer, without the immediate rush to consume before it’s gone.
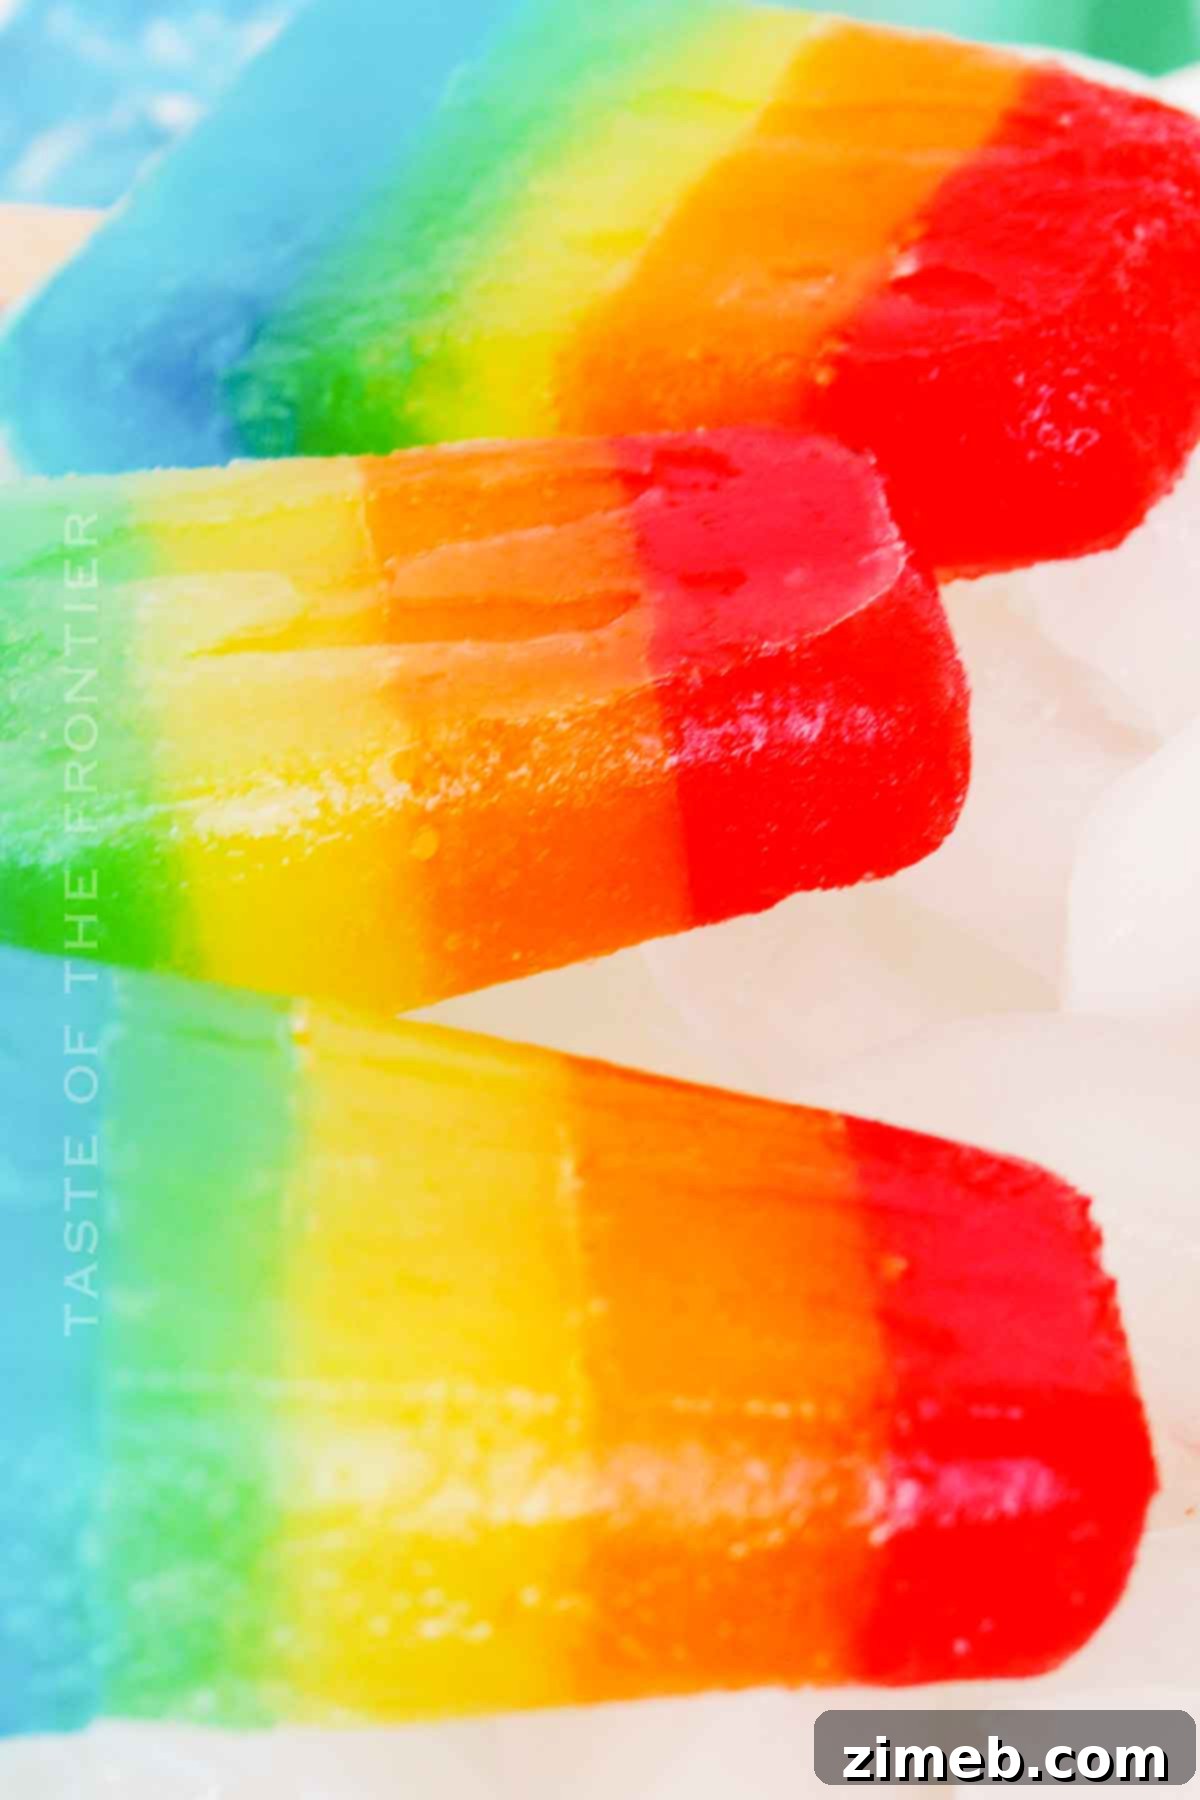
Whether you’re planning a lively pool party or simply seeking a simple pleasure to combat the heat, these Jello Popsicles are an absolute summer essential. Their appeal lies in their simplicity, making them a perfect project for involving the whole family. Kids will love choosing their favorite Jello flavors and watching as the layers magically transform into a frozen masterpiece. This recipe isn’t just about making popsicles; it’s about creating lasting summer memories, one colorful, delicious pop at a time.
So, gather your preferred Jello boxes, your trusty popsicle molds, and prepare for a delightful culinary adventure. These aren’t just any frozen treats; they are a vibrant, flavorful, and incredibly easy way to embrace the joy of summer. Get ready to discover your new favorite summer treat that promises refreshment without the mess.
Common Questions About Jello Popsicles
Can I Use Different Flavors of Jello?
Absolutely! The beauty of this Jello Popsicle recipe lies in its incredible versatility. You are encouraged to unleash your creativity by using any Jello flavor you desire. Want to stick to a single flavor for a monochromatic look? Go for it! Craving a tropical explosion? Combine pineapple and orange. For themed parties, you can select colors that match your decor or holiday, creating everything from festive red and green pops for Christmas to spooky black and orange for Halloween. Mixing and matching allows for an endless array of delicious flavor combinations, ensuring there’s a Jello Popsicle to suit every taste bud and occasion.
How Do I Remove the Popsicles from the Molds?
Sometimes, frozen treats can be a bit stubborn when it comes to releasing them from their molds. If your Jello Popsicles aren’t sliding out easily, don’t force them. The simplest trick is to run the popsicle mold under warm tap water for just a few seconds. This gentle warmth will slightly loosen the outer layer of the popsicle, allowing it to release smoothly and effortlessly. Be careful not to use hot water or expose it for too long, as this could melt the popsicles prematurely.
Why Are My Jello Popsicles Not Freezing Properly or Mixing Layers?
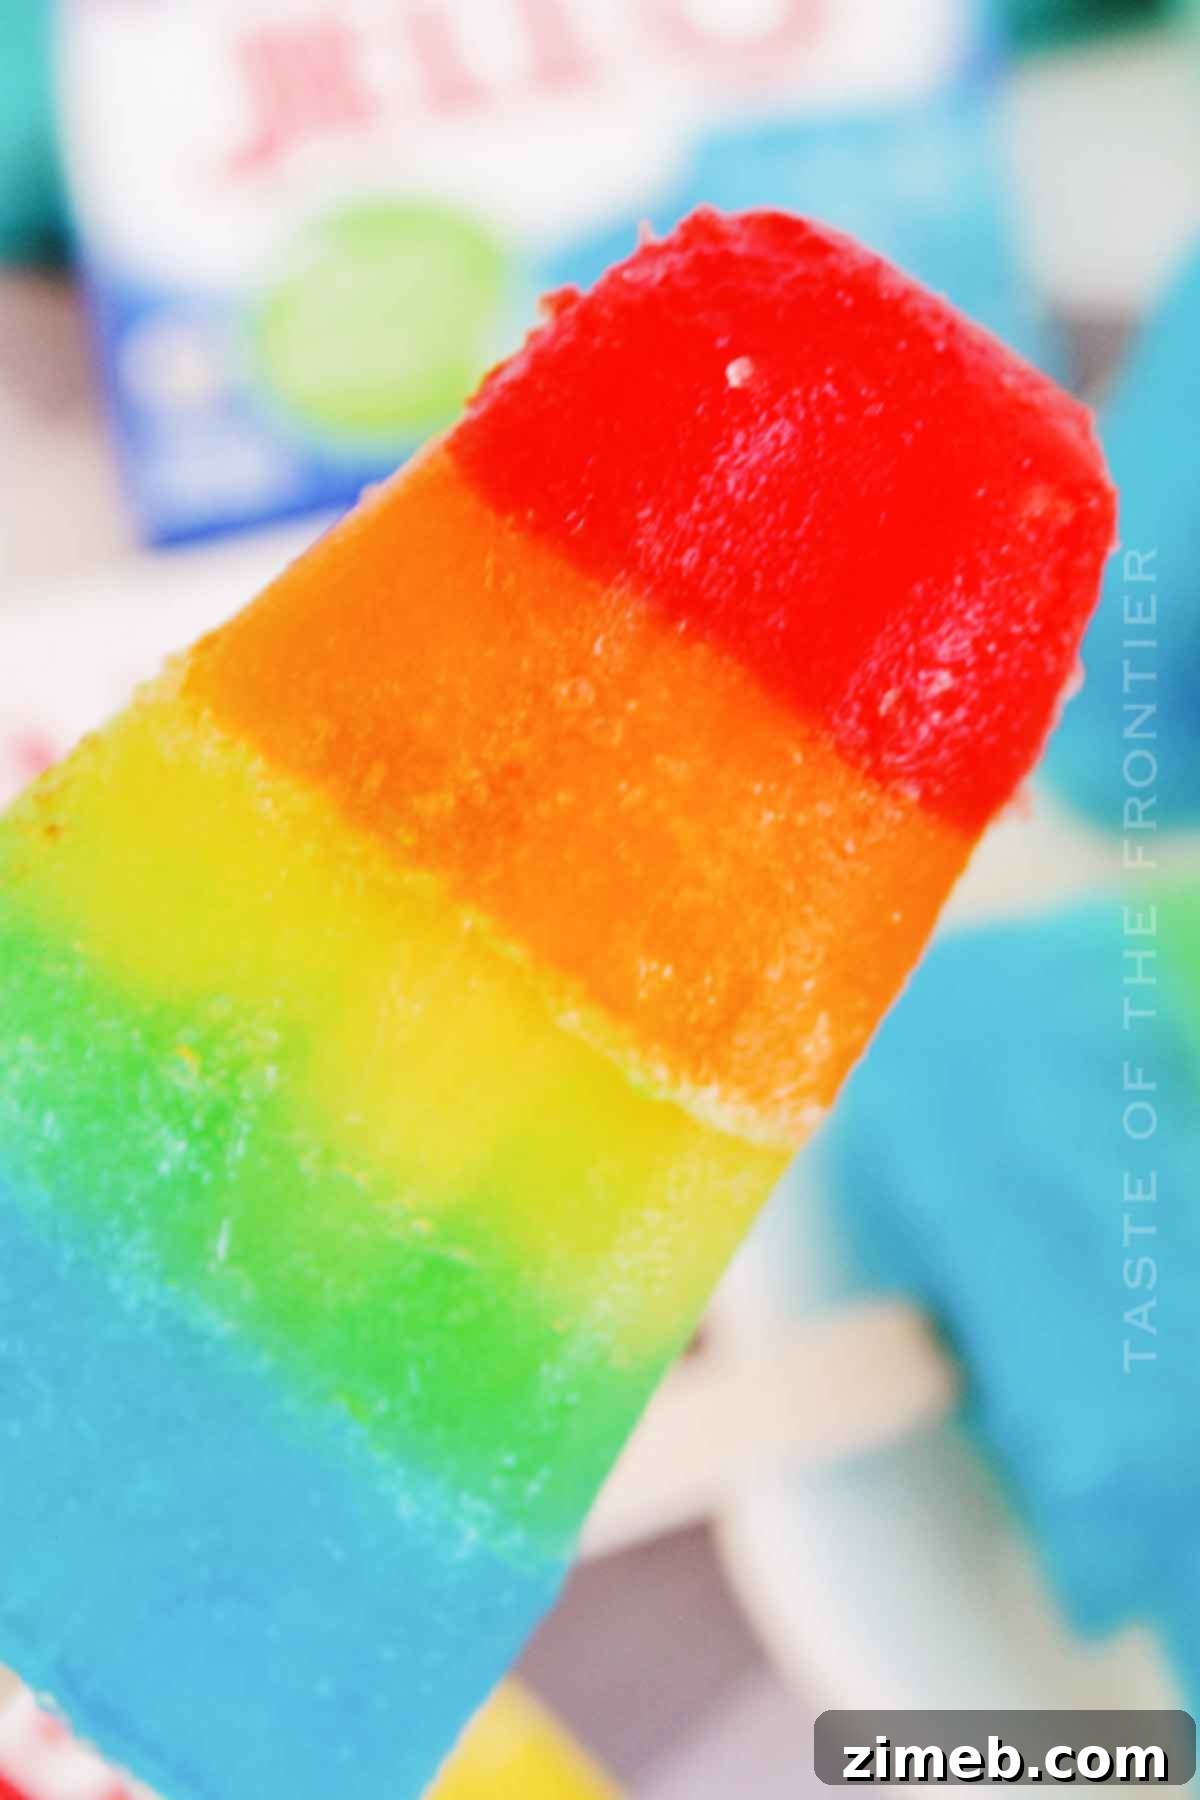
Achieving those beautiful, distinct layers in your Jello Popsicles is key to their visual appeal. The most common reason for layers mixing or improper freezing is impatience! It’s crucial to ensure that each layer of Jello is completely frozen and solid before you pour the next flavor on top. If a layer is still semi-liquid or slushy, the newly added liquid Jello will seep into it, resulting in a marbled or muddy appearance rather than clean, crisp lines. Be patient and allow sufficient freezing time for each individual layer, typically about 60 minutes, before proceeding to the next step. A properly frozen layer will offer a firm base, preventing any unwanted mixing.
Storage Best Practices
While regular Jello is a delightful wobbly dessert, these vibrant Jello Popsicles truly shine as a frozen sensation. Proper storage ensures they retain their perfect consistency and incredible flavor for weeks.
Refrigerator: Jello Popsicles are designed to be a frozen treat and will not hold up in the refrigerator. The gelatin will revert to its jiggling, liquid-like state, causing them to lose their form and become messy. Always store them in the freezer.
Freezer: For optimal freshness and to prevent them from sticking together, store your fully frozen Jello Popsicles in an airtight zip-top bag or a freezer-safe container. Ensure they are completely solid before transferring them to the bag. When properly stored, these delicious treats will maintain their quality and flavor for up to 1-2 months, allowing you to enjoy a taste of summer long after the season ends.
Expert Tips for Perfect Jello Popsicles
Making Jello Popsicles is a wonderful way to create sweet memories on hot summer days. Here are some extra tips to ensure your homemade frozen treats turn out perfectly every time:
- Layering Precision: For those impressive, clean, distinct layers, patience is paramount. Ensure each Jello layer is completely frozen and firm to the touch before carefully adding the next color. This prevents colors from bleeding into one another, creating beautifully defined stripes.
- Pouring Smart: Using a measuring cup or a container with a pour spout will significantly help reduce spills and make it easier to add each layer neatly into the popsicle molds. This is especially helpful when dealing with small openings or when little helpers are involved.
- No Waste Jello: Don’t let any leftover Jello mixture go to waste! If you have extra after filling your molds, simply pour it into a glass and chill it for a refreshing Jello drink. It’s a delicious bonus treat!
- Adding Sticks: If your popsicle molds require separate sticks, wait until the first Jello layer is mostly firm but still slightly pliable. This allows you to gently push the popsicle stick into the center, ensuring it stands upright and freezes securely in place as the subsequent layers are added.
- Experiment with Thickness: Adjust the amount of Jello mixture per layer to create thicker or thinner stripes. For a more dramatic rainbow effect, keep the layers relatively thin.
- Quick Freeze Option: If you’re short on time, consider placing your molds in the coldest part of your freezer or using an ice cream maker’s pre-frozen bowl (if applicable for liquid chilling) before pouring to help speed up the initial freezing of each layer.
Simple Ingredients for Delicious Jello Popsicles
Creating these delightful, vibrant Jello Popsicles requires only a few basic ingredients. My personal favorite Jello flavor was always strawberry, but the beauty of this recipe truly shines when you combine a variety of flavors to create a full rainbow of taste! The simple combination of Jello, water, and ice is all you need to achieve these fantastic frozen treats.
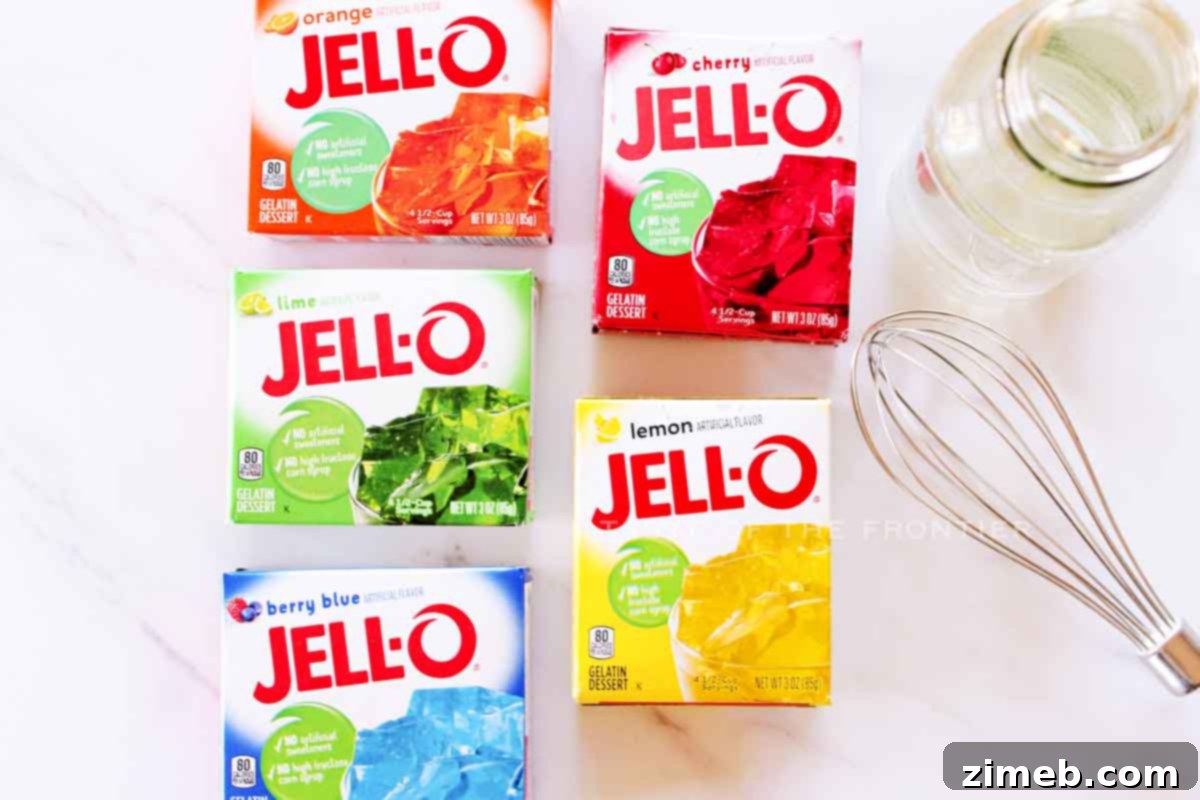
- Jello: You’ll need five different colors for a rainbow effect – typically Blue, Green, Yellow, Orange, and Red (standard 3 oz boxes work perfectly). Feel free to choose any combination of your favorite flavors.
- Water: Both boiling water (to dissolve the gelatin) and ice (to cool it down quickly for layering) are essential.
- Ice: Critical for rapidly chilling the Jello mixture, which helps prevent layers from bleeding and speeds up the freezing process.
How to Make Layered Jello Popsicles: A Step-by-Step Guide
This recipe is incredibly straightforward, requiring minimal effort for maximum deliciousness. These easy, cold, and sweet treats are perfect for any summer occasion, especially when prepared the night before for morning enjoyment!
- Prepare Jello Bowls: Begin by emptying one Jello packet into each of five separate bowls. This ensures you have distinct colors ready for layering.
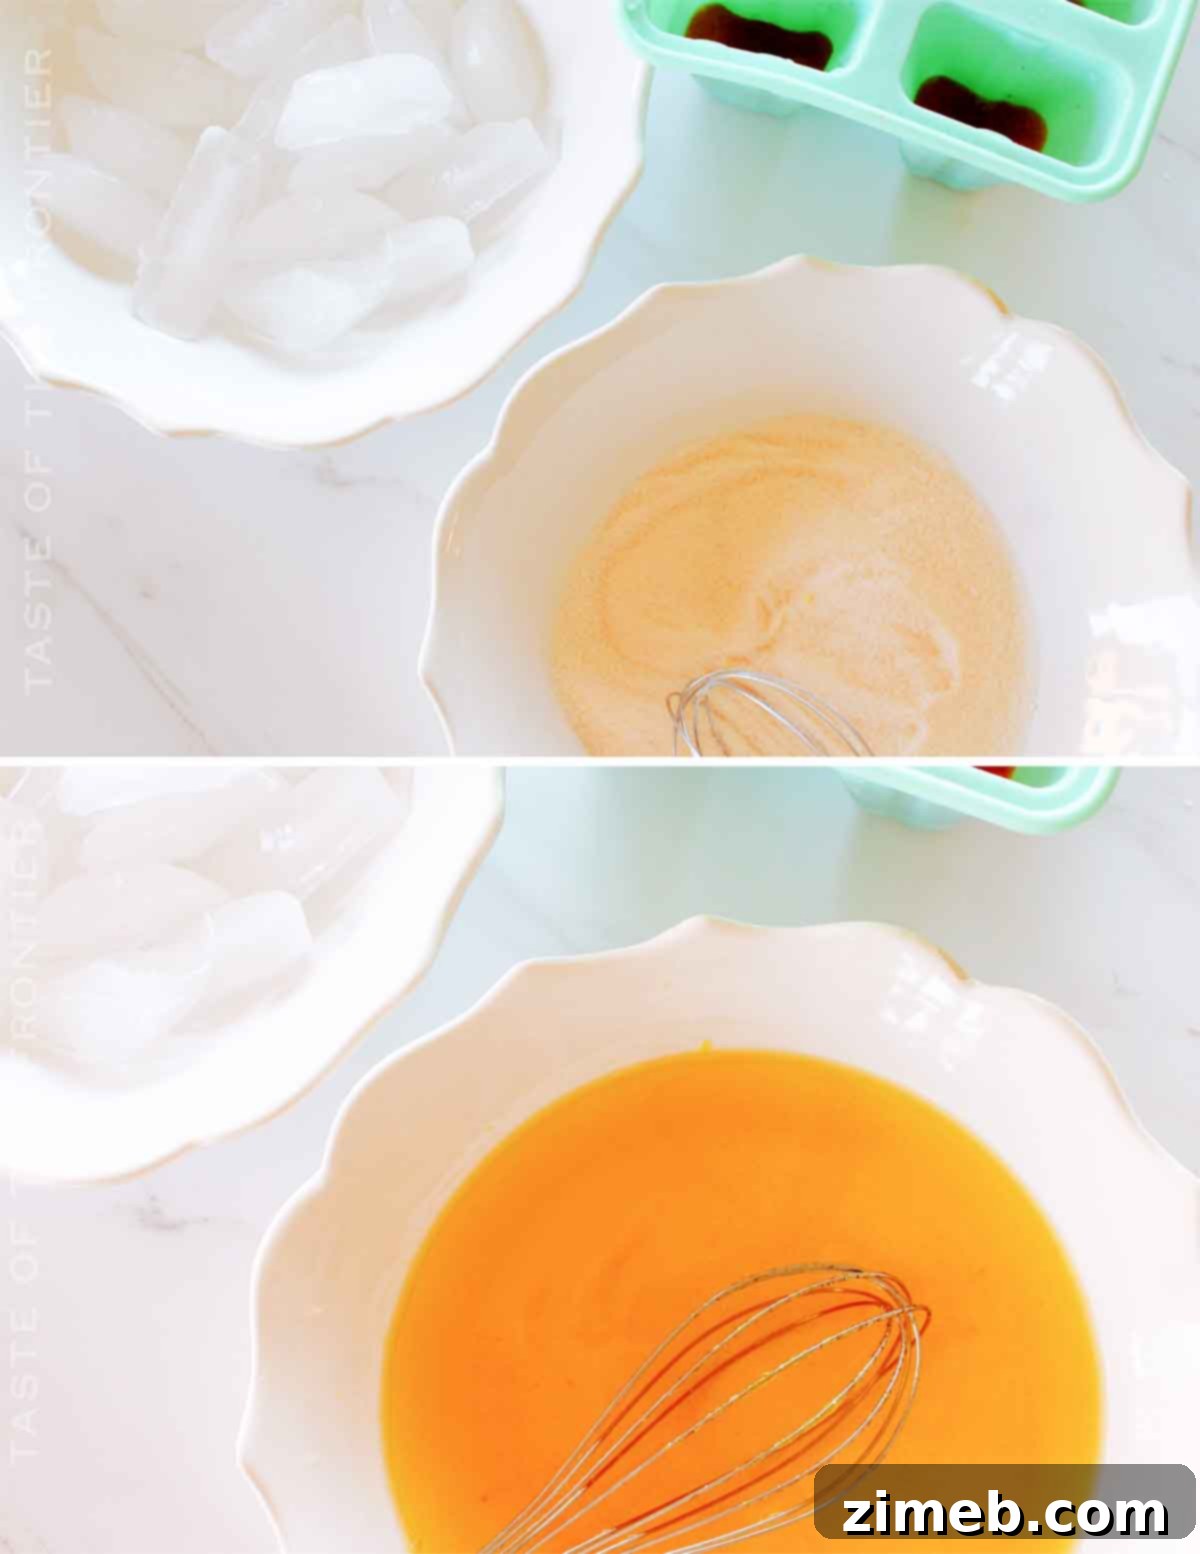
- Dissolve Jello: To each bowl, add 1 cup of boiling water. Whisk the mixture in each bowl thoroughly until the Jello powder is completely dissolved and no granules remain.
- Rapid Chill: Immediately add 1 cup of ice to each bowl. Continue whisking until the ice has fully melted. This step is crucial for cooling the Jello mixture quickly, preventing the layers from mixing when poured into the molds, and speeding up the freezing process.
- First Layer: Carefully fill each popsicle mold approximately 1/5 of the way full with your first chosen Jello color. The exact amount will vary depending on your specific molds; for many standard molds, about 2 teaspoons per flavor is a good starting point.
- Freeze First Layer: Place the molds in the freezer for about 1 hour, or until the first layer is completely frozen and solid. This is essential for preventing color bleeding.
- Layer Subsequent Flavors: Once the first layer is fully frozen, gently add the next Jello flavor on top, filling another 1/5 of the mold. Repeat the freezing process for approximately 1 hour for each subsequent layer, until all five flavors have been meticulously layered and each is thoroughly frozen.
- Final Freeze and Enjoy: Once all layers are complete and the entire popsicle is fully frozen and solid, carefully remove them from their molds (using the warm water trick if needed) and enjoy your vibrant, refreshing Jello Popsicles!
Essential Kitchen Supplies for Jello Popsicles
You don’t need a lot of fancy gadgets to make these delightful Jello Popsicles. A sweet treat on a hot day is just what you need, and this easy recipe won’t take long to prepare if you have these basic kitchen tools:
- Popsicle Molds: The star of the show! Choose any style you like – classic, fun shapes, or even reusable silicone molds. View options here.
- Popsicle Sticks: If your molds don’t have built-in handles, you’ll need a supply of wooden popsicle sticks.
- Large Bowl: Useful for general mixing or if you’re making a larger batch of a single flavor.
- Whisk: To ensure the Jello powder dissolves completely in the hot water and to mix in the ice.
- Measuring Cups: Essential for accurate measurements of water and for portioning Jello into molds. Find measuring cup sets.
- Five Separate Bowls: Crucial for preparing each individual Jello flavor, preventing color and flavor mixing before layering.
What to Serve With Jello Popsicles
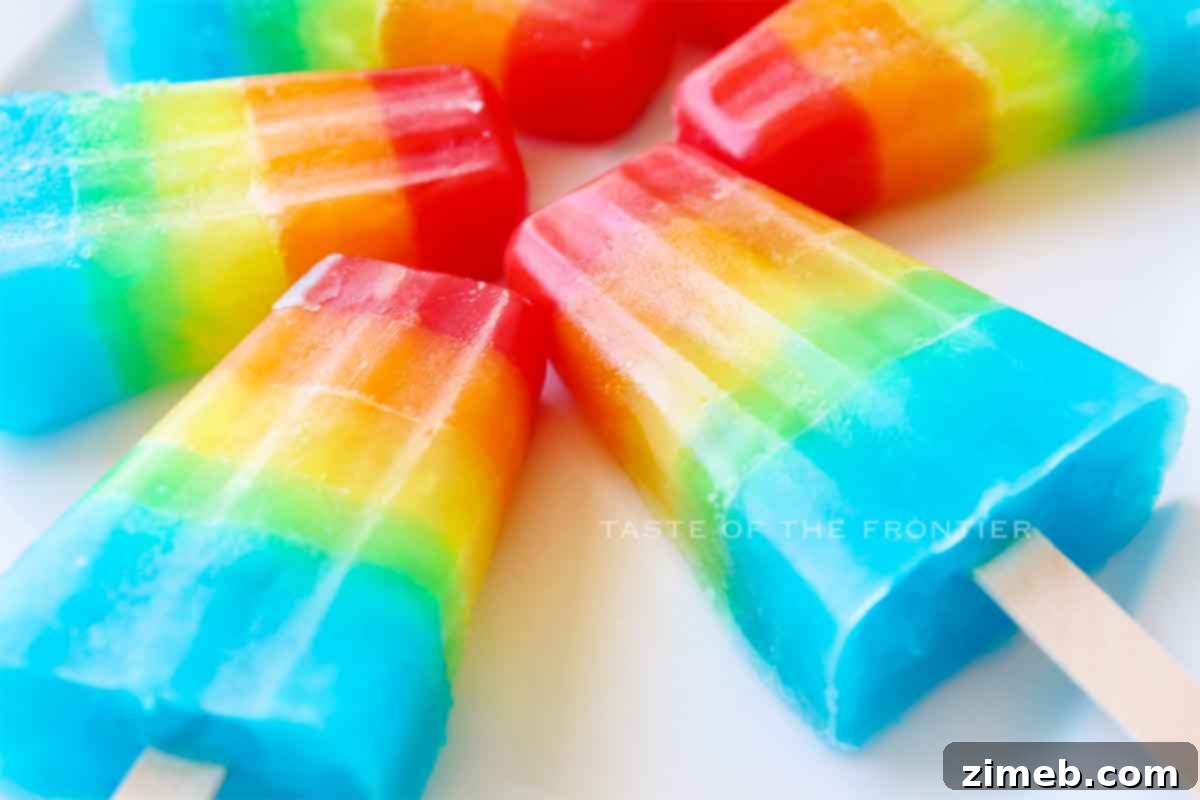
Jello Popsicles are undeniably a perfect standalone summer treat, making them ideal for casual backyard BBQs, vibrant pool parties, or simply a relaxing afternoon spent lounging in the sun. Their refreshing taste and vibrant appearance make them an excellent addition to any summer spread. Consider serving them alongside other classic warm-weather foods like juicy watermelon slices, a fresh fruit salad, or light tea sandwiches. For a dedicated summer dessert party, they pair wonderfully with other chilled delights such as fruit tarts, ice cream sandwiches, or a platter of various cookies, adding a playful and colorful element to your dessert table.
Why You Should Make Jello Popsicles This Summer
These frozen delights are more than just a sweet treat; they’re a ticket to summer fun for everyone. Kids of all ages, and even the grown-ups, will absolutely adore these vibrant popsicles. Don’t be surprised if the neighborhood kids start lining up at your door once word gets out about your delicious creations!
- Ultimate Refreshment: On scorching summer days, Jello Popsicles are an invigorating way to beat the heat. They’re icy, bursting with fruity flavor, and incredibly satisfying.
- Effortlessly Easy: With just a handful of simple ingredients and a few straightforward steps, you can create a large batch of these popsicles. It’s a fantastic, low-stress activity that even young children can actively participate in.
- Endless Customization: The versatility of this recipe means you can easily customize your popsicles with different Jello flavors, food coloring (if you want even more vibrant hues), or even by layering in different patterns. Create a unique rainbow for every occasion!
- A Healthier Dessert Alternative: For those mindful of their sugar intake, opting for sugar-free Jello allows you to craft a delicious, low-carb, and keto-friendly treat that doesn’t compromise on flavor or fun.
- The No-Drip Advantage: Thanks to the gelatin base, these popsicles melt slower and turn into a jello-like consistency rather than watery drips. This makes them significantly less messy than traditional ice pops, a huge plus for keeping hands clean and clothes stain-free.
Creative Variations and Delicious Add-Ins for Jello Popsicles
This fun and easy treat can be enjoyed in countless ways. Don’t be afraid to experiment and personalize your Jello Popsicles to suit your taste and occasion!
- Fruit Juice Swaps: For an extra boost of natural sweetness and depth of flavor, replace some or all of the water with your favorite fruit juice, such as apple juice, white grape juice, or even lemonade. This can add a lovely tanginess.
- Creamy Delight: Introduce a luscious, creamy texture by adding a layer of plain or vanilla yogurt, heavy whipping cream, or even sweetened condensed milk between the Jello layers. This creates a creamsicle-like experience that’s absolutely divine.
- Fresh Fruit Pieces: Elevate your popsicles by incorporating small pieces of fresh fruit directly into the Jello mixture before freezing. Think berries, kiwi slices, or tiny lime wedges for an extra burst of flavor and a lovely visual appeal.
- Unique Flavor Combinations: Go beyond the rainbow! Combine different Jello flavors in unexpected ways to create exciting new taste profiles. For example, strawberry and banana, blue raspberry and lime, or orange and cream cheese Jello for a cheesecake-inspired twist.
- Sugar-Free & Low-Carb Options: Easily make these popsicles suitable for specific dietary needs by using sugar-free Jello. This allows for a fantastic low-carb or keto-friendly version that doesn’t sacrifice any of the fun or flavor.
- A Touch of Fizz: For a fun, effervescent twist, try replacing some of the cold water with clear soda like lemon-lime or ginger ale. Stir gently to retain some of the fizz.
If you love this easy popsicle recipe, you’re going to love these other frozen treats too. Please click each link below to find the easy, printable recipe!
Dirty Pineapple Whip Pops
If you’re a fan of a popular whipped pineapple treat but want a little kick, you’ll love these Boozy Rum Frozen Treats!
Check out this recipe
Dairy-Free Fudge Pops Recipe
The perfect summertime frozen treat! Made with coconut milk & no refined sugar, these are ultra creamy & SUPER DELICIOUS!
Check out this recipe
Red White and Blue Popsicles
Enjoy the spirit of summer and patriotism with these layered popsicles that will be the star of any Fourth of July party.
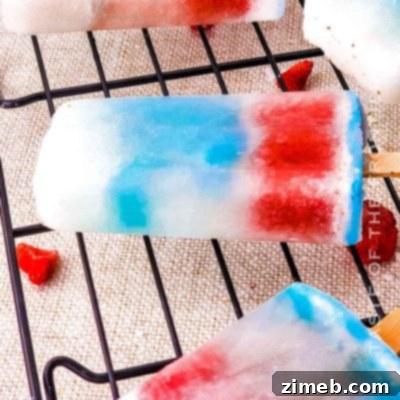
Check out this recipe
Cookies & Cream Pudding Pops
A creamy, dreamy twist on a classic frozen treat, packed with everyone’s favorite cookie flavor.
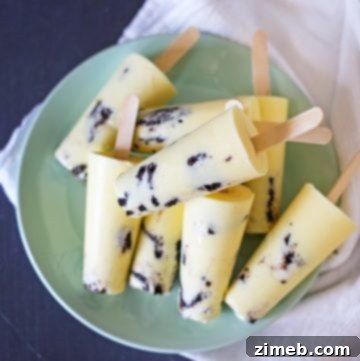
Check out this recipe
Frozen Bananas
It’s time for all your favorite summer foods! These chocolate-covered Frozen Bananas top the favorites list for sure.
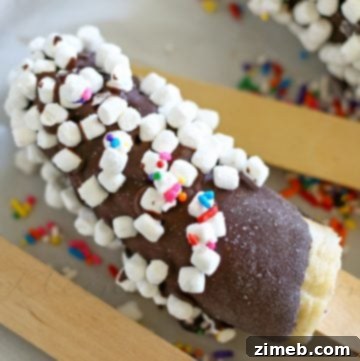
Check out this recipe
More Great Recipes with Jello
- Jello Poke Cake
- Blue Raspberry Jello Cups for Kids {Tropical Turtle Beach}
- Jello Jigglers Recipe
- Jello Cookies
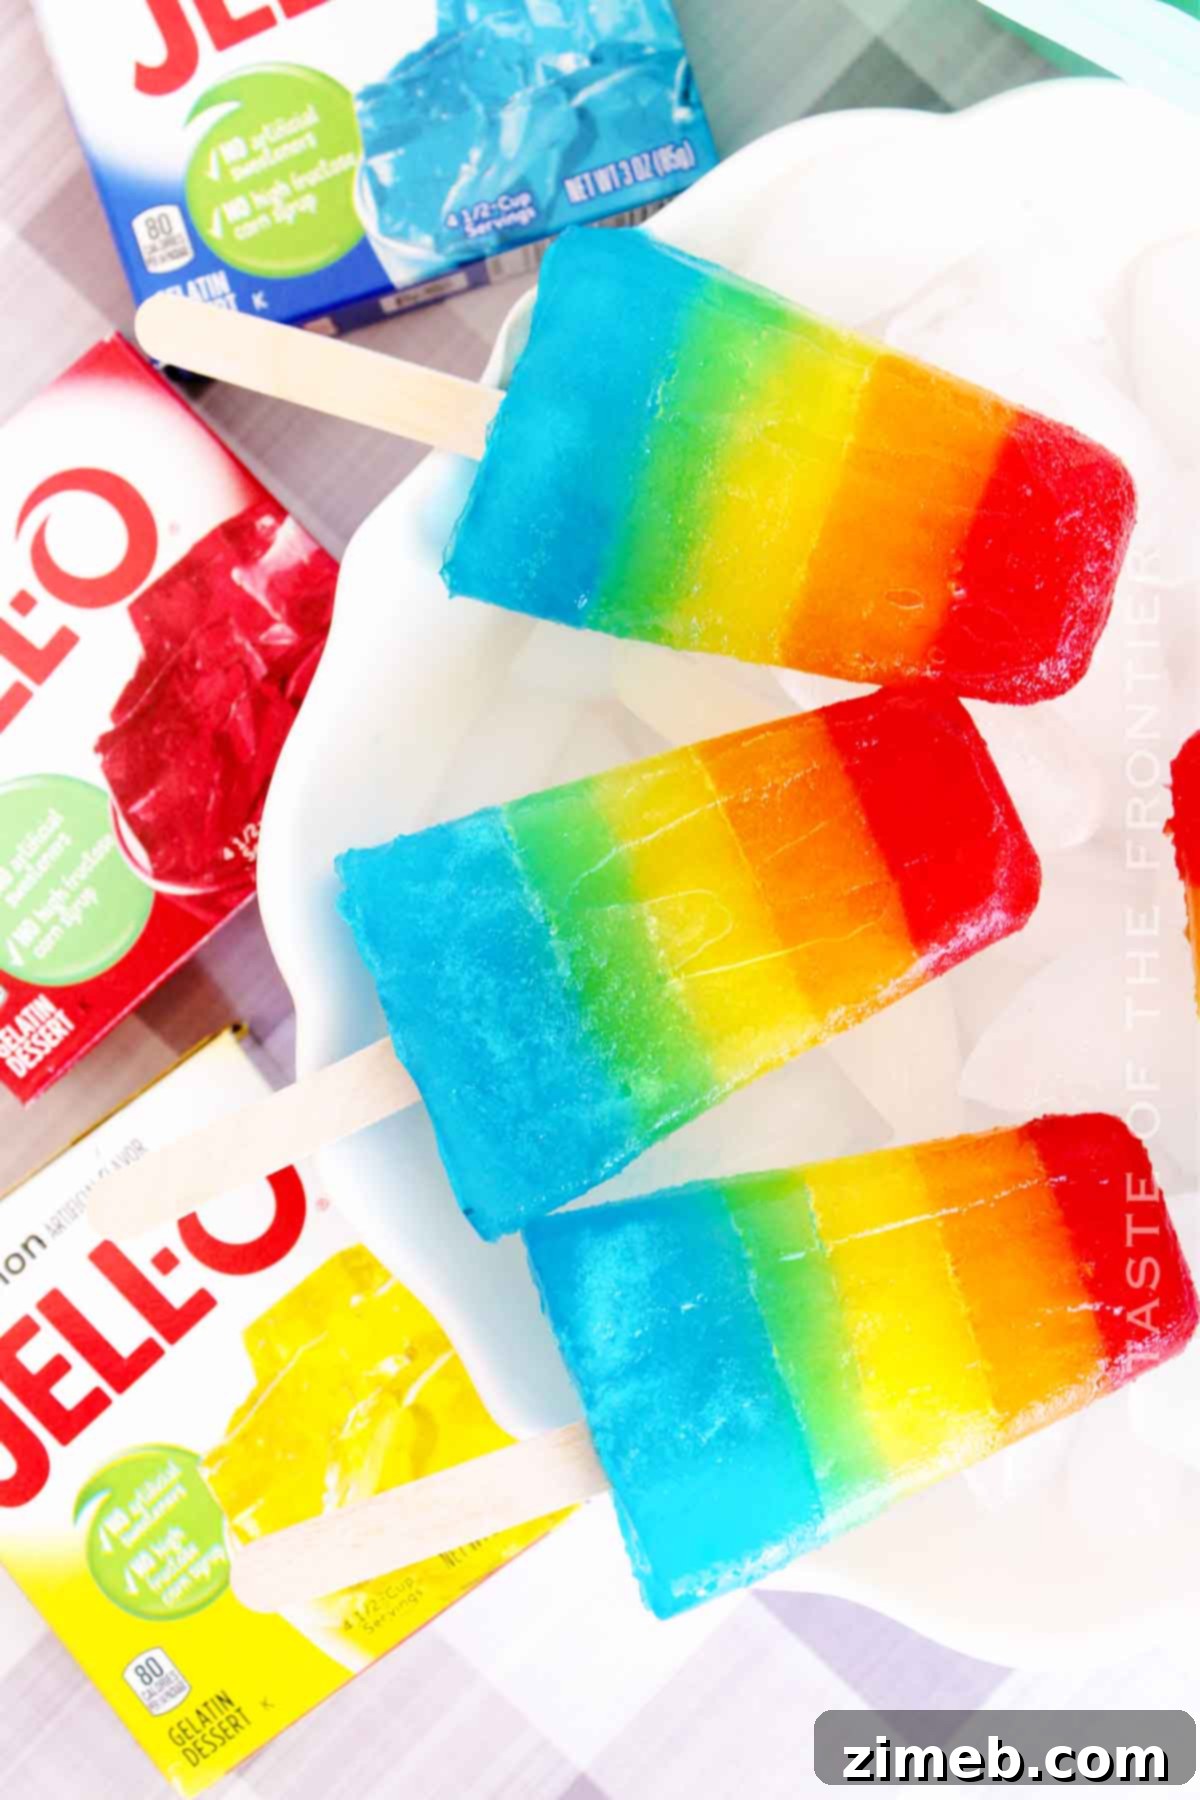
If you found this recipe for Jello Pops as delightful as I do, please take a moment to leave a five-star review. Your feedback truly helps, and I’d be incredibly grateful if you could share this recipe with friends and family on Facebook and Pinterest!
CONNECT WITH YUMMI HAUS!
Be sure to follow me on my social media, so you never miss a post!
Substack,
FB,
Pinterest,
IG,
Email Subscription
★ Rate this Recipe
Jello Popsicles
Course: Dessert
Servings: 12
Jello Popsicles are an easy-to-make No-Drip Popsicle recipe. Make them in these fun colors or customize them for your summer parties.
Pin Recipe
Save Recipe
Ingredients
- 5 boxes Jello (3 oz each) in Blue, Green, Yellow, Orange, and Red flavors
- Water
- Ice
Instructions
- Using five separate bowls, empty a Jello packet into each bowl.
- Add 1 cup of boiling water to each bowl.
- Whisk each until dissolved, then add 1 cup of ice to each, continuing to whisk until the ice has fully melted.
- Fill each popsicle mold 1/5 of the way full. This will vary depending on your molds. My molds took about 2 teaspoons per flavor.
- Freeze for about 1 hour, or until fully frozen.
- Then add the next flavor on top of the first, continuing the process until all of the flavors have been layered.
- Once fully frozen, remove from the molds and enjoy!
Notes
These will store in the freezer in a zip-top bag for 1-2 months.
A great tip so you don’t waste any extra Jello is to pour the remaining flavors into a glass to enjoy as a refreshing drink.
Equipment
- Popsicle mold
Nutrition
Serving: 1g | Calories: 135kcal | Carbohydrates: 32g | Protein: 3g | Sodium: 165mg | Potassium: 2mg | Sugar: 30g | Calcium: 1mg | Iron: 0.05mg | Net Carbohydrates: 32g
Nutritional information for the recipe is provided as a courtesy and is approximate. Please double-check with your own dietary calculator for the best accuracy. We at Yummi Haus cannot guarantee the accuracy of the nutritional information given for any recipe on this site.
Love this recipe?
Follow @KleinworthCo for even more tasty recipes!