

Welcome to the delightful world of cookie and treat decorating! This comprehensive guide will show you how to master the art of Royal Icing with Meringue Powder, a versatile and reliable recipe perfect for both intricate outlining and smooth flooding techniques. Whether you’re a seasoned baker or just starting your journey into edible artistry, this icing will quickly become your favorite for transforming ordinary baked goods into extraordinary edible masterpieces.
Embark on a creative culinary adventure with our ultimate Royal Icing recipe, meticulously crafted with meringue powder. This isn’t just an icing; it’s a blank canvas awaiting your artistic touch, promising to elevate your baking endeavors to new heights. The incredible stability and flawless consistency achieved with meringue powder make this recipe an indispensable tool for any decorator.
Imagine dressing up festive sugar cookies, meticulously designing a charming gingerbread house, or adding elegant, intricate details to birthday cakes and holiday treats. This Royal Icing is your trusted companion for all these projects and more. Its unparalleled consistency can be effortlessly adjusted to meet diverse decorating demands – from thick lines for borders to thin liquid for smooth fills. The inherent stability provided by meringue powder ensures that your beautiful decorations will set firmly, maintain their shape, and last longer, making it an ideal choice for bakers of all skill levels, from enthusiastic novices to expert confectioners.
Preparing this exquisite icing is one of the most rewarding aspects of my holiday baking traditions. There’s a certain magic in watching simple ingredients transform into a smooth, luscious frosting that’s not only incredibly fun to work with but also irresistibly delicious to eat! Get ready to revolutionize your baking game and create stunning, memorable treats that will captivate everyone.

Royal Icing crafted with meringue powder is truly a game-changer in the dynamic world of baking and cookie decorating. It’s lauded by professional and home bakers alike for its consistent texture, enhanced food safety, and remarkable versatility. Unlike recipes relying on raw egg whites, meringue powder offers a reliable and safe alternative, eliminating concerns about salmonella while still delivering that signature crisp finish and structural integrity.
Whether you’re a seasoned professional seeking consistent, high-quality results, or you’re just beginning to explore the delightful possibilities of cookie decorating, this meringue powder royal icing recipe is designed to help you effortlessly bring your sweetest visions to vibrant life. From delicate lace patterns to bold, colorful designs, this icing holds its shape beautifully and dries to a hard, smooth finish.
So, gather your ingredients, grab your whisk, and prepare to unleash your inner artist. Let’s create breathtaking baked goods that will not only be the talk of the town but also a testament to your passion for baking with this truly fabulous and foolproof icing!

Common Questions About Royal Icing with Meringue Powder
Delving into a new recipe often comes with questions, especially when it involves specific ingredients like meringue powder. Here, we address some of the most frequently asked questions about making and using royal icing with meringue powder to ensure your decorating experience is as smooth as your finished icing.
Is Meringue Powder Better Than Raw Egg Whites?
Absolutely, meringue powder offers significant advantages over traditional raw egg whites when making royal icing. Foremost among these is enhanced food safety. Meringue powder is a dry blend typically made from pasteurized egg whites, cornstarch (or other starches), and sometimes stabilizers like gum arabic and sugar. This pasteurization process eliminates the potential risk of salmonella contamination that can be present in raw eggs, making your decorated treats safe for everyone to enjoy, especially children and those with compromised immune systems. Beyond safety, meringue powder provides superior stability to the icing. This translates to a more consistent texture, better piping control, and decorations that hold their shape impeccably as they dry, resulting in a professional-looking finish every time.
Can I Color This Icing?
Most certainly! This royal icing recipe produces a beautifully pure white base, which is absolutely ideal for vibrant coloring. To achieve the best results without compromising the icing’s consistency, we highly recommend using gel food coloring. Gel colors are remarkably concentrated, meaning a tiny amount can produce rich, vivid hues. This prevents the need for excess liquid, which can thin out your icing and make it difficult to work with. When adding gel colors, remember to start with a very small amount, like a toothpick dab, and gradually add more until you reach your desired shade. A key tip: the color will often intensify slightly as the icing rests, so it’s always wise to aim for a shade slightly lighter than your ultimate goal initially. You’ll find gel food coloring provides a far superior experience compared to less concentrated liquid food colorings for this particular icing.
Why Use Meringue Powder?
Utilizing meringue powder in your royal icing recipe brings a multitude of advantages that make it the preferred choice for many bakers. The primary benefit, as mentioned, is the elimination of any food safety concerns related to salmonella from raw eggs. This allows you to decorate and serve your treats with complete peace of mind. Beyond safety, meringue powder contributes significantly to the icing’s performance. It ensures highly consistent results, meaning your icing will always behave predictably, whether you’re outlining delicate details or flooding large areas. This consistency is crucial for achieving professional-looking decorations and reduces the frustration of an unpredictable medium. Simply put, safer is always better, and reliable results make baking much more enjoyable.
Storage
Proper storage is essential to keep your royal icing fresh and workable for future decorating projects. Royal icing is surprisingly shelf-stable, but a few key practices will ensure it maintains its quality. Always store royal icing in an airtight container to prevent it from drying out and forming a crust. A piece of plastic wrap pressed directly onto the surface of the icing before sealing the container can add an extra layer of protection.
Room Temperature: Unused royal icing can be kept on the counter at room temperature for up to two weeks. This is convenient for ongoing projects, as it avoids temperature fluctuations that can affect consistency. Make sure it’s always tightly sealed.
Refrigerator: For longer storage, transfer the airtight container to the refrigerator. Chilled royal icing can last for up to one month. When ready to use, allow the icing to come back to room temperature naturally. If it seems too stiff, you might need to gently re-whisk it or knead it in its piping bag to achieve the right consistency before piping. Holding it in your hand for a few minutes can help warm it just enough to regain its ideal flow.
Freezer: Royal icing can also be frozen for up to two to three months. Store it in a freezer-safe, airtight container. Freezing may alter the consistency slightly, so upon thawing in the refrigerator overnight, it will likely require re-whipping on low speed for a few minutes to restore its smooth texture and peak-forming ability. Add a few drops of water if necessary during re-whipping to achieve the desired flow.
Tips for Royal Icing Success
Achieving perfect royal icing is a blend of technique and patience. Here are some essential tips to ensure your decorating projects are a resounding success:
- Adjusting Consistency for Perfect Flow: If your icing is too thick for flooding or fine details, add water very sparingly. Use an eyedropper or a spray bottle to add a few drops at a time, whisking thoroughly after each addition until you reach your desired consistency. For outlining, you want a consistency that holds its shape but flows smoothly. For flooding, aim for a “10-20 second” consistency – meaning if you draw a line through it with a spoon, the line disappears within 10 to 20 seconds. If your icing becomes too thin, simply add a small amount of sifted confectioner’s sugar, about a teaspoon at a time, until the desired thickness is restored.
- Avoid Overbeating: While mixing is crucial, overbeating can incorporate too much air into your icing. This excess air can lead to air bubbles on the surface of your dried icing, which can cause cracking or an uneven finish. Beat only until firm peaks form, then let it rest to allow bubbles to escape.
- Consistency Checks Are Key: Before applying icing to your precious cookies or treats, always perform a small test on a piece of parchment paper. This allows you to verify that the consistency is exactly right for your intended technique – whether it’s piping sharp lines, filling areas, or creating delicate details.
- Keep Icing Covered: Royal icing dries quickly when exposed to air. To prevent crusting and drying out while you’re working, always keep any unused icing covered. A damp paper towel or a piece of plastic wrap pressed directly onto the surface of the icing in the bowl, or covering the tip of your piping bag with a damp cloth, will maintain its optimal texture.
- Tinting Tips for Vibrant Hues: As previously mentioned, gel food coloring is your best friend for achieving vibrant, consistent colors without affecting the icing’s consistency. Start with minimal gel and gradually build up the color. Remember that colors can deepen over time.
- Optimal Drying Environment: For best results and to prevent smudges, place your decorated items in a dry, lint-free room to air dry. If you need to speed up the drying process, a small fan set on low speed, directed over your cookies, can work wonders. Ensure the fan is clean and that no dust or lint will blow onto your freshly iced treats. Royal icing can take several hours (or even overnight) to dry completely, depending on humidity and thickness.
Simple Ingredients for Superior Royal Icing
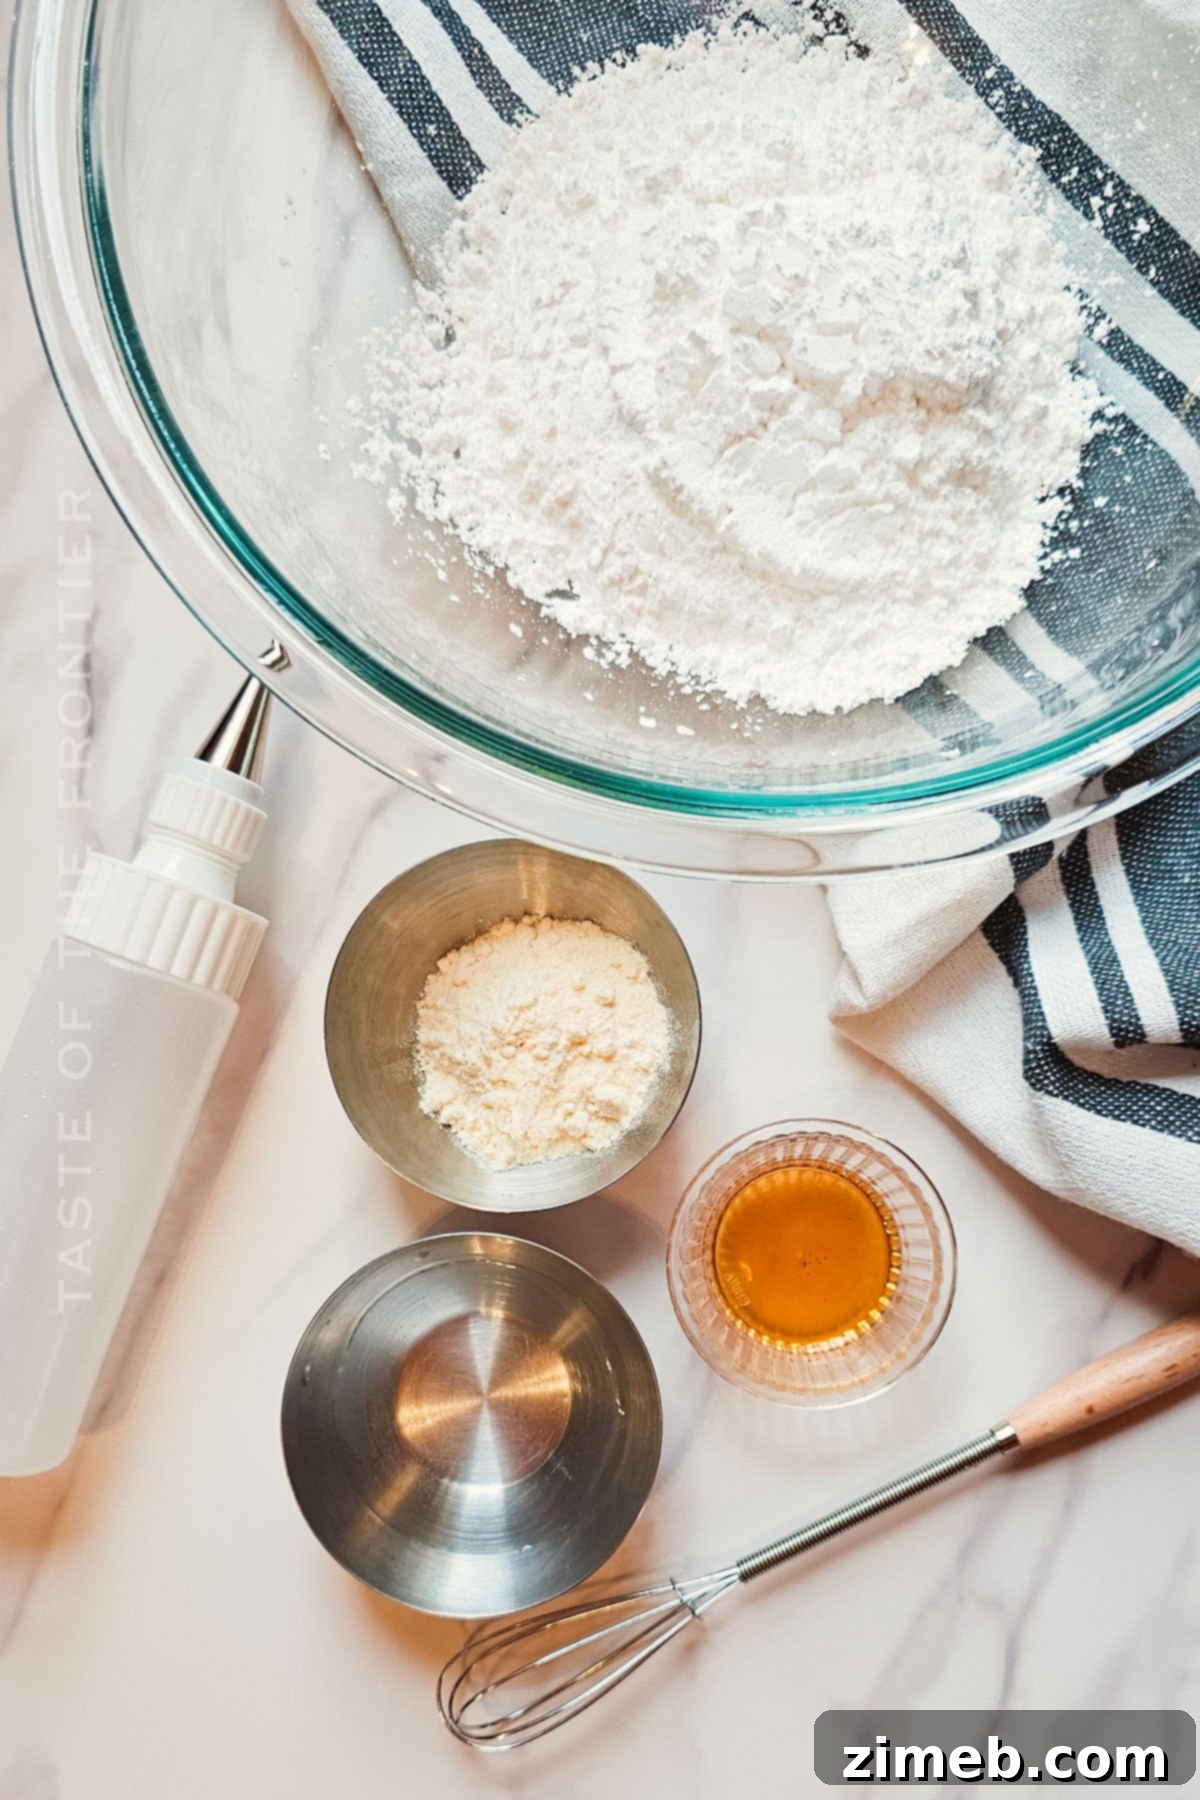
One of the many joys of this royal icing recipe is its simplicity. It requires only four basic ingredients, yet yields a truly spectacular result that surpasses anything you might find pre-made. My kids can attest to its deliciousness, often sneaking spoonfuls of any leftover icing – and I truly can’t blame them, this stuff is super tasty! The minimal ingredient list is a testament to how good a royal icing recipe can be when done right.
- Confectioner’s Sugar (Powdered Sugar): This is the backbone of our royal icing. Ensure you use fresh, finely sifted confectioner’s sugar to prevent lumps and achieve the smoothest possible texture. Sifting before measuring is highly recommended.
- Warm Water: The water helps dissolve the sugar and activate the meringue powder. Using warm water aids in creating a smoother, lump-free consistency more quickly.
- Meringue Powder: The star ingredient! This provides the necessary structure, stability, and safety (being pasteurized egg whites) without the hassle or risk of raw eggs. Different brands may have slightly different concentrations, so you might need minor adjustments to water.
- Clear Vanilla or Almond Extract: For flavor! The “clear” aspect is crucial if you want to maintain a pure white icing for coloring. Regular vanilla extract has a brownish tint that will slightly off-white your icing. Almond extract offers a delightful alternative flavor and is typically clear.
How to Make Royal Icing with Meringue Powder
Don’t be intimidated by the idea of making royal icing from scratch. This recipe is straightforward, yielding results that are far superior in taste and texture to any store-bought alternative. Follow these simple steps for perfect royal icing every time – I promise you’ll be amazed!
- Combine Ingredients: In the bowl of a stand mixer, combine the sifted confectioner’s sugar, warm water, and meringue powder. Ensure your bowl is completely clean and grease-free, as any trace of fat can prevent the meringue powder from whipping properly.
- Beat to Stiff Peaks: Attach the whisk attachment to your stand mixer. Begin beating the ingredients together on low speed for approximately 10 minutes. During this time, the mixture will gradually thicken and whiten, transforming into a glossy icing that forms firm, stiff peaks. This means when you lift the whisk, the peak of icing should stand upright and hold its shape.
- Rest to Release Air Bubbles: Stop the mixer and cover the bowl with a damp cloth or plastic wrap. Allow the royal icing to rest undisturbed for about 15-30 minutes. This crucial step permits any trapped air bubbles to rise to the surface and dissipate, resulting in a smoother finish on your decorated cookies. After resting, gently stir the icing with a spatula to release any remaining bubbles, being careful not to incorporate new ones.
- Outline Your Design: Transfer a portion of the thick icing (your stiff consistency) into a piping bag or squeeze bottle fitted with a small, round tip (e.g., Wilton #2 or #3). This firm consistency is perfect for piping borders, fine details, and creating outlines that will contain your flood icing.
- Flood the Area: Once your outlines are dry to the touch (usually 10-15 minutes), return the remaining thick icing from the bowl to the mixer (or a separate bowl). Gradually thin it out by adding a few drops of water at a time, mixing gently until you achieve a “flooding consistency.” This is typically a 10-20 second consistency, as described in the tips section. Transfer this thinned icing to another piping bag or squeeze bottle. Carefully fill in the outlined areas of your cookie. Use a scribe tool or toothpick to gently spread the icing to the edges and pop any remaining air bubbles, ensuring a perfectly smooth surface.
Essential Kitchen Supplies for Royal Icing
Having the right tools makes all the difference when tackling any baking project, especially one as precise as royal icing. This has become my absolute favorite royal icing recipe, and I’m thrilled to share not just the recipe, but also the essential tools that make the process smooth and enjoyable. These are the items that bring me joy in the kitchen!
- Stand Mixer with Whisk Attachment: A stand mixer is invaluable for whipping the icing to the correct consistency consistently and effortlessly, saving your arm from fatigue. The whisk attachment is perfect for incorporating air and creating stiff peaks.
- Piping Bags and Tips: Essential for precise application. Invest in a good set of piping bags (disposable or reusable) and various small, round tips (#1, #2, #3) for outlining and flooding, along with coupler rings for easy tip changes.
- Large Mixing Bowl: You’ll need a spacious, clean, and grease-free bowl for mixing your icing. Glass or stainless steel bowls are ideal.
- Measuring Cups and Spoons: Accurate measurements are crucial in baking, so ensure you have a reliable set.
- Damp Paper Towel / Plastic Wrap: For covering your icing to prevent it from drying out while you work.
- Fine-Mesh Sieve: To sift your confectioner’s sugar, ensuring a lump-free, super smooth icing.
- Spatula: For scraping down the sides of the bowl and gently stirring the icing to release air bubbles.
- Scribe Tool or Toothpicks: Invaluable for spreading flood icing to the edges of your design and popping any tiny air bubbles that appear on the surface.
- Eyedropper or Small Spray Bottle: Perfect for adding water in controlled, tiny amounts when adjusting icing consistency.

What to Serve With Royal Icing with Meringue Powder
This easy royal icing recipe isn’t just delicious; it’s incredibly versatile, making it the perfect accompaniment for a wide array of baked goods. I’m always excited to hear what creative confections you’re making in the comments section – it’s truly fun to see your artistic creations come to life!
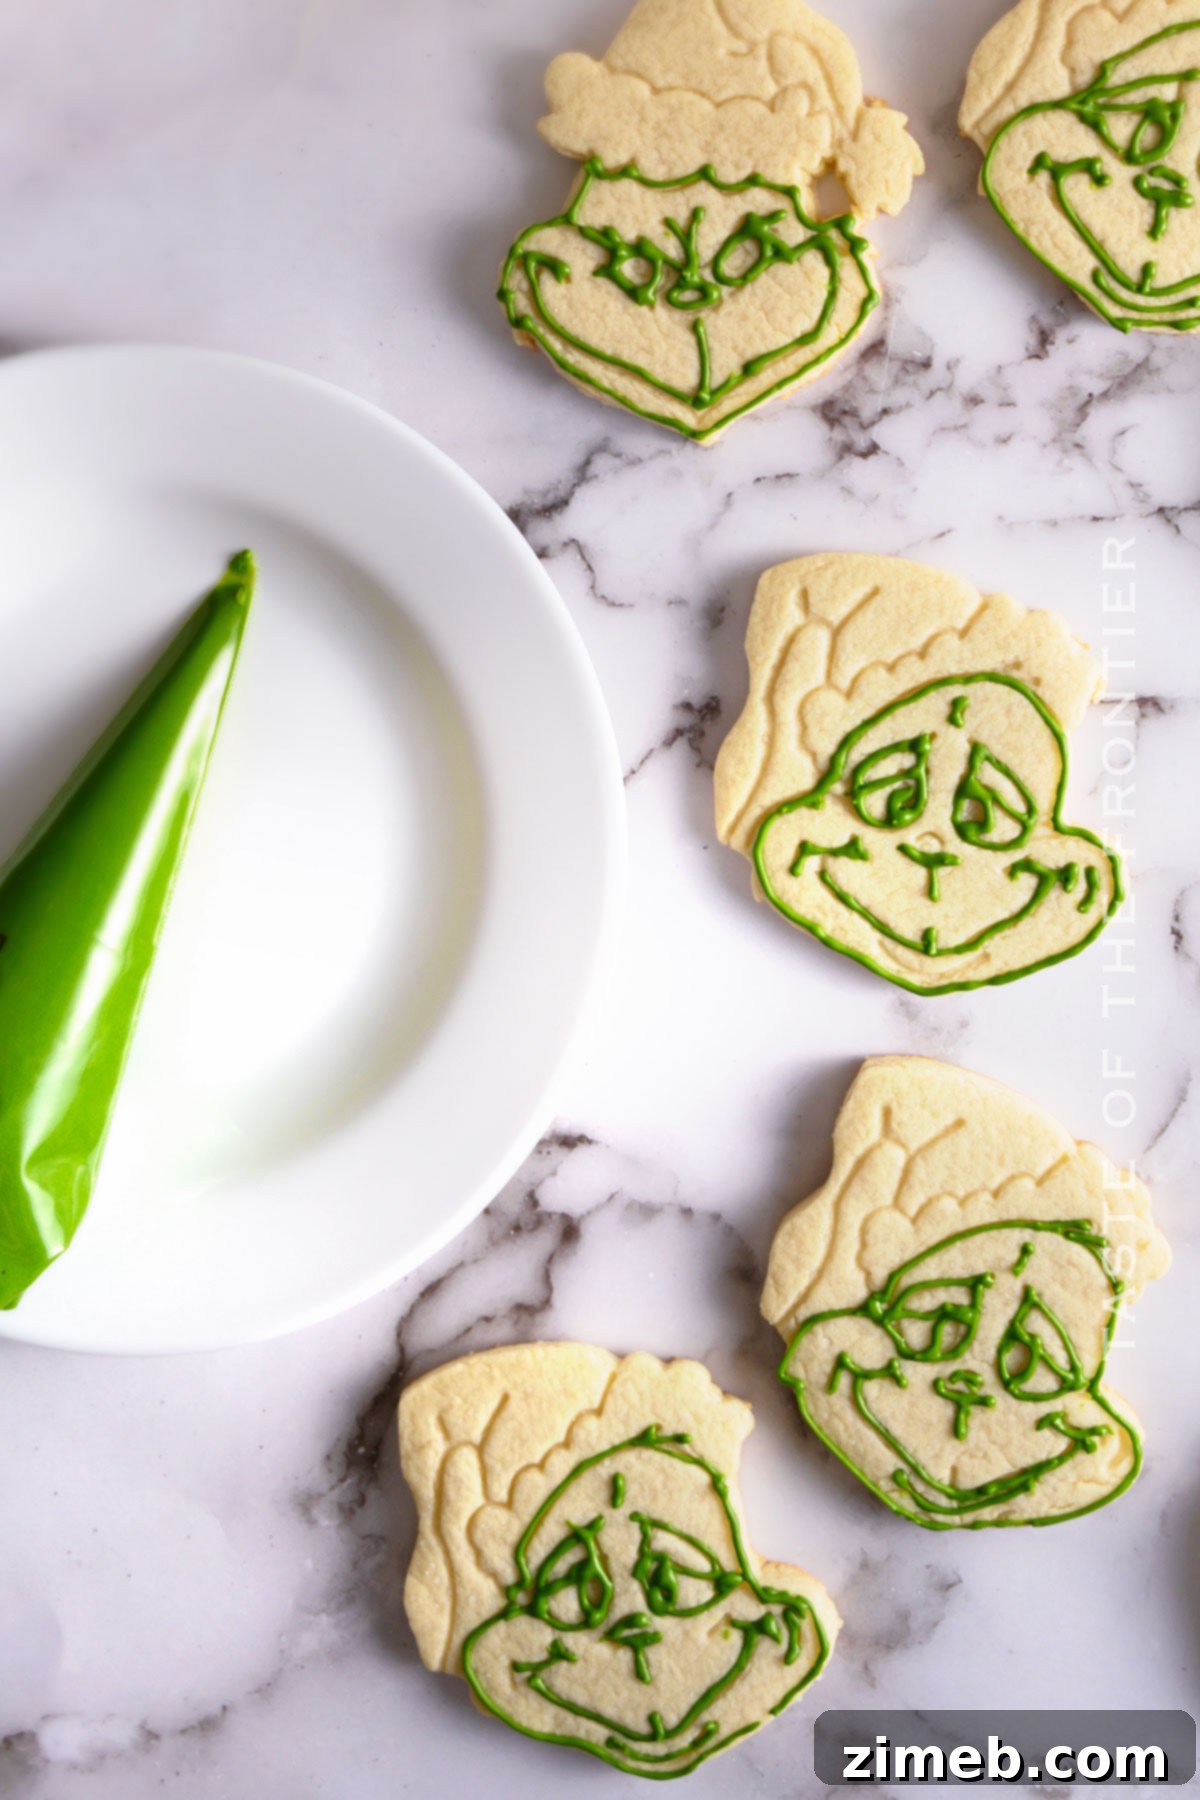
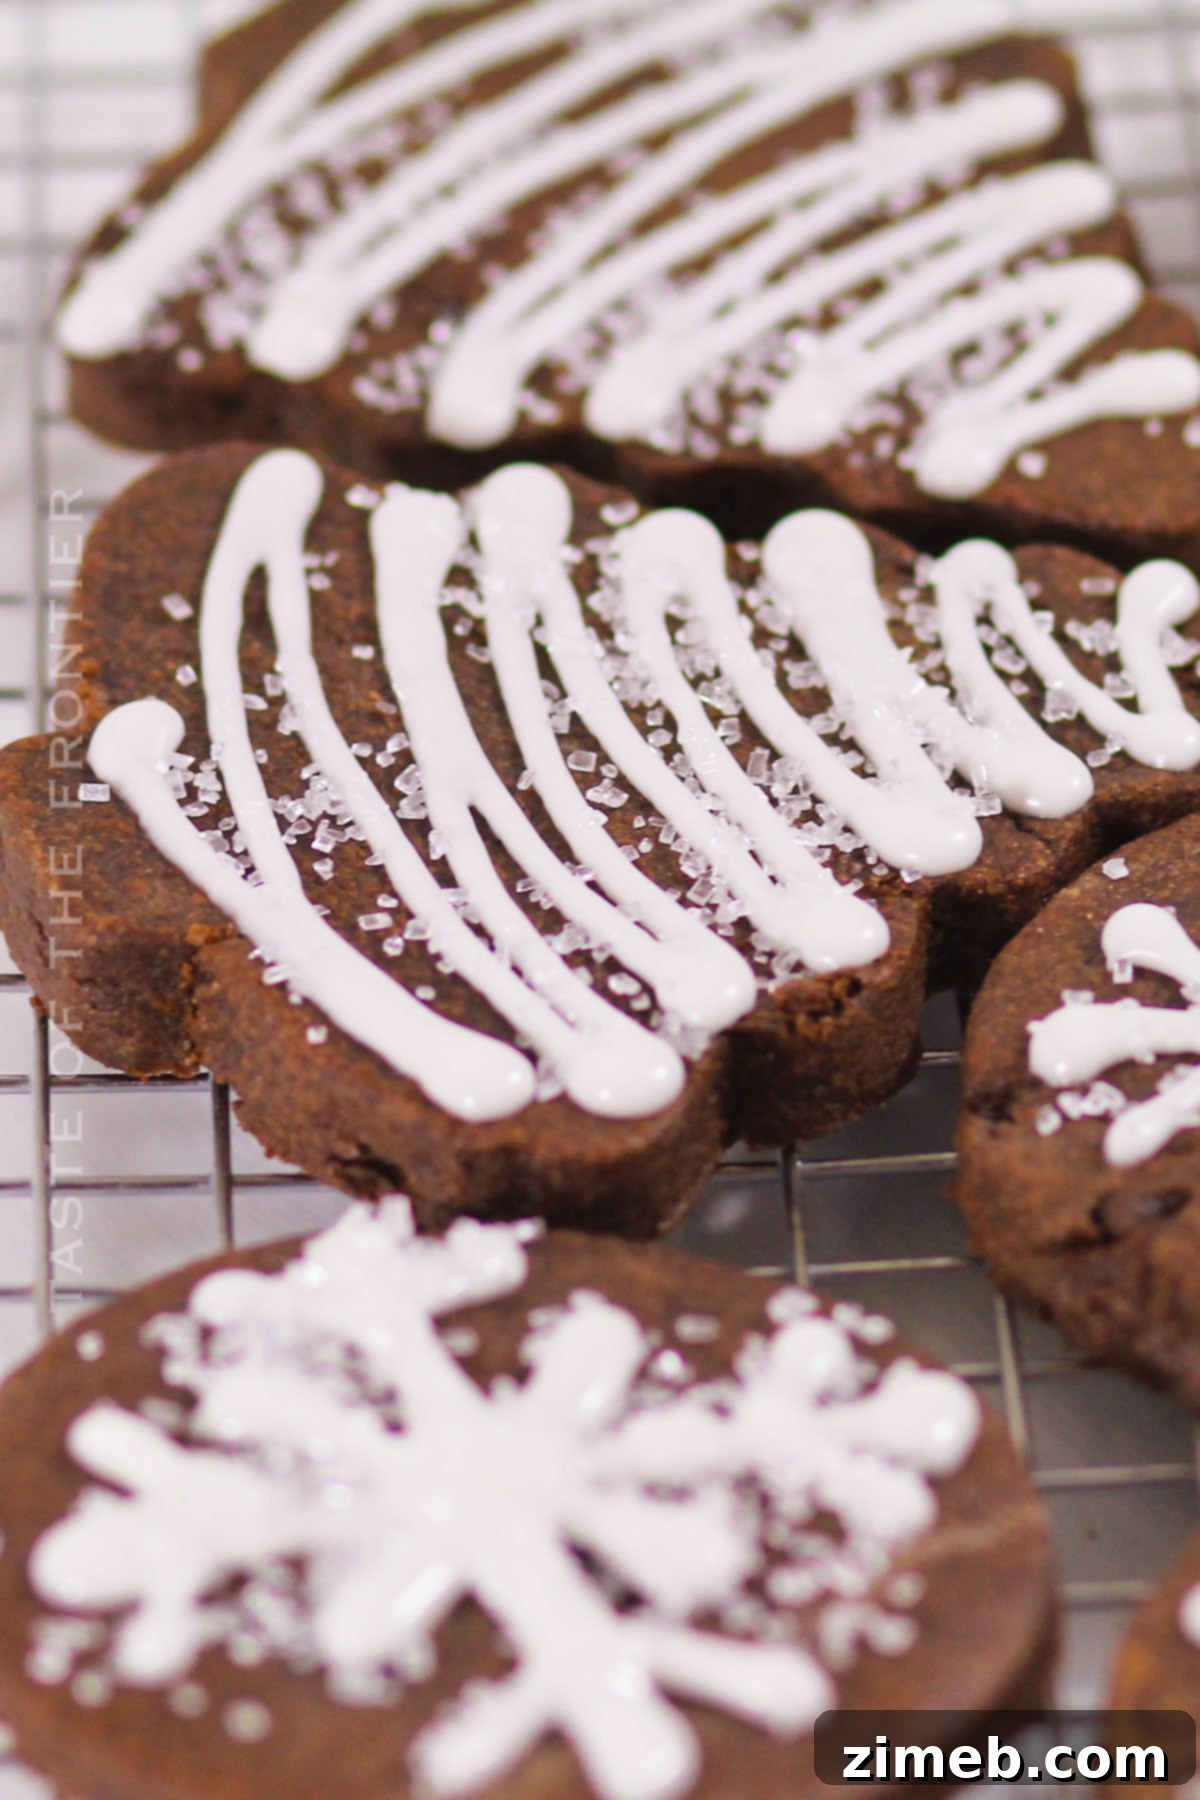
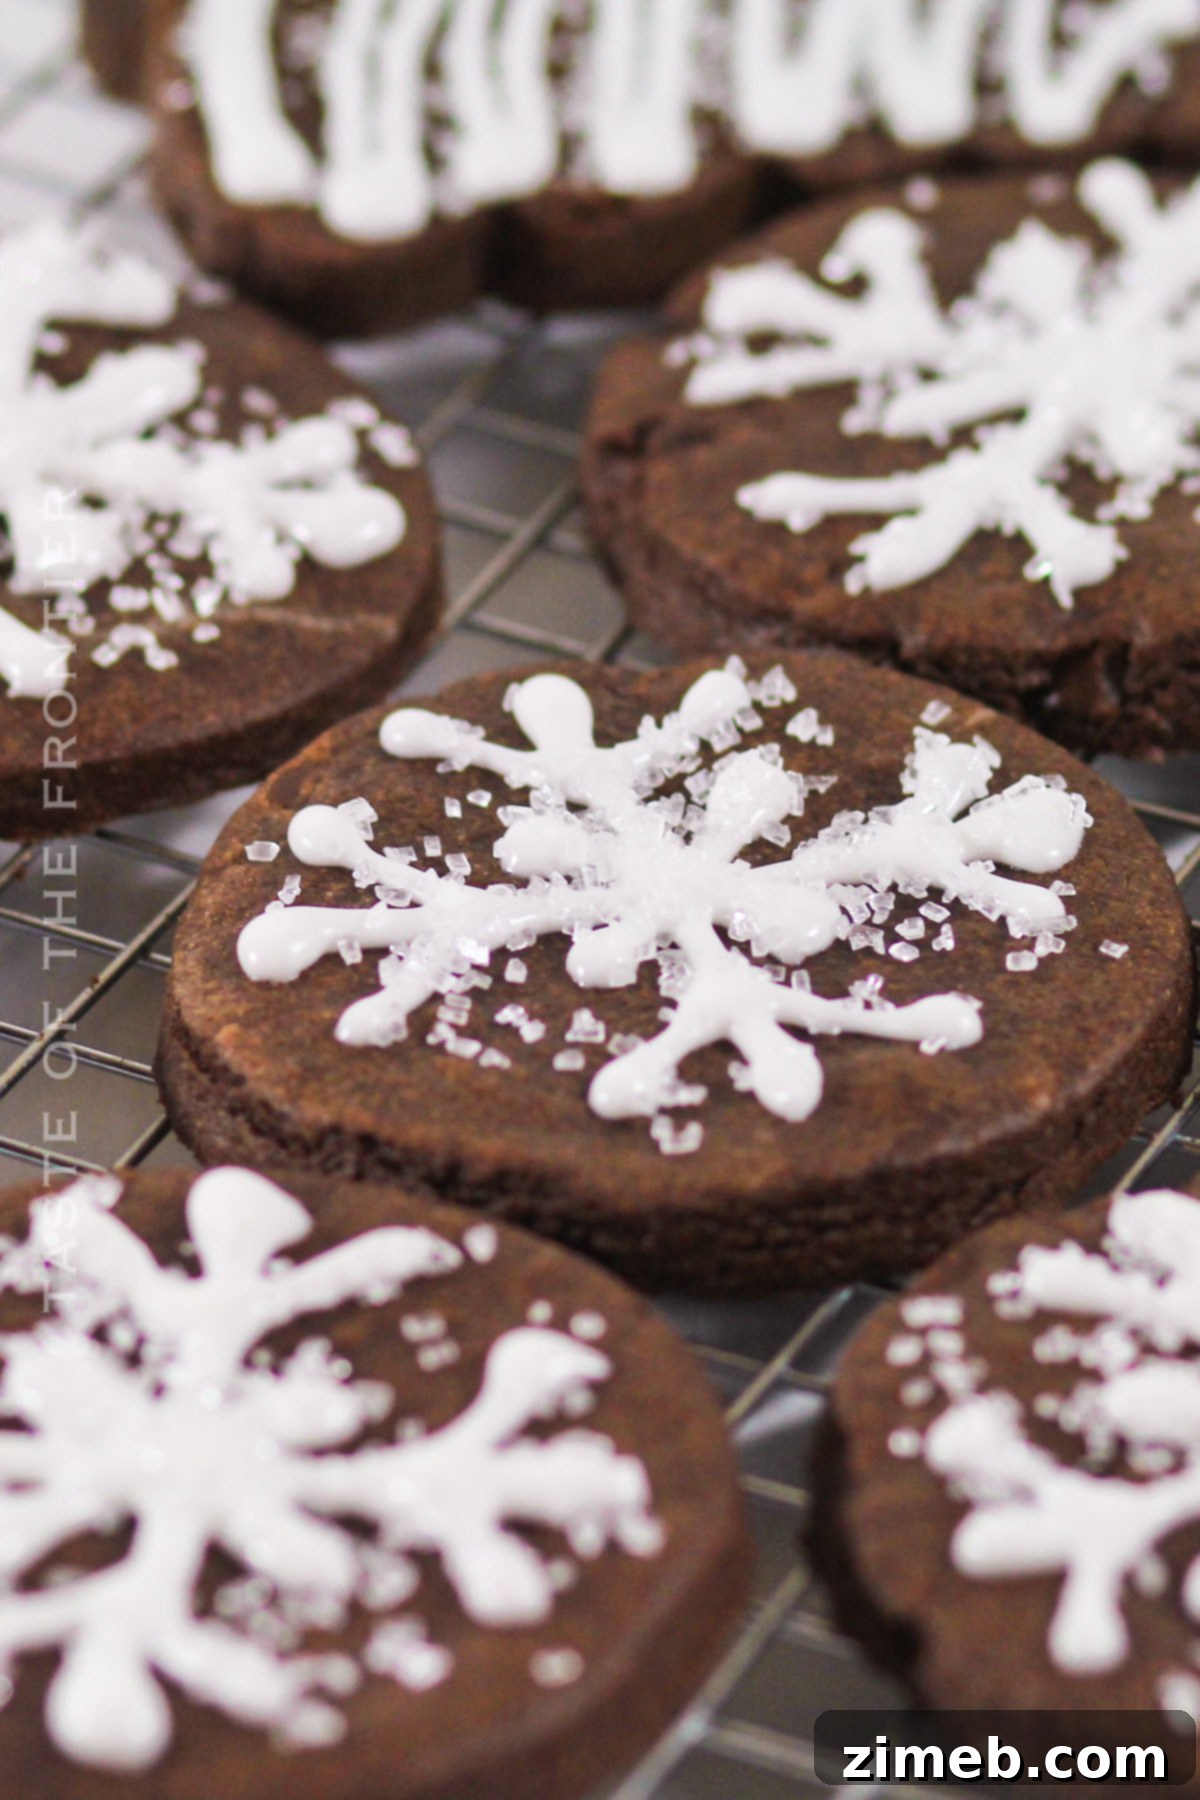
- Decorating Cookies: This icing is ideal for decorating sugar cookies, gingerbread men, and a variety of holiday treats. Its ability to hold intricate designs and create a smooth, hard finish makes it perfect for themed cookies for any occasion – from birthdays to baby showers, weddings, and seasonal festivities.
- Gingerbread Houses: The strong, stable nature of royal icing makes it the absolute best “glue” for constructing and embellishing gingerbread houses. It sets firmly, holding walls and roofs in place, and provides a beautiful snowy finish for your edible architecture.
- Creative Cake and Cupcake Topping: While often associated with cookies, royal icing can be used as a delicate, crisp touch on cupcakes and cakes. Think fine piped borders, lace designs, or even small, edible sugar flowers that add an elegant flourish.
- Crafting Edible Decorations: Beyond direct application, royal icing is perfect for creating standalone edible decorations. You can pipe delicate flowers, leaves, intricate borders, or even small figures onto parchment paper, let them dry completely, and then carefully peel them off to place on cakes, cupcakes, or other desserts. These pieces are not only beautiful but also add a sophisticated touch.
Why This Royal Icing with Meringue Powder Recipe is a Must-Try
If you’re looking for a dependable, easy-to-use, and incredibly versatile icing for all your decorating needs, then this classic royal icing recipe with meringue powder is undoubtedly the right choice for you. Its robust performance, combined with its delightful taste, makes it an invaluable addition to any baker’s repertoire. Be sure to save this recipe card – you’ll be reaching for it again and again!
- Unmatched Consistency Control: This recipe allows for effortless adjustment of consistency, making it perfect for a wide range of decorating techniques. Whether you need a stiff consistency for intricate piping, a medium consistency for delicate details, or a thin consistency for flawless flooding, this icing adapts beautifully to your artistic vision.
- Superior Food Safety: By utilizing meringue powder, this recipe completely eliminates the risks associated with raw eggs. This means you can confidently serve your beautifully decorated treats to family, friends, and customers of all ages, knowing they are safe and wholesome.
- Long-Lasting Stability: Royal icing made with meringue powder dries to a hard, durable finish that is stable and resistant to smudging. This ensures that your elaborate decorations remain pristine during transport and display, and your cookies stay beautiful for an extended period.
- Incredibly Versatile: From holiday cookies and birthday cakes to gingerbread houses and edible embellishments, this royal icing is suitable for a vast array of baking and decorating projects. It truly is the ultimate all-purpose icing for bringing any sweet idea to life.

Exciting Variations and Add-Ins for Royal Icing
While this royal icing recipe is perfect as is, it also serves as an excellent base for endless creative variations. I personally adore using this icing on my favorite sugar cookie recipe; it truly is the best royal icing I’ve encountered. Here are some fantastic ideas to customize your icing and add an extra layer of flavor and visual appeal!
- Lemon Zest Flavor: For a bright and tangy twist, incorporate a small amount of fresh lemon juice or finely grated lemon zest into your icing. This adds a refreshing citrus note that pairs wonderfully with many cookie flavors. Start with a tiny amount and taste as you go.
- Colorful Creations: Beyond the basic colors, truly experiment with your gel food colors. Create ombré effects, marble designs, or vibrant rainbow themes. Remember to keep small portions of icing in separate bowls for individual coloring.
- Chocolate Royal Icing: Transform your white icing into a rich chocolate version by sifting in unsweetened cocoa powder. Start with a tablespoon or two and adjust to taste and color intensity. You might need a tiny bit more water to maintain the desired consistency after adding the cocoa.
- Sparkling Glittery Finish: Elevate your decorations with a magical sparkle! Mix in edible glitter or luster dust (available in various colors) directly into your icing before piping, or brush it onto dried icing for a shimmery effect. This is perfect for festive or whimsical designs.
- Different Flavor Extracts: Don’t limit yourself to vanilla or almond. Explore other clear extracts like peppermint for holiday treats, orange extract for citrusy cookies, or even a subtle rosewater for elegant designs.
- Spiced Icing: For a warm, comforting flavor profile, especially suitable for gingerbread or autumn cookies, consider adding a pinch of finely ground spices like cinnamon, nutmeg, or ginger to your confectioner’s sugar before mixing.
If you love this easy icing recipe, you’re going to love these other recipes to use it on too. Please click each link below to find the easy, printable recipe!
Check out this recipe

Check out this recipe

Check out this recipe

Check out this recipe

Check out this recipe

More Great Icing and Frosting Recipes
If you’ve enjoyed mastering this royal icing, you might be keen to explore other delicious icing and frosting recipes to expand your baking repertoire. Each offers unique textures and flavors, perfect for different types of desserts.
Royal Icing Without Meringue Powder
Easy Marble Drip Icing
Coffee Buttercream Frosting
Best Bakery Buttercream Frosting
CONNECT WITH YUMMI HAUS!
Be sure to follow me on my social media, so you never miss a post!
Substack, FB, Pinterest, IG, Email Subscription


Rate this Recipe
Royal Icing With Meringue Powder
Ingredients
- 4 cups confectioner’s sugar
- 5 tbsp warm water
- 3 tbsp meringue powder
- ½ tsp clear vanilla extract or almond
Instructions
-
Place the confectioner’s sugar, warm water, and the meringue powder in the bowl of a stand mixer.
-
Using the whisk attachment, beat the ingredients together for about 10 minutes on low speed until the icing forms peaks.
-
Stop the mixer and let the icing sit for about 15-30 minutes to let all of the air bubbles rise. Gently stir to release the bubbles.
-
Transfer to an icing bag or bottle fitted with a small, round tip to pipe the border/edges of the icing
-
Once the border is made, you can transfer the remaining icing back to the bowl and thin it out with a little bit of water. Then pour back into the icing bottle to flood the inside of the icing border to fill in the cookie decorations.
Notes
If the mixture is too thick, you can add a few drops of water – whisking well after each drop. Be careful not to add too much. It is better to go drop by drop vs several at a time and end up with icing that is too thin to work with.
In the event the icing is too thin – you can add more confectioner’s sugar to thicken it up. As with the water, start with a small amount and gradually build up. Start with 1 tsp at a time.
To tint the icing – I recommend using gel food coloring as it won’t thin the icing like liquid food coloring and it won’t thicken the icing like powdered food coloring. The gel is also a highly concentrated pigment, so a little goes a long way to achieve the color you desire. Keep in mind that the color will intensify as it sits.
Don’t over-beat. You don’t want to add more air to the icing. Also- stirring too vigorously will have the same effect.
While working with a small portion of the icing, you can cover the portion you are not using with a damp paper towel. This will ensure the icing doesn’t dry out before you are able to use it all.
To speed up the drying process of the icing, once the cookies are decorated, I recommend placing the cookies in front of a fan in a lint-free room. The icing can take several hours to dry completely.
Nutrition
Nutritional information for the recipe is provided as a courtesy and is approximate. Please double-check with your own dietary calculator for the best accuracy. We at Yummi Haus cannot guarantee the accuracy of the nutritional information given for any recipe on this site.