
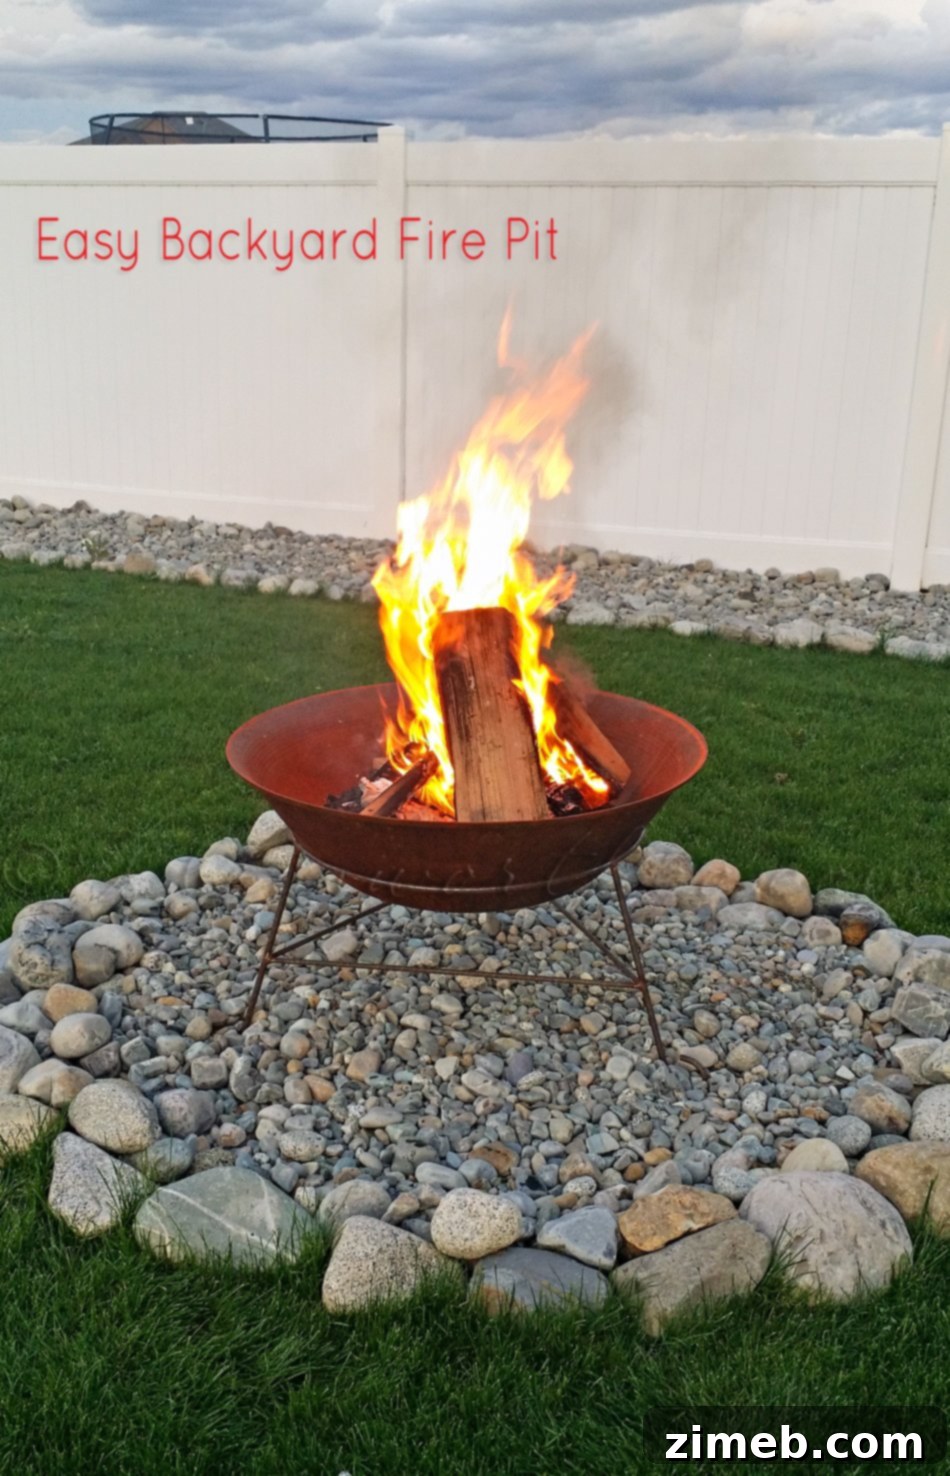
As the warmer weather beckons, our weekends have transformed into a flurry of exciting home improvement projects. We’re on a mission to transform our newly built house, which we completed last July, into our dream home. The cooler months provided ample time for dreaming and meticulous planning, and now it’s time to roll up our sleeves and bring those visions to life. With a project list that could easily keep us busy until Labor Day, we’re picking up right where we left off last summer, tackling each item with renewed enthusiasm.
One of our initial endeavors, completed last fall, was the creation of this incredibly simple backyard fire pit. While it was a perfect addition for those crisp autumn evenings, the season wasn’t right for sharing its brilliance with you all. But with summer just around the corner and exciting plans to enhance this outdoor feature, it’s the perfect moment to unveil our easy backyard fire pit before we introduce all the upcoming additions.
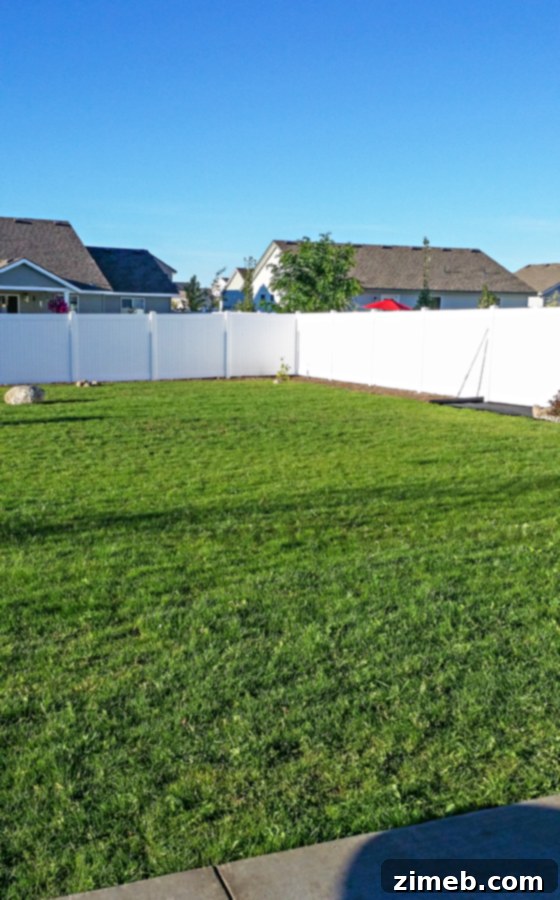
Our yard, spanning approximately 10,000 square feet, offers a generous canvas for creative landscaping. Last season, we dedicated time to defining the borders of our grass areas with decorative rock, laying the groundwork for a truly inviting outdoor living space. Our goal is to strike a balance: to maintain an expansive, open feel while strategically maximizing every inch of space for both aesthetics and functionality. The fire pit is a cornerstone of this vision, serving as a focal point for relaxation and entertainment.
Prioritizing Fire Pit Safety: Crucial Considerations for Your Outdoor Space
While the allure of an outdoor fire pit is undeniable, fire safety should always be your top priority. It’s common to see store-bought fire pits placed directly on lawns or, even more concerning, on wooden decks. As the wife of a fire chief, I cannot stress this enough: **PLEASE DO NOT DO THIS!**
Never position a fire pit, grill, or any open flame directly on a wooden deck. Wood is a highly combustible material, and the intense heat generated by a fire pit poses a severe fire risk. Even with a protective mat, the prolonged radiant heat can compromise the integrity of the wood, leading to charring or even ignition. Similarly, placing a fire pit directly on grass, even if it appears cool and moist, is incredibly dangerous. The radiant heat will rapidly dry out and kill the grass beneath and around the pit. Once dry, this dead grass becomes an easily ignitable fuel source, especially vulnerable to stray sparks or floating embers. A single ember, carried by the wind, can travel up to two miles, potentially igniting dry vegetation, structures, or even neighboring properties. Always ensure your fire pit is situated far away from your home, any wooden structures, fences, low-hanging branches, or any other combustible materials. A safe distance of at least 10 to 25 feet from any structure or flammable object is generally recommended, but local regulations might specify more stringent requirements.
Beyond placement, it’s vital to be aware of and adhere to your local burning regulations and seasonal fire bans. These regulations are in place for community safety and can vary significantly by location and time of year, especially during dry seasons. Always check with your local fire department or municipal office before using your fire pit. Having a water source (like a hose) and a fire extinguisher readily accessible is also a non-negotiable safety measure. Never leave a fire unattended, and ensure it is completely extinguished before leaving the area.
Crafting Your Easy Backyard Fire Pit: A Step-by-Step Guide
Creating a dedicated, safe, and beautiful space for your fire pit is simpler than you might imagine. Our DIY project took less than 30 minutes, and with these clear steps, you can achieve a similar result in no time. This method ensures both safety and a charming aesthetic for your outdoor haven.
Materials You’ll Need:
- Weed barrier fabric (or landscape fabric)
- Decorative rocks or gravel (larger for the border, smaller for the infill)
- A pre-made fire pit bowl (cast iron, steel, or concrete)
- Shovel
- Utility knife or sturdy scissors
- Measuring tape and a string/stake for marking (optional, but recommended for perfect circles)
Step-by-Step Construction:
**1. Choose Your Safe Location:** First and foremost, select a level area in your yard that is well away from your home, fences, overhanging trees, and any dry vegetation. Ensure ample clearance all around to prevent accidental fires. This is the most crucial step for safety.
**2. Prepare the Ground:** Clear any existing grass, weeds, or debris from your chosen area. If your ground isn’t perfectly level, take a few minutes to flatten it out with a shovel. A stable base is essential for your fire pit area.
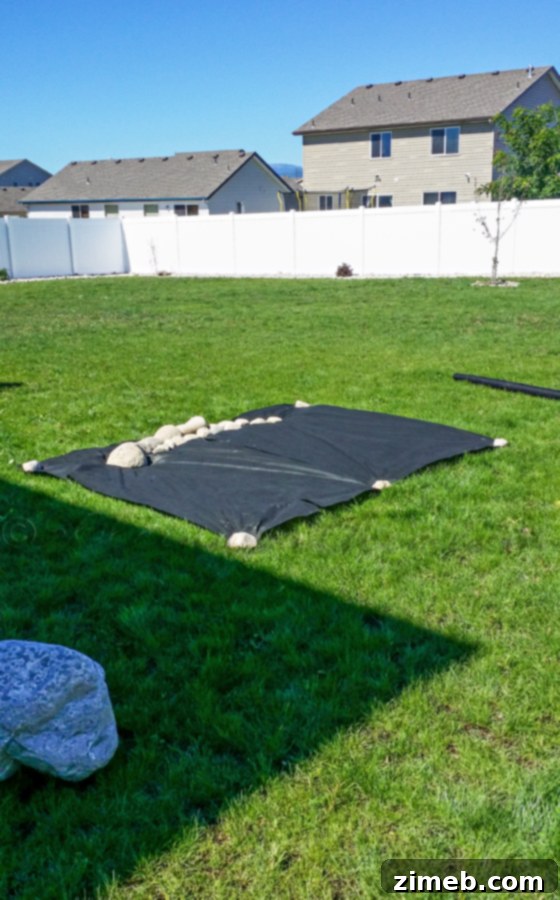
**3. Lay the Weed Barrier Fabric:** Unroll your weed barrier fabric over the prepared area where you intend to place your fire pit. The fabric serves multiple purposes: it suppresses weed growth, helps stabilize the ground, and provides a clean base for your rock bed. Ensure the fabric extends well beyond the perimeter of where your rocks will be placed.
So anyhow – to make this we laid out our weed stop fabric over the area where we wanted our pit.
**4. Define Your Circle:** Using your fire pit bowl as a guide, determine the desired size for your rock-lined safety zone. We opted for a circle approximately 1.5 times the size of our fire pit bowl, providing a generous non-combustible buffer zone. You can use a string tied to a central stake to draw a perfect circle in the fabric, ensuring a clean, symmetrical design.
Then we took our rocks & started making our circle 1.5 times the size of our fire pit.
**5. Construct the Rock Border:** Begin by placing your larger, more visually striking rocks around the outer edge of your marked circle, forming a defined border. This creates an attractive enclosure and helps contain the smaller infill rocks. Once the border is established, start filling the interior of the circle with smaller decorative rocks or gravel. Aim for a depth of at least 2-3 inches in the center. This rock bed provides excellent drainage, prevents future weed growth, and offers a stable, fire-safe surface for your pit.
We used the larger rocks around the border & then used smaller ones to fill in the center.
Make the small rocks at least 2-3 inches deep in the center.
**6. Trim Excess Fabric:** Once your rock border and infill are complete, carefully trim any excess weed barrier fabric using a utility knife or sturdy scissors. Cut neatly along the outer edge of your rock circle to create a clean, finished look.
Trim the corners of the weed stop off to make your circle.
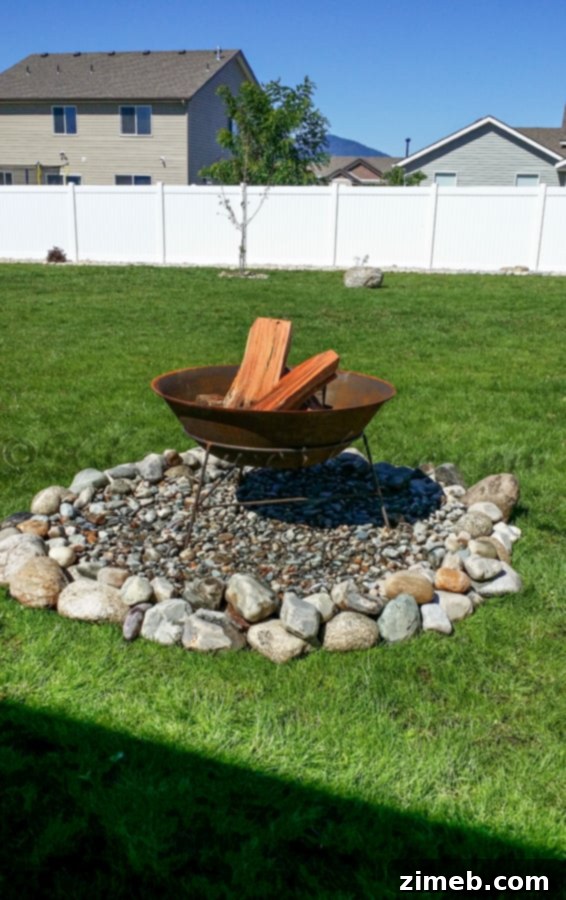
**7. Position Your Fire Pit:** Carefully place your pre-made fire pit bowl directly in the center of your newly created rock bed. Ensure it is stable and level. We purchased our pit from a local store that also supplied our rocks, making it convenient to select coordinating materials. If you’re looking for a similar option, many high-quality cast iron fire bowls are available online. For instance, you can find a sturdy Cast Iron Fire Bowl for less than $100 on Amazon, offering durability and a classic look.
We picked up our pit at the local store where we bought our rocks & nestled it in the center.
But you can find a similar one like this Cast Iron Fire Bowl
for less than $100 on Amazon.
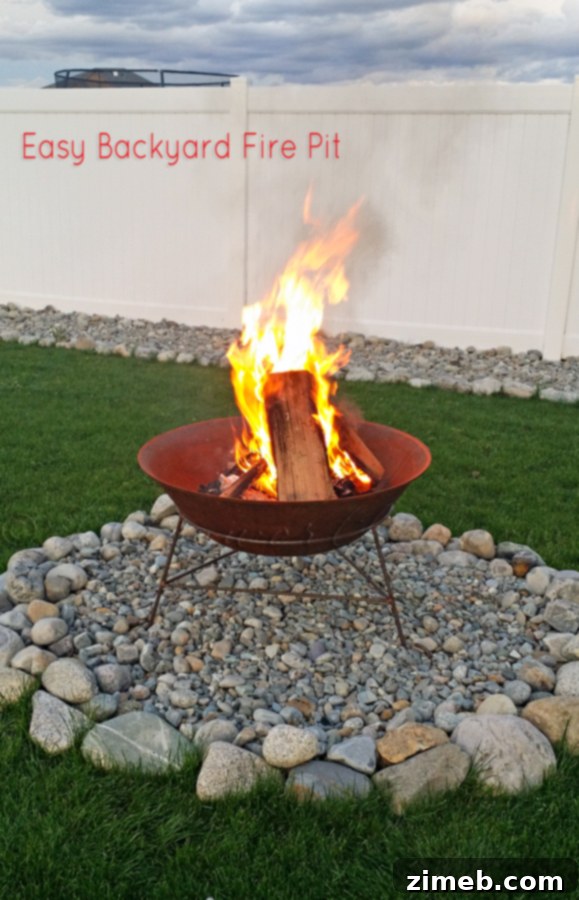
And there you have it! A simple, easy, and incredibly quick backyard fire pit project, completed in under 30 minutes. This creates a safe, inviting, and beautiful focal point for your outdoor entertaining, perfect for gathering with loved ones, enjoying s’mores, or simply relaxing under the stars. By prioritizing safety and following these straightforward steps, you can easily enhance your outdoor living space and create lasting memories around a crackling fire.
Looking for More Easy Home Projects?
Transforming your home doesn’t have to be complicated or expensive. We love finding creative and efficient ways to enhance our living spaces. Here are a few more easy DIY projects that can make a big impact with minimal effort:
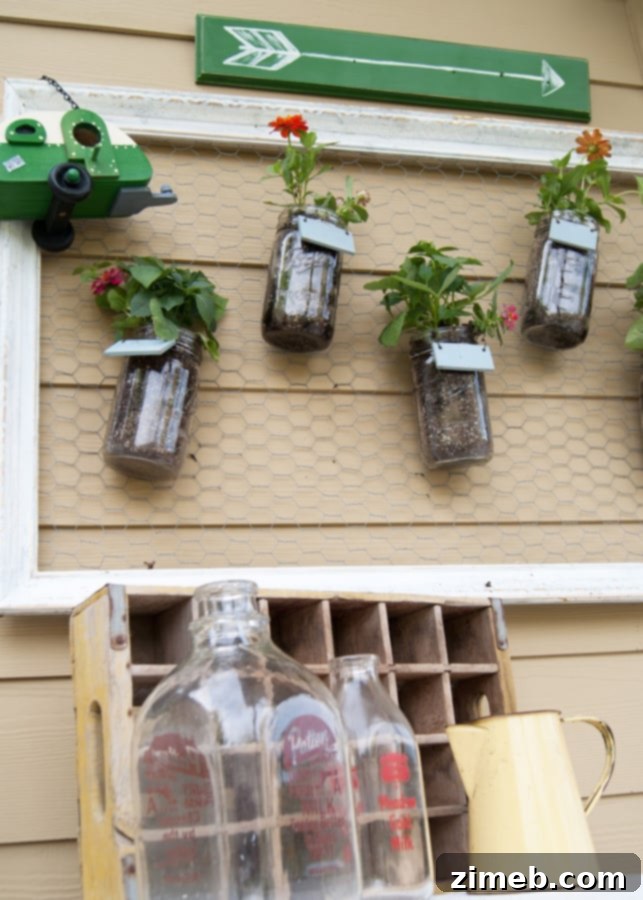
Mason Jar Wall Garden
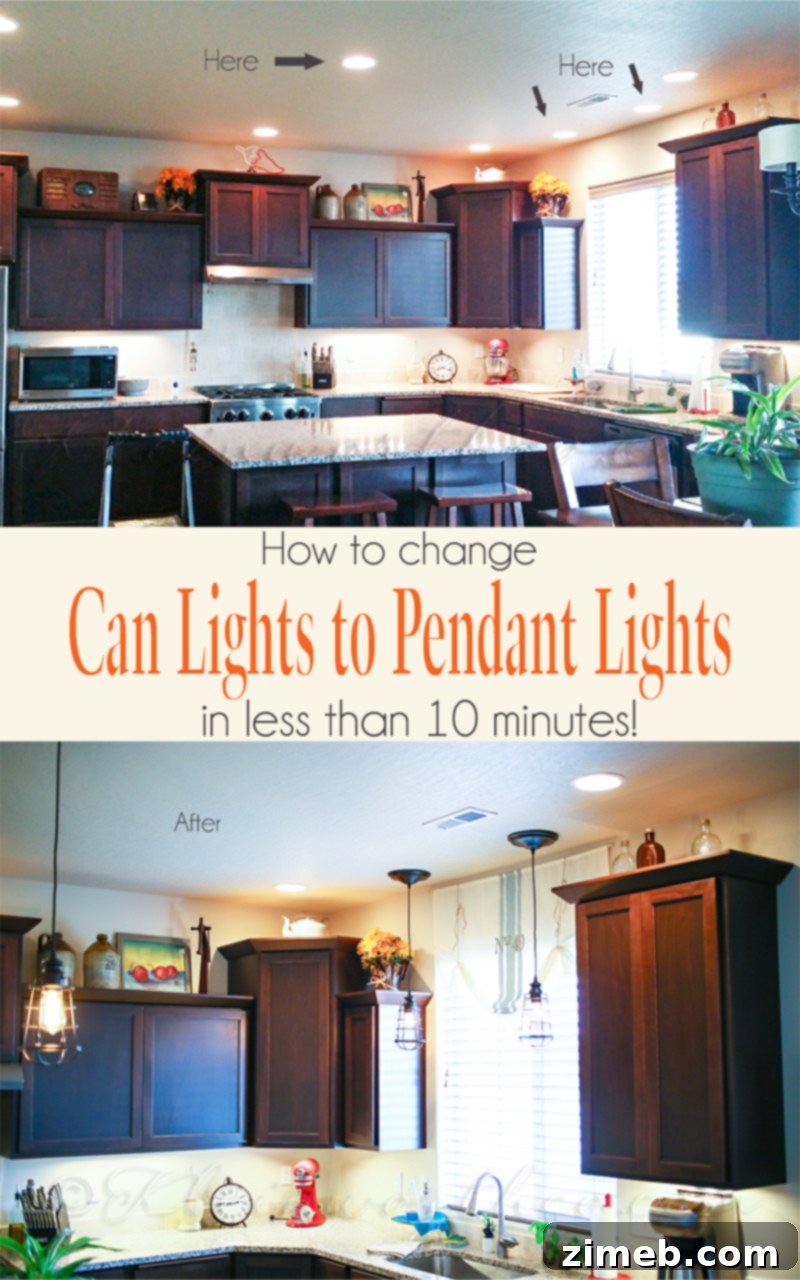
Change Can Lights to Pendant Lights {in less than 10 minutes}
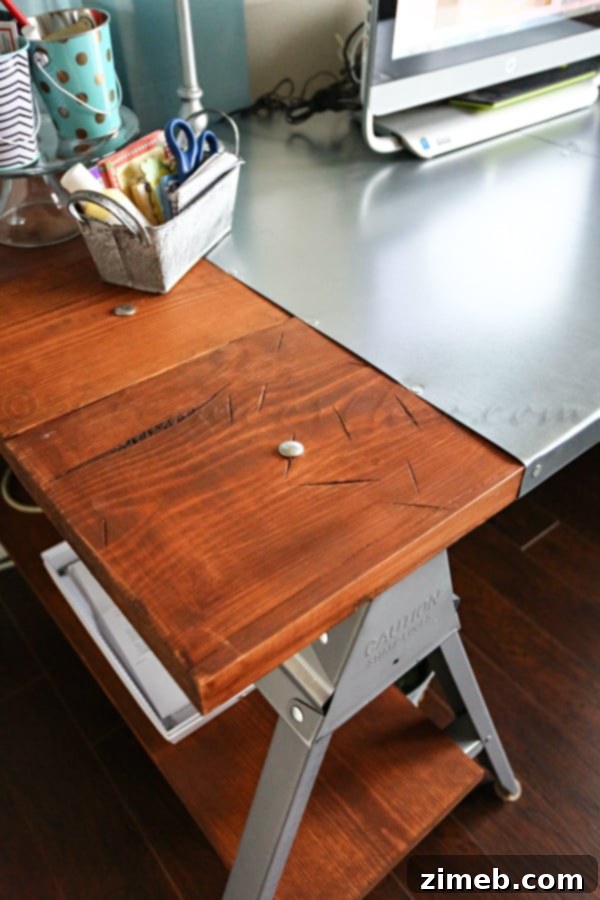
Industrial Sawhorse Desk
For more inspiration and to see where this project is being featured today, feel free to visit HERE.