

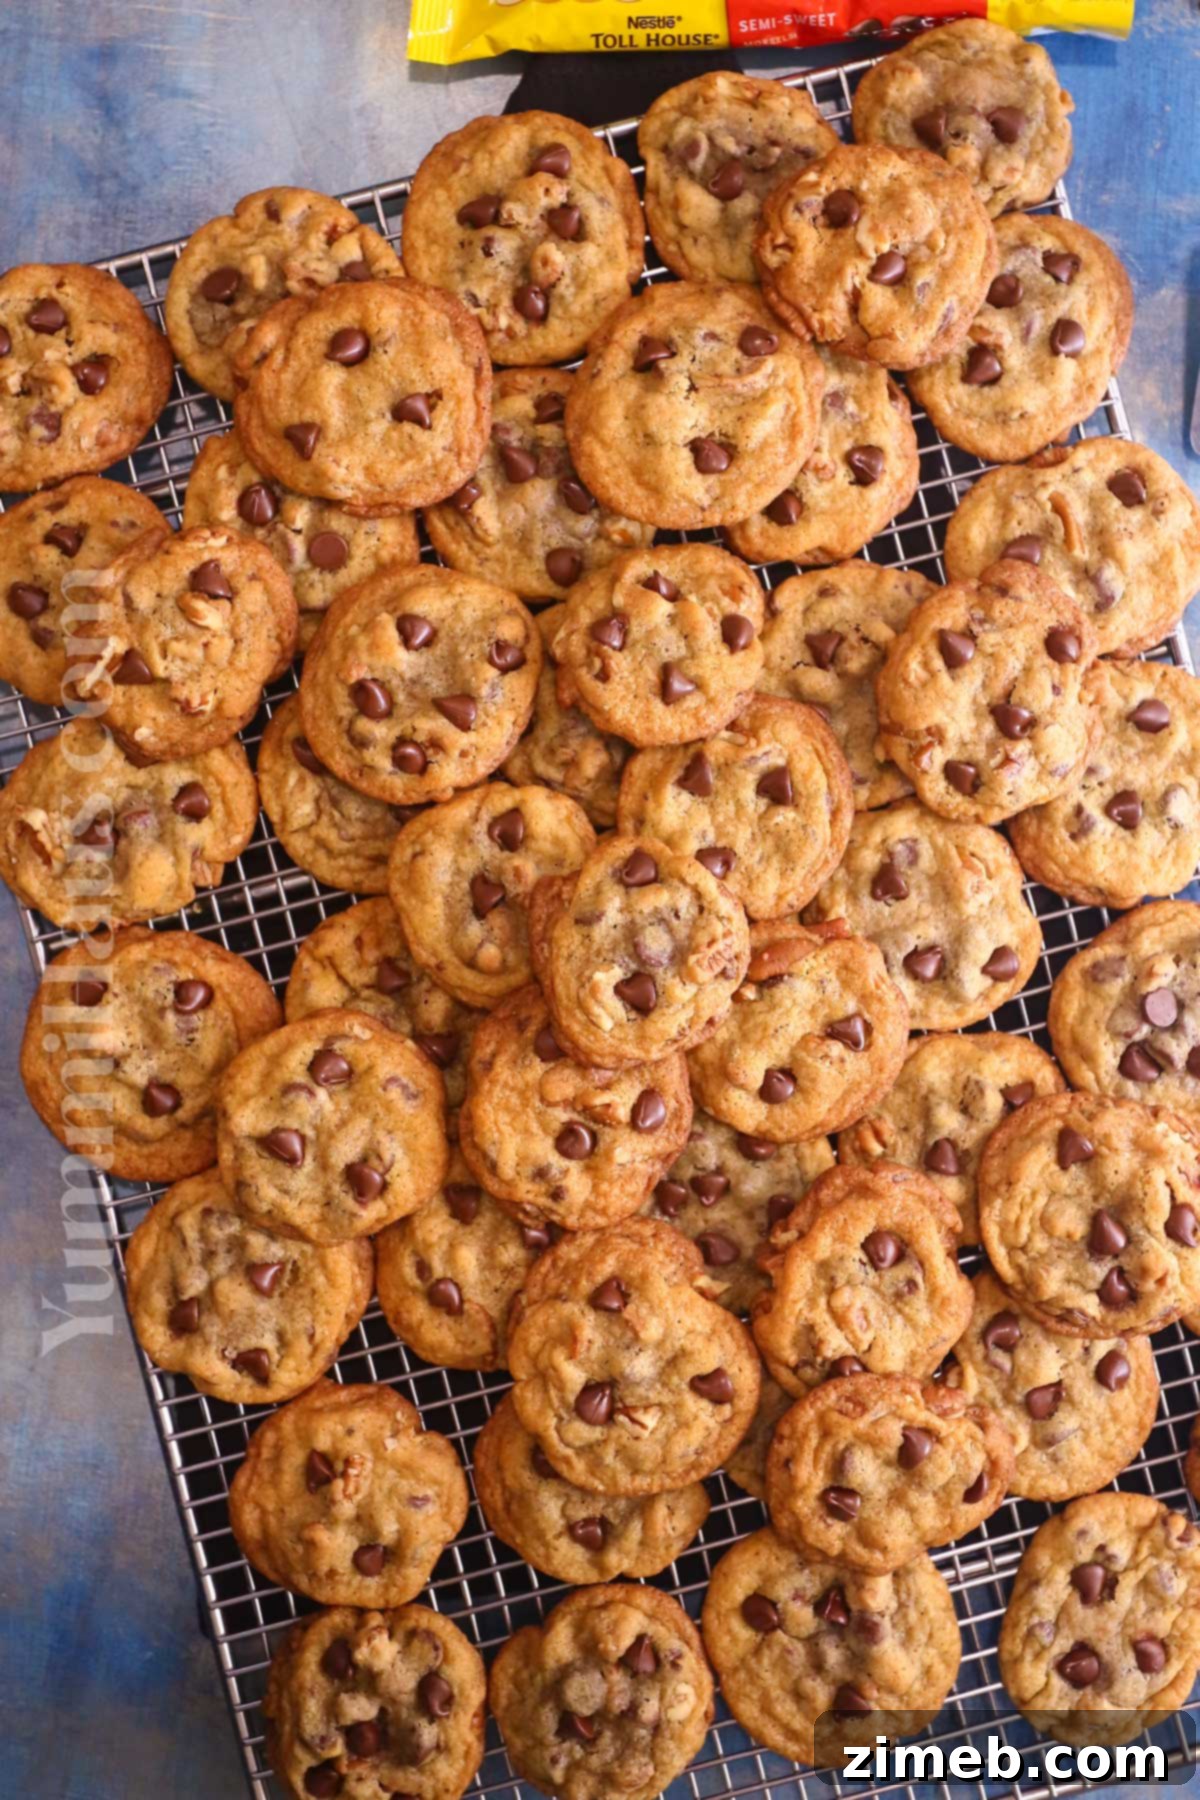
There’s nothing quite like the comforting aroma and irresistible taste of warm, homemade chocolate chip cookies. Among the countless recipes out there, the Nestle Toll House cookie stands as an undisputed icon. These aren’t just any cookies; they’re the quintessential chocolate chip experience, elevated to pure indulgence with the perfect blend of rich Nestle semi-sweet chocolate chips and the satisfying crunch of finely chopped nuts. With their perfectly golden, crispy edges and wonderfully soft, chewy centers, each bite is a symphony of textures and flavors that has captivated generations.
Often hailed as the original chocolate chip cookies – and arguably the best ever created – these classic treats are incredibly versatile. Whether you’re enjoying a quiet afternoon with a cup of tea, preparing a delightful picnic spread, crafting a thoughtful gift box for a loved one, or contributing to a festive potluck, these easy-to-make cookies are always a welcome addition. Truly, who could ever resist the allure of a freshly baked, homemade cookie?

While the core ingredients remain faithful to the legendary recipe found on the back of Nestle chocolate chip bags – a tradition upheld for nearly a century – this guide incorporates a few refined methods. These subtle enhancements are designed to simplify the baking process and ensure your Toll House cookies achieve their absolute best possible texture and flavor, making them even more effortless to master in your own kitchen.
The Fascinating Origin Story: Why Are They Called Toll House Cookies?
The beloved chocolate chip cookie boasts a surprisingly serendipitous origin, thanks to a resourceful restaurateur named Ruth Wakefield. The year was either 1938 or 1939 – a detail still debated among culinary historians – and Wakefield was busily baking in her popular establishment, aptly named “Toll House Inn,” located in Whitman, Massachusetts.
One fateful day, while preparing a batch of butter drop cookies, Ruth found herself running low on baker’s chocolate. Instead of traditional chocolate, she decided to break a Nestle semi-sweet chocolate bar into small pieces and stir them into her cookie dough, expecting the chocolate bits to melt and create a uniform chocolate cookie. To her surprise, the chocolate pieces held their shape, softening into gooey pockets rather than fully integrating. The result was revolutionary: the world’s first true chocolate chip cookie was born, and its incredible flavor immediately captivated her customers.
The demand for these new cookies skyrocketed. News of the “Toll House Crunch Cookies” quickly spread, attracting visitors from all over the region. Nestle soon took notice of the phenomenon. Recognizing the immense popularity of Ruth’s creation and the ingenious use of their chocolate, Nestle made a deal with Ruth Wakefield. For a mere dollar and a lifetime supply of Nestle chocolate, the company acquired the rights to her groundbreaking recipe. This pivotal agreement led to the “Nestle Toll House” branding we know today, forever cementing the name and the recipe in baking history. It’s truly incredible to think that such a simple, yet brilliant, culinary accident could lead to a global sensation!
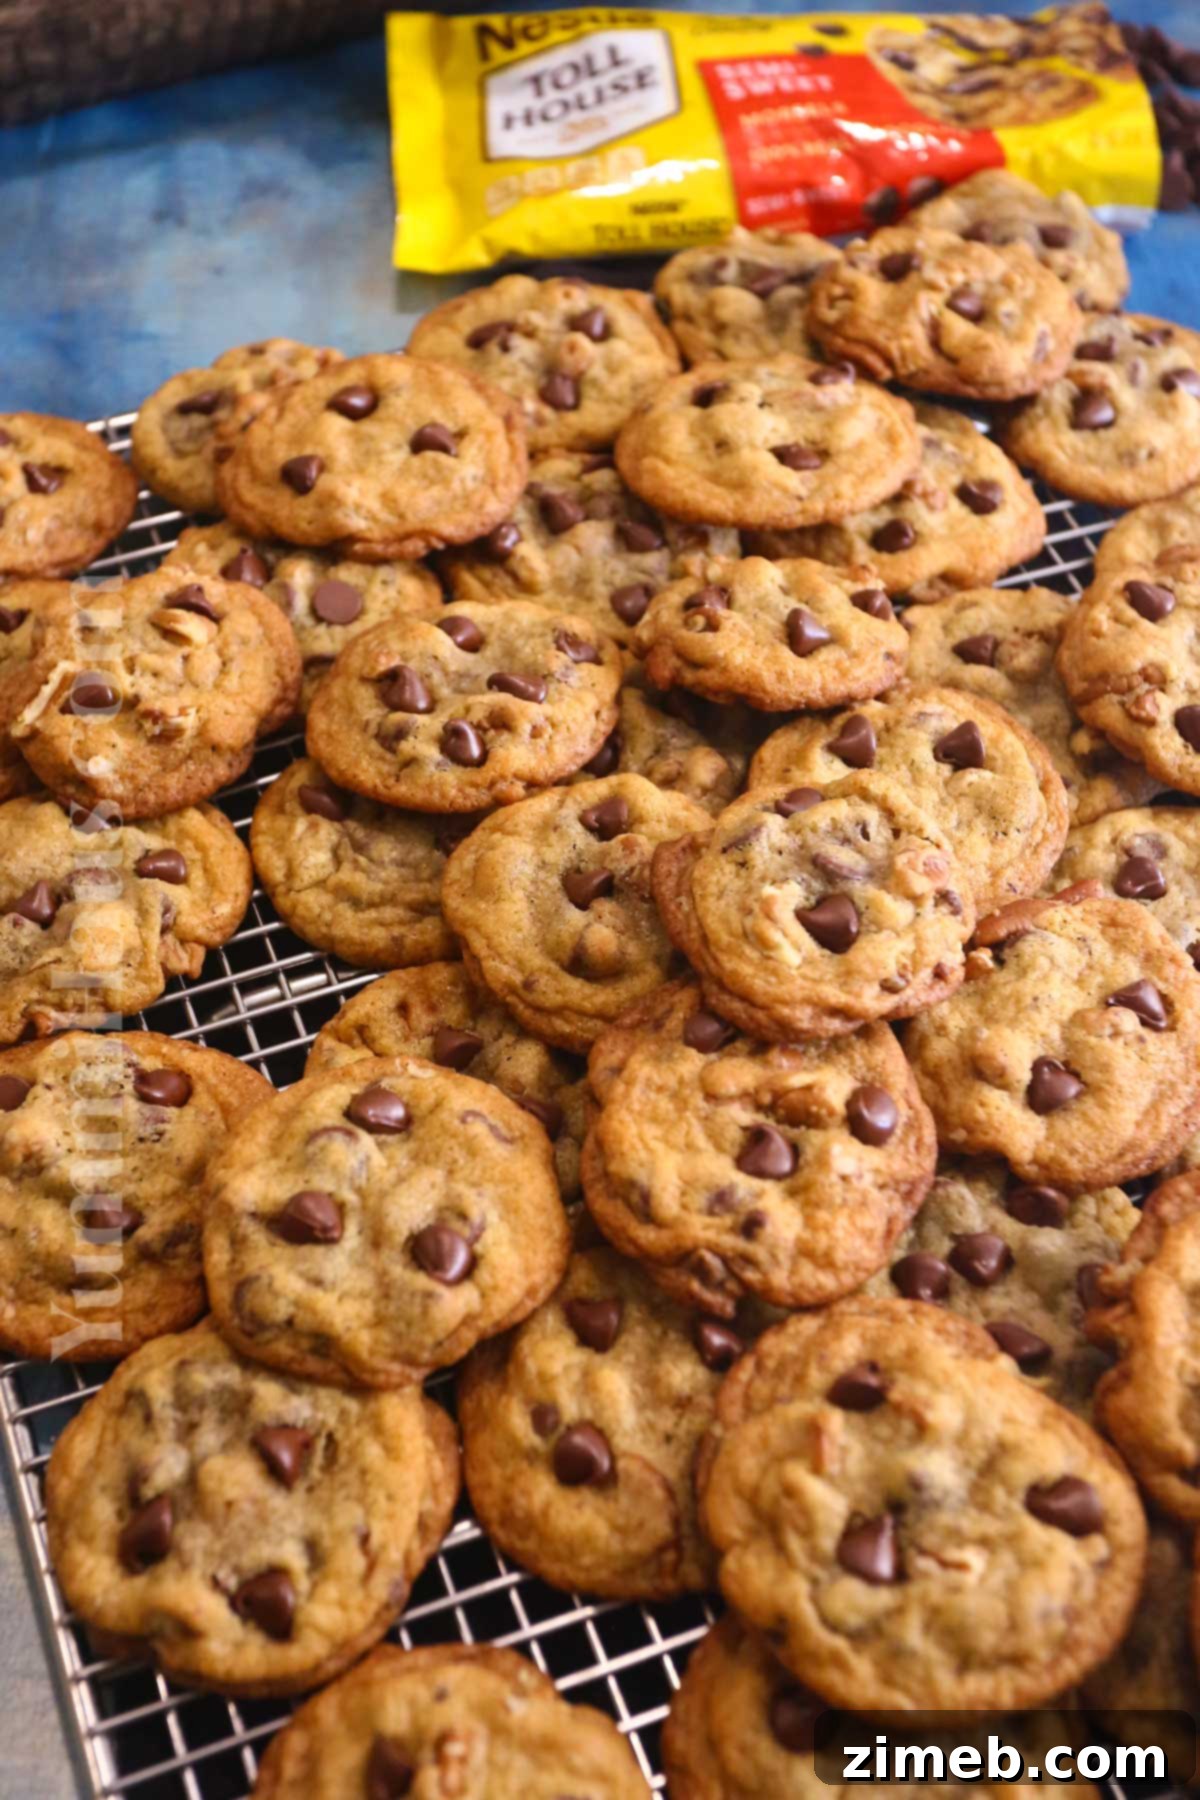
Why You’ll Adore This Classic Cookie Recipe
- Effortlessly Quick: From gathering your pantry staples to pulling perfectly baked cookies out of the oven, these delightful chocolate chip cookies are ready in just about 25 minutes. Ideal for satisfying sudden cravings or whipping up a last-minute treat!
- Simple Ingredients: You won’t need any obscure specialty items for this recipe. It relies on fundamental baking ingredients you likely already have on hand, making it incredibly accessible for any home baker.
- The Original, Perfected: This recipe stays true to the beloved classic, but with thoughtful tweaks and professional tips that make it even easier to execute, ensuring consistently superior results and perhaps even a slightly enhanced flavor profile.
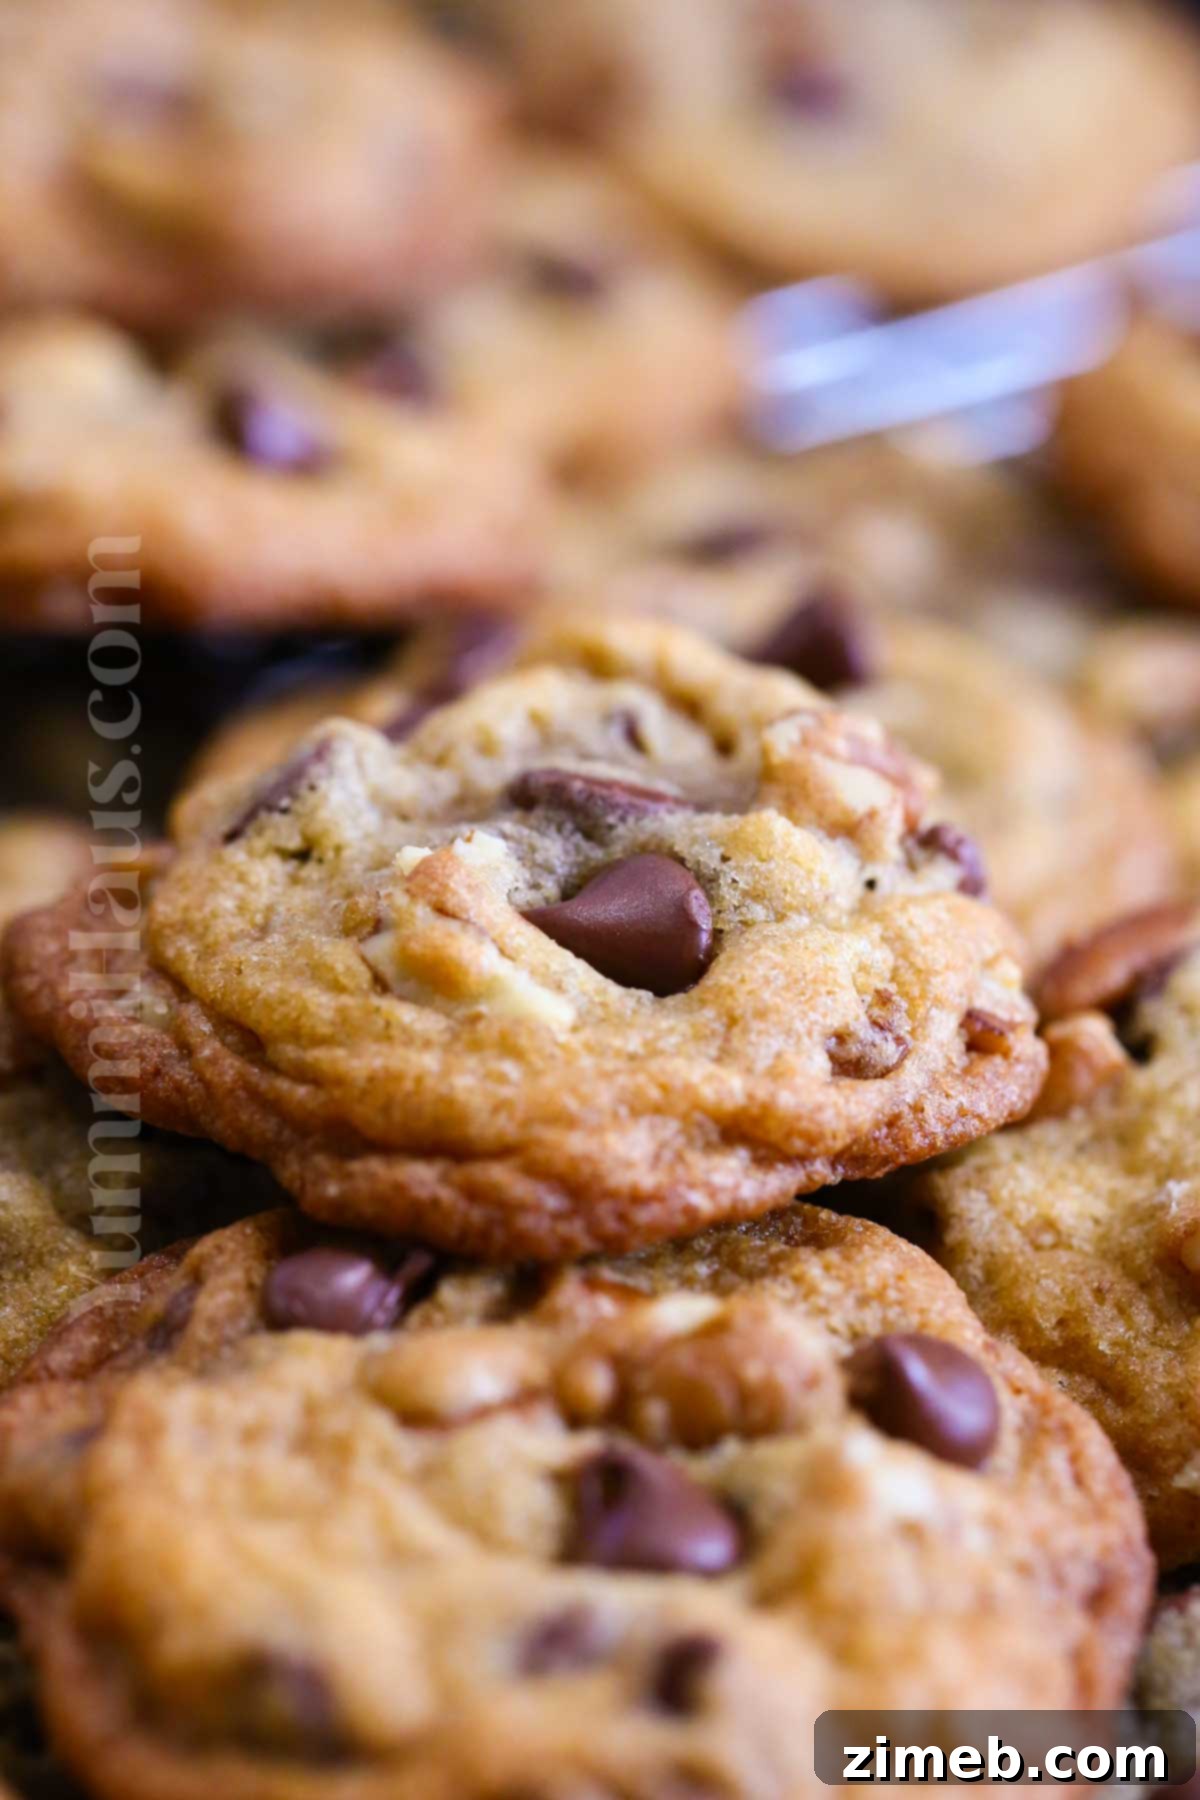
- Irresistibly Delicious Texture: Prepare for a truly addictive experience! These cookies boast wonderfully chewy centers that yield to a satisfying bite, complemented by perfectly crisp golden edges. Adding nutrient-rich nuts creates a delightful contrast and makes for thicker, more substantial cookies.
- A Taste of Nostalgia: More than just a dessert, these cookies evoke cherished childhood memories and a comforting sense of home. Each bite is a sweet journey back to simpler times, making them perfect for sharing and creating new traditions.
Essential Ingredients for Perfect Nestle Toll House Cookies
Crafting the perfect chocolate chip cookie begins with understanding the role each ingredient plays. This section breaks down the key components of the Nestle Toll House recipe, offering insights to help you achieve the best possible results.
- Butter, softened: Whether you choose salted or unsalted butter, make sure it’s properly softened to room temperature. Butter is crucial for rich flavor and contributes to the tender crumb of the cookies. Old-fashioned recipes sometimes called for a blend of shortening and butter, but pure butter delivers unparalleled taste and texture. Always remember that butter and eggs are the primary contributors to a cookie’s richness and depth of flavor.
- Granulated Sugar + Brown Sugar: This dynamic duo is key to the Toll House cookie’s signature texture. White granulated sugar helps create those coveted crispy edges and a delicate sweetness, while brown sugar, especially packed, introduces a lovely caramel flavor and a delightful chewiness. While you can adjust the ratio slightly to suit your preference for crispiness or chewiness, I highly recommend using both and avoiding substituting one completely for the other, as this balance is vital to the classic taste and texture.
- Vanilla Extract: A good quality vanilla extract is essential. It enhances all the other flavors in the cookie, adding warmth and depth that elevate the overall taste beyond just “sweet.”
- Eggs: Large eggs bind the ingredients together, provide moisture, and contribute significantly to the cookies’ rich texture and flavor. They also aid in leavening, giving the cookies a slight lift.
- Flour Mixture (Dry Ingredients): All-purpose flour + baking soda + salt.
- All-purpose flour: The structural backbone of the cookie. Ensure you measure it correctly by spooning it into the measuring cup and leveling it off, rather than scooping directly from the bag.
- Baking soda: A non-negotiable ingredient for achieving those irresistible chewy centers and perfectly thick cookies. It reacts with the acidic brown sugar to create carbon dioxide, which gives the cookies their lift and spread.
- Salt: Often overlooked, salt plays a critical role. It not only enhances the chewy texture but also expertly balances the sweetness, making the chocolate and caramel notes pop.
- Nestle Semi-Sweet Chocolate Chips (the whole 12-ounce bag) + more for the tops: This is the heart of the Toll House cookie! Nestle semi-sweet chocolate chips are specifically designed to hold their shape and create gooey pockets of chocolate goodness. You can also use semi-sweet chocolate morsels; they are essentially the same. Don’t be shy about adding a few extra chips to the tops of the cookie dough balls before baking for that beautiful bakery-style finish.
- Chopped Nuts – I like to use pecans or walnuts + more for the tops: Nuts add a wonderful crunch, earthy flavor, and a boost of healthy fats, contributing to a more complex and satisfying cookie. Pecans and walnuts are classic choices. If you prefer to omit nuts, an important tip is to add an extra 2 tablespoons of all-purpose flour to the dough. This compensates for the volume and structure that the nuts would have provided, helping to prevent the cookies from spreading too much.
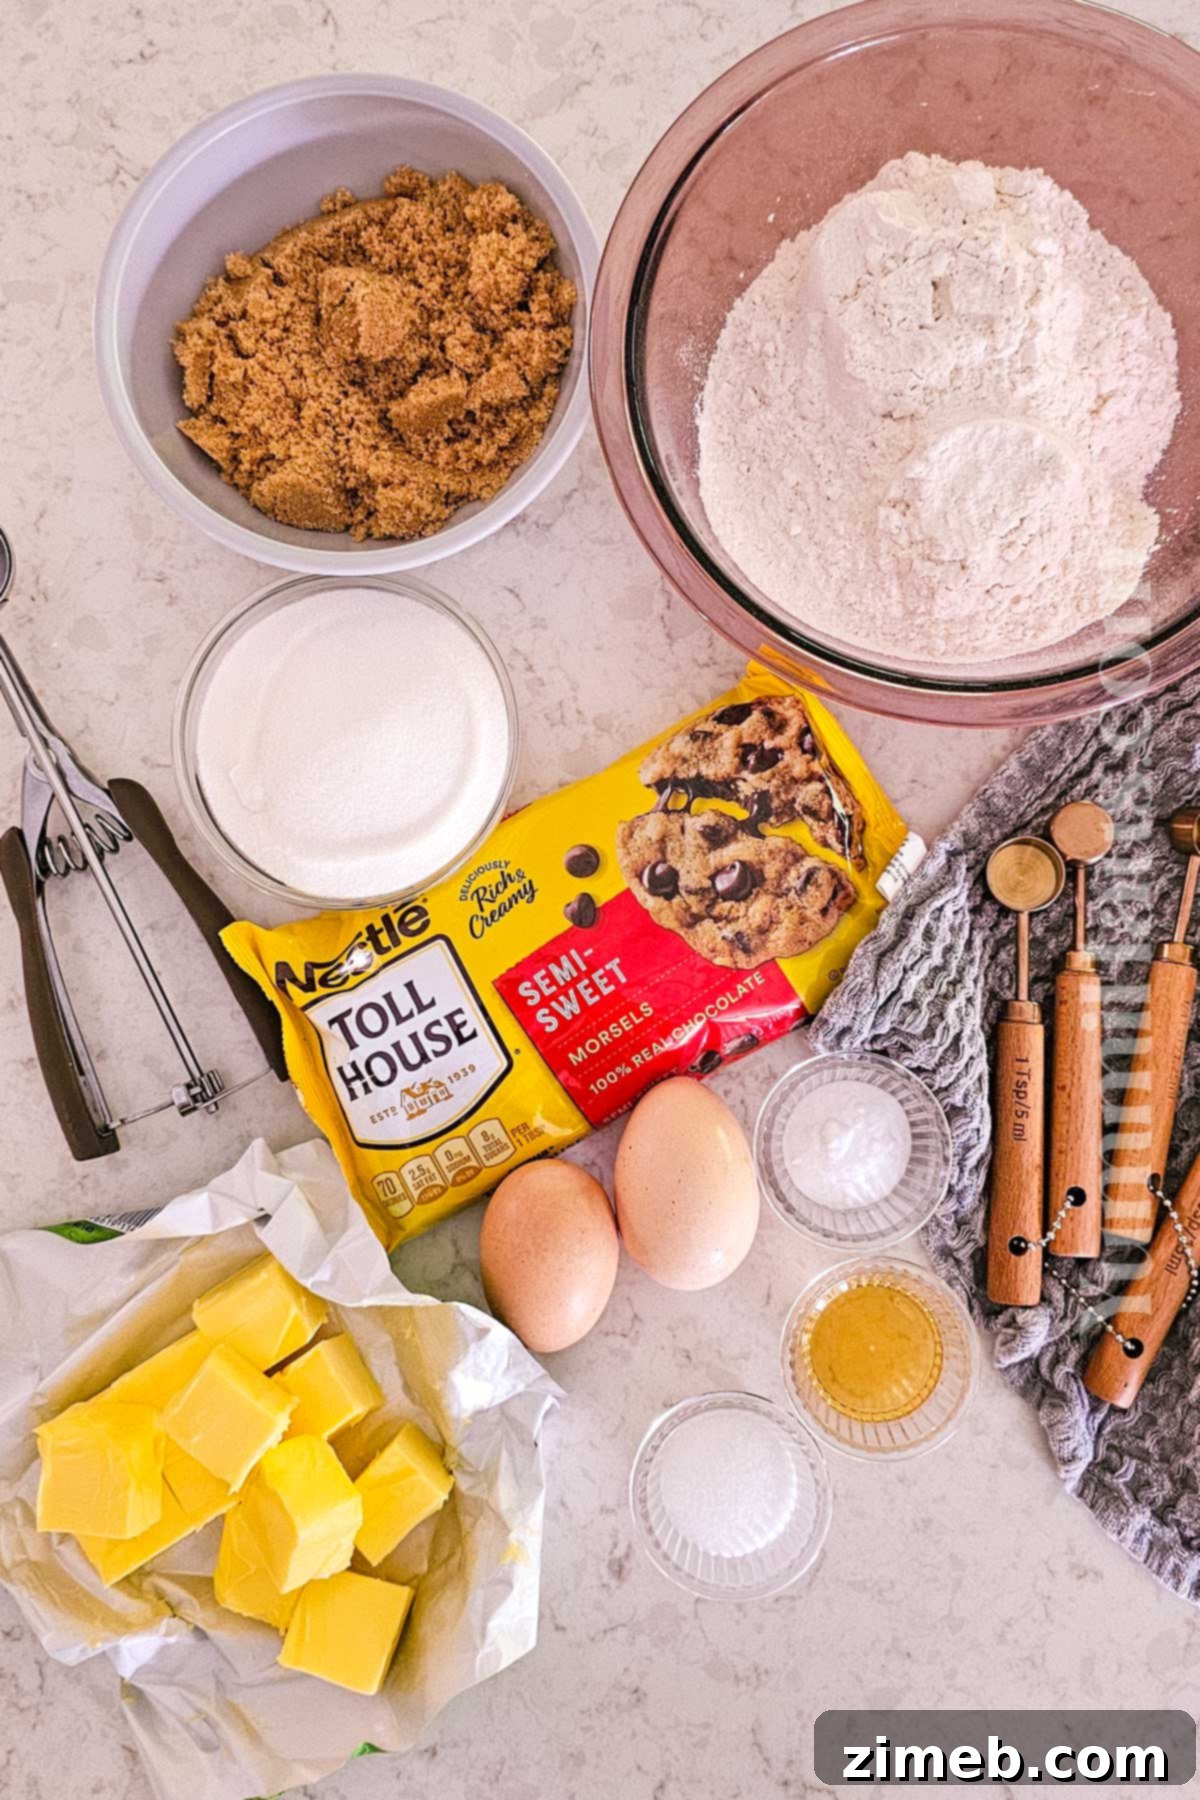
Essential Kitchen Equipment for Baking Success
Having the right tools makes the baking process smoother and more enjoyable. Here’s a list of the key equipment you’ll need for your Nestle Toll House cookies:
- Baking sheets lined with parchment paper: Using ungreased baking sheets lined with parchment paper (or waxed paper) is crucial for preventing sticking and ensuring even baking. Parchment paper also makes cleanup a breeze!
- Cookie scoop: A medium cookie scoop is highly recommended for portioning out uniform cookie dough balls. This ensures that all your cookies bake evenly and have a consistent size and shape. If you don’t have a scoop, a rounded tablespoon works well for drop cookies.
- Stand mixer fitted with a paddle attachment: While you can use a large mixing bowl with a hand mixer, a stand mixer makes creaming the butter and sugars much easier and more efficient, ensuring a perfectly emulsified base for your dough. The paddle attachment is ideal for mixing cookie dough without overworking it.
- Measuring cups and spoons: Accurate measurements are fundamental to baking. Ensure you have a full set of dry measuring cups, liquid measuring cups, and measuring spoons.
- Spatula: A sturdy rubber or silicone spatula is indispensable for scraping down the sides of the mixing bowl, ensuring all ingredients are thoroughly incorporated, and for transferring dough.
Step-by-Step Guide: How To Make The Best Nestle Toll House Chocolate Chip Cookies
Step 1: Cream the Butter and Sugars
- In the bowl of a stand mixer fitted with the paddle attachment (or a large mixing bowl with a hand mixer), combine the softened butter, granulated sugar, and packed brown sugar.
- Beat these ingredients on medium speed until the mixture is light, fluffy, and creamy. This process, known as creaming, incorporates air into the butter, which is vital for the cookies’ texture and helps emulsify the sugars into the butter, creating a smooth base.
Step 2: Incorporate Wet Ingredients
Once the butter and sugars are perfectly creamed, pause to scrape down the sides of the bowl with a spatula to ensure everything is evenly mixed. Then, add the large eggs one at a time, followed by the vanilla extract. Mix on low speed until the wet ingredients are just combined. Avoid overmixing at this stage to prevent developing too much gluten, which can lead to tough cookies.
Step 3: Combine Dry Ingredients
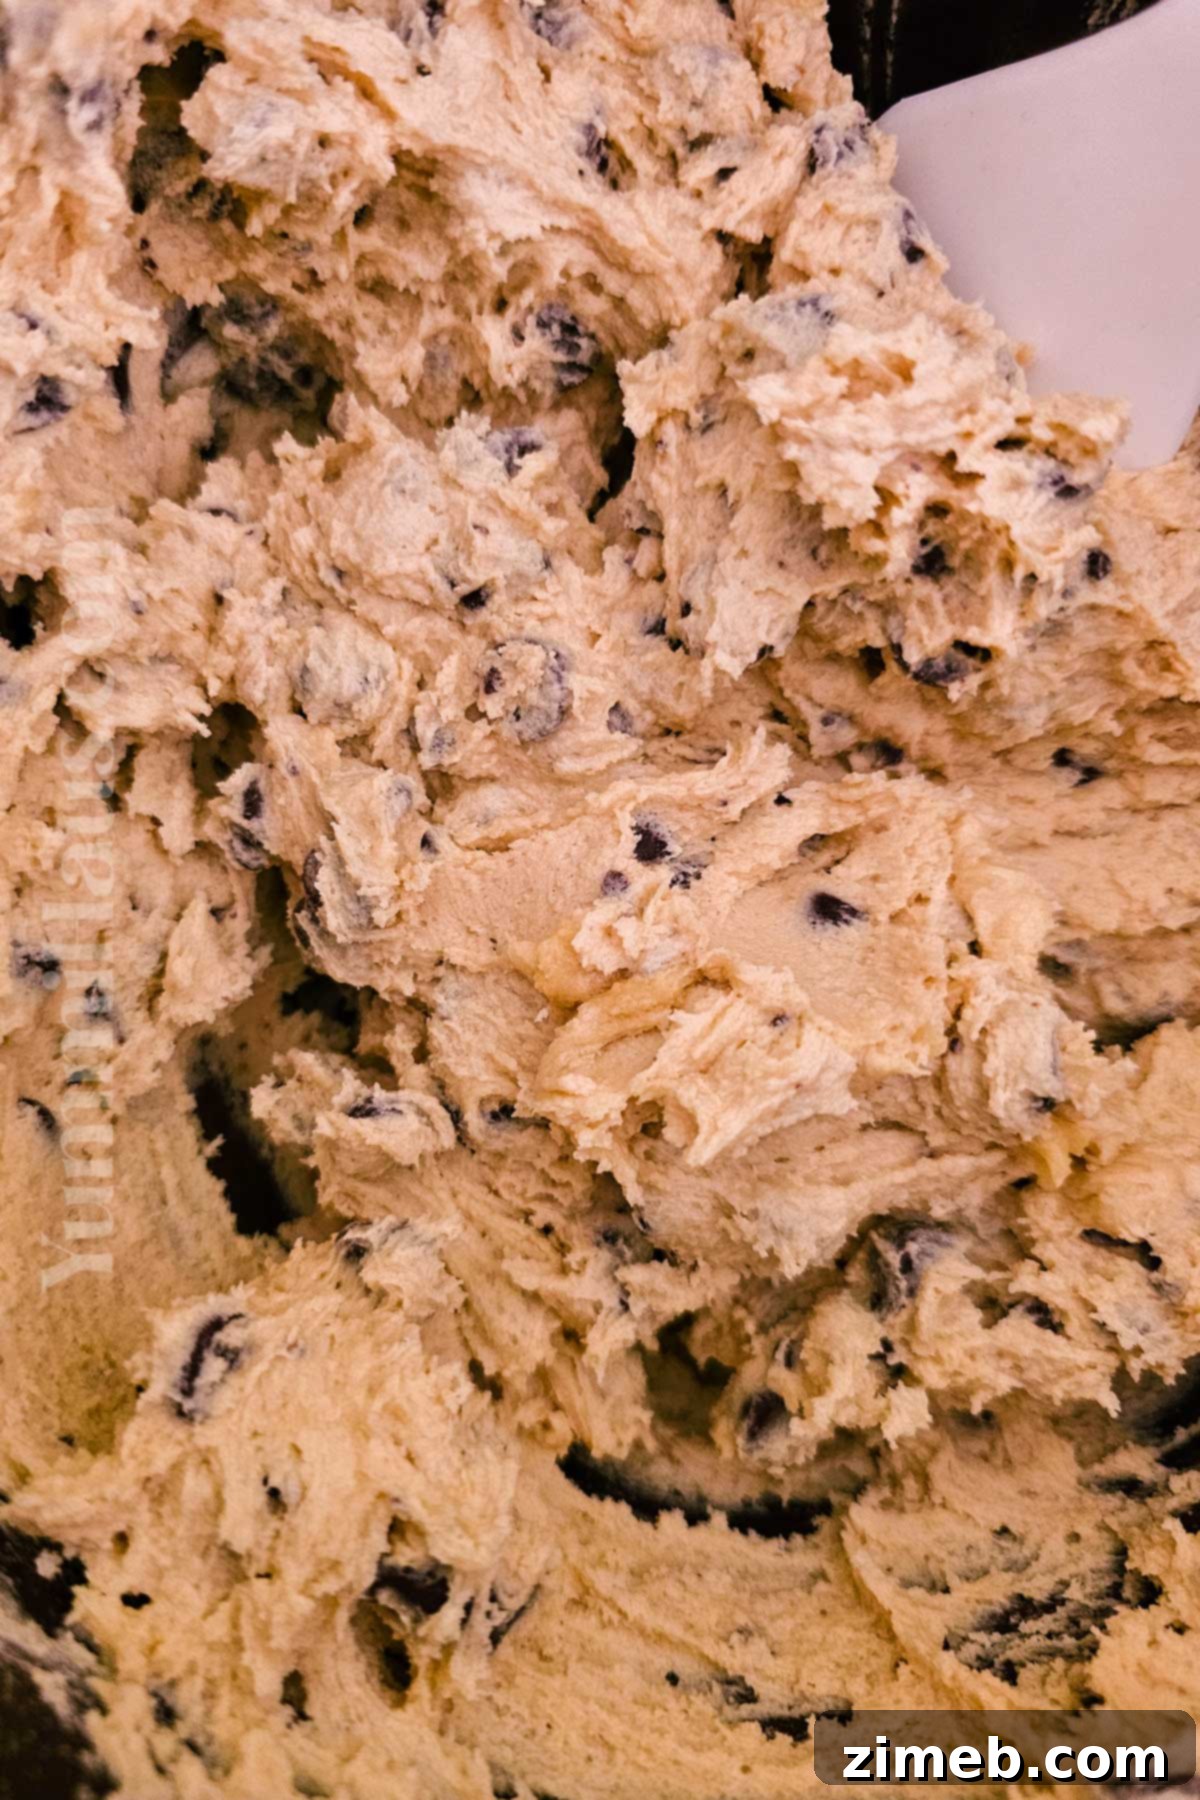
In a separate bowl, whisk together the all-purpose flour, baking soda, and salt. Gradually add this dry mixture to the wet ingredients in the mixer. Begin by pulsing the mixer slowly at first to prevent the flour from flying out of the bowl. Once the flour is moistened and partially incorporated, increase the speed to medium and mix just until the dough comes together and is smooth and creamy. Be careful not to overmix; stop as soon as no streaks of flour are visible.
Step 4: Fold in Chocolate Chips & Nuts
- With the mixer on its lowest speed or by hand with a spatula, gently fold in the Nestle semi-sweet chocolate chips and chopped nuts (if you are using them). Mix just until they are evenly distributed throughout the dough.
- If you opt to make nut-free cookies, this is the point to add the additional 2 tablespoons of all-purpose flour you set aside. Ensure the flour is fresh and sifted before adding it, as this helps maintain the proper dough consistency for perfect cookie recipes.
Step 5: Chill the Cookie Dough (Highly Recommended!)
Cover the bowl of cookie dough with plastic wrap and refrigerate for a minimum of 30 minutes, or up to 1 hour. While this step isn’t traditionally included in the original Nestle recipe, it’s a game-changer! Chilling the dough solidifies the butter, which prevents the cookies from spreading too much during baking, resulting in thicker, chewier cookies with a better texture. Skipping this crucial step can lead to flat, overly crispy drop cookies.
Step 6: Bake Your Delicious Drop Cookies
- Preheat your oven to 375 degrees Fahrenheit (190 degrees Celsius).
- Line several baking sheets with parchment paper for easy release and even baking. Using a medium cookie scoop, portion out the chilled cookie dough into balls, placing them about 1 to 2 inches apart on the prepared sheets. Always ensure you are placing your cookie dough on a cool baking sheet; a warm sheet will cause the butter to melt prematurely and spread the cookies too quickly.
- Bake the cookies for 9 to 11 minutes, or until the edges are golden brown and the centers are still slightly soft. This slight underbaking is the secret to achieving that wonderfully chewy texture.
Step 7: Garnish and Cool
- As soon as you remove the baked cookies from the oven, immediately press a few extra chocolate chips and a sprinkle of chopped nuts onto their tops. The residual heat from the cookies will slightly melt the chocolate, creating a beautiful, professional-looking finish. This extra touch of chocolate chips is optional but highly recommended for an irresistible visual appeal.
- Carefully transfer the cookies to wire racks and allow them to cool completely to room temperature. This cooling period is essential for the chocolate to properly set and for the cookies to achieve their final, perfect texture. Once cooled, store them in an airtight container to maintain freshness.
- Serve these delectable cookies with a tall, cold glass of milk for the ultimate classic treat!
Proper Storage for Lasting Freshness
To enjoy your homemade Nestle Toll House cookies for as long as possible, proper storage is key.
Store your freshly baked cookies in an airtight container at room temperature for up to 3-4 days. For an extended shelf life, you can store them in the refrigerator for up to a week. A little trick to keep refrigerated cookies from drying out and staying soft is to add a slice of plain bread into the container; the cookies will absorb moisture from the bread.
These cookies are also excellent for freezing! First, allow them to cool completely on a wire rack. Then, arrange them in a single layer on a baking sheet and freeze for about an hour until firm. Once firm, transfer the individually frozen cookies to a freezer-safe bag or container, wrapping each one individually in foil if desired, to prevent freezer burn. They can be frozen for up to 2 months. When you’re ready to enjoy, simply thaw them at room temperature. If you crave that warm, just-baked experience, a quick 10-15 second pop in the microwave will do the trick!
Preparing Toll House Cookie Dough in Advance
The Nestle Toll House cookie dough is incredibly forgiving and perfect for making ahead, giving you fresh-baked cookies whenever the craving strikes.
You can prepare the dough and freeze it for up to 2-3 months. To do this, portion the dough into balls, place them on a baking sheet, and freeze until solid. Then, transfer the frozen dough balls to a freezer-safe bag or container. When you’re ready to bake, simply thaw the dough overnight in the refrigerator and then bake as the recipe suggests, perhaps adding a minute or two to the baking time.
If you only need a head start for a few days, make the dough and refrigerate it for 3-4 days. When it’s time to bake, simply scoop and shape the chilled dough and proceed with the baking instructions.

Exciting Substitutions & Creative Variations
While the classic Nestle Toll House recipe is perfect as is, don’t hesitate to experiment with these fun substitutions and variations to customize your cookies:
- Flour Alternatives: For a slightly different texture, you can experiment with bread flour instead of all-purpose. Bread flour has a higher protein content, which can result in thicker cookies with denser, more substantial centers.
- Chocolate Varieties: Feel free to swap the classic semi-sweet chocolate morsels with dark chocolate chips for a richer, more intense flavor, milk chocolate chips for a sweeter, creamier taste, or even white chocolate chips for a distinctively different profile. A mix of different chocolate types can also create an exciting flavor medley.
- Add-Ins Galore: If you’ve been sticking to one type of nut or skipping them altogether, consider adding a variety! Beyond pecans and walnuts, try incorporating dates for a chewy sweetness, crispy ready-to-eat cereal for an unexpected crunch, or rolled oats for a heartier texture. A hint of orange zest can provide a bright, citrusy counterpoint, while butterscotch chips or plump raisins offer different sweet notes. For an incredible depth of flavor, try browning your butter before incorporating it into the recipe – this simple step adds a rich, nutty complexity.
- Pan Cookies (Cookie Bars): Instead of individual drop cookies, you can easily adapt this recipe to make delicious cookie bars. Press the dough into a jelly roll pan (or a 9×13 inch baking dish) for one-pan cookies. These will typically bake for around 20-25 minutes, or until golden brown and set in the center.
Pro Tips for Bakery-Quality Cookies
- Slice-and-Bake Method: If you prefer the convenience of slice-and-bake cookies, this recipe can be easily adapted. Follow all the steps up until chilling the dough. Divide the dough in half and roll each portion into a log, wrapping them tightly in plastic wrap or waxed paper. Refrigerate as instructed. When ready to bake, simply slice the logs into 1/2-inch thick round cookies and bake according to the recipe.
- Fan Mode for Chewiness: If your oven has a convection or fan mode, utilizing it can significantly help in achieving that perfect balance of crisp edges and delightfully chewy interiors. Convection baking promotes more even heat distribution and can slightly reduce baking time, so keep a close eye on your cookies.
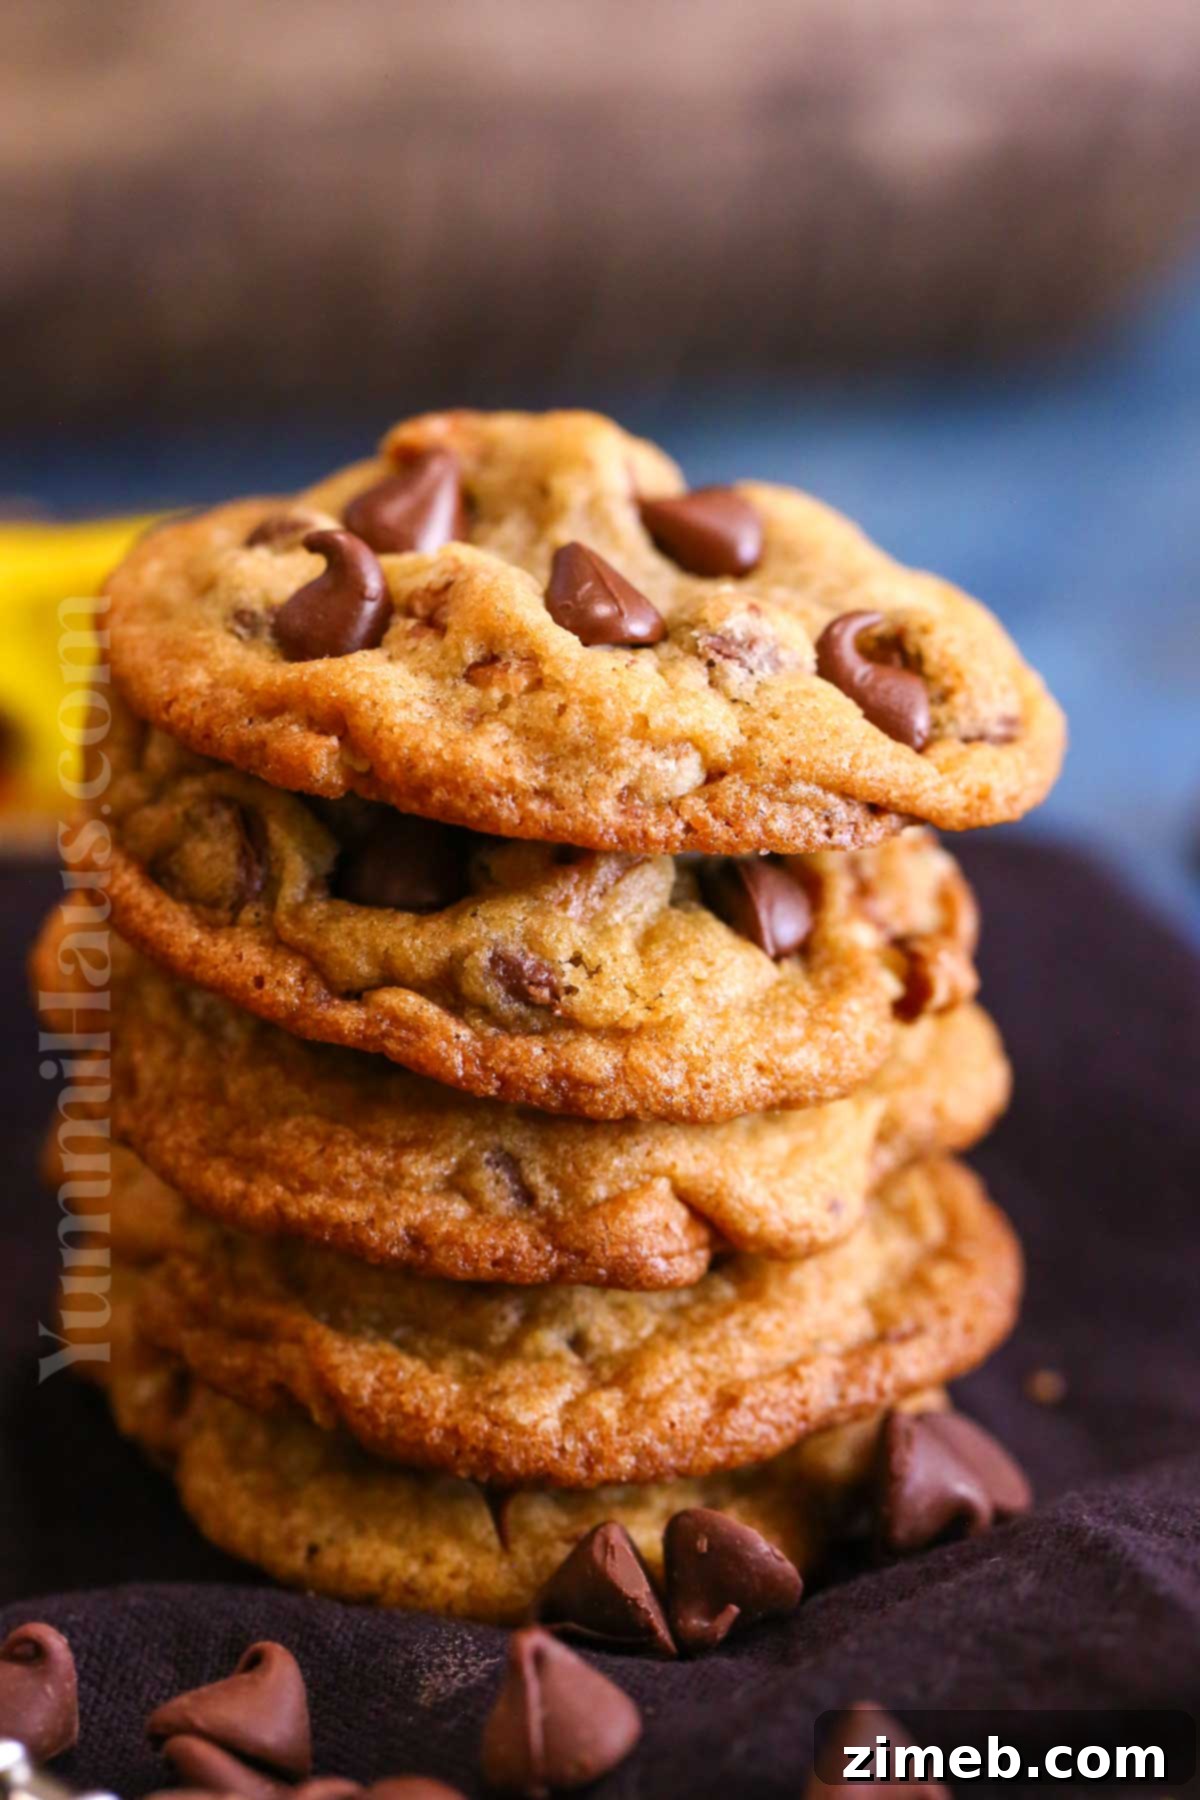
Popular Questions & Troubleshooting for Toll House Cookies
How Can I Enhance the Flavor of My Toll House Cookie Dough?
To truly upgrade your Nestle Toll House cookie recipe and make the dough taste even better, consider a few simple enhancements. First, don’t skimp on the chocolate chips – incorporate more within the dough and definitely add a generous sprinkle on top of each cookie before baking. Secondly, ensure you’re using a high-quality vanilla extract, as it significantly deepens the overall flavor profile. Lastly, experiment with your favorite chopped nuts, such as toasted pecans or walnuts, to add a delightful crunch and nutty undertone.
Why Do My Nestle Toll House Cookies Turn Out Flat?
Flat cookies are a common issue, and it typically indicates that your cookie dough wasn’t sufficiently chilled. Cold butter takes longer to melt in the oven, allowing the cookies to set and rise slightly before spreading. If the dough is too warm, the butter melts too quickly, causing the cookies to spread prematurely and result in a thin, flat texture. To remedy this, always chill your dough for at least 10 to 30 minutes (or even up to an hour) before scooping and baking. If your dough still feels too soft or your cookies keep spreading, you can try adding a small amount (about 1-2 tablespoons) of additional all-purpose flour to the dough, which will help it hold its shape better for the next batch.
Is Chilling Toll House Cookie Dough Before Baking Necessary?
While the original recipe didn’t explicitly call for it, I wholeheartedly recommend refrigerating your Toll House cookie dough before baking. This step makes a significant difference and is my personal preference for achieving superior results. Chilled cookie dough holds its shape beautifully and spreads just the right amount, resulting in those wonderfully thick, chewy cookies with perfectly crisp edges that everyone loves. It’s a small extra step that yields a much more satisfying cookie!

If you adore this classic chocolate chip cookie recipe, you’re sure to love these other fantastic cookie creations too. Explore them all below!
More Delicious Cookie Recipes
-

Kitchen Sink CookiesPacked with a medley of flavors, these Kitchen Sink Cookies feature a delicious blend of chocolate chips, nuts, pretzels, and more for a truly unique treat.
Get the Recipe
-
Lace CookiesThese delicate Lace Cookies are filled with rich brown butter and caramel flavors that are perfect on their own or made into sea salt Nutella sandwich cookies.
Get the Recipe
-
Sour Cream CookiesThese soft and pillowy frosted Sour Cream Cookies are just like grandma used to make. Simple, easy, and require no chill time. Plus, you can decorate them for any occasion.
Get the Recipe
-
Buckeye CookiesIf you love peanut butter and chocolate, these buckeye cookies — a delicious take on Ohio’s famous buckeye candies — will quickly become your new favorite cookie.
Get the Recipe
-
Pistachio CookiesSoft, buttery cookies elegantly decorated with white chocolate and crunchy sliced pistachios make these the BEST Pistachio Cookies that everyone will adore!
Get the Recipe




More Irresistible Recipes Featuring Chocolate Chips
Bakery-Style Chocolate Chip Muffins
Chocolate Chip Cupcakes
Mint Chocolate Chip Cake
Chocolate Chip Cruffins
CONNECT WITH YUMMI HAUS!
Be sure to follow me on my social media, so you never miss a post!
Substack, FB, Pinterest, IG, Email Subscription

Classic Nestle Toll House Chocolate Chip Cookies
The original recipe for Nestle Toll House Recipe Chocolate Chip Cookies with all the tips and tricks to make the VERY BEST cookies!
Course: Dessert
Yields: 42 servings
Prep Time: 15 minutes
Cook Time: 10 minutes
Total Time: 25 minutes
Print Recipe
Pin Recipe
Ingredients (US Customary)
- 1 cup butter, softened – salted or unsalted is fine
- ¾ cup granulated sugar
- ¾ cup brown sugar – packed
- 1 tsp vanilla extract
- 2 large eggs
- 2 ¼ cups all-purpose flour
- 1 tsp baking soda
- 1 tsp salt
- 2 cups Nestle Semi Sweet Chocolate Chips (the whole 12-ounce bag) + more for the tops
- 1 cup chopped nuts – I like to use pecans or walnuts + more for the tops
Instructions
- Combine the butter, granulated sugar, and brown sugar in the bowl of a stand mixer. (you can also use a large mixing bowl with a hand mixer) Beat with the paddle attachment until creamy and the butter is emulsified into the butter.
- Scrape down the sides of the bowl and then add the eggs and vanilla. Stir in until just incorporated.
- Add the flour, baking soda, and salt. Pulse the mixer slowly so that the flour doesn’t fly out everywhere. Once moistened, increase the speed to medium and mix until smooth and creamy.
- Fold in the chocolate chips and nuts (if using).
- Cover and refrigerate for 30 min – 1 hour. (this isn’t originally called for in the original recipe, but I find that it helps keep the cookies from spreading too much)
- Preheat the oven to 375 degrees Fahrenheit (190°C).
- Line several baking sheets with parchment and use a medium cookie scoop to portion out the dough with 1-2” between each cookie. Make sure to always place your dough on a cool cookie sheet.
- Bake for 9-11 minutes or until golden brown.
- Remove and immediately add more chocolate chips and chopped nuts to the tops of the cookies to make them prettier. (the extra chocolate chips are optional)
- Transfer to a wire cooling rack and let them cool to room temperature for the chocolate to set before storing them in an airtight container.
Notes
Add 2 tbsp all-purpose flour to the dough if you are not adding nuts to the cookies.
Nutrition Information (Approximate per serving)
- Serving: 1 cookie
- Calories: 352 kcal
- Carbohydrates: 44g
- Protein: 3g
- Fat: 20g
- Saturated Fat: 0.2g
- Cholesterol: 12mg
- Sodium: 118mg
- Potassium: 26mg
- Fiber: 2g
- Sugar: 35g
- Vitamin C: 0.04mg
- Calcium: 7mg
- Iron: 0.4mg
- Net Carbohydrates: 13g
Nutritional information for the recipe is provided as a courtesy and is approximate. Please double-check with your own dietary calculator for the best accuracy. We at Yummi Haus cannot guarantee the accuracy of the nutritional information given for any recipe on this site.
Love this recipe?
Follow @KleinworthCo for even more tasty recipes!