
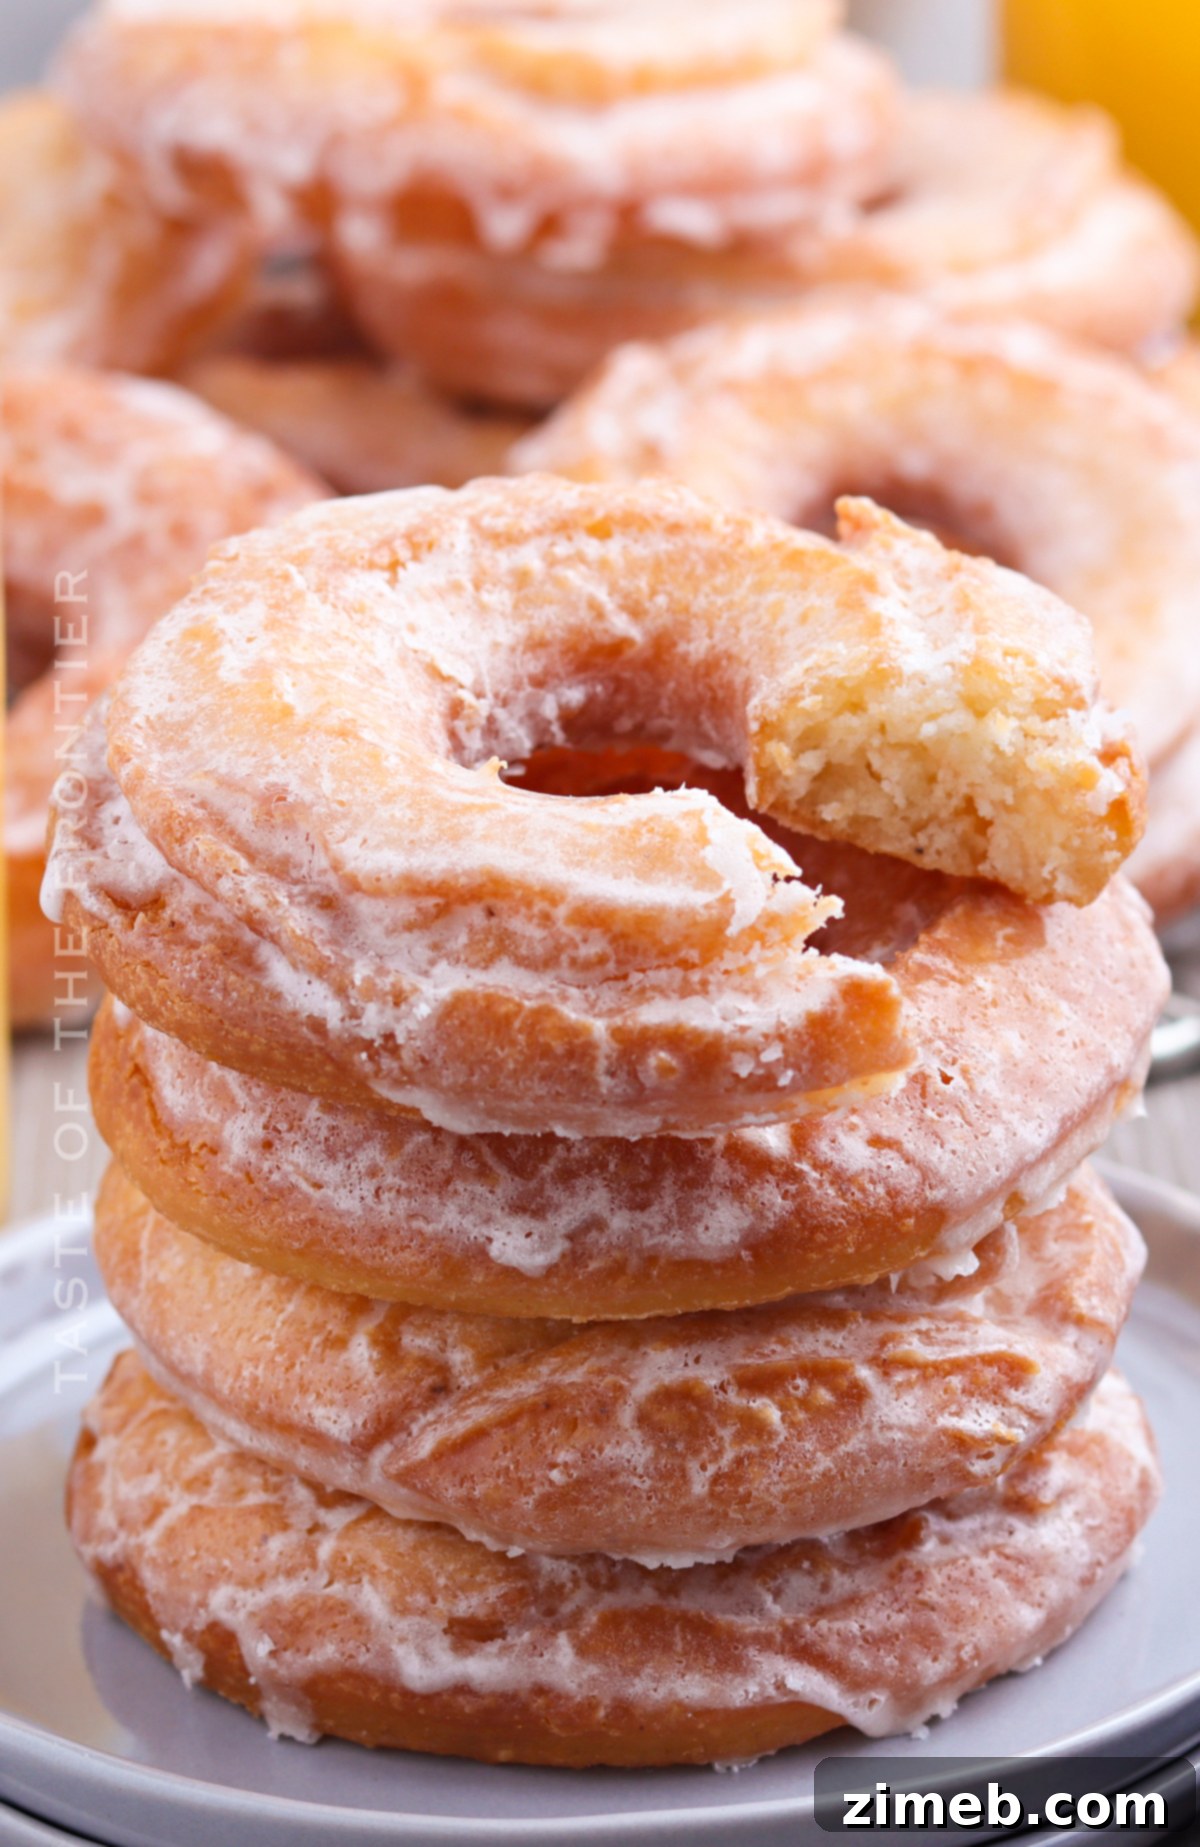
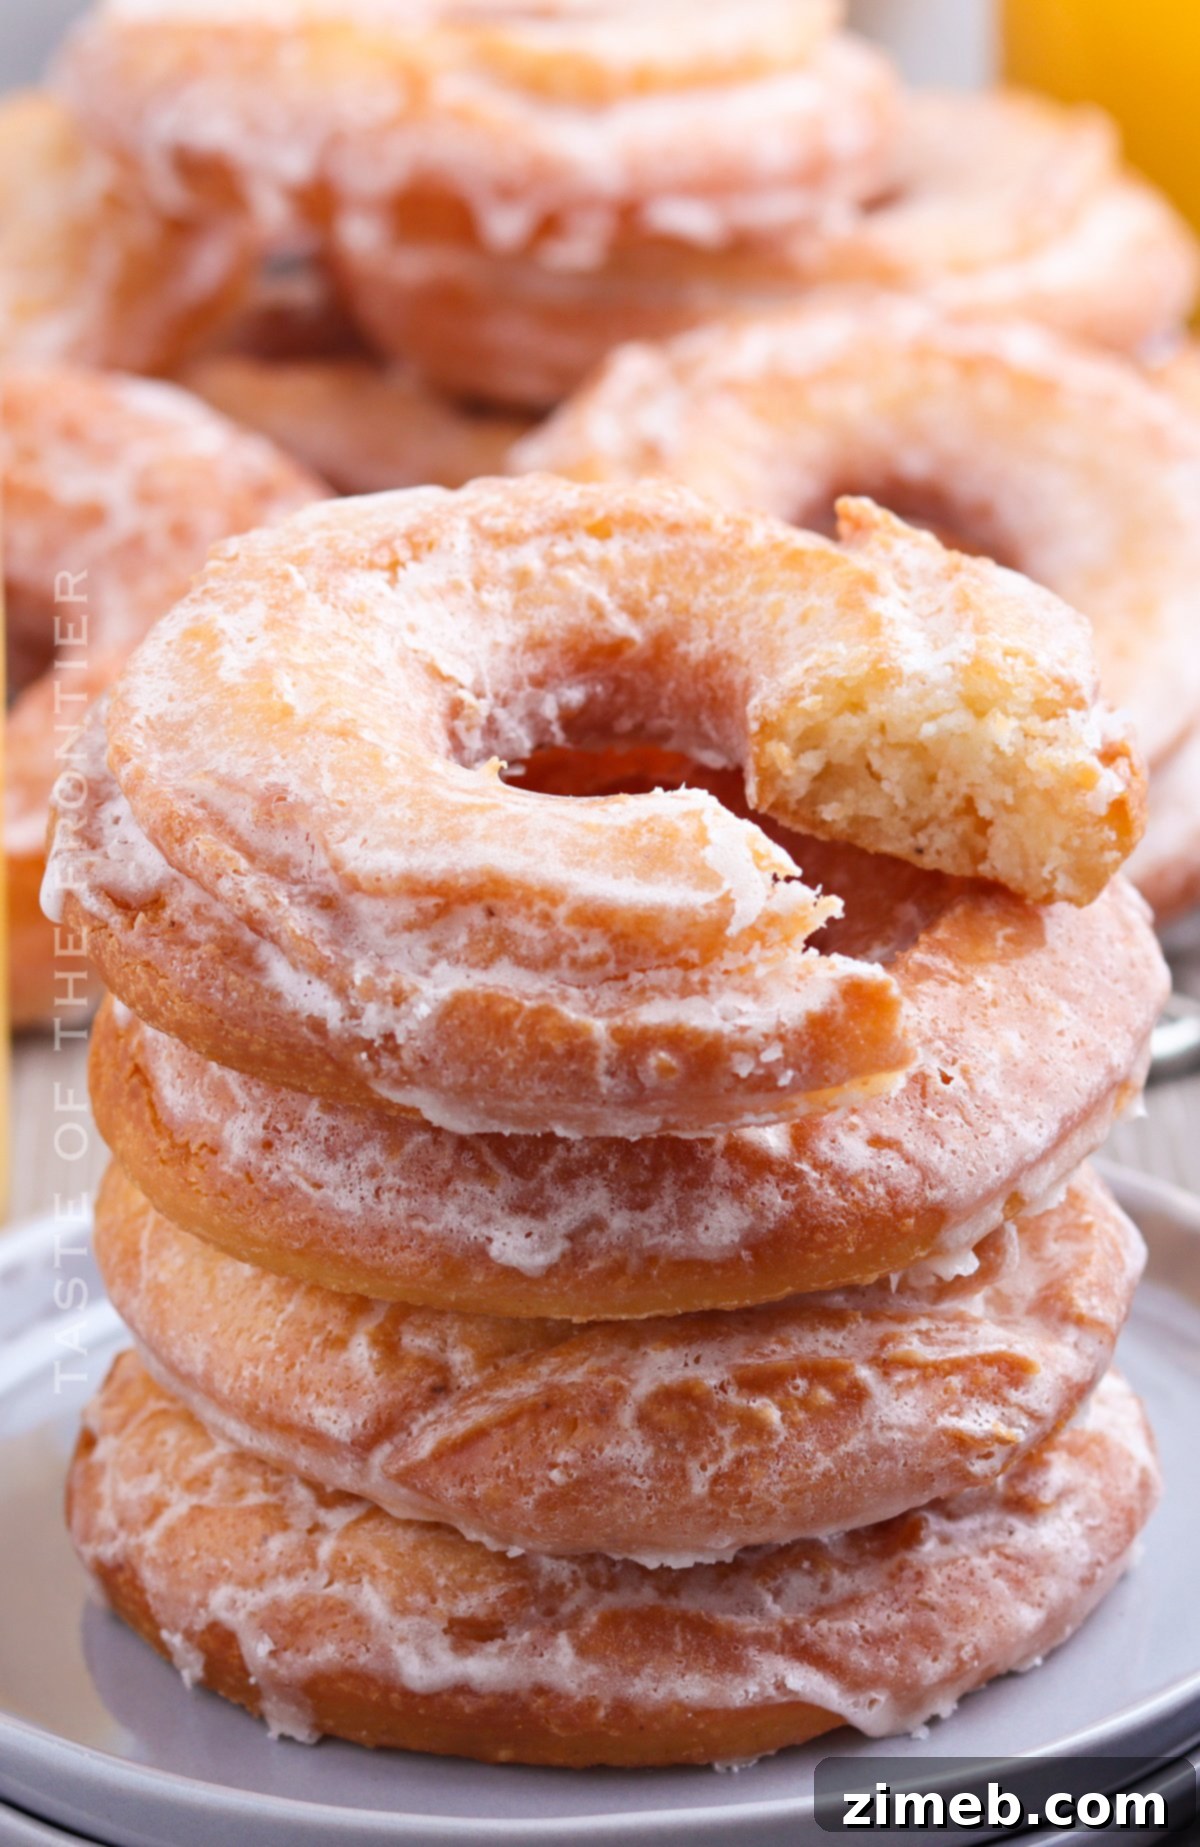
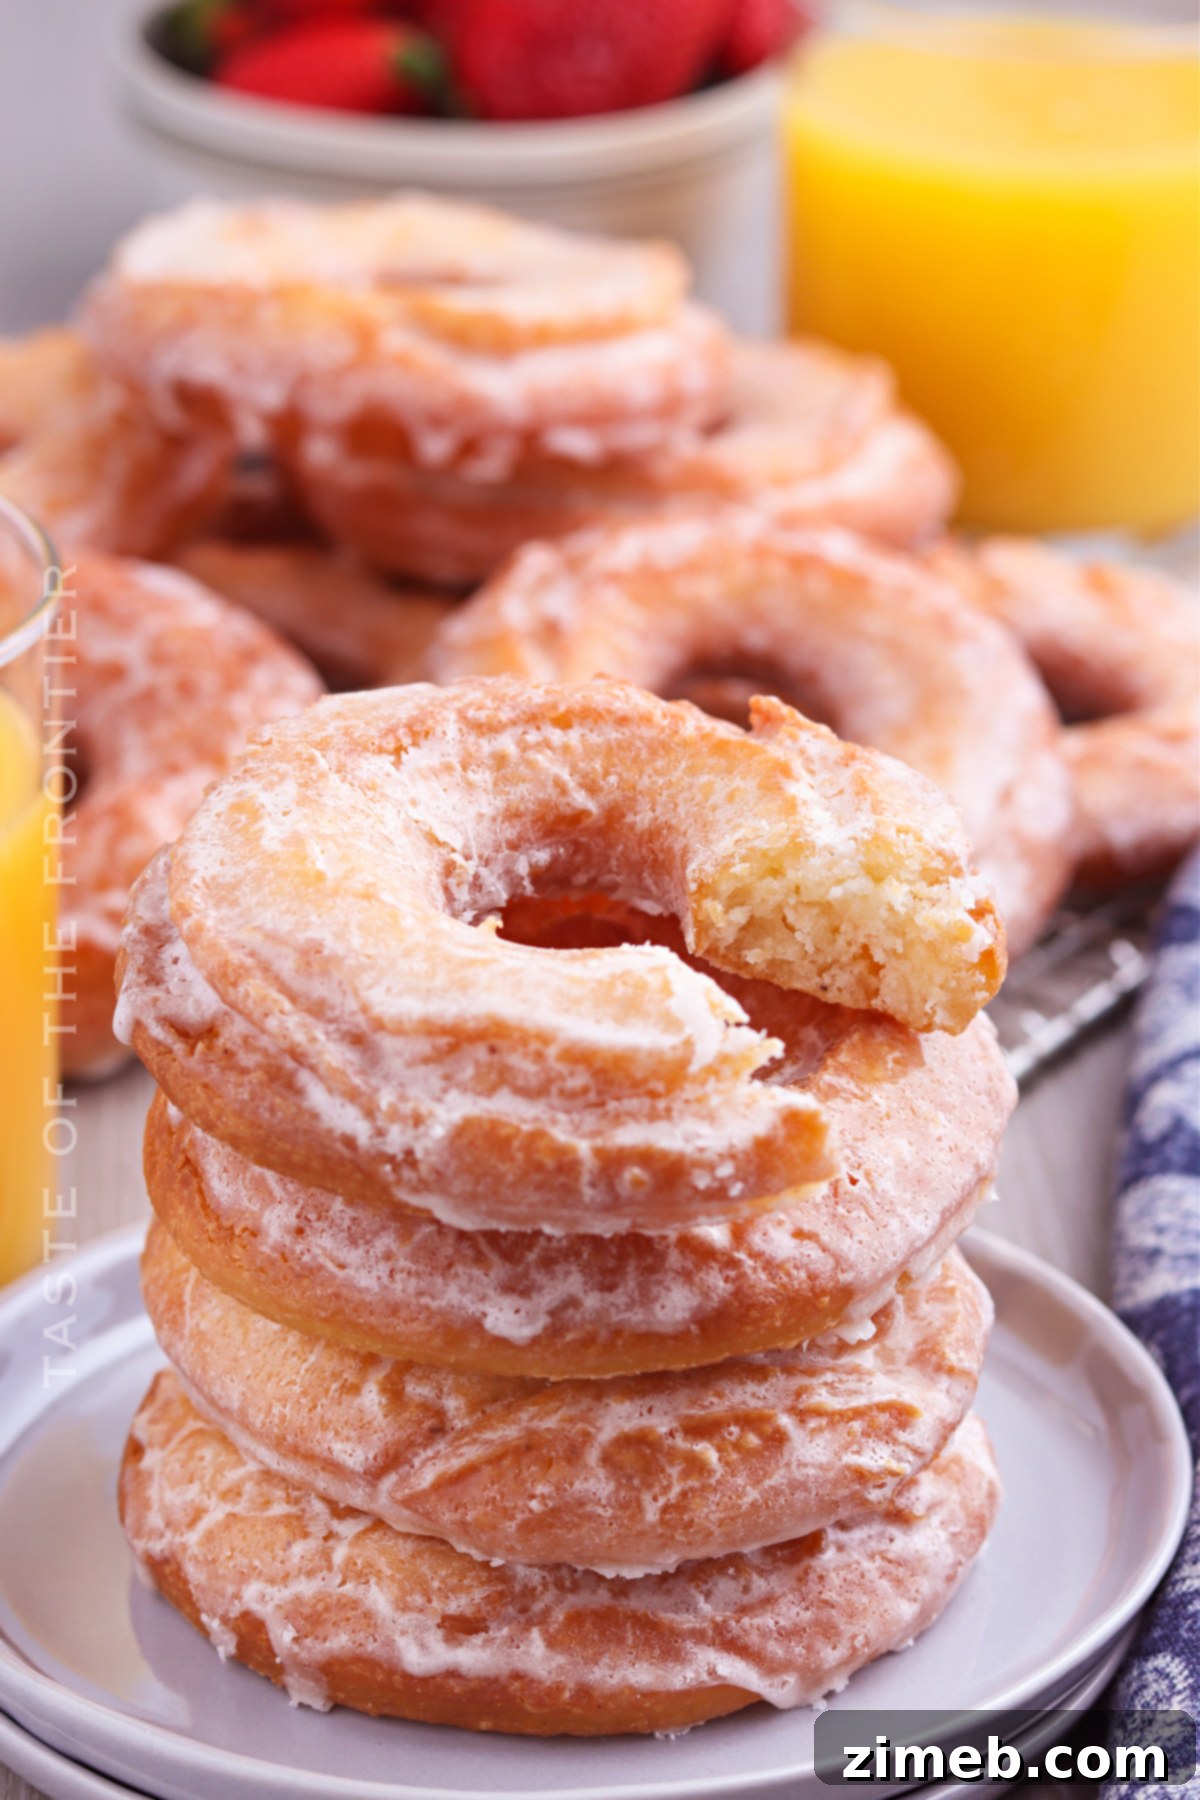
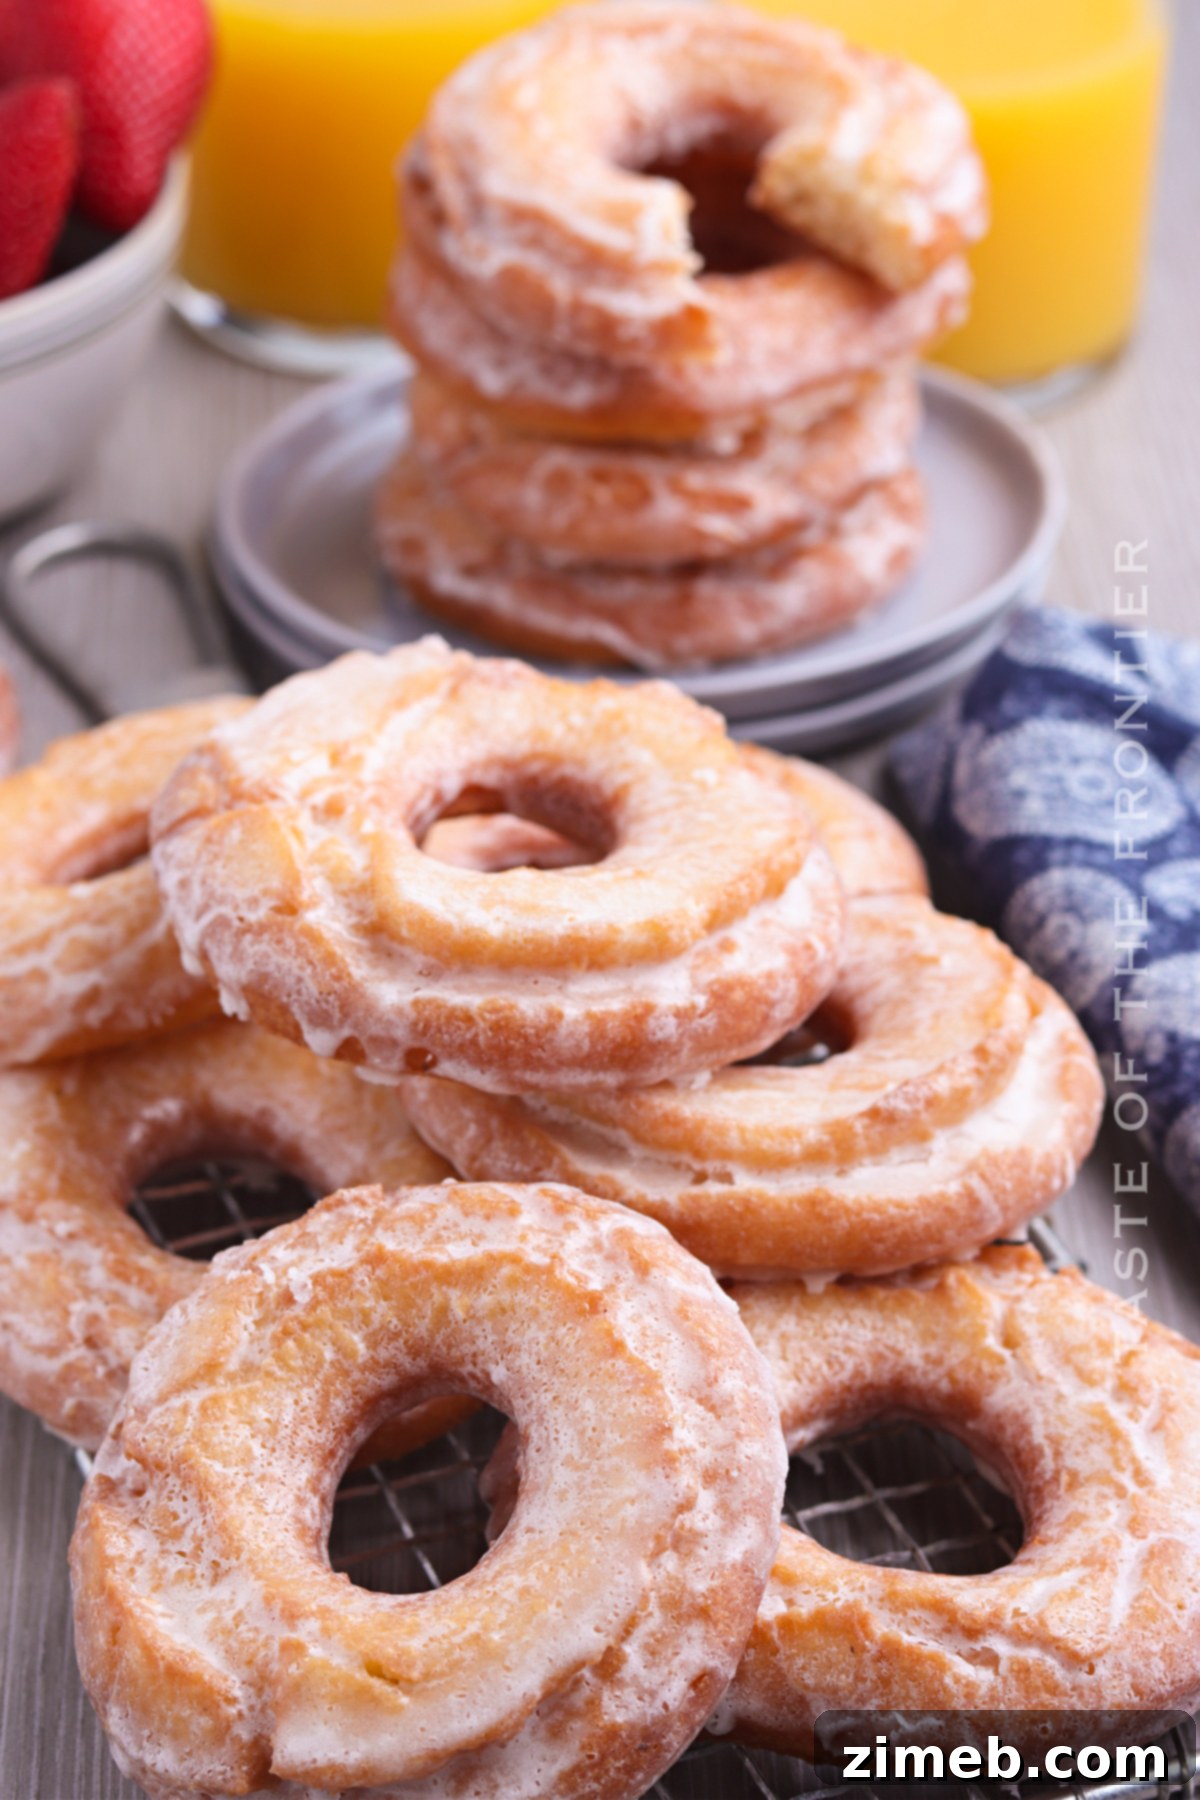
There’s an undeniable charm and irresistible flavor in a batch of truly Old Fashioned Sour Cream Donuts. These aren’t just any donuts; they’re a nostalgic journey back to simpler times, promising a delightful texture that’s light and fluffy on the inside, beautifully contrasted by a deep golden-brown, satisfyingly crispy edge. Once you experience the homemade goodness of these classic sour cream donuts, you’ll understand why they’re an absolute winner every single time.
Embark on a culinary adventure with what we believe is the absolute best and easiest recipe for donuts infused with the delightful tang of sour cream. This simple yet profound ingredient transforms ordinary donut batter into something extraordinary, yielding pastries that are incredibly light, wonderfully tender, and crowned with a shimmering, sweet sugar glaze. Forget complicated techniques or specialized equipment; this recipe is designed for success, even for first-time donut makers.
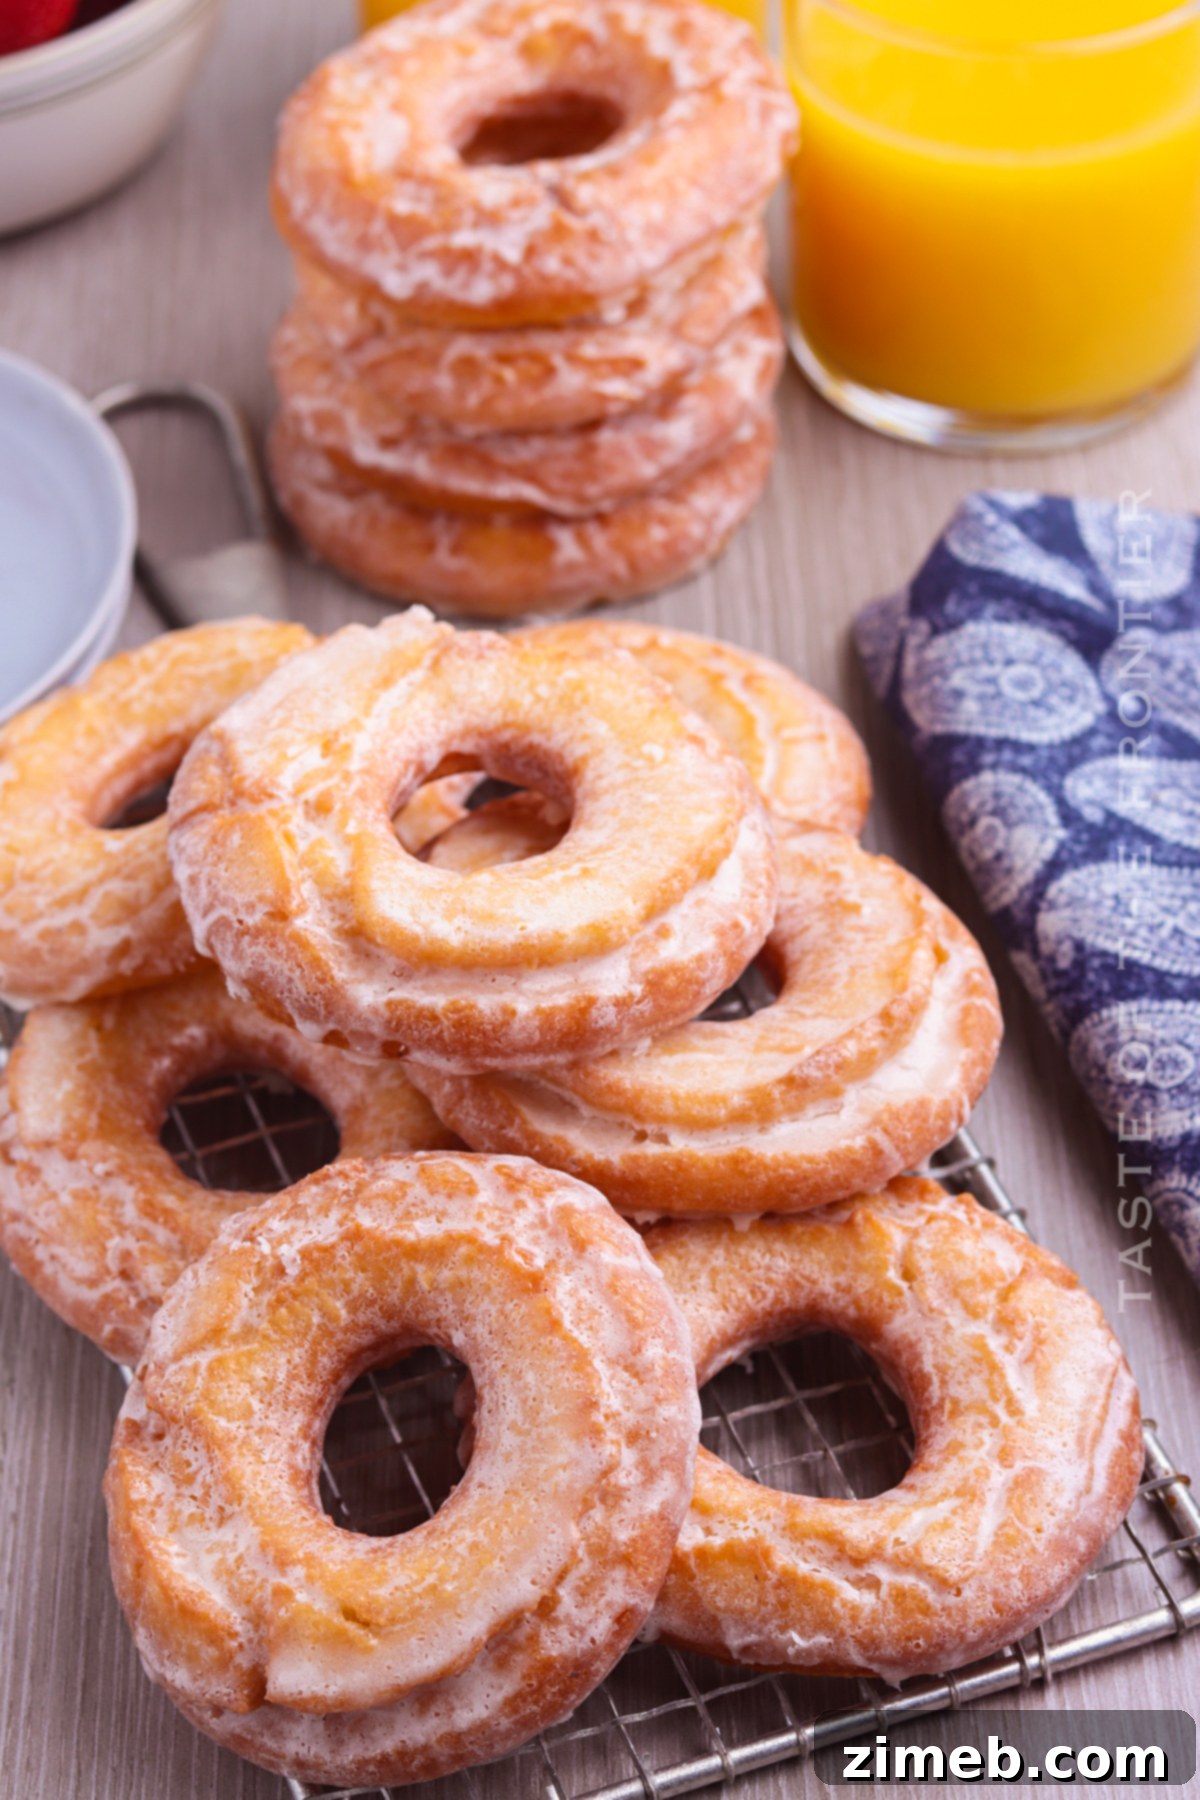
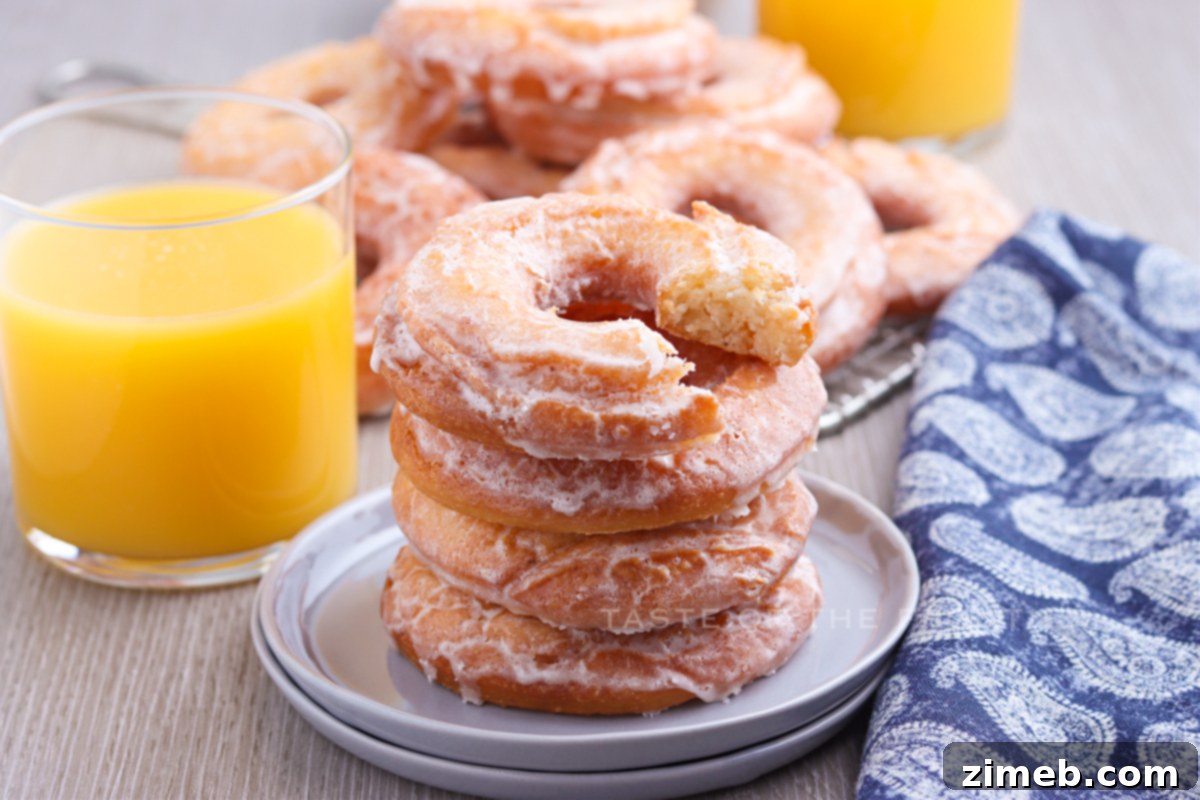
Imagine a leisurely weekend morning, the aroma of freshly fried donuts filling your kitchen. These old-fashioned sour cream donuts are the quintessential companion for your morning coffee or a refreshing glass of orange juice. If you cherish the distinctive taste and texture of classic, old-fashioned donuts, then this particular recipe is guaranteed to become a beloved staple in your home. Its unique character truly sets it apart from other donut varieties, delivering a taste of tradition with every bite.
PIN THIS TO SAVE FOR LATER
For years, Saturday mornings in the city meant one delightful ritual: a trip to our favorite donut shop. The tradition continued, and even intensified, with the advent of food delivery services like Uber Eats, ensuring a steady supply of fresh donuts for breakfast every single weekend. Those were sweet times, indeed, marked by convenience and the joy of diverse donut selections just a tap away.
However, life’s path led us away from the bustling city, landing us in a charming rural area where the nearest donut shop is now over a hundred miles away. While we miss the convenience, this change sparked a new and even more rewarding tradition: making our own donuts from scratch. It’s become a cherished family activity, allowing us to cater to everyone’s preferences. My daughter, for instance, has a particular fondness for the classic old-fashioned variety, while I lean towards rich cake donuts, and my husband absolutely adores hearty fritters.
Since we regularly whip up our other favorite donut types, we decided it was high time to perfect a batch of these glorious old-fashioned sour cream donuts. The moment they emerged from the fryer, perfectly golden and aromatic, and then received their sweet glaze, my daughter’s face lit up with pure happiness. It’s moments like these that make the effort of homemade baking truly worthwhile, creating memories as sweet as the treats themselves.
Frequently Asked Questions About Old Fashioned Sour Cream Donuts
Making homemade donuts can sometimes raise a few questions, especially when striving for that perfect, bakery-quality result. Here, we address some of the most common inquiries to help ensure your Old Fashioned Sour Cream Donuts turn out spectacularly every time.
How to properly store leftover donuts
For the absolute best flavor and texture, Old Fashioned Sour Cream Donuts are truly a treat best enjoyed on the very same day they are made. The crispy exterior and tender interior are at their peak freshness right after cooling and glazing. However, if you find yourself with a few delicious leftovers (a rare but delightful occurrence!), you can certainly store them to savor later. Place them in an airtight container at room temperature, and they will remain fresh and enjoyable for up to 2 days. Beyond that, the quality starts to diminish, particularly the crispiness.
What is the key difference between sour cream donuts and regular donuts?
The defining characteristic of sour cream donuts lies, quite obviously, in their star ingredient: sour cream. This addition to the batter is what imparts a unique, subtle tang and an incredibly rich, moist crumb that sets them apart. Sour cream reacts with the leavening agents, creating a wonderfully tender and almost cake-like interior. Regular donuts, on the other hand, typically rely on milk or buttermilk for moisture and acidity. While delicious in their own right, they often have a slightly different texture and lack the distinct, complex flavor profile that sour cream contributes.
Can Old Fashioned Sour Cream Donuts be frozen?
Yes, you can absolutely freeze sour cream donuts to enjoy at a later date. This is a fantastic option if you’ve made a large batch or simply want to have some on hand for unexpected cravings. To freeze them, first ensure they are completely cooled. Then, arrange them in a single layer on a baking sheet and flash freeze for about an hour until solid. Once firm, transfer them to a freezer-safe airtight container or a heavy-duty freezer bag, ensuring as much air as possible is removed. Stored properly, they will maintain their quality for up to 3 months.
What’s the best way to reheat sour cream donuts?
When reheating frozen or chilled sour cream donuts, the goal is to bring them back to a soft, warm state without compromising their texture. The quickest method is to microwave them for a brief 15-20 seconds. Be cautious not to exceed this timeframe, as over-microwaving can lead to a chewy texture. It’s important to keep in mind that the sweet glaze will likely melt slightly during reheating, which can cause the donuts to become a bit soggy as the glaze soaks into the warm pastry. For a slightly crispier result, you could try warming them gently in a toaster oven for a few minutes, though this might still affect the glaze.
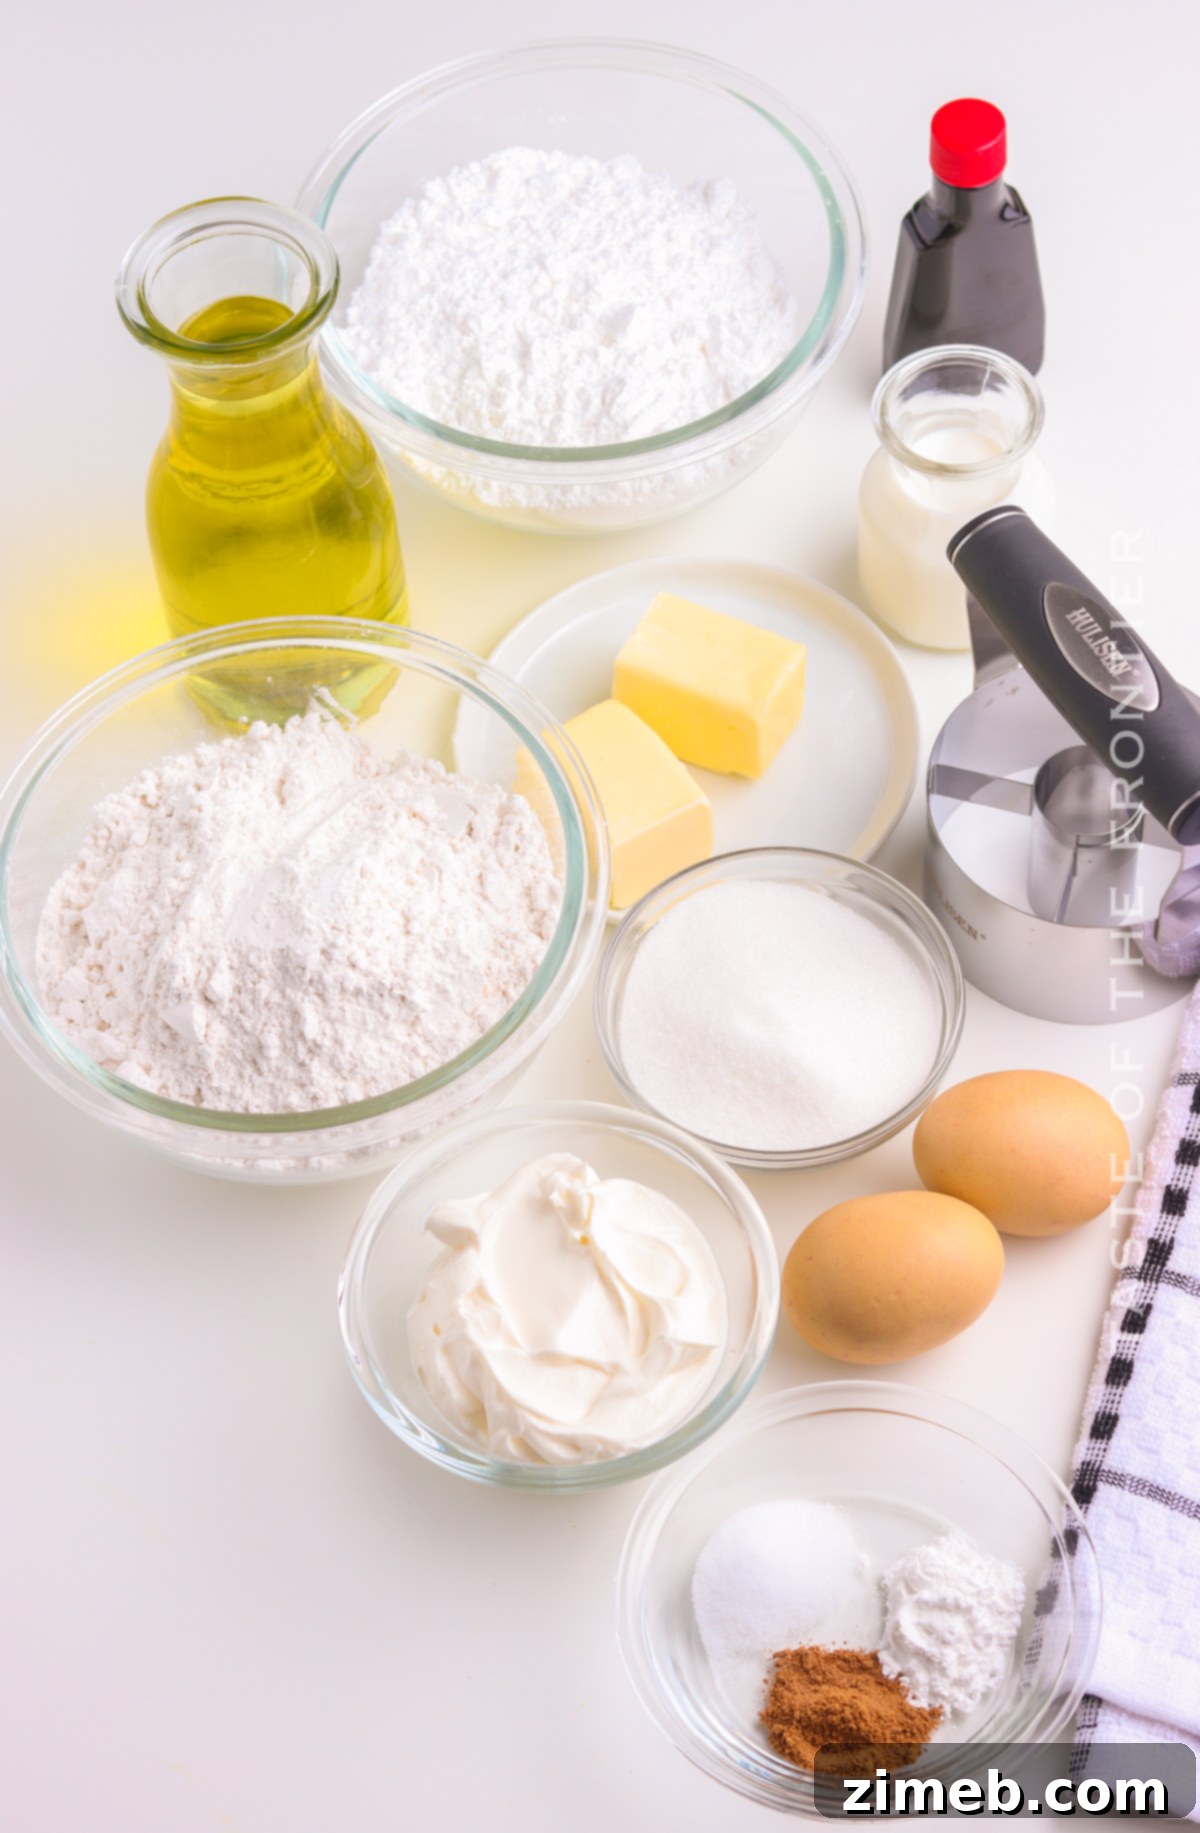
Essential Ingredients for Perfect Old Fashioned Sour Cream Donuts
Crafting these delectable donuts requires a few simple, high-quality ingredients. Each plays a crucial role in achieving that signature light, fluffy interior and crispy exterior. Here’s what you’ll need for the donut dough:
- Cake flour: This fine-milled flour with a lower protein content is essential for a tender crumb.
- Baking powder: The primary leavening agent, creating the donut’s lift and airy texture.
- Salt: Balances the sweetness and enhances overall flavor.
- Nutmeg: A classic spice that gives old-fashioned donuts their distinctive warm, aromatic essence.
- Unsalted butter: Softened to room temperature, it provides richness and helps with texture.
- Granulated sugar: For sweetness and contributes to browning.
- Egg yolks: At room temperature, they add richness, moisture, and a lovely golden hue without adding too much liquid.
- Sour cream: The star ingredient, offering moisture, tenderness, and that characteristic tangy flavor.
- Oil for frying: A neutral-flavored oil with a high smoke point, like vegetable, canola, or peanut oil.
For the Sweet Sugar Glaze
No old-fashioned donut is complete without a luscious glaze. This simple blend comes together quickly and adds the perfect touch of sweetness:
- Confectioner’s sugar: The base of our smooth, pourable glaze.
- Unsalted butter: Melted and slightly cooled, for richness and shine.
- Vanilla extract: Adds a warm, inviting aroma and flavor.
- Hot water, milk, or half-and-half: To achieve the perfect consistency for dipping.
Why are they called old-fashioned donuts?
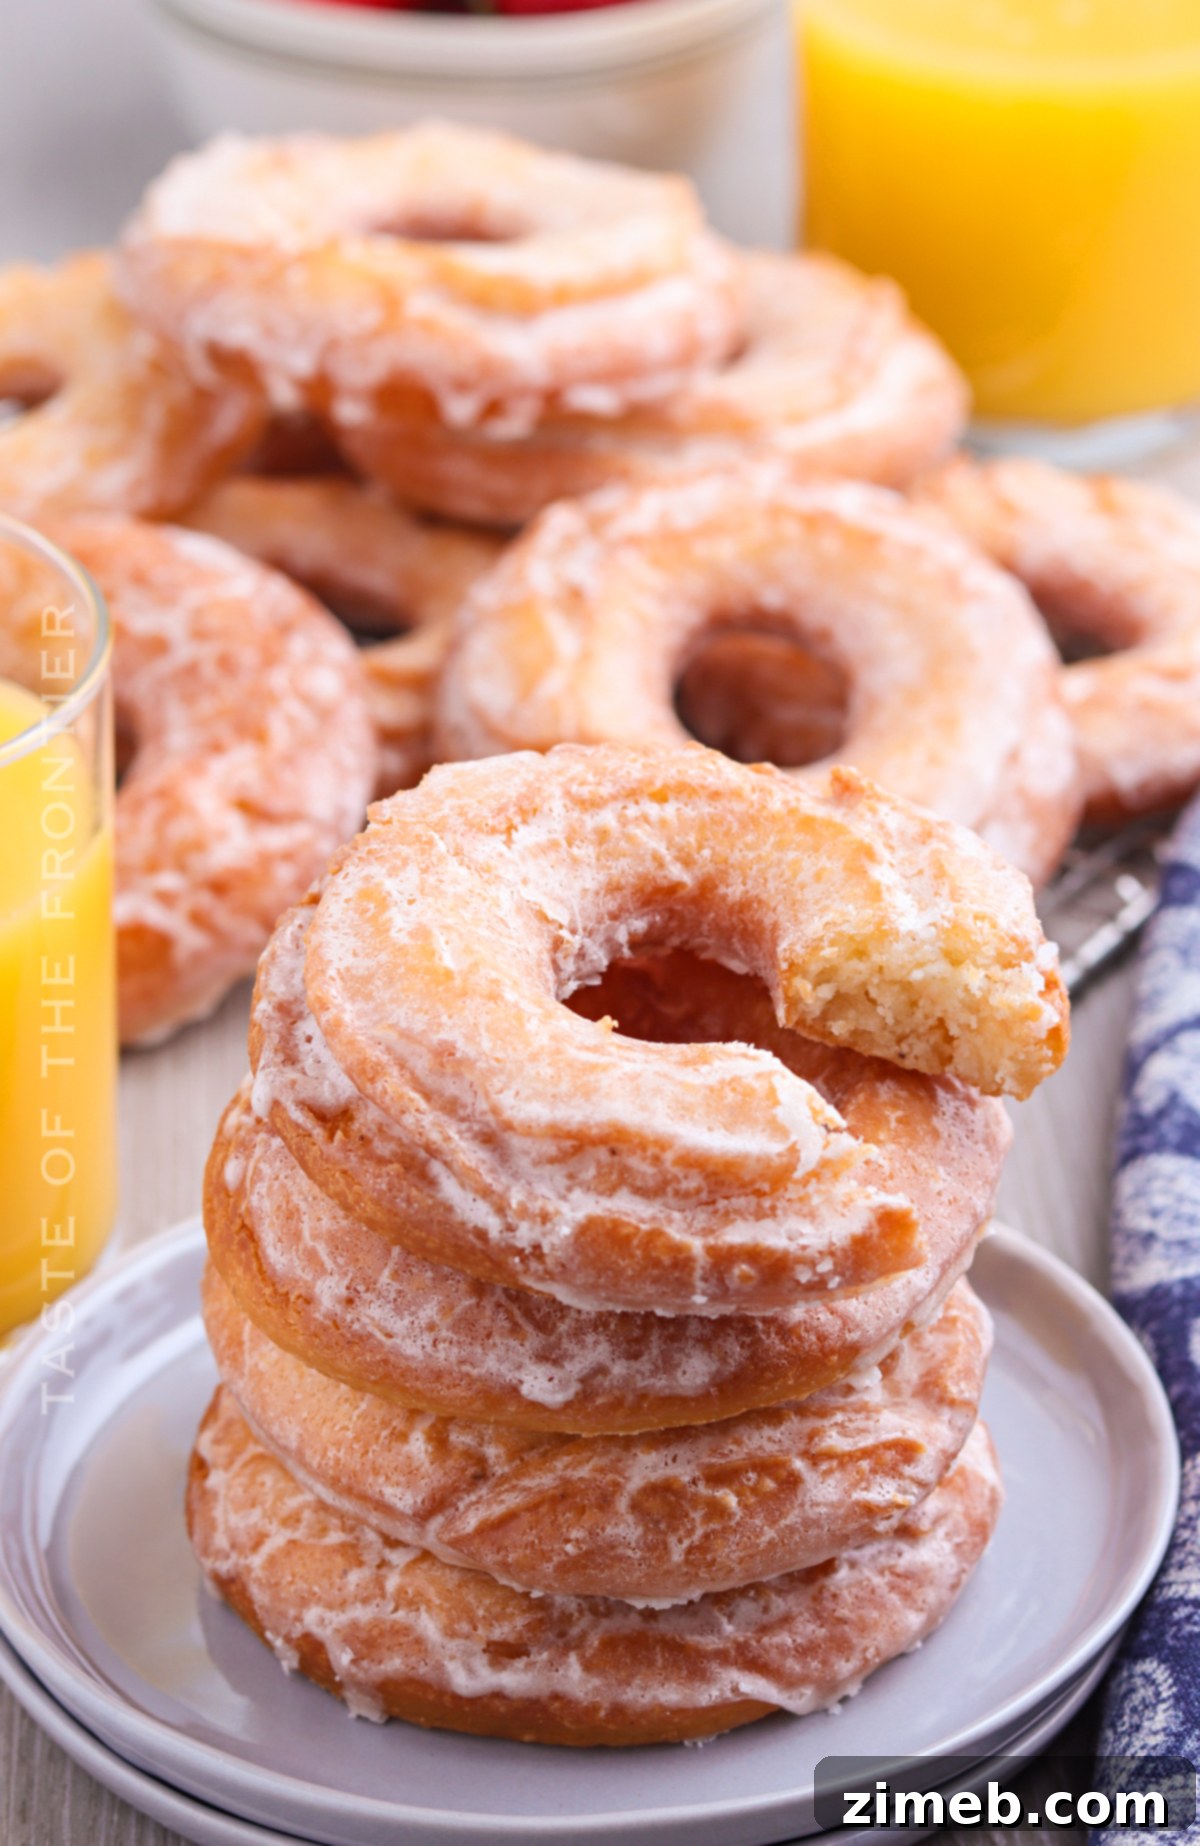
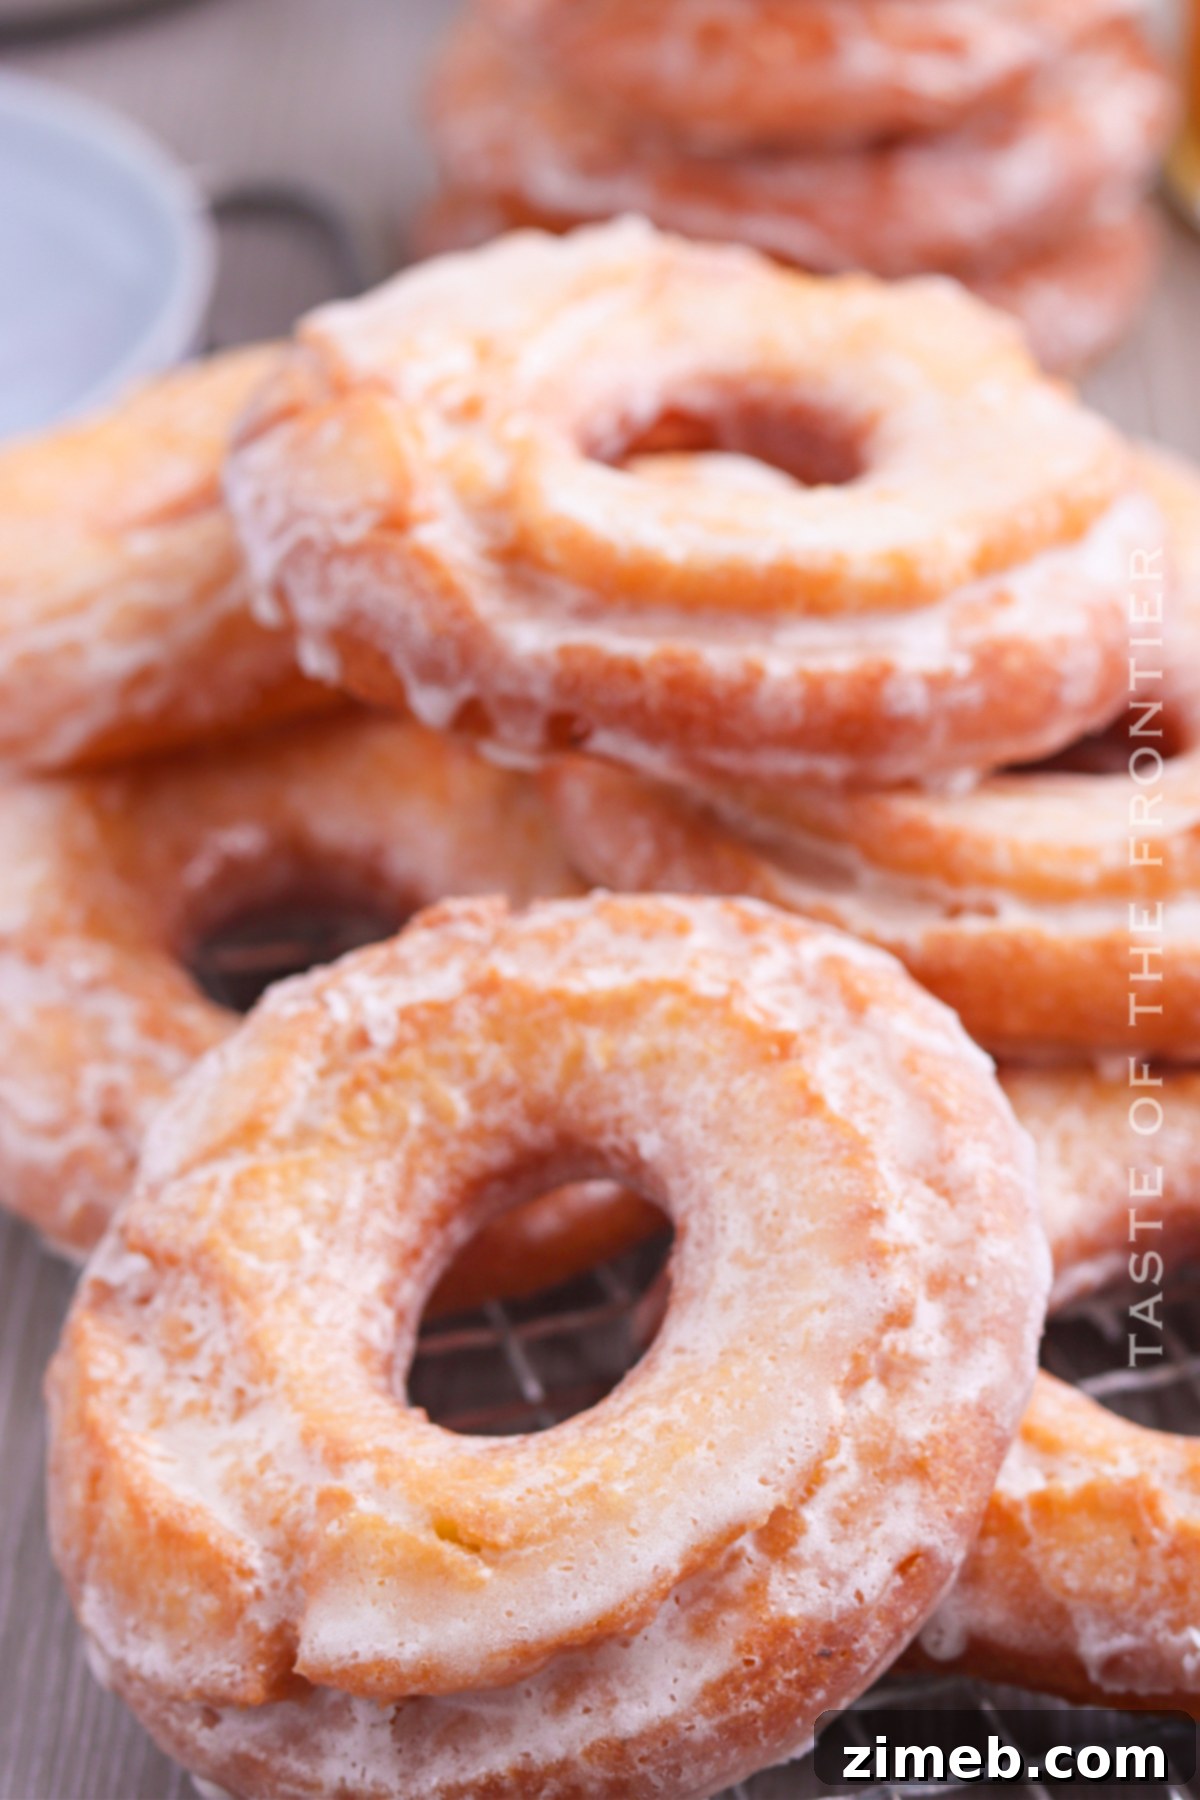
The term “old-fashioned” isn’t just a nostalgic descriptor; it refers to a specific style of donut, primarily characterized by its preparation and distinctive texture. Old fashioned sour cream donuts earn their name because, traditionally, they are made with sour cream as a key ingredient instead of relying solely on milk or buttermilk. This foundational difference gives them a delicious, subtle tang and a denser, yet remarkably tender, cake-like interior. As they fry, the edges develop a beautiful, craggy, crispy texture due to the dough’s consistency, creating those iconic cracks and crevices that hold extra glaze. This contrasts with yeast-raised donuts, which are typically lighter and chewier. Furthermore, their classic ring shape, often with slightly irregular, rustic edges, contributes to their timeless appeal, making them the perfect size for a quick breakfast or a satisfying snack that evokes a sense of culinary history.
Why do the ingredients need to be at room temperature?
Achieving the perfect texture in your Old Fashioned Sour Cream Donuts hinges significantly on using room temperature ingredients. This isn’t just a suggestion; it’s a crucial step for optimal results. When ingredients like butter and egg yolks are at room temperature, they blend together much more smoothly and evenly. Cold butter, for instance, won’t cream properly with sugar, leading to a lumpy mixture and inconsistent texture in the final product. You want everything to be uniformly disbursed, ensuring there are no pockets of unblended butter or cold clumps.
More importantly, when your dairy products, especially sour cream, and eggs are at room temperature, they form a stable emulsion more readily. This emulsion is vital because it effectively traps air within the mixture. As the donuts cook, this trapped air expands, allowing the dough to rise beautifully and ensuring your baked goods achieve that desired light, airy, and fluffy interior. Skipping this step can result in denser, heavier donuts that lack the delicate texture that makes old-fashioned sour cream donuts so special.
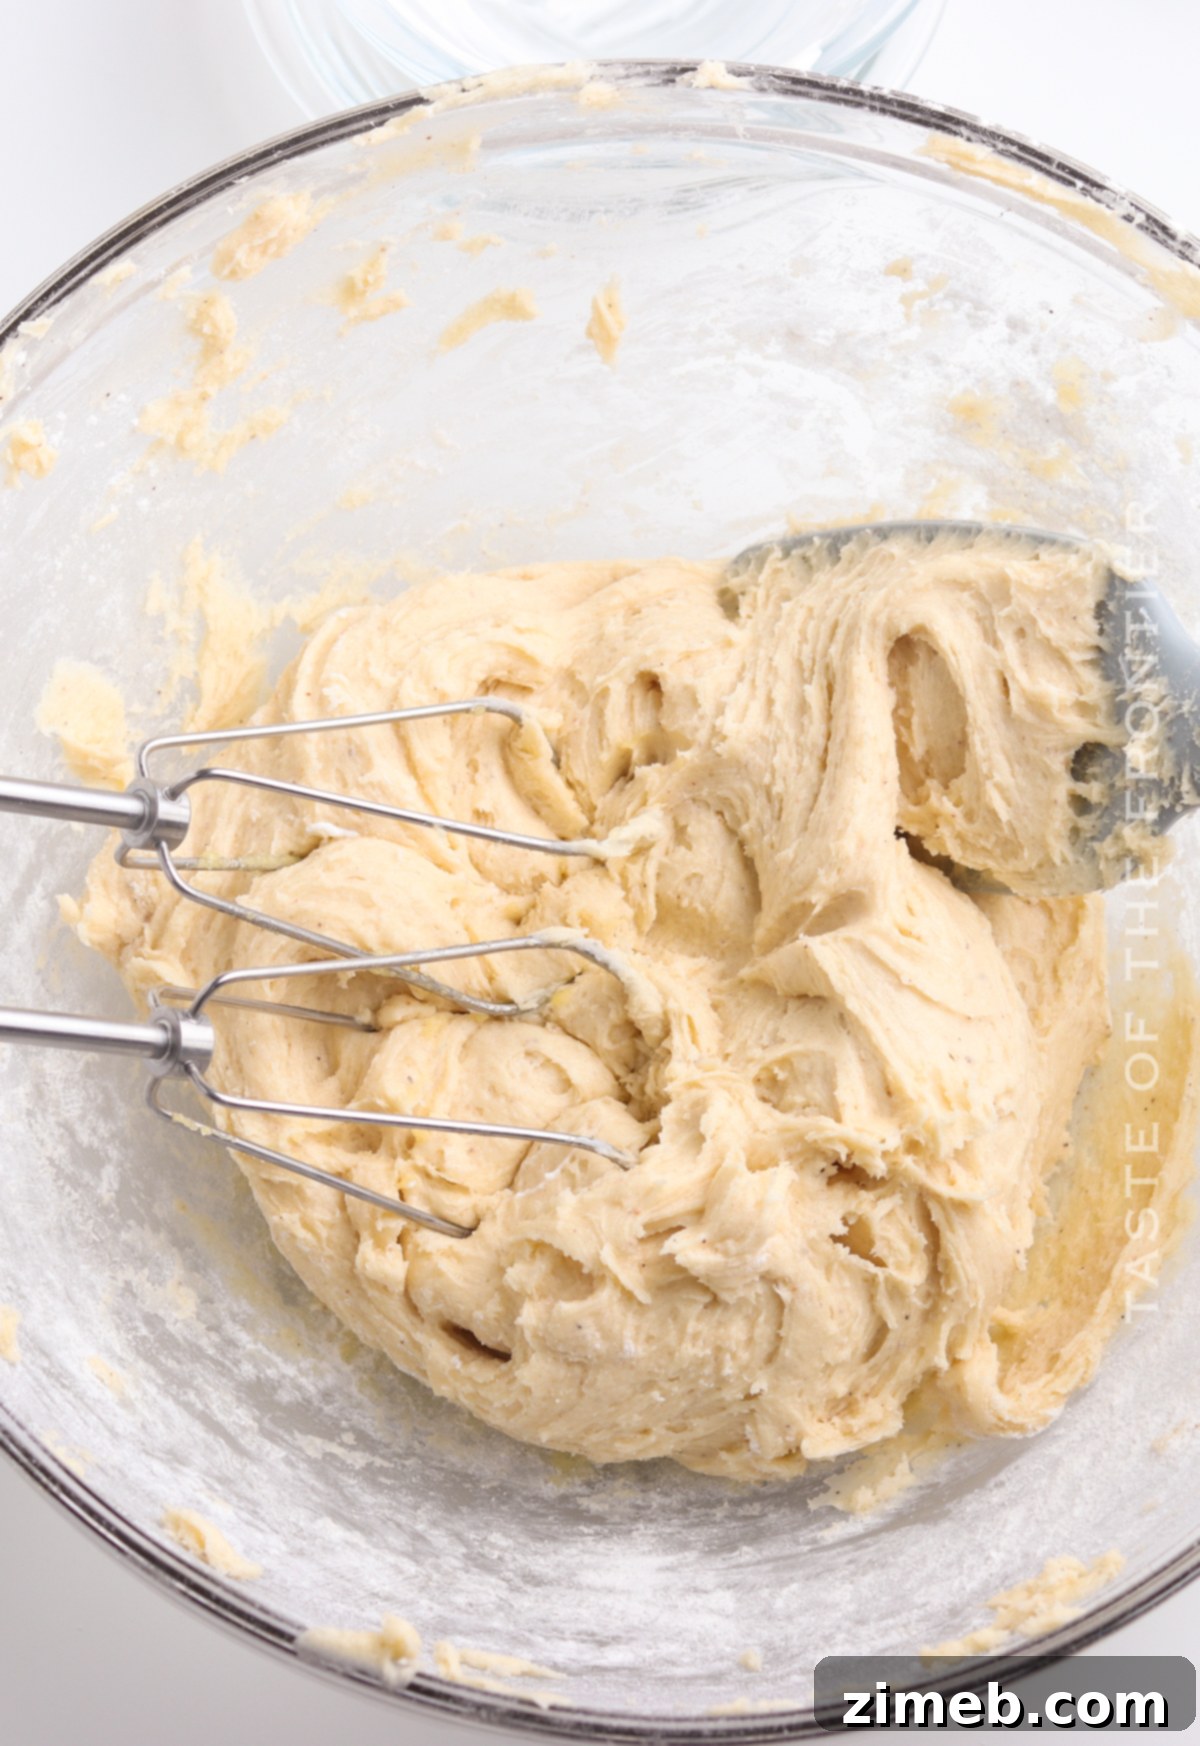
How to Make Old Fashioned Sour Cream Donuts: A Step-by-Step Guide
Creating these delightful donuts is a rewarding process. Follow these detailed steps to achieve perfect, crispy-edged, fluffy sour cream donuts every time:
- Combine Dry Ingredients: In a medium-sized bowl, thoroughly whisk together the cake flour, baking powder, salt, and ground nutmeg. This ensures all the dry components are evenly distributed before being added to the wet ingredients.
- Cream Butter and Sugar: In a large mixing bowl, or the bowl of a stand mixer fitted with the paddle attachment, cream together the softened unsalted butter and granulated sugar. Beat on medium speed for about 1 minute, or until the mixture takes on a light, fluffy texture resembling wet sand.
- Incorporate Egg Yolks: Add the room temperature egg yolks to the creamed mixture. Continue to beat until they are well combined and fully incorporated, then stop and scrape down the sides of the bowl to ensure everything is mixed evenly.
- Alternate Wet and Dry: Gradually add the dry ingredients to the wet mixture in three additions, mixing on low speed only until just combined after each addition. Alternate these dry additions with the sour cream, adding the sour cream in two additions. Remember to scrape down the sides of the bowl between each addition to ensure a homogenous dough.
- Check Dough Consistency: The finished dough should be smooth, cohesive, and just slightly sticky to the touch. If you find the dough is excessively sticky and difficult to handle, incorporate one additional tablespoon of cake flour, mixing until just combined. Avoid overmixing.
- Chill the Dough: Cover the bowl tightly with plastic wrap and transfer it to the refrigerator. Chill the dough for a minimum of 1 hour, or until it becomes firm and easy to handle. The chilling time may vary depending on your room’s temperature during mixing; colder dough is easier to work with.
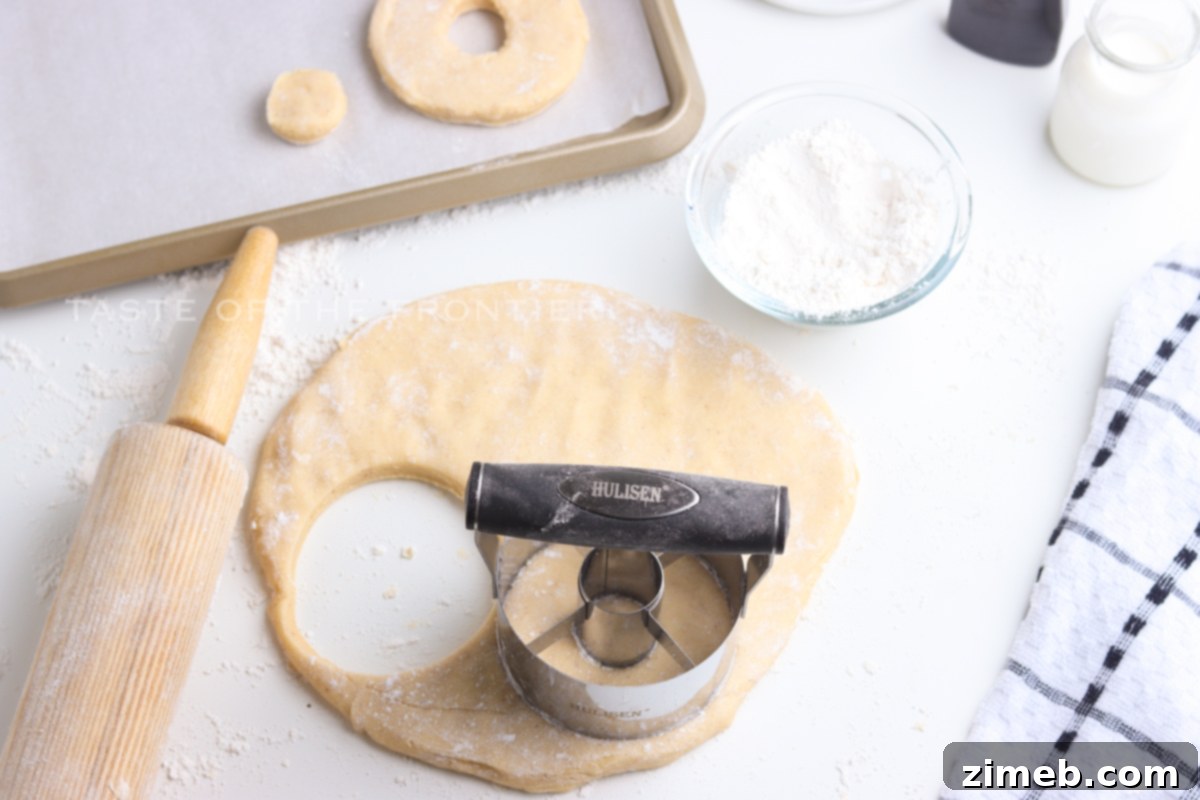
- Roll the Dough: Lightly flour a clean work surface and your rolling pin. Remove the chilled dough from the refrigerator and roll it out evenly to a thickness of approximately ½ inch.
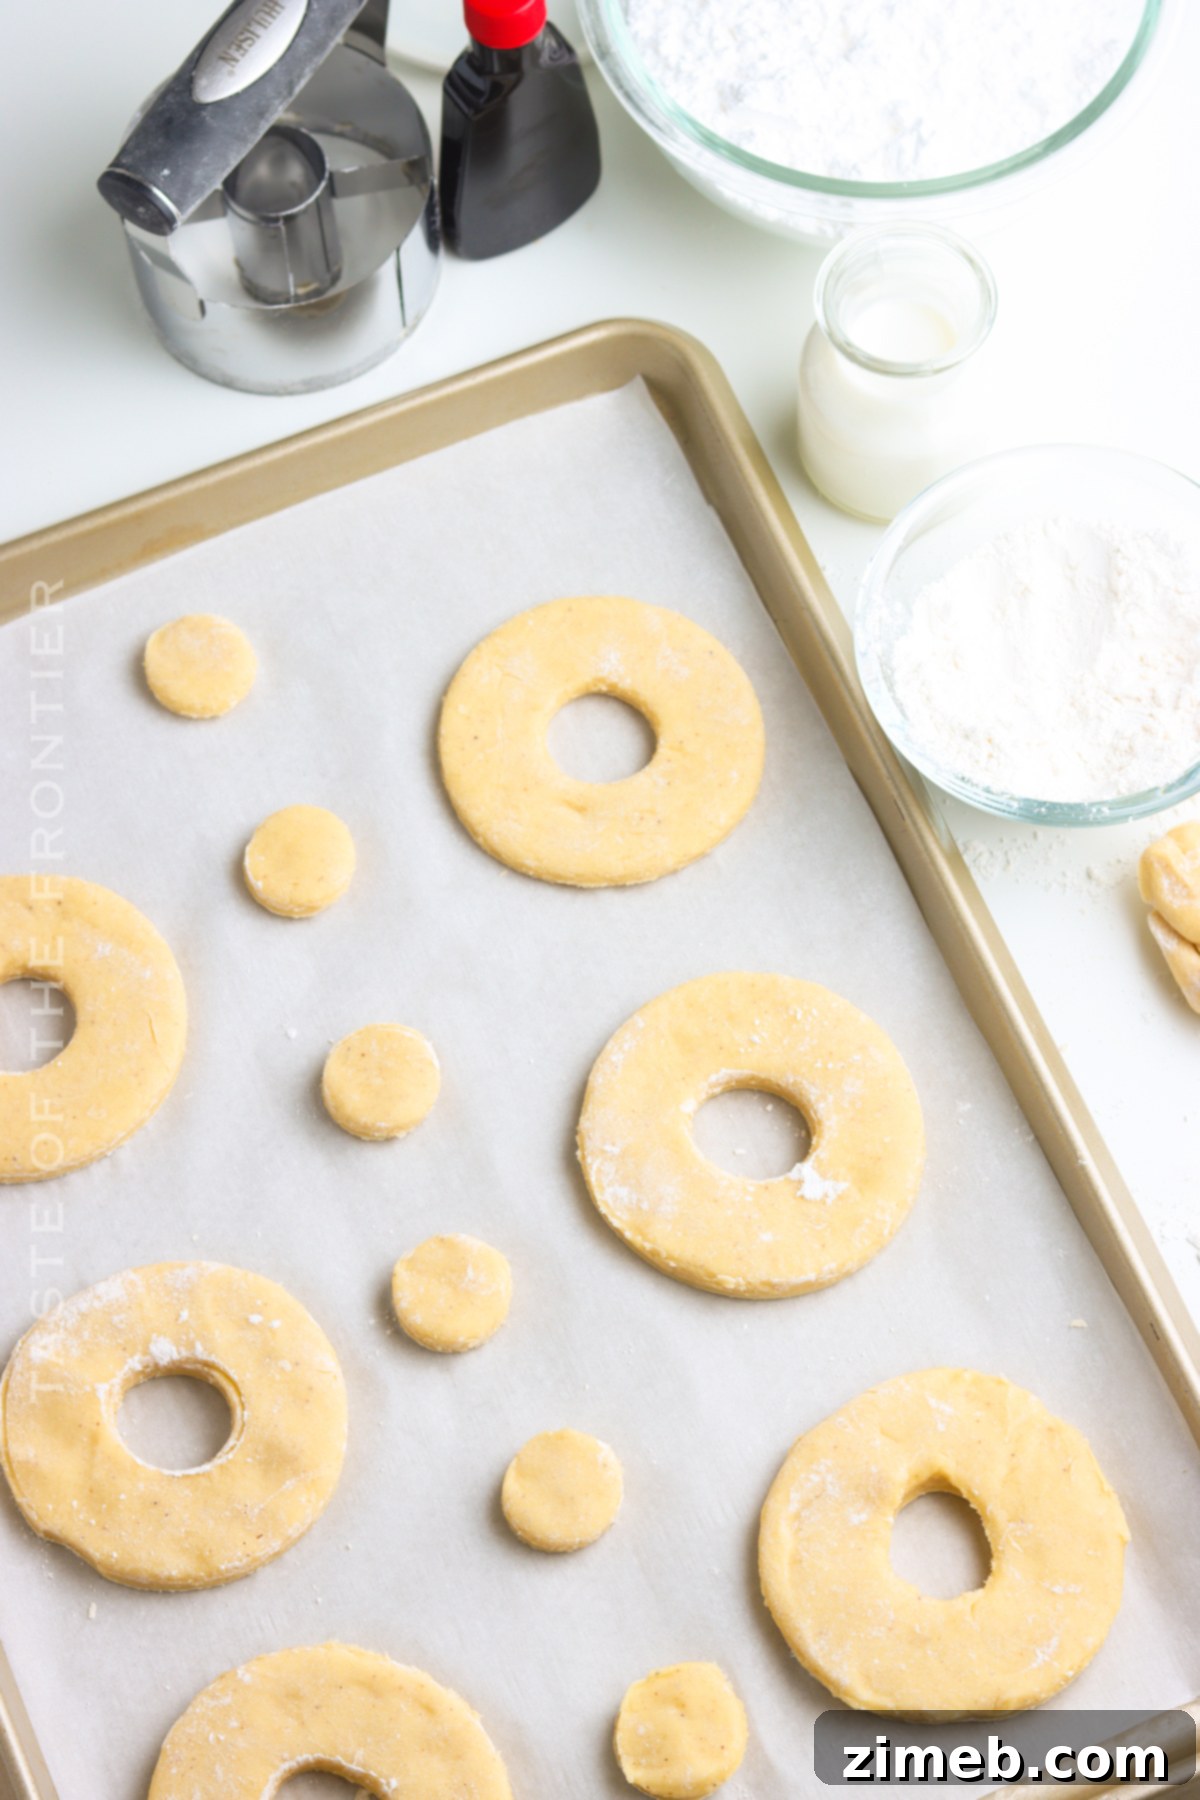
- Cut Out Donuts: Dip your donut cutter (one with a hole in the center) into flour before each cut. This simple trick prevents the dough from sticking to the cutter. Press firmly and cut out your donut shapes.
- Prepare for Frying: Carefully transfer the cut donut dough (both the rings and the holes) onto a parchment-lined baking sheet. Place the baking sheet back into the refrigerator while you prepare your frying oil. Ensuring the dough is slightly cold before frying helps it hold its shape and cook properly.
- Heat Frying Oil: In a heavy-bottomed pan or a large Dutch oven, add 2-3 inches of neutral frying oil. Heat the oil to precisely 325 degrees F (163 degrees C). Using a clip-on deep-fry thermometer is highly recommended for accurate temperature control, which is crucial for perfectly cooked donuts.
- Fry the Donuts: Carefully lower a few donuts into the hot oil at a time, being careful not to overcrowd the pan. Fry them for 2-3 minutes on each side, adjusting the timing based on the size of your pan and the desired golden-brown color.
- Monitor Oil Temperature: Keep a close eye on your thermometer throughout the frying process. If the oil gets too hot, the donuts will brown too quickly on the outside and remain raw inside. If it’s too cool, they’ll absorb excess oil and become greasy. Adjust your stove’s temperature as needed to maintain a consistent 325°F.
- Drain Fried Donuts: Once the donuts are a beautiful golden brown on both sides, carefully remove them from the oil using a slotted spoon or spider. Place them on a wire rack set over a baking sheet lined with paper towels to drain any excess oil.
Crafting the Perfect Donut Glaze
The glaze is the finishing touch that elevates these donuts to a new level of deliciousness. Here’s how to make it:
- Whisk Glaze Ingredients: In a small bowl, whisk together the confectioner’s sugar, melted and slightly cooled unsalted butter, vanilla extract, and 2-3 tablespoons of hot water (or milk/half-and-half). Continue whisking until the mixture is completely smooth, thick enough to coat a spoon, but thin enough to drip. Adjust liquid for desired consistency.
- Glaze Warm Donuts: While the freshly fried donuts are still warm (but not hot, as this would make the glaze too runny), gently submerge the top side of each donut into the prepared glaze. Allow any excess glaze to drip off before placing them back on the cooling rack, glaze side up.
- Serve Fresh: For the ultimate experience, these glazed donuts are best served and enjoyed on the same day they are made, while the glaze is still soft and the donut is at its peak freshness.
Is cake flour truly necessary for these donuts?
In short, yes, for achieving that authentic, delicate old-fashioned sour cream donut texture, cake flour is indeed necessary. Cake flour is milled from soft wheat and has a significantly lower protein content compared to all-purpose flour. This lower protein means less gluten development, which directly translates to a more tender, finer, and softer crumb in your donuts – precisely the light and delicate quality you expect from a professional bakery. Attempting homemade cake flour replacements, often involving cornstarch, don’t quite replicate the unique properties of commercially produced cake flour. Using all-purpose flour, while versatile, will result in donuts that are denser and chewier, lacking the signature delicate crumb that defines these old-fashioned treats. Furthermore, using unbleached all-purpose flour can lead to donuts that absorb more oil during frying, potentially making them heavy or even causing them to crumble rather than hold their shape beautifully.
Do I have to fry this old-fashioned donut recipe?
Yes, this specific Old Fashioned Sour Cream Donut recipe is designed for frying, and for the best results, it absolutely must be fried. The unique composition of this dough, with its sour cream base and cake flour, is formulated to achieve its iconic crispy exterior and tender, cake-like interior through the rapid, high-heat cooking process of deep frying. This method creates the distinctive craggy edges and golden-brown perfection that cannot be replicated by other cooking methods.
While some adventurous bakers have attempted to use an air fryer with varied success, I cannot personally attest to the texture or specific cooking times required for air-fried versions of this particular recipe, as I haven’t experimented with it myself. Baking this dough in an oven will not yield the proper results; you’ll likely end up with a denser, more cookie-like texture rather than a light, fluffy donut. The frying process is integral to the character of these old-fashioned treats.
Furthermore, when frying, it is crucial to use fresh oil every time. Never be tempted to reuse oil that has been previously used for cooking savory items like chicken, french fries, or tortillas. These foods leave behind distinct flavors and microscopic remnants that will transfer to your delicate donuts, imparting an undesirable taste. Additionally, oil used for cooking meats should always be safely discarded after a single use for hygiene and flavor purity.
Don’t forget to fry up those donut holes too! They’re often the tastiest little bites!
Is chilling the donut dough really a necessary step?
Yes, absolutely! Please do not skip the chilling step; it is utterly essential for producing perfectly textured Old Fashioned Sour Cream Donuts. Chilling the dough serves several critical purposes. Firstly, it allows the flour to fully hydrate, resulting in a more manageable and less sticky dough. Secondly, and perhaps most importantly, chilling ensures the butter in the dough firms up. When this cold, firm dough hits the hot oil, it creates a thermal shock that helps the donuts maintain their shape, preventing them from spreading excessively. This also contributes to the signature craggy edges. Furthermore, the cold temperature helps to regulate the cooking process, allowing the donuts to cook through evenly to a beautiful golden brown without over-browning too quickly on the outside. This crucial step is key to achieving that ideal balance of a crispy exterior and a wonderfully fluffy interior.
Effective Ways to Soften Butter to Room Temperature
Having your butter (and other dairy ingredients) at true room temperature is a game-changer for many baking recipes, especially for achieving light and fluffy donuts. Here are a few reliable methods to get your butter just right, ensuring perfect blending without overdoing it:
Method One: The Patient Countertop Approach
The simplest method is often the best if you have time. Simply take the required butter (and any other chilled ingredients like egg yolks or sour cream) out of the refrigerator and leave it on your kitchen counter. Depending on the ambient temperature of your room, this usually takes about 30 minutes to an hour for butter to reach the ideal softened state – pliable but still cool to the touch. I typically start by gathering all my ingredients and pulling out everything I’ll need onto the counter well before I begin mixing. This way, I know for sure I have all components at the right temperature and won’t realize I’m missing something or that an ingredient is too cold halfway through the process.
Method Two: The Microwave (Handle with Extreme Caution)
Sometimes, despite the best intentions, I find myself short on time, or perhaps it’s a chilly winter day, and the countertop method just isn’t fast enough. In such cases, the microwave can be a quick solution, but it requires careful attention. Place the butter, still wrapped in its paper (do NOT do this if it’s wrapped in foil), into the microwave. Microwave for precisely 2 seconds, then flip the stick of butter over. Microwave for another 2 seconds, flip again, and continue this pattern for a few rounds. This short, intermittent bursts typically soften the butter perfectly without melting it. You can stop sooner if it feels adequately soft. A critical warning: overly softened or melted butter from the microwave WILL significantly alter the end result and texture of your recipe. It’s imperative not to over-do this method. The butter should be soft enough to indent with your finger but not greasy or liquid.
Method Three: The Warm Water Bath
My third tried-and-true method is placing the wrapped sticks of butter into a zip-top bag (or simply leaving them in their paper wrappers) and then immersing them in a bowl of warm (not hot!) water. This technique also works beautifully for quickly bringing eggs to room temperature. If the water is comfortably warm to the touch – not scalding – this can be the perfect, gentle way to achieve perfectly “room-temperature” ingredients without any risk of melting or cooking them, ensuring your donuts turn out just right.
Recommended Products for Homemade Donut Success
This Old Fashioned Sour Cream Donut recipe is truly super easy and yields exceptionally delicious results. If you’re an experienced baker, you might already have most of these essential items on hand. However, if you’re new to the wonderful world of homemade donuts, you might feel a little nervous about getting started – but trust me, you are going to absolutely love these! To help you achieve perfect donuts, I’ve compiled a list of the tools and equipment I genuinely can’t live without when making this recipe. (You can also SHOP MY FAVORITES directly in my online store for convenience.)
- Dutch Oven: Essential for maintaining consistent oil temperature and safely deep-frying your donuts.
- Cooking Thermometer: A deep-fry thermometer is crucial for accurate oil temperature, ensuring perfectly cooked (not greasy or raw) donuts.
- Donut Dough Cutter: Makes cutting consistent donut shapes quick and effortless, including the center hole.
- Cooling Rack: Allows air to circulate around your fried donuts, preventing sogginess and preparing them for glazing.
- Rolling Pin: For rolling out the dough evenly to the ideal thickness, crucial for consistent frying.
If you adore this old-fashioned donut recipe and are looking to expand your baking repertoire, you’re going to absolutely love these other fantastic donut recipes too. Each offers a unique twist on this beloved treat. Please click each link below to discover the easy, printable recipe and start your next delicious baking project!
Check out this recipe

Check out this recipe

Check out this recipe

Check out this recipe
Check out this recipe
Check out this recipe
Check out this recipe

Check out this recipe
Check out this recipe
If you love this recipe for Old Fashioned Sour Cream Donuts as much as I do, please take a moment to write a five-star review and consider sharing this delicious recipe with your friends and family on Facebook and Pinterest! Your support helps us continue to bring you more amazing recipes.
CONNECT WITH YUMMI HAUS!
Be sure to follow me on my social media, so you never miss a post!
Substack, FB, Pinterest, IG, Email Subscription

Rate this Recipe
Old Fashioned Sour Cream Donuts
Save
Saved!
Ingredients
- 2 ½ cups cake flour
- 1 ½ teaspoons baking powder
- 1 teaspoon salt
- ½ teaspoon nutmeg
- 2 tablespoons unsalted butter room temperature
- ½ cup granulated sugar
- 2 large egg yolks room temperature
- ⅔ cup sour cream
- Oil for frying
Glaze
- 2 cups confectioner’s sugar
- 4 tablespoons unsalted butter melted and slightly cooled
- 1 teaspoon vanilla extract
- 2-3 tablespoons hot water milk or half-and-half
Instructions
-
In a medium bowl, whisk together the cake flour, baking powder, salt and nutmeg.
-
In a large mixing bowl or bowl of a stand mixer, cream together the butter and sugar until it becomes a sand-like consistency, about 1 minute.
-
Add the egg yolks and beat until well combined, scrape down the sides of the bowl.
-
Add the dry ingredients in 3 additions, mixing on low, just until combined, alternate with sour cream and scraping down the sides of the bowl in between additions.
-
The dough should be smooth and slightly sticky. If it’s too sticky, mix in 1 more tablespoon of cake flour.
-
Cover bowl with plastic wrap and chill in the refrigerator for at least 1 hour or until firm. This could vary depending on the temperature of your room while mixing the dough.
-
On a floured surface, roll the dough out to ½ inch thick.
-
Use a donut cutter with a hole in the center, dip it in flour before each cut to prevent sticking and cut out the donuts.
-
Place the cut dough on a parchment-lined baking sheet and place it in the refrigerator while the oil is heating. The dough should be slightly cold before frying.
-
To fry the donuts, add 2-3 inches of oil into a heavy-bottomed pan or large Dutch oven heated to 325 degrees F. (this is easiest when using a thermometer attached to the side of the pot)
-
Fry the donuts a few at time for 2-3 minutes on each side, depending on the size of your pan.
-
Be sure to keep an eye on the thermometer and adjust the stove temperature if needed.
-
Remove the donuts from the pan when they are golden brown and place them on wire rack to drain.
Glaze
-
Whisk together the confectioner’s sugar, melted butter, vanilla and milk in a small bowl until smooth.
-
While donuts are still warm, submerge the top side of the donuts into the glaze and place them back on the cooling rack, glaze side up.
-
Donuts are best served on the same day.
Equipment
-
1 heavy-bottomed pan or Dutch oven
-
1 donut cutter
Nutrition
Nutritional information for the recipe is provided as a courtesy and is approximate. Please double-check with your own dietary calculator for the best accuracy. We at Yummi Haus cannot guarantee the accuracy of the nutritional information given for any recipe on this site.