
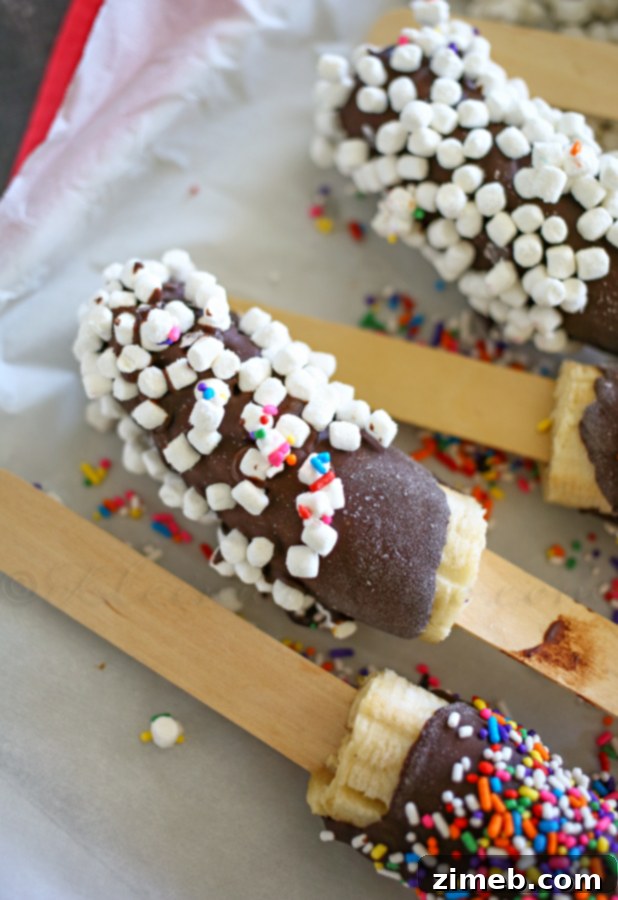
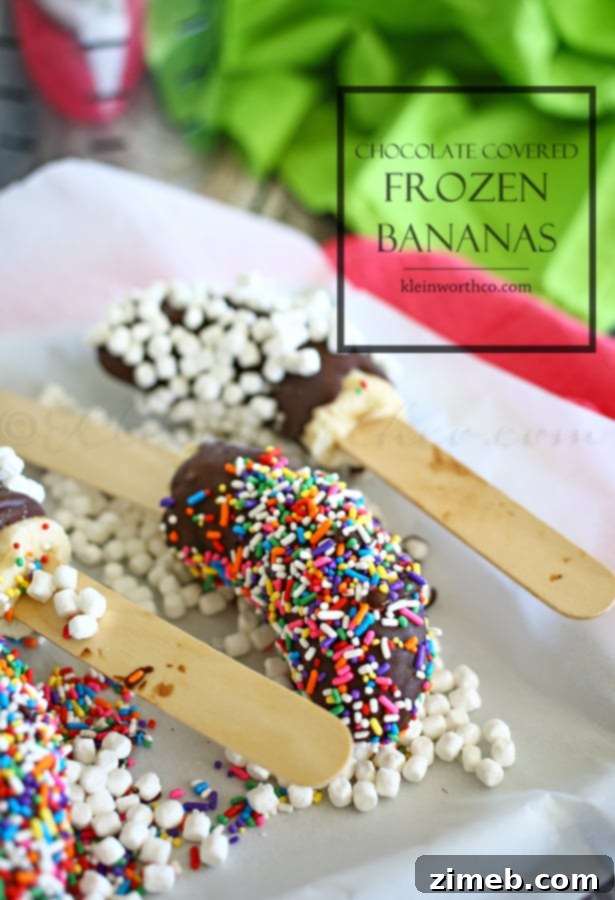
Step into a world of refreshing nostalgia with these irresistible Chocolate-Covered Frozen Bananas. Transport yourself back to sun-drenched days at the fair or theme park, where these iconic treats were the ultimate cool-down delight. Simple to make, endlessly customizable, and incredibly satisfying, this homemade version captures all that beloved flavor and charm, making it a guaranteed favorite on your summer dessert menu.
Summer has a unique way of awakening our inner child, don’t you agree? As the days grow longer and the sun shines brighter, my mind naturally drifts to cherished childhood memories. It’s often the simple things we craved and looked forward to the most – the scent of freshly cut grass, the splash of a swimming pool, and, of course, the taste of special treats. These fond recollections are almost invariably linked to food, illustrating how certain flavors, much like a familiar melody, possess the power to unlock long-forgotten moments of joy and family connection.
This deep association with happy times is precisely why I adore these easy-to-make frozen bananas. I have vivid memories of family outings to amusement parks, where a crisp, chocolate-coated banana was an absolute must to combat the summer heat. That first satisfying crunch of chocolate followed by the creamy, icy banana was pure bliss. Now, as an adult, I find immense pleasure in recreating that magic, sharing these delightful frozen snacks with my own family as we relax in the backyard, building new cherished memories together.
While you’re here, why not try our No-Bake Cake Batter Oreo Cheesecake Dessert? It’s another fantastic, no-fuss treat perfect for any occasion!
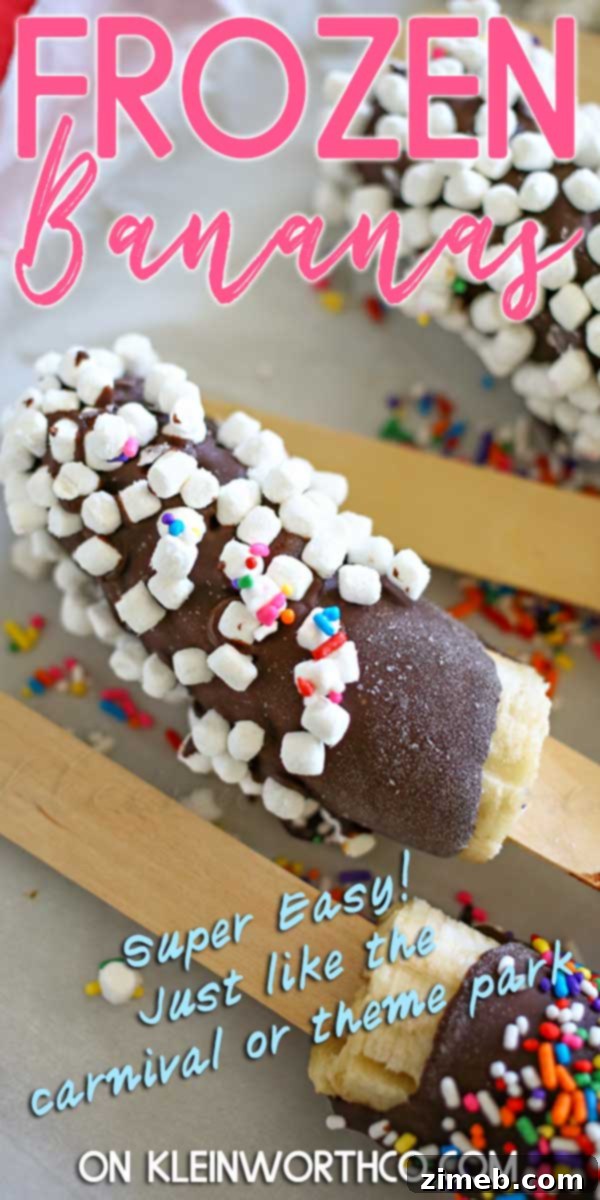
Crafting the Ultimate Chocolate-Covered Frozen Bananas at Home
There’s something incredibly satisfying about recreating beloved fairground treats in your own kitchen. Our homemade chocolate-covered frozen bananas are not just a nostalgic indulgence; they’re a wonderfully refreshing dessert that’s perfect for any warm day. The process is straightforward, making it an excellent activity for families, and the results are consistently delicious. You’ll be amazed at how easily you can achieve that perfectly crisp chocolate shell and creamy frozen interior.
Beyond their delightful taste, these treats offer a healthier alternative to many conventional desserts. Bananas are a powerhouse of nutrition, rich in potassium, vitamin B6, vitamin C, and dietary fiber. When frozen, they transform into a creamy texture reminiscent of soft-serve ice cream, making them feel decadent without the added guilt. Dipped in your choice of chocolate and adorned with fun toppings, they become a balanced snack that truly hits the spot on a hot day. Plus, they can be made dairy-free by selecting a suitable chocolate, catering to various dietary needs.
One of the biggest advantages of this recipe is its versatility and ease of preparation. With minimal ingredients and simple steps, even novice cooks can achieve fantastic results. The process of dipping and decorating can be a fun and engaging activity for children, encouraging creativity and ending with a delicious, edible reward. Whether you’re planning a summer BBQ, a pool party, or simply looking for a quick, cool snack, these chocolate-covered frozen bananas are an ideal choice that brings smiles to everyone’s faces.
Your Guide to Perfect Frozen Banana Creation
Selecting the Ideal Bananas for Freezing
The secret to a perfect frozen banana begins with choosing the right fruit. Opt for firm, ripe bananas – typically bright yellow with a few small brown speckles. This indicates they are sweet and flavorful but still firm enough to hold their shape during the preparation process. Avoid overly green bananas, as they lack sweetness, and very brown, mushy ones, which can become too soft and difficult to manage once frozen on a stick. A good, firm banana will give you that satisfyingly creamy, yet solid, texture after freezing.
Mastering Your Chocolate Coating
The chocolate shell is arguably the star of this show, providing that iconic crack as you bite in. While classic semi-sweet chocolate chips are always a winner, the world of chocolate offers many delicious possibilities:
- Milk Chocolate: For a sweeter, milder flavor that appeals to all ages, creating a truly creamy coating.
- Dark Chocolate: If you prefer a richer, more intense chocolate experience, dark chocolate provides a beautiful contrast to the banana’s sweetness. Choose a percentage you enjoy.
- White Chocolate: A delightful alternative that offers a distinct, creamy vanilla-like flavor. It also serves as a fantastic base for bright, colorful sprinkles.
- Candy Melts: Available in a dazzling array of colors and flavors, candy melts are a fun option, especially for themed parties or if you want to create a visually striking treat. They melt smoothly and set quickly.
To achieve that perfectly glossy, thin, and quick-setting coating, we recommend adding a small amount of shortening or coconut oil to your melted chocolate. This helps to thin the chocolate slightly, making it easier to dip and ensuring it hardens quickly and evenly, preventing drips and achieving that signature snap.
Unleash Your Inner Artist with Creative Toppings
This is where you can truly let your imagination run wild! The array of topping options for frozen bananas is virtually limitless, allowing for endless customization and fun. Consider setting up a “topping bar” for parties, where everyone can design their own unique treat:
- Colorful Sprinkles: Jimmies, nonpareils, or rainbow confetti sprinkles instantly add a festive and playful touch.
- Crushed Nuts: Peanuts, almonds, walnuts, pecans, or pistachios provide a wonderful crunch and a boost of healthy fats.
- Shredded Coconut: Toasted coconut flakes add a deep, nutty flavor, while untoasted provides a soft, chewy texture and tropical aroma.
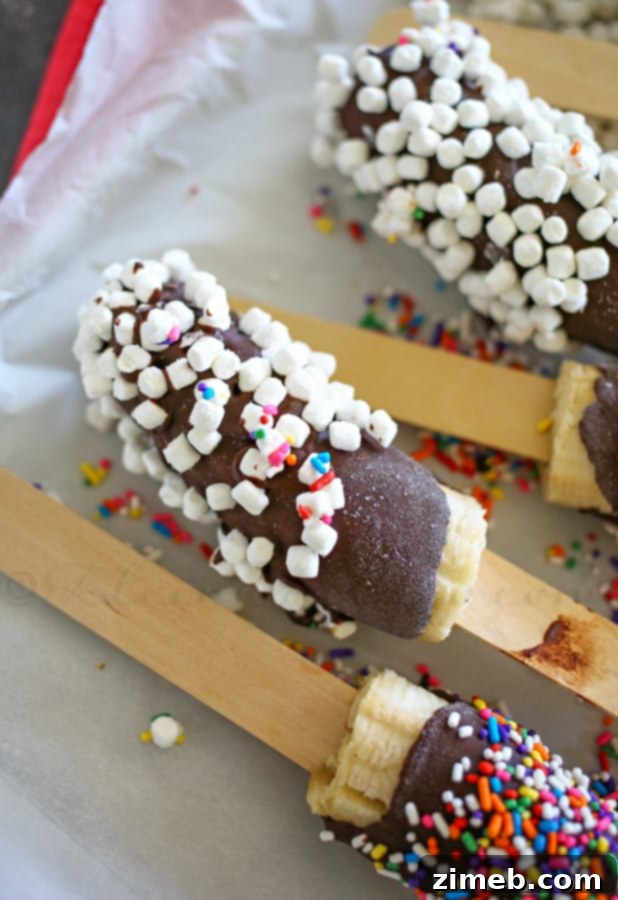
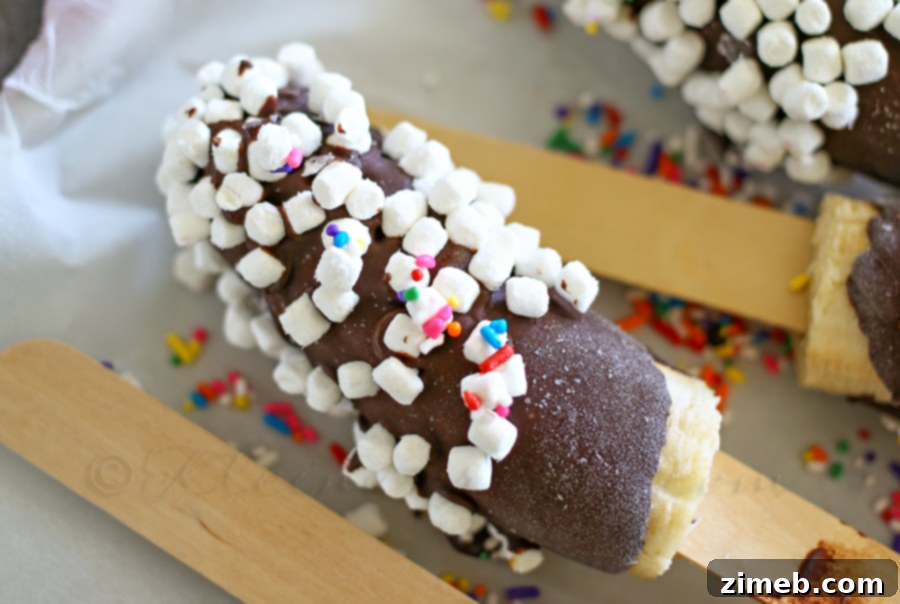
- Mini Marshmallows: These soft, pillowy bits add a lovely sweetness and an interesting texture.
- Crushed Cookies: Think Oreo crumbs, crushed graham crackers, or shortbread for an extra layer of flavor and crunch.
- Pretzel Bits: For a fantastic sweet-and-salty combination that is incredibly satisfying and addictive.
- Candy Bits: Mini M&M’s, toffee bits, chopped chocolate bars, or even crushed peppermint candies for a seasonal twist.
- Dried Fruit Pieces: Finely chopped dried cranberries, cherries, or apricots can add a chewy texture and a tangy note.
- Granola: A healthy and crunchy option that pairs wonderfully with the sweet banana and chocolate.
- Sea Salt Flakes: A light sprinkle of flaky sea salt elevates the chocolate flavor, particularly with dark chocolate, creating a gourmet touch.
- Drizzles: After the main chocolate coating sets, you can drizzle contrasting melted chocolate (e.g., white chocolate over dark) or caramel sauce for an artistic finish.
The key to successful topping application is speed. Have all your chosen toppings prepped and laid out in shallow dishes before you begin dipping, as the chocolate hardens almost instantly on the frozen banana, leaving a very short window for adhesion.
The Non-Negotiable Step: Pre-Freezing Your Bananas
A common question arises: “Do I really need to freeze the bananas first?” The answer is an unequivocal yes! This initial freezing step is absolutely critical to the success of this recipe and cannot be skipped. Here’s why:
- Secures the Popsicle Stick: Freezing the banana with the stick already inserted solidifies the fruit around the stick. This prevents the banana from wiggling loose or falling off the stick once it’s heavy with chocolate and toppings.
- Instant Chocolate Shell Formation: The dramatic temperature difference between the icy cold banana and the warm, melted chocolate is what causes the chocolate to set almost immediately upon contact. This creates that desirable thin, crisp, and uniform chocolate coating without any messy drips or uneven patches.
- Optimal Topping Adhesion: Because the chocolate hardens so rapidly, any toppings you sprinkle on immediately after dipping will firmly adhere to the still-setting chocolate. This ensures your toppings stay put and don’t fall off once the treat is fully frozen.
Attempting to dip room-temperature bananas would result in a messy debacle, with the chocolate sliding off and failing to adhere properly, making it impossible to add toppings effectively. So, for perfect, picture-worthy frozen bananas, make sure those bananas are rock-solid frozen before you begin dipping!
Frequently Asked Questions About Homemade Frozen Bananas
Can I use any type of chocolate for the coating?
Absolutely! The beauty of this recipe lies in its adaptability. You can use milk chocolate for a sweeter, creamier taste, dark chocolate for a richer, more intense flavor, or even white chocolate for a distinct vanilla note and a lighter appearance. For extra fun and color, consider using colored candy melts. The key is to choose a good quality chocolate that melts smoothly and to incorporate a bit of shortening or coconut oil to achieve the ideal dipping consistency and quick setting.
What are some popular or unique topping ideas?
The topping possibilities are truly endless! Beyond the classic sprinkles and chopped nuts, you can get creative with crushed cookies (like Oreos or graham crackers), mini marshmallows, shredded coconut (toasted for extra flavor), pretzel bits for a sweet and salty kick, or even finely chopped dried fruits. For a decadent touch, drizzle a second layer of contrasting melted chocolate or a swirl of caramel sauce. Set up a topping bar and let everyone customize their own!
How many servings does this recipe typically yield?
As outlined in the recipe, cutting each banana in half will typically yield about 12 delicious chocolate-covered frozen bananas. This is a perfect amount for a family dessert, a small gathering, or to have on hand for a week of refreshing snacks. Since these treats are frozen, they are fantastic for making ahead of time and storing throughout the summer, ensuring you always have a cool indulgence ready to go.
Is it possible to double or triple the recipe?
Yes, absolutely! This recipe scales up beautifully, and we often recommend doubling or even tripling it, especially if you’re hosting a larger event like a backyard pool party, a summer holiday barbecue, or a children’s birthday party. Just ensure you have enough freezer space to accommodate all the bananas during their initial freezing phase and after they’ve been dipped and decorated.
What’s the best way to store leftover frozen bananas?
To maintain their optimal freshness and prevent freezer burn, store your chocolate-covered frozen bananas in an airtight container or a heavy-duty freezer bag. Layer them with parchment paper in between to prevent sticking. They can be stored in the freezer for up to 2-3 weeks, though they rarely last that long! For the best eating experience, remove them from the freezer about 5-10 minutes before serving. This allows the banana to soften slightly, making it easier and more enjoyable to bite into. If you live in a very warm climate, you might prefer to serve them directly from the freezer to prevent them from melting too quickly.
Classic Chocolate-Covered Frozen Bananas: The Recipe
Ready to create these iconic, refreshing treats at home? Here’s your straightforward guide to perfectly delicious chocolate-dipped frozen bananas.
Ingredients:
- 6 firm, ripe bananas
- 1½ cups semi-sweet chocolate chips (or your preferred chocolate type)
- 1½ tbsp shortening (or refined coconut oil, for a smoother coating)
- Your choice of assorted toppings: sprinkles, mini-marshmallows, chopped nuts, shredded coconut, crushed candies, etc.
- 12 popsicle sticks
Instructions:
- Begin by peeling the bananas. Carefully cut each banana in half crosswise, creating two shorter, more manageable pieces.
- Gently insert a popsicle stick into the cut end of each banana half. Push the stick approximately halfway through the banana to ensure it is secure and stable.
- Arrange the skewered banana halves on a small baking sheet that has been lined with parchment paper. Make sure to leave a little space between each banana so they don’t freeze together.
- Place the baking sheet into the freezer and allow the bananas to freeze completely firm. This will typically take at least 3-4 hours, but ideally, freeze them overnight for the best results.
- Once the bananas are thoroughly frozen solid, prepare your chocolate coating. In a small, microwave-safe bowl, combine the chocolate chips and shortening.
- Microwave the chocolate mixture in short 30-second bursts, stirring thoroughly with a spoon after each interval, until the chocolate is entirely melted and smooth. Be cautious not to overheat the chocolate, as it can seize and become lumpy.
- Working quickly, take one frozen banana by its stick and hold it over the bowl of melted chocolate. Use a spoon to generously coat the banana with chocolate, rotating it to ensure an even and complete layer. Alternatively, if your chocolate is in a deep, narrow container, you can dip the banana directly.
- Immediately after dipping, move the chocolate-coated banana back over the parchment-lined baking sheet. Sprinkle it generously with your chosen toppings. It is crucial to add toppings right away, as the chocolate will harden very rapidly upon contact with the frozen banana.
- Place the decorated banana back onto the baking sheet. Repeat the dipping and topping process with all of the remaining frozen bananas.
- Once all bananas are coated and adorned with toppings, return the baking sheet to the freezer. Allow them to set completely until the chocolate is firm and the bananas are ready to be enjoyed.
Essential Pro Tips for the Ultimate Frozen Banana Experience
To ensure your chocolate-covered frozen bananas turn out perfectly every time, keep these expert tips in mind:
- Optimal Banana Ripeness: While we aim for firm bananas, avoid those that are too green. Green bananas lack the natural sweetness that makes this dessert so delightful. Look for bright yellow bananas with just a hint of brown speckling for maximum flavor.
- The Power of Parchment Paper: Always line your baking sheets with parchment paper or wax paper. This crucial step prevents the bananas from sticking to the tray during freezing and makes for incredibly easy removal and cleanup.
- Gentle Chocolate Melting: If you’re not using a microwave, melt your chocolate using a double boiler method. This provides gentle, indirect heat, preventing the chocolate from burning or seizing. If microwaving, stick to short intervals and stir diligently.
- Efficiency is Key: “Mise en place” (everything in its place) is vital here. Have all your toppings ready in shallow bowls, your bananas frozen rock-solid, and your melted chocolate prepared before you start dipping. The faster you work, the better the chocolate coating and topping adhesion will be.
- Customizing Chocolate Thickness: For a thinner, delicate chocolate shell, ensure your melted chocolate is quite fluid. If you prefer a thicker, more robust coating, allow the melted chocolate to cool slightly before dipping, or consider a double dip (freeze after the first dip, then dip again).
- Deep Dip Technique: If you have a deep, narrow glass or mug, you can pour your melted chocolate into it and dip the entire banana in. This often creates a beautifully even and full coating with minimal fuss.
Explore More Delightful Frozen Treats and Dessert Ideas
If you’re a fan of these easy and delicious chocolate-covered frozen bananas, then you’re sure to love these other fantastic frozen treats and creative dessert recipes. Click each link below to discover more printable recipes that are perfect for satisfying your sweet tooth:
- Dirty Pineapple Whip Pops Recipe
- Dairy-Free Fudge Pops
- White Chocolate Custard Frozen Pops
- Red White and Blue Popsicles
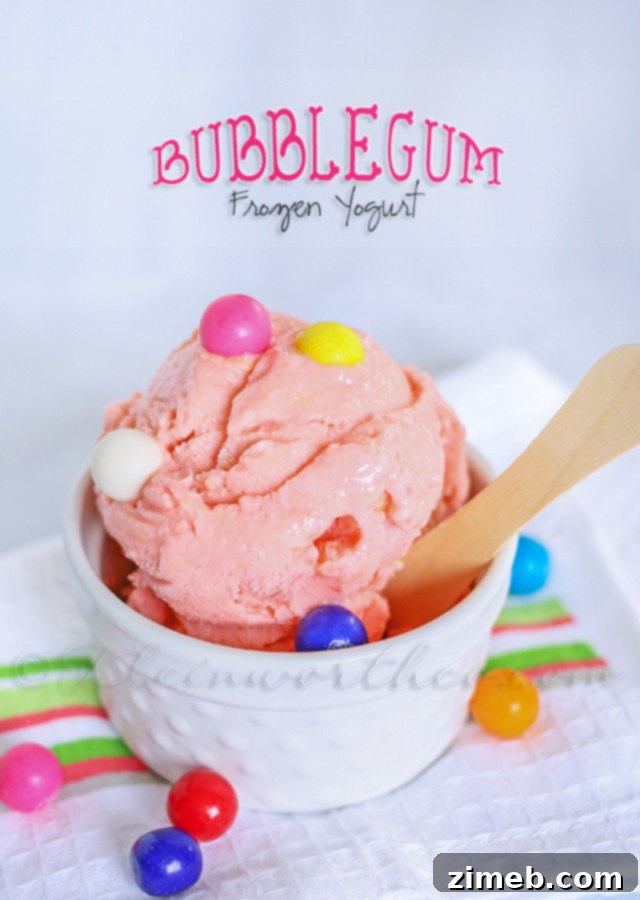
Bubble Gum Frozen Yogurt
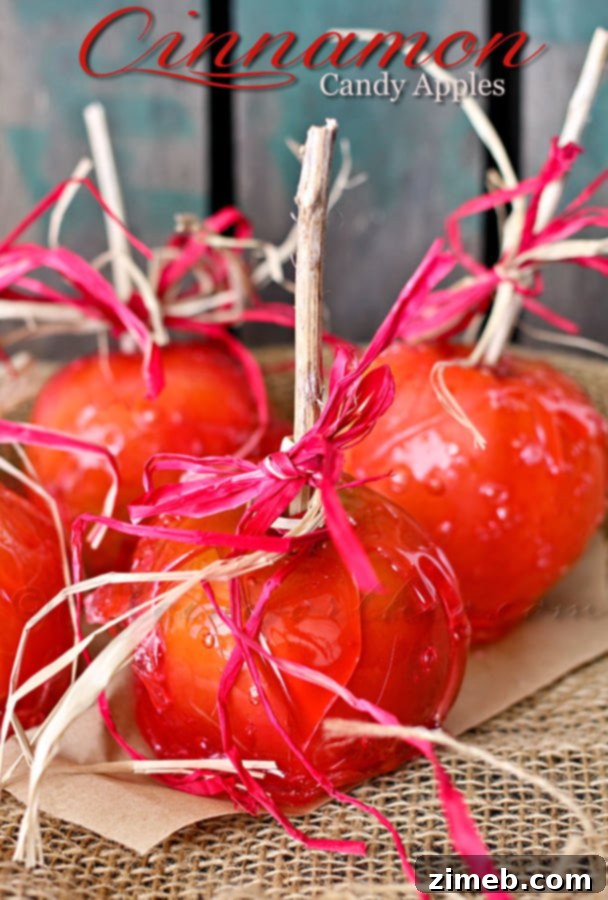
Cinnamon Candy Apples
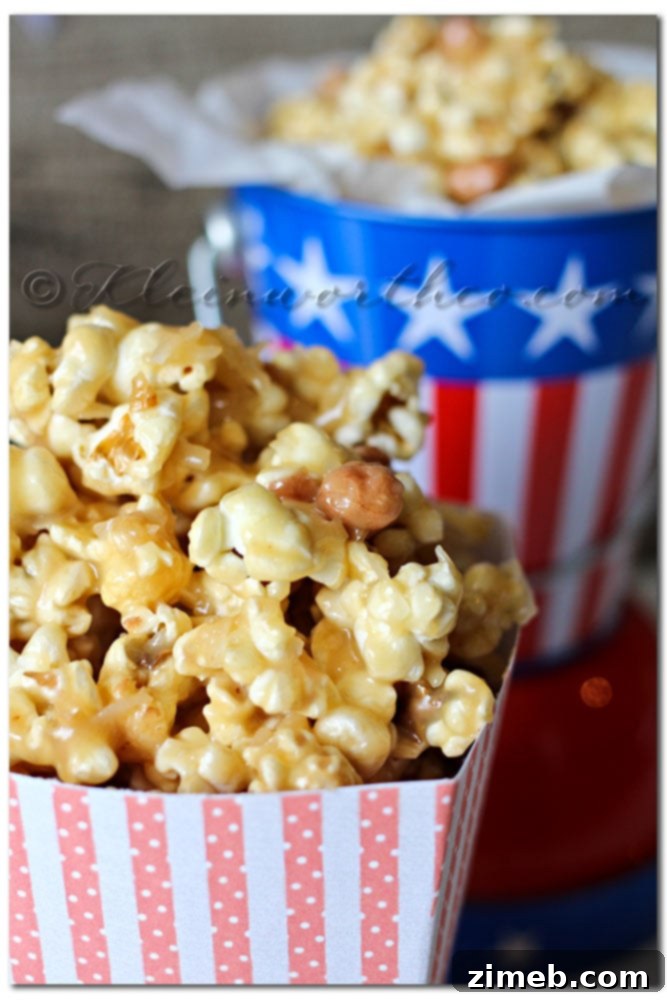
Coco Nutty Caramel Popcorn
We truly hope you adore this simple yet delightful recipe for homemade chocolate-covered frozen bananas as much as we do! If you whip up a batch, please consider taking a moment to leave a five-star review below. Your feedback helps us share these wonderful recipes with more enthusiastic home cooks like you. And don’t forget to help us spread the word by sharing your delicious creations on Facebook and Pinterest!
CONNECT WITH YUMMI HAUS!
Be sure to follow me on my social media, so you never miss a post!
Substack, FB, Pinterest, IG, Email Subscription
Nutritional information for this recipe is provided as a courtesy and is an approximation. We highly recommend consulting your own dietary calculator for the most accurate information based on the specific brands and quantities of ingredients you use. Please note that we at Yummi Haus cannot guarantee the accuracy of any nutritional information provided for recipes on this site.
Love this recipe?
Follow @KleinworthCo for even more tasty recipes and culinary inspiration!