
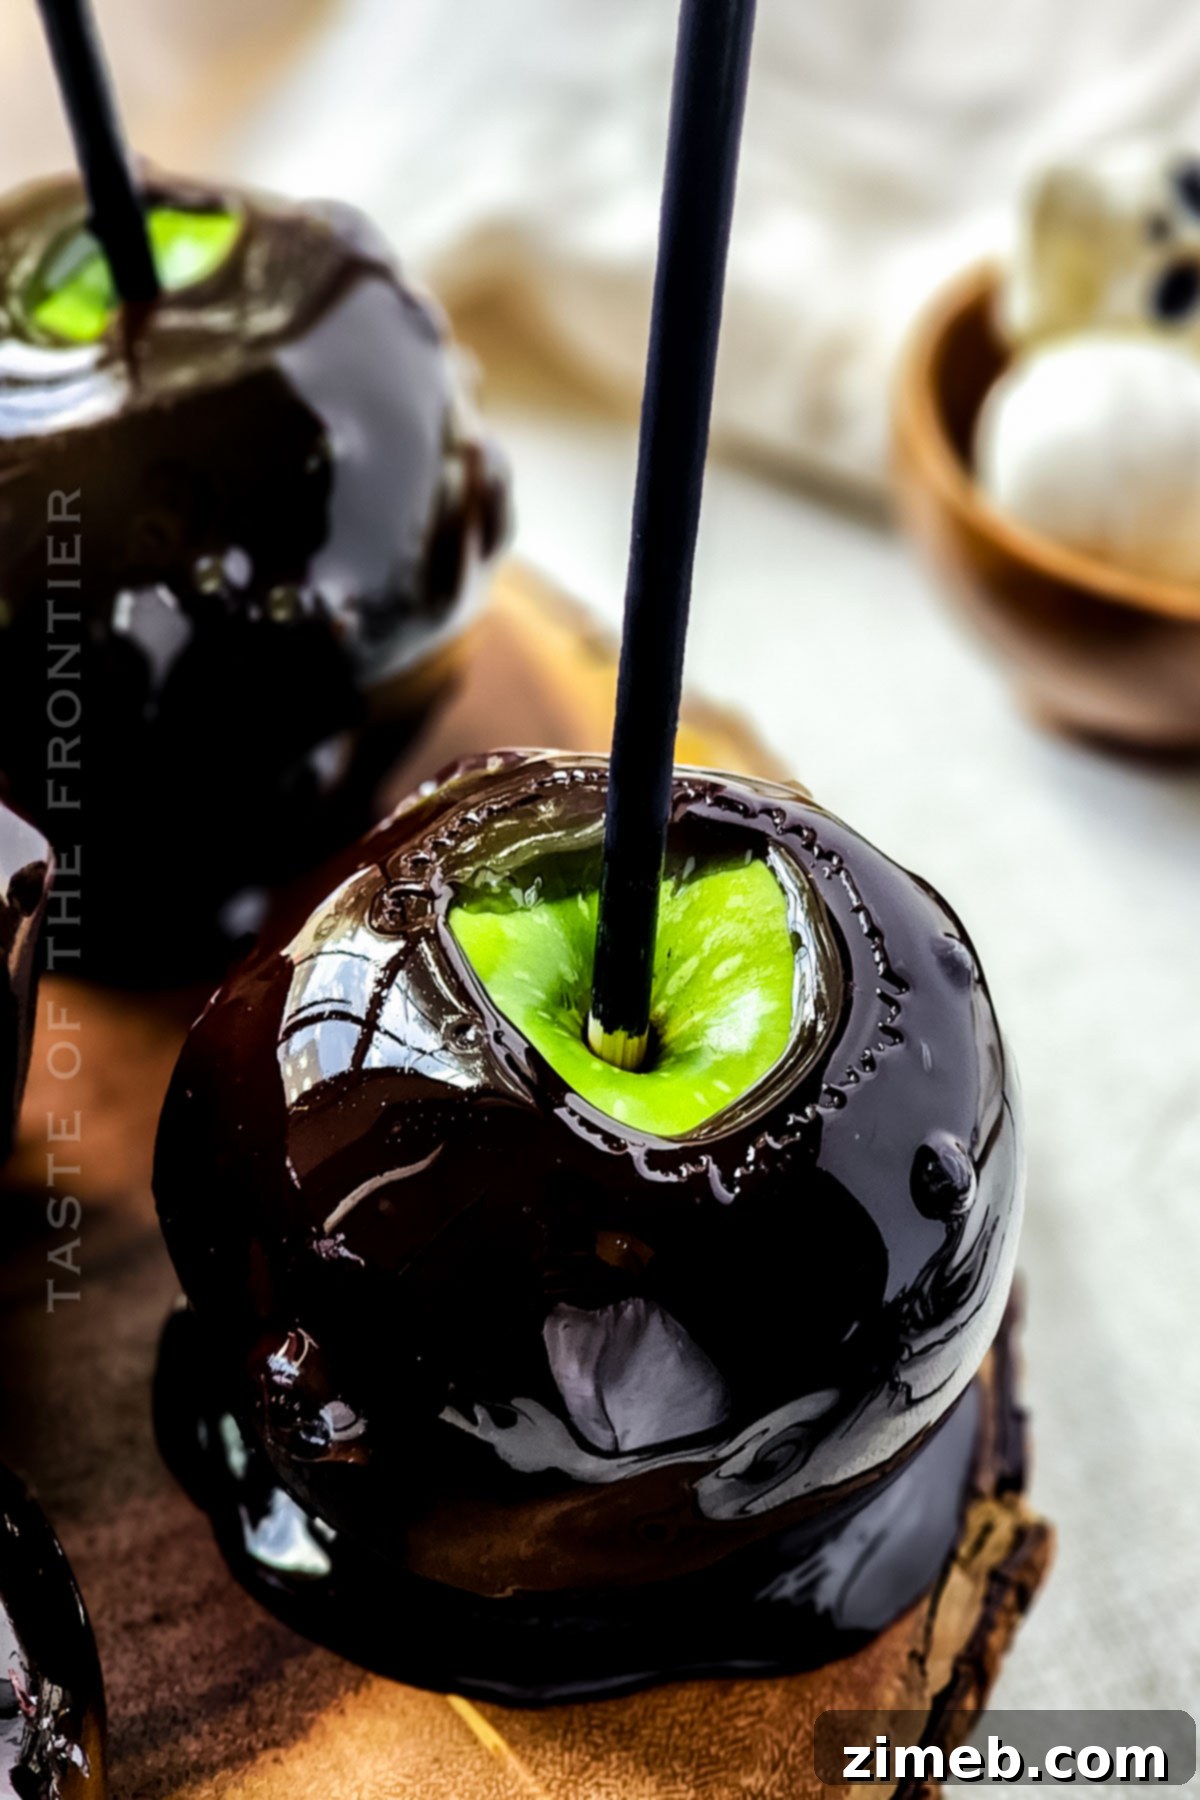
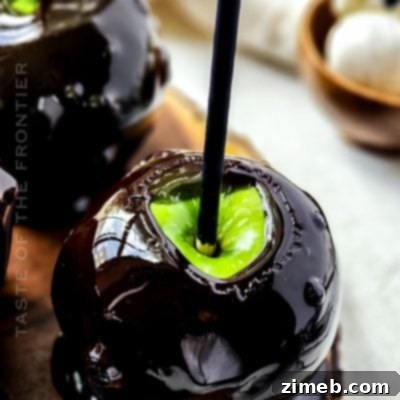
Black Candy Apples, often playfully dubbed “Poison Candy Apples,” are the quintessential treat for elevating your Halloween festivities. These delightfully spooky and undeniably fun confections are a guaranteed hit with kids and adults alike, transforming a simple fruit into an enchanting edible masterpiece.
As the crisp autumn air signals the approach of Halloween, it’s time to infuse your seasonal treats with an extra touch of magic and mystery. Imagine dark, glistening, almost hypnotic apples, looking as if they were plucked from a mystical orchard by a mischievous witch. That’s precisely the allure of these incredible Black Candy Apples! They are more than just a dessert; they are a bewitching experience, combining a stunning visual appeal with a deliciously crunchy hard candy shell. Forget the mundane store-bought varieties; these homemade black beauties are designed to cast a spell on everyone who sees—and tastes—them, making them an unforgettable centerpiece for any Halloween celebration.
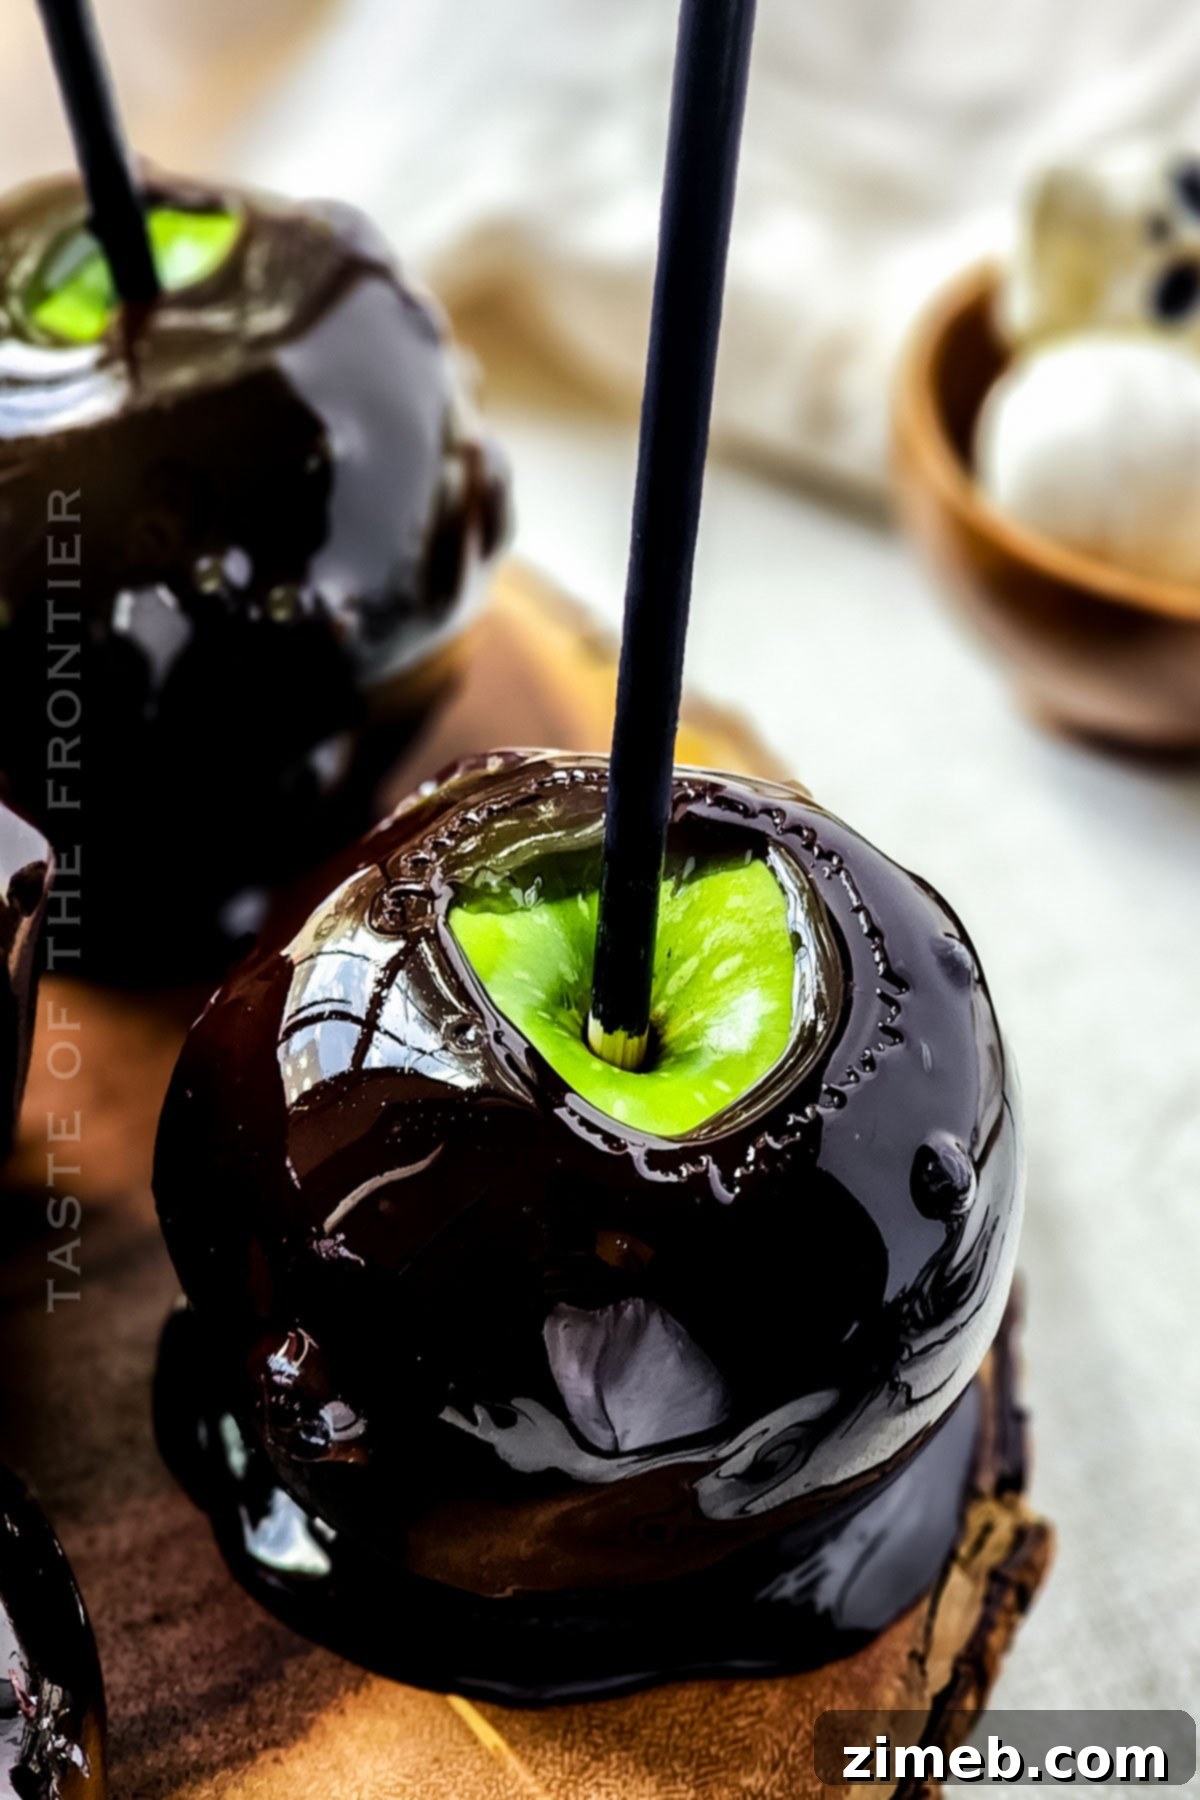
Friends, get ready to conjure up some of the most wickedly delicious and visually striking Black Candy Apples you’ve ever seen! Whether you’re handing them out as ghoulish goodies, making them the dramatic centerpiece of your Halloween feast, or even gifting them as edible “poison apples” to friends and family (don’t worry, they’re 100% safe to eat and absolutely delicious!), these dark delights offer a unique and spooky twist on a classic fall favorite. Everyone will adore this enchanting treat that perfectly captures the spirit of the season.
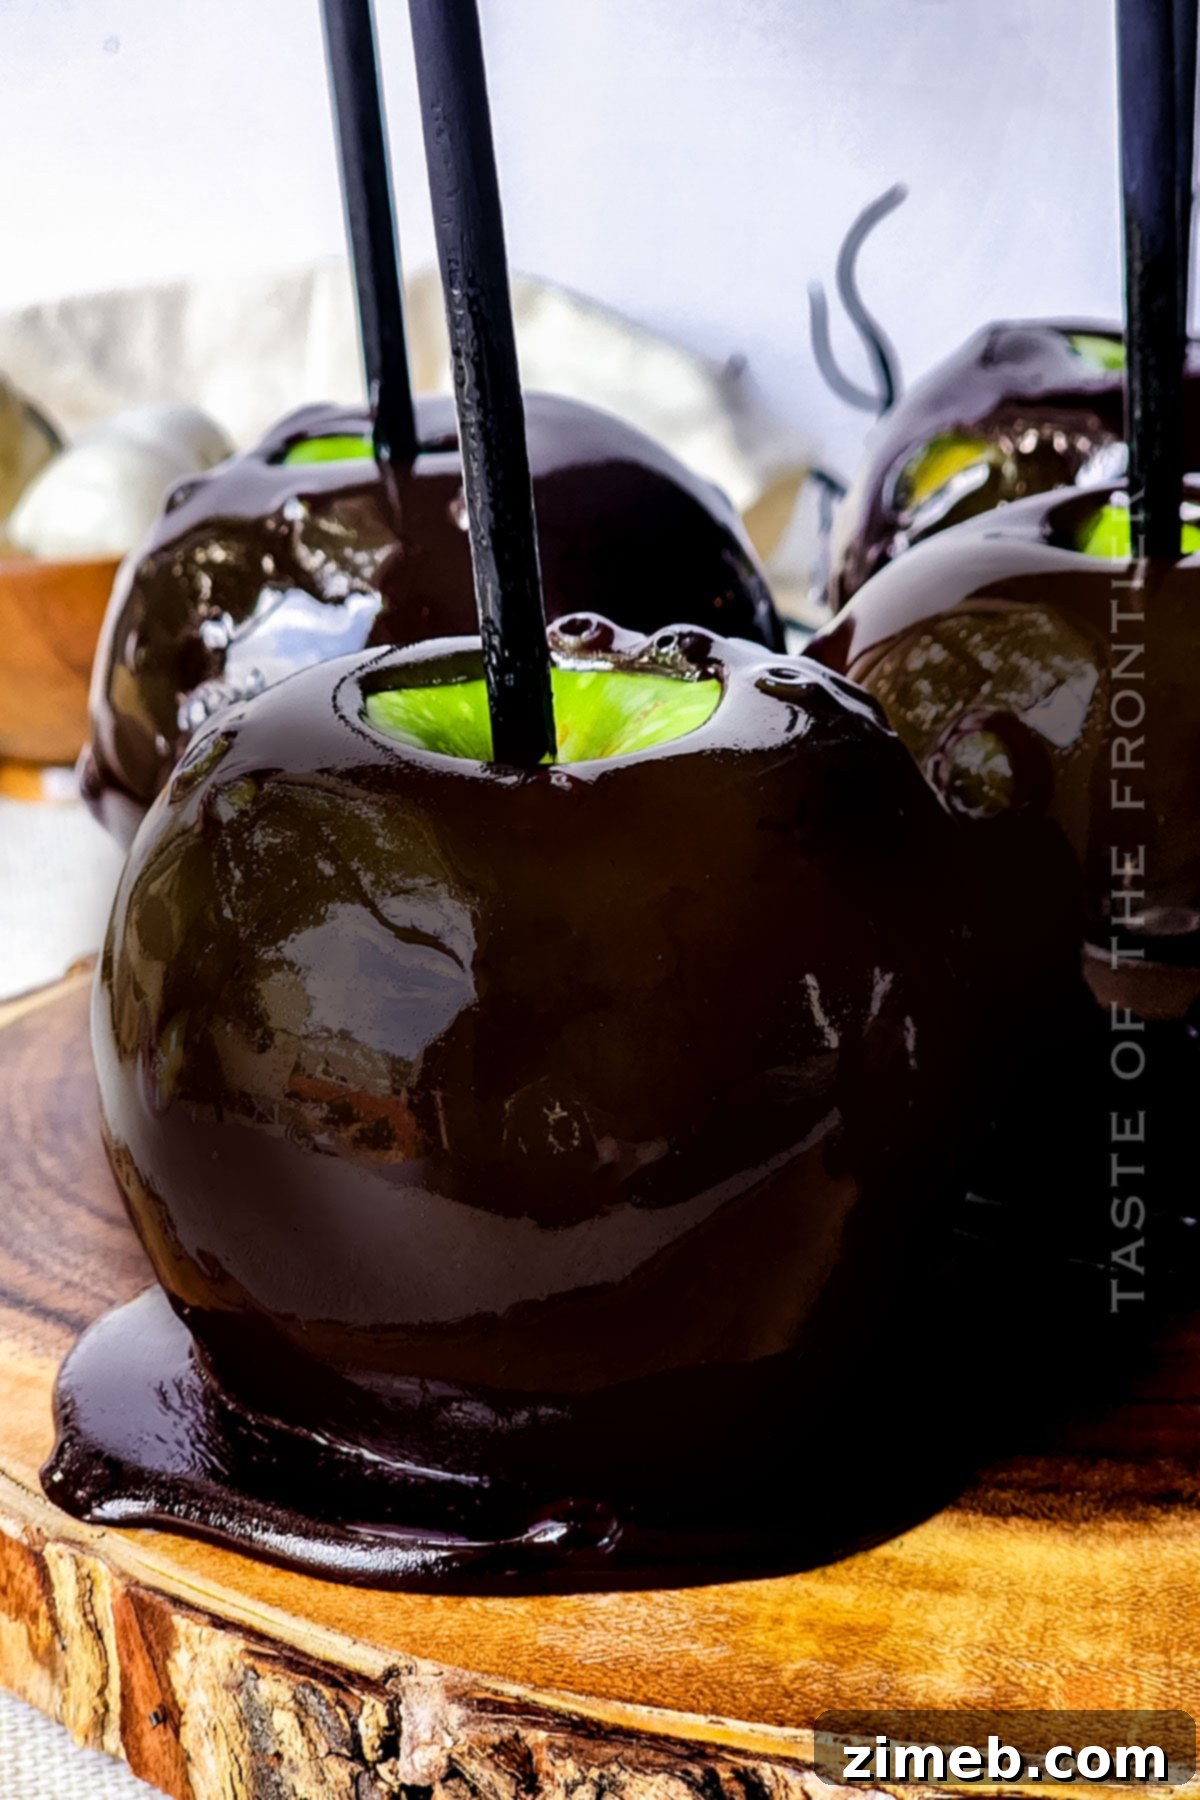
Why Black Candy Apples Are the Ultimate Halloween Treat
There’s something uniquely captivating about Black Candy Apples that makes them stand out from other Halloween desserts. Their deep, glossy black coating creates an immediate visual impact, reminiscent of forbidden fruit or a witch’s brew. This striking appearance makes them ideal for themed parties, haunted house gatherings, or simply as a special homemade treat to surprise your loved ones. Beyond their stunning looks, the contrast of the tart apple with the sweet, hard candy shell offers a delightful flavor and texture experience that is both satisfying and addictive. They’re not just treats; they’re conversation starters, photo opportunities, and a delicious way to embrace the spooky season.
Common Questions About Crafting Black Candy Apples
Can I Use Different Types of Apples for Candy Apples?
While you certainly can experiment with various apple types, Granny Smith apples are undoubtedly the reigning stars for this recipe. Their distinct tartness provides a crucial balance, cutting through the sweetness of the sugar mixture to create a perfectly harmonious flavor profile. This tart-sweet combination is what makes a classic candy apple so irresistible. However, if you’re feeling adventurous, feel free to explore other firm, crisp apples abundant this time of year, such as Honeycrisp or Fuji. Just be mindful that their sweetness might alter the overall taste, making the final product slightly sweeter. Always prioritize firm apples to ensure they hold up well to the hot candy coating.
Is a Candy Thermometer Truly Necessary for This Recipe?
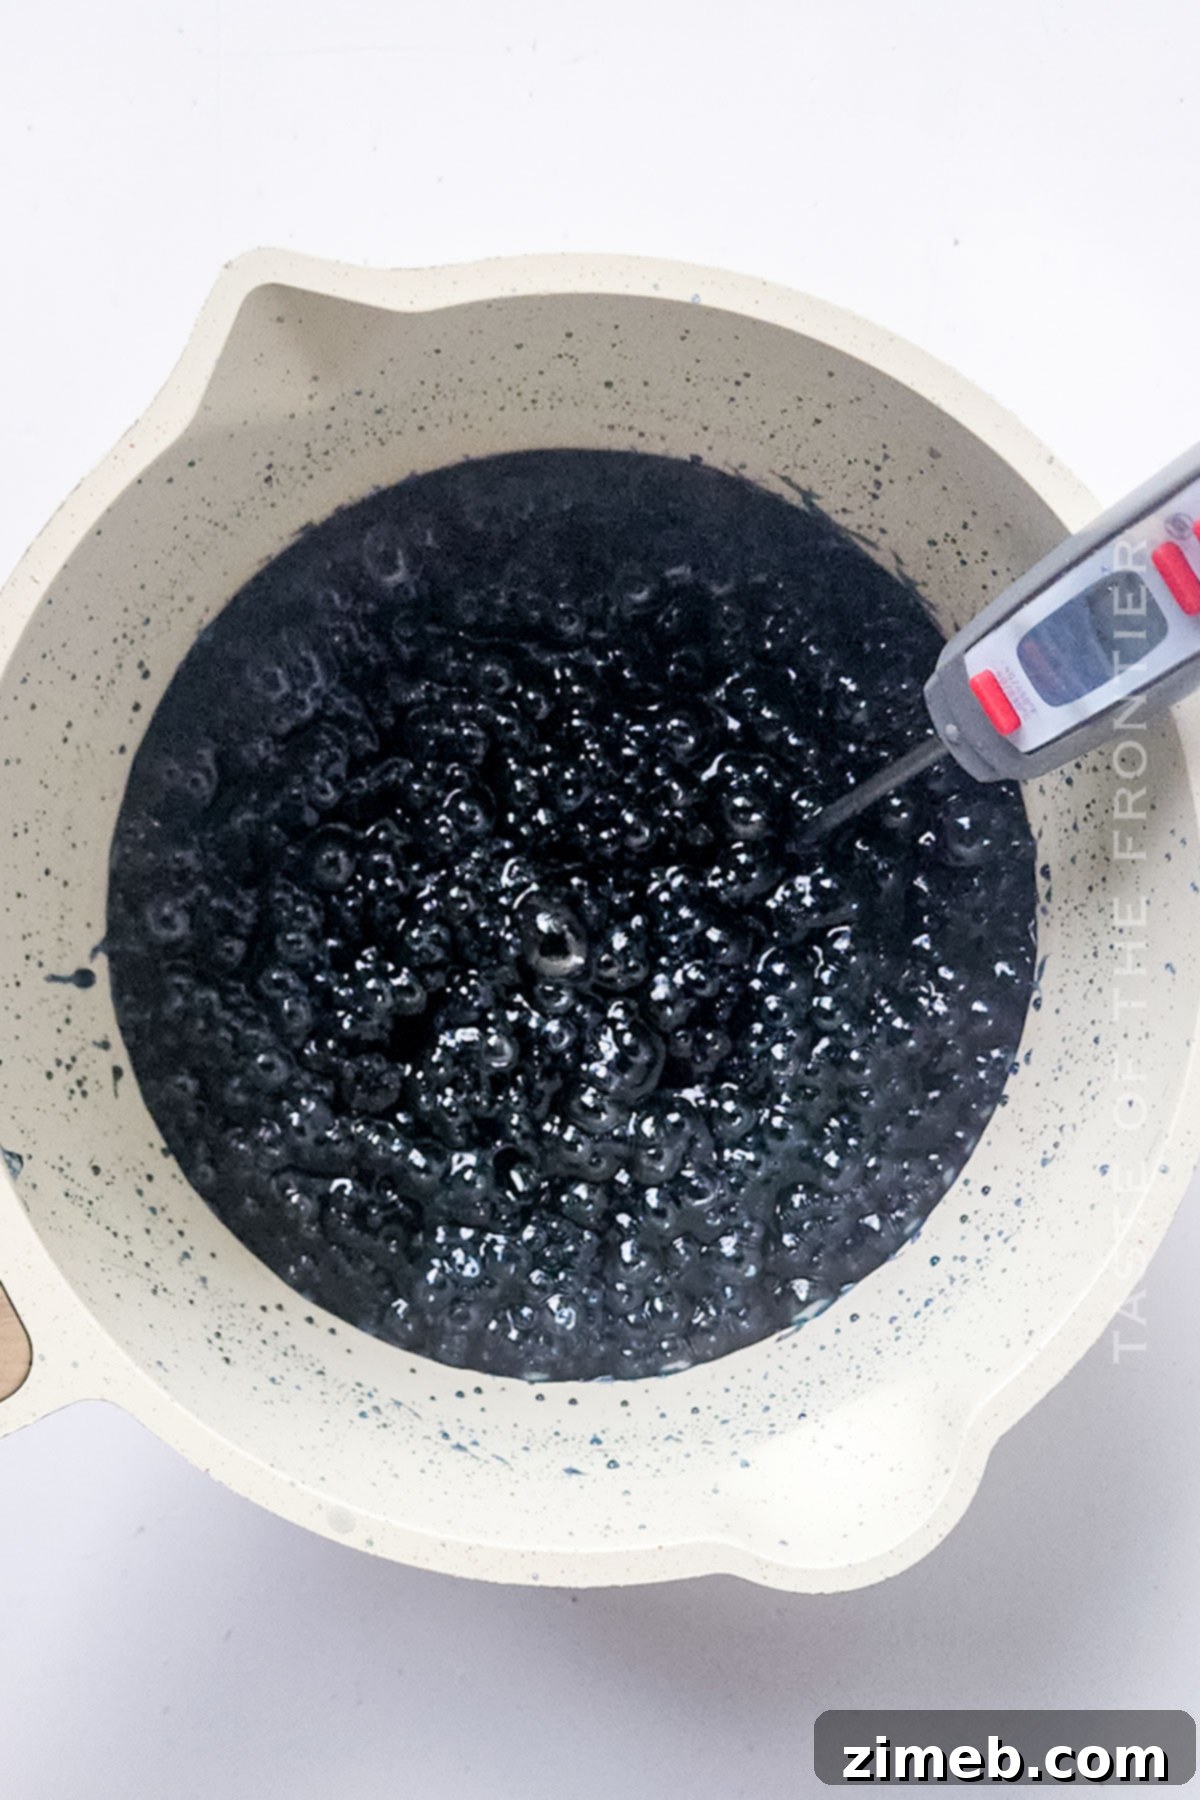
Absolutely, a candy thermometer is an indispensable tool for achieving perfection with your candy apples. Trust me, it’s a game-changer! The precise temperature of the sugar mixture is paramount for creating that signature crackling, hard candy shell. Your candy thermometer should ideally read 290 degrees Fahrenheit. This temperature is just shy of the “hard-crack stage” in candy-making, ensuring that your coating sets firmly without becoming brittle or sticky. Without a thermometer, you risk an inconsistent texture – either too soft and gooey, or too hard and difficult to bite. Investing in a reliable candy thermometer will ensure consistent, professional-quality results every time you make these enchanting Poison Candy Apples.
How Do I Achieve a Bubbly or Perfectly Smooth Finish on My Candy Apples?
The finish of your Black Candy Apples can greatly enhance their spooky appeal. If you desire that captivating, slightly bubbly texture, reminiscent of a witch’s cauldron, simply dip the apples while tiny air bubbles are still present in the hot candy coating immediately after removing it from the heat. These small bubbles will set into the candy, adding an extra layer of visual intrigue to your spooky candy apples. For those who prefer a sleek, mirror-like finish that you could almost see your reflection in, patiently wait for all the bubbles to dissipate from the candy mixture before you begin dipping. A gentle stirring motion can help expedite this process. Either way, a bit of careful timing will allow you to achieve your desired aesthetic for these Halloween masterpieces.
What if My Candy Mixture Gets Too Thick or Hard?
It’s crucial to work quickly when dipping your apples, as the candy coating will start to thicken and harden as it cools. If your candy mixture becomes too thick to dip evenly, you can gently reheat it over low heat, stirring constantly, until it reaches a workable consistency again. Be very careful not to overheat it, as this can cause the sugar to crystallize or burn. If the mixture has completely hardened, it’s often best to start fresh rather than attempting to salvage it, as the texture and flavor may be compromised.
How Can I Ensure the Candy Sticks Perfectly to the Apple?
The key to a perfectly coated candy apple is proper apple preparation. Apples naturally have a thin, waxy coating, even if they aren’t visibly waxed. This coating can prevent the candy from adhering properly, leading to a runny or patchy finish. Thoroughly cleaning your apples by soaking them in a mixture of vinegar and water, then scrubbing them well and drying them completely, is essential. Any lingering moisture or wax will act as a barrier, so take your time with this step for the best results.
Storage Best Practices for Black Candy Apples
Typically, these mesmerizing Black Candy Apples disappear almost as quickly as they’re made! Whether you’re serving them to eager children or impressed adults, they rarely last beyond the day they’re created – a testament to their irresistible charm. However, if you do find yourself with leftovers, proper storage is key to maintaining their quality.
Refrigerator: Once the captivating black candy coating has fully hardened and cooled to room temperature, store your dipped apples in the refrigerator. Place them in a single layer on a sheet of parchment paper or wax paper, ensuring they don’t touch each other to prevent sticking. Stored this way, they will maintain their crunch and freshness for up to 3-5 days. Be aware that over time, the candy coating may start to soften slightly due to moisture from the apple.
Freezer: I strongly advise against freezing Black Candy Apples. The freezing and thawing process can significantly alter the texture of both the apple and the candy coating, often resulting in a mushy apple and a sticky, unpleasant candy shell. For the best experience, enjoy these bewitching treats fresh!
Essential Tips for Perfect Black Candy Apples
Achieving that stunning, professional-looking “Poison Candy Apple” effect is easier than you think with these expert tips. The dramatic black candy coating will truly elevate your serving platter, making these a standout addition to any Halloween party. Pay attention to these details for the best results:
- **Choose the Right Sticks:** Opt for sturdy wooden sticks rather than flimsy popsicle sticks. The apples, especially once coated with candy, become surprisingly heavy, and you don’t want sticks snapping or candy apples dropping before they reach your eager guests! Wooden dowels also lend a more rustic, enchanting aesthetic.
- **Thorough Apple Cleaning is Key:** As mentioned, apples have a natural wax coating. Soak your apples in a mixture of 1 part vinegar to 3 parts water for about 5-10 minutes, then scrub vigorously with a clean kitchen brush or cloth. Rinse thoroughly and dry each apple meticulously with a paper towel. Any wax or moisture will prevent the candy from adhering properly.
- **Maintain Medium-High Heat:** Cook your sugar mixture over consistent medium-high heat. This ensures the sugar dissolves evenly and reaches the correct temperature without burning. Stirring occasionally will prevent sugar crystals from forming on the sides of the pan.
- **Beware of Air Bubbles (or Embrace Them!):** For a super smooth, glossy finish, gently stir the candy mixture after removing it from the heat until any visible air bubbles dissipate. If you prefer a more “haunted” or bubbly texture, dip the apples while the bubbles are still present in the hot coating.
- **Prepare Your Surface:** Lightly spray your parchment paper-lined baking sheet with a neutral cooking spray. This tiny step is crucial to prevent the hot, sticky candy apples from bonding permanently to the paper as they cool and harden.
- **Work Quickly and Efficiently:** Once your candy mixture reaches temperature, it will start to cool and thicken relatively fast. Have all your apples prepared, sticks inserted, and your baking sheet ready to go so you can dip them one after another without delay.
- **Control the Drip:** After dipping each apple, lift it and gently rotate it or scrape the bottom edge against the side of the saucepan to remove excess candy. This prevents puddles of candy from forming at the base of the apple on your parchment paper.
Simple Ingredients for a Spooky Treat
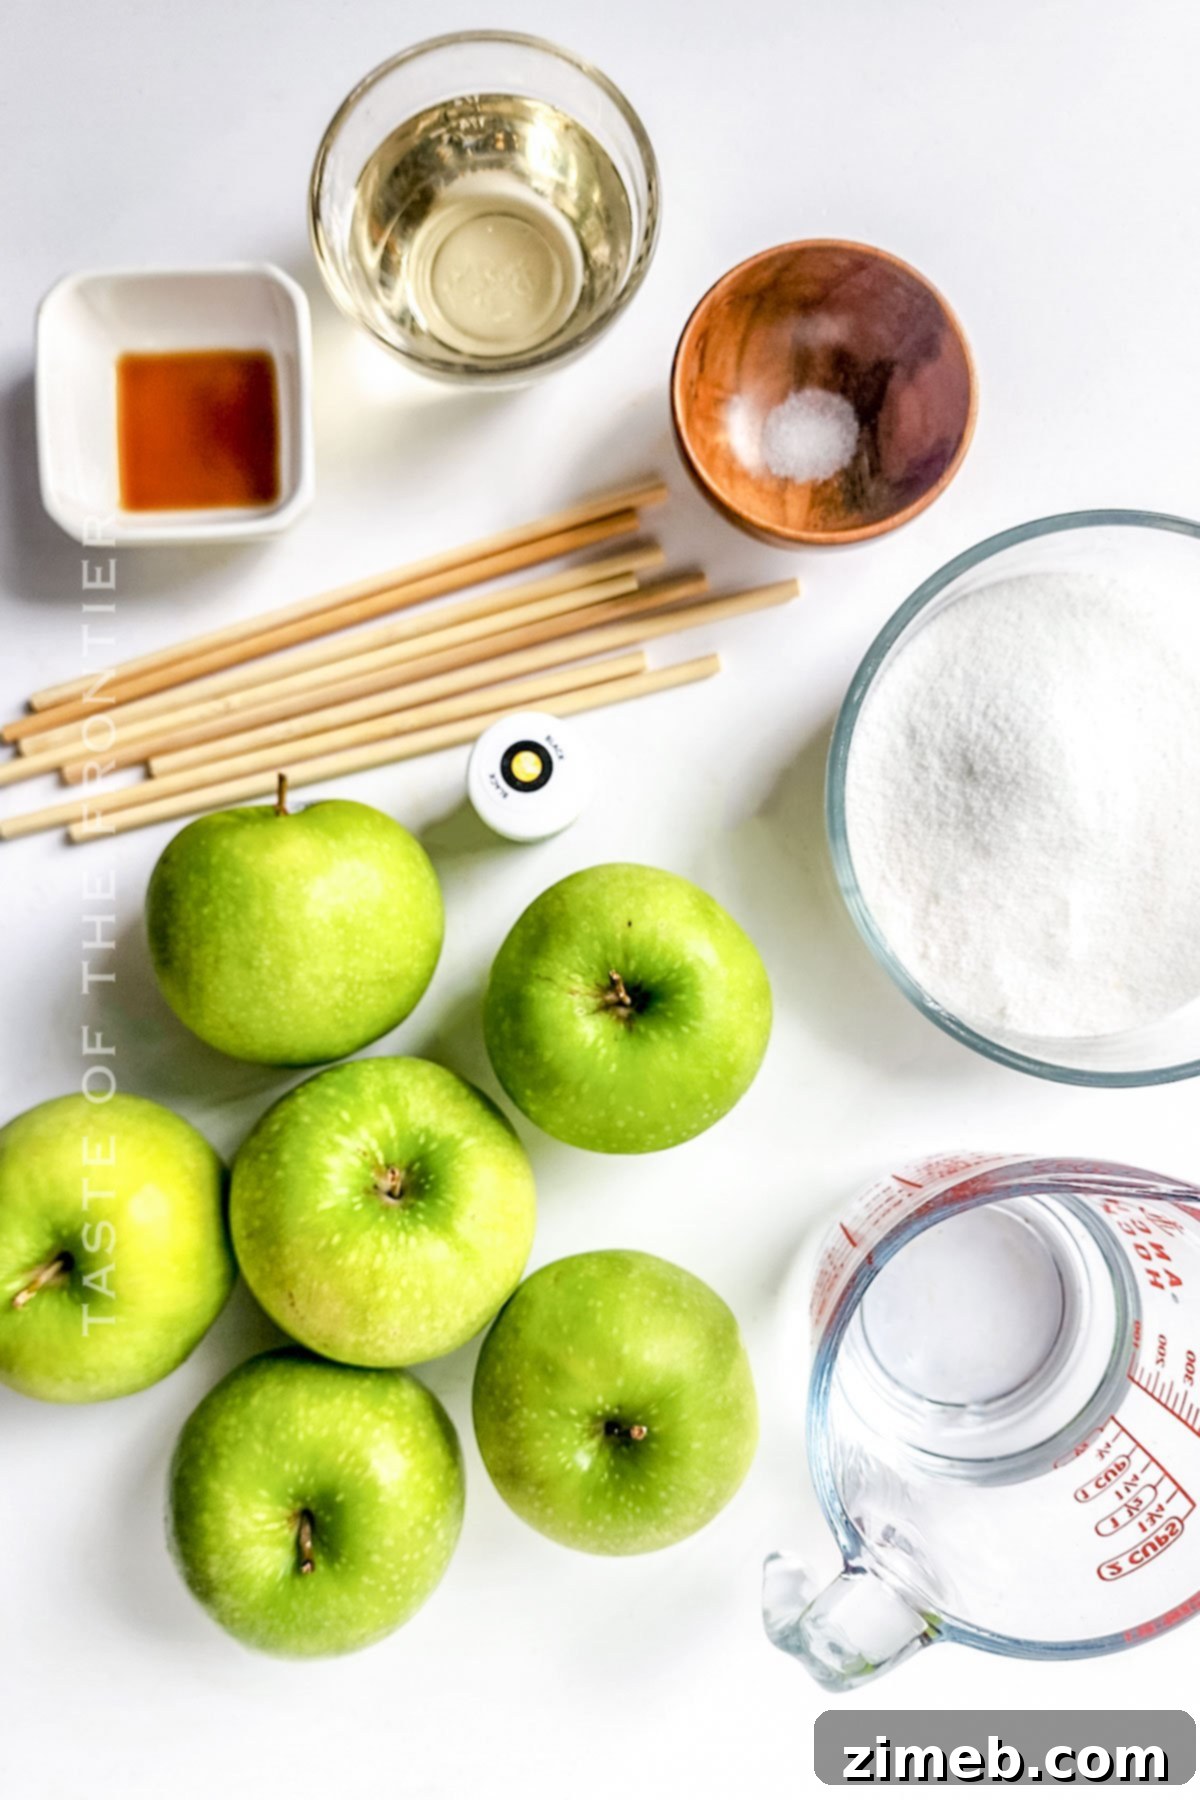
One of the best aspects of this recipe is its straightforward ingredient list. You’ll likely find most of these staples already in your pantry! With just a few attempts, you’ll probably know this recipe by heart, making it a go-to for all your Halloween entertaining. Each ingredient plays a vital role in creating that perfect, spooky candy apple:
- **Granny Smith Apples:** Provide the essential tart contrast to the sweet candy.
- **Granulated Sugar:** The primary component of the hard candy shell, delivering sweetness and structure.
- **Water:** Helps dissolve the sugar and corn syrup to create the liquid candy base.
- **Corn Syrup:** Crucial for preventing sugar crystallization, ensuring a smooth, clear, and pliable candy coating.
- **Black Food Dye:** The magic ingredient that transforms ordinary apples into wickedly dark “poison” apples. Gel food coloring works best for vibrant color.
- **Salt:** A pinch of salt enhances the overall flavor and can slightly balance the sweetness.
- **Vanilla Extract:** Adds a subtle, warm depth of flavor to the candy coating.
Step-by-Step: How to Make Black Candy Apples
Get ready to unleash your inner kitchen witch! I’m genuinely thrilled for you to serve these stunning candy apples at your next spooky gathering. When they’re finished, these gleaming, dark apples will truly be a sight to behold and the star of your dessert table.
- **Prepare the Apples:** Begin by thoroughly cleaning the wax coating off your Granny Smith apples. Submerge them in a vinegar/water mixture (1 part white vinegar to 3 parts water) for about 5-10 minutes, then scrub vigorously to remove any residue. The candy won’t adhere properly if the wax coating is present. Rinse them under cold water and dry each apple exceptionally well with a clean cloth or paper towel.
- **Insert Sticks:** Carefully remove the natural stems from each apple. Gently but firmly push a sturdy wooden stick into the core of each apple, ensuring it’s centered and secure. These sticks will serve as handles for dipping and enjoying your candy apples.
- **Prepare Baking Sheet:** Line a baking sheet with parchment paper. For extra non-stick insurance, lightly spray the parchment paper with a neutral cooking spray. Set this prepared sheet aside where it’s easily accessible.
- **Combine Candy Ingredients:** In a heavy-bottomed saucepan (essential for even heating), combine the granulated sugar, water, corn syrup, and your chosen black food dye.
- **Heat the Mixture:** Place the saucepan over medium-high heat. Stir everything together continuously until the sugar fully dissolves and the mixture is well combined.
- **Monitor Temperature:** Insert your candy thermometer into the mixture, making sure it doesn’t touch the bottom of the pan. Bring the mixture to a rolling boil, allowing it to cook until the thermometer precisely reads 290 degrees Fahrenheit. This critical temperature ensures the hard-crack stage for your candy coating. This process usually takes about 8-10 minutes.
- **Remove from Heat:** Once the candy coating reaches the precise 290 degrees Fahrenheit, immediately remove the saucepan from the heat source to prevent overcooking.
- **Add Flavorings:** With extreme caution, carefully add the salt and vanilla extract to the hot candy mixture. Stir gently but thoroughly to incorporate these flavorings.
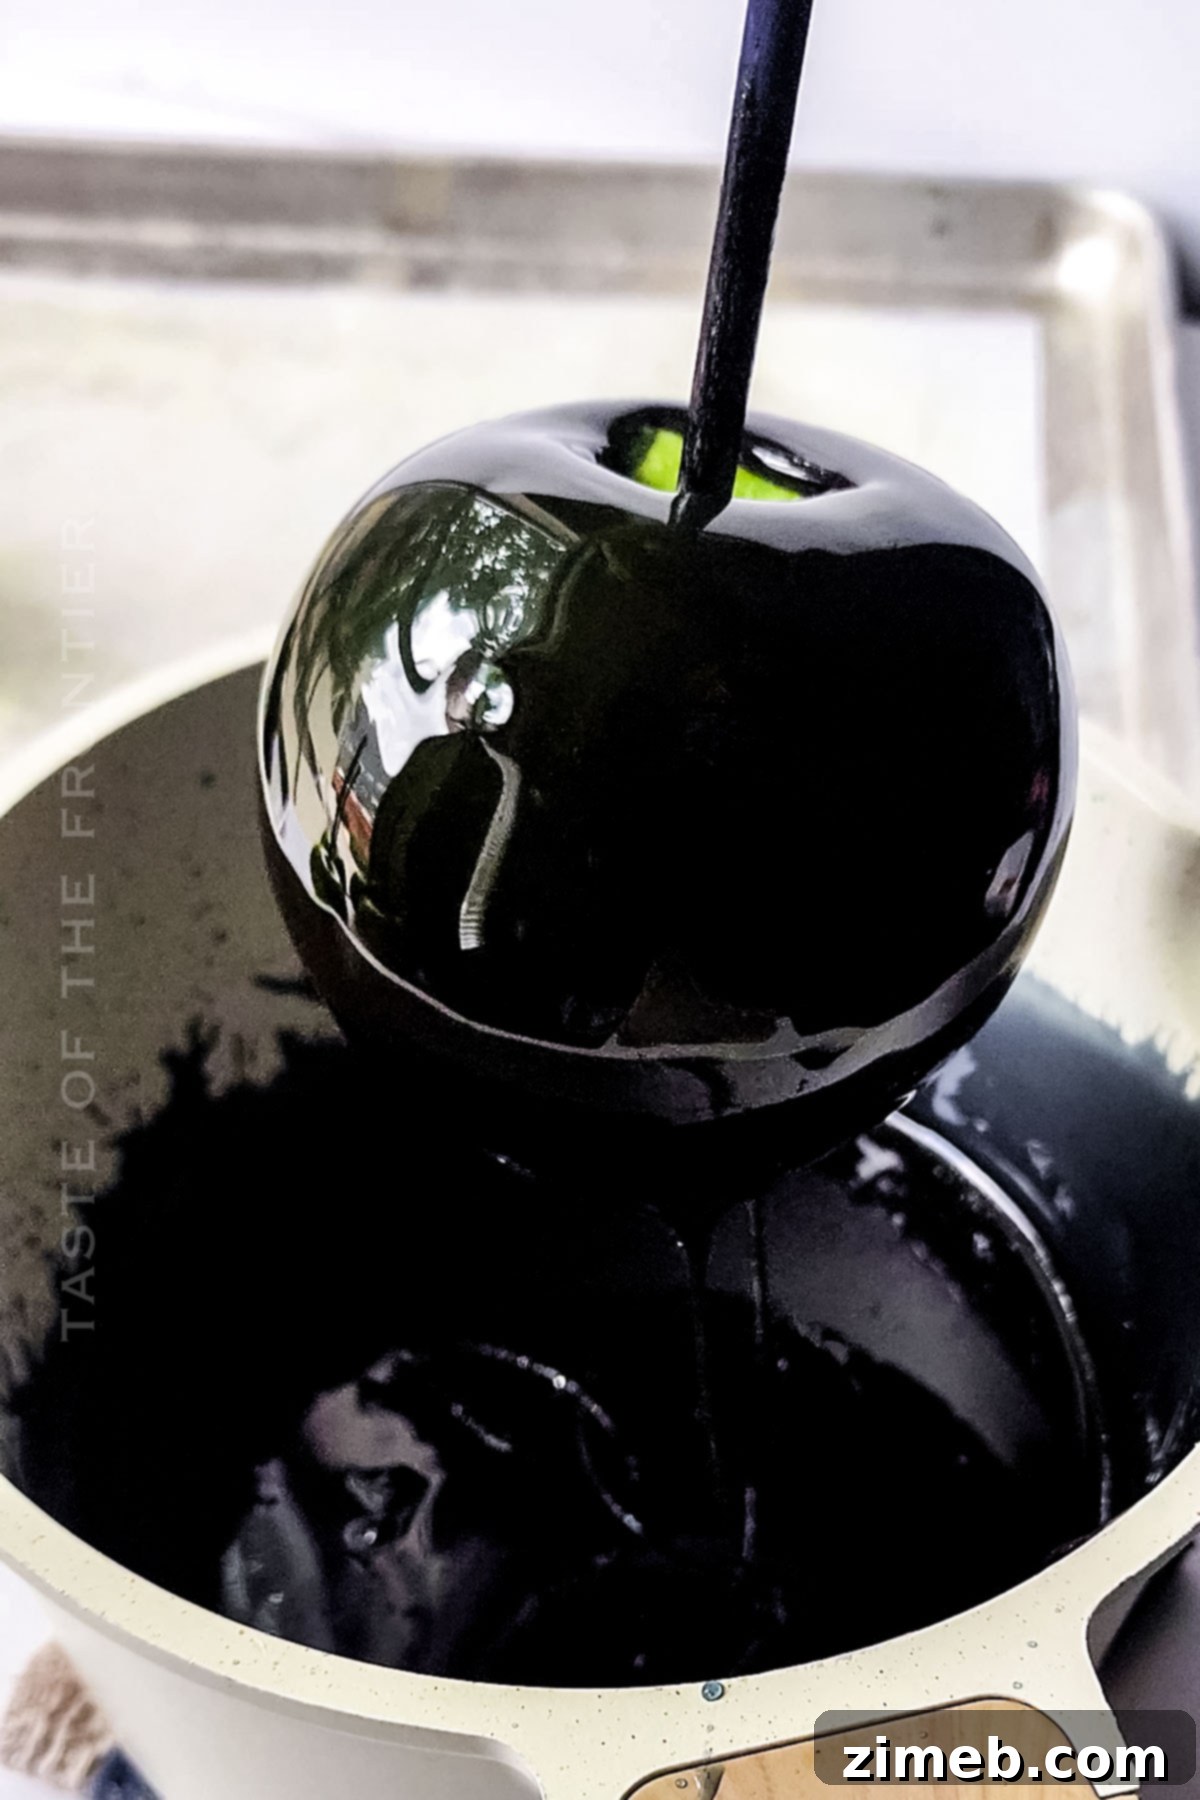
- **Dip the Apples:** Working quickly, dip each prepared apple into the saucepan. Swirl it a couple of times, ensuring the apple is completely coated with a thick, dark black layer. Lift the apple from the liquid candy, allowing any excess to drip back into the pan.
- **Set on Parchment:** Place the freshly coated apple onto your prepared parchment-covered baking sheet.
- **Cool and Harden:** Repeat the dipping process with the remaining apples. Allow all the coated apples to cool completely at room temperature until the candy coating is fully hardened and brittle. This can take anywhere from 30 minutes to an hour, depending on your room’s temperature and humidity.
Notes on Coating Finish:
For a more intriguing, slightly bubbly look on your Poison Candy Apples, dip them while small bubbles are still present in the candy coating immediately after removing it from the heat. These bubbles will set, adding a unique texture.
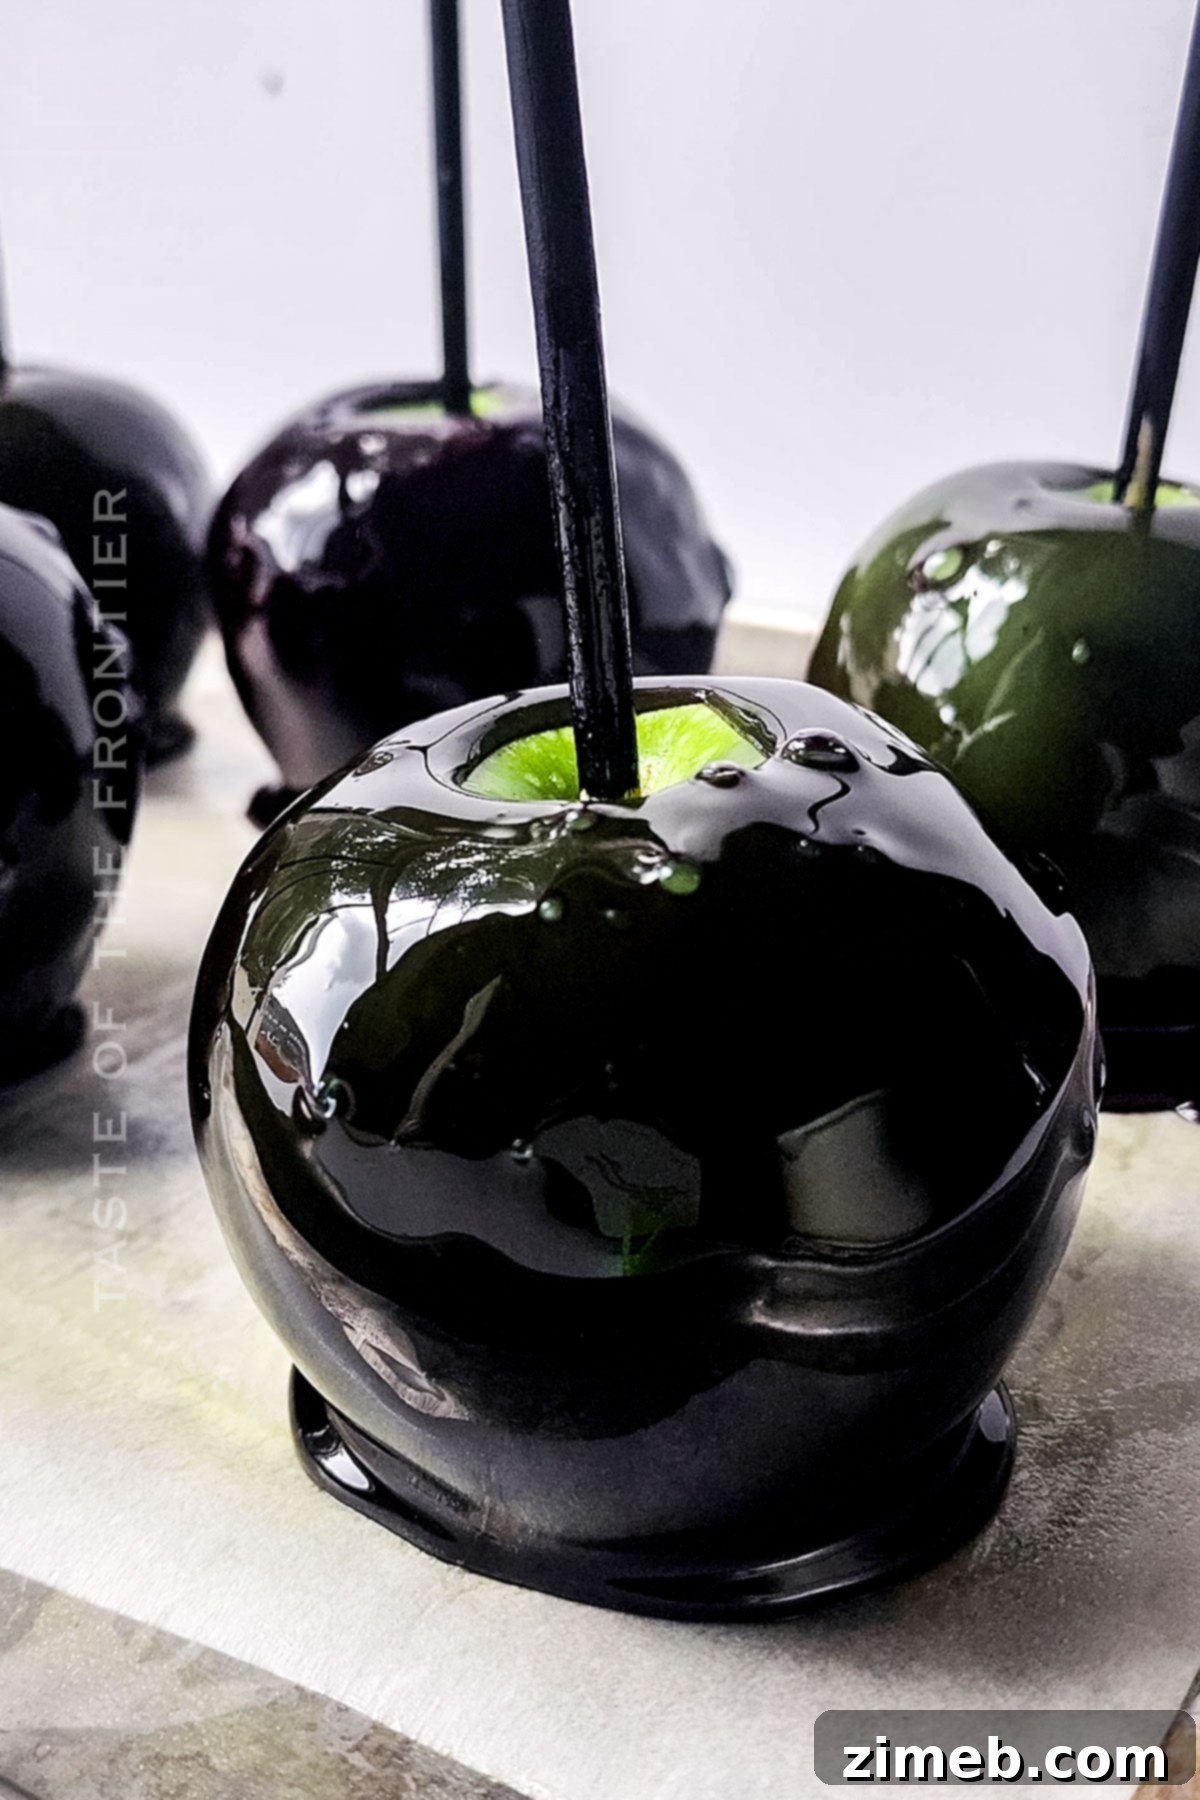
For a perfectly smooth, mirror-like finish, stir the candy coating gently while it’s off the heat until all the bubbles have disappeared. Then, proceed to dip your apples for a sleek, reflective surface.
Essential Kitchen Supplies for Your Enchanting Apples
Having the right tools on hand will make the process of creating your Black Candy Apples smooth and enjoyable. Don’t skip these crucial items, especially sturdy sticks! The apples themselves are weighty, and the candy coating only adds to that, so you want to avoid the frustration of snapping sticks and dropping candy apples.
- **Sturdy Wooden Sticks:** Choose robust wooden dowels or specialty candy apple sticks for a secure grip.
- **Parchment Paper:** Indispensable for preventing the hot candy from sticking to your cooling surface.
- **Baking Sheet:** Provides a flat, portable surface for your cooling candy apples.
- **Heavy-Bottomed Saucepan:** A heavy-bottomed pan ensures even heat distribution, preventing sugar from burning in spots.
- **Candy Thermometer:** An absolute must for precise temperature control, guaranteeing the perfect hard candy shell. Look for a reliable candy thermometer that clips to the side of your pot.
- **Wooden Spoon or Heat-Resistant Spatula:** For stirring the hot sugar mixture safely and effectively.
Serving Suggestions: What to Pair with Black Candy Apples
While Black Candy Apples are undoubtedly standalone stars that will command attention at any Halloween gathering, pairing them with other themed treats can create an even more elaborate and festive spread. Think of these as the main attraction, beautifully complemented by a selection of other spooky delights:
- **Halloween Cookies:** Offer a variety of creatively decorated sugar cookies or spooky monster cookies for a contrasting texture and flavor.
- **Pumpkin Spice Lattes:** A warm, comforting beverage to balance the crisp sweetness of the apples, perfect for a cozy fall evening.
- **Peeled Grape “Eyeballs”:** These are simple, fun, and provide a healthy, juicy counterpoint to the candy. Simply peel grapes for a surprisingly realistic eyeball effect!
- **Turkey Beaks (Bacon-Wrapped Jalapeños):** For a savory, spicy option, these bacon-wrapped jalapeños add a delicious kick and a whimsical name.
- **Hot Cocoa:** A classic warm drink that universally appeals, ideal for sipping alongside your candy apple.
- **A Spooky Musical Playlist!** Set the mood with a curated selection of haunting tunes or classic Halloween movie soundtracks.
The Magic Behind Black Candy Apples: Why They’re a Must-Make
Elevating your Halloween party experience is easy when you incorporate show-stopping treats like these Black Candy Apples. Believe me, the moment you unveil a platter of these dark, glossy wonders, every single person in the room will take notice, especially the kids! They offer a unique blend of visual drama and delicious flavor that makes them truly special for the holiday season.
- **The Quintessential Halloween Treat:** These aren’t just snacks; they’re conversation pieces and show-stoppers that perfectly encapsulate the eerie fun of Halloween. Their dramatic appearance makes them unforgettable.
- **Effortless Yet Impressive:** Despite their sophisticated look, Black Candy Apples require minimal ingredients and straightforward steps. The result is a truly bewitching confection that appears far more complicated to make than it actually is.
- **Perfect Taste Balance:** The delightful tartness of crisp green apples provides a brilliant contrast to the sweet, brittle hard candy coating, ensuring each bite is perfectly balanced and never overly cloying.
- **Instagram-Worthy Masterpiece:** In today’s visual world, these candy apples are not merely food; they are a statement. Their striking appearance makes them incredibly photogenic, ready to impress on social media and at your party alike.
Creative Variations & Add-Ins for Your Poison Apples
If you’re already a fan of these mesmerizing Black Candy Apples, you’re probably brimming with ideas for fun additions and twists. For those who need a little creative nudge, this short list offers some fantastic ways to customize your spooky treats and make them uniquely yours!
- **Classic Red Candy Apples:** Easily transform this recipe into a Snow White-inspired delight by simply swapping the black food coloring for a vibrant red food dye. The effect is equally striking and timeless.
- **Decadent Toffee Twist:** For an added layer of rich flavor and texture, generously sprinkle some crushed toffee bits onto the apples while the black candy coating is still warm and tacky. The toffee will adhere beautifully as it cools.
- **Go Nutty with Crunch:** Roll the bottom half (or the entire apple) in finely chopped nuts – think peanuts, pecans, or almonds – right after dipping, while the coating is still wet. This adds a fantastic crunch and nutty flavor.
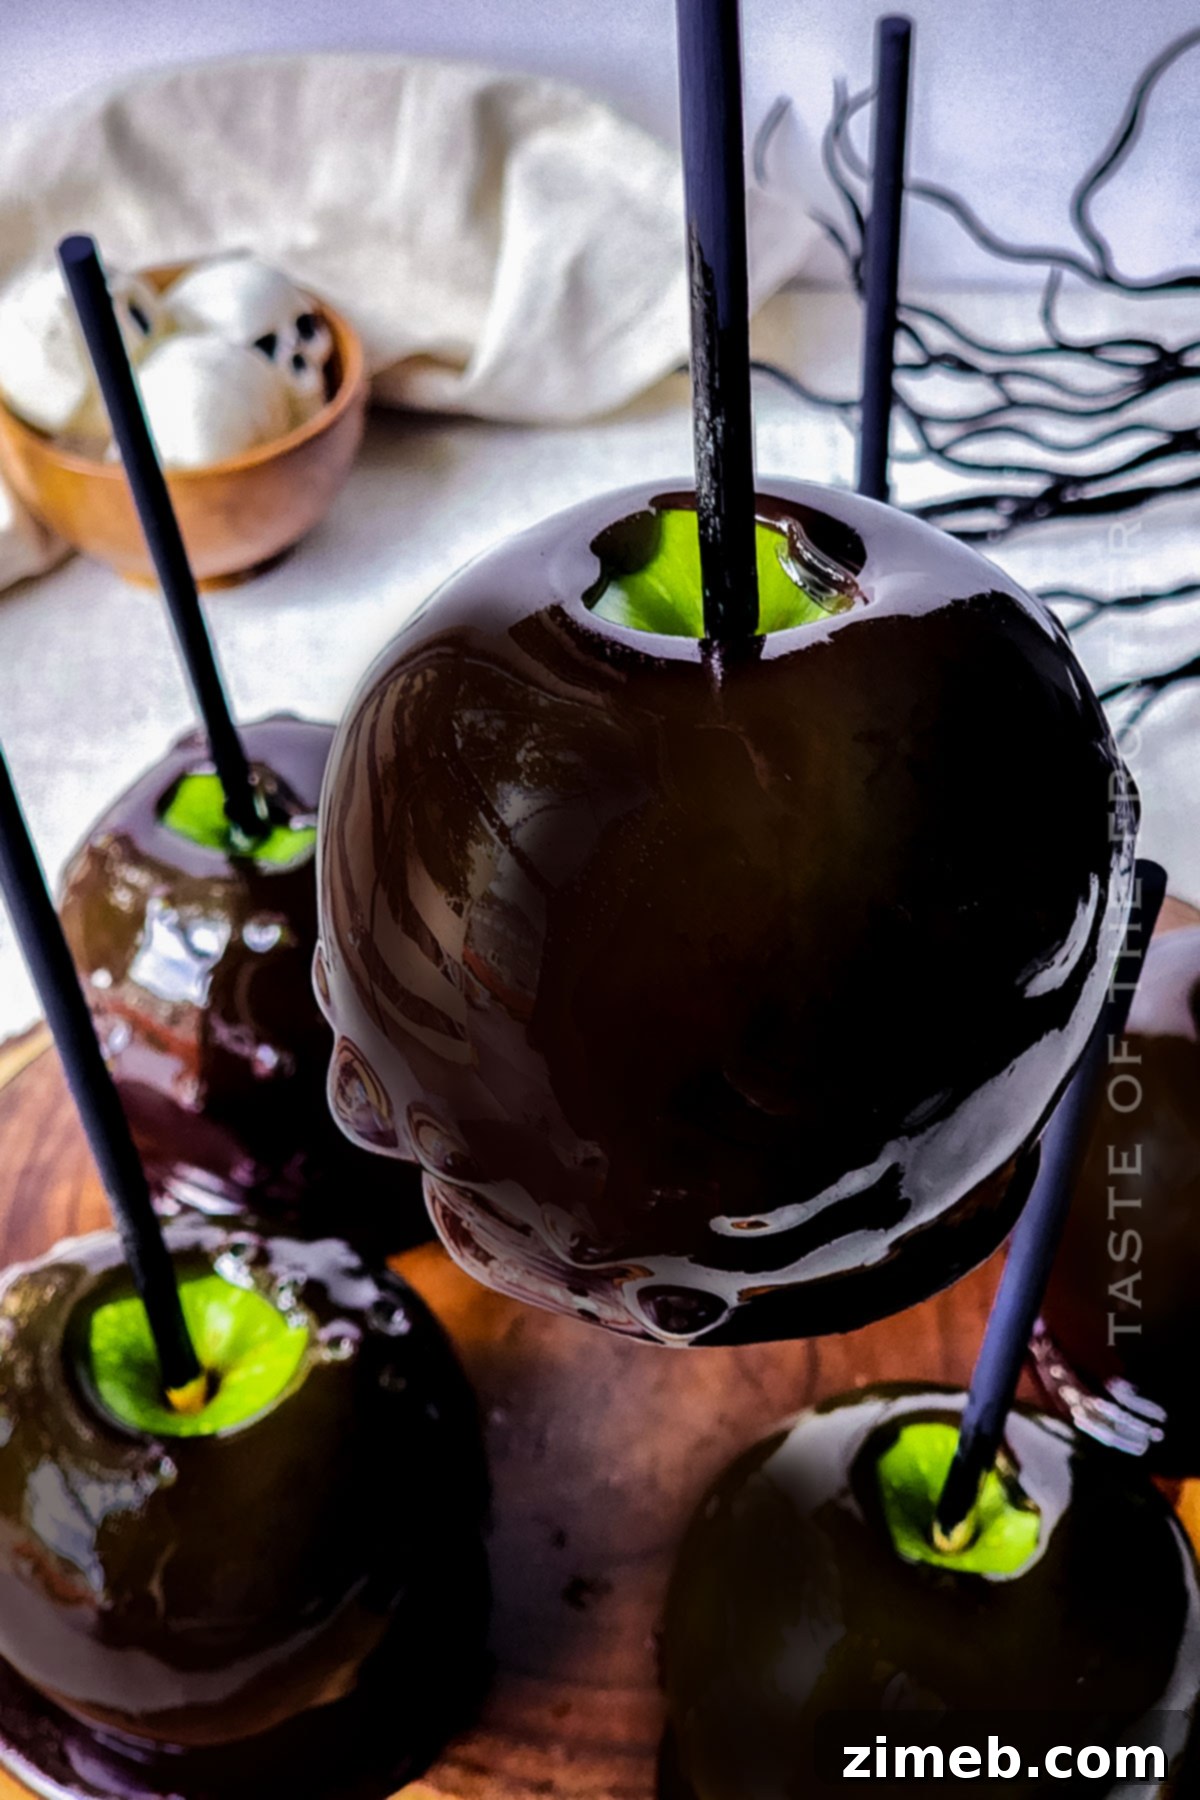
- **Rainbow Dream Apples:** Why stop at one color? Divide your sugar mixture before adding food coloring and create an array of different colored candy apples. Imagine a platter with black, purple, green, and orange apples for a truly vibrant Halloween display.
- **Ghoulish Glitter:** For an extra touch of spooky sparkle, lightly dust your freshly dipped (but still wet) candy apples with edible glitter. Silver, gold, or even black edible glitter can create an enchanting, magical effect.
Got a brilliant idea for a variation of these Poison Candy Apples? Or perhaps you’ve just made them for the first time and had a smashing success? I’d absolutely love to hear about your experiences and creative twists in the comments below!
If you love this fun Halloween recipe, you’re going to love these other SPOOKY treats too. Please click each link below to find the easy, printable recipe!
Halloween Cookie Dough

Looking for fun and easy Halloween treats to make with your kids? Try this recipe for spooky Halloween Cookie Dough – no baking required!
Check out this recipe
Halloween Sugar Cookies
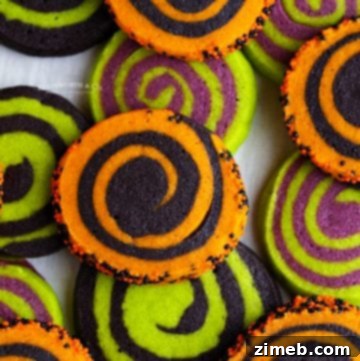
Easy Halloween Sugar Cookies are a soft, pinwheel sugar cookie recipe, made with fun holiday colors like green, orange, purple and black! Perfect for your Halloween celebrations.
Check out this recipe
Halloween Oreo Balls / Halloween Cake Pops

Looking for fun and easy Halloween treats to make with your kids? These Halloween Oreo Balls are perfect! They’re simple to make and delicious too. Plus, they’re perfect for any Halloween party. Give them a try this year!
Check out this recipe
Ghosts in the Graveyard Dessert
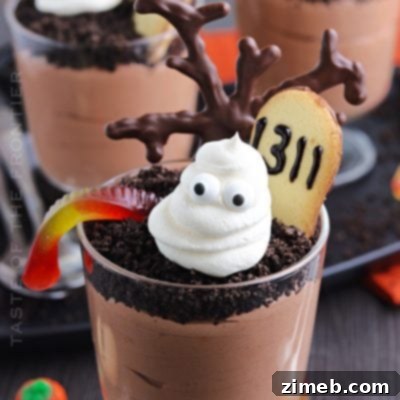
This one’s for the kids! Ghosts in the Graveyard Dessert is a creamy chocolate pudding topped with crushed Oreos, spooky trees, worms, and ghosts.
Check out this recipe
Zombie Cookies
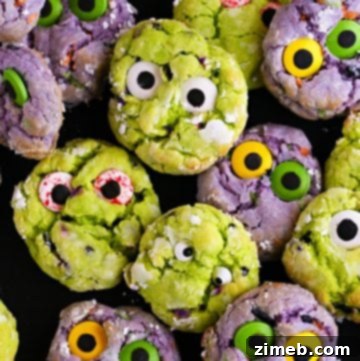
These are not your average cake mix cookies. These Zombie Cookies are creepy and ghastly – just like the undead who want to eat your brains.
Check out this recipe
More Fun Halloween Treats to Explore
- Broken Glass Cupcakes
- Halloween Ghost Cupcakes
- Mummy Brownies
- Halloween Snack Mix
CONNECT WITH YUMMI HAUS!
Be sure to follow me on my social media, so you never miss a post!
Substack, FB, Pinterest, IG, Email Subscription
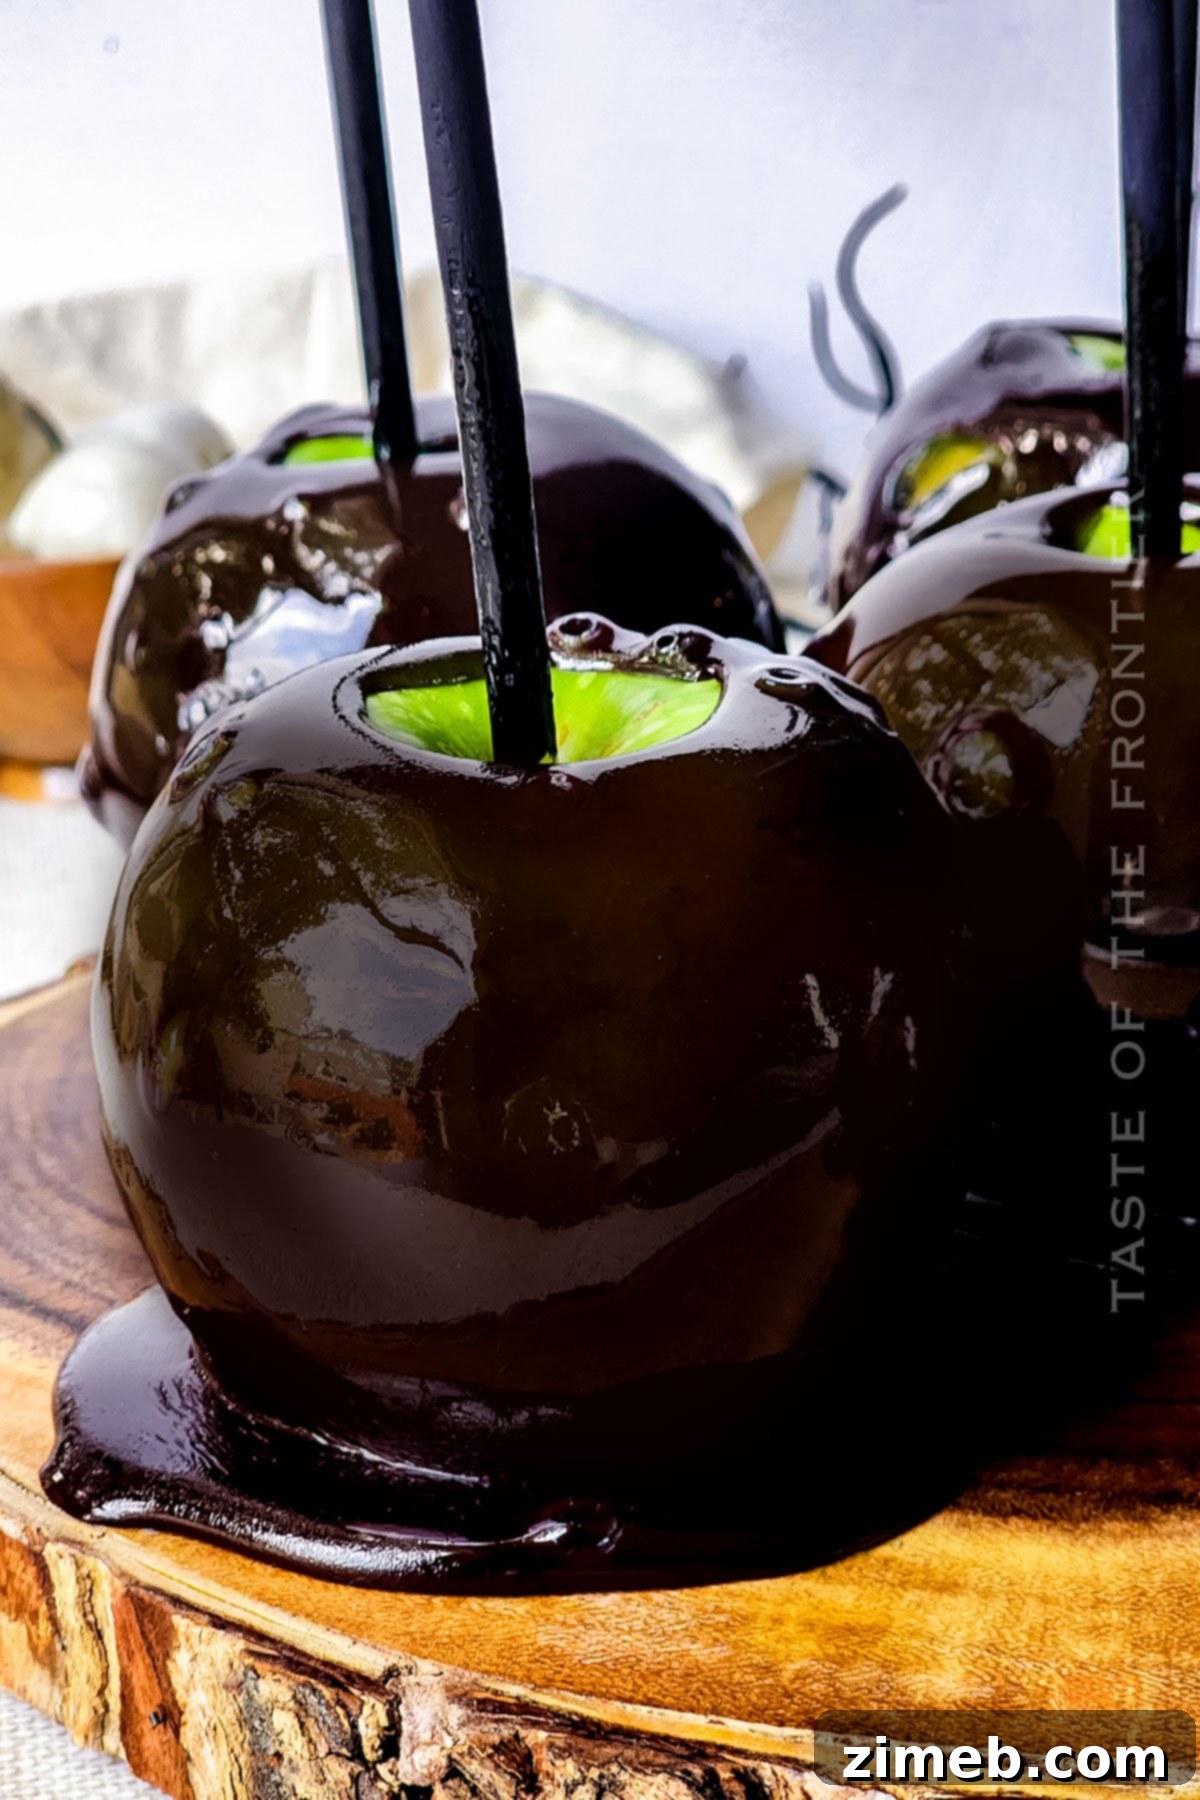
Black Candy Apples: The Ultimate Spooky Treat
These Black Candy Apples (also known as Poison Candy Apples) are the ultimate spooky treat, perfect for adding a touch of dark magic to your Halloween celebrations. They’re fun to make and guaranteed to delight everyone!
Servings: 6
Cook Time: 15 mins
Total Time: 30 mins
Pin Recipe
Ingredients
- 6 Granny Smith apples
- 3 cups granulated sugar
- 1 cup + 2 tablespoons water
- ¾ cup corn syrup
- Black food dye (gel recommended for vibrant color)
- 1 teaspoon vanilla extract
- ¾ teaspoon salt
Instructions
- **Clean the Apples:** Thoroughly clean the wax coating off of the apples by soaking them in a vinegar/water mixture (1:3 ratio) for 5-10 minutes, then scrubbing and drying them completely. This step is crucial for the candy to stick.
- **Prepare for Dipping:** Remove the stems from each apple and firmly push a sturdy wooden stick into the center.
- **Set Up Cooling Station:** Prepare a baking sheet by lining it with parchment paper and lightly spraying it with cooking spray. Set aside.
- **Combine Candy Base:** In a heavy-bottomed saucepan, combine the granulated sugar, water, corn syrup, and black food dye.
- **Cook to Dissolve:** Place the saucepan over medium-high heat and stir continuously until the sugar is fully dissolved and the mixture is well combined.
- **Reach Hard-Crack Stage:** Insert a candy thermometer into the pan, ensuring it doesn’t touch the bottom. Bring the mixture to a boil and cook until the thermometer accurately reads 290 degrees Fahrenheit. This typically takes 8-10 minutes.
- **Remove from Heat:** Immediately remove the saucepan from the heat once 290°F is reached.
- **Flavor the Coating:** CAREFULLY add the salt and vanilla extract to the hot candy mixture and stir gently until fully incorporated.
- **Dip the Apples:** Working quickly, dip each prepared apple into the hot candy coating. Swirl it a couple of times to ensure a thick, even, dark black coating. Lift the apple and allow any excess candy to drip off back into the pan.
- **Cool & Harden:** Place the coated apple onto your prepared parchment-covered baking sheet. Repeat with the remaining apples.
- **Final Set:** Allow the apples to cool completely at room temperature until the candy coating is hard and brittle.
Notes
For a captivating, bubbly look on your Black Candy Apples, dip them while the bubbles are still present in the candy coating after removing it from the heat.
For a perfectly smooth, mirror-like finish without any bubbles, gently stir the candy coating off the heat until all bubbles have disappeared. Then, proceed with dipping the apples.
Equipment
- 6 Sturdy Wooden Sticks
- Parchment Paper
- Baking Sheet
- Heavy-bottomed Saucepan
- Candy Thermometer
- Wooden Spoon or Heat-Resistant Spatula
Nutrition Information
Serving: 1g | Calories: 602kcal | Carbohydrates: 158g | Protein: 0.5g | Fat: 1g | Saturated Fat: 0.1g | Sodium: 320mg | Potassium: 198mg | Fiber: 4g | Sugar: 152g | Vitamin C: 8mg | Calcium: 18mg | Iron: 0.3mg | Net Carbohydrates: 153g
Nutritional information for this recipe is provided as a courtesy and is approximate. Please double-check with your own dietary calculator for the best accuracy. We at Yummi Haus cannot guarantee the accuracy of the nutritional information given for any recipe on this site.
Love this recipe?
Follow @KleinworthCo for even more tasty recipes!