
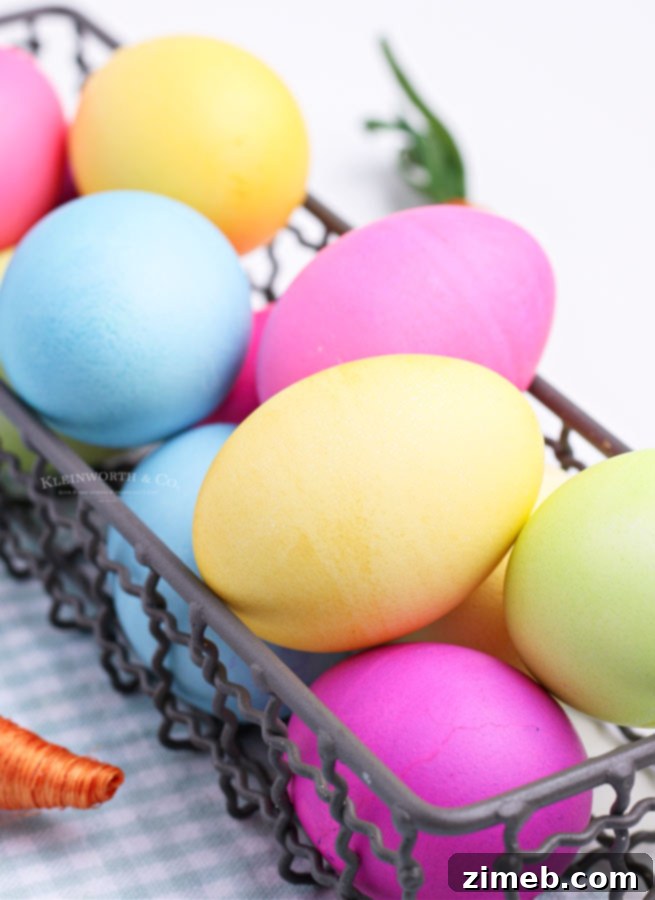
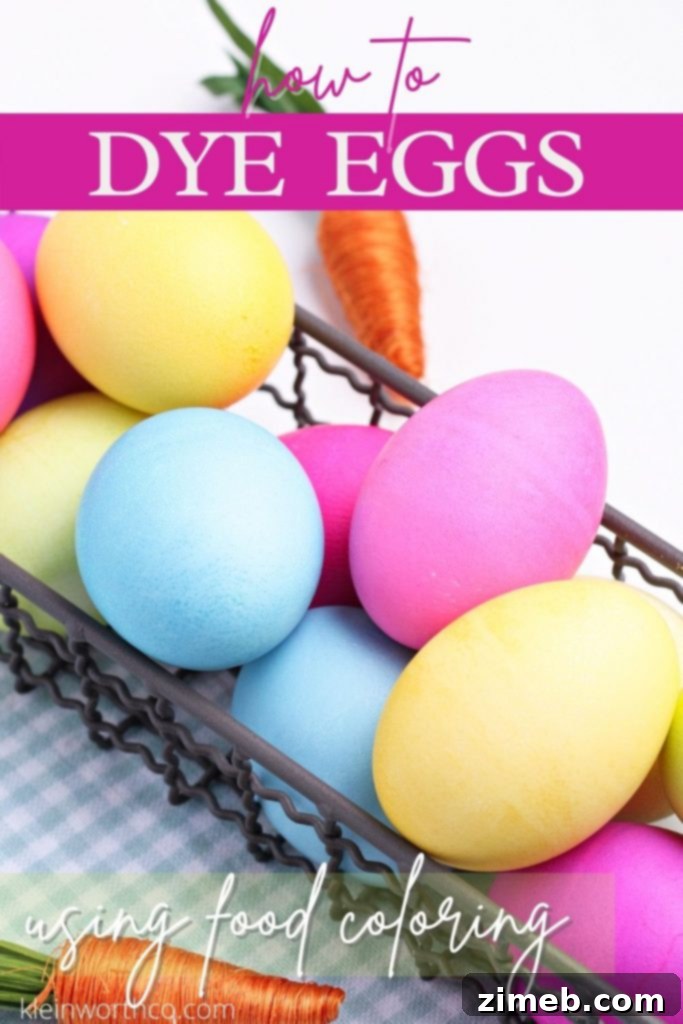
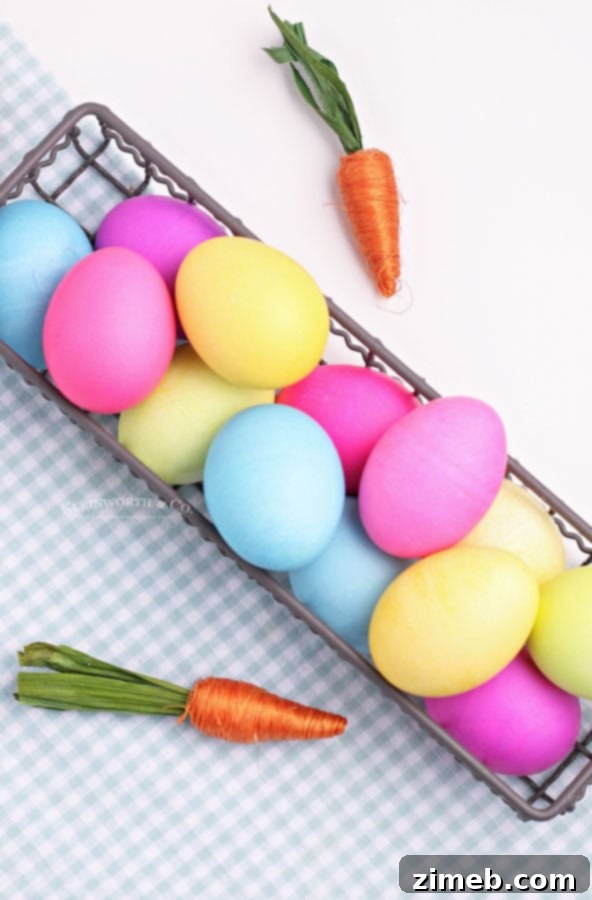
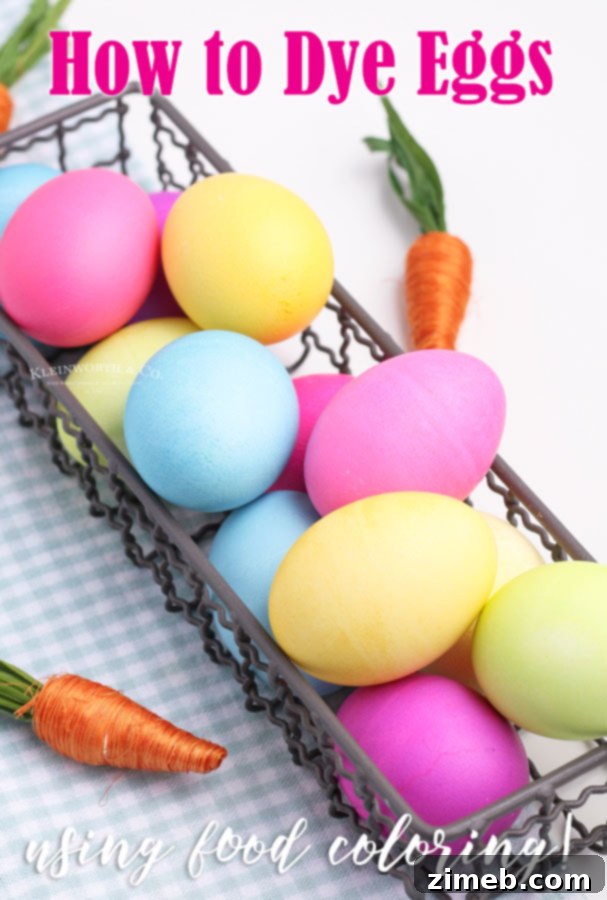
With Easter approaching, immerse yourself in the delightful tradition of egg dyeing! This comprehensive guide will show you how to create beautifully colored Easter eggs using simple household ingredients: vinegar and food coloring. Forget the store-bought kits – you likely have everything you need right in your pantry. It’s an incredibly easy and rewarding activity for the whole family!
As Easter often arrives earlier than we expect, finding ourselves rushing to prepare can be a common scenario. But this year, let’s simplify things and embrace the charm of homemade preparations. There’s no need to battle the crowds for an egg-dyeing kit when you can achieve vibrant, stunning results with everyday items. This tutorial is designed to make your Easter egg dyeing experience effortless and enjoyable, turning ordinary eggs into colorful masterpieces.
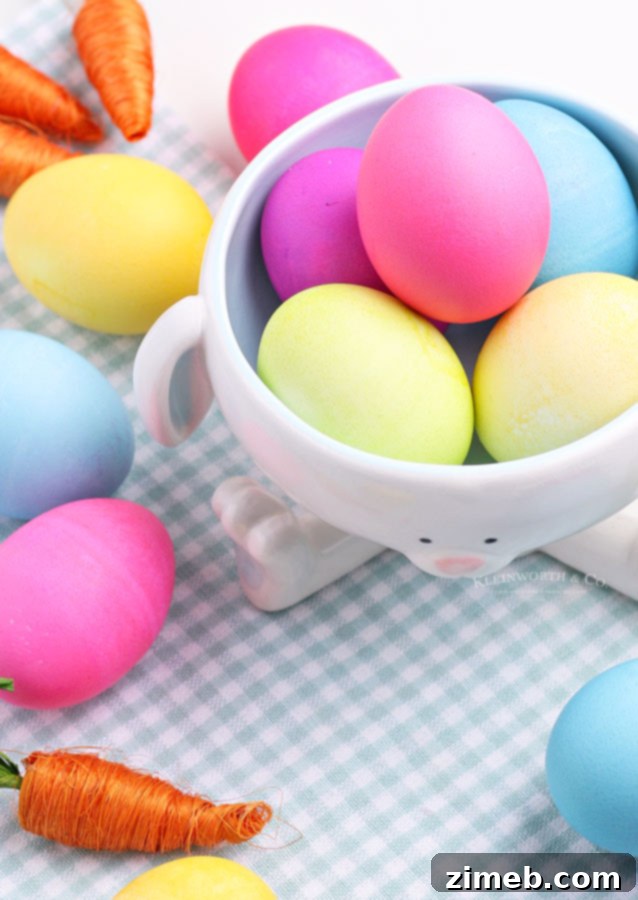
I fondly recall the excitement of choosing elaborate egg dyeing kits before Easter when I was younger. We’d spend hours at home carefully coloring eggs, then gather at my grandparents’ house on Easter Eve to continue the fun with my cousins. It was a cherished family tradition, filled with laughter and anticipation.
Looking back, it’s amusing to realize that those fizzy tablets in the kits were essentially just concentrated food coloring. The entire process could have been so much simpler, more accessible, and equally magical using basic ingredients. This realization is what inspired me to share this method, proving that the most memorable Easter traditions don’t require fancy supplies.
Mastering Homemade Easter Egg Dyeing
Before you begin, ensure your eggs are perfectly prepared. Check out my trusted recipe for the most perfect hard-boiled eggs. This recipe guarantees eggs that are easy to peel and consistently amazing every time, providing the ideal canvas for your colorful creations.
Frequently Asked Questions About Easter Egg Dyeing
What is the origin of dyeing Easter eggs?
The tradition of coloring eggs for Easter dates back centuries, with the egg itself serving as a powerful symbol of new life and the resurrection of Christ. Early Christians in Mesopotamia are believed to have adopted the symbolism of the egg from Jewish traditions, then stained them red. This deep red hue was chosen to represent the “blood of Christ,” symbolizing sacrifice and new beginnings. Over time, this deeply symbolic practice evolved into the vibrant, diverse tradition of coloring eggs that we enjoy for Easter today, incorporating a spectrum of colors and creative designs.
Can I dye multiple eggs simultaneously?
Absolutely! To expedite the process when you have many eggs to color, you can certainly dye more than one egg at a time. Simply scale up your dyeing solution. Instead of using a single cup per egg, opt for a larger bowl or container and double (or even triple) the amount of boiling water, vinegar, and food coloring. This allows you to submerge several eggs at once, making the activity more efficient and perfect for group participation.
Is it possible to dye eggs without their shells?
Yes, indeed! Dyeing shelled eggs is the classic approach, but you can also color cooked egg whites once the shells have been removed. This creative technique is particularly popular for making visually stunning and colorful deviled eggs. The process is similar: prepare your food coloring and vinegar solution. You can either gently place whole peeled hard-boiled eggs into the dye bath to color only the exterior, or for a more dramatic effect, slice them in half, carefully remove the yolks, and then immerse the cooked whites. This adds a fun and unexpected pop of color to your culinary creations.
Simple Steps to Dye Easter Eggs with Food Coloring
Can dyed eggs be prepared in advance?
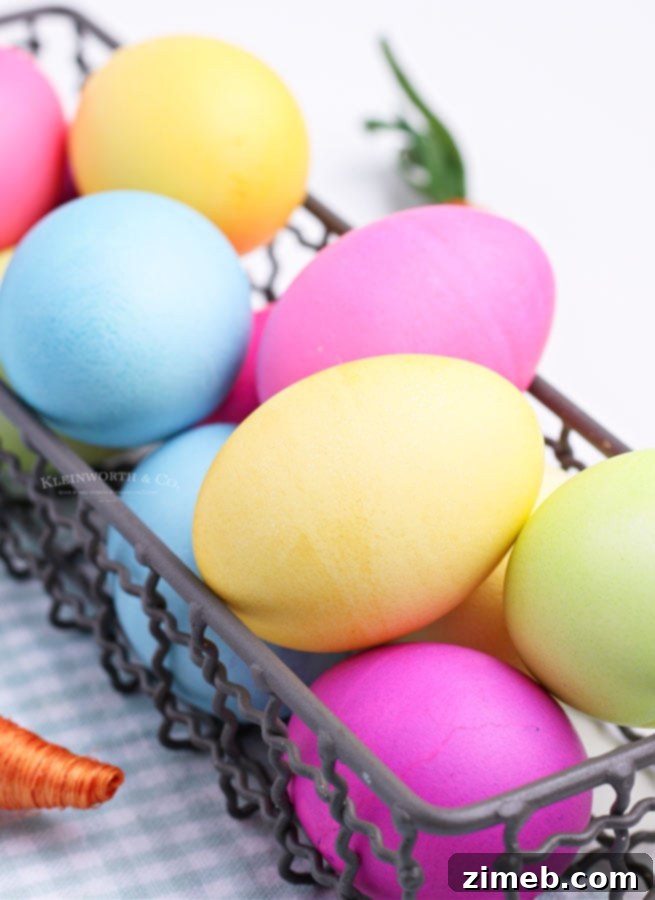
Yes, you can absolutely prepare your dyed Easter eggs ahead of time. It’s often convenient to color them the day before Easter or even the night before your celebration. The crucial step is to ensure they are kept properly refrigerated at all times after dyeing. Leaving them at room temperature for extended periods can compromise their safety, especially if you plan on eating them later. Always store them in the coolest part of your refrigerator until ready to display or consume.
Are dyed Easter eggs safe to eat?
The safety of eating dyed Easter eggs depends on several important factors. When using edible food coloring, as outlined in this method, the eggs are generally safe to eat, provided proper handling and storage guidelines are followed.
- Type of Dye: Always use food-grade liquid food coloring specifically designed for consumption. Avoid industrial dyes, paints, or craft supplies not labeled as edible.
- Method of Dyeing: If you use unconventional methods, such as the popular shaving cream dyeing technique often seen online, the eggs are no longer safe to eat. Shaving cream is not a food product, and eggs have porous shells that can absorb non-food substances. When using such methods, consider the eggs for decorative purposes only.
- Refrigeration: Hard-boiled eggs, whether dyed or not, should never be left at room temperature for more than two hours. For dyed eggs, limit exposure outside the refrigerator to a maximum of one hour. Beyond this timeframe, harmful bacteria can multiply rapidly, making the eggs unsafe to consume. Always return them to the refrigerator promptly after display or an egg hunt.
- Shell Integrity: If an egg’s shell cracks during the hard-boiling or dyeing process, it’s generally safer to discard it. While food dye itself is edible, a cracked shell provides a potential pathway for bacteria to enter the egg, increasing the risk of contamination. Prioritize food safety to avoid any health concerns.
Getting Creative: How to Color Easter Eggs Effectively
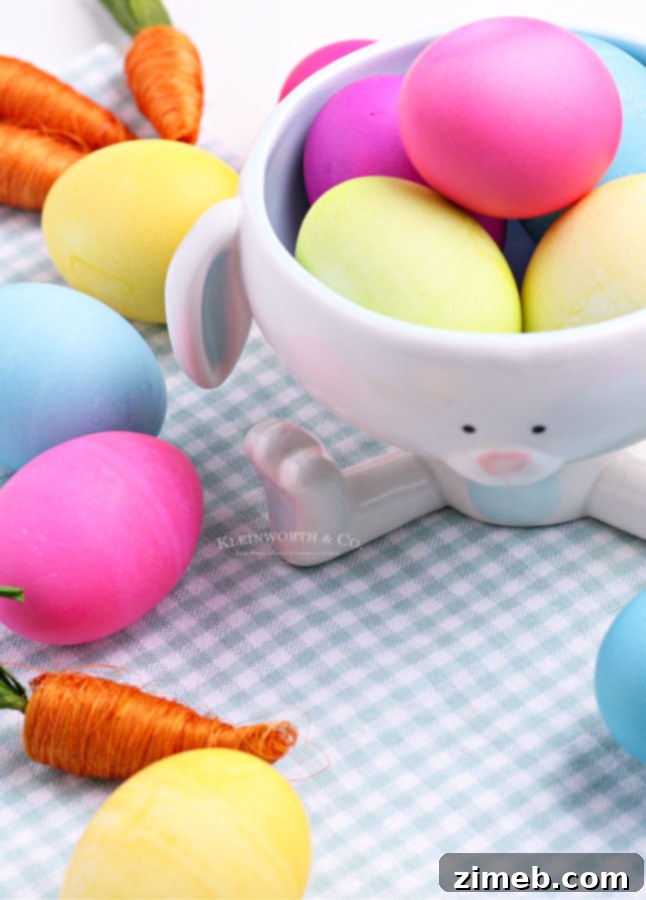
Can I use an alternative type of vinegar for dyeing eggs?
The acidity of vinegar is key to successful egg dyeing, as it helps the color adhere to the eggshell. While other types of vinegar, such as apple cider vinegar, possess sufficient acidity to work, white distilled vinegar is highly recommended. The reason for this preference is its clear, colorless nature. Apple cider vinegar, with its golden hue, might subtly alter or muddy the intended color of your dye bath, leading to less pure and predictable results. For the brightest and most accurate colors, stick with clear white vinegar.
Is it possible to dye eggs in more than one color?
Layering colors on eggs can create interesting effects, but direct combining or mixing of different dye solutions in one bath is generally not recommended with this method. Attempting to dye an egg entirely in one color and then immediately submerging it into a different color usually results in a muted, “blah” or brownish shade rather than a distinct blend or marbleized pattern. The colors don’t typically blend harmoniously in this manner; instead, they tend to overlap and dull each other.
For multi-color effects, consider these techniques: partially submerge an egg in one color, allow it to dry slightly, then partially submerge another section in a different color. This allows for clear color separation and creates a lovely two-toned or striped appearance. You can also try speckling or painting details on dried, already dyed eggs for more intricate designs.
Crafting Brilliant Hues: How to Dye Eggs with Food Coloring
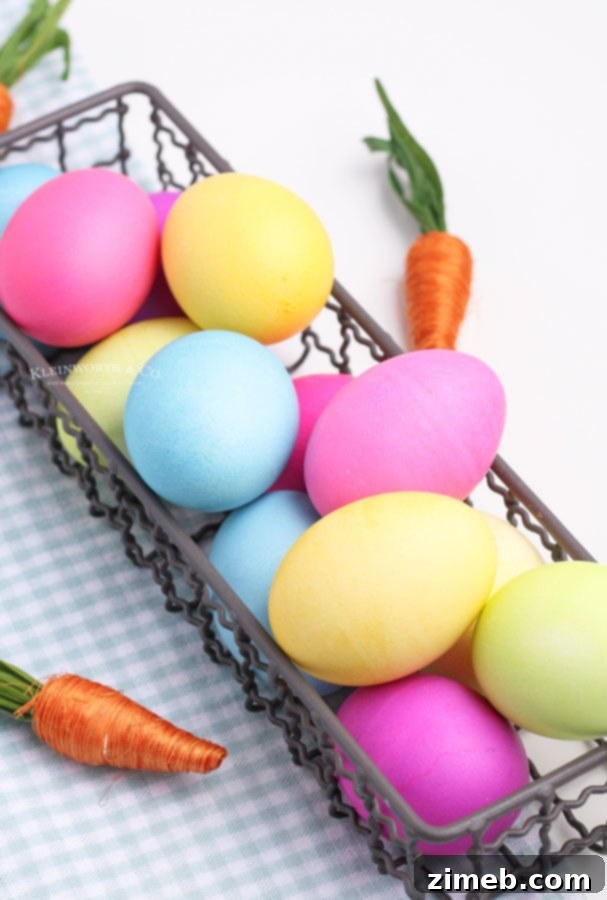
Why is vinegar essential for dyeing eggs?
The magic behind vibrant egg colors lies in a simple chemical reaction involving vinegar. Eggshells are primarily composed of calcium carbonate. When you add vinegar (acetic acid) to the water, it creates an acidic environment. This acidity causes a reaction with the calcium carbonate in the eggshell, producing tiny bubbles of carbon dioxide. More importantly, this acidic solution helps to slightly etch the shell’s surface and facilitates the binding of the food coloring pigments to the eggshell, allowing for deeper, richer color absorption that wouldn’t be possible with just water and food coloring alone. It effectively “opens up” the shell to receive the dye.
Ensuring Freshness: How to Tell if Eggs are Still Good
It’s common to stock up on eggs, only to find them tucked away in the back of the refrigerator, making you wonder about their freshness. While eggs can remain good for up to six weeks past the date on the carton when properly refrigerated, it’s always wise to perform a quick test if there’s any doubt.
The date on the package isn’t always a perfect indicator of true freshness, especially if you’ve had them for a while. As eggs age and start to spoil, a small air bubble forms inside the shell due to moisture loss and gas exchange.
To perform the float test, gently place an egg into a bowl or glass of water that is a few inches deep. Observe its behavior:
- If it sinks to the bottom and lies on its side: The egg is very fresh and perfectly safe to use.
- If it sinks but stands upright with the larger end slightly raised: The egg is still good but nearing the end of its prime. It should be used soon for baking or thoroughly cooked dishes.
- If the egg floats to the surface: This indicates that a significant air pocket has formed, meaning the egg is past its edible stage and should be discarded immediately. Do not consume floating eggs.
Creative Approaches to Color Your Easter Eggs
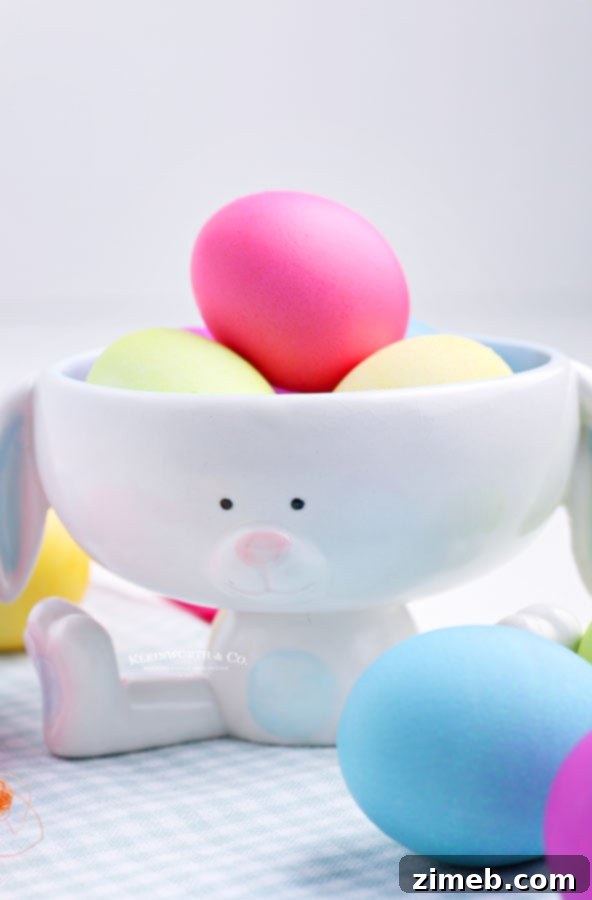
Can I dye eggs successfully without vinegar?
While vinegar is the traditional and most effective acid for homemade egg dye, it’s certainly possible to dye eggs without it if supplies are low. The key is to still provide an acidic component that will help the food coloring bond with the calcium in the eggshells. Excellent vinegar replacements include lemon juice or powdered vitamin C. For lemon juice, you can substitute an equal amount for the vinegar in your dye solution. If using vitamin C powder, a quarter to half teaspoon per cup of water should suffice, ensuring you still get vibrant colors.
Can hollow (blown-out) eggs be dyed using this method?
Yes, this dyeing method is perfectly suitable for hollow, blown-out eggshells! If you prefer to create decorative eggs that can be kept indefinitely, you can empty the contents of the eggs first and then proceed with the same dyeing process. The primary advantage of working with hollow eggs is that you eliminate any concerns about food safety or refrigeration, allowing you to display them for as long as you wish. The main drawback, however, is that blown-out shells are significantly more delicate and fragile than intact hard-boiled eggs, making them much more prone to accidental breakage during handling and storage.
Step-by-Step Guide: How to Make Egg Dye at Home
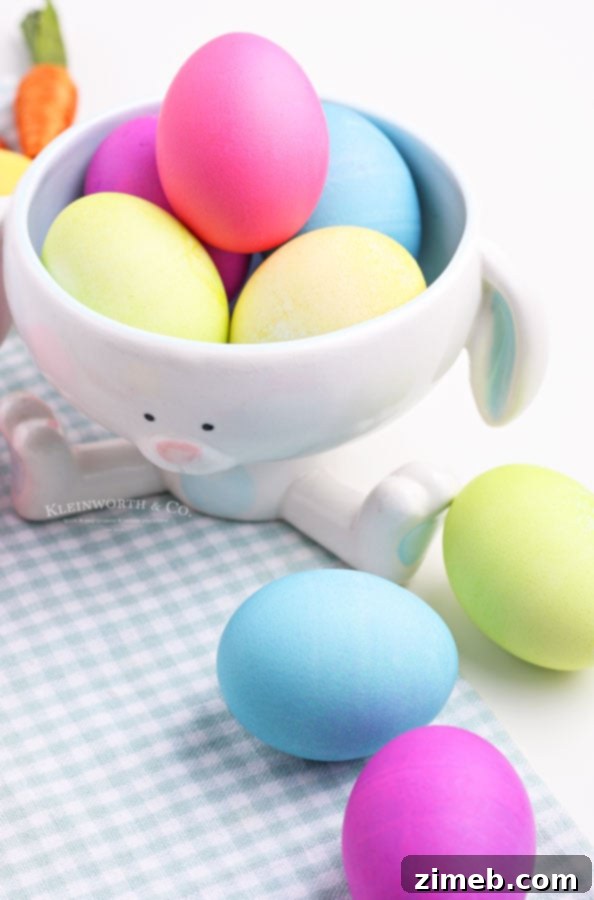
Simple Instructions for Dyeing Easter Eggs
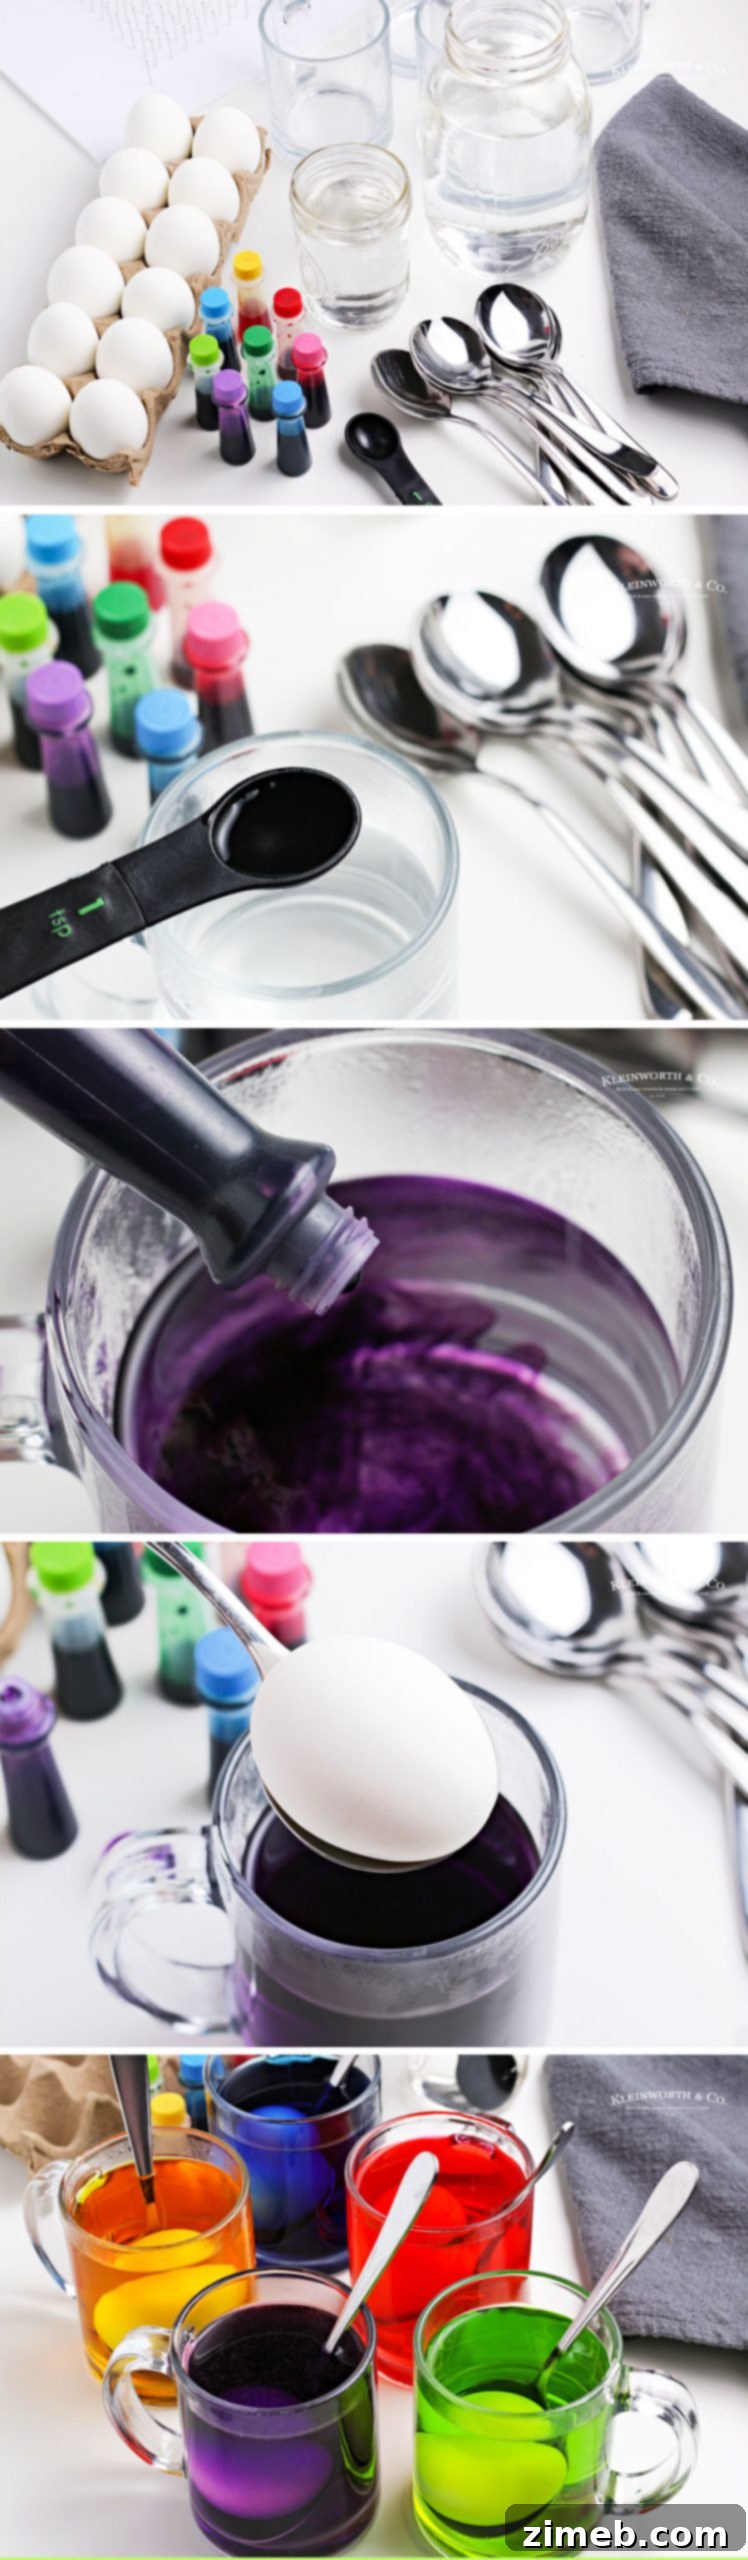
- Prepare Your Stations: Set out one clean glass or small container for each unique color you wish to create. This keeps your colors separate and organized.
- Add Hot Water: Carefully pour one cup of boiling hot water into each prepared glass. The heat helps the food coloring dissolve thoroughly and promotes better dye absorption.
- Introduce Vinegar: Add two teaspoons of white distilled vinegar to each glass of hot water. This acid is crucial for helping the dye bond effectively with the eggshells, resulting in vibrant, long-lasting colors.
- Color Your Solution: Incorporate 10-12 drops of your chosen liquid food coloring into each glass. Adjust the number of drops to achieve your desired shade – more drops for deeper, more vibrant colors, fewer for pastel hues. Stir gently to ensure the color is evenly distributed.
- Submerge Eggs: Using a spoon or an egg dipper, carefully lower one hard-boiled egg at a time into each glass of colored water. Ensure the egg is completely submerged to get an even coating.
- Allow to Soak: Let the eggs soak in the dye solution until they reach your preferred color intensity. This can range from a few minutes for lighter shades to 10-15 minutes (or even longer) for very deep, rich colors. Occasionally turn the eggs for even coverage.
- Dry and Display: Once satisfied with the color, carefully remove the eggs from the dye bath using your spoon. Place them on a wire drying rack or a layer of paper towels to air dry completely. This prevents smudging and ensures the colors set beautifully.
Don’t miss our unique tutorial – How to Dye Eggs with Rice for a textured look!
Essential Ingredients for Homemade Easter Egg Dye
Ingredients You’ll Need for Vibrant Egg Dye
- Hard-boiled eggs: The foundation of your colorful creations. Ensure they are fully cooked and cooled.
- Boiling water: Essential for dissolving the dye and enhancing color absorption.
- White vinegar: The acidic component that helps set the colors on the eggshells.
- Liquid food coloring: Your choice of vibrant hues to transform your eggs.
Should eggs be cold when they are being dyed?
Yes, it’s highly recommended to use cold hard-boiled eggs for dyeing. Once your eggs are perfectly cooked, refrigerate them for several hours, or even overnight, before you begin the dyeing process. Starting with very cold eggs is crucial for two main reasons:
- Food Safety: Cold eggs will remain at a safe temperature for a longer period while you are handling and dyeing them. This is especially important if you plan on eating the eggs later.
- Color Absorption: While some suggest warm eggs absorb color better, cold eggs often provide a more controlled and even dye application without the risk of rapid color setting, which can sometimes lead to uneven patches. The temperature of the dye solution (warm water) is primarily responsible for good absorption, not necessarily the egg’s initial temperature.
Remember, for safety, never keep hard-boiled eggs out of the refrigerator for more than one hour, whether they are being colored or used in an Easter egg hunt. If eggs are hidden outdoors or displayed for longer than this recommended time, they should be discarded rather than consumed to prevent the risk of foodborne illness.
Tips and Tricks: How to Color Eggs with Food Coloring for Best Results
Recommended Products for Easy Easter Egg Dyeing
Dyeing Easter eggs without a commercial kit is surprisingly simple and incredibly satisfying! If you’re like many, you might already have most of these items around your home. For those new to homemade egg dyeing, or if you’re feeling a bit unsure, rest assured – you’re going to love how easy and effective this method is. To help you get started, I’ve compiled a list of my go-to items that make the egg dyeing process smooth and enjoyable:
- White vinegar: Essential for vibrant colors, ensuring the dye adheres well to the eggshell.
- Liquid food coloring: A high-quality set with a wide range of colors allows for creative freedom and diverse shades.
- Glasses or small containers: One for each color you plan to make, providing individual dye baths.
- Push pins: Handy for creating a homemade drying rack by pushing them into a foam board.
- Foam board: An excellent surface for making a custom drying rack to prevent eggs from rolling.
- Measuring spoon: Crucial for accurate vinegar measurements to ensure consistent color vibrancy.
- Paper towels: Indispensable for protecting your workspace from spills and for blotting excess dye.
- Drying rack: An elevated rack or a homemade version (using foam board and pins) is ideal for allowing eggs to dry evenly without smudging.
Presenting Your Masterpiece: How to Decorate Easter Eggs
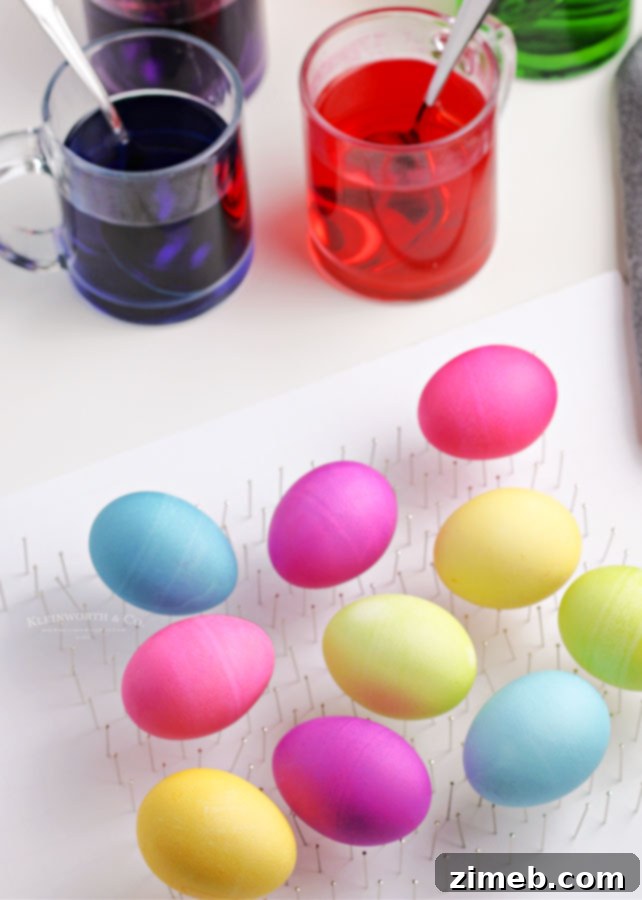
Once your eggs are beautifully dyed and dried, the fun doesn’t have to stop! They are now ready to be hidden for an Easter egg hunt, arranged as a festive centerpiece, or carefully stored for later enjoyment. If you’ve enjoyed mastering this simple method for How to Dye Eggs, you’ll love exploring these other festive holiday recipes too. Click each link below to discover easy, printable recipes perfect for your Easter feast and beyond!
Check out this recipe
Check out this recipe

Check out this recipe

Check out this recipe

Check out this recipe
Check out this recipe

Check out this recipe

Check out this recipe

Check out this recipe

Check out this recipe
Check out this recipe

Check out this recipe
Check out this recipe

Check out this recipe

Achieving Perfect Shades Using Food Coloring for Eggs
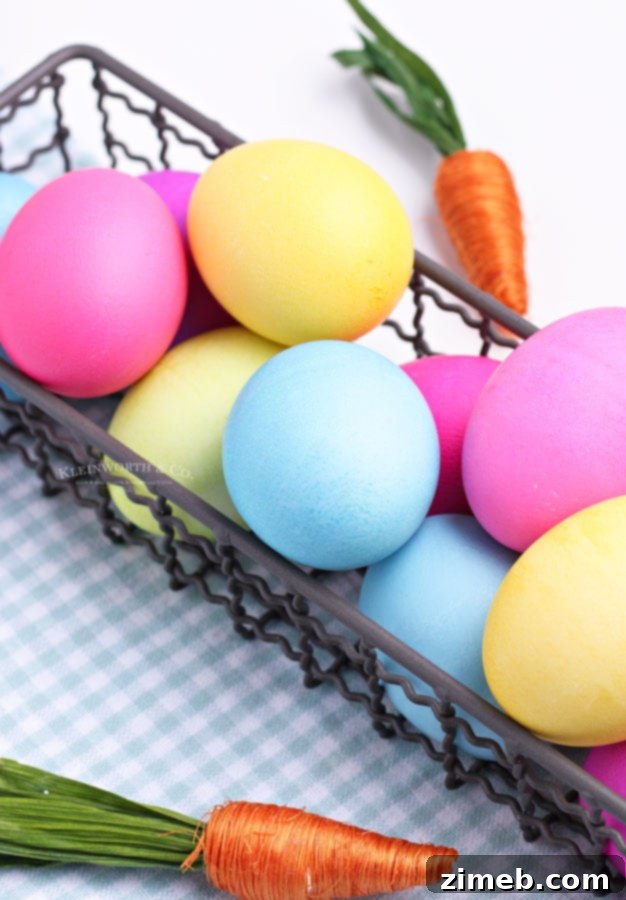
If you found this guide for How to Dye Eggs as helpful and enjoyable as I hope, please consider leaving a five-star review and help spread the joy by sharing it on Facebook and Pinterest! Your support means the world and helps others discover these simple, fun Easter traditions.
CONNECT WITH YUMMI HAUS FOR MORE INSPIRATION!
Be sure to follow me on my social media channels so you never miss a post, new recipe, or crafting idea!
Substack, Facebook, Pinterest, Instagram, Email Subscription

Rate this Recipe
Easy Homemade Egg Dye for Easter
Ingredients
- Hard-boiled eggs: 12 large, cooked and cooled
- Boiling water: 1 cup per color
- 2 tsp White distilled vinegar: for each color you are making
- Liquid food coloring: Assorted colors for vibrant results
Instructions
-
Prepare Dye Baths: Set out one clean glass or small container for each distinct color you wish to create.
-
Add Water: Carefully pour 1 cup of boiling water into each individual glass.
-
Add Vinegar: Introduce 2 teaspoons of white distilled vinegar to each glass of hot water. Stir gently to combine.
-
Add Food Coloring: Add 10-12 drops of your desired liquid food coloring to each glass. Use more drops for deeper, richer colors and fewer for lighter, pastel shades. Stir until fully dissolved.
-
Submerge Eggs: Gently lower one cold hard-boiled egg at a time into each glass of colored water. Ensure the egg is completely submerged to ensure even dyeing.
-
Soak for Color: Allow the eggs to soak in the dye solution until they achieve your desired color intensity. This typically takes 5-15 minutes, depending on the vibrancy you’re aiming for.
-
Remove and Dry: Carefully remove the colored eggs using a spoon or tongs. Place them on a wire drying rack or a layer of paper towels to air dry completely before handling further.
Notes
- Glasses or containers for dipping: Ensure they are sturdy and hold at least 1 cup of water comfortably.
- Spoons or other utensils: Ideal for carefully transferring eggs into and out of the dye solutions.
- Measuring teaspoon: For precise measurement of vinegar.
- Paper towels: To protect your work surface and for blotting excess dye.
- Drying rack: A wire rack is perfect for allowing eggs to dry evenly without touching.
To craft your own simple drying rack:
- Foam core board: A sturdy piece, ideally with a grid pattern for easy alignment.
- Straight pins: Push these into the foam board in an even grid pattern, ensuring they are spaced adequately to support eggs without them touching.
Nutritional information for this recipe is provided as a courtesy and is an approximate estimation. Please consult with your preferred dietary calculator for the most accurate data. We at Yummi Haus cannot guarantee the absolute accuracy of the nutritional information presented for any recipe on this site. This is an activity-focused guide, and nutritional values are minimal for the shell-on eggs.