

Indulge in the perfect blend of rich chocolate and refreshing peppermint with our delectable Chocolate Peppermint Cookies.
Festive Chocolate Peppermint Cookies: Your Ultimate Holiday Baking Guide
The holiday season is synonymous with warmth, joy, and the irresistible aroma of freshly baked cookies. Today, we’re thrilled to share a recipe that perfectly embodies this festive spirit: our delightful Chocolate Peppermint Cookies. Prepare to infuse your kitchen with holiday cheer and create treats that will captivate everyone who tastes them!
These aren’t just any cookies; they’re a masterful fusion of intense chocolate flavor and the crisp, invigorating essence of peppermint. Each bite delivers a harmonious balance, making them an absolutely essential addition to your Christmas celebrations. Imagine the sensation: a soft, deeply chocolatey cookie melting in your mouth, followed by a cool burst of peppermint, all crowned with a glistening sprinkle of crushed candy canes. It’s a sensory experience that defines holiday indulgence.

Beyond their divine taste, these Chocolate Peppermint Cookies are a visual treat, adding a vibrant, festive touch to any holiday cookie platter. Baking them is more than just following a recipe; it’s a cherished tradition, a delightful way to embrace the very essence of the holiday season. They not only tantalize the taste buds but also spread a genuine sense of joy and festivity throughout your home.
The timeless combination of rich chocolate and refreshing peppermint makes these cookies an absolute must-try this season. Whether you’re baking for family, friends, or a holiday party, these cookies are guaranteed to be a showstopper and a crowd-pleaser. So, don your apron, preheat your oven, and prepare to bake some holiday magic with these truly delightful Chocolate Peppermint Cookies! Happy baking and joyous holidays to all!

Frequently Asked Questions About Chocolate Peppermint Cookies
Can I Substitute Peppermint Oil for Peppermint Extract?
Yes, you can use peppermint oil as an alternative to extract, but extreme caution is advised. Peppermint oil is significantly more concentrated and potent than extract, meaning a little goes a very long way. If you haven’t used it in this particular recipe before, start with a tiny amount—perhaps a single drop—and then taste the dough. Gradually add more if needed, drop by drop, until you achieve your desired flavor. Overdoing it can quickly lead to an overpowering, almost toothpaste-like taste. We recommend erring on the side of less to ensure a balanced flavor profile.
How Can I Ensure My Chocolate Peppermint Cookies Remain Chewy?
The secret to wonderfully chewy cookies lies primarily in avoiding overbaking. When you remove your cookies from the oven, they should still appear slightly soft and set around the edges, with the centers looking just barely underdone. This is crucial because they will continue to cook slightly from residual heat on the baking sheet as they cool. Allowing them to cool on the baking sheet for about 5 minutes before transferring them to a wire rack helps them firm up without becoming hard or brittle. This method ensures that the cookies retain their delightful chewiness on the inside while achieving a perfect exterior.
Can I Make These Chocolate Peppermint Cookies Gluten-Free?
Absolutely! Adapting this recipe to be gluten-free is straightforward. Simply replace the all-purpose flour with your favorite 1:1 gluten-free flour blend. It’s worth noting that different gluten-free flour blends can vary in composition and absorbency, which might subtly alter the final texture and flavor of your cookies. We recommend using a blend you’re already familiar with and enjoy, as this will give you the most predictable and satisfying results. You might find a slight adjustment in liquid or baking time is needed, but the core essence of the cookie will remain.
Storing Your Delicious Chocolate Peppermint Cookies
One of the many joys of baking these cookies is their excellent keeping quality, making them perfect for preparing ahead of the busy holiday season. Having a batch of these festive treats ready means you’re always prepared for impromptu gatherings or to simply enjoy a sweet moment.
Refrigerator Storage
For optimal freshness and to preserve their delightful texture, store your baked Chocolate Peppermint Cookies in an airtight container in the refrigerator for up to one week. They can also be left at room temperature on the counter for a few days, especially if you anticipate them being enjoyed quickly by family and guests!
Freezer Storage
These cookies freeze beautifully, whether baked or as raw dough, allowing you to extend their shelf life significantly. Freeze the baked cookies or unbaked dough for up to three months in an airtight container or freezer-safe bag. When ready to enjoy, simply thaw the baked cookies at room temperature. If freezing dough, you can bake it from frozen, adding a couple of minutes to the baking time, or let it thaw in the refrigerator first.
Essential Tips for Perfect Chocolate Peppermint Cookies
Crafting these peppermint chocolate cookies is a straightforward and enjoyable process. To ensure your baking experience is as smooth and successful as possible, here are some invaluable tips to guide you. A little extra knowledge can go a long way in achieving cookie perfection!
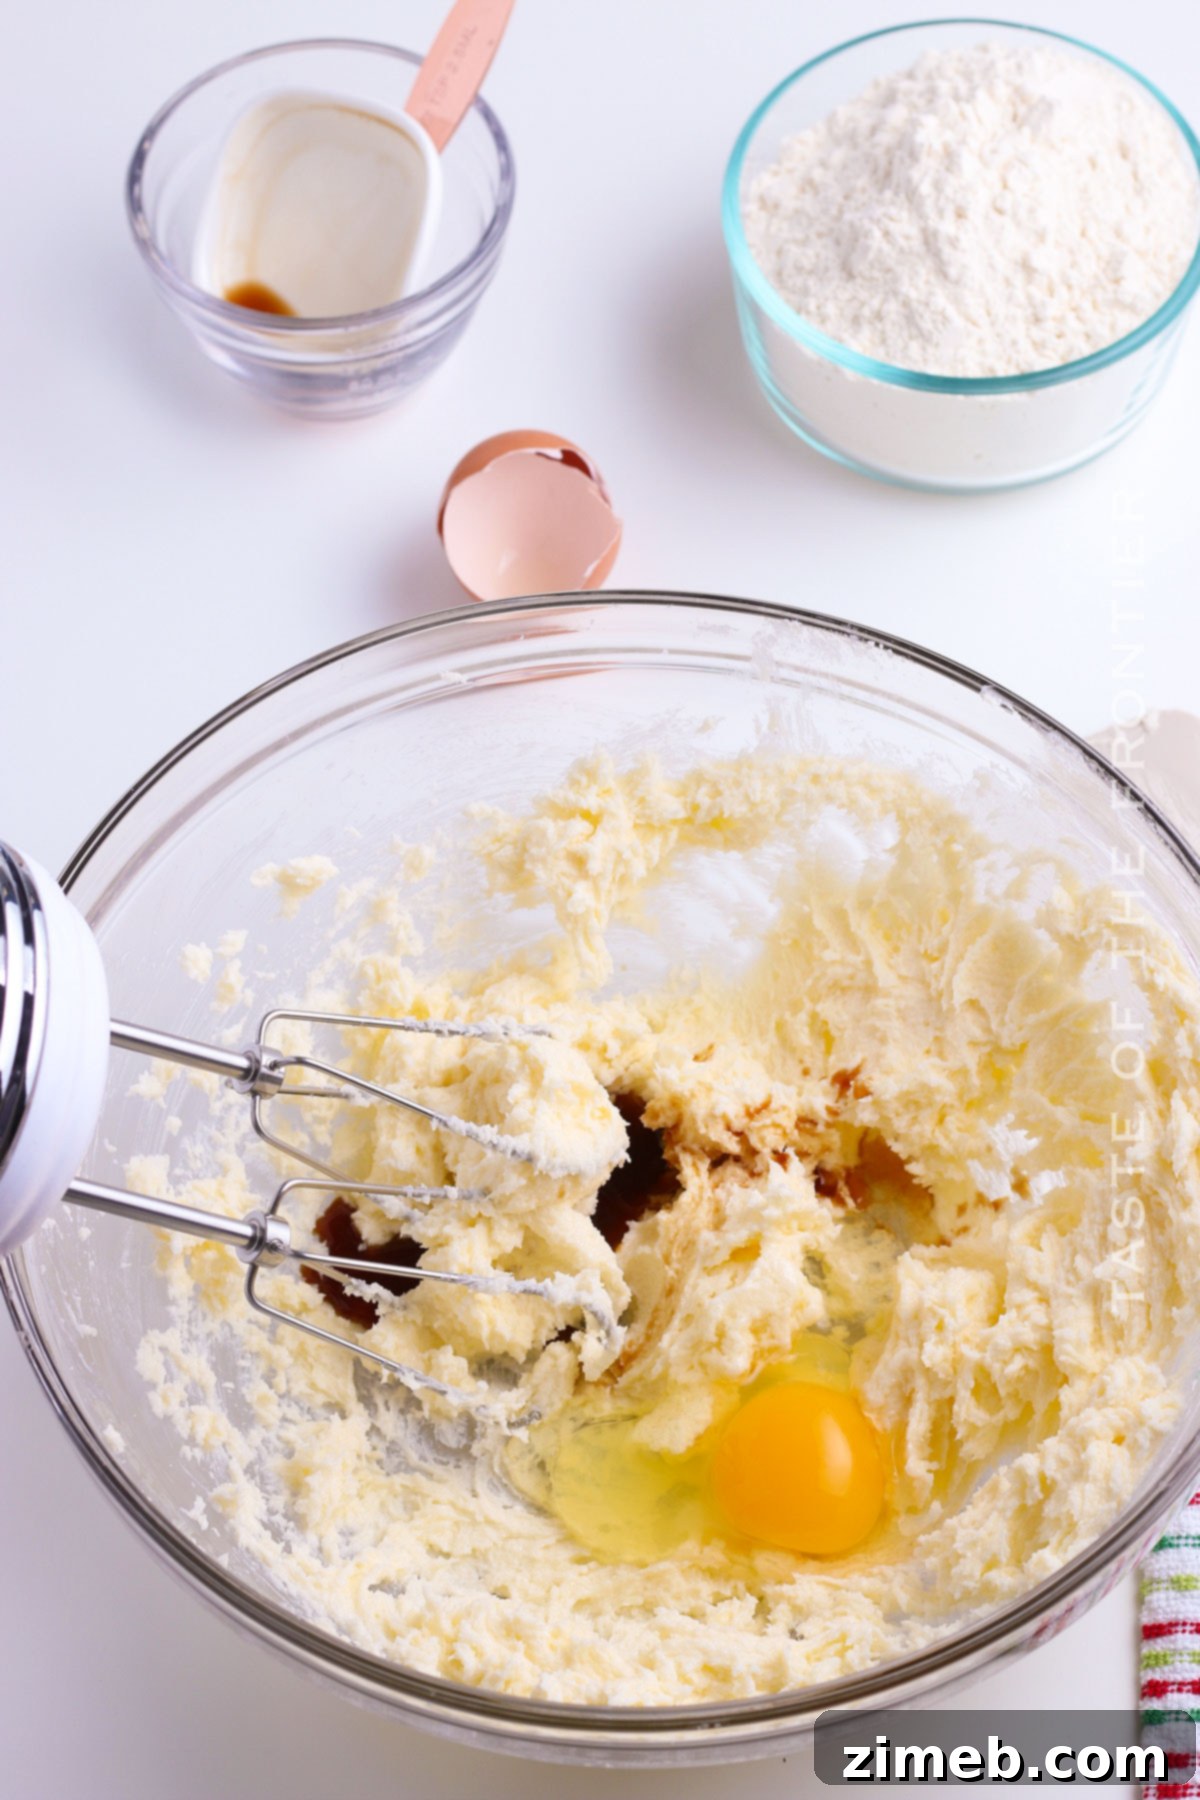
- Room Temperature Ingredients: Always ensure your butter and egg are at room temperature. This isn’t a mere suggestion; it’s a foundational step for optimal baking. Room temperature butter creams more smoothly with sugar, incorporating air that leads to a lighter, fluffier cookie texture. A room temperature egg emulsifies better with the other ingredients, resulting in a cohesive, well-mixed dough without lumps.
- Uniform Cookie Size: For consistently baked cookies, a cookie scoop is your best friend. Using a scoop ensures that each cookie is roughly the same size and shape, which is critical for even baking. If cookies are uneven, smaller ones will burn while larger ones remain undercooked. Uniformity also makes for a more appealing presentation.
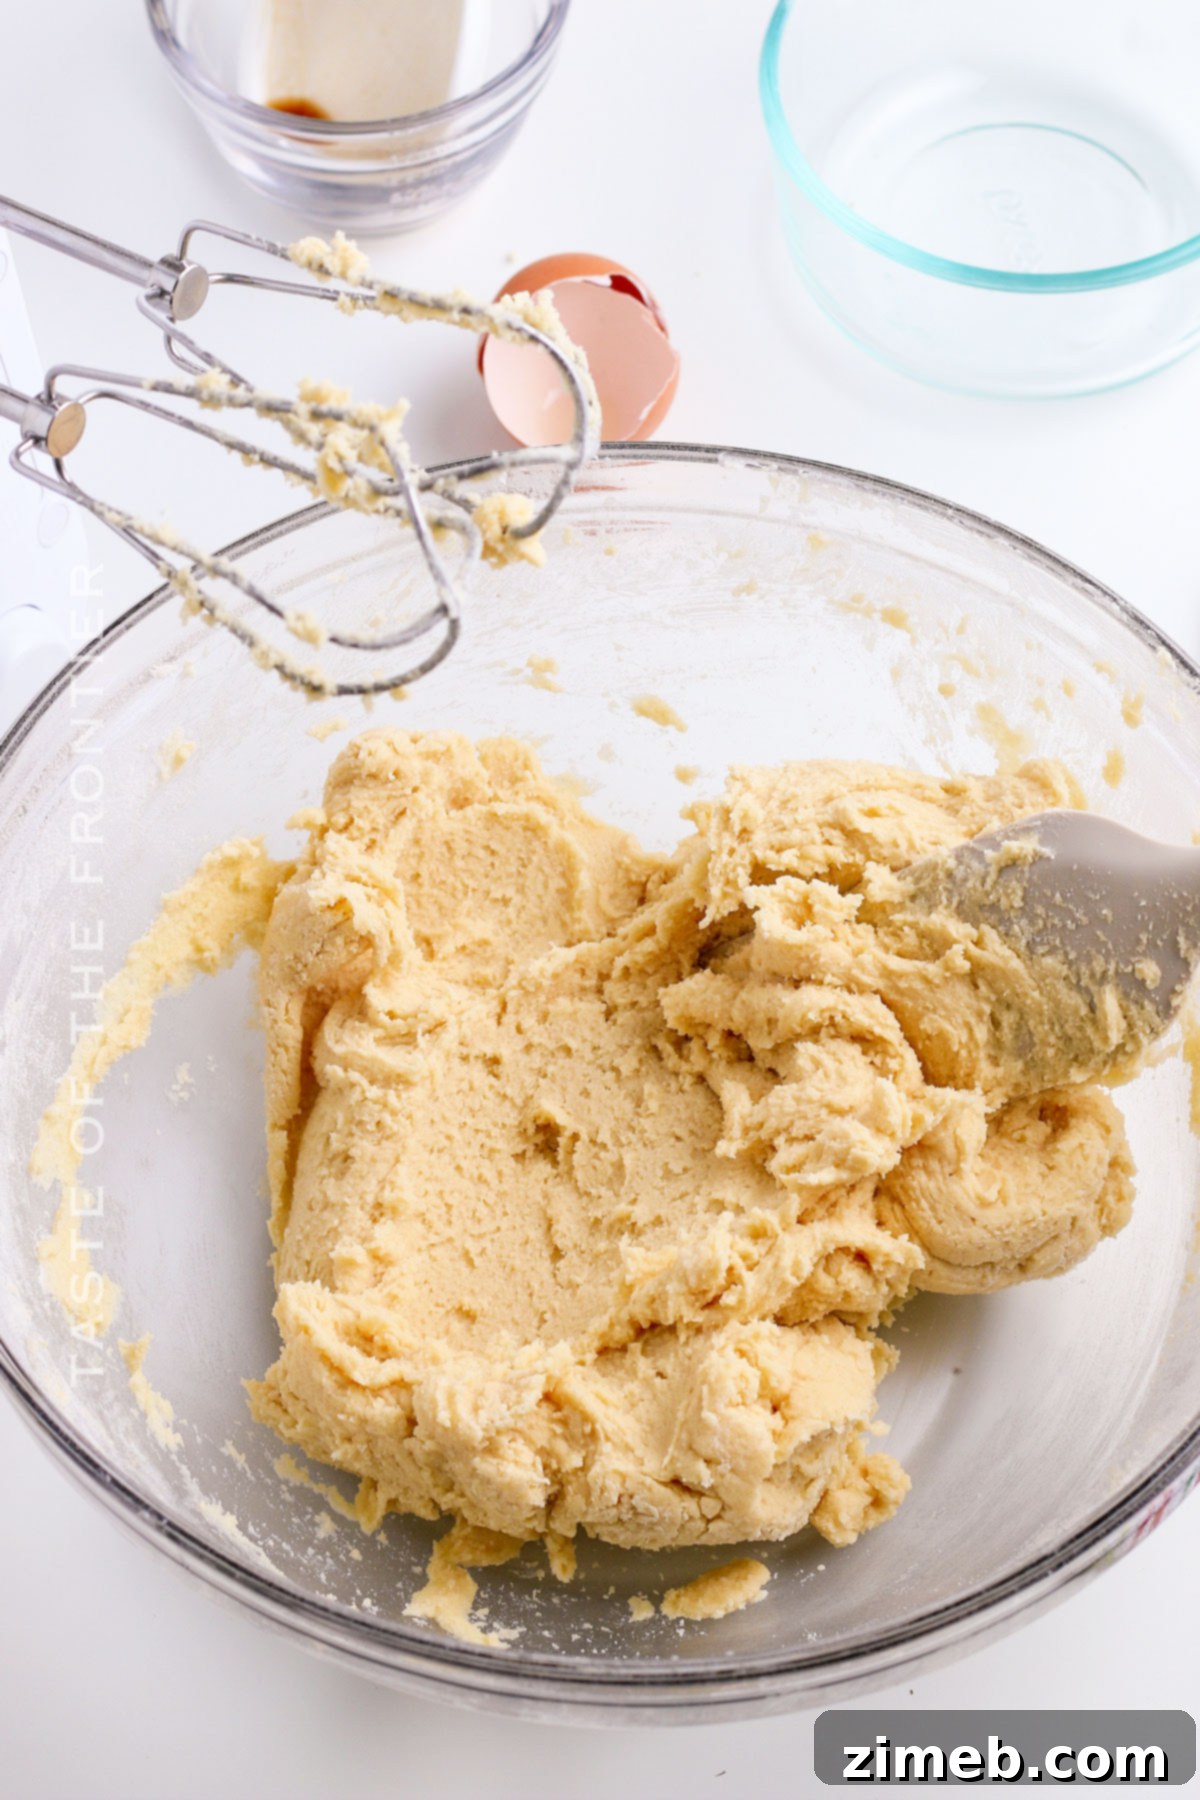
- Avoid Overmixing the Dough: Once you add the dry ingredients to the wet ingredients, mix just until they are fully incorporated. Overmixing develops the gluten in the flour too much, which can lead to tough, dense cookies rather than the desired tender, chewy texture. Stop mixing as soon as you no longer see streaks of dry flour.
- Cooling is Key: After baking, resist the urge to immediately transfer your cookies from the hot baking sheet to a wire rack. Allowing them to cool slightly on the baking sheet for about 5 minutes helps them set and firm up. This prevents them from breaking apart when you move them and continues the cooking process subtly, contributing to that perfect chewy center.
- Elegant Dipping Technique: For a professional and visually stunning finish, dip half of each cooled cookie in melted chocolate. This creates a beautiful contrast and makes the crushed peppermint stick perfectly. Ensure the chocolate is smooth and not too hot to prevent it from seizing or creating a messy coat. A gentle dip and quick sprinkle will yield the best results.
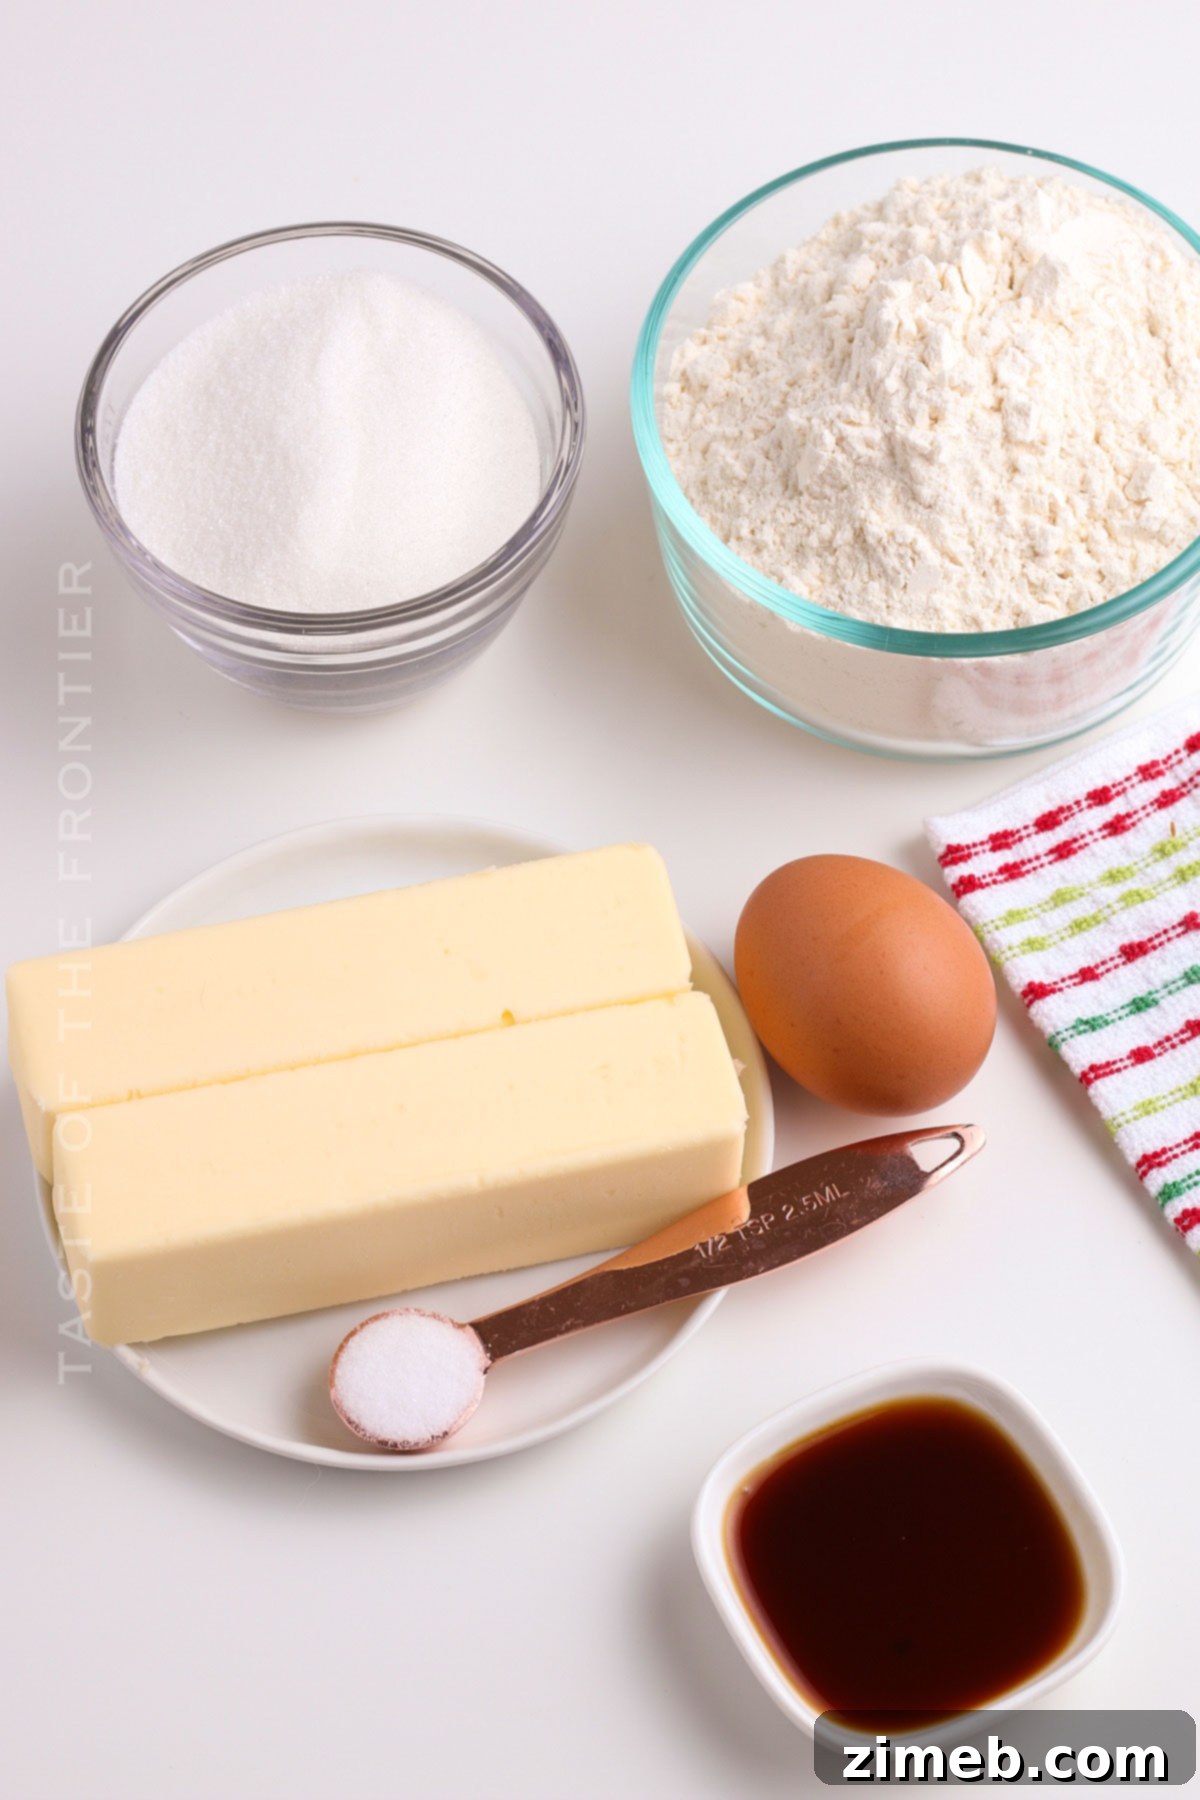
Ingredients for Irresistible Chocolate Peppermint Cookies
The magic of these cookies truly begins with a selection of simple yet high-quality ingredients that come together to create an unforgettable flavor. Get ready to gather these essentials to make your batch of chocolatey, minty perfection:
- Unsalted butter: Softened to room temperature for smooth creaming.
- Granulated sugar: Provides sweetness and helps achieve that delightful texture.
- Salt: A pinch enhances all the other flavors, particularly the chocolate.
- Large egg: At room temperature, acts as a binder and adds richness.
- Vanilla extract: A classic flavor enhancer that complements both chocolate and peppermint.
- All-purpose flour: The structural base for your cookies.
- Peppermint extract: The star flavor for that refreshing minty kick.
- Red food coloring: Optional, but adds a festive red hue to your cookies.
- Granulated sugar: Optional, for sprinkling on top before baking.
- Chocolate almond bark or other melting chocolate: For dipping and coating, providing a rich chocolate shell.
- Crushed peppermint or candy canes: The iconic topping for both flavor and visual appeal.
Step-by-Step Guide: How to Make Chocolate Peppermint Cookies
These Christmas cookies are not just a treat; they’re an experience. Follow these easy steps to bring the festive spirit right into your home and get into the holiday mood!
- Prepare Your Oven and Baking Sheet: Preheat your oven to 350 degrees F (175°C). Line a baking sheet with parchment paper or a silicone mat to prevent sticking and ensure even baking. Set this aside.
- Cream the Butter: In a large mixing bowl, beat the softened unsalted butter with an electric mixer until it becomes light and fluffy. This typically takes 1-2 minutes.
- Add Sugar and Salt: Incorporate the granulated sugar and salt into the butter. Continue beating until the mixture is well combined, light, and fluffy, scraping down the sides of the bowl as needed.
- Mix in Egg and Vanilla: Beat in the large egg and vanilla extract until they are fully combined with the butter-sugar mixture. Ensure no egg streaks remain.
- Gradually Add Flour: Gradually add the all-purpose flour to the wet ingredients. Beat on low speed until the flour is just completely mixed in, being careful not to overwork the dough.
- Infuse with Color and Flavor: Add the red food coloring (if using) and peppermint extract to the cookie dough. Mix very well until the color is evenly distributed and the peppermint aroma is fragrant throughout the dough.
- Form Cookie Balls: Roll the dough into uniform balls, about 1 to 1.5 inches in diameter. Place them onto your prepared baking sheet, leaving some space between each for spreading.
- Flatten Slightly: Lightly press down on the top of each cookie ball. You can use the flat bottom of a glass dipped in water to prevent sticking and create a smooth, even surface.
- Optional Sugar Sprinkle: If desired, lightly sprinkle the tops of the cookie balls with a little extra granulated sugar before baking for a sparkling finish.
- Bake to Perfection: Bake for 8-10 minutes, or until the edges of the cookies are set and lightly golden, but the centers still look slightly soft. Remember, they will continue to firm up as they cool.
- Cooling Process: Remove the baking sheet from the oven and allow the cookies to cool on the sheet for about 5 minutes. This helps them set. Then, carefully transfer them to a wire rack to cool completely.
- Melt the Chocolate: While the cookies are cooling, melt your chocolate almond bark or other melting chocolate in a microwave-safe bowl. Heat in 30-second intervals, stirring between each, until smooth and fully melted.
- Prepare Peppermint Topping: Crush your peppermint candies or candy canes. Place them in a resealable bag and use a rolling pin to break them into small pieces.
- Dip and Decorate: Once the cookies are completely cool, dip the edge of each cookie into the melted chocolate. Immediately sprinkle the crushed peppermint candies onto the wet chocolate before it has a chance to set.
- Set the Decoration: Place the decorated cookies back on the wire rack until the chocolate has fully set. This can be expedited by placing them in the refrigerator for a few minutes.
- Store: Store your finished Chocolate Peppermint Cookies in an airtight container at room temperature to maintain their freshness.
Kitchen Supplies You’ll Need for Chocolate Peppermint Cookies
Having the right tools can make all the difference in your baking process, making it more efficient and enjoyable. Don’t skip on a good cooling rack – it’s the oldest trick in the book for that perfect crisp outside! Gather these essentials:
- Large mixing bowl: Essential for combining your ingredients.
- Hand mixer or stand mixer with paddle attachment: For effortlessly creaming butter and sugar, and mixing the dough.
- Baking sheet lined with parchment paper or silicone mat: For baking your cookies without sticking and for easy cleanup.
- Wire rack for cooling: Crucial for allowing air circulation around your cookies, ensuring they cool evenly and maintain their texture.
- Measuring cups and spoons: For accurate measurement of all ingredients.
- Resealable bag and rolling pin: Perfect for crushing candy canes or peppermint candies for your festive topping.

What to Serve With Chocolate Peppermint Cookies
These chewy Chocolate Peppermint Cookies are delicious on their own, but pairing them with the right beverage or accompanying treat can elevate the experience even further. I personally think some Andes mints would be a wonderful complement, enhancing the minty chocolate theme. What are your thoughts? Let us know in the comments!
- Enjoy with a cup of hot cocoa: For the ultimate cozy winter treat, the warm chocolate of hot cocoa perfectly complements the cool peppermint of the cookies.
- Pair with a glass of cold milk: A timeless classic! The simplicity of cold milk beautifully contrasts the rich flavors of the cookie.
- Serve alongside a coffee or latte: For a delightful coffee break, the robustness of coffee or the creaminess of a latte creates a sophisticated pairing with these festive cookies.
Why You Should Make Chocolate Peppermint Cookies This Season
Having a diverse collection of Christmas cookie recipes is a holiday essential, and these peppermint chocolate cookies are a must-add to your recipe book. They consistently delight every crowd and for all the right reasons:
- Festive Flavor Profile: They embody the holiday season with their ideal blend of rich chocolate and refreshing peppermint, offering a taste that instantly evokes Christmas joy.
- Perfect for Gifting & Sharing: These cookies are wonderful for cookie swaps, thoughtful gifts for neighbors and teachers, or simply for sharing with your loved ones during holiday gatherings.
- Effortlessly Enjoyable to Make: Featuring straightforward ingredients and simple, easy-to-follow steps, this recipe makes baking a stress-free and joyful experience, even for novice bakers.
- Visually Striking Appeal: The vivid contrast between the dark chocolate coating and the bright, crushed candy cane pieces makes these cookies a visually captivating centerpiece on any dessert table.

Creative Variations and Add-Ins for Chocolate Peppermint Cookies
While we believe these might just be the perfect cookie as they are, we understand the desire to experiment and personalize your baked goods. Here are some fantastic ideas to inspire you to change things up and add your unique twist to this classic recipe!
- White Chocolate Coating: For a delightful visual and flavor contrast, consider dipping the cooled cookies in melted white chocolate instead of dark or milk chocolate. The sweetness of white chocolate pairs beautifully with the peppermint.
- Nutty Additions: Introduce a delightful crunch and depth of flavor by mixing in finely chopped nuts, such as pecans or walnuts, into the cookie dough. This adds a wonderful textural dimension to the soft cookies.
- Extra Chocolatey Dough with Cocoa Powder: If you’re a true chocolate lover, blend a tablespoon or two of unsweetened cocoa powder into your flour mixture. This will intensify the chocolate flavor of the cookies themselves, creating a richer base for the peppermint.
- Peppermint Bark Pieces Instead of Crushed Candy Canes: For an even more decadent and layered peppermint experience, use small pieces of peppermint bark as an alternative to plain crushed candy canes for the topping. This adds another layer of chocolate and a more intense peppermint flavor and texture.
DON’T MISS MY HOLIDAY E-BOOK!


If you adore this easy cookie recipe, you’ll undoubtedly fall in love with these other fantastic cookies too. Click each link below to discover their simple, printable recipes!
More Festive Cookie Recipes
-
Grinch Crinkle Cookies
If you’re searching for an easy recipe for a Christmas cookie that promises to be a big hit, you’ll absolutely love these Grinch crinkle cookies. Their vibrant green hue and soft, chewy texture are perfect for spreading holiday cheer.
Check out this recipe

-
Stained Glass Cookies
For holiday cookies that are as pretty as they are impressive, look no further than these easy stained glass cookies. Their dazzling, translucent centers will be the talk of your dessert table.
Check out this recipe
-
Frosted Christmas Cookies
Whip up a batch of our quick and easy Frosted Christmas Cookies using just a few everyday ingredients. These soft, chewy, and flavorful cookies are the perfect addition to your holiday baking repertoire.
Check out this recipe
-
Linzer Cookies
For a truly beautiful cookie that’s sure to be eye-catching on your holiday dessert table, be sure to try these utterly delicious Linzer cookies. Their delicate appearance and fruity filling are a delight.
Check out this recipe
-
Santa’s Favorite Chocolate Chip Cookies
These classic Santa’s Favorite Chocolate Chip Cookies are the absolute perfect treat to leave out with a glass of milk on Christmas Eve. They are soft, chewy, and full of heartwarming flavor.
Check out this recipe





Explore More Chocolate Peppermint Recipes
If you’re enchanted by the irresistible combination of chocolate and peppermint, you’re in for a treat! Discover even more delightful recipes featuring this classic flavor pairing to extend your holiday baking repertoire:
- White Chocolate Peppermint Pretzels: A simple yet addictive sweet and salty snack.
- Chocolate Peppermint Bundt Cake: A stunning dessert perfect for holiday gatherings.
- Dark Chocolate Peppermint Cookies: For those who prefer a deeper, richer chocolate experience.
- Peppermint Bark Cookies: Another festive cookie featuring layers of chocolate and mint.

CONNECT WITH YUMMI HAUS!
Be sure to follow me on my social media, so you never miss a post!
Substack, FB, Pinterest, IG, Email Subscription


Chocolate Peppermint Cookies
Course: Dessert
Servings: 36 cookies
Indulge in the perfect blend of rich chocolate and refreshing peppermint with our delectable Chocolate Peppermint Cookies.
Prep Time: 5 mins
Cook Time: 10 mins
Decorate Time: 15 mins
Total Time: 30 mins
Ingredients
- 1 cup unsalted butter, softened
- ⅔ cup granulated sugar
- ½ teaspoon salt
- 1 large egg, room temperature
- 1 tablespoon vanilla extract
- 2 cups all-purpose flour
- 1 teaspoon peppermint extract
- 2-3 drops red food coloring (optional)
- Granulated sugar, optional (for sprinkling)
- Chocolate almond bark or other melting chocolate
- Crushed peppermint or candy canes
Instructions
- Preheat the oven to 350 degrees F (175°C).
- Line a baking sheet with parchment paper or a silicone mat. Set aside.
- In a large bowl, beat the butter until fluffy.
- Add the sugar and salt and beat until well combined and fluffy.
- Beat in the egg and the vanilla until well combined.
- Gradually add the flour and beat until completely mixed but not overworked.
- Add the food coloring and peppermint extract to the cookie dough and mix very well.
- Roll the dough into balls and place them on the prepared baking sheet.
- Lightly press down on top of each cookie ball using a flat bottom of a glass dipped in water.
- Sprinkle the tops lightly with granulated sugar if desired.
- Bake for 8-10 minutes or until the edges are set.
- Remove and allow to cool on the baking sheet for 5 minutes before transferring to a wire rack to cool completely.
- Melt the chocolate in a microwave-safe bowl.
- Crush the peppermint candies in a resealable bag using a rolling pin.
- Dip the edge of each cookie into the melted chocolate and then immediately sprinkle on the crushed peppermint candies before the chocolate has set.
- Place the cookies on a wire rack until set.
- Store in an airtight container at room temperature.
Nutrition Information
Serving: 1 cookie | Calories: 88kcal | Carbohydrates: 9g | Protein: 1g | Fat: 5g | Saturated Fat: 3g | Cholesterol: 19mg | Sodium: 35mg | Potassium: 10mg | Fiber: 0.2g | Sugar: 4g | Calcium: 3mg | Iron: 0.3mg | Net Carbohydrates: 9g
Nutritional information for the recipe is provided as a courtesy and is approximate. Please double-check with your own dietary calculator for the best accuracy. We at Yummi Haus cannot guarantee the accuracy of the nutritional information given for any recipe on this site.
Love this recipe? Follow @KleinworthCo for even more tasty recipes!